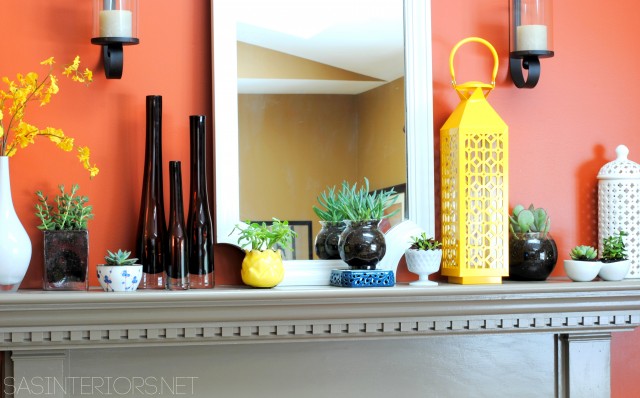
DIY: Vertical Pallet Garden
The warmer weather has got me movin’ and groovin’ outdoors. This past weekend I got my DIY mojo on for this months Lowe’s challenge and created (what I think) is something pretty cool. Check out my newly created Vertical Pallet Garden using colorful pots…

Though the flowers are finally starting to peak through around the yard, I was in need of color NOW to start decorating my front porch for Spring. I, of course, hit up my local Lowe’s garden center to get my color fix. It’s still the early days of Spring, so the selection (at my local Lowe’s in NY) was limited, but I was able to find a few perennials for shaded areas that would be ideal for under the front covered porch. I chose a few colorful perennials & vines because they could easily be transplanted to the garden at the end of the season (smart & savvy thinking).
Pallets have been all-the-rage for a while, but I just don’t get tired of them – probably because they’re free. I’ve created so many DIY projects with pallets and I just love their old, worn texture and aesthetic. When thinking about this seasons porch, my major desire was to add height. Height = drama, and that was my goal.

For this project, the materials I used were:
- Pallet (which I snagged – with their permission of course – for free in the back on my local Lowe’s)
- (4) Eye hooks for 100 lbs+
- 3′ of metal chain
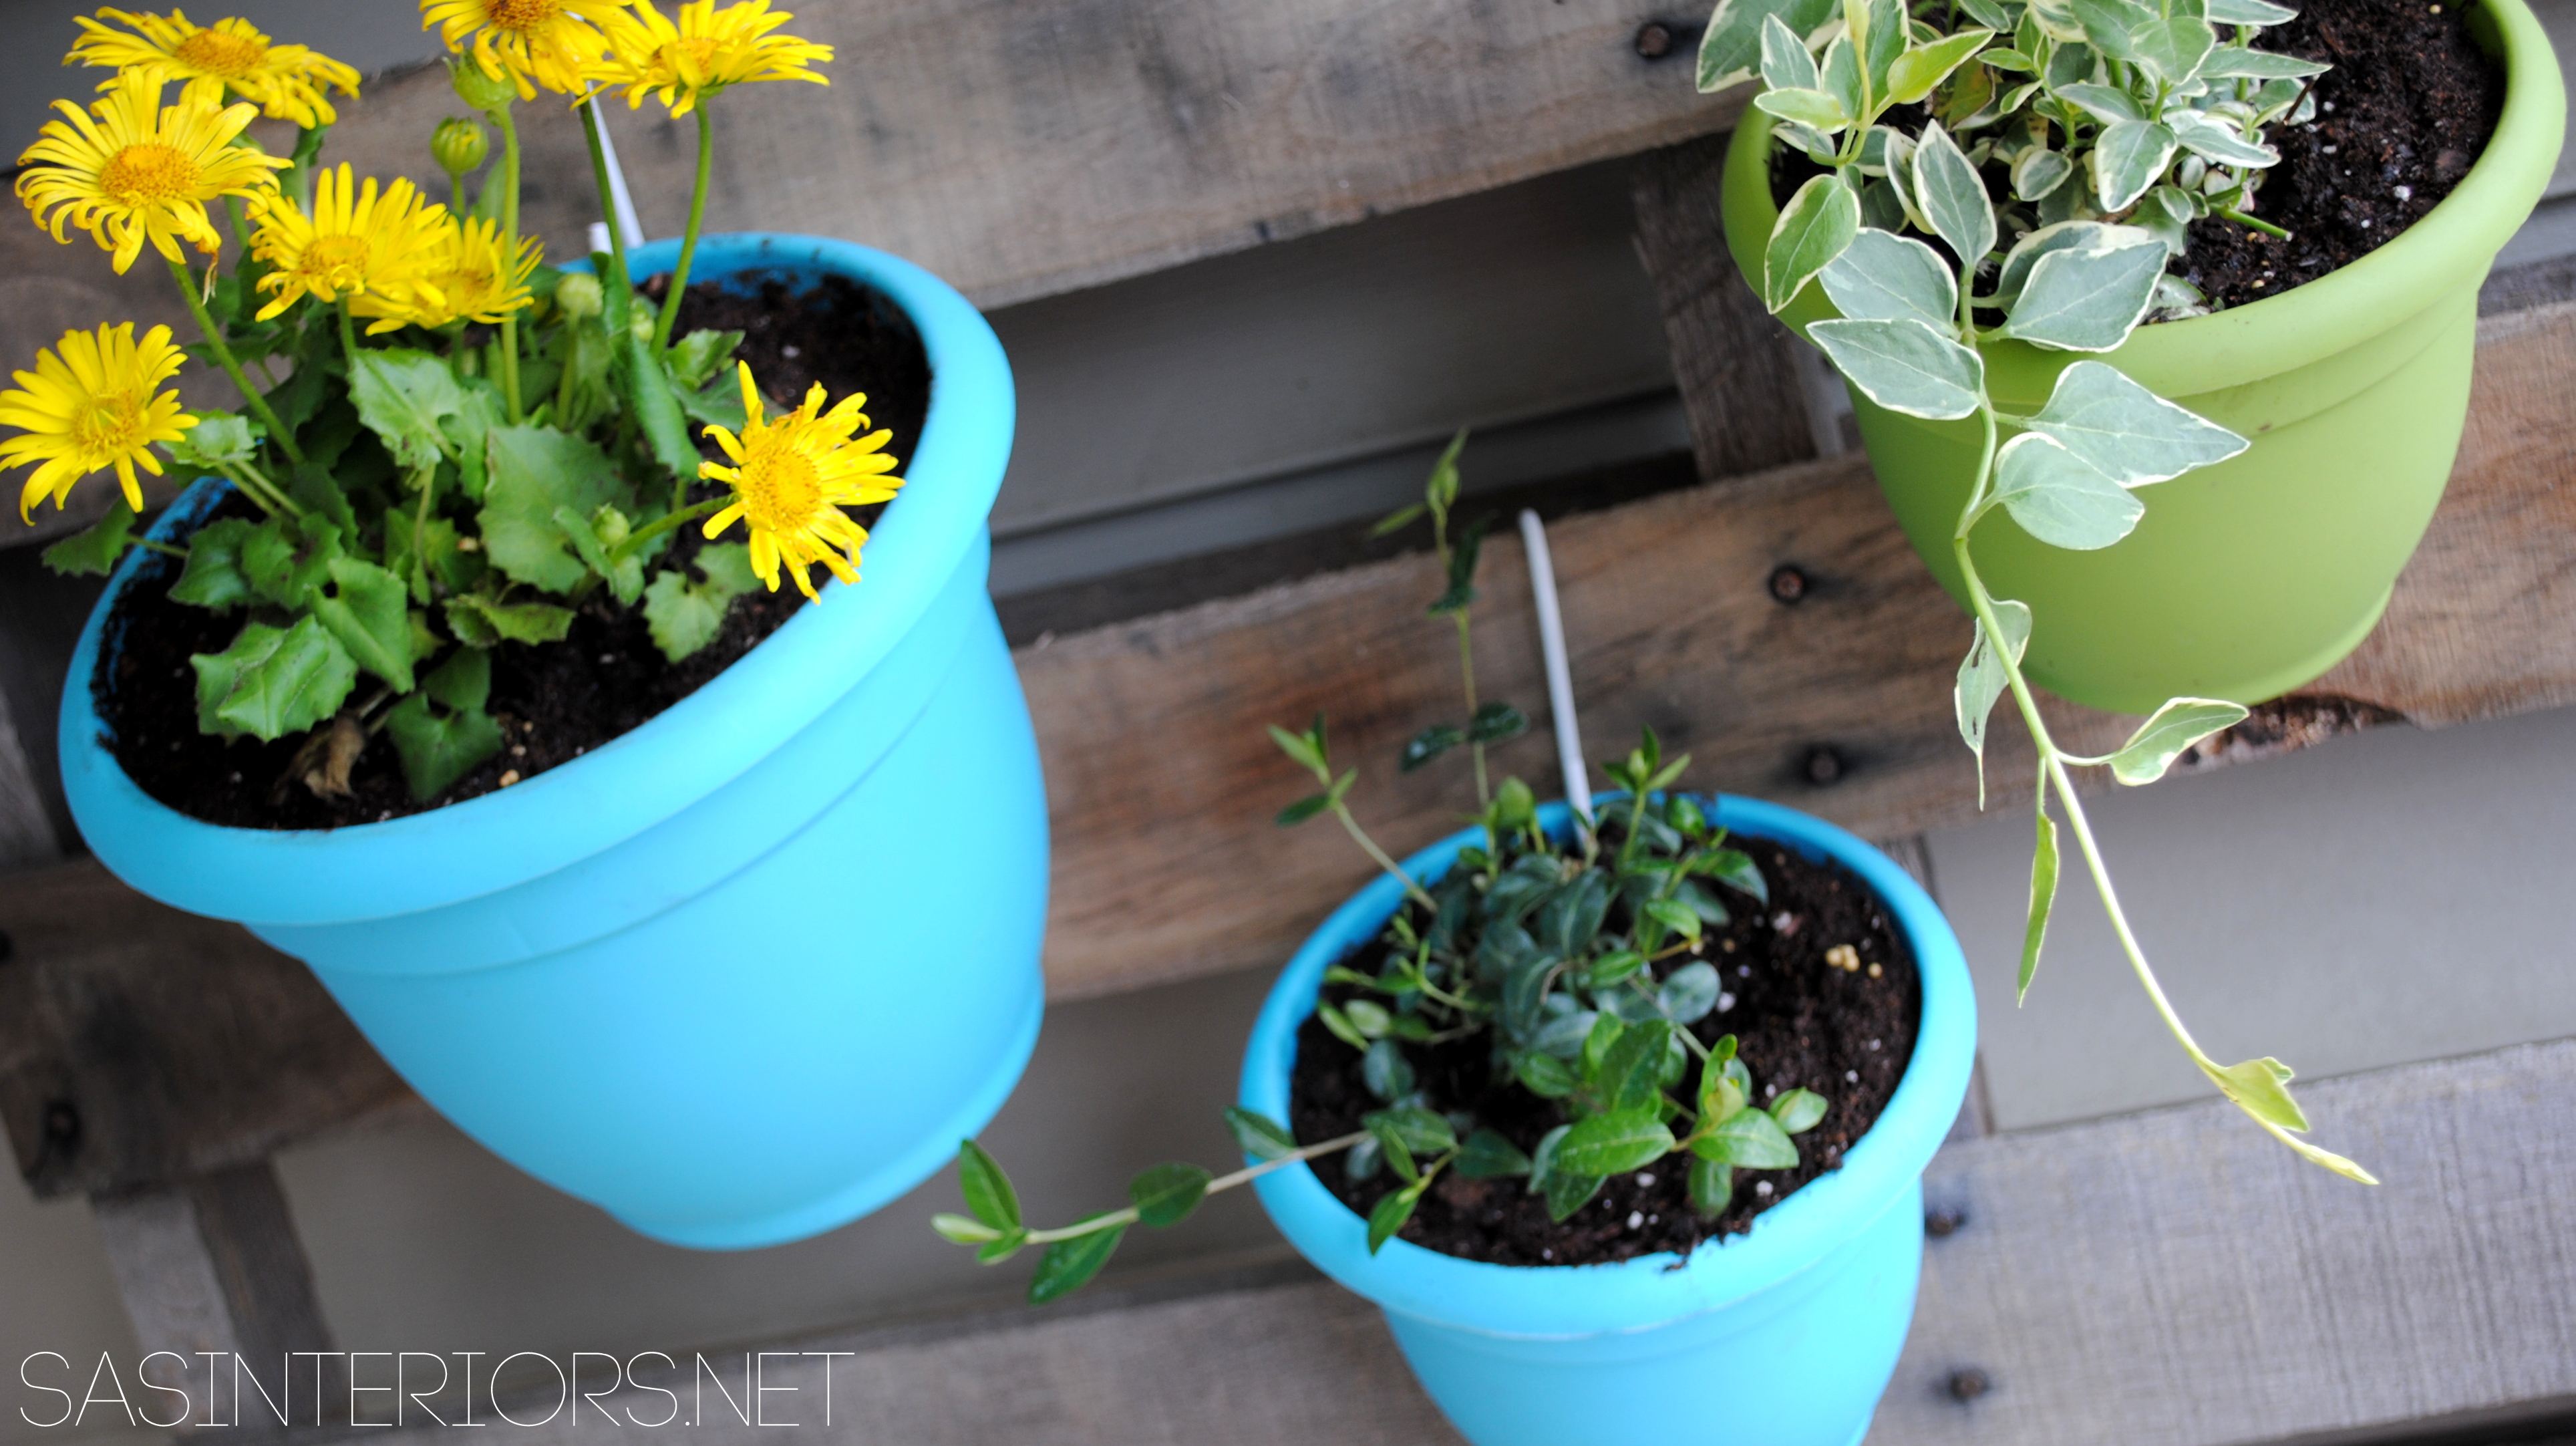
- Plastic pots (I used lime green and turquoise from Lowe’s)
- Drill with 1/4″ drill bit
- 3″ S hooks (found in the outdoor section of Lowe’s)
- Vise Grip

Here’s the DL (downlow for short) on how I created the Vertical Pallet Garden
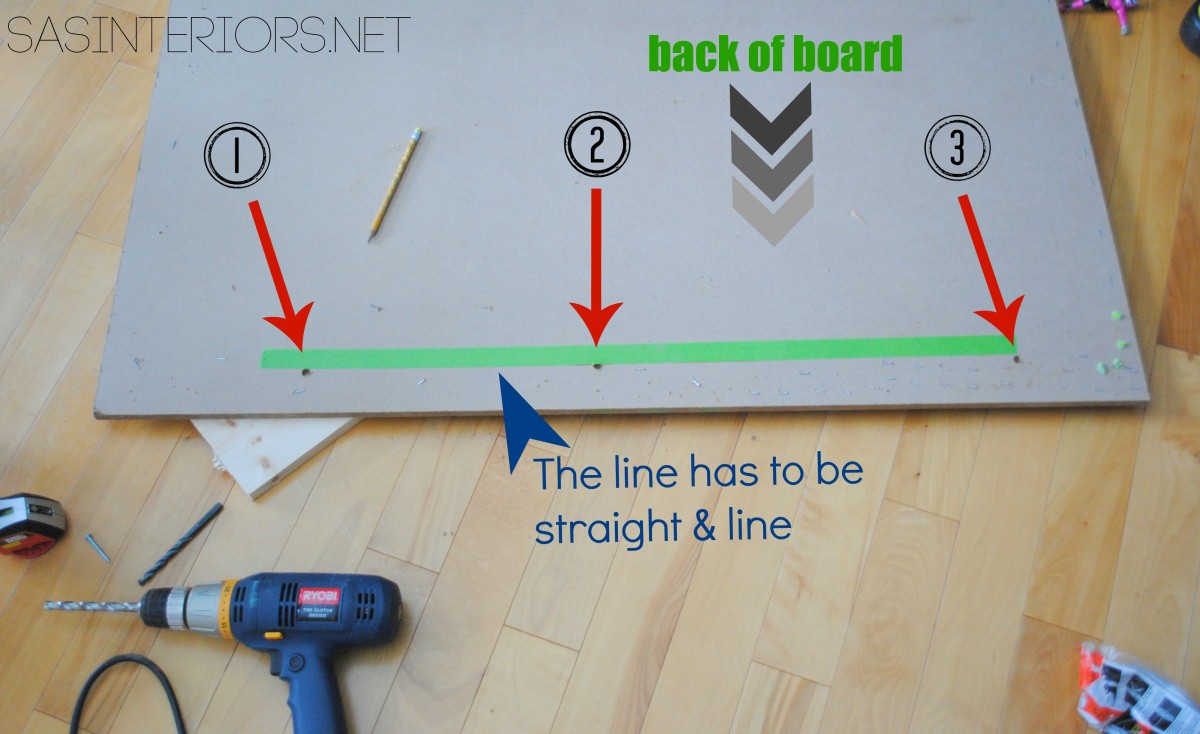
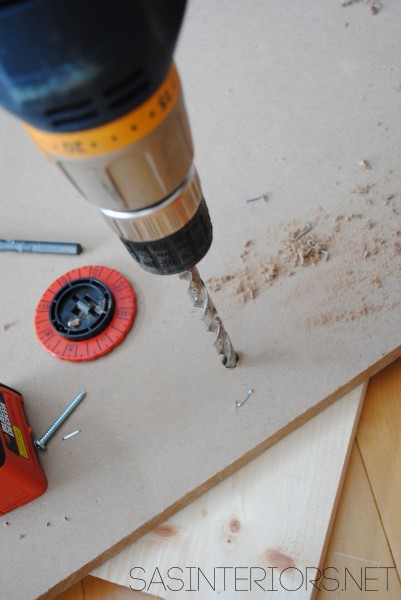
1. At the top of the pallet (slats oriented horizontally), screw in (1) eye hook at about 2-3″ in from each end. It’s best to start out by using a large nail to start the hole. Once the hole is started, screw in the eye hooks with the help of a vise grip to get leverage. Unless you’re the Hulk, it’ll probably be impossible with just your bare hands.
2. With the Misters help, we then unlinked one of the chain links and linked it through the eye hook. (one side only – the other side has to wait until hung)

3. Heading over to the house, we installed the eye hooks (using a drill to start the hole) through the siding and into the house about 2″ below the ceiling plane at the same distance apart as the hooks in the pallet.

4. Once the eye hooks were in, we took the loose end of the chain of the pallet, slipped it through the eye hooks, and secured the chain on the other side.
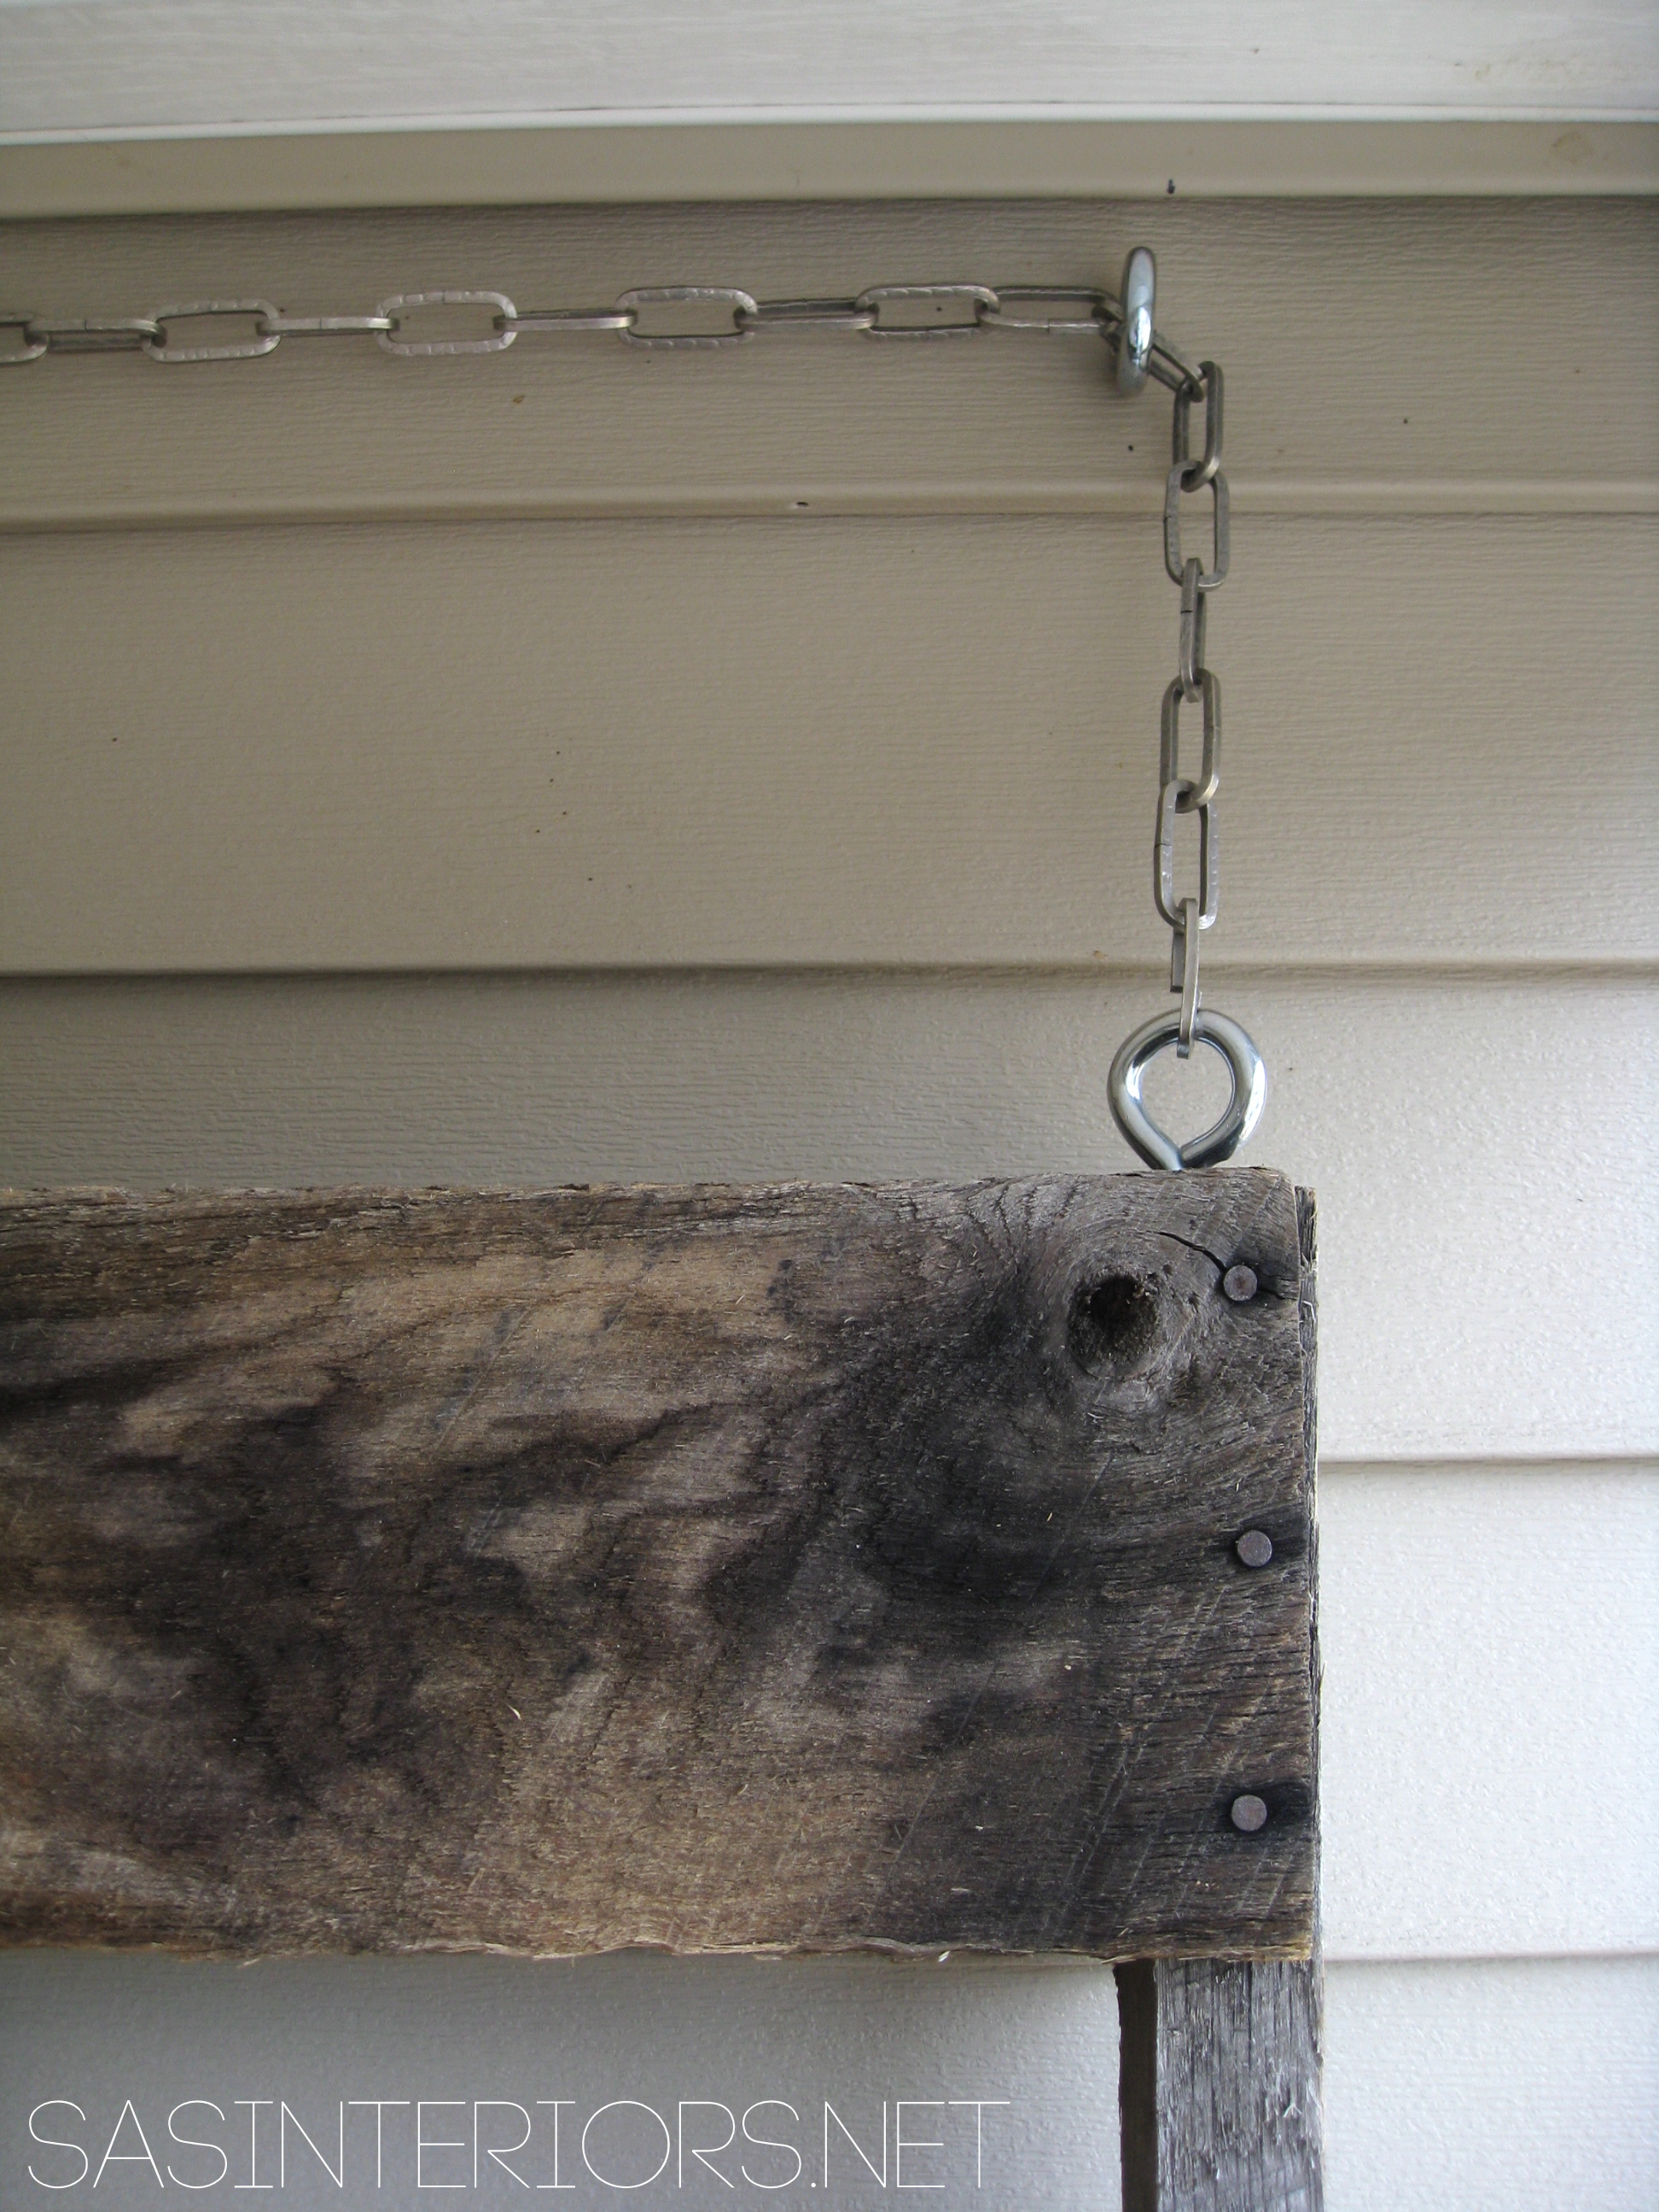
The pallet base is complete!

Then it was time to create the “garden”.
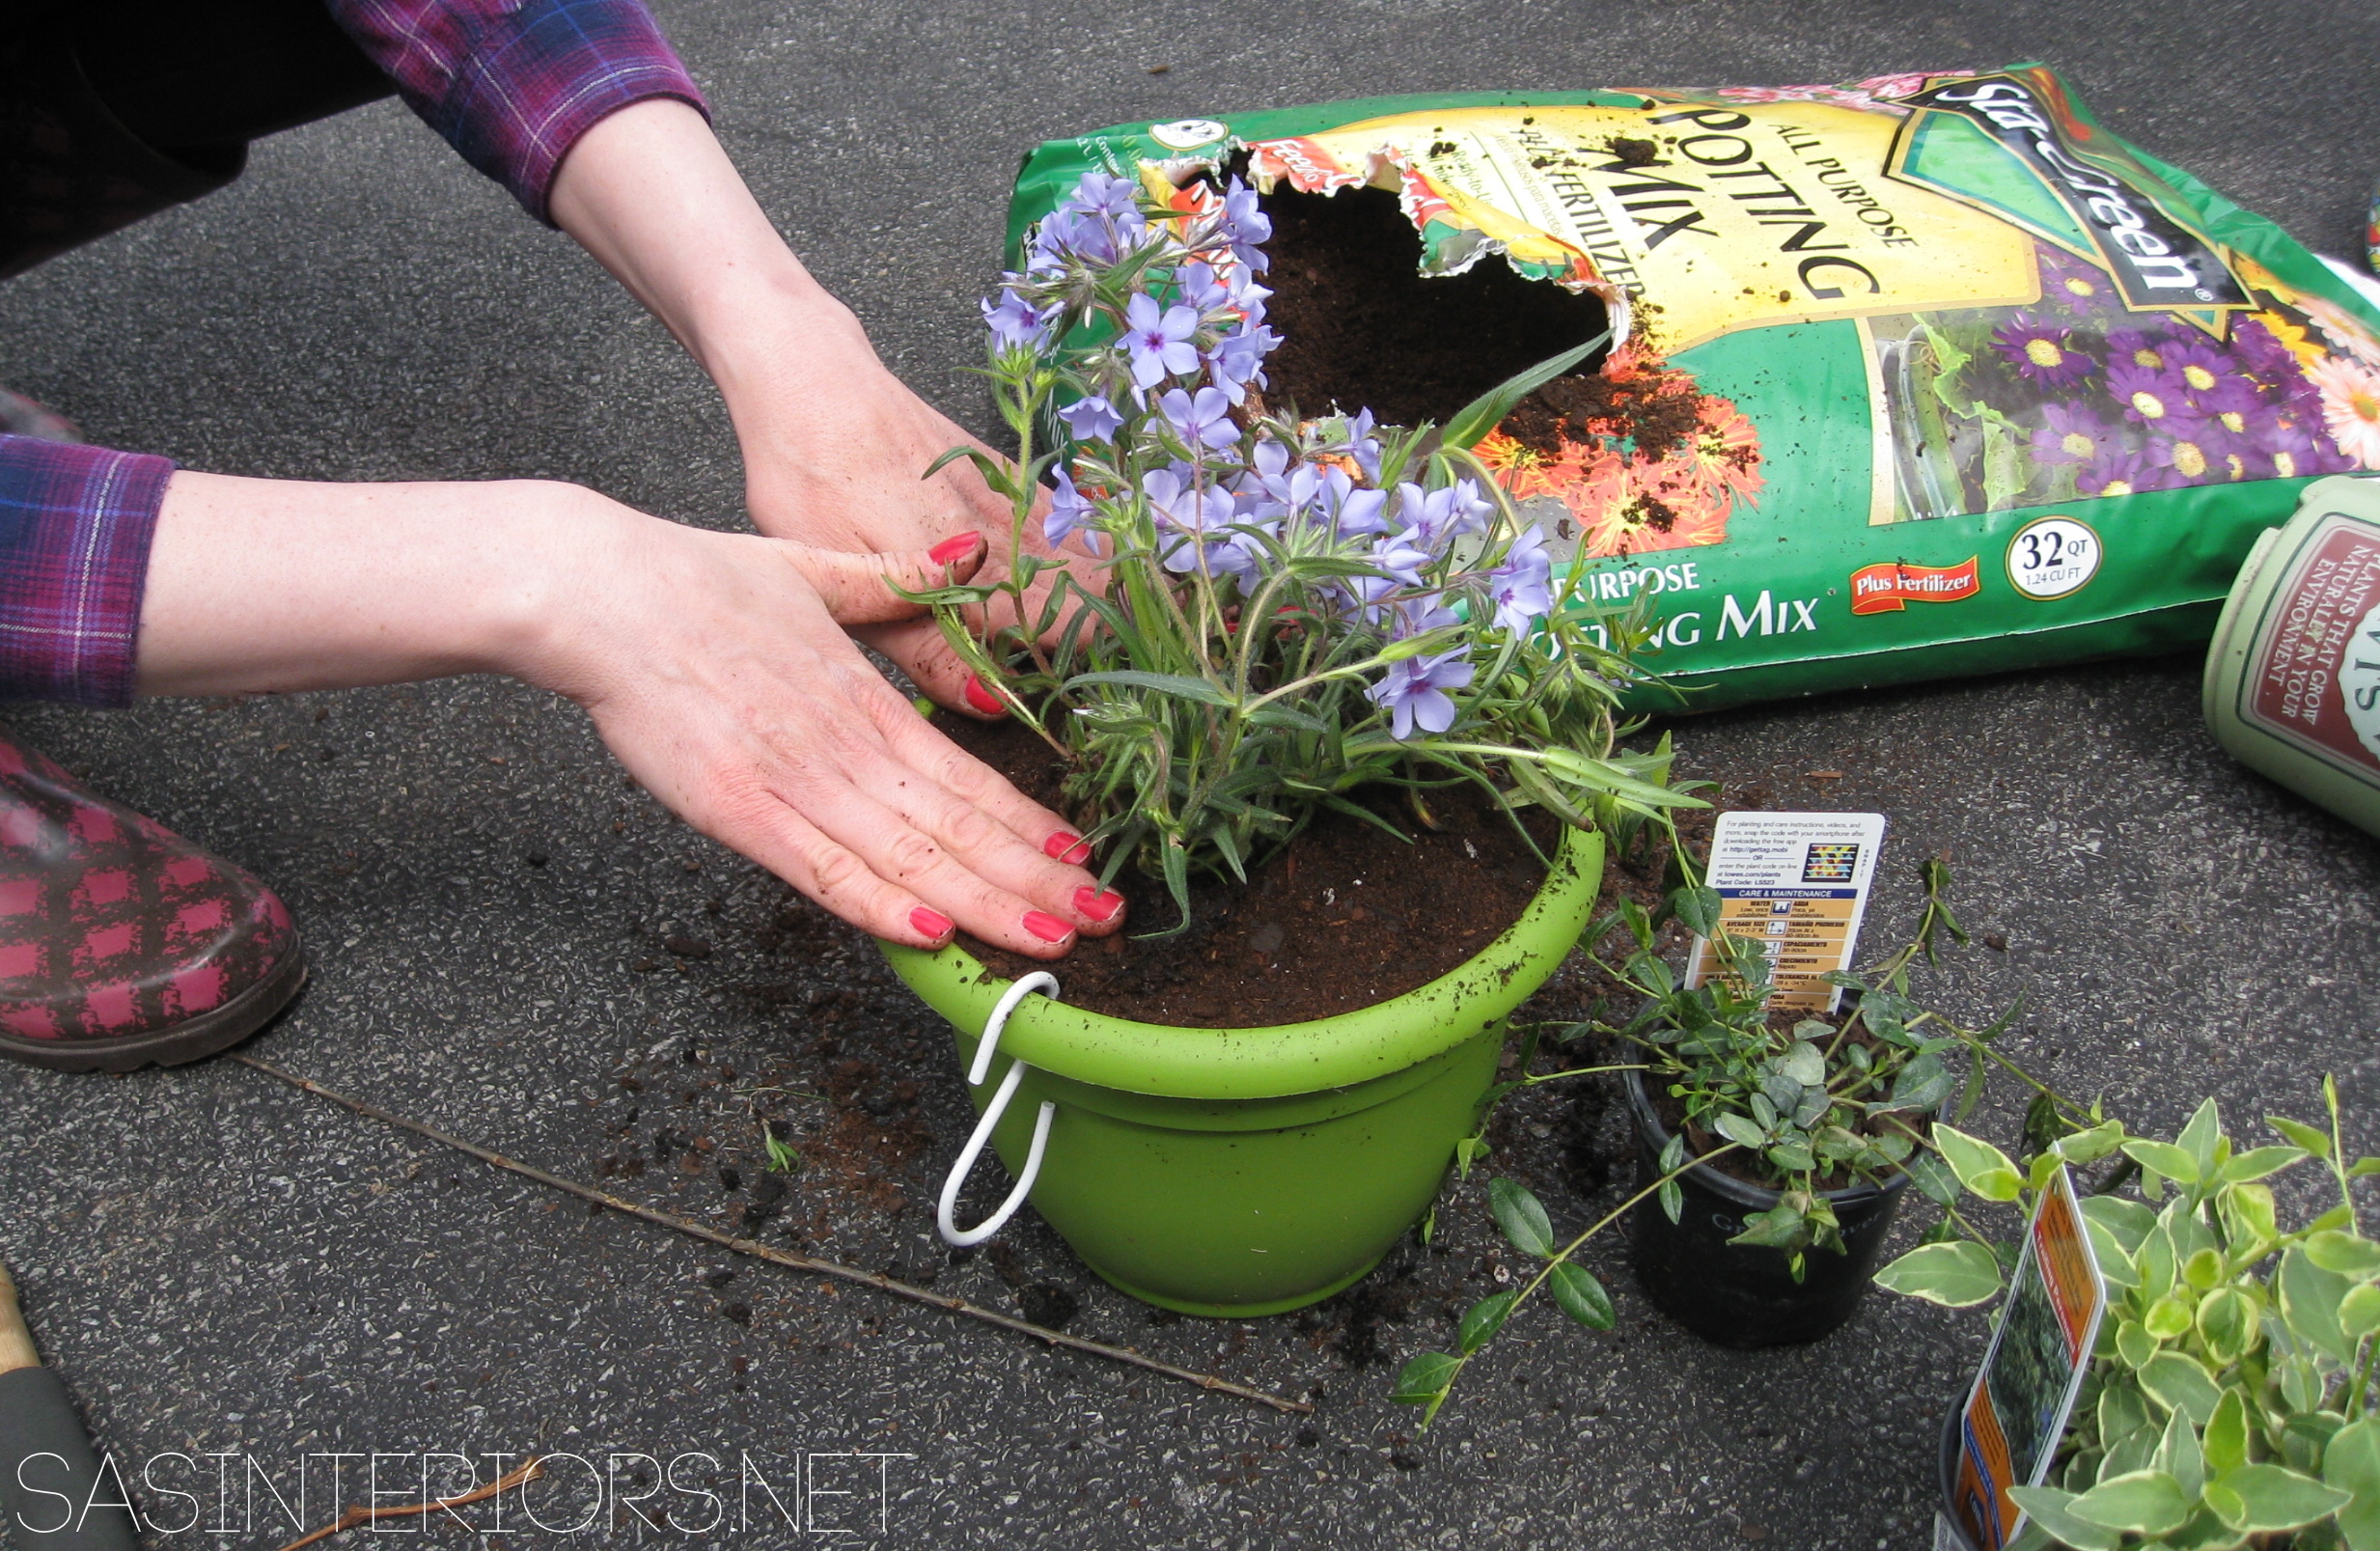
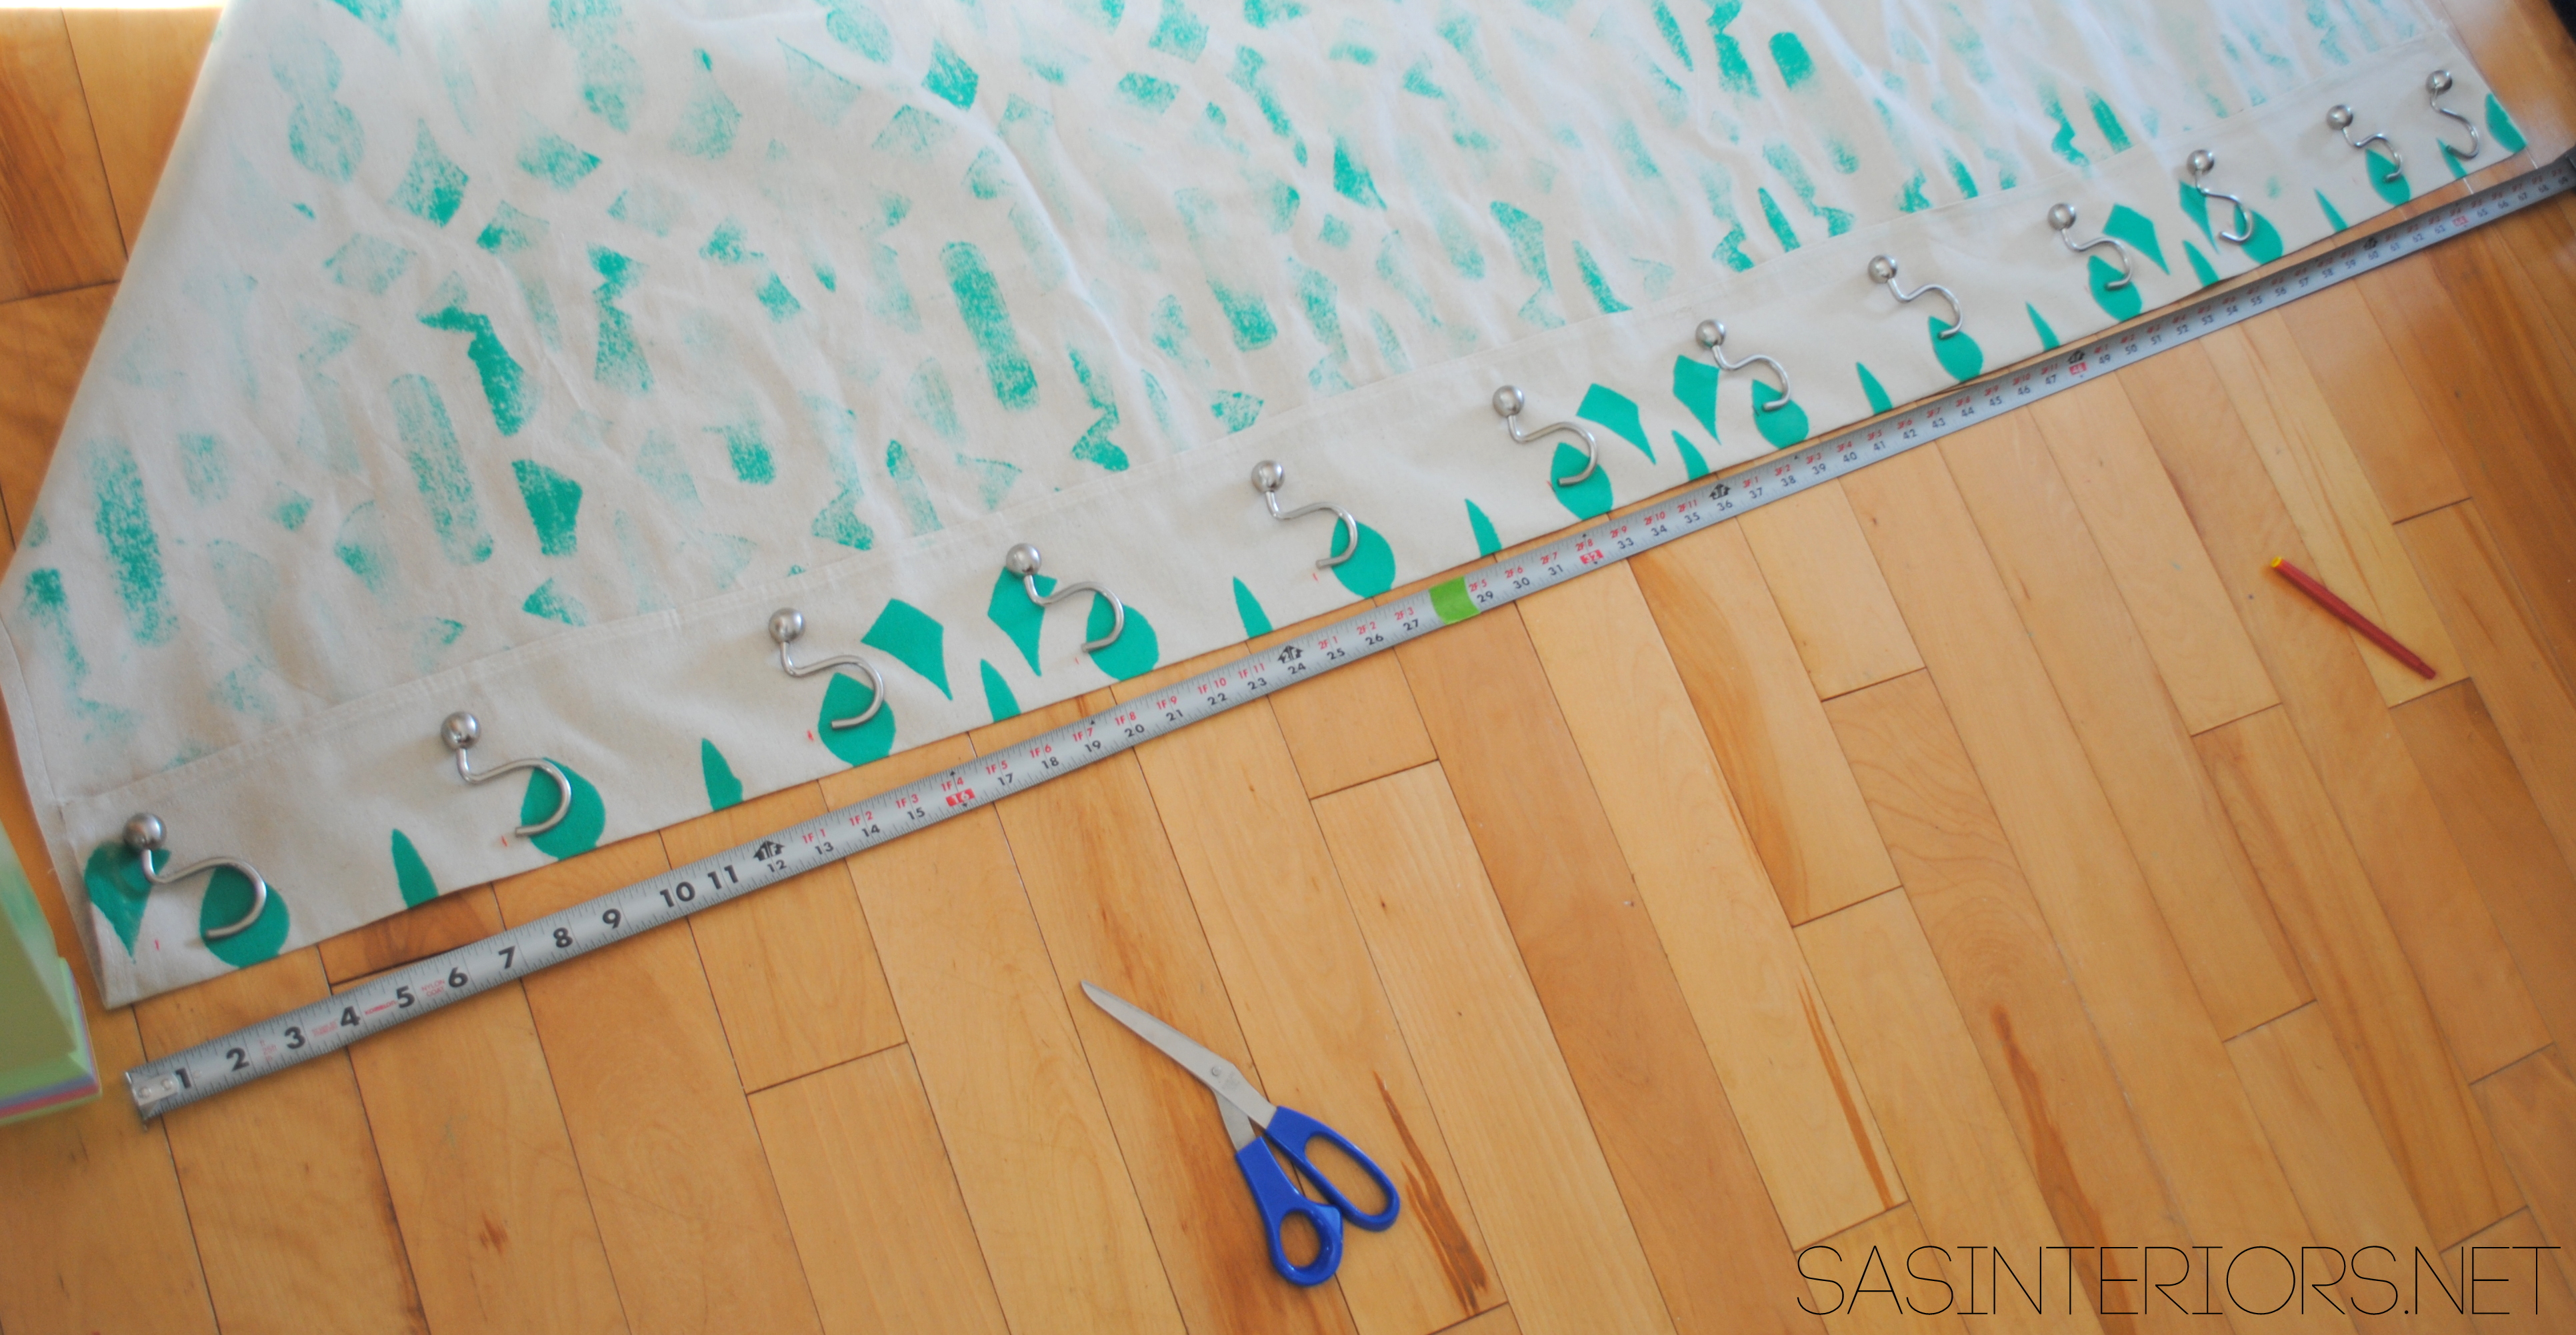
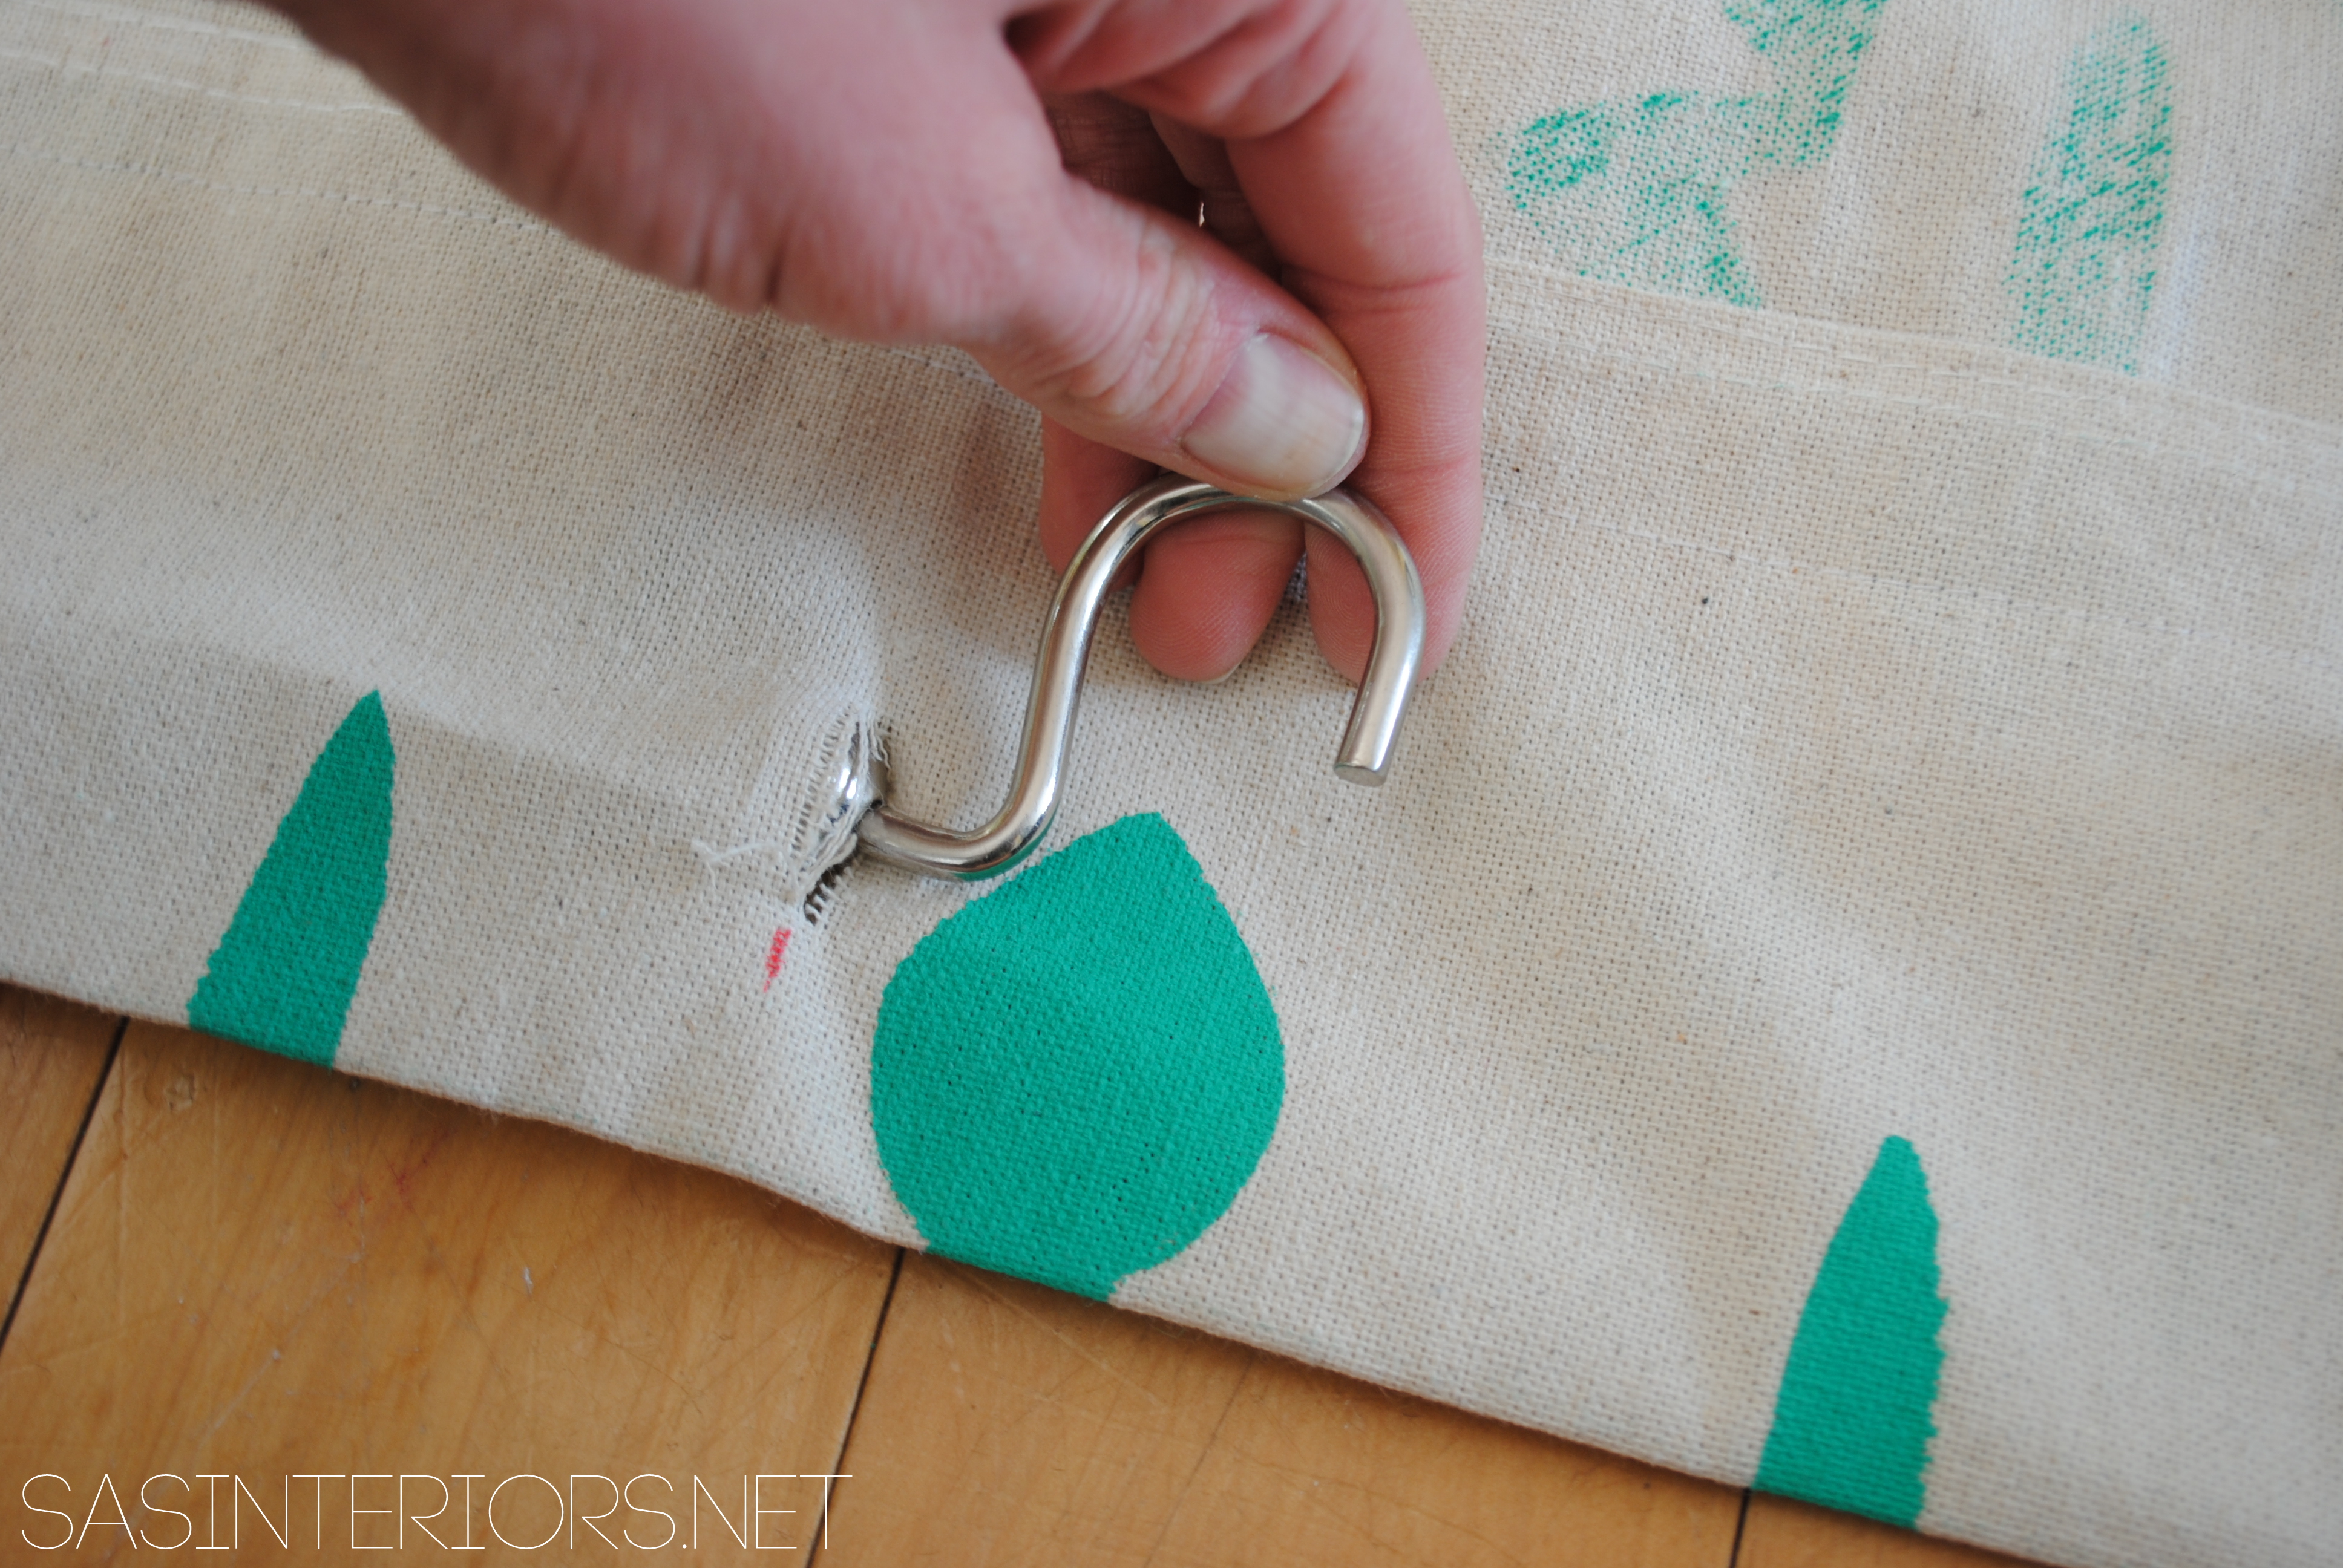
5. Using varying sized plastic pots in fun colors, drill a 1/4″ hole about 1″ down from the top rim. Using a 3″+/- S hook, slip it through the hole.

6. Plant the pretty flowers…
…And it was complete!

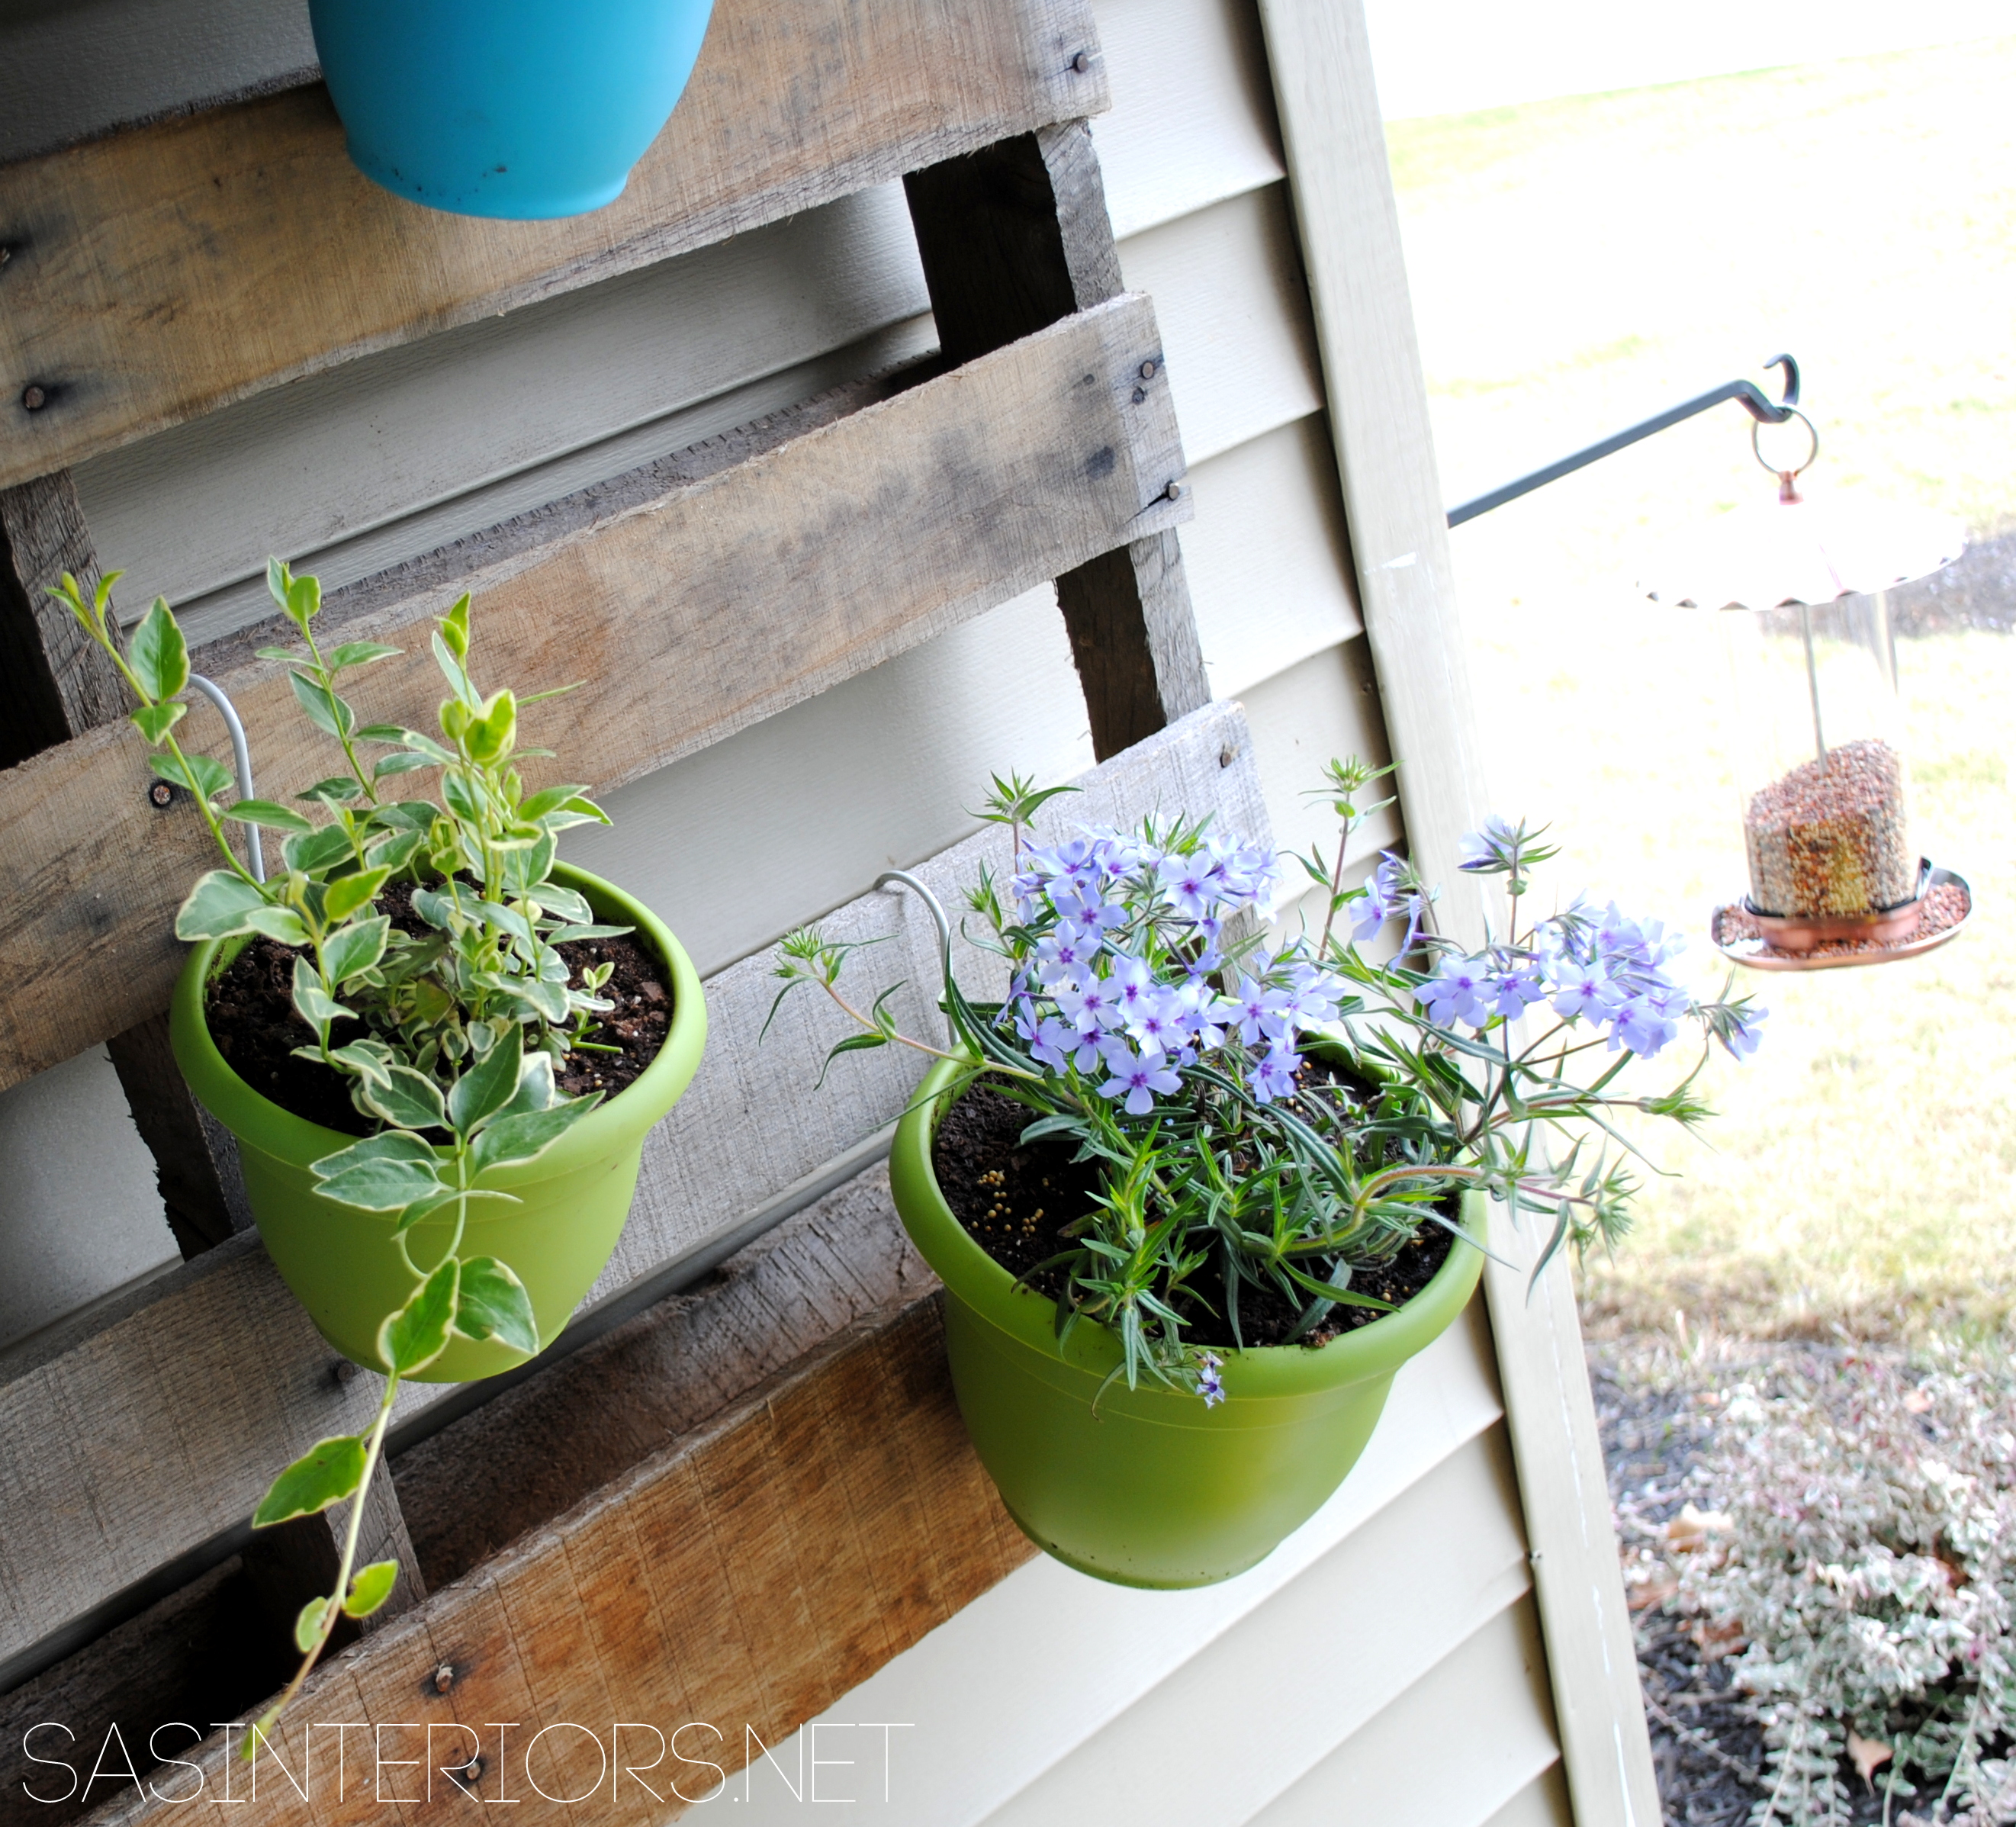
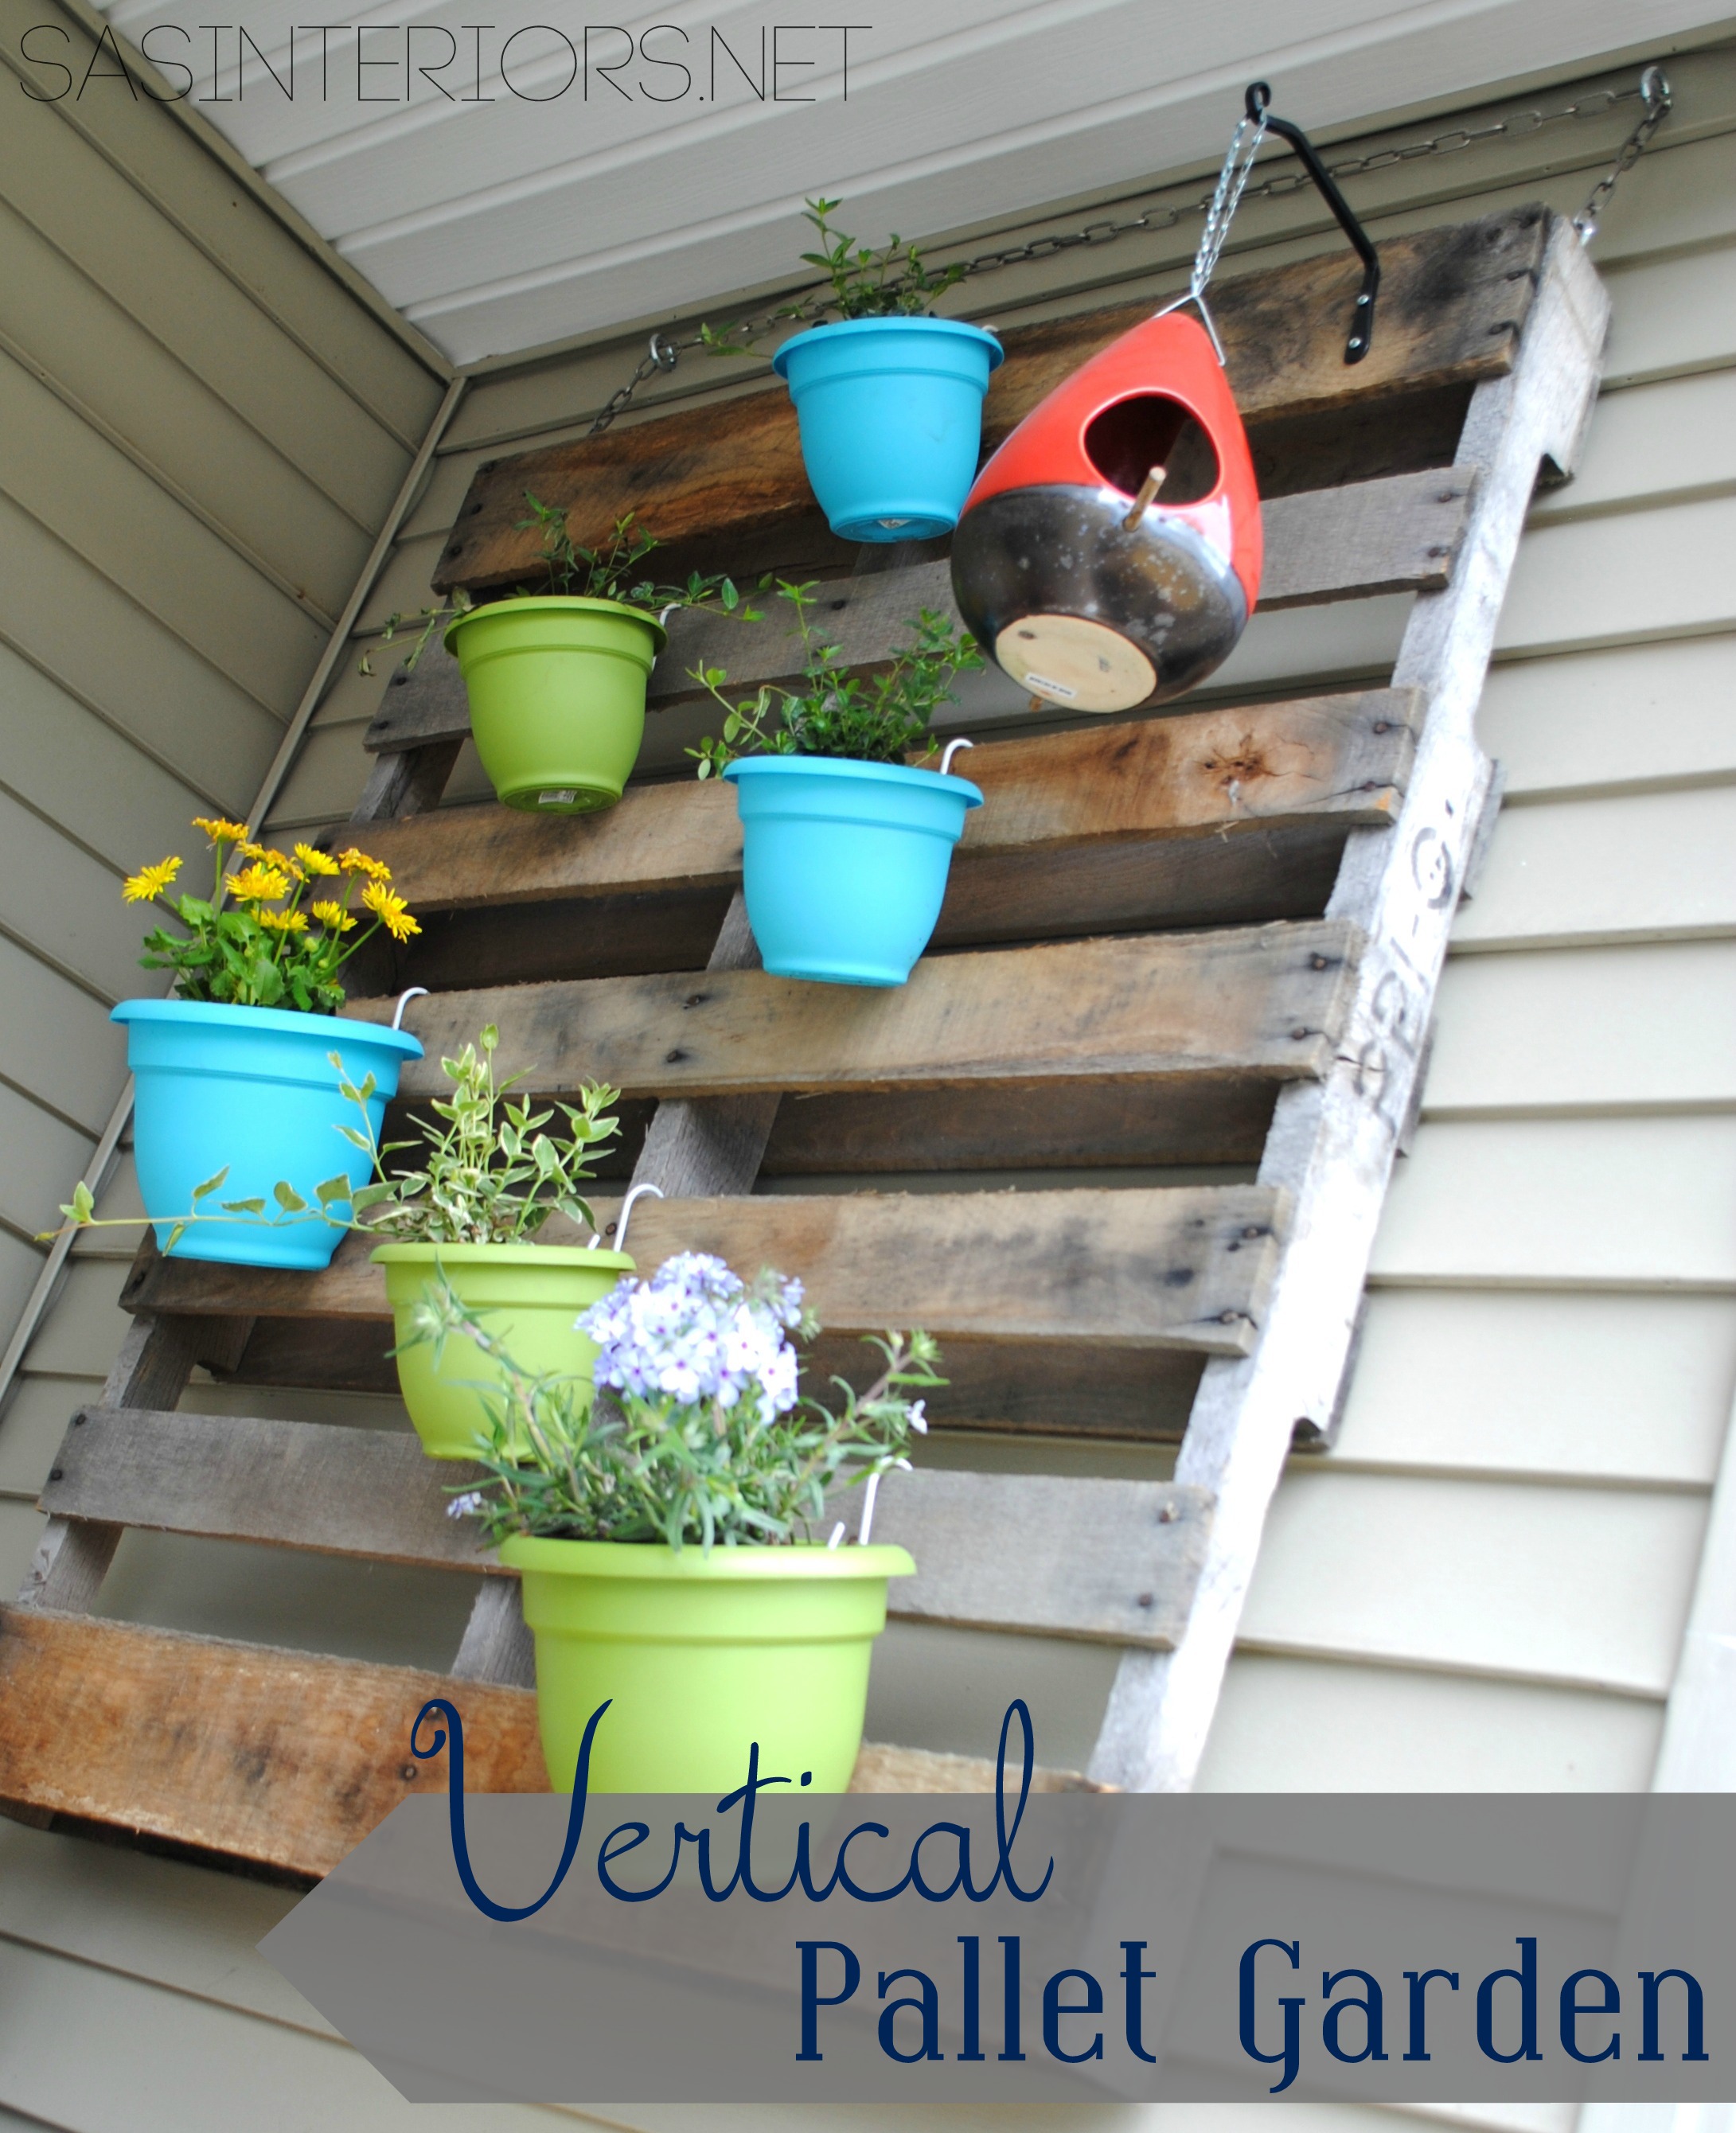
The vertical pallet garden adds so much color to the front porch.
S-hooks make it easy to move the flower pots around or bring them into the sun.

A beautiful focal point for the porch.

If you’re wondering about the pretty white wreath, that was a DIY project that was featured on Jen’s blog. It was created for Valentine’s Day, but I took off the paint chip flowers and just hung the wreath plain and simple. Who knows how I will transform it for another holiday or season to come.

I’m still working on the rest of the porch since it’s still in need of more color and pizazz. By late May, I hope to have that done and ready to share. Right now we’re still getting alot of rain and most nights are still way too chilly to get my gardening-on.

I couldn’t be more thrilled with the outcome of this fun and easy DIY project. It’s brought gorgeous height and beautiful color to my Spring front porch.
To see more creations of mine using pallets, click on the links below:
How-To Make a Pallet Shelf
Monogrammed Pallet Chevron Tray
Pallet Picture Holder
Eclectic Family Gallery Wall
Disclosure: I am part of the Lowe’s Creative Team and was provided with a Lowe’s gift card to purchase items for my project. I was also compensated for my time to use the products. No one told me what to create, what to buy, how to use the product, or what to write. All opinions are 100% mine!


 Happy Monday! Yes, it’s Spring, but sadly it doesn’t feel like it (at least here in NY).