


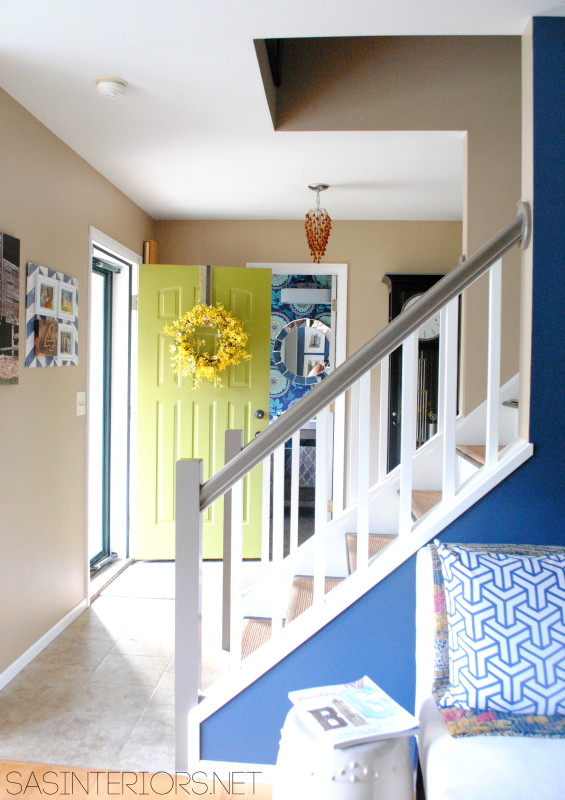
Ideas + Solutions for the Wall Behind the TV
Another Monday here again! I hope you had a great weekend. It was fairly low key on my end, but as a family we enjoyed the beginning signs of Fall, with the brisk chill in the air, by taking a family bike ride + watching football. I also got the opportunity to shop for some colorful mums to transition the front porch, as well as the mantel. Both are still in progress, but are coming along. I’m waiting for some small pumpkins & ghords to arrive at the local stores – upon asking, it seems like it might be another week or 2.
Onto today’s blog topic… The TV and what to do with the wall behind it.

I often get emails from readers asking design-related questions and most of them I return with a few short sentences in hopes to point them in the right direction. If they need more help, we usually end up working together through my E-Design Program. BUT, last week I received a question that I KNOW alot of homeowners struggle with, so I thought it would be best to put a blog post together to assist and inspire more than one reader.
This email is from Christina:
I was hoping you can direct me with a huge dilemma. We have a tv hanging on the wall in our family room. Which I can’t stand. I prefer an armoir or built in. Any how hubby wanted modern tv on wall so I compromised. I have no idea what to do with all the extra space on either side of the wall. My style I would say is old world, electic, traditional. Could you please offer suggestions. I’m also confused if both sides need the same exact item hanging on the wall. Could I do a decorative mirror on one side and a collage of artwork on the other. Do I hang distressed wooden panels on either side or tapestry…….help. This space kills me. I can’t stand the TV on the wall.its so cold. Thank you for any guidance you can offer.
Is this a topic you’ve often struggled with as well? If so, I have some great ideas + solutions.
Most homeowners have flat screen TVs that are only inches deep (I’m excluded from this bunch – we still have a big ole’ cumbersome TV in the living room). The minimal depth of these televisions allows for it to be functionally integrated without overwhelming the space. If designed right, the artwork, pictures, paintings, and/or wall decor that surrounds the TV on the wall can become just as important, or more important, than the TV. In turn, the TV ends up not being the dominant focal point of the room. It still functions the same, but doesn’t overtake.
Let’s dive into some design solutions…
Gallery walls are in. Gone are the days of 1 or 2 pictures on a huge wall. The size and number of pictures on a wall should be proportional with the wall height and width. The wall that is chosen for the TV is often the largest and/or longest in the space, so it should be filled.
One idea is to create an asymmetrical gallery wall, which is probably the easiest because there is no right or wrong. It allows for growth and it allows to incorporate what is most meaningful for you.
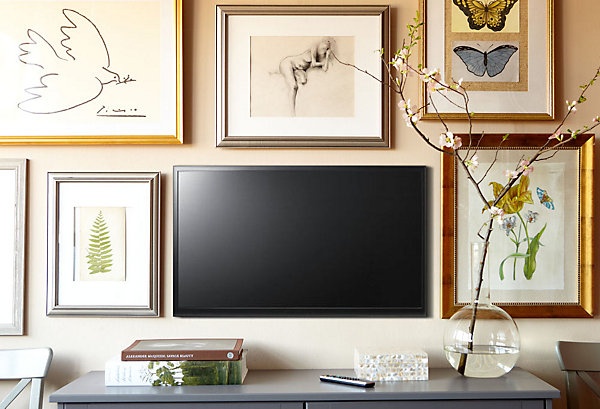 This TV gallery wall is surrounded by pictures and images in an array of sizes and frame finishes, which the eye is drawn to instead of the TV. via One Kings Lane
 Framed by two windows, this TV gallery wall is a great solution for incorporating a TV into a living room space. A mix of black and white artwork in black or white frames, are set behind the TV which is atop of a white dresser. via Emily Clark
 Another idea for a TV wall is this eclectic asymmetrical composition that displays collected art and a vintage lamp along with the wall-mounted TV. Incorporating an element larger than the TV steers the eye away from the “black-hole” and instead allows it to focus on the other elements – the lamp + artwork.
Another idea to take away – Because many of the other elements on the wall are black, your eye is tricked into not focusing on the TV. From the black lampshade to the black frames (some with black matting) to the black and white artwork + photos, so the TV actually looks like another piece of dimensional art. via The Hunted Interior
![]() Slightly different than the above examples, this TV gallery wall is fairly symmetrical. The wall-mounted TV is centered on the console and the pictures / artwork are “bookmatched” on each side (for the most part). Other interesting elements, like the animal horns, surround the black and white frames and bring an added dimension to the wall.
Slightly different than the above examples, this TV gallery wall is fairly symmetrical. The wall-mounted TV is centered on the console and the pictures / artwork are “bookmatched” on each side (for the most part). Other interesting elements, like the animal horns, surround the black and white frames and bring an added dimension to the wall.
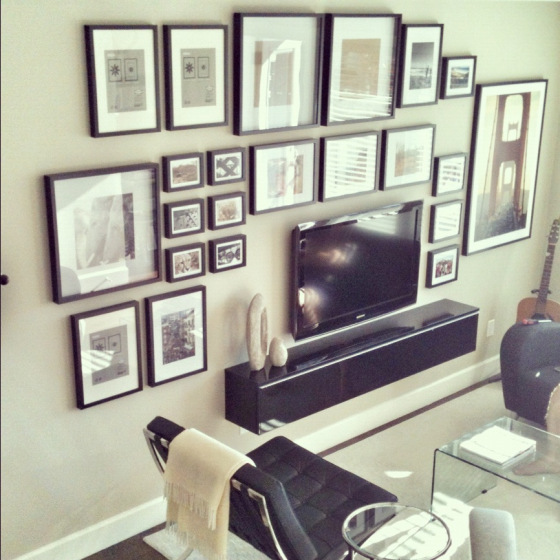
 Completely different than the examples above, this TV is wall-mounted and is surrounded by perfectly symmetrical black and white pictures in black frames. It truly is an art gallery. This wall created by Brooklyn Limestone shows all the steps of how she created it, plus a video on the progress. It is definitely one to watch.
 No matter the size or configuration of a space, a TV can always (well 99% of time) somehow be incorporated. In this narrow living room, the TV is set off to the side and sits on top of a dresser / console table. It’s tucked out of the way, not making it the focal point. Above is a picture that is even larger than the TV, which draws the eye up instead of at the black box. via La Dolce Vita
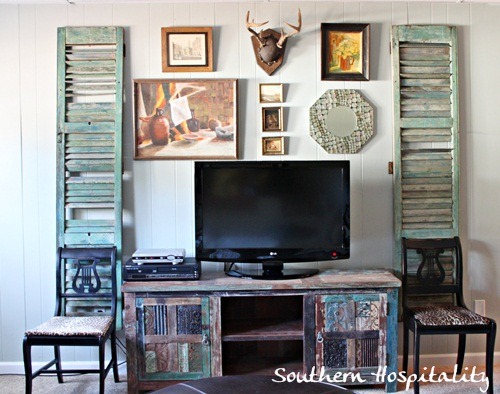 The space around the TV doesn’t have to be only for pictures, but displaying other wall decor, like shutters, mirrors, or general wall art, is a great opportunity to create an interesting and unusual composition. via Southern Hospitality
 Going the minimal direction, the television in this space sits on top of a black lacquered console table and is pushed to one side allowing space for a large lamp and other accessories. the wall space around is kept fairly bare, but interesting. via The Little Green Notebook
 Again, going back to a symmetrical look, the TV in this room sits on a smaller dresser and behind are two larger painting, then 2 more smaller styles on each side. Two ghost chairs sit in front allowing for the art to speak”, yet still making an architectural statement. via Maple + Shade
 Larger artwork behind the flat screen TV can make just as much, or even more, of an impact as smaller pictures / photos. via Apartment Therapy
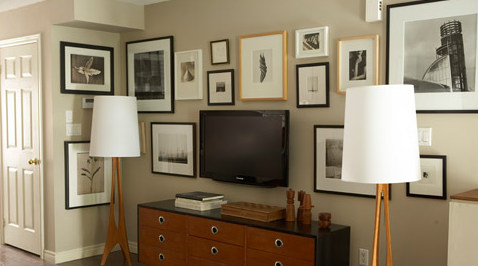
 Another great TV gallery wall designed by Kristin of The Hunted Interior, showcases the television set off to the side with framed black and white photos around. A large white lamp with black shade sits forward of the TV allowing it to be the focal point.
 An asymmetrical gallery of black and white photos surround this TV mounted on the wall. To the sides sit two large floor lamps bringing height to the space. via HGTV
How to Create a TV Gallery Wall in your Home
So how can you incorporate these ideas into your own home? It takes time, planning, and a layout. Gallery walls don’t come together as easy or as quickly as hanging a simple picture on the wall. BUT, a gallery wall can make a huge impact that will be far worth a single photo.
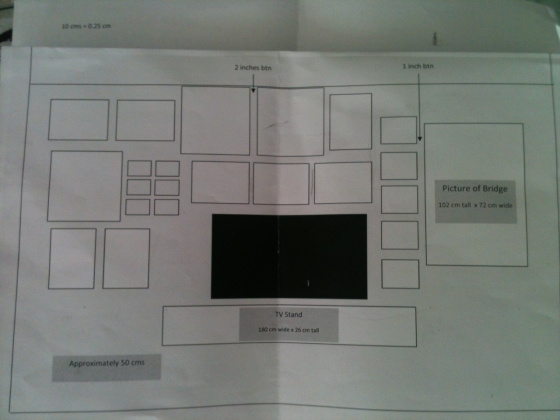
When the DIYer over at Tasty n’ Chic took on the endeavour of a new gallery wall, she created several plans and layouts before deciding on what worked best. She used a computer program to create the ideal layout, but you can also use craft paper or wrapping paper (outline the sizes of your frames), or layout the frames on the floor (that’s what I do to get the exact plan).
Here is her drawing…
And then the result…
I hope I’ve provided my reader Christina + all of you with some interesting and creative ideas + inspiration for what to do behind the TV. I still have my humungous TV behind doors, but have had ideas and thoughts of upgrading.
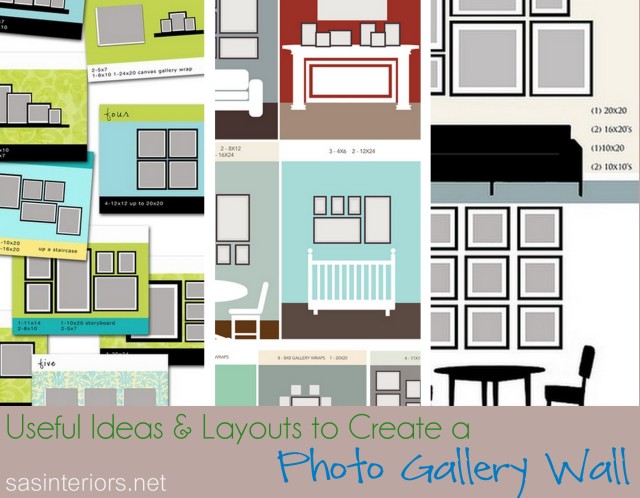
If you’re looking for useful ideas and layouts to create a photo gallery wall, check out this post {click here}
Good Luck with your TV wall creation!


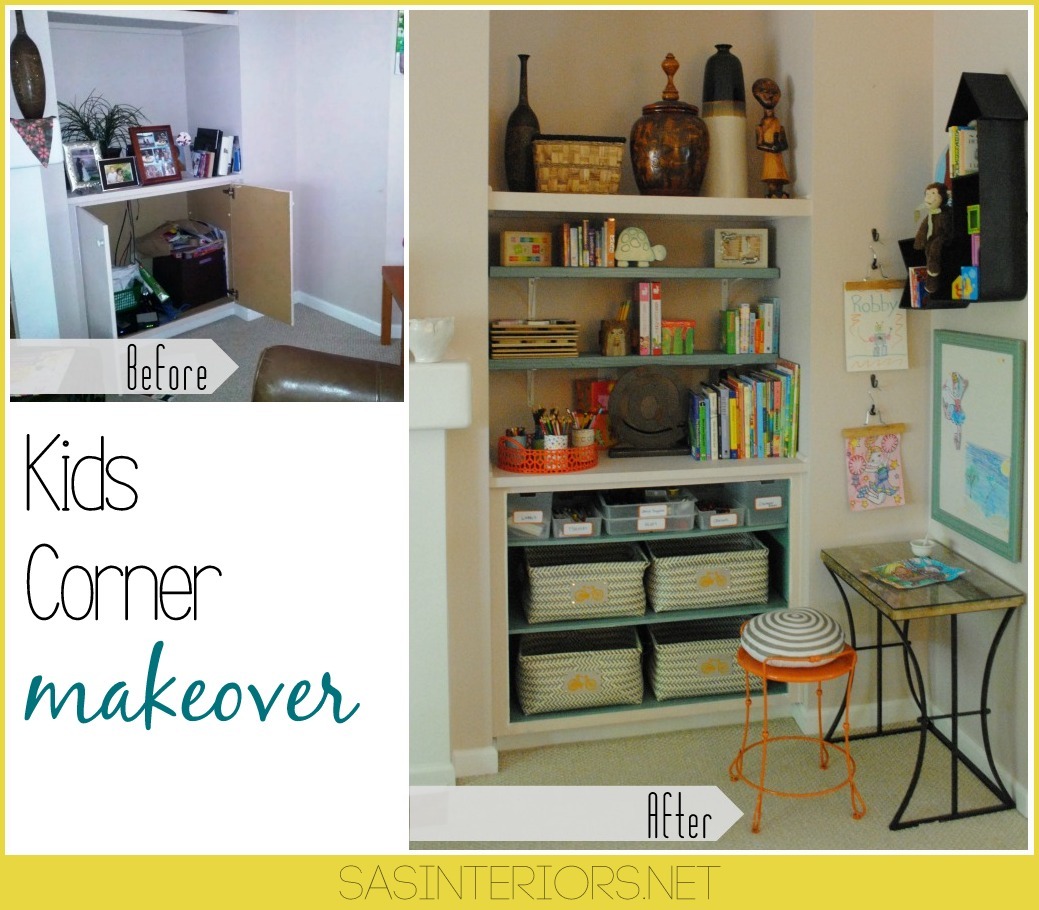


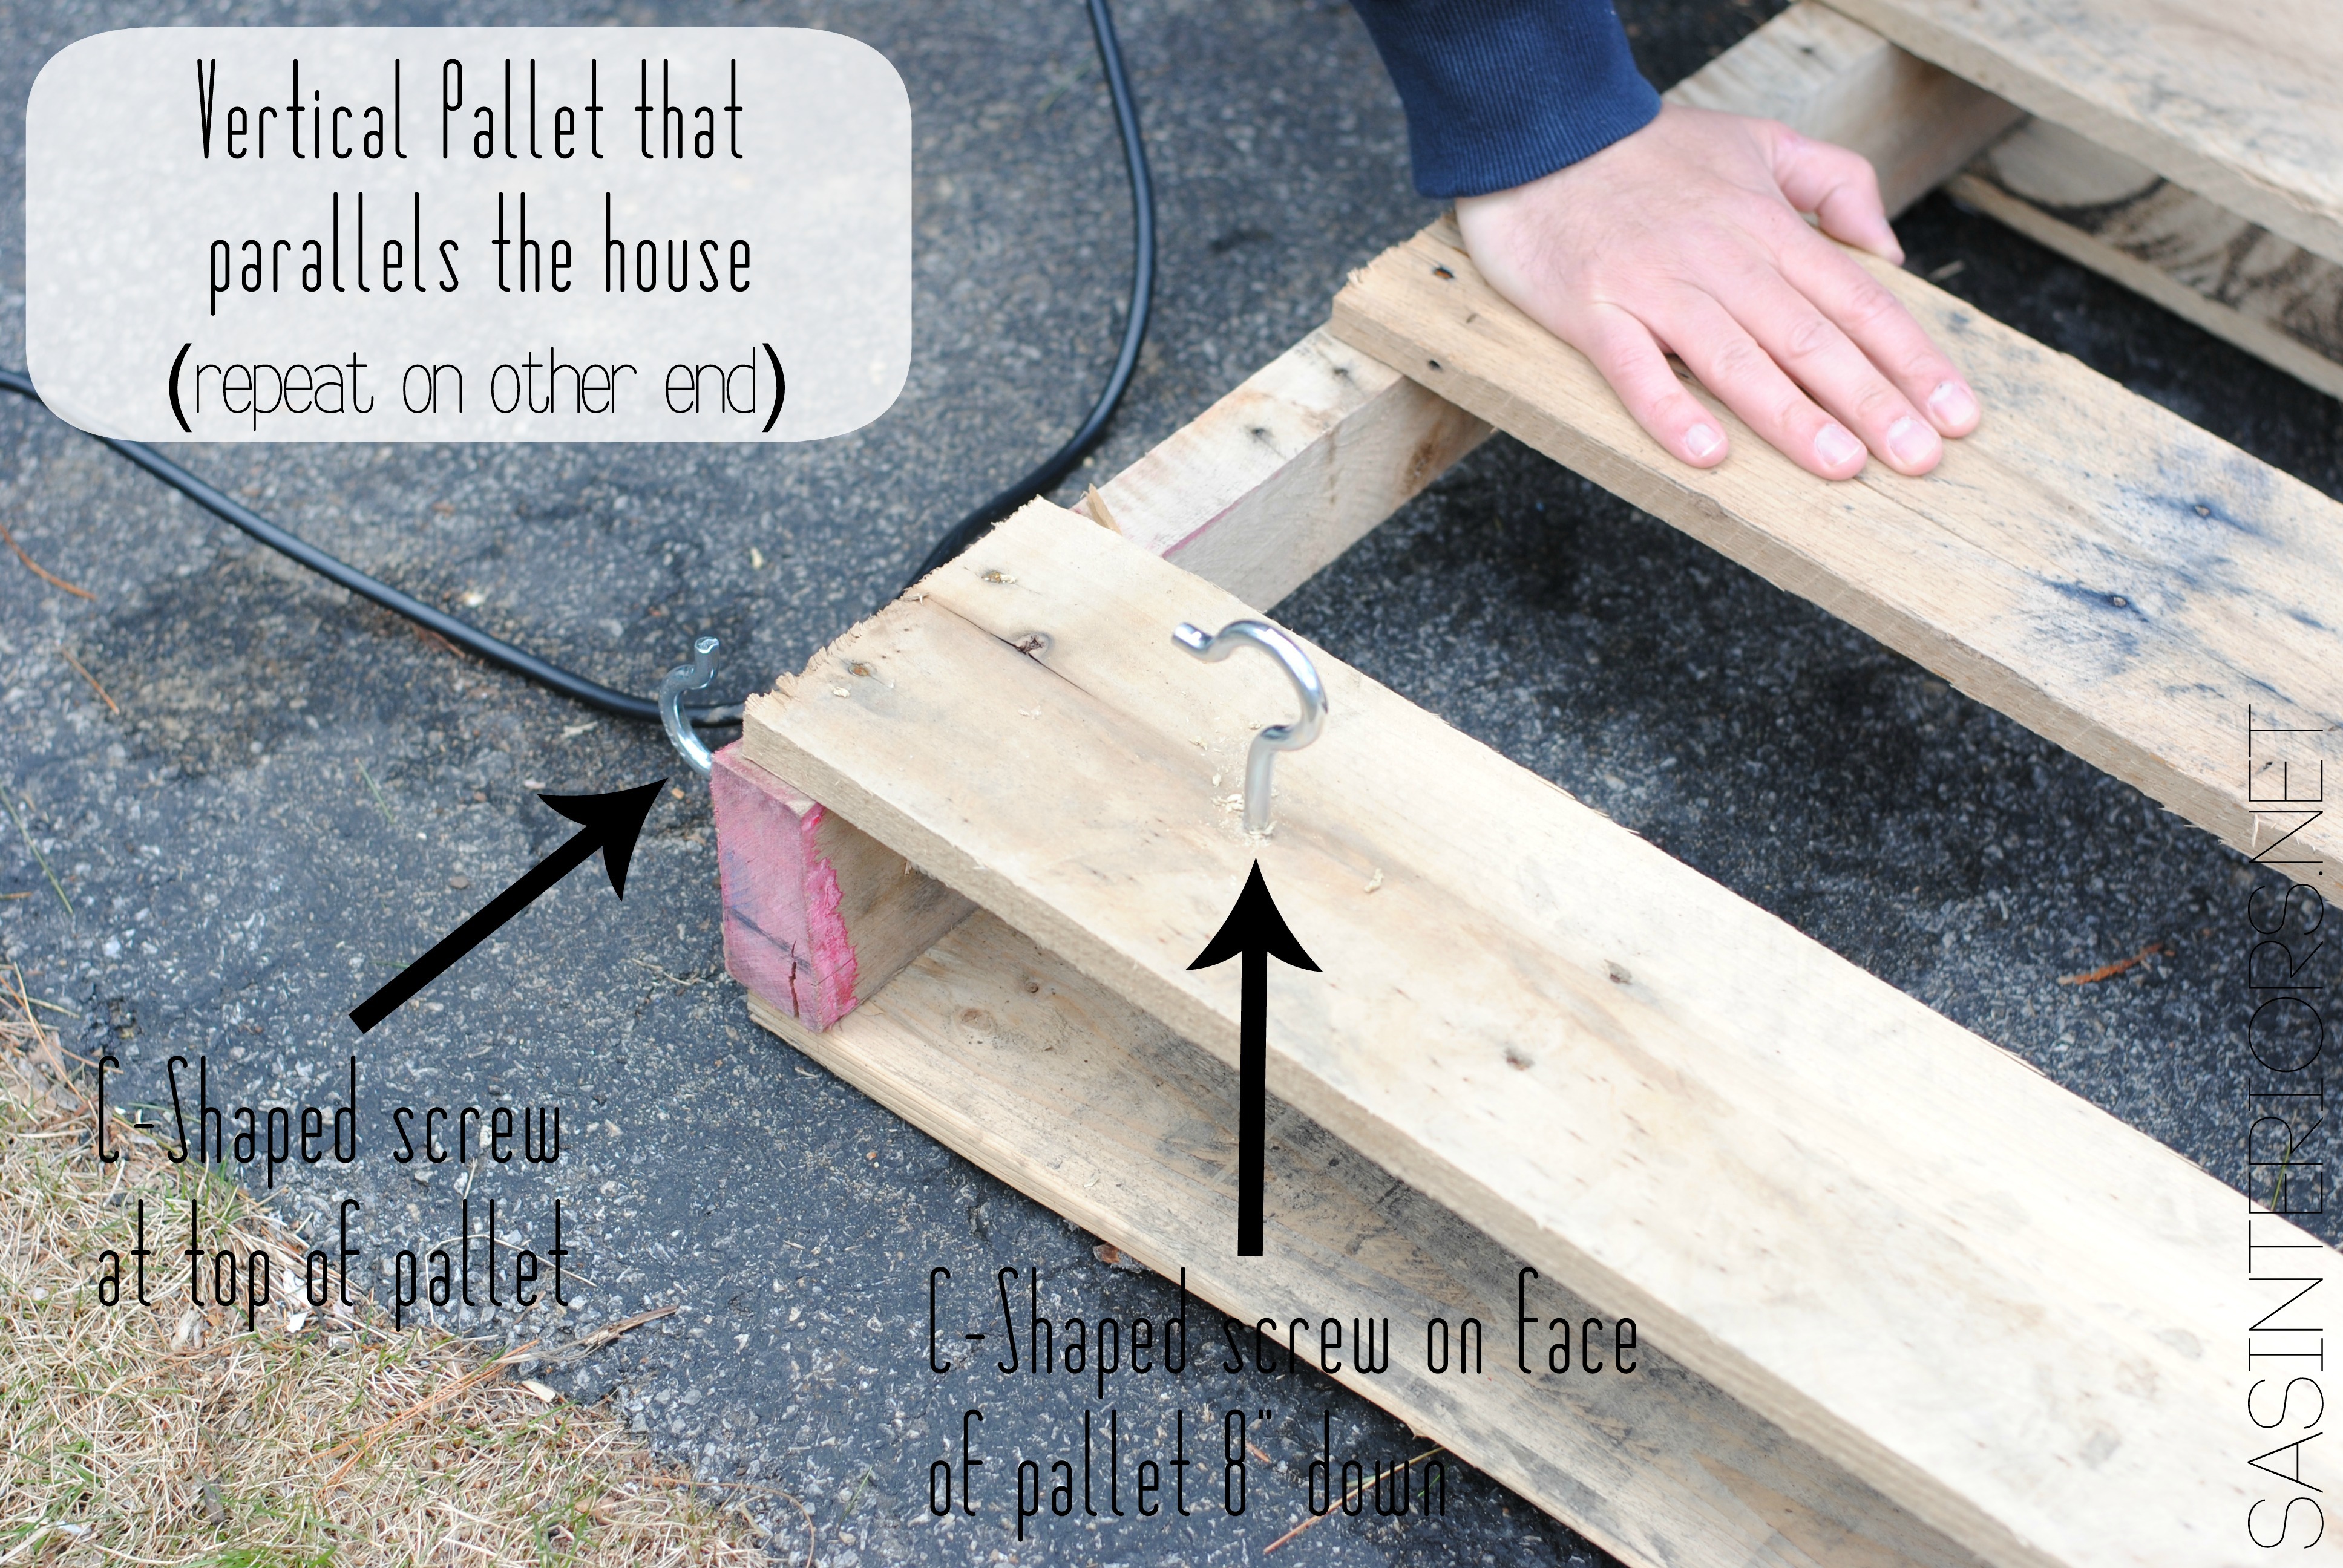
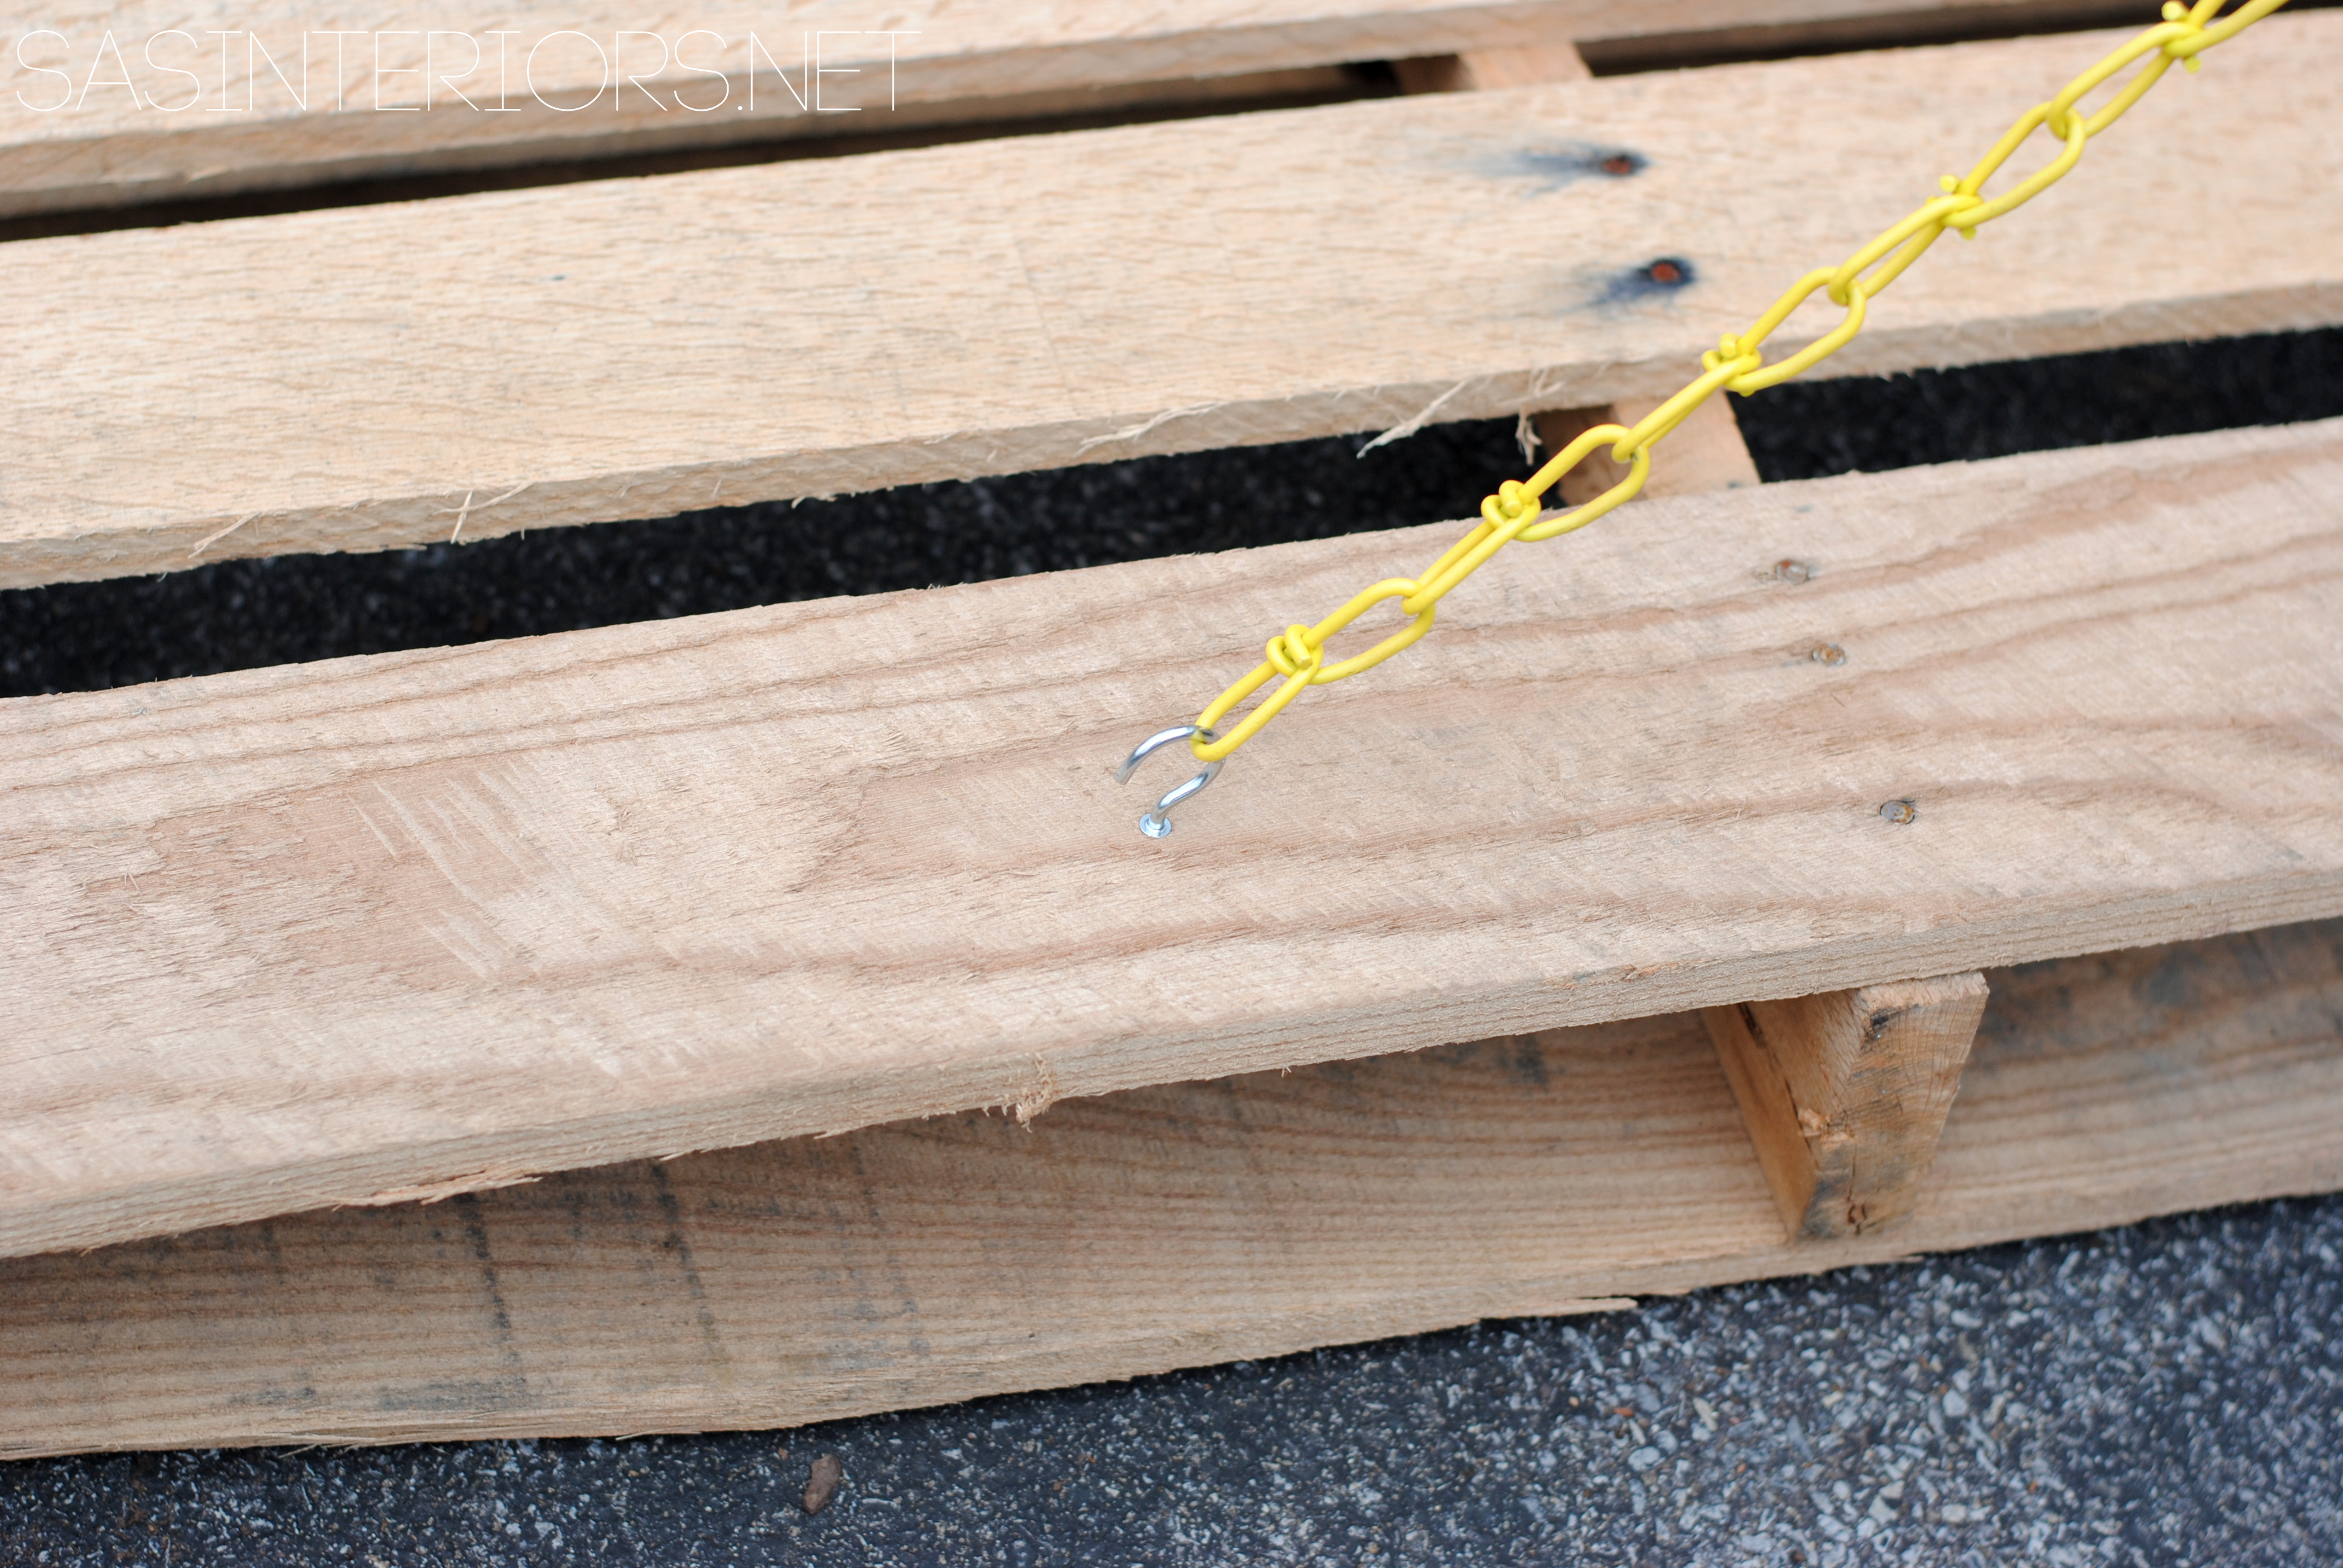


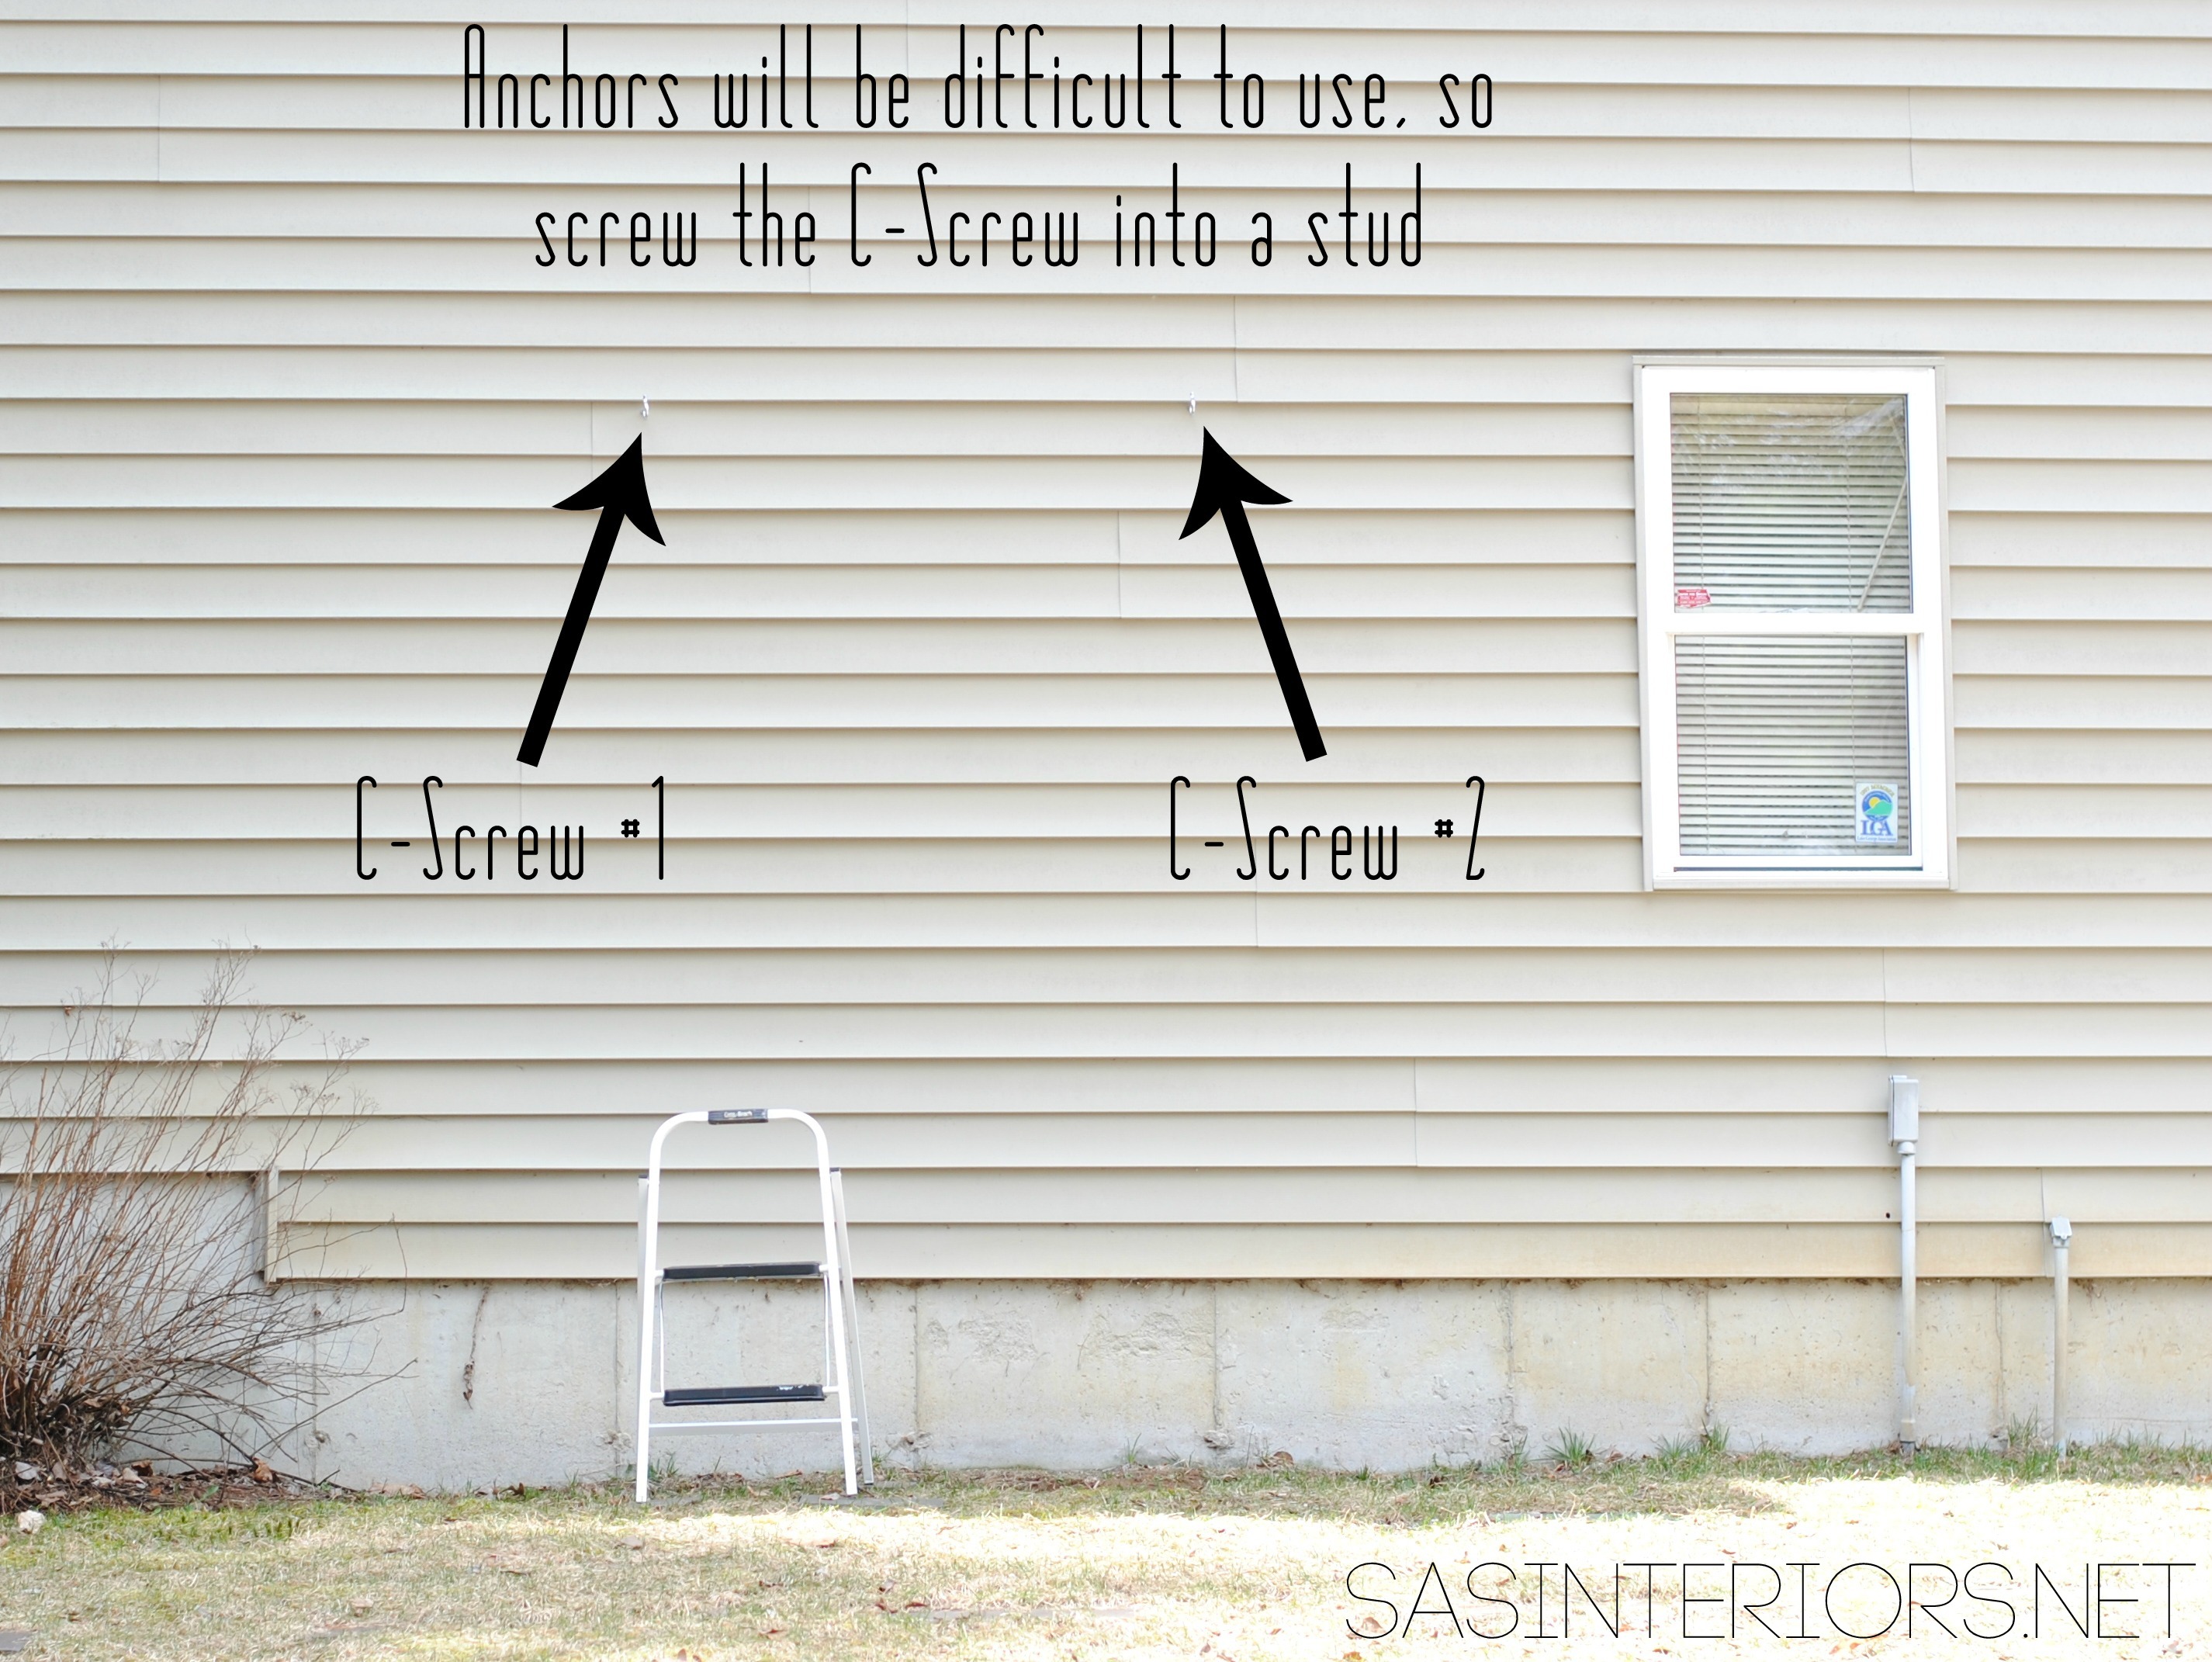
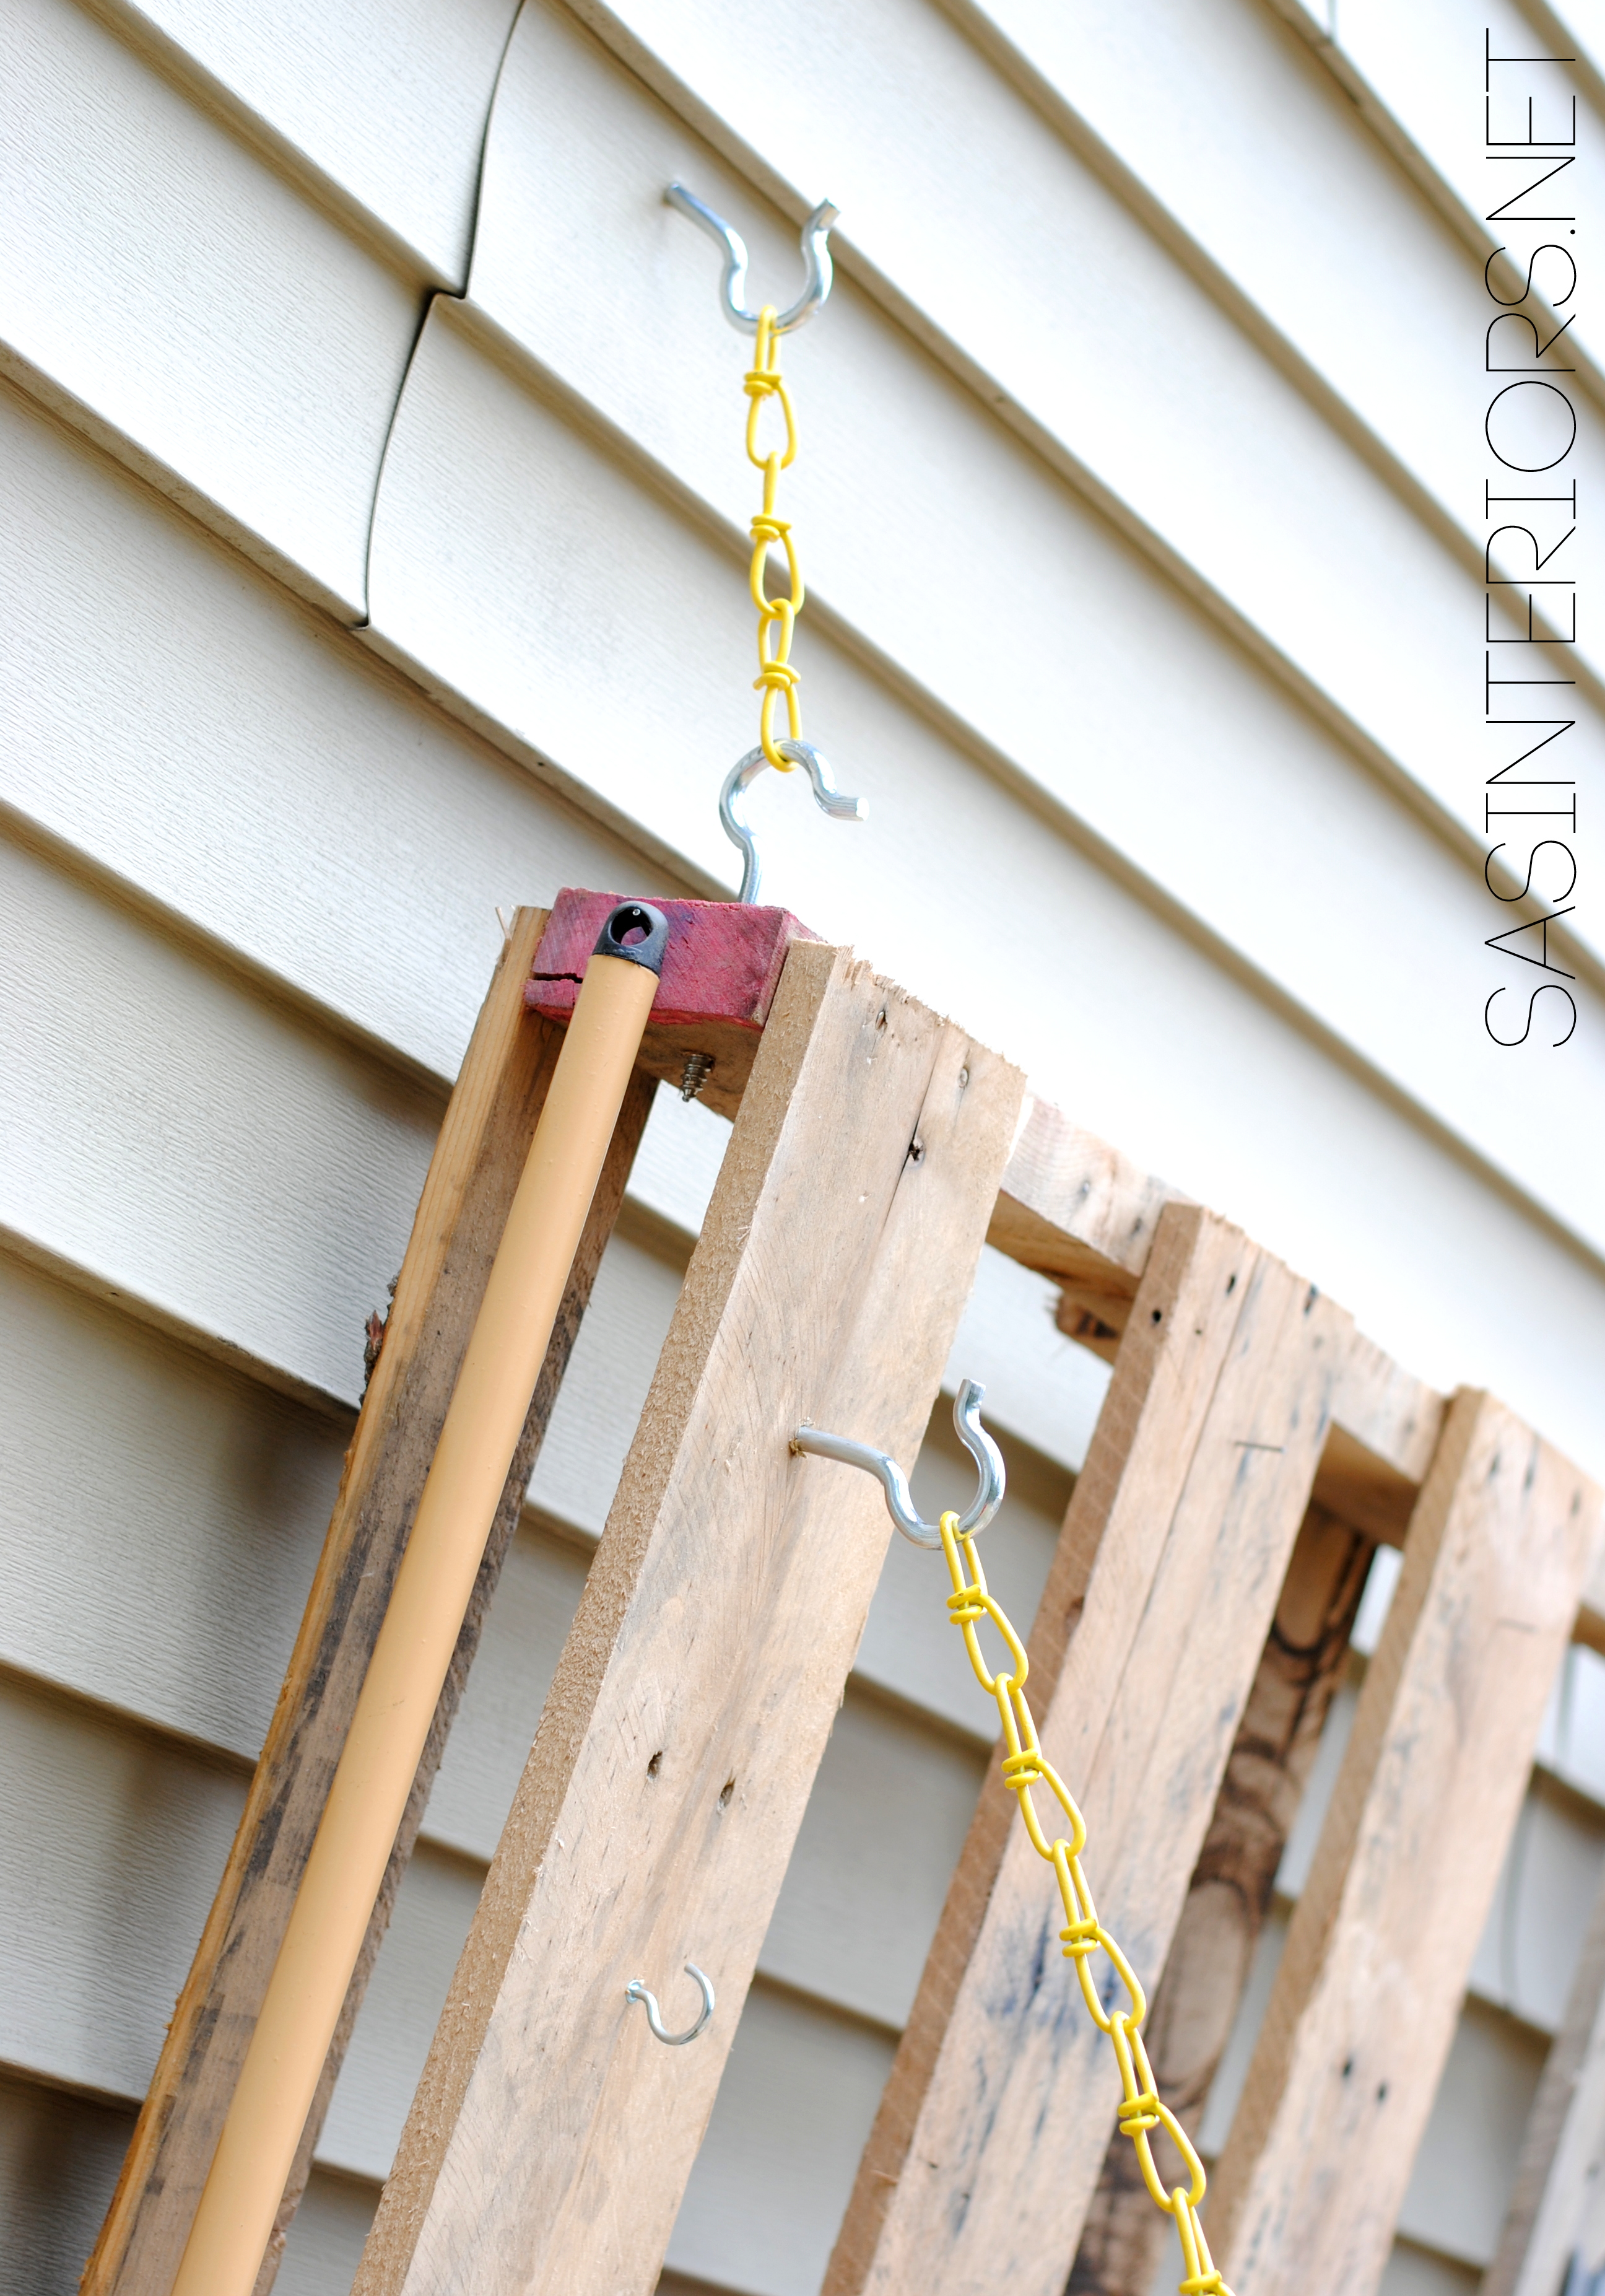

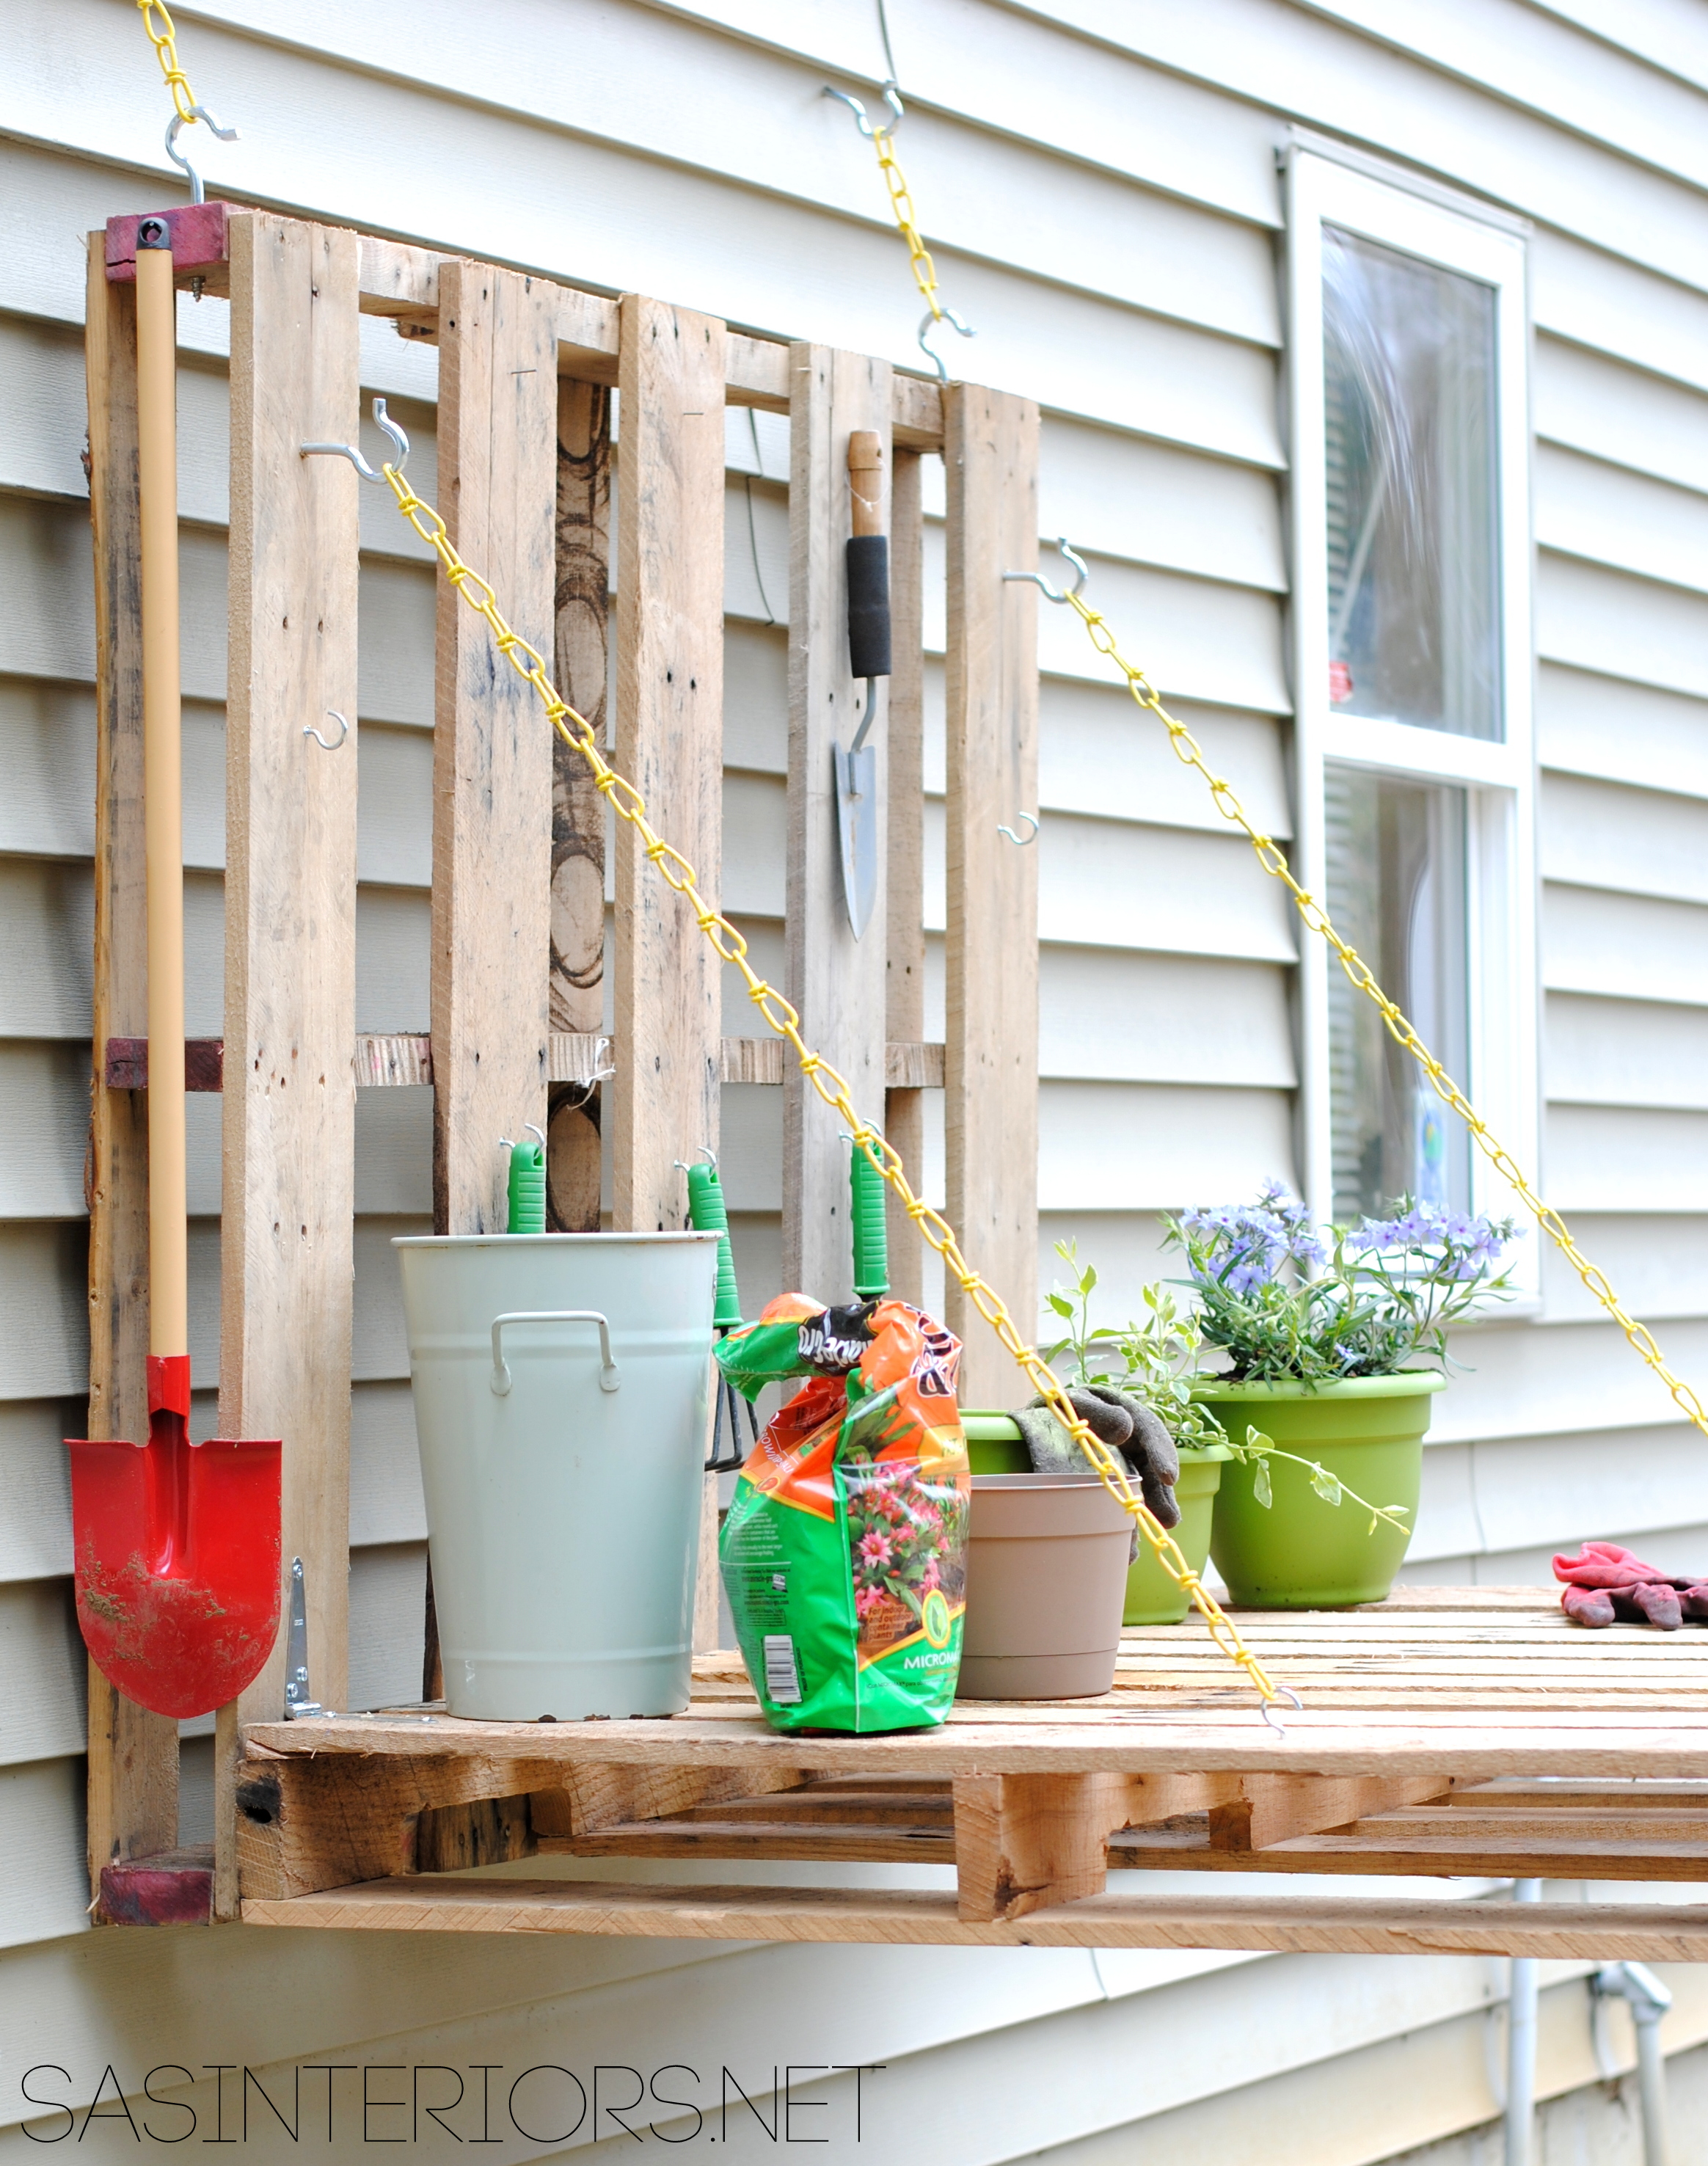
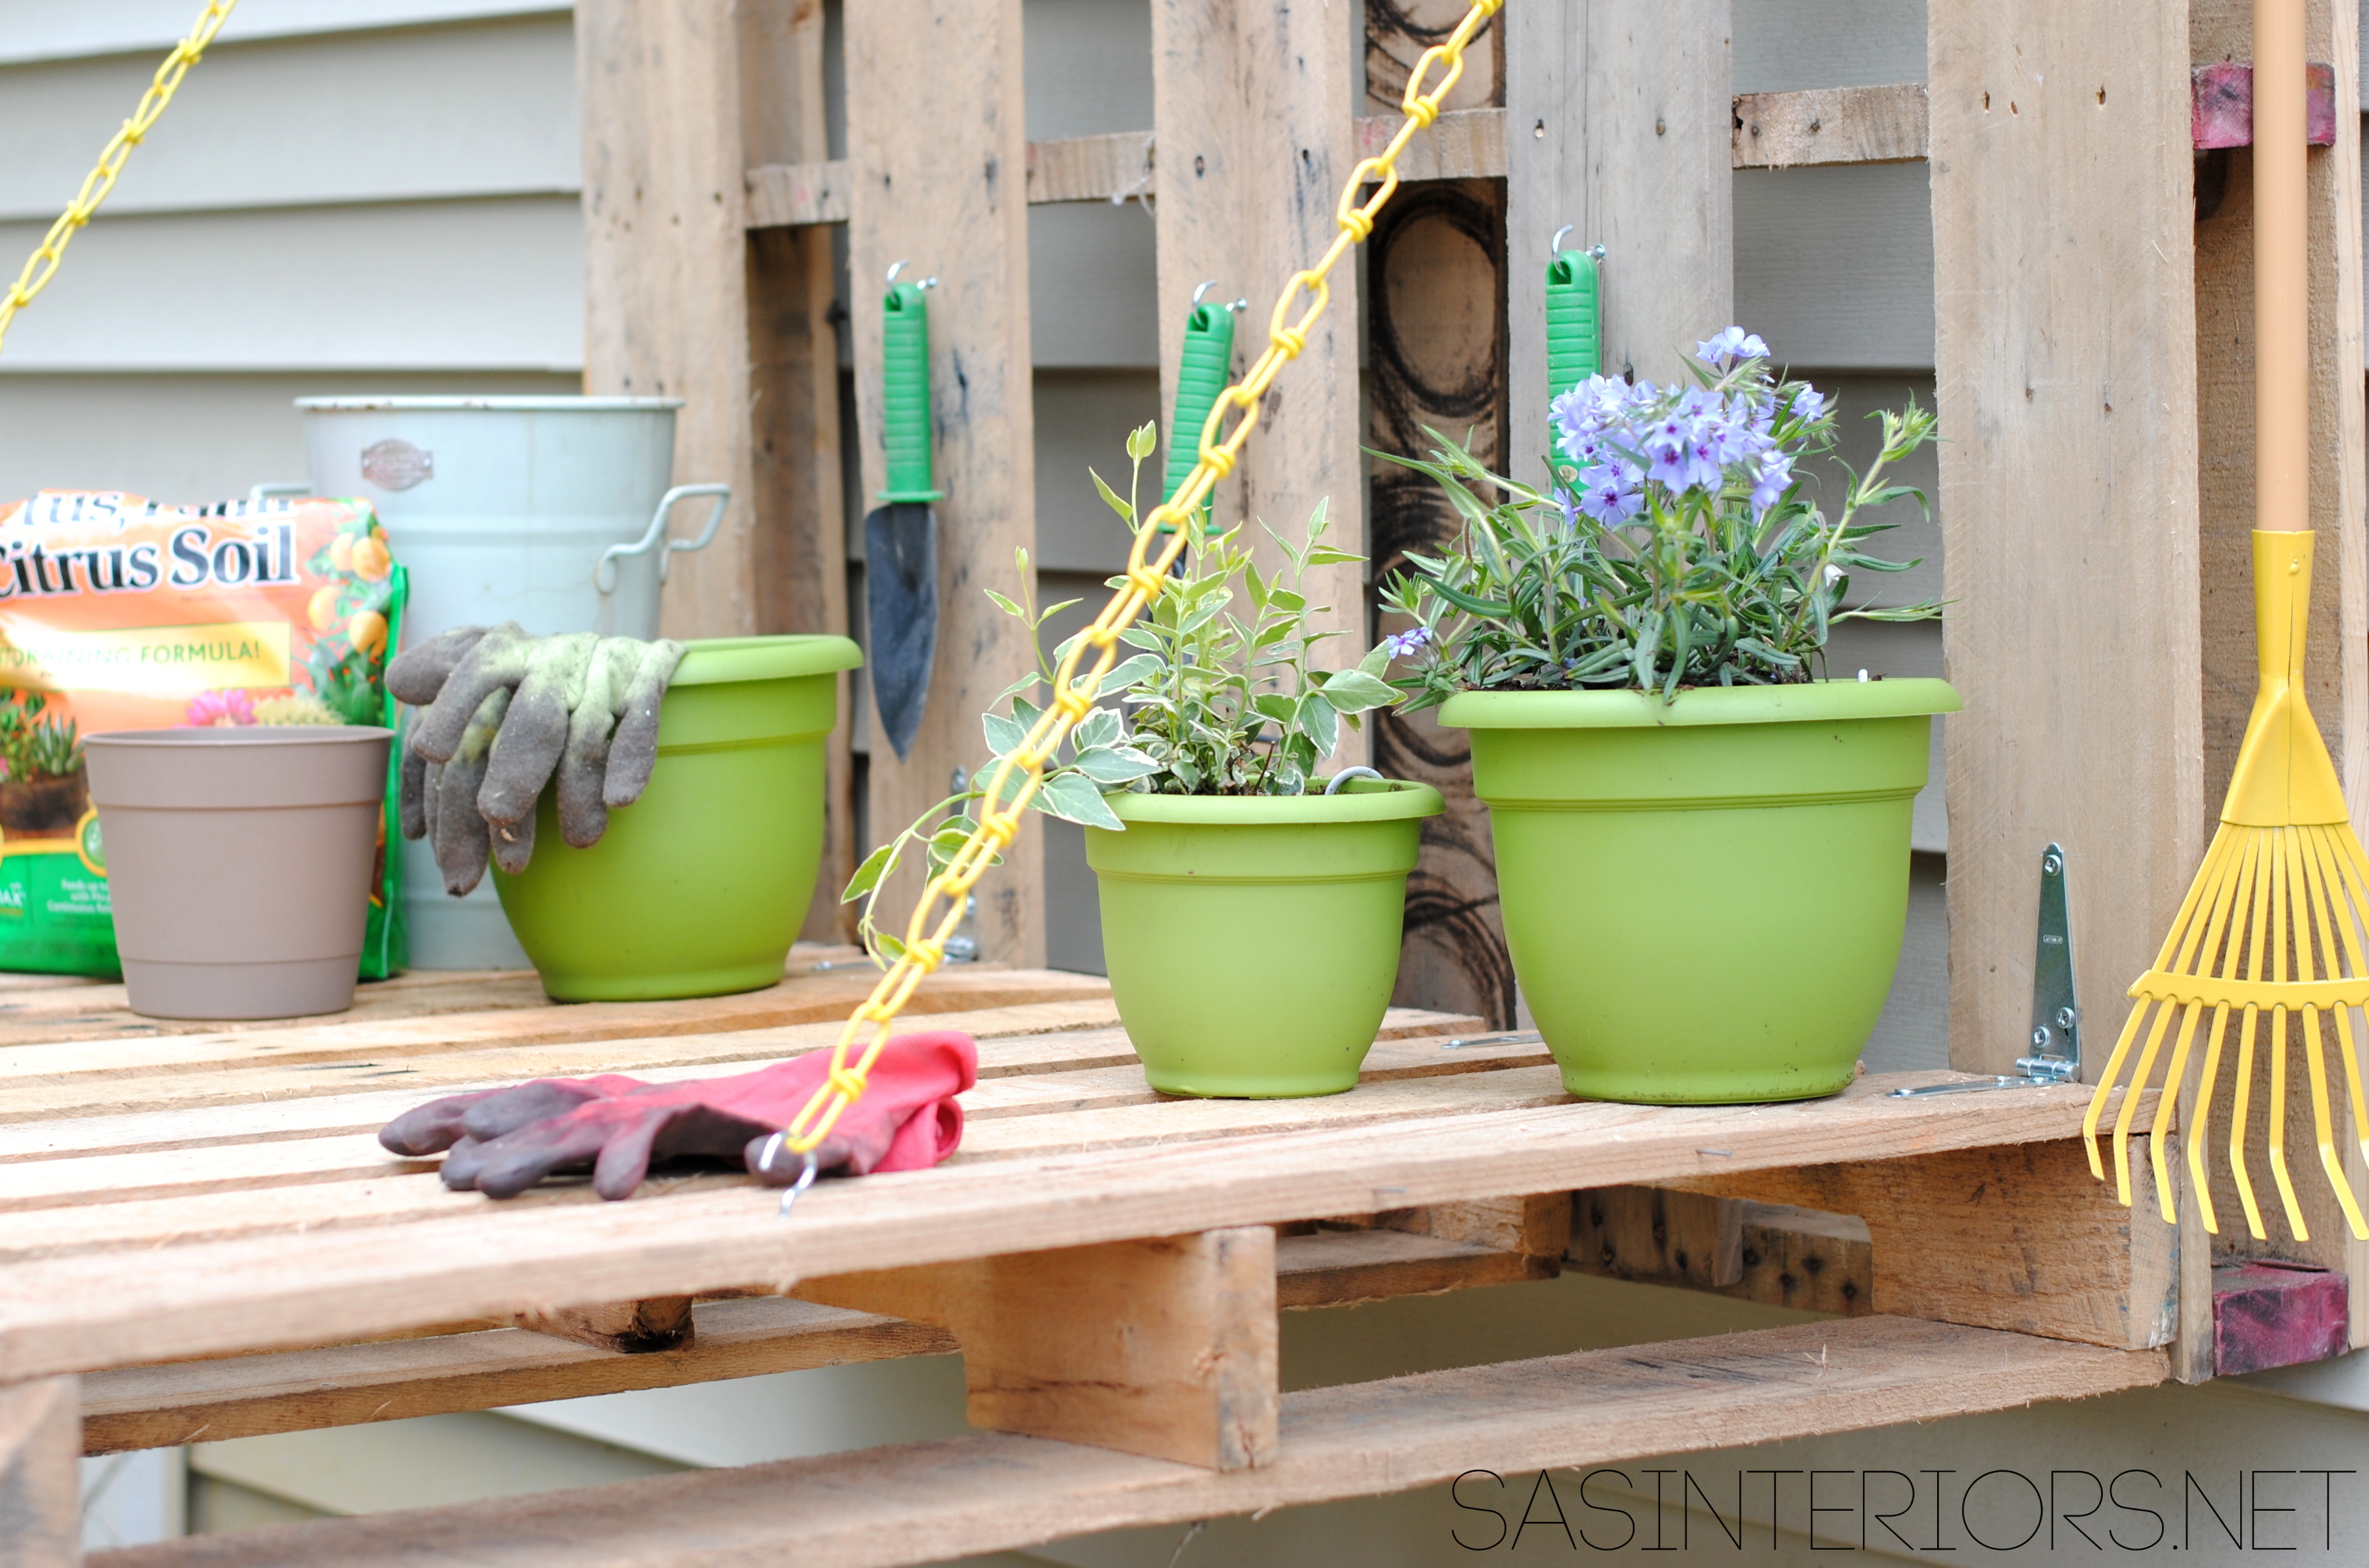


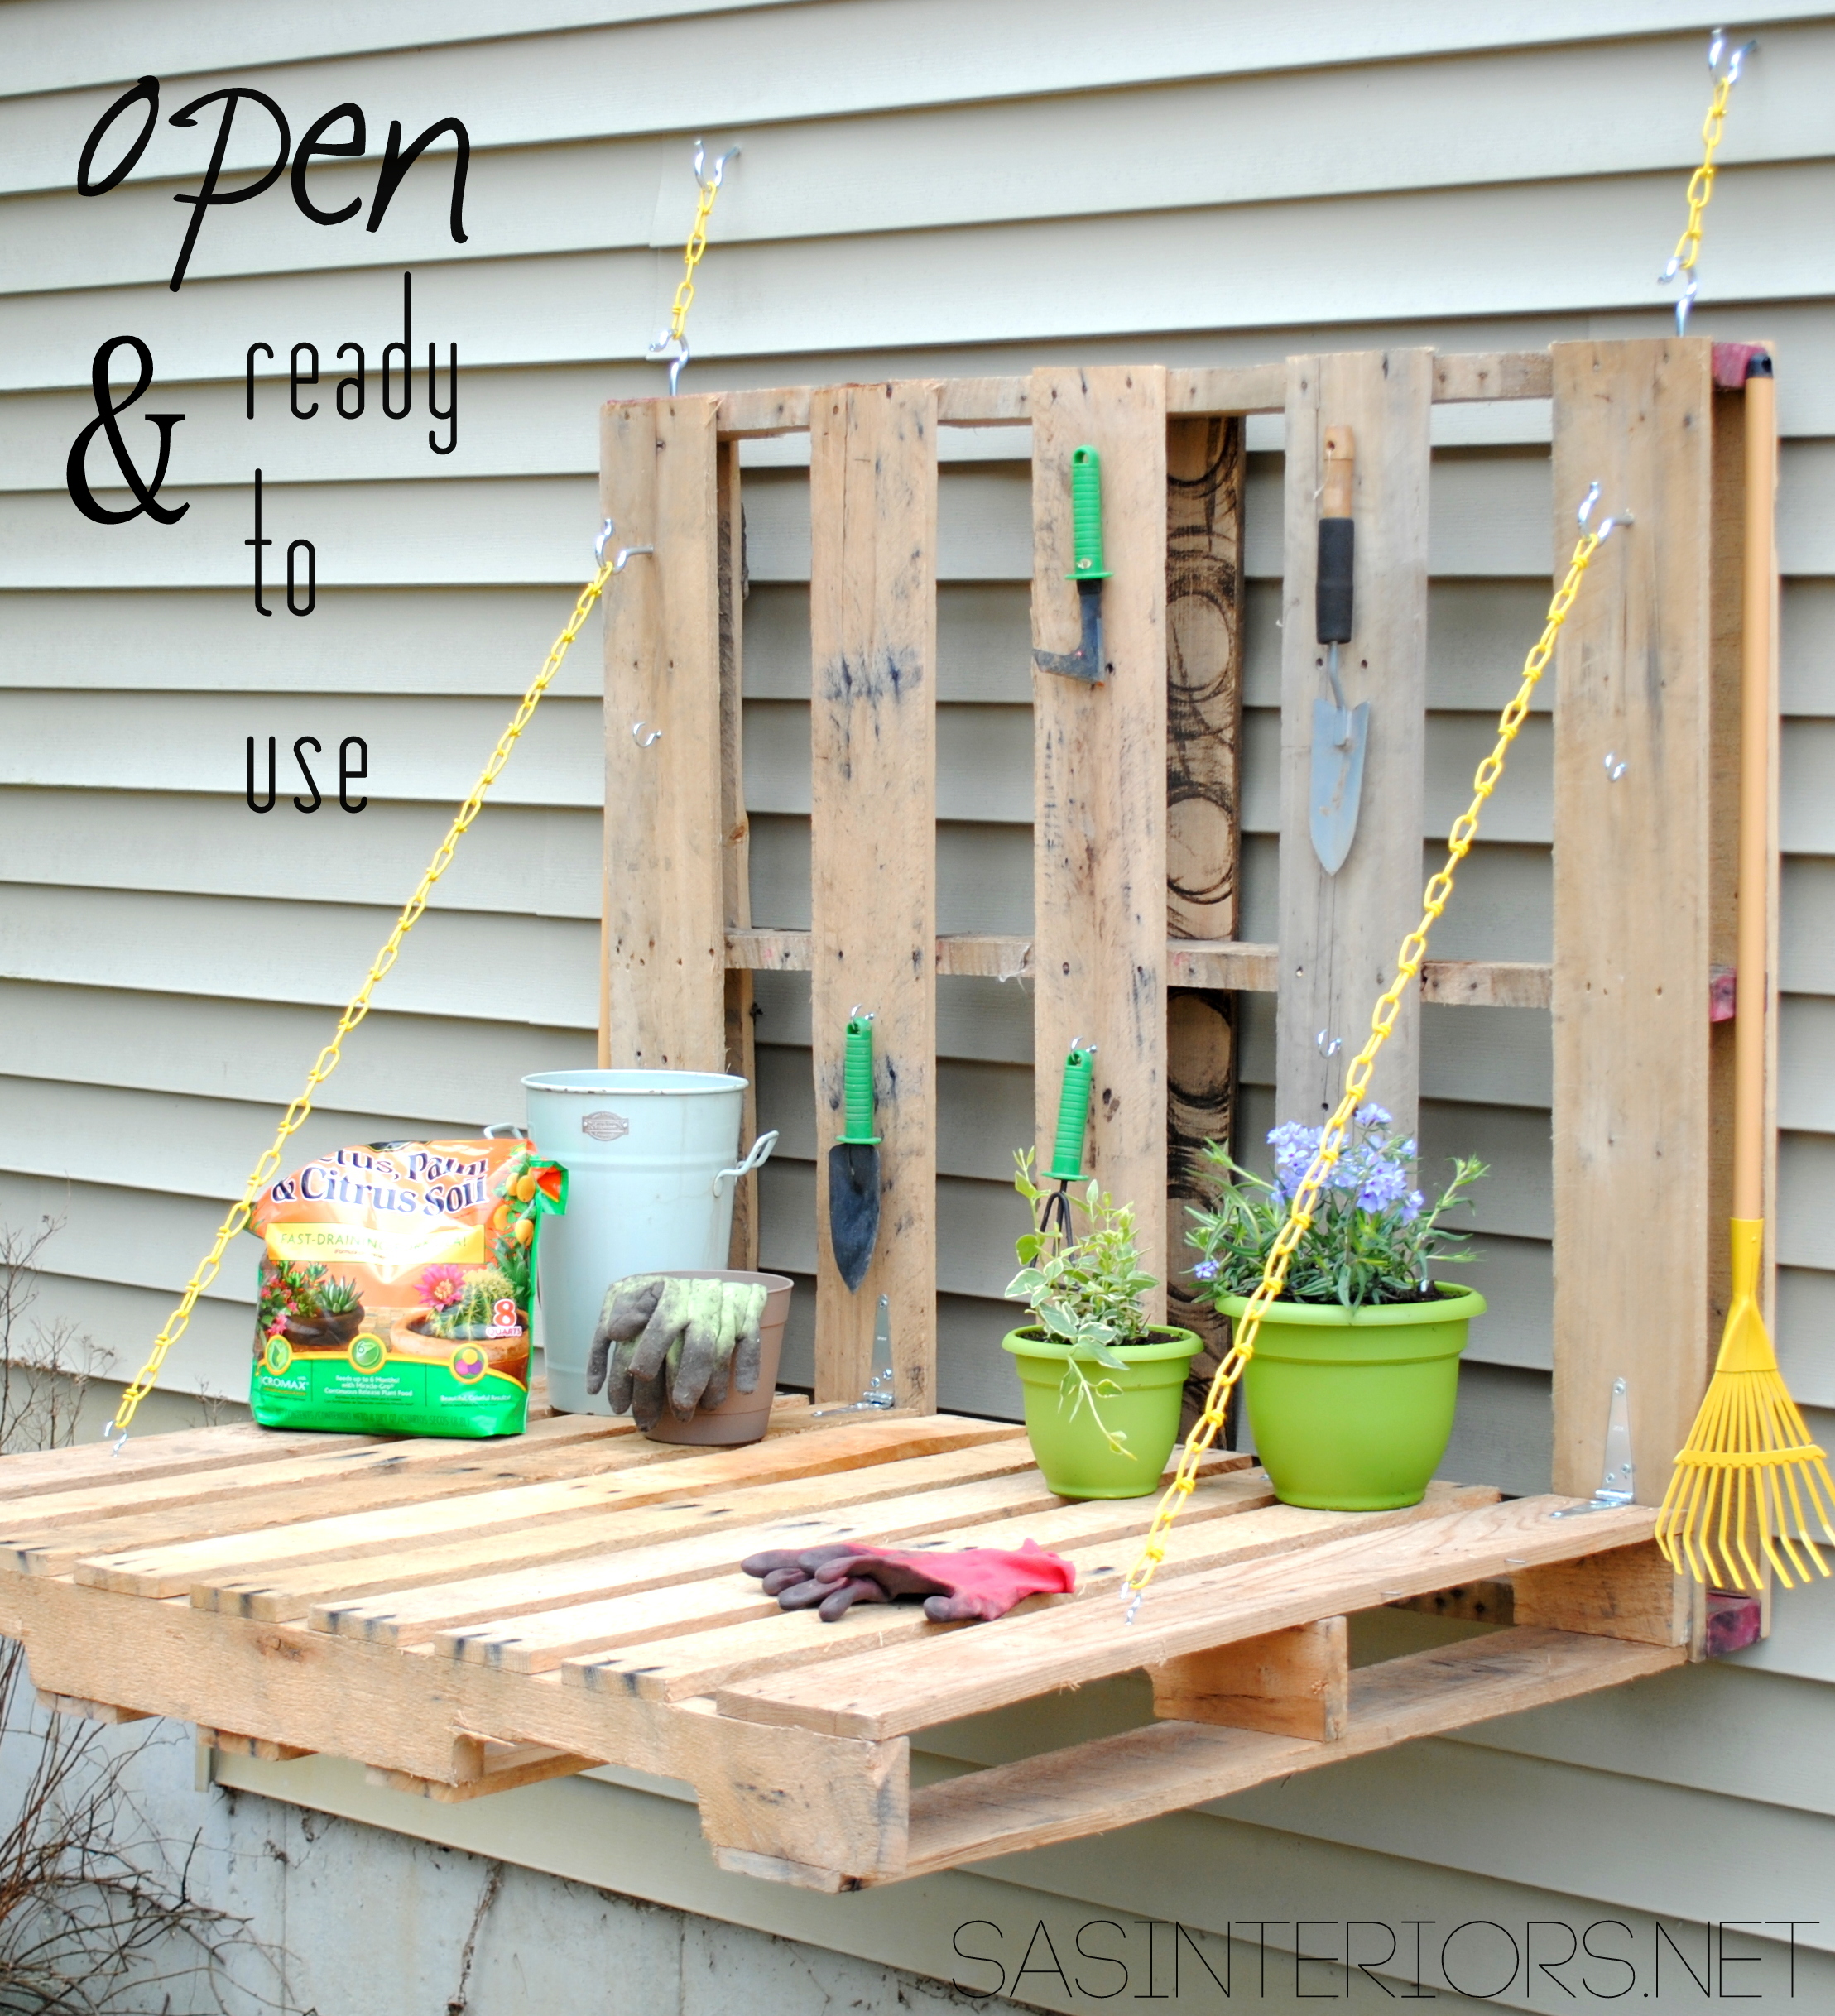


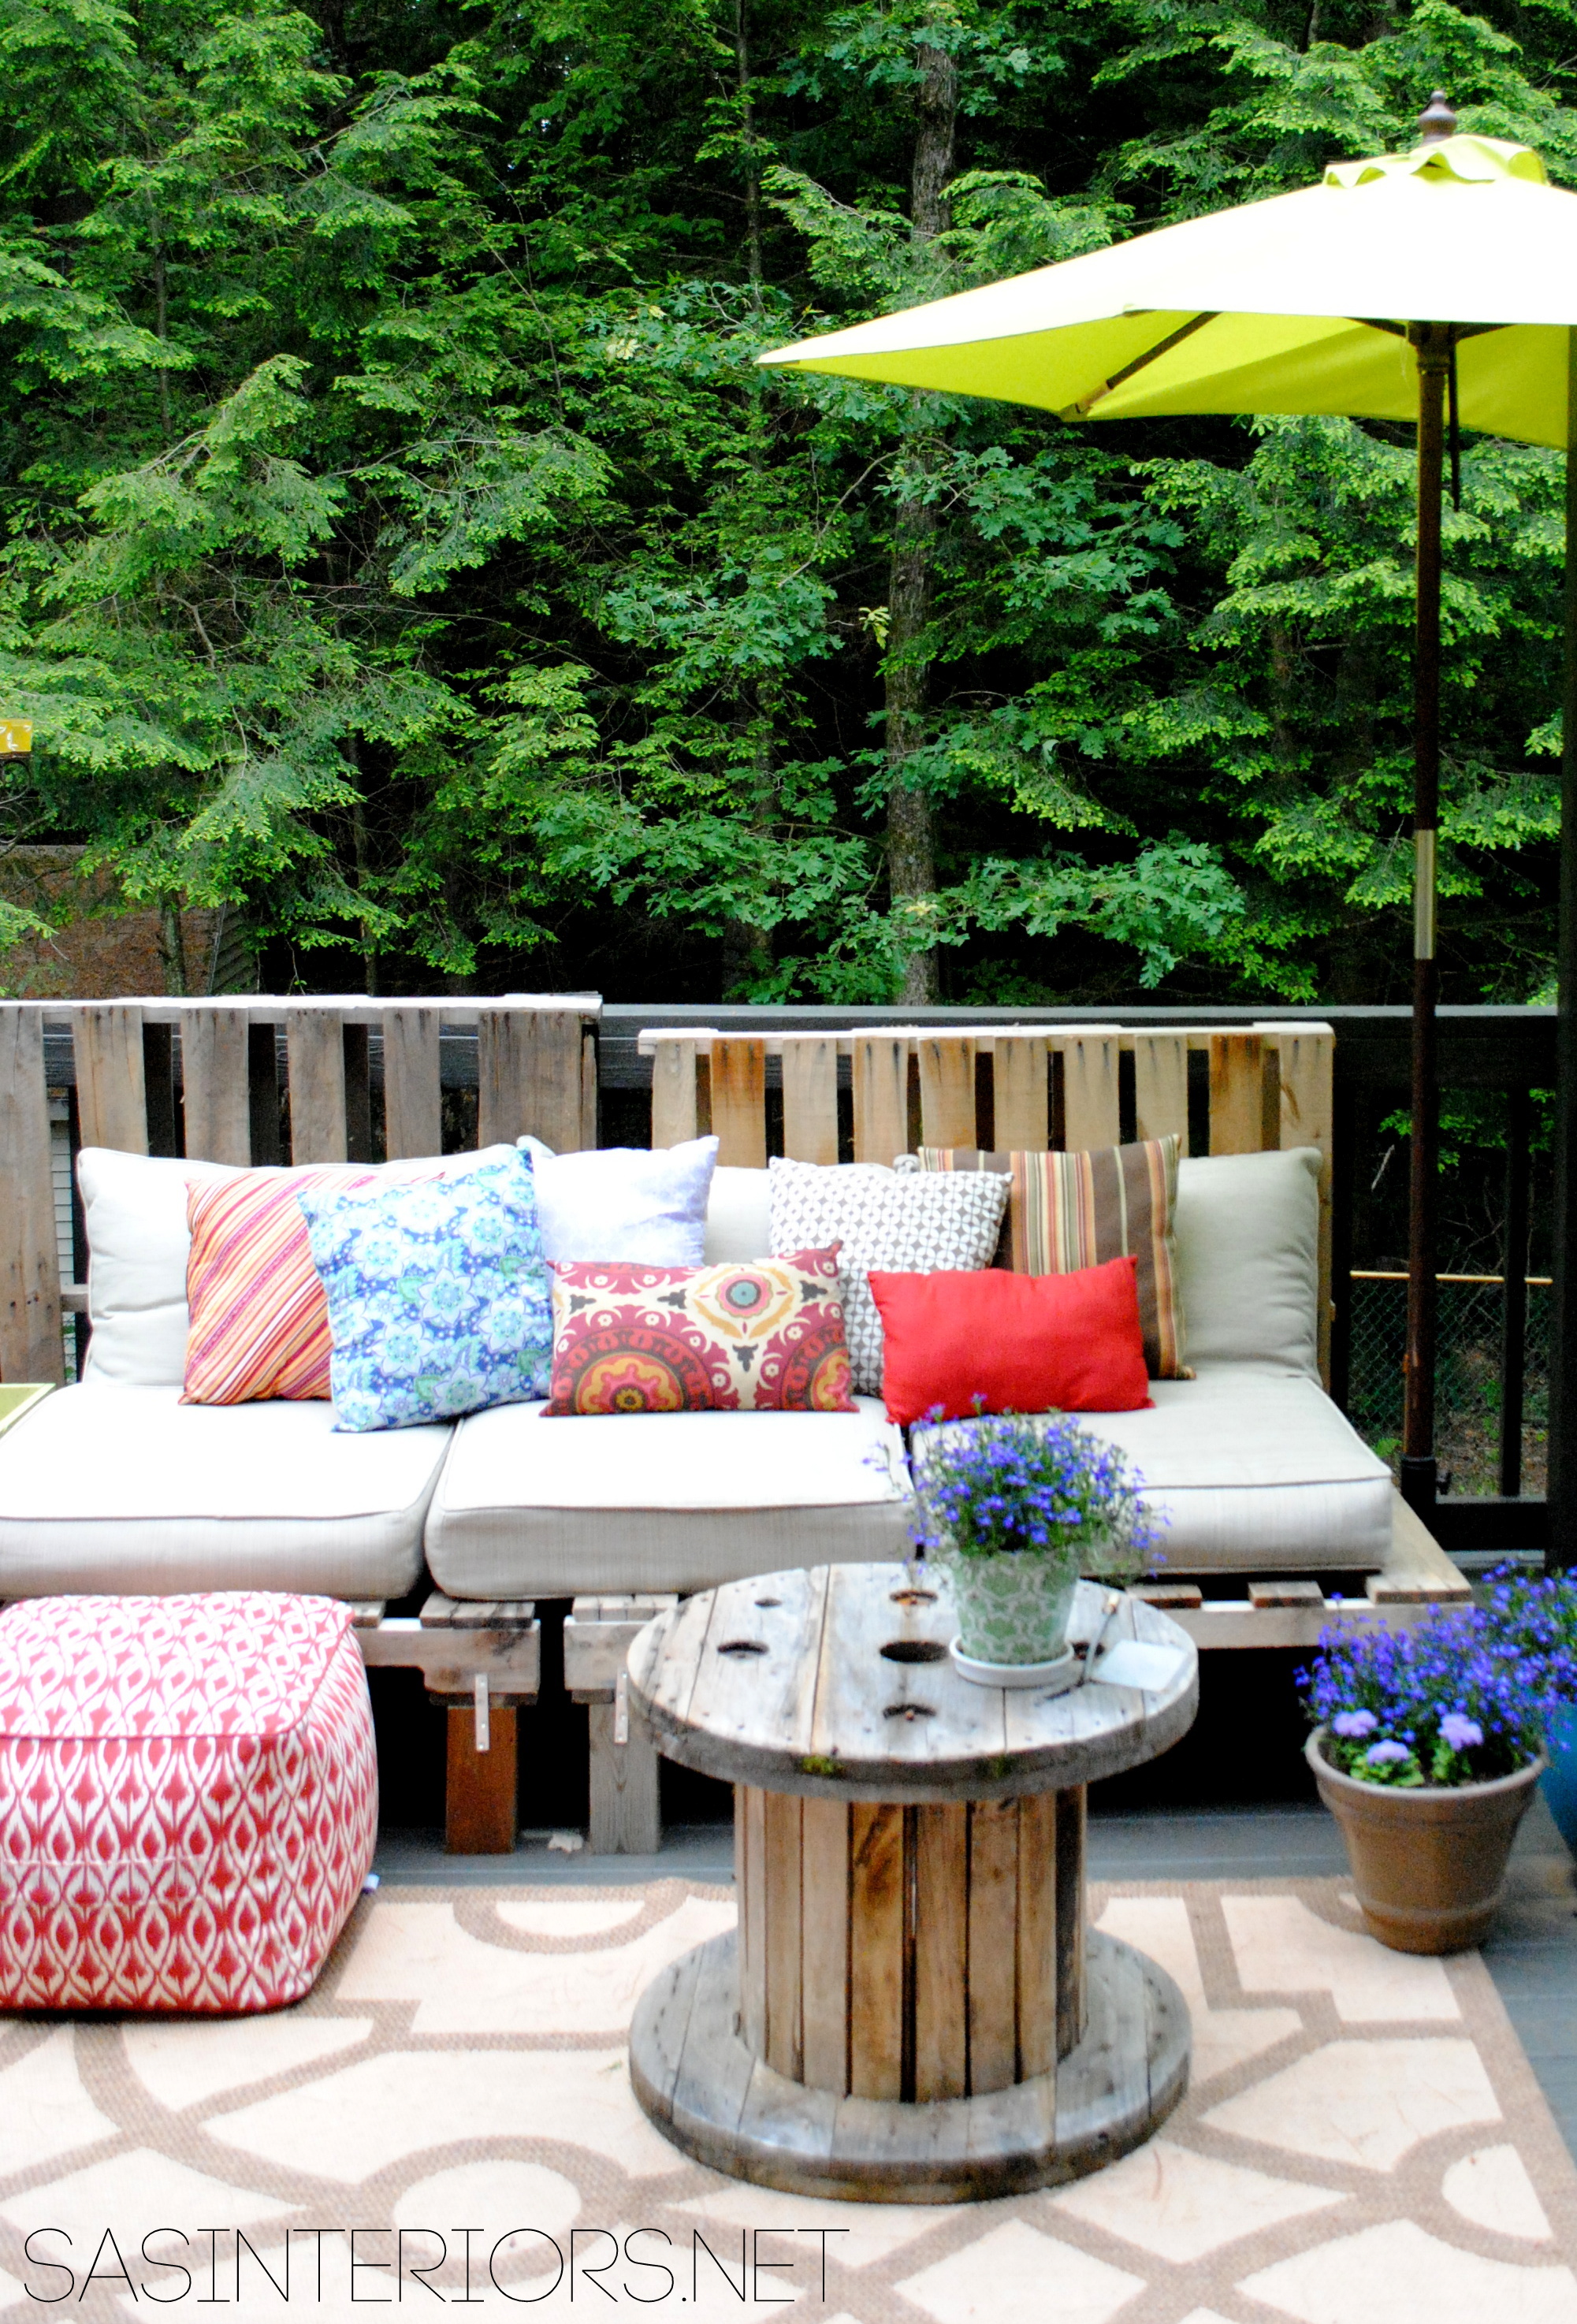
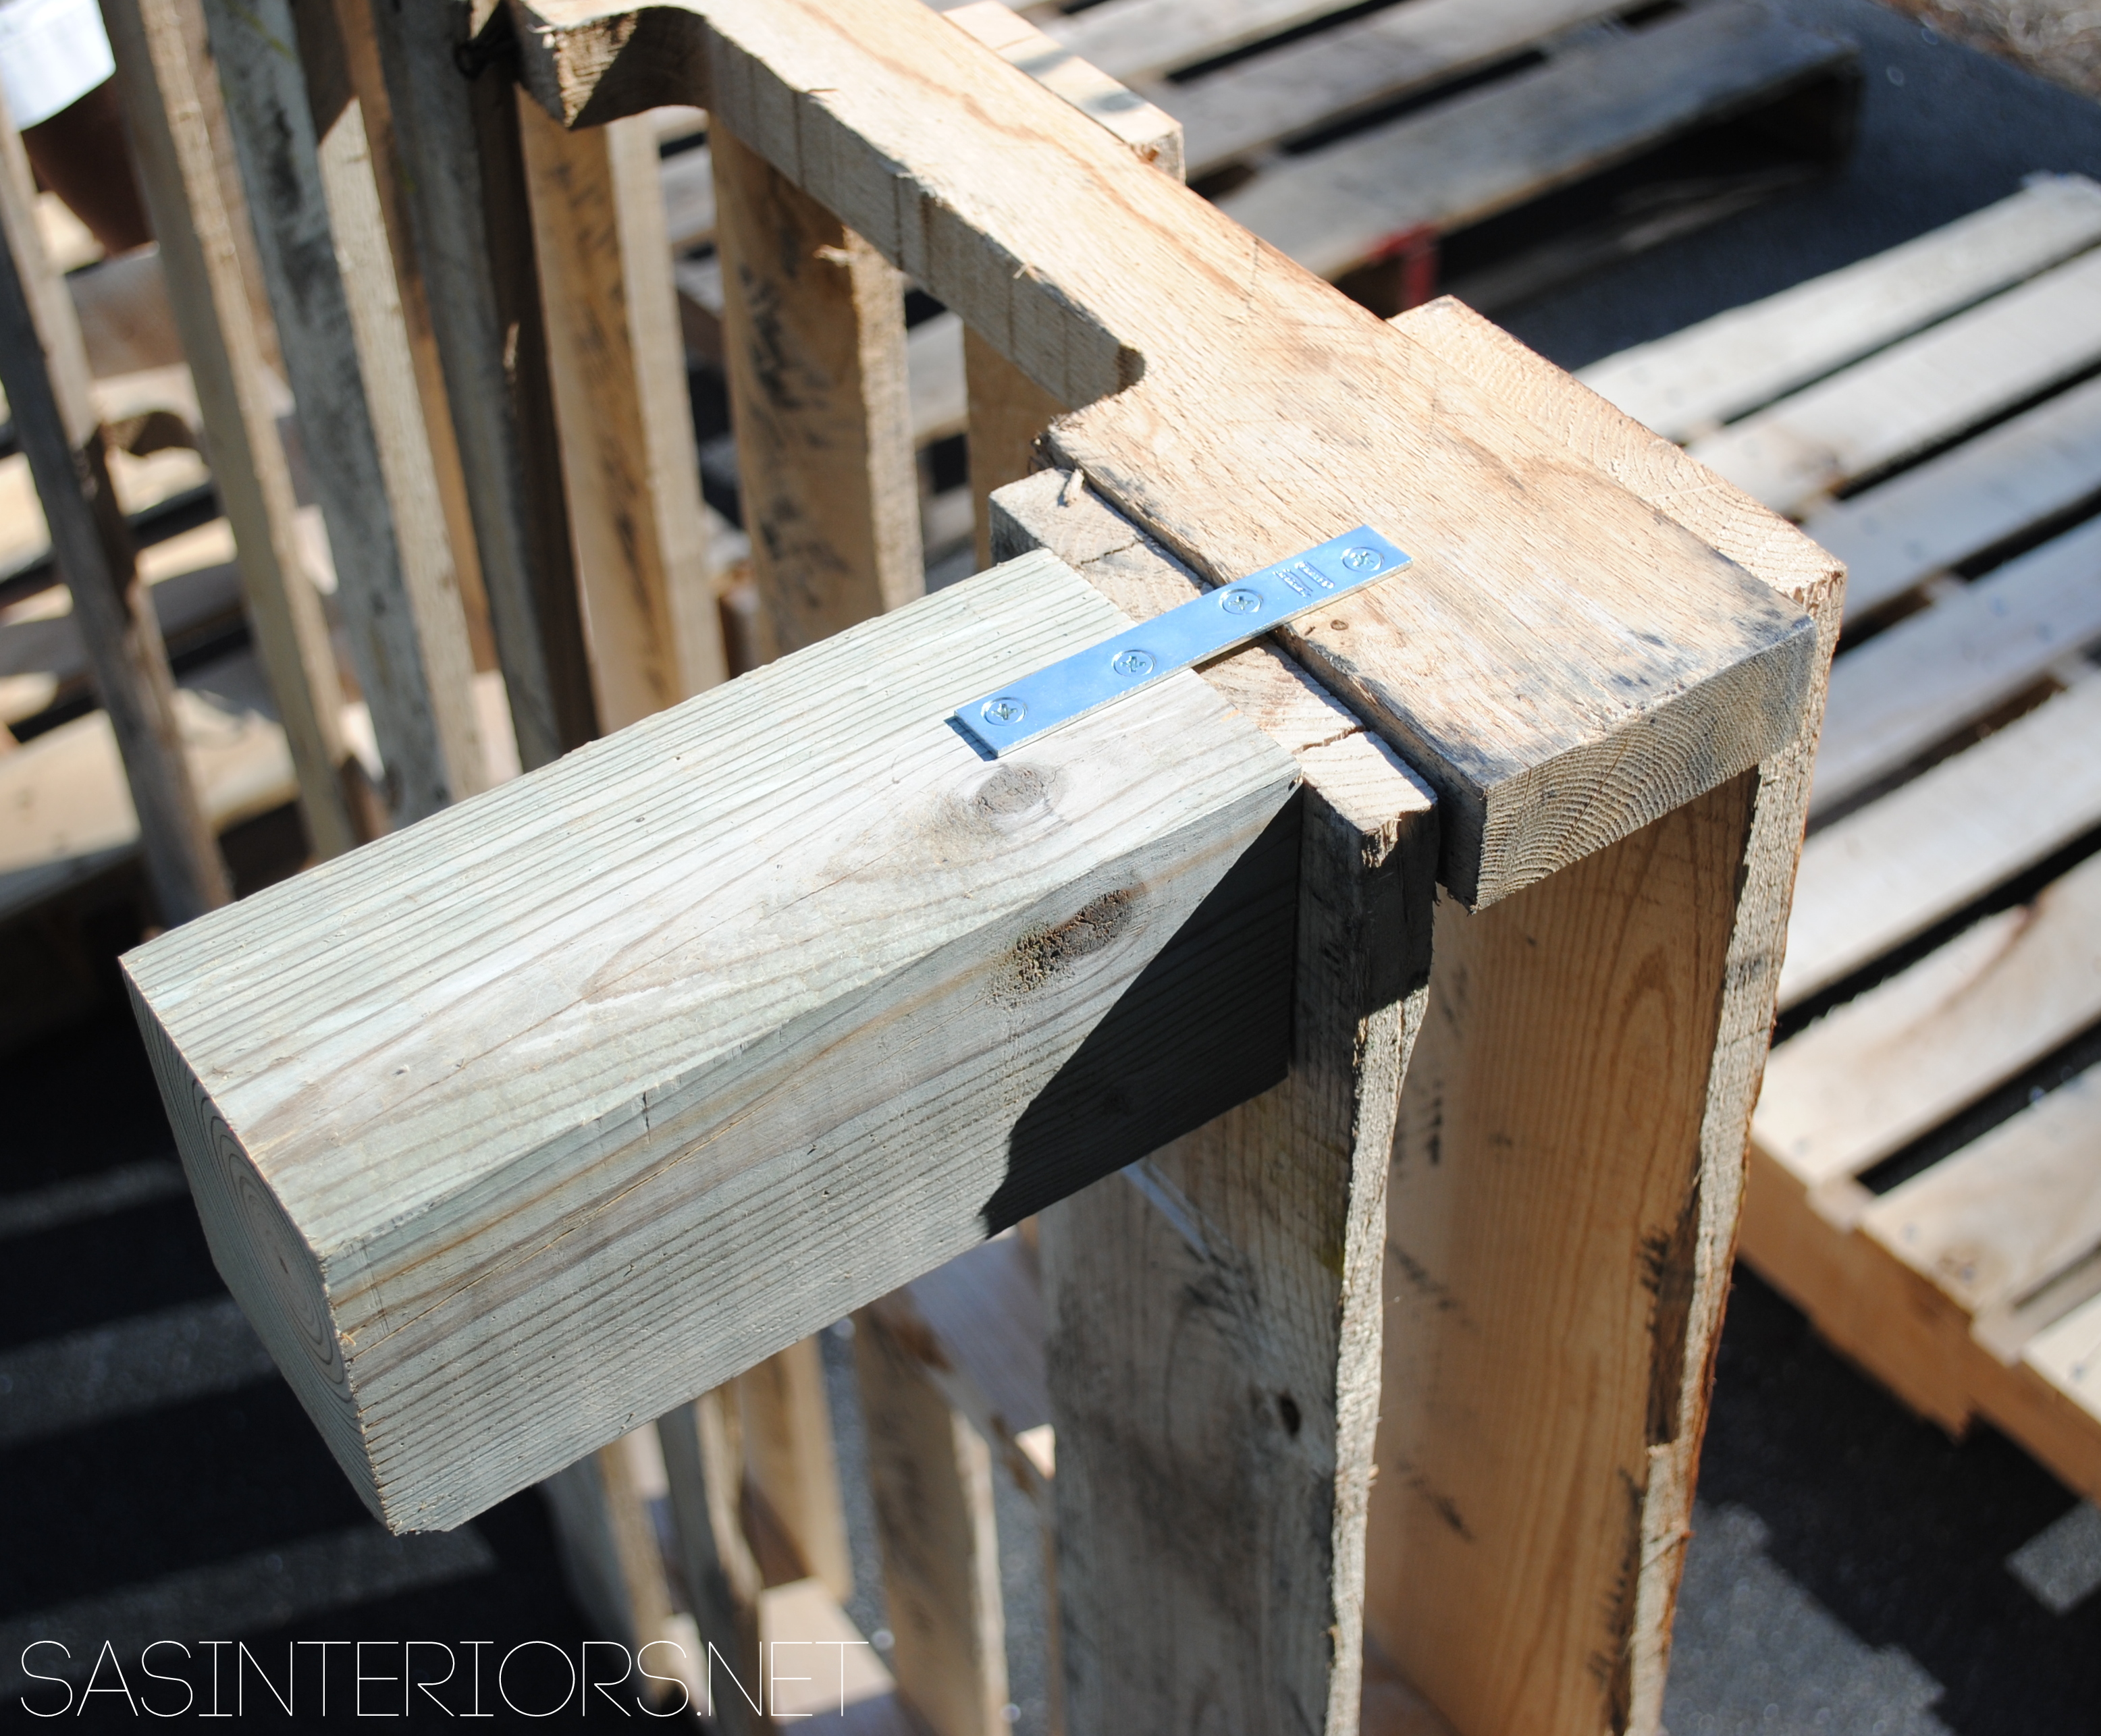
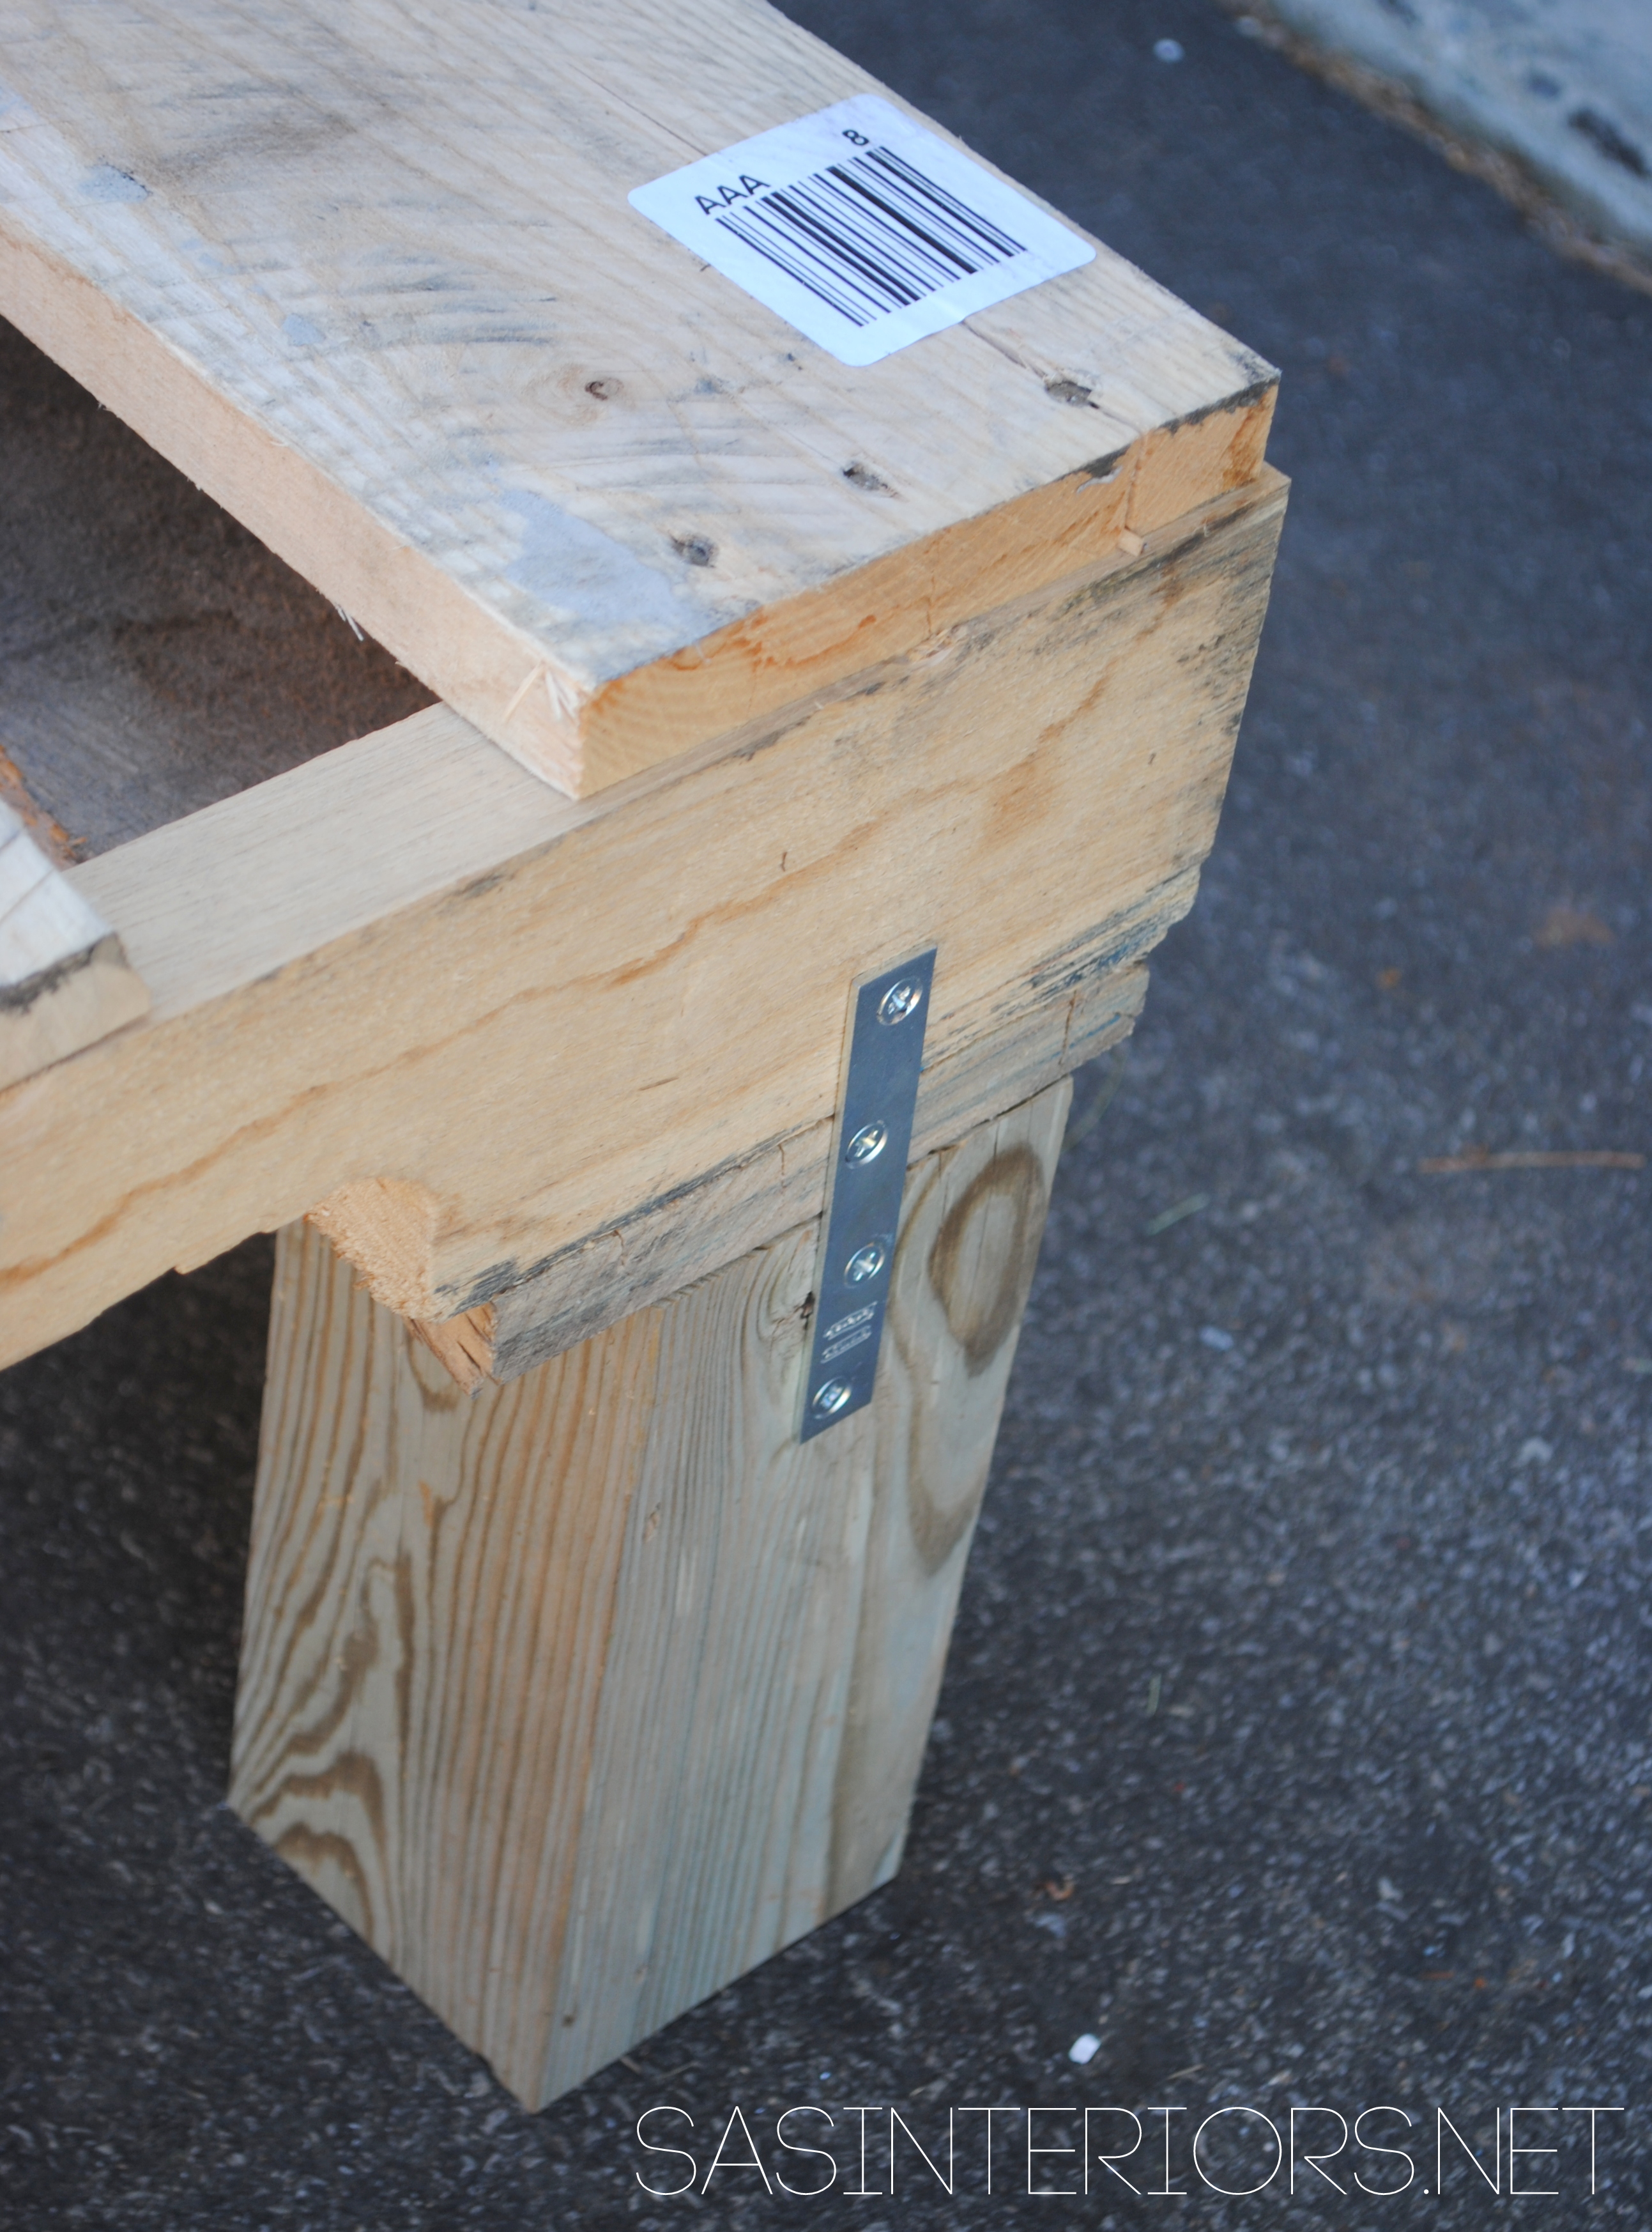
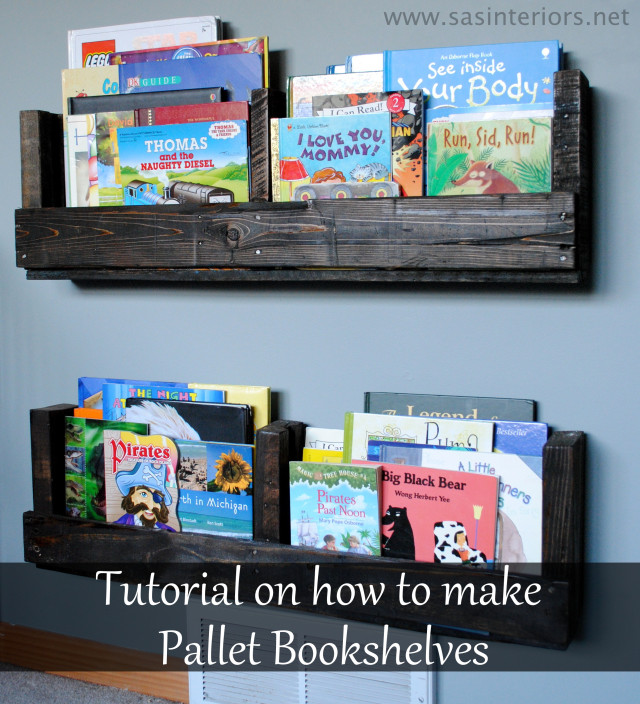 Pallet Bookshelf


