Year: 2013

Bring the Outdoors In: How To Create Fern Art

This post brought to you by Apartments.com. All opinions are 100% mine.

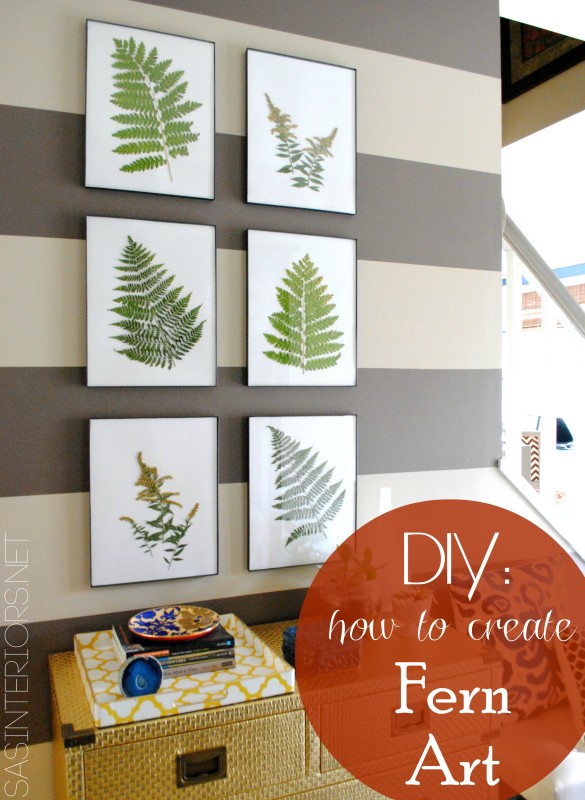
While tackling my foyer revamp, I gave a lot of thought as to what type of artwork / wall decor to put above the new gold dresser gorgeousness, as I like to call “her”.  The focal wall that got “dressed up” with new wide horizontal stripes is only about 5′ wide, but whatever was chosen to display needed to make an impact.  I didn’t want it to be personal pictures since we have so many around our house already, but I wanted it to be meaningful and reflect us.  I even reached out to you, my followers, on Facebook asking for suggestions on your favorite Etsy shops.  Even though I didn’t go that route, I now have a few go-to places for the future.

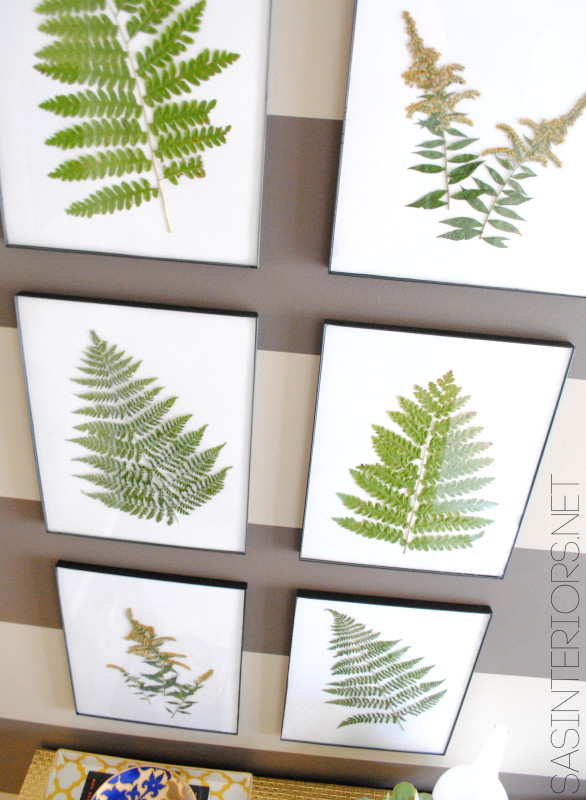
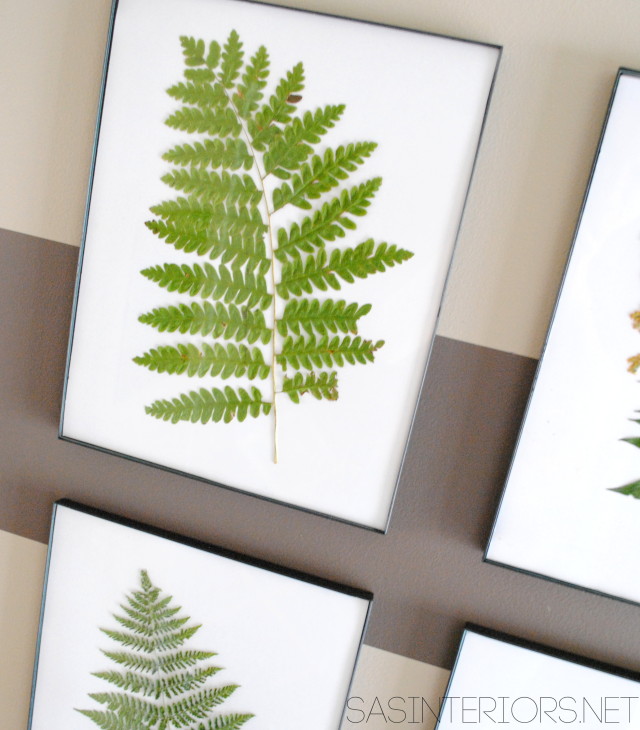
In the end, after much thought, my artwork was right under my nose in my backyard – literally.  After cutting a few wild flowers and ferns for a bouquet I was putting together for our outdoor dining table a few weeks ago, I thought using the ferns as art would be the perfect solution.

Bring the Outdoors in by using ferns and creating art by @Jenna_Burger, www.sasinteriors.net

Our backyard is filled with ferns and wild flowers, so I cut + collected a few different kinds choosing those that appeared to have all their leaves in tact.  No matter if you live in a house, like me, or in an apartment, bringing the outdoors in allows your home to feel more organic and to be ONE WITH NATURE.  A little corny sounding, but true.

No wild flowers in your back yard?  Check out the wooded / more dense areas of a nearby park.  With Fall in full peak, it’s a great time of year for a walk or hike.

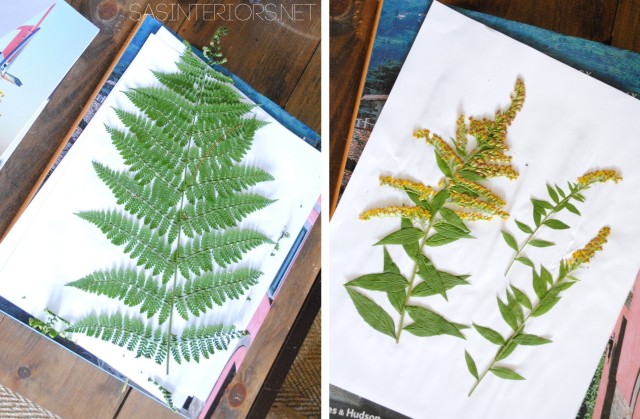
Once I had the ferns collected – about 10 good ones – I individually laid each out on a white piece of paper (wax paper is an alternative option).

Bring the Outdoors in by using ferns and creating art by @Jenna_Burger, www.sasinteriors.net

Once all were laid out, I took the stack of ferns + paper and pressed them between 3-4 hardcover, heavy books.  Be sure the entire fern is covered on the paper and be sure that it all gets pressed between the book.  If it doesn’t, the part of the fern / flower sticking out will wilt.

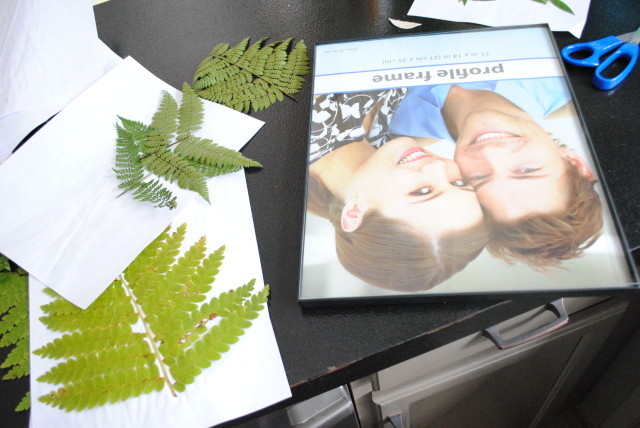
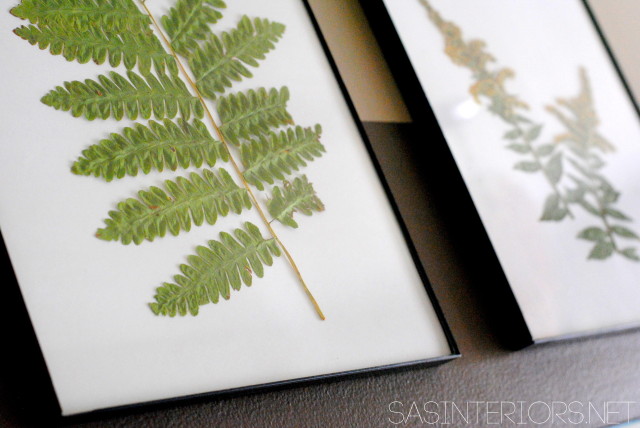
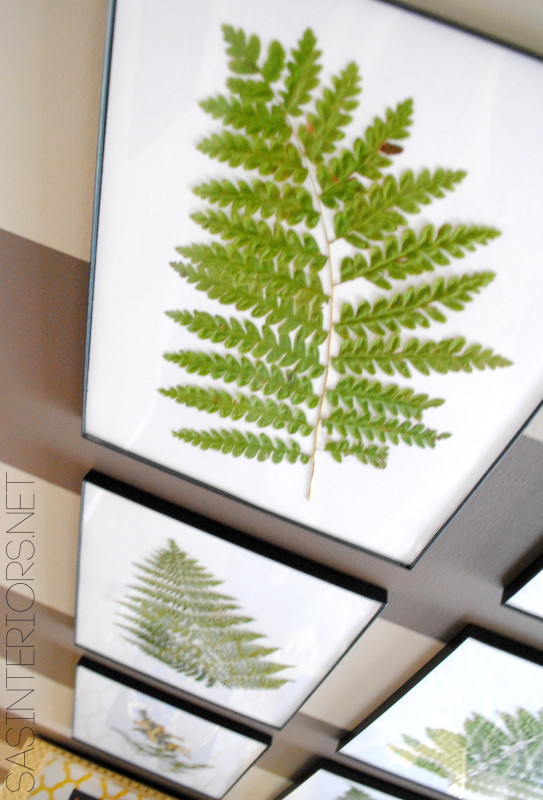
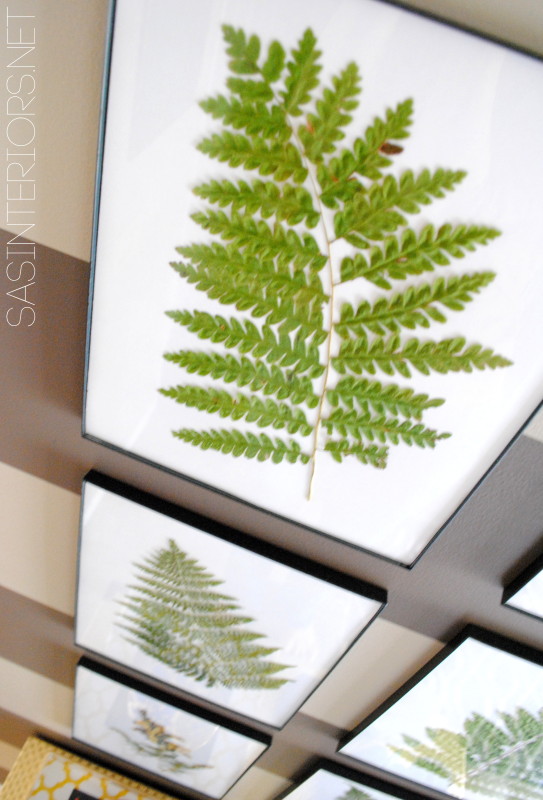
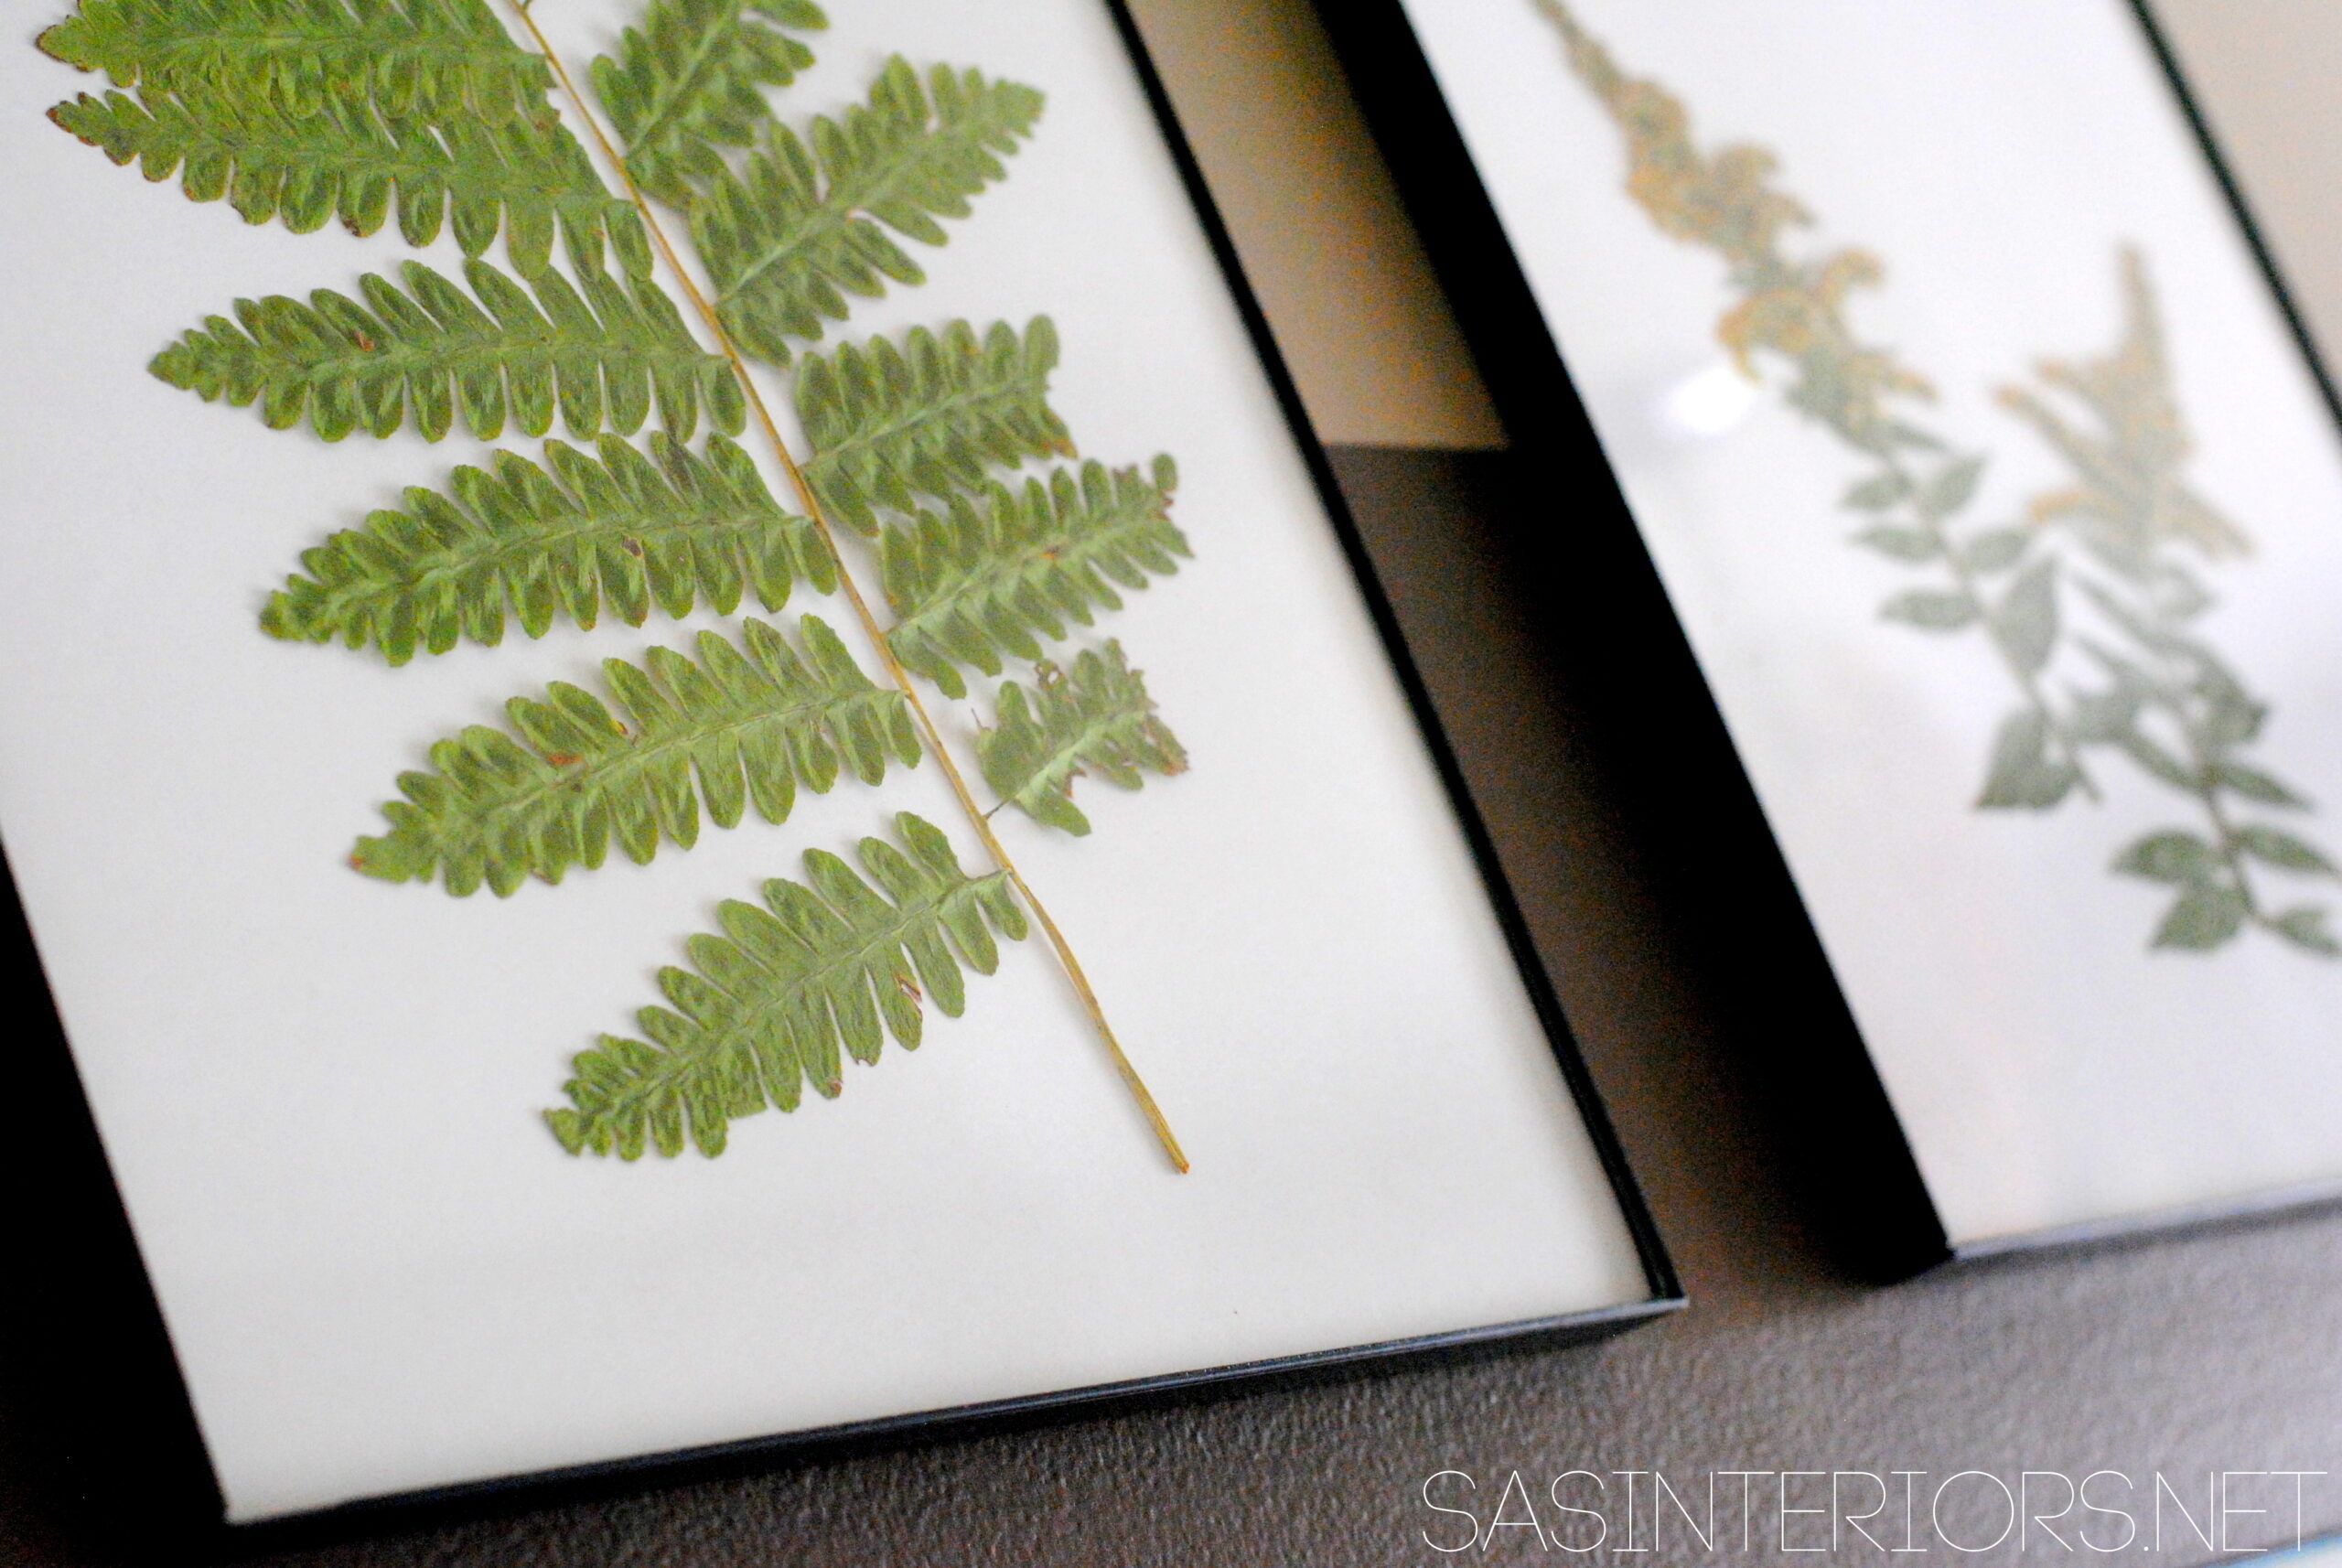
About 3 days later, I took the dried out ferns and started creating the “art”.  I snagged these simple picture frames from AC Moore for about $2 and thought the minimal frame was perfect to let the ferns “speak”.

Bring the Outdoors in by using ferns and creating art by @Jenna_Burger, www.sasinteriors.net

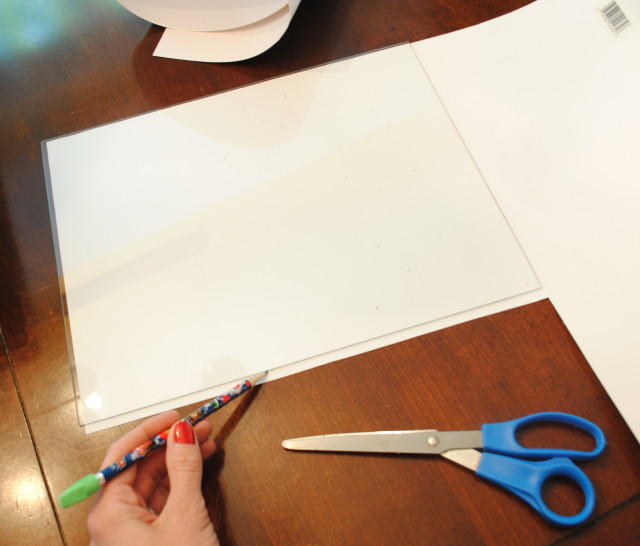
At first, I simply used the white paper to mount the ferns, but after a few days, the paper started to wilt because the ferns were still exuding moisture.  I decided to use a heavier paper and cut out pieces of poster board that fit to size. This did the trick!

Bring the Outdoors in by using ferns and creating art by @Jenna_Burger, www.sasinteriors.net

And then they were ready to hang…

Bring the Outdoors in by using ferns and creating art by @Jenna_Burger, www.sasinteriors.net

Bring the Outdoors in by using ferns and creating art by @Jenna_Burger, www.sasinteriors.net

Bring the Outdoors in by using ferns and creating art by @Jenna_Burger, www.sasinteriors.net

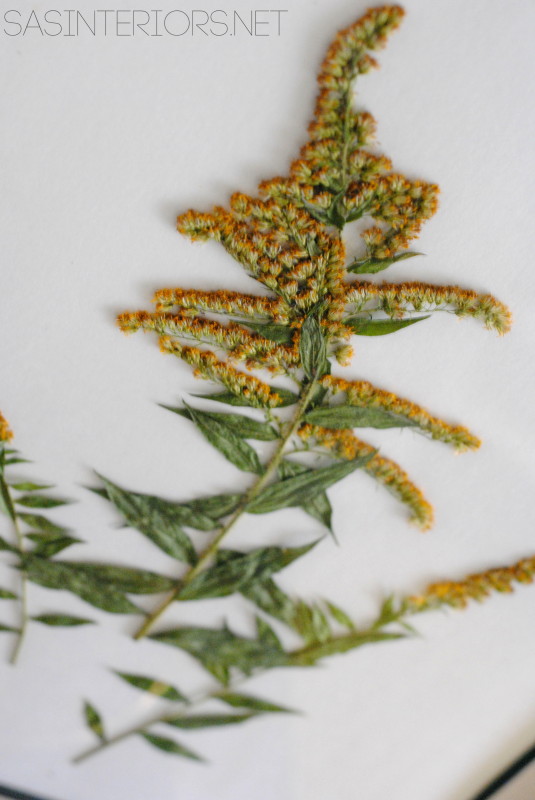
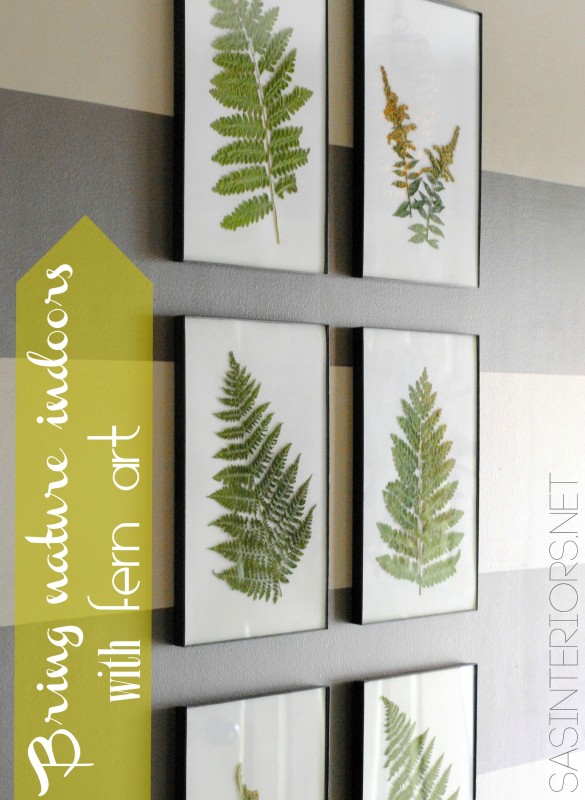
Along with the ferns, I also pressed a few wild flowers.  I love the yellow coloring.  They add a bit of color to the art collection.

Bring the Outdoors in by using ferns and creating art by @Jenna_Burger, www.sasinteriors.net

Bring the Outdoors in by using ferns and creating art by @Jenna_Burger, www.sasinteriors.net

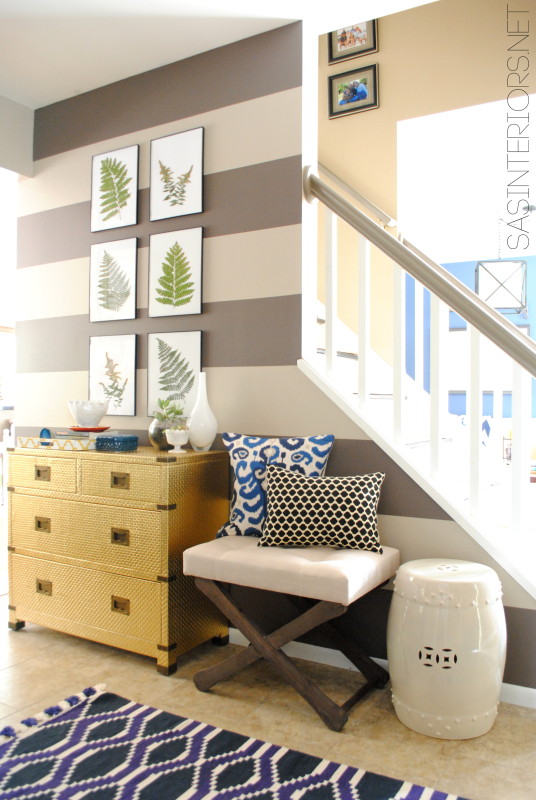
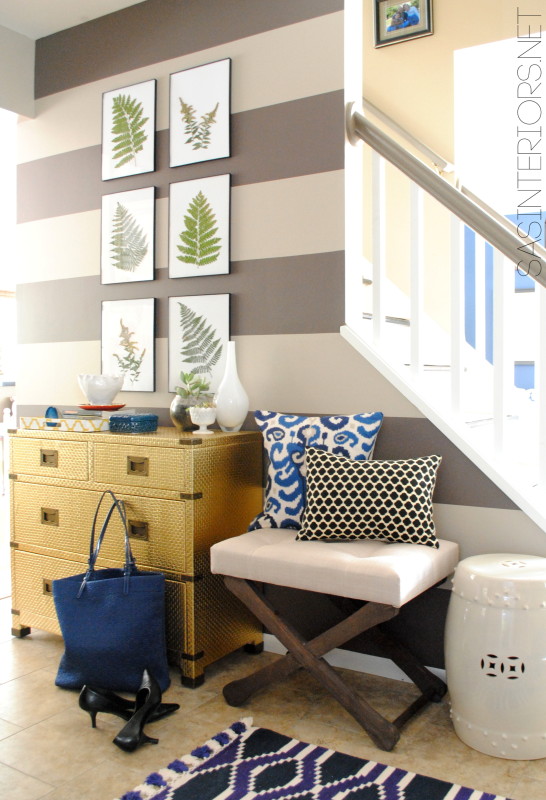
And this is the overall new Foyer space…

Foyer Remodel with newly striped walls, fern art, and layers of colors + texture.  Spaced designed by @Jenna_Burger, WWW.JENNABURGER.COM

It’s so wonderful how the outdoors can be brought in, to enjoy throughout the entire year.  The simplicity and ease of using ferns as art is a pretty + no-cost way to create a beautiful focal point.

Bring the Outdoors in by using ferns and creating art by @Jenna_Burger, WWW.JENNABURGER.COM

As an Apartments.com Brand Influencer, I strive to share ideas + do it yourself projects not only for those who live in homes, but also easy & affordable ideas + creations for apartment dwellers.  Next time you’re looking for something unique + meaningful + free for your walls, turn to the outdoors.

For more great ideas on creating a meaningful home, especially for those who rent, turn to the Renter Resources section on Apartments.com.  It is filled with interesting + useful information to make your dwelling reflect you.
Visit Sponsor's Site

Foyer Reveal

You guys have been troopers holding out this long for the final reveal of the foyer.  I was waiting on a few pieces that I had ordered, and over the weekend they finally arrived.  I hurriedly styled and took pictures of the space, and this is the result…

Foyer Remodel with newly striped walls, fern art, and layers of colors + texture.  Spaced designed by @Jenna_Burger, WWW.JENNABURGER.COM

It is so fresh + updated.  I’m thrilled with the result and it wasn’t a lot of work.

A new greige paint color + wide horizontal stripes + a gold dresser + a few added accents = A revamped foyer that makes a statement

Past Posts you may be interested in
gorgeous gold dresser + new foyer paint colors —> Click here
10 top greige colors —> Click here
tips + tricks for painting stripes —> Click here

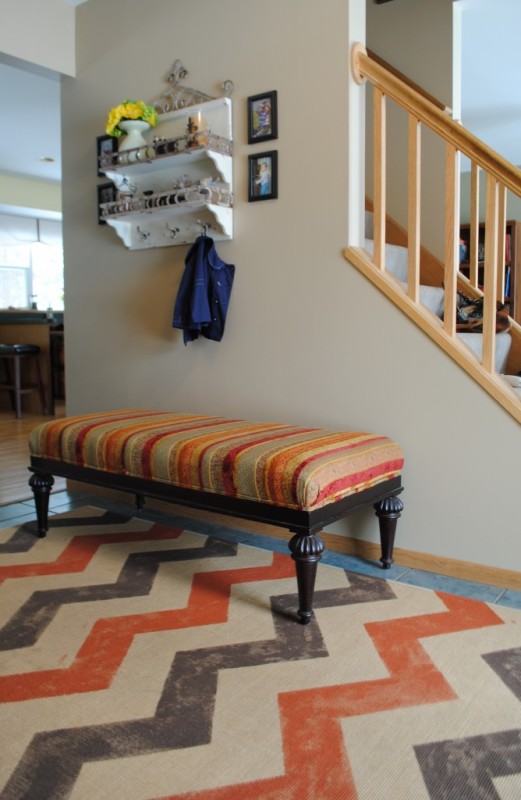
Let me take a step back and show the evolution of the space over that past few years.  When we moved in a little less than 4 years ago, the space was dark and the complete opposite of inviting.  The mouldings were wood, the floor was a dark teal ceramic, and the space looked dated.  Actually this picture (from 2011) shows it better than when we moved in with the walls painted and the chevron sisal rug.

'Before' Foyer Revamp

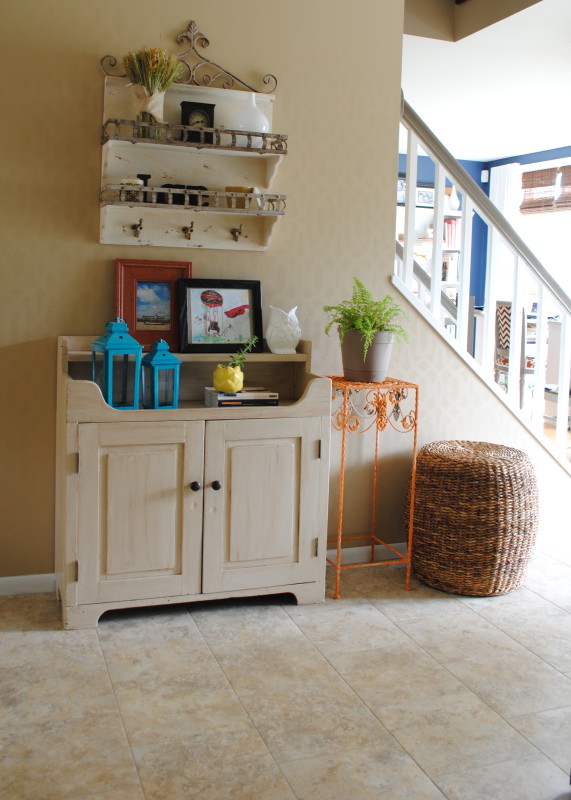
Within that year, I stenciled the wall, tackled the staircase (no more carpet), changed the wood mouldings to white, and installed a new luxury vinyl tile floor. The result (from 2012)…

'Before' Foyer Revamp

A lot of tone-on-tone cream hues.  Not really my style. Hence the 2013 revamp!

Let’s take a tour of the new space…

This is the main “feature” wall of the foyer.  It’s a fairly small space, with a lot going on.  The foyer, office, and dining room/kitchen are all off of the foyer space, as well as the entry to the garage, the coat closet / pantry, and the laundry.  A lot.  As much as the space needs to be pretty, it also had to be super functional and not cluttered.  It’s a high traffic area with our family coming and going throughout the day.

Foyer Remodel with newly striped walls, fern art, and layers of colors + texture.  Spaced designed by @Jenna_Burger, www.sasinteriors.net

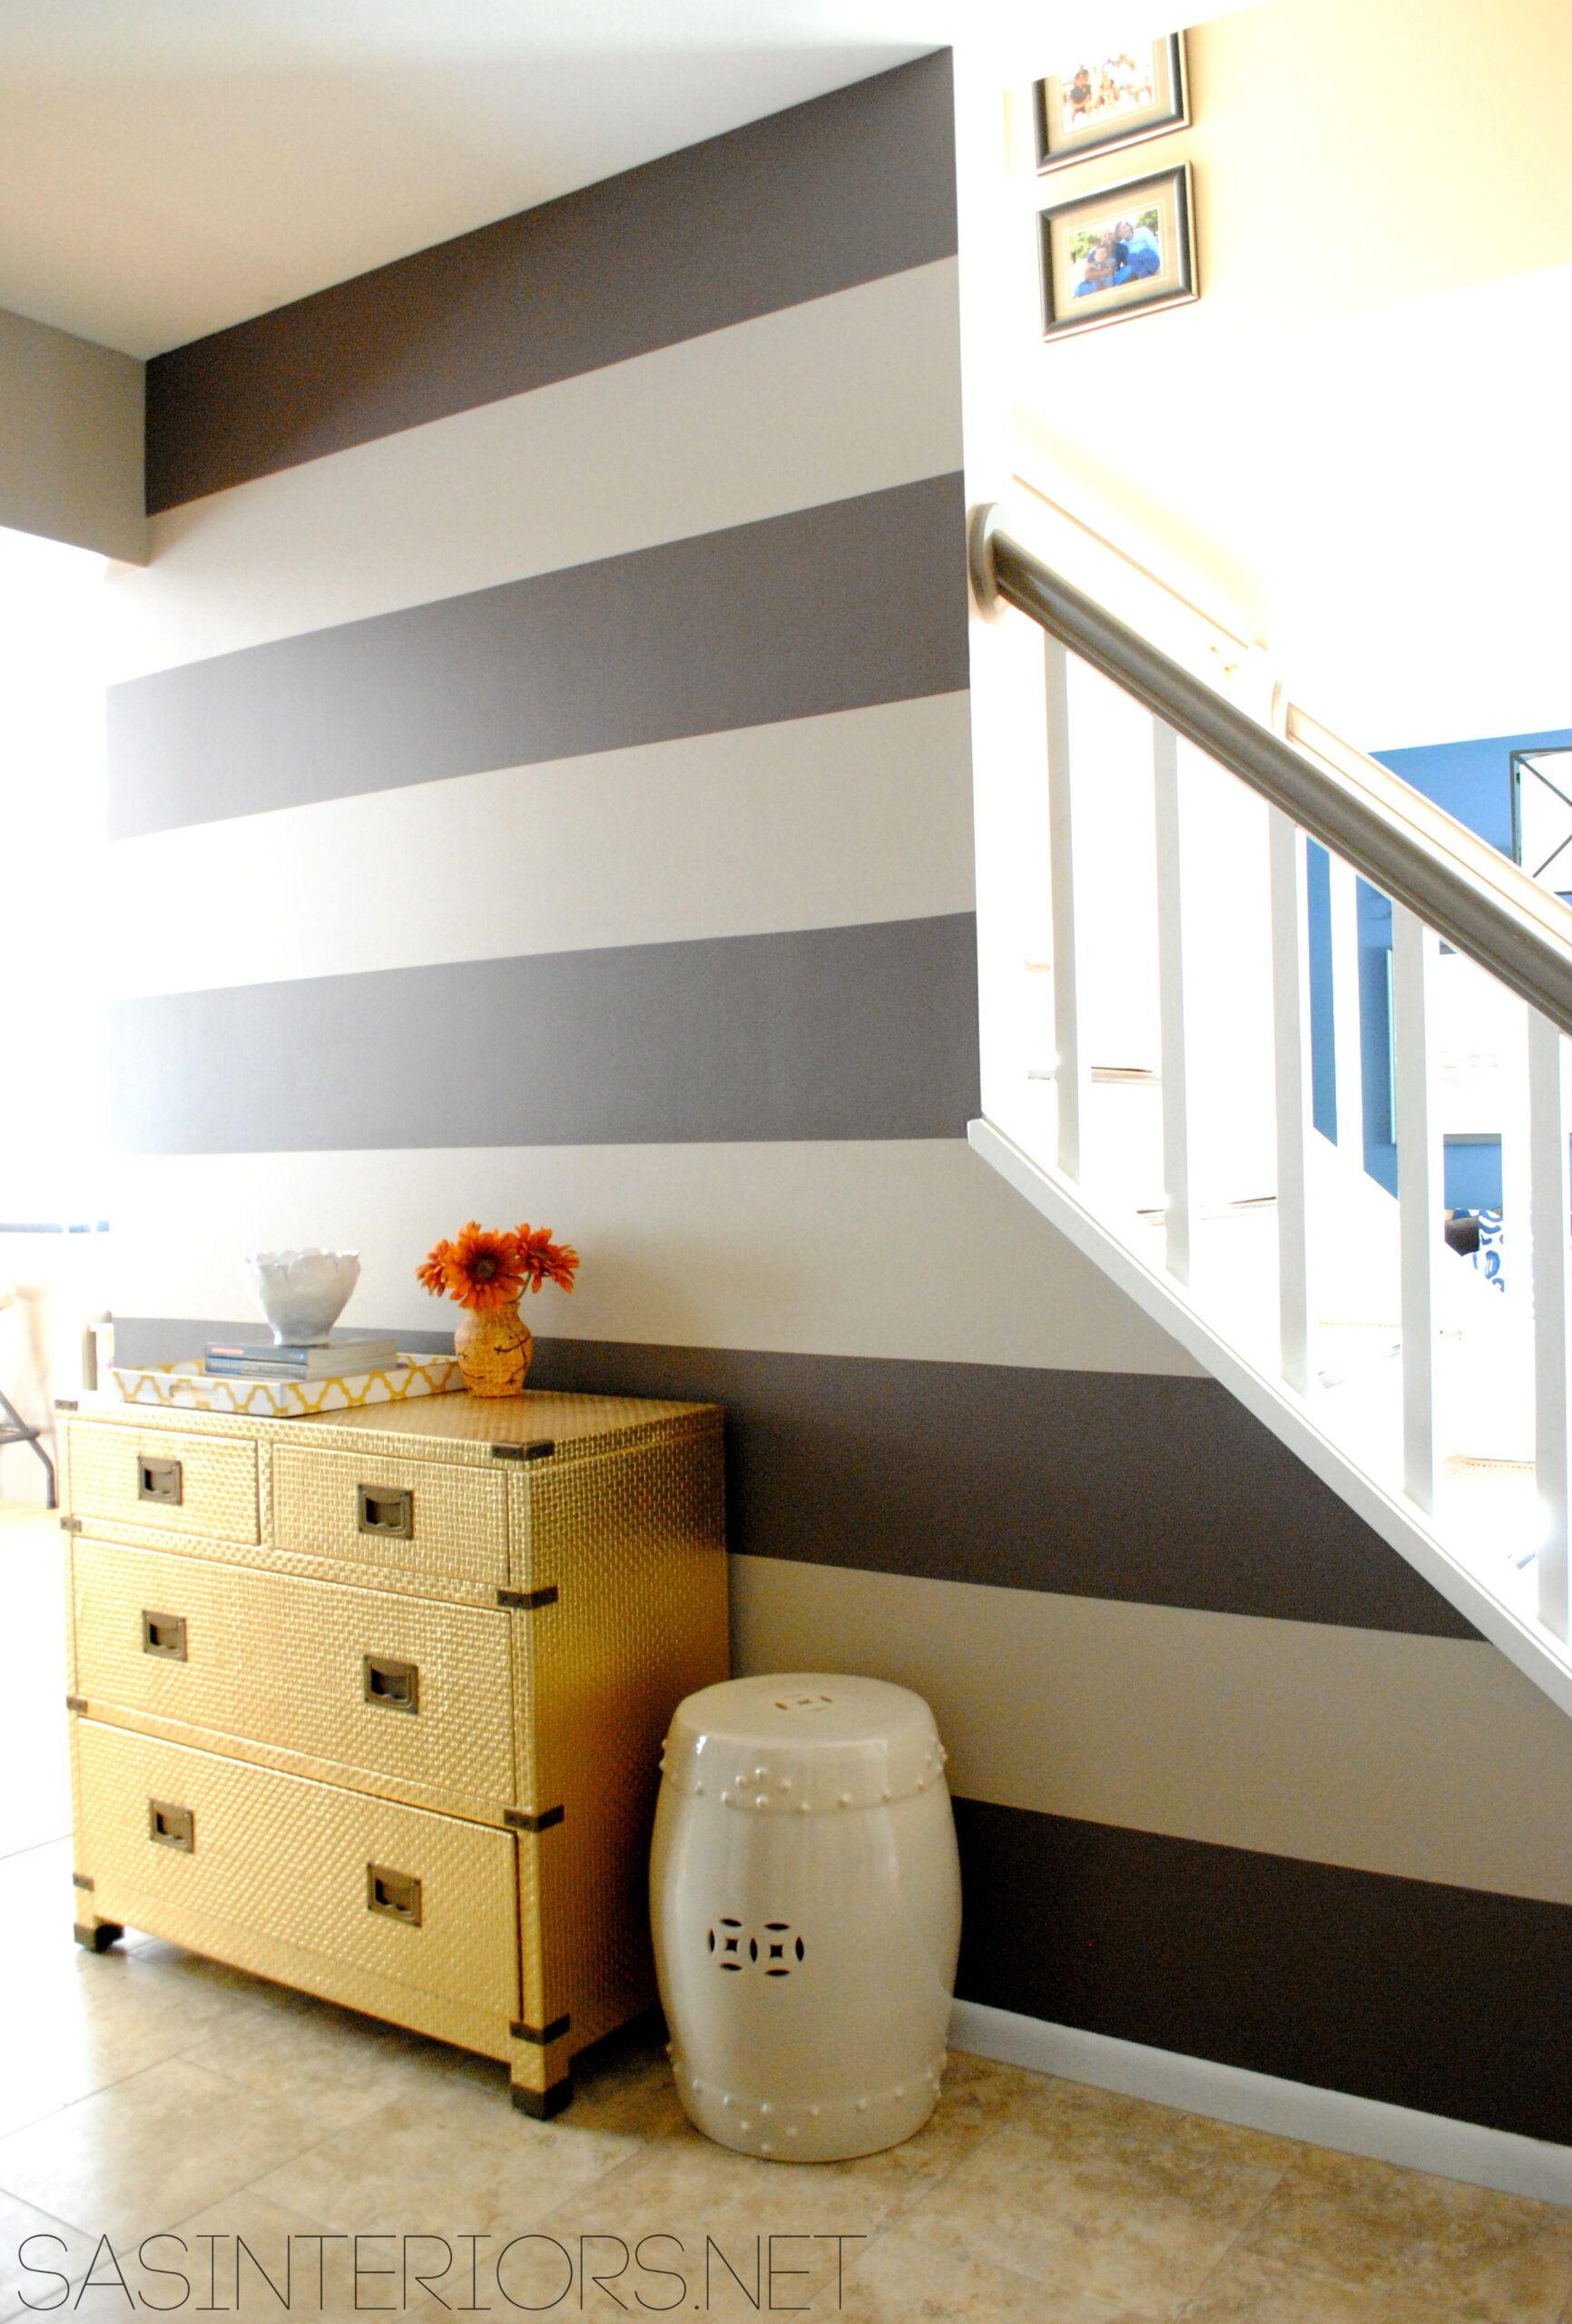
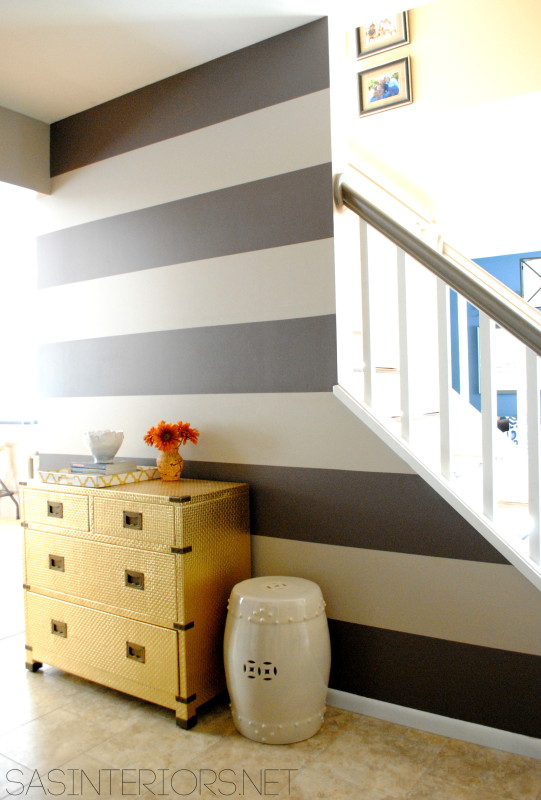
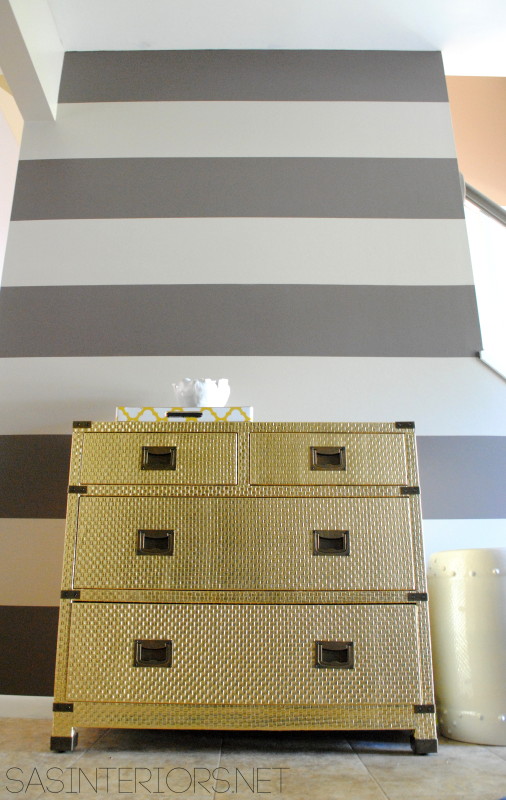
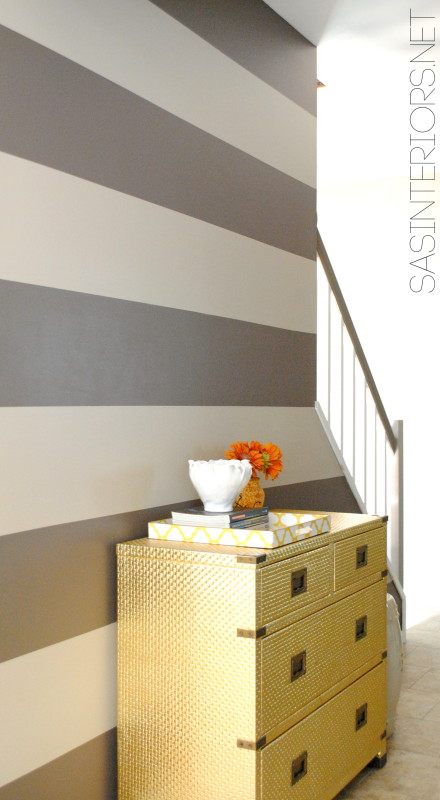
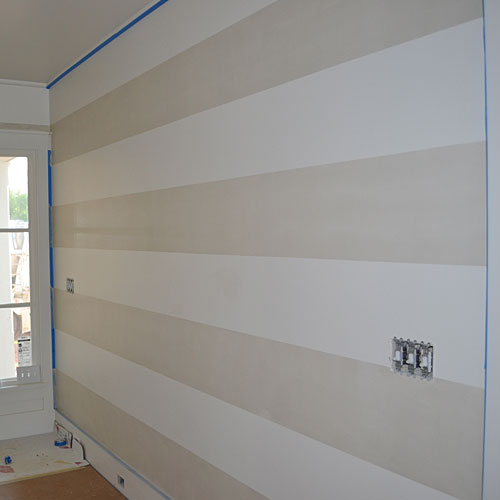
On the main wall is where I decided to add wide horizontal stripes in contrasting colors – a light greige with a dark charcoal (all the details can be found in this post).  The wide stripes visually create a taller space and fools the eye to think the space is long.  The stripes pull you in.

Foyer Remodel with newly striped walls, fern art, and layers of colors + texture.  Spaced designed by @Jenna_Burger, WWW.JENNABURGER.COM

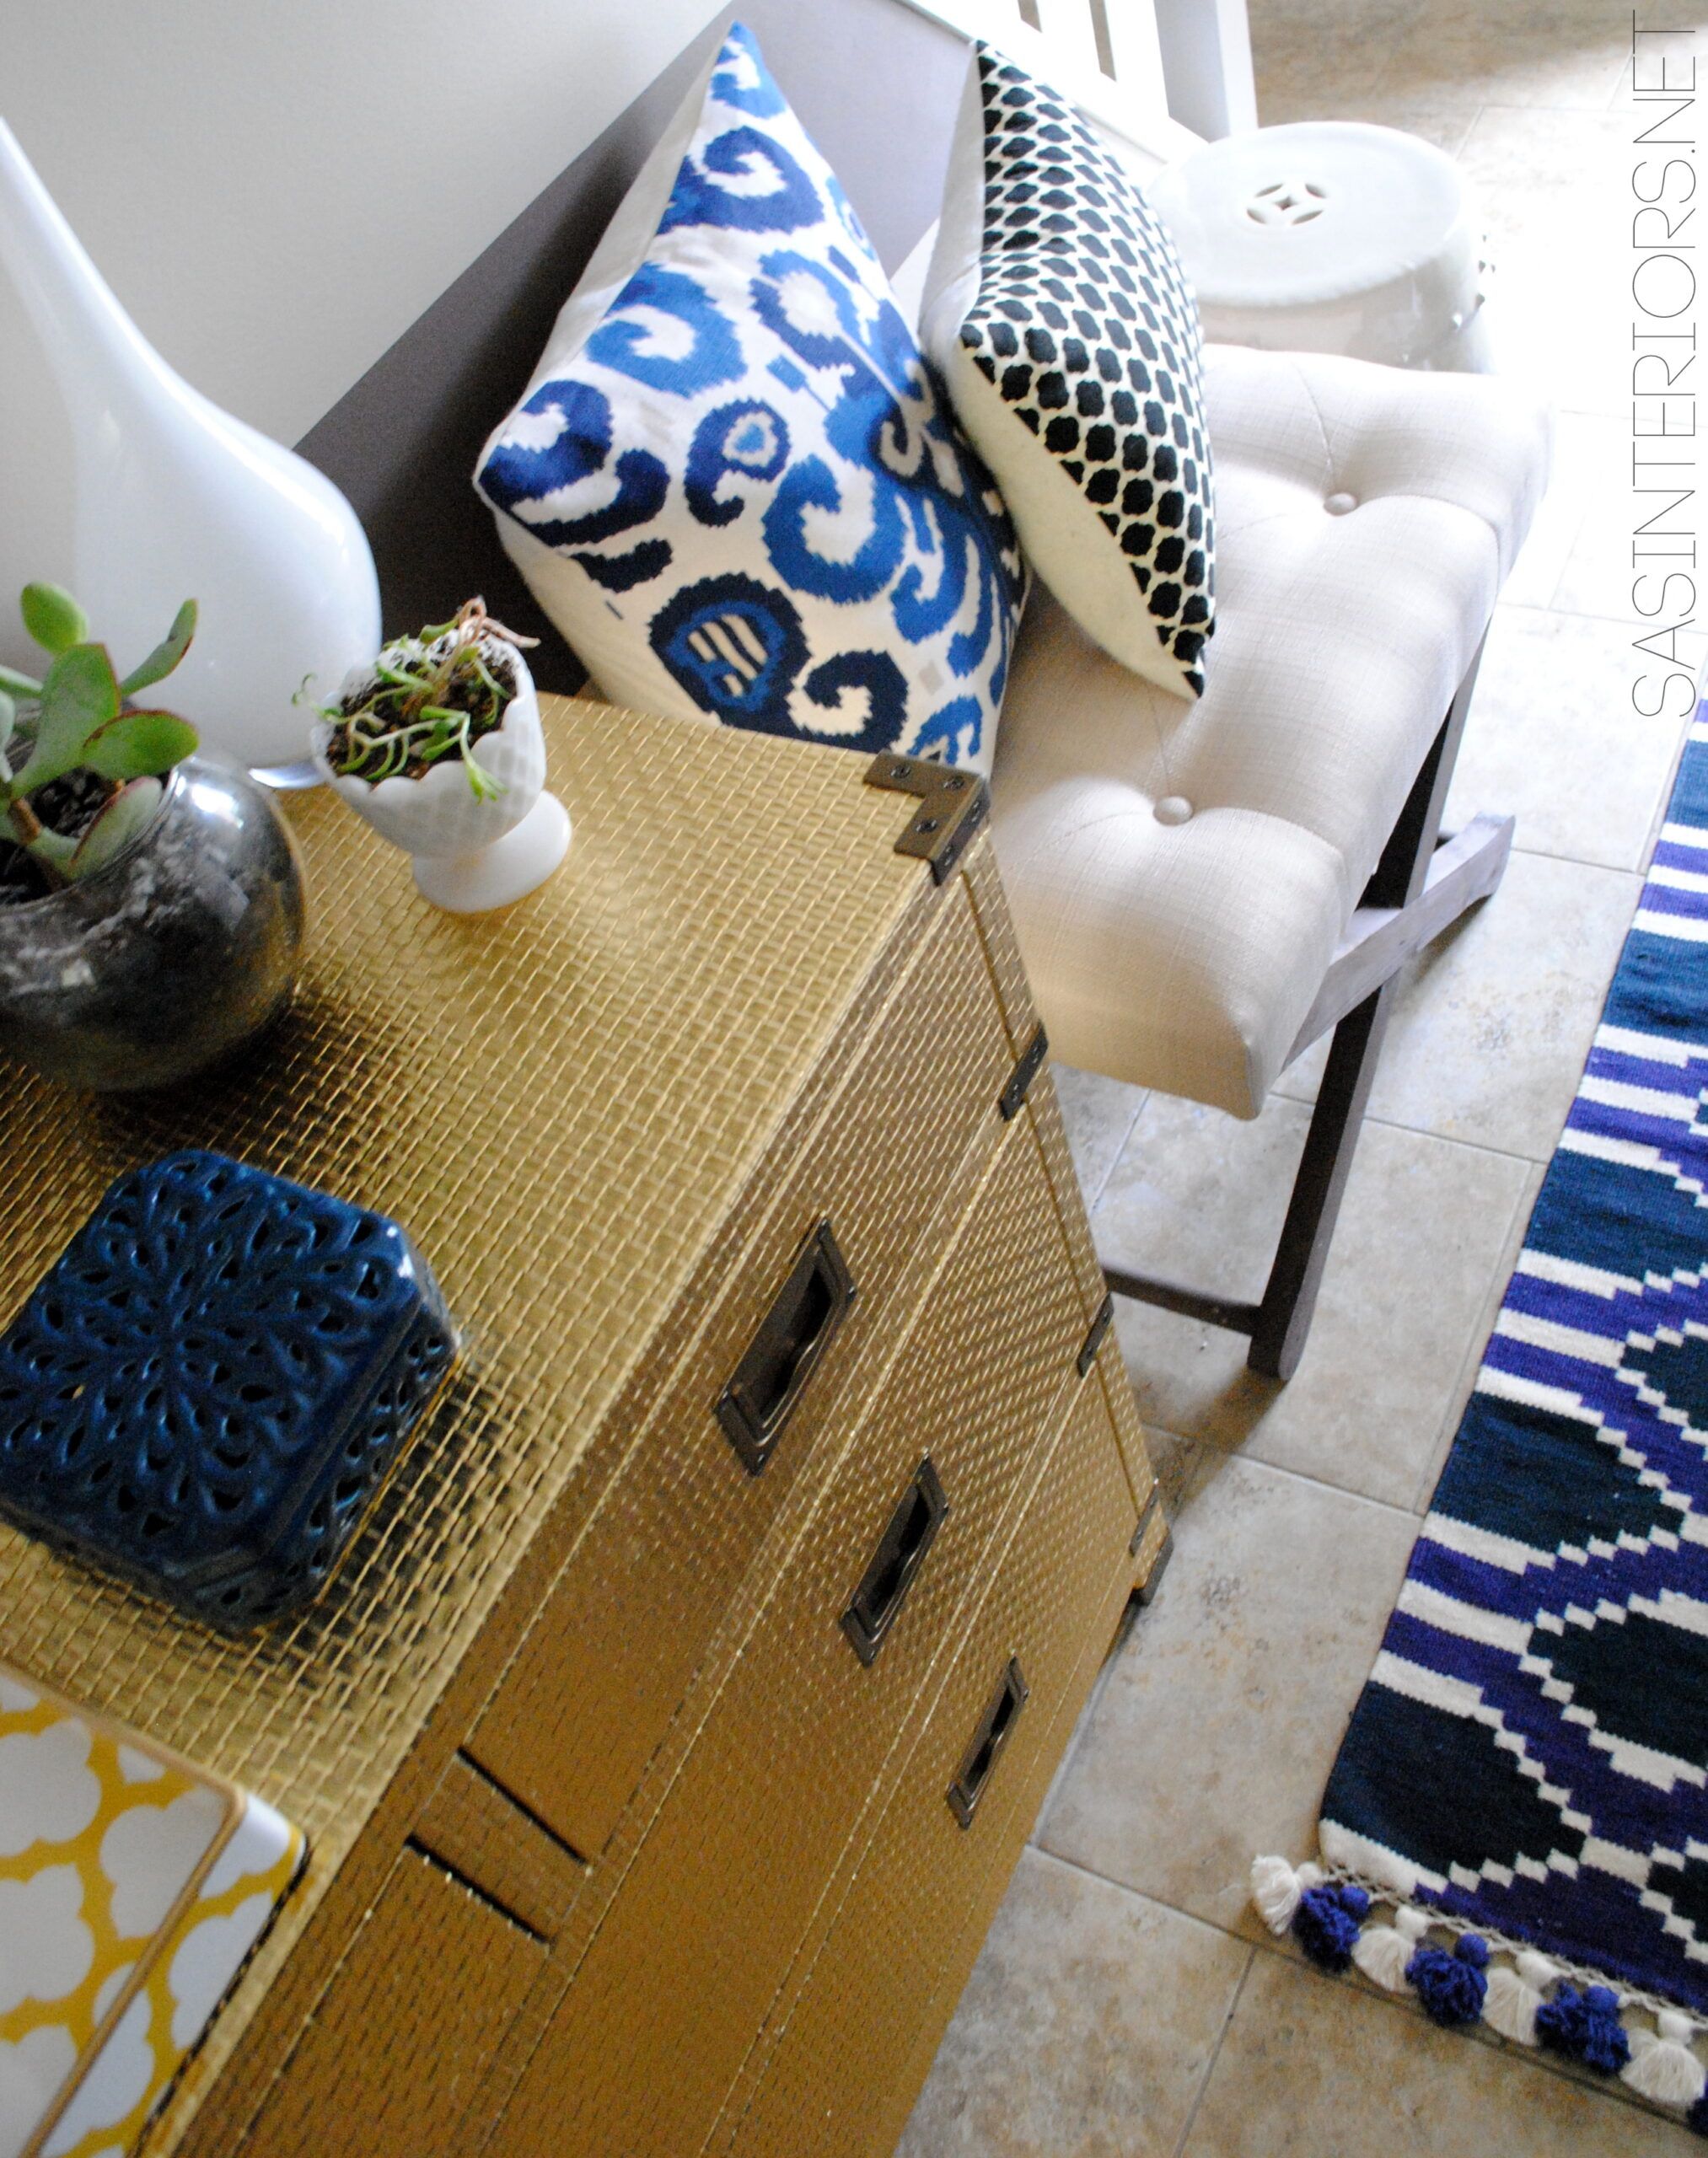
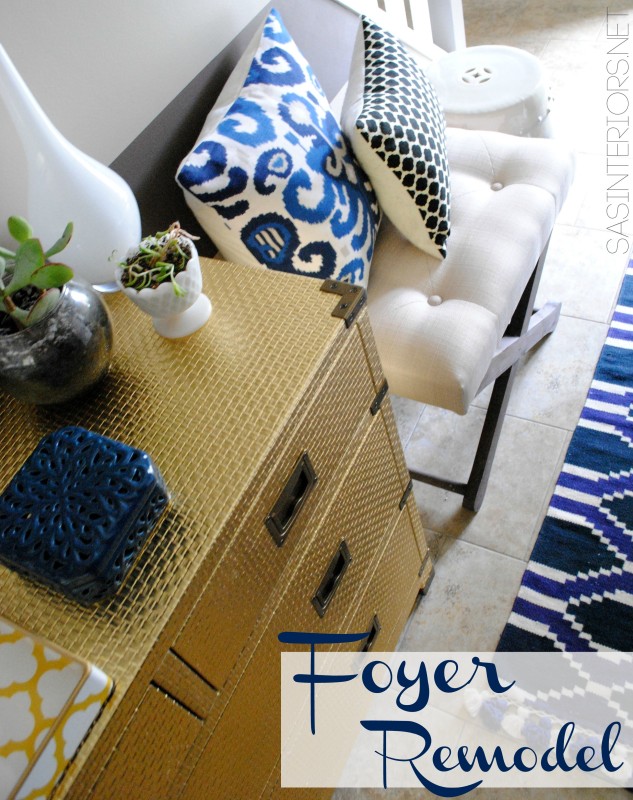
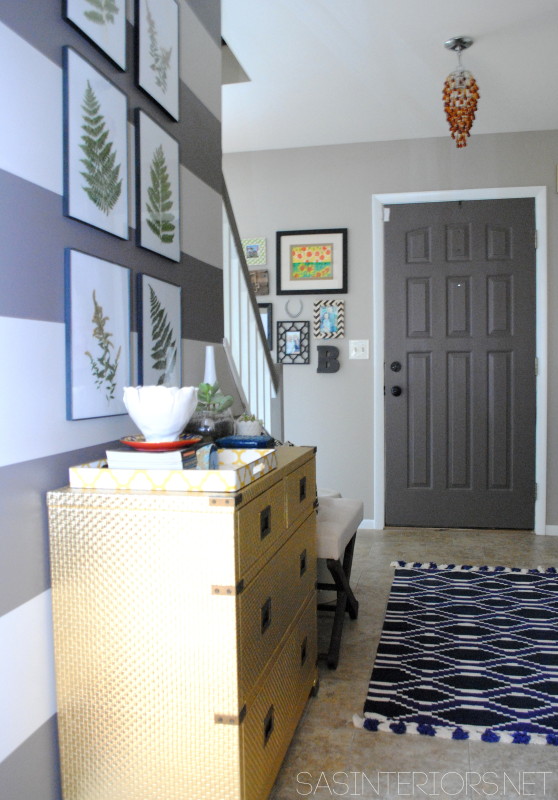
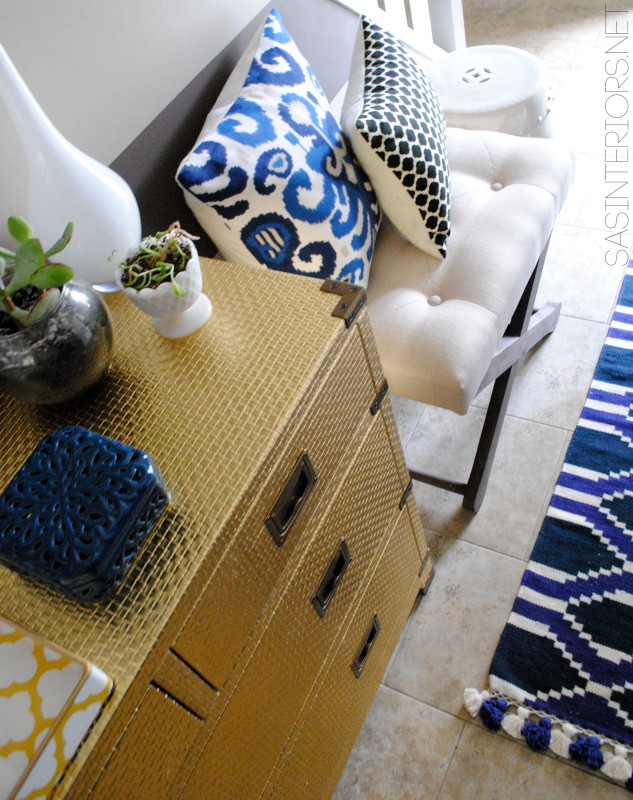
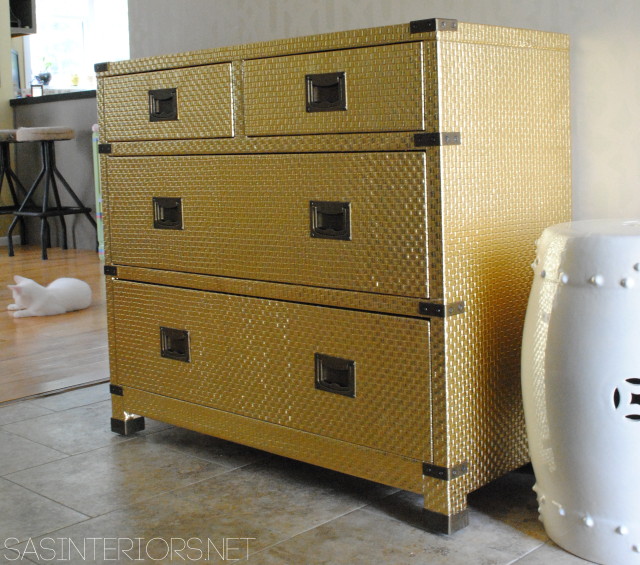
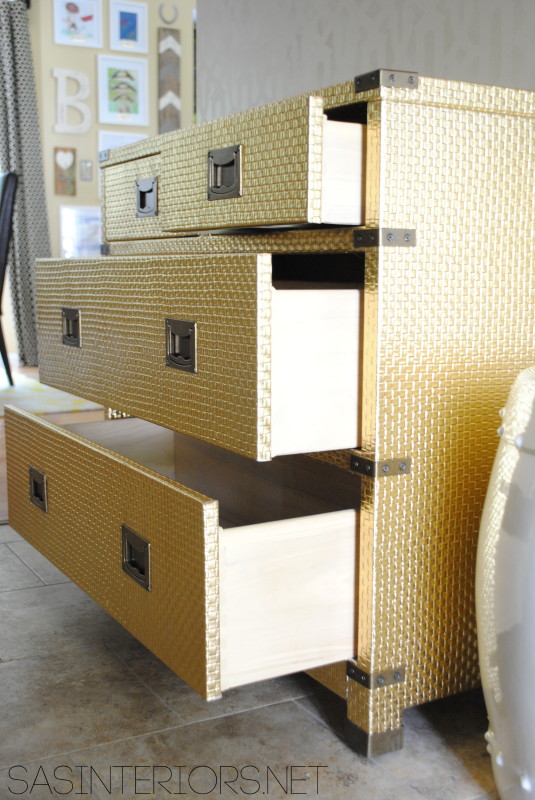
Even though the foyer is not a huge space, it does allow room for a piece of furniture.  I found this gold “gorgeousness” dresser that is super amazing.  It had me at first sight!  As much as it’s beautiful, it also is wonderfully functional.  The 4 drawers allow plenty of storage for the kids shoes and other misc items that never seem to have a home.

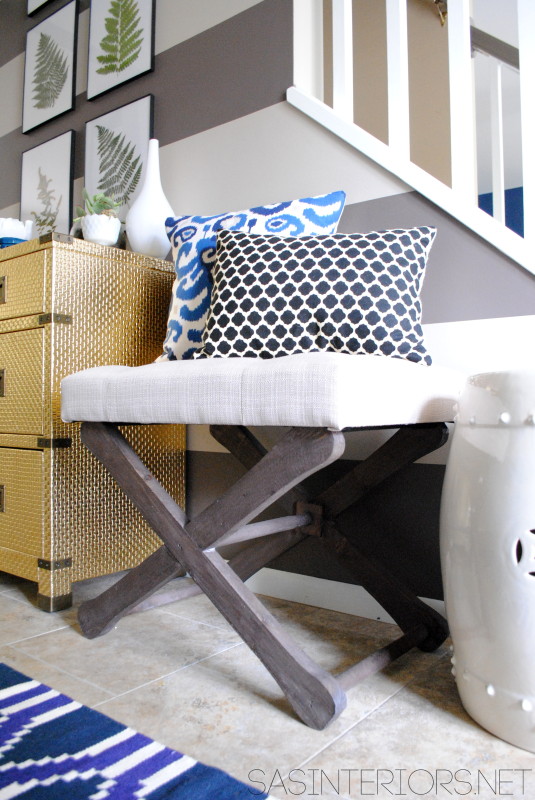
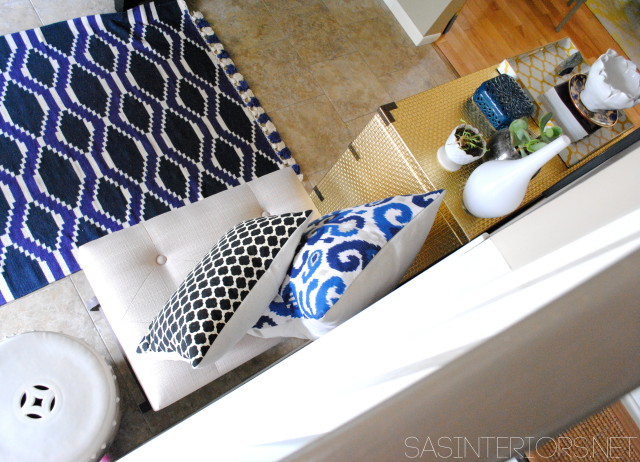
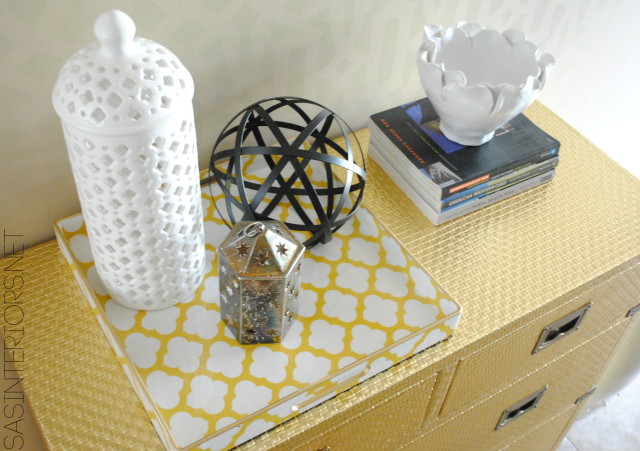
Next to the dresser, I added a beautiful upholstered ottoman – perfect for sitting and putting on shoes – as well as my favorite garden stool.  A few added pillows (from other rooms in the house) + some fun accessories for the dresser, complete the space!

Foyer Remodel with newly striped walls, fern art, and layers of colors + texture.  Spaced designed by @Jenna_Burger, WWW.JENNABURGER.COM

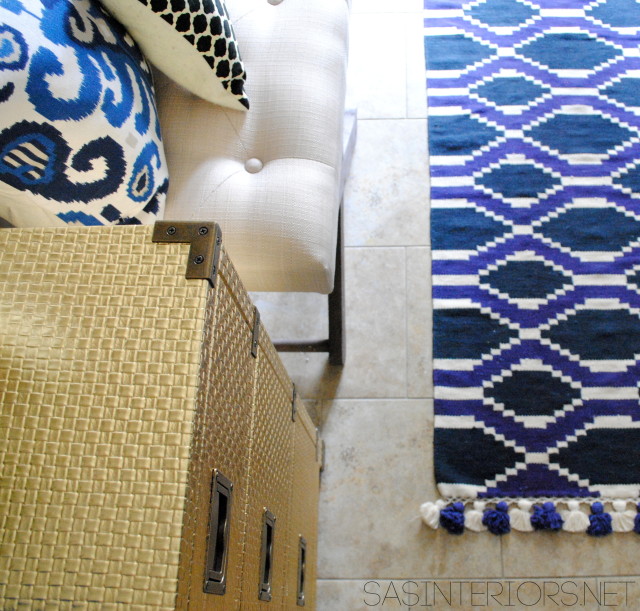
The rug is a recent purchase from One Kings Lane and was handmade in India.  I love the pattern, as well as the two blue hues.  Since I have multiple blue paint colors throughout my home, it really ties it all together.

Here’s a view coming down the stair…

Foyer Remodel with newly striped walls, fern art, and layers of colors + texture.  Spaced designed by @Jenna_Burger, WWW.JENNABURGER.COM

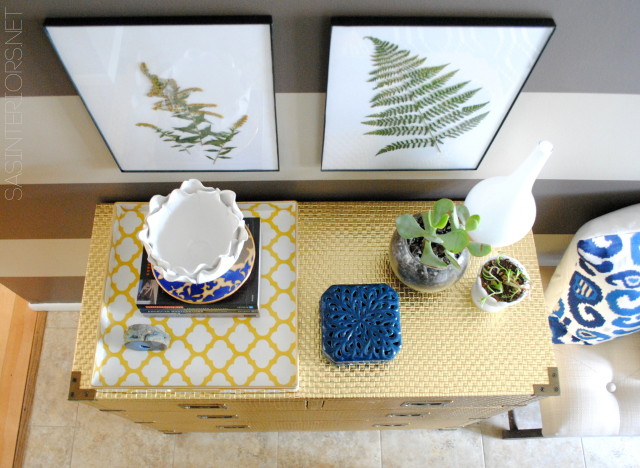
For the walls above the dresser, I decided to bring the outdoors in by framing nature.  The new “art” above my dresser are dried ferns and wild flowers —> for tutorial Click Here.  They were super easy to create and are so meaningful to our home since they came right from the backyard.

Foyer Remodel with newly striped walls, fern art, and layers of colors + texture.  Spaced designed by @Jenna_Burger, WWW.JENNABURGER.COM

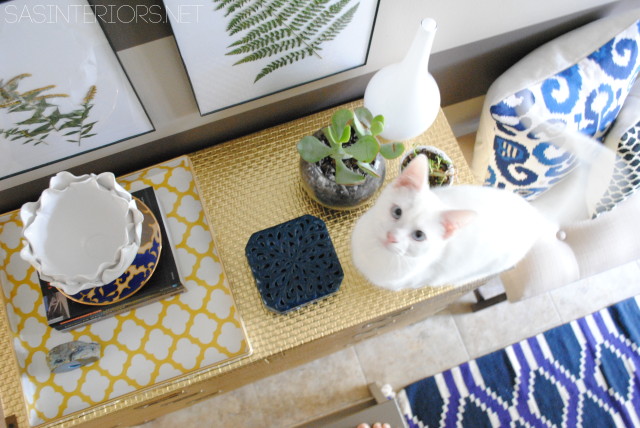
Look who hopped in the photo session…  My little kitten Samson.  He’s never an arms length away.

Foyer Remodel with newly striped walls, fern art, and layers of colors + texture.  Spaced designed by @Jenna_Burger, WWW.JENNABURGER.COM

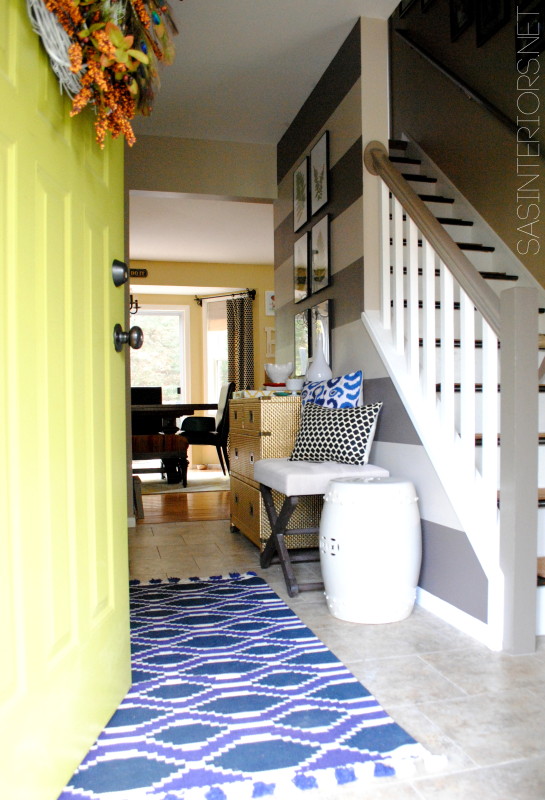
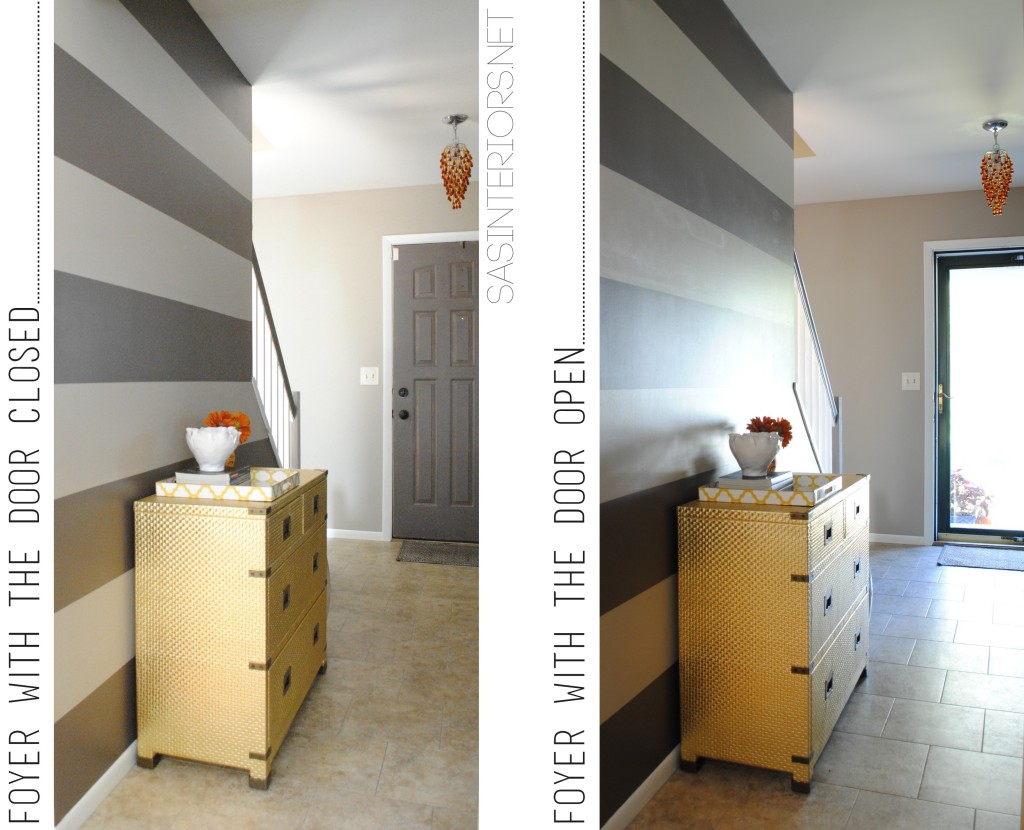
Welcome, as you come through the front door, this is the view.  The light greige color was continued around the room, but the darker charcoal stripe was only added to the main wall.

Foyer Remodel with newly striped walls, fern art, and layers of colors + texture.  Spaced designed by @Jenna_Burger, WWW.JENNABURGER.COM

To continue the deep charcoal color in the space, I also used it on the back of the front door.  Now the space completely flows since the color is used in multiple places.  And just to point out, the stair railing is also a taupe / gray color, so it’s all cohesive.

Foyer Remodel with newly striped walls, fern art, and layers of colors + texture.  Spaced designed by @Jenna_Burger, WWW.JENNABURGER.COM

Foyer Remodel with newly striped walls, fern art, and layers of colors + texture.  Spaced designed by @Jenna_Burger, WWW.JENNABURGER.COM

Foyer Remodel with newly striped walls, fern art, and layers of colors + texture.  Spaced designed by @Jenna_Burger, WWW.JENNABURGER.COM

It’s a great space to come home to now.  It’s absolutely an inviting, welcoming spot to enter.  Something that it wasn’t before…

Foyer Remodel with newly striped walls, fern art, and layers of colors + texture.  Spaced designed by @Jenna_Burger, WWW.JENNABURGER.COM

Thanks for taking a tour of my recently finished foyer revamp!  This space has had quite the transformation over the years.  I hope you enjoyed!  If you want to see more spaces in my home, click on over to my House Tour.

Pallets. Pallets. Pallets.

Pallet projects + creations have been on the ‘Hot List’ for quite a while.  Crafters and DIYers love creating upcycled projects using pallets because of the unique and aged look of the wood, plus you can get them at a very low cost or even for free.

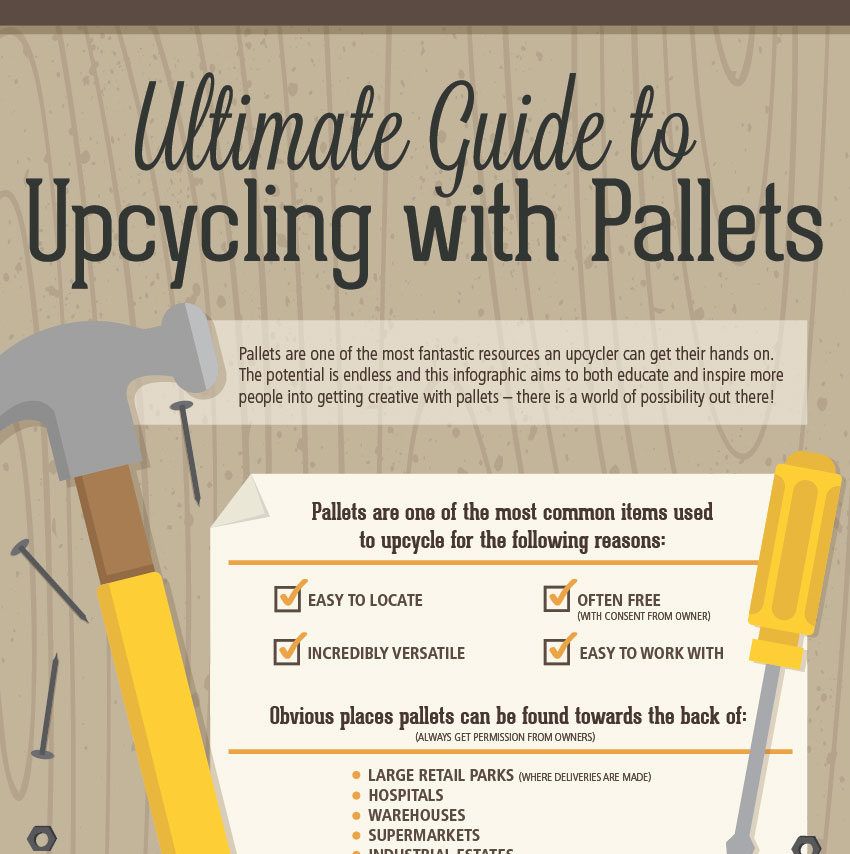
Just this morning I received an email from a follower who created this fun, interesting, and informational infograph (i heart infographs – do you?) on the Ultimate Guide to Upcycling with Pallets.  Since I am always asked by readers where do I find pallets or how do I dismantle them to create something new, I thought I would pass this along…

Ultimate Guide to Upcycling with Pallets - Infograph featured on WWW.JENNABURGER.COMvia
Interesting, right?

I have made my fair share of pallet creations and love each of them.  Take a look…
[dopwgg id=”11″]

At the same time that pallets are loved by so many and creations from beds to headboards to sofas have been made, there has also been controversy on the safety of pallets being used in the home.  I recently read this article and it kind of got me thinking about the wood and where it came from and what it’s been exposed to.  If you are someone who loves using pallets, it’s definitely an important read!

Funky Junk Donna wrote an entire post on everything you need to know about pallets – what to look for, how to dismantle them, and the signs of a bad pallet.

Something to think about and consider when making your next Pallet creation…

Please share…  What pallet creations have you made?


Fall Mantel with Feathers

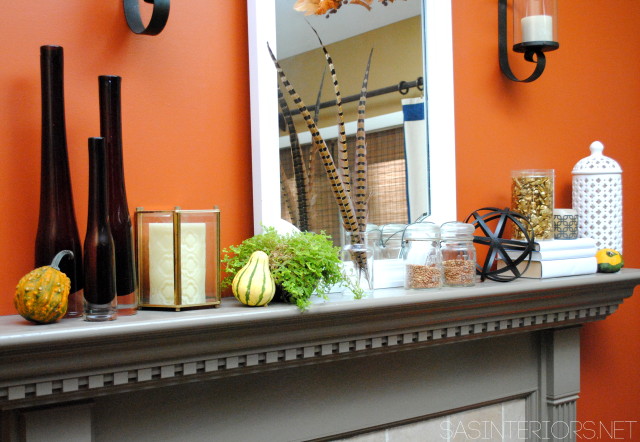
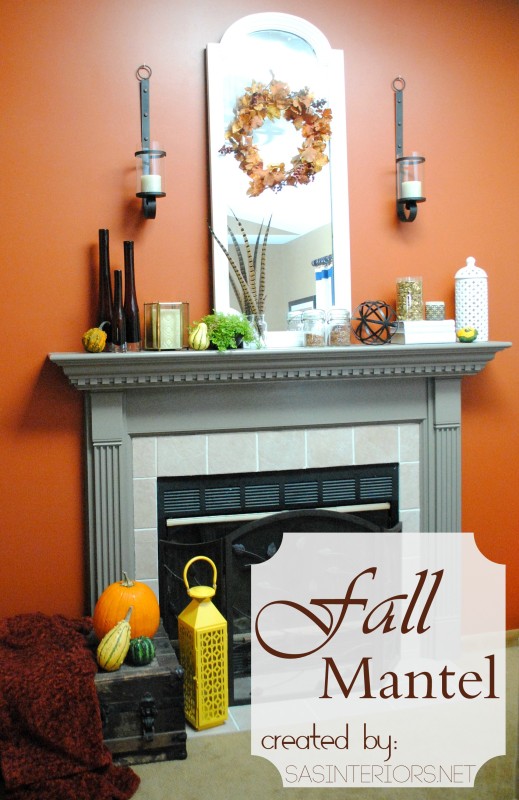
My Fall mantel is complete and yes, it has feathers.

I’m into feathers this Fall.

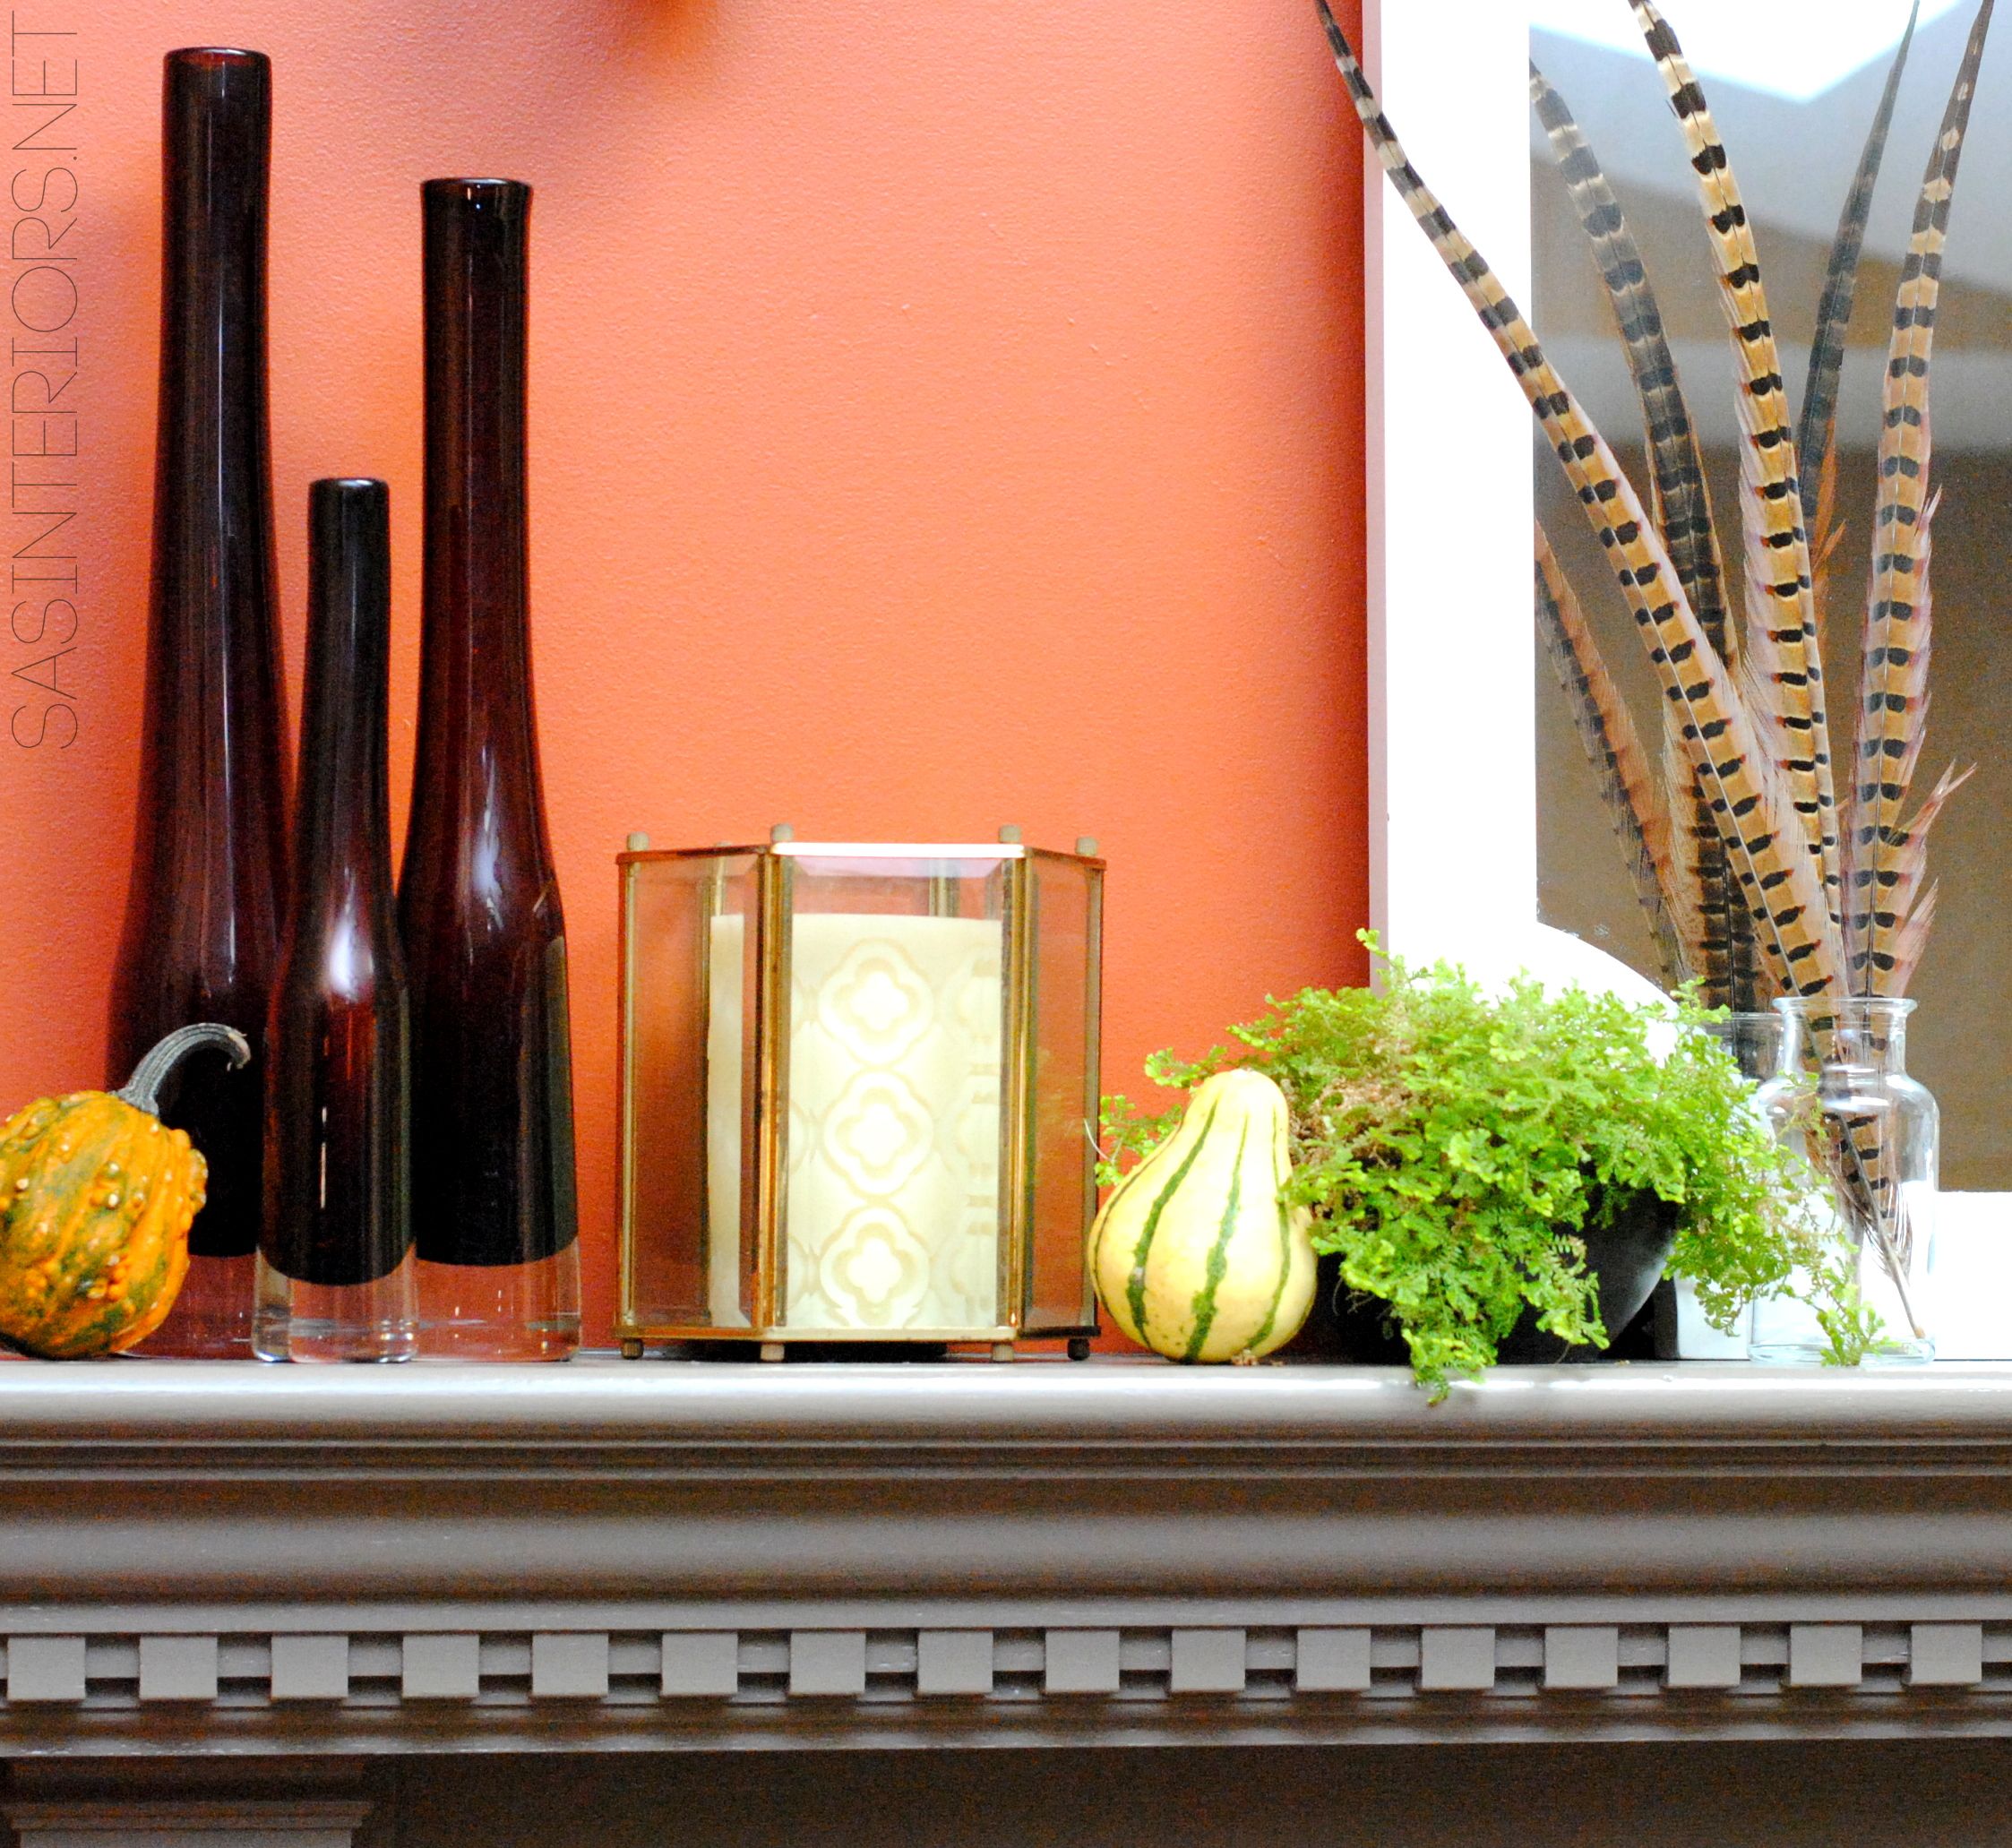
Peacock feathers adorn my latest wreath creation for the season, and now tall feathers (not sure specifically what kind) grace my latest seasonal mantel.

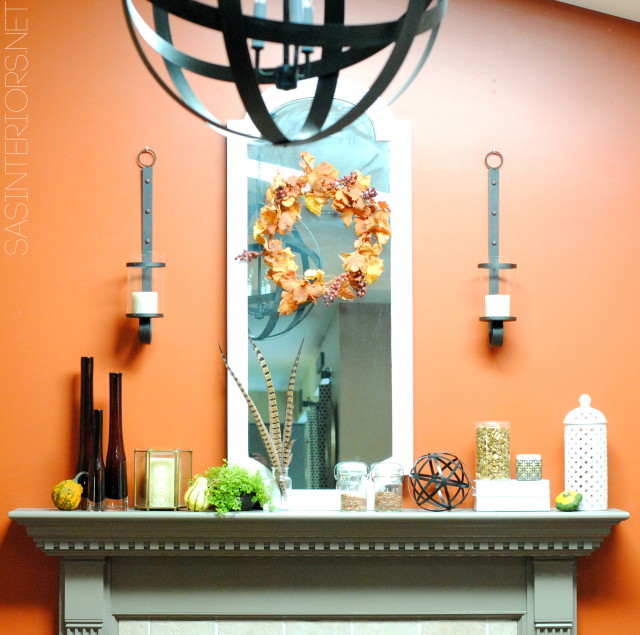
Fall mantel with feathers by @Jenna_Burger, WWW.JENNABURGER.COM

For my Lowe’s October Challenge, one of the projects that the Creative Team could tackle was giving the fireplace mantel a makeover.  I was surely excited and awaiting the opportunity to give my mantel a revamp.  I sent the seashells apackin’ and dug out the pumpkins, ghords, and festive favorites.

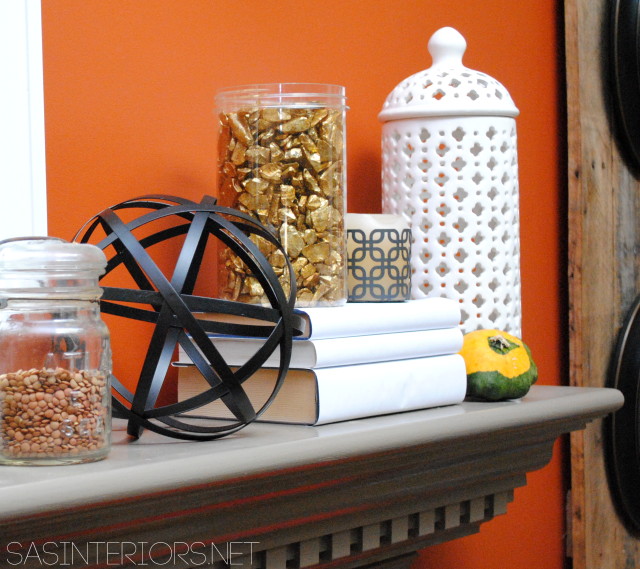
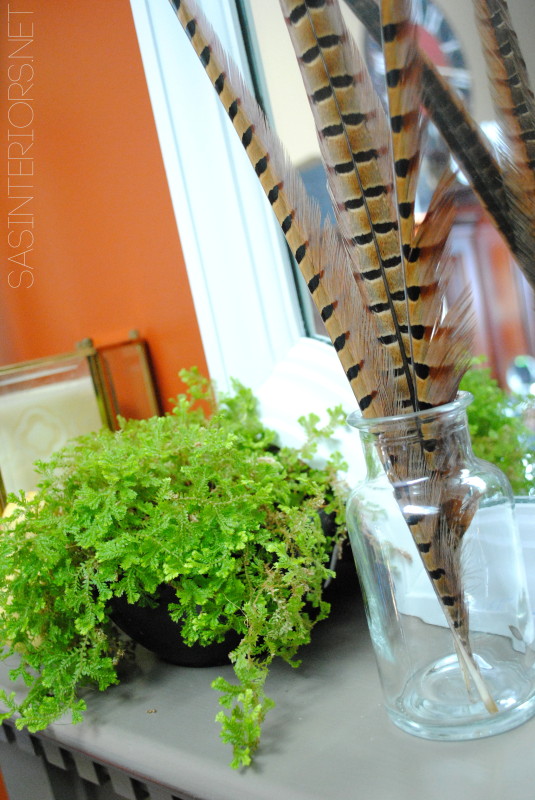
For my latest mantel, I wanted something new & fresh, but started like I usually do by shopping my home before even stepping foot into a store.  It’s always such a great way to create a fresh, new look without spending a lot of $$$.  Most of the elements for my Fall mantel I already had on hand, but a few elements are new like the ghords (obviously since they’re seasonal) + the feathers, which I picked up at AC Moore for $2/each.  They add such a unique, spicy element to the space.

Fall mantel with feathers by @Jenna_Burger, WWW.JENNABURGER.COM

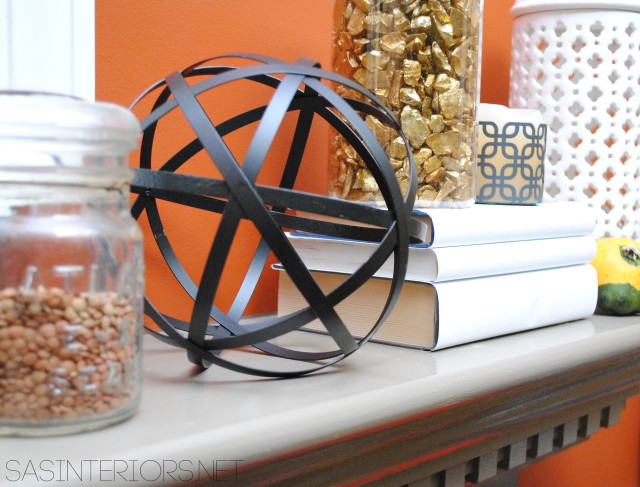
In my travels over the past months, I also picked up this super interesting black sphere, which adds an interesting three-dimensional quality to the new mantel.  To add in some height, I covered 3 books with plain white paper, and topped it with a pretty candle in a geometric holder + a glass filled with gold rocks.

Yes, fabulous gold rocks.

Fall mantel with feathers by @Jenna_Burger, WWW.JENNABURGER.COM

The rocks were a quick and fun DIY project that I tackled with the kids before school started a few weeks ago.  We had gone for a hike at a local lake and they collected a bunch of rocks.  My nifty brain got me thinking…  let’s jazz em’ up with a little spray paint!  It’s ah-mazing what a little flashy gold can do…

bling bling!

Fall mantel with feathers by @Jenna_Burger, WWW.JENNABURGER.COM

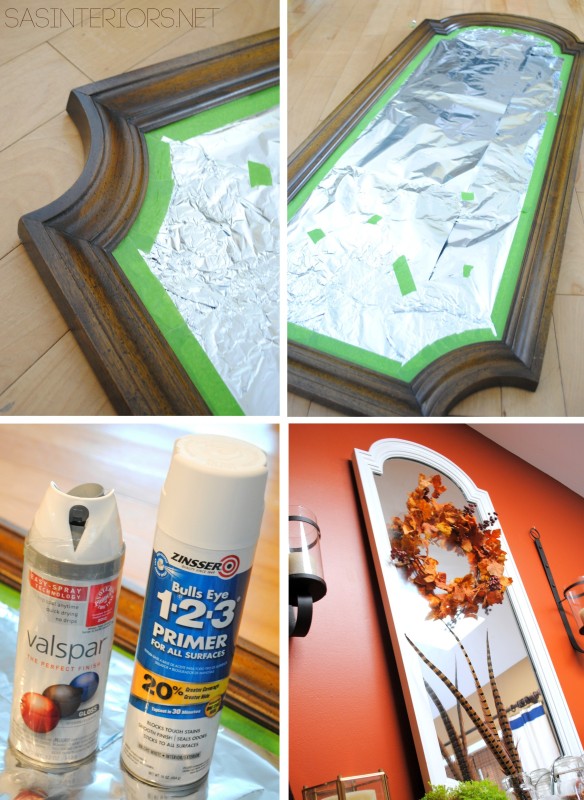
Another new element in the space is the mirror.  It’s not new to me, but something that I purchased 2 years ago, but has been sitting in the garage ever since.  It was wood, but I wanted it white, so once again, spray paint to the rescue!

Prime.  Paint.  And something new + magical is born.

MIrror before and after - $5 fix with white spray paint by @Jenna_Burger, WWW.JENNABURGER.COM

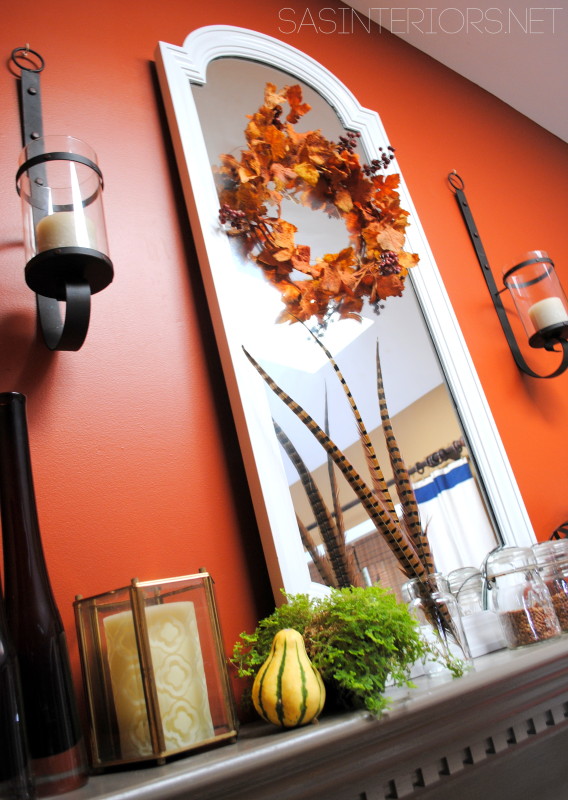
And the result…

Fall mantel with feathers by @Jenna_Burger, WWW.JENNABURGER.COM

For now, it leans on the wall instead of being hung.  I change things so much (probably too much) that it wasn’t worth another hole in the wall.

The overall space is definitely happy + festive + perfectly set for Fall.

Fall mantel with feathers by @Jenna_Burger, WWW.JENNABURGER.COM

Some more details…

My upcycled light turned vase (now a candle holder) made this years Fall mantel.  Still one of my favorite upcycle projects to date…

Fall mantel with feathers by @Jenna_Burger, WWW.JENNABURGER.COM

Fall mantel with feathers by @Jenna_Burger, WWW.JENNABURGER.COM

Fall mantel with feathers by @Jenna_Burger, WWW.JENNABURGER.COM

To add to the whole composition, I added in a few more festive elements that sit at the foot of the fireplace.  I brought in my thrift-store old chest (which holds the kids wooden trains) and topped with a large pumpkin and a few wonky ghords.  And instead of my tall vibrant yellow lantern sitting on the mantel this time, I brought it to the floor.

Fall mantel with feathers by @Jenna_Burger, WWW.JENNABURGER.COM

Fall mantel with feathers by @Jenna_Burger, WWW.JENNABURGER.COM

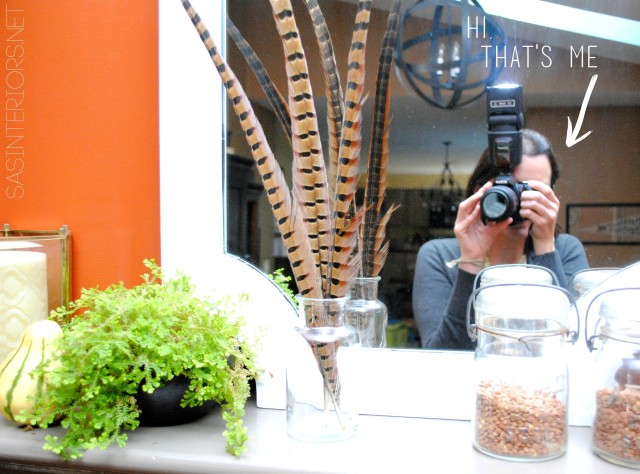
O, and there’s me, photographing the most difficult space in the world. Seriously I take 100s of shots and am never satisfied.  Well I tried and I hope you enjoyed.

Hi!

Fall mantel with feathers by @Jenna_Burger, WWW.JENNABURGER.COM

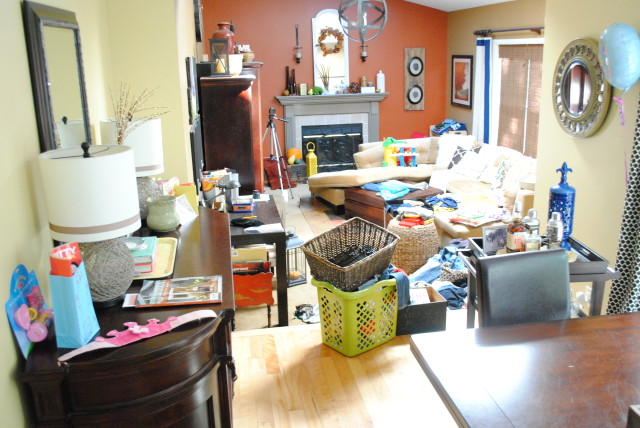
And lastly, in striving to always keep it real, this is how the space around me looked at the time of photographing…

All looks perfect in the shot, but there was a bunch of craziness around it.

Moved furniture.

Laundry.

Birthday supplies.

Just keepin’ it real…

I hope you enjoyed my Fall Mantel with feathers. What adorns your mantel for Fall?

To gather even more unique, fun, and creative ideas for your indoor and outdoor Fall spaces, I would definitely suggest downloading the Lowe’s Creative Ideas app on the iphone and ipad.  I’m always checking out the FREE app for great seasonal + do-it-yourself inspiration.

Lowes Creative Idea Network Creator & Influencer

Also consider following Lowe’s on Facebook, Pinterest, and Instagram as well.

 Disclosure: I am part of the Lowe’s Creative Team and was provided with a Lowe’s gift card to purchase items for my project.  I was also compensated for my time to use the products.  No one told me what to create, what to buy, how to use the product, or what to write.  All opinions are 100% mine! Fall Blogger Badge 1

Fall Front Porch

It’s officially Fall!

I was a bit sad to see the Summer end, but I have to say, with the kids back in school and a routine once again being established, the arrival of the season has actually been quite delightful.  The weather also has been chilly, so it just adds to the thought that Fall is in full swing.

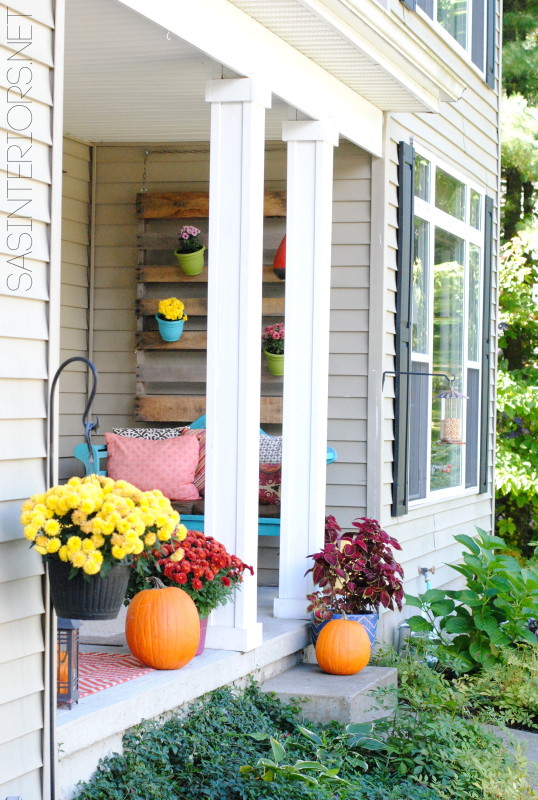
To celebrate the new season, I had to give my front porch a new look.  After finishing it up over the weekend + photographing it yesterday, it’s ready to share + enjoy!

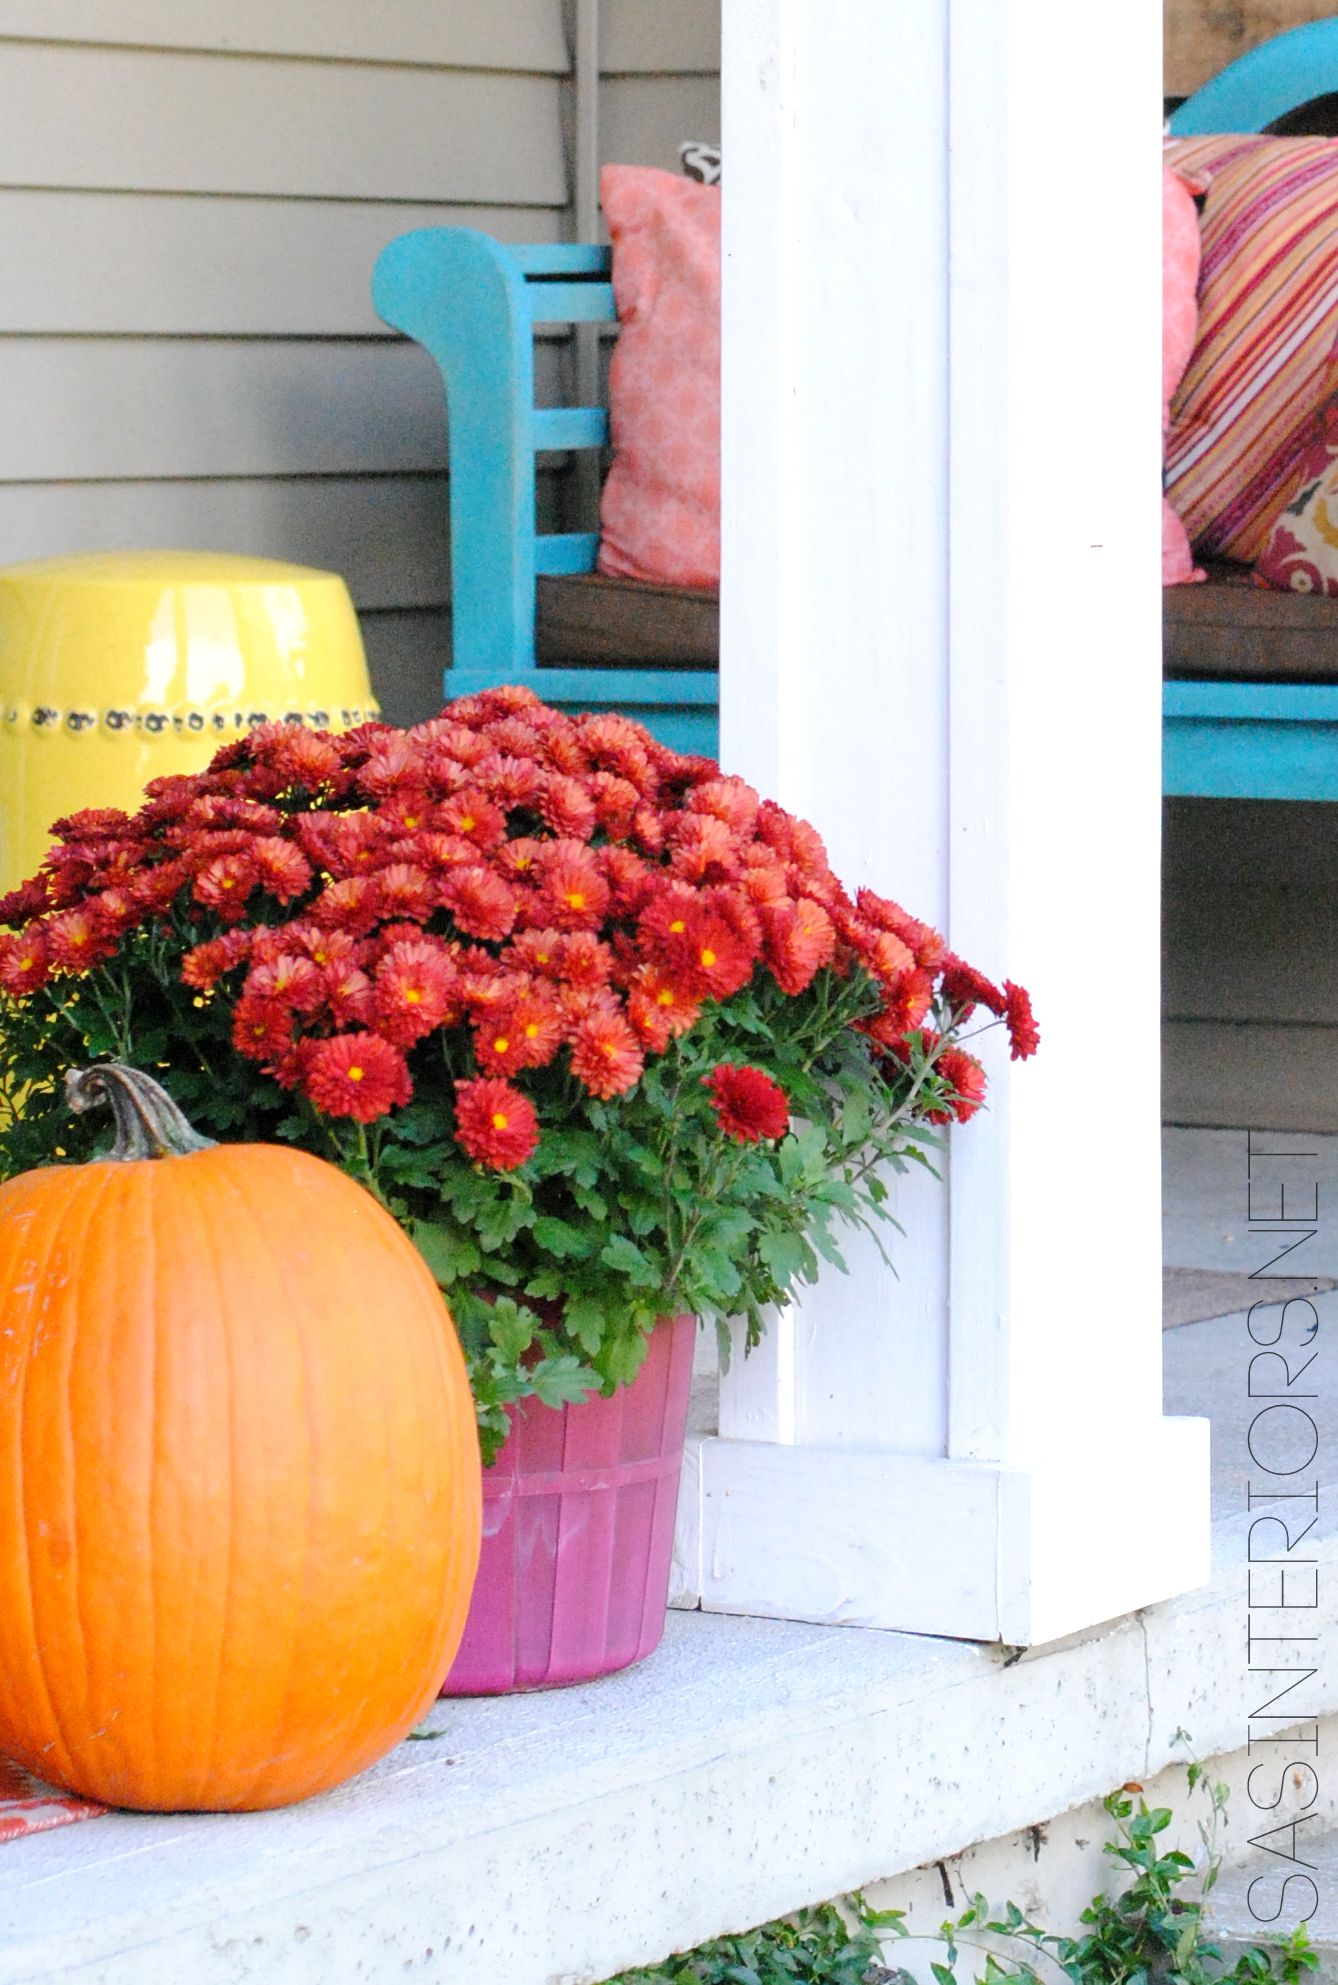
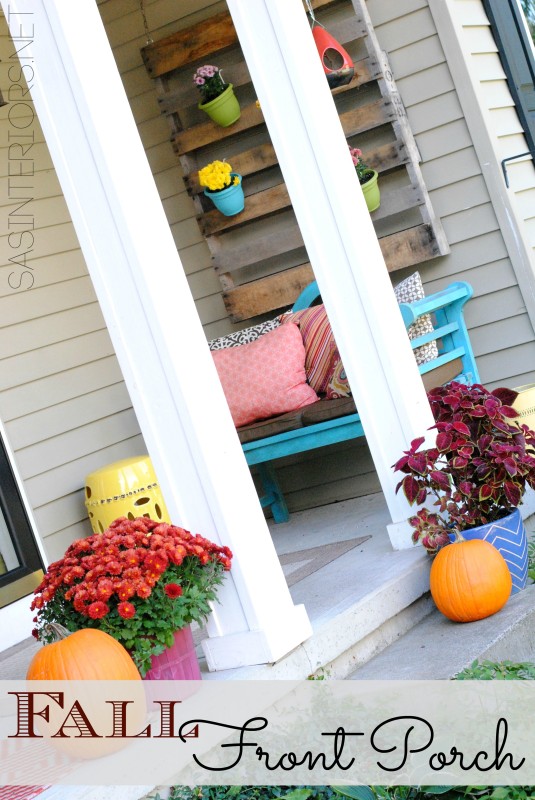
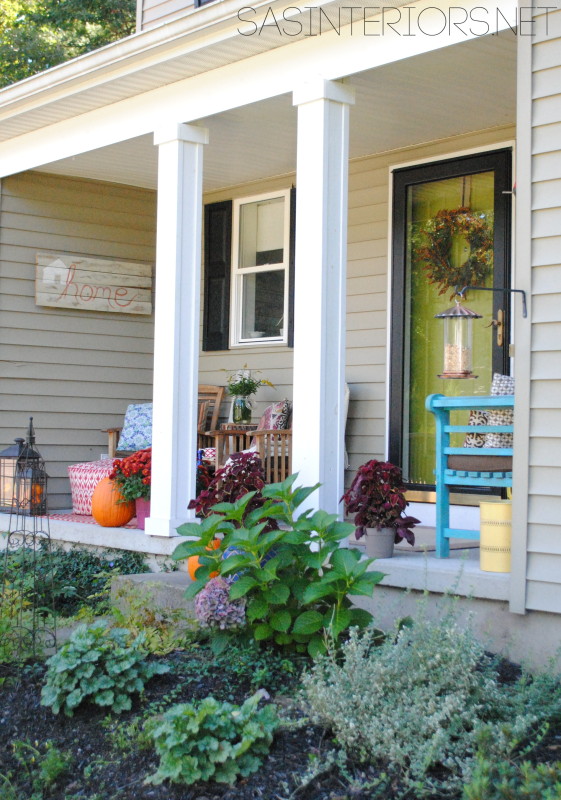
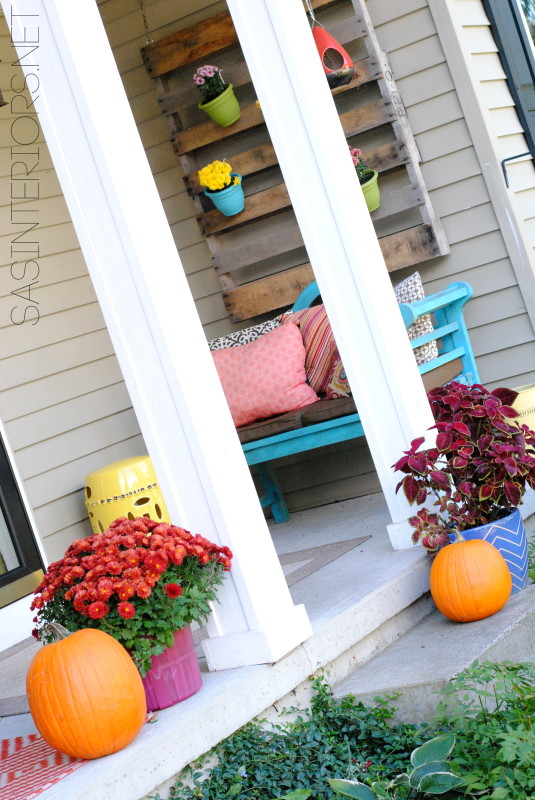
This seasons front porch didn’t change much.  I really just added in a few new layers of color + festive pumpkins, ghords, and mums.

Take a look…
Fall Front Porch by @Jenna_Burger, 
WWW.JENNABURGER.COM

Welcome.

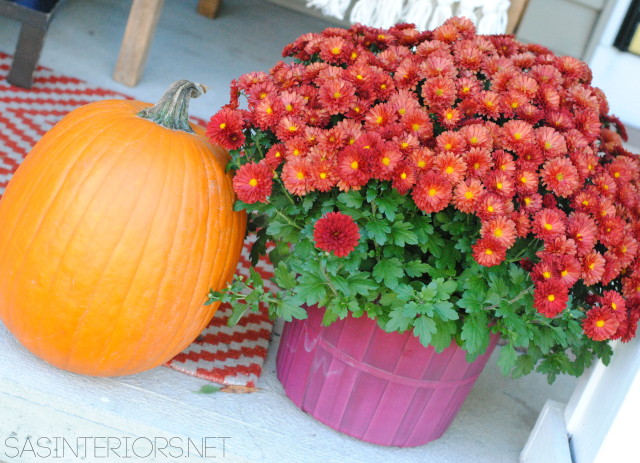
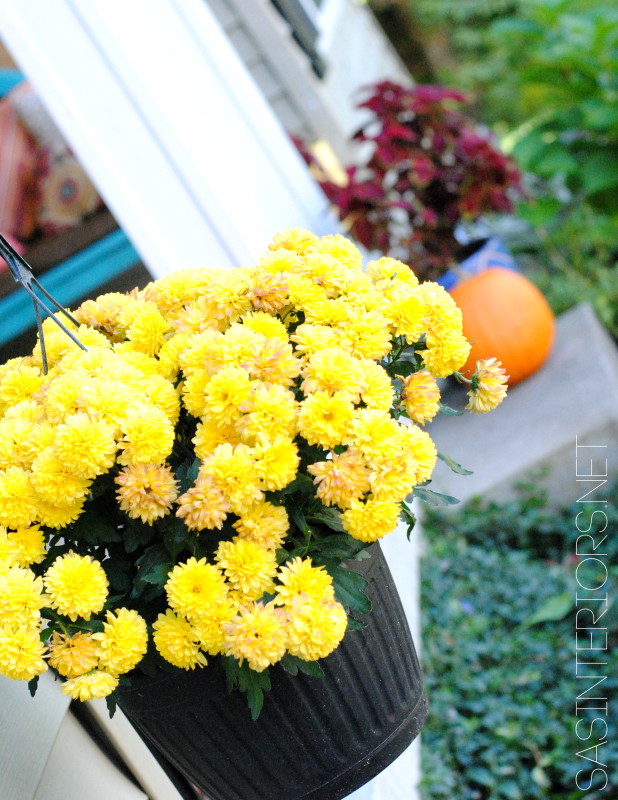
The entrance of a home sets the style + tone for what’s to come on the inside.  I always like to evoke an inviting, colorful, and welcoming aesthetic to my seasonal & holiday front porch creations.  With it being Fall, colorful pumpkins + mums were a must.

Fall Front Porch by @Jenna_Burger, 
WWW.JENNABURGER.COM

Both bring fantastic color to the porch.

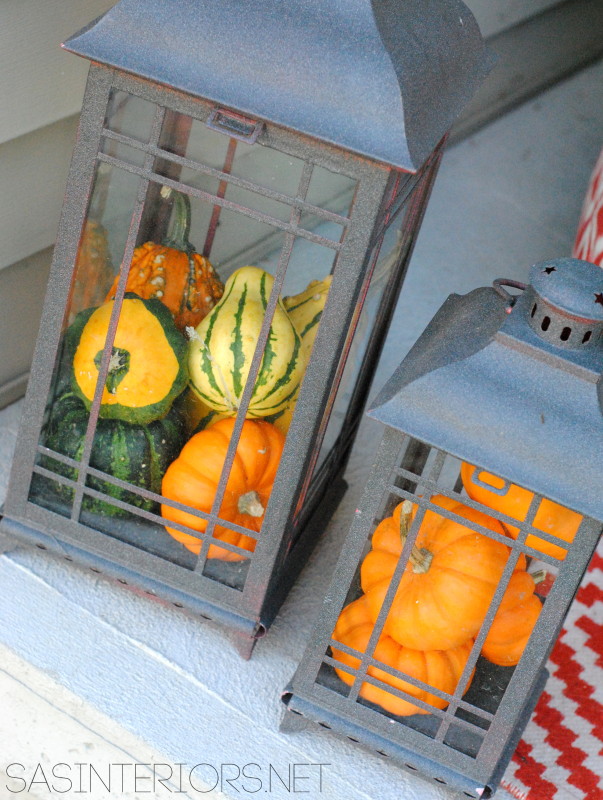
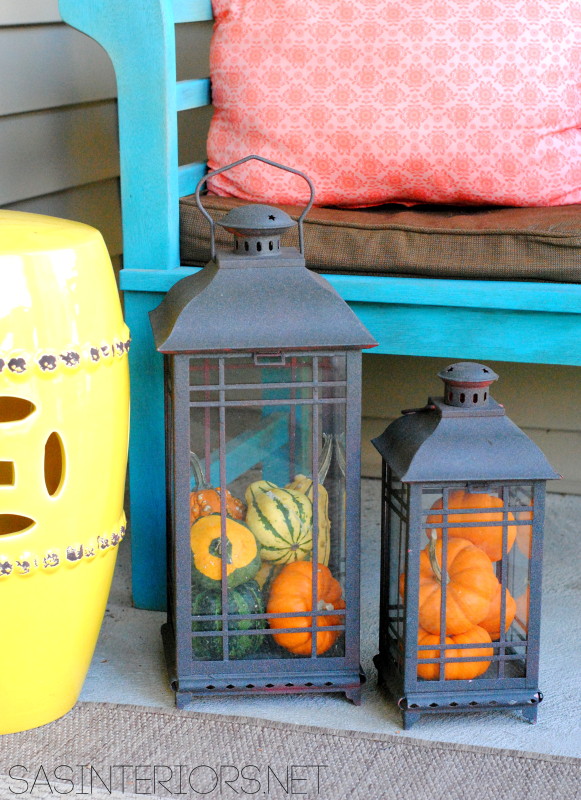
I also filled my lanterns with sugar pumpkins + interesting shaped ghords.

Fall Front Porch by @Jenna_Burger, WWW.JENNABURGER.COM

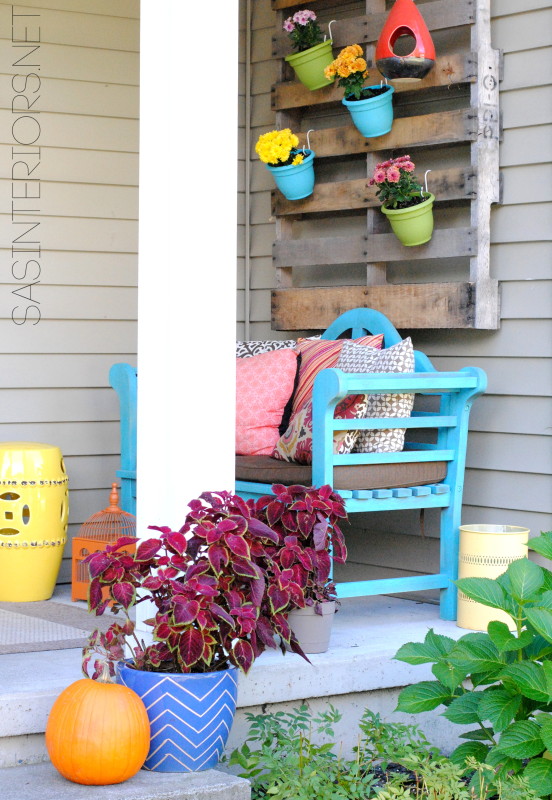
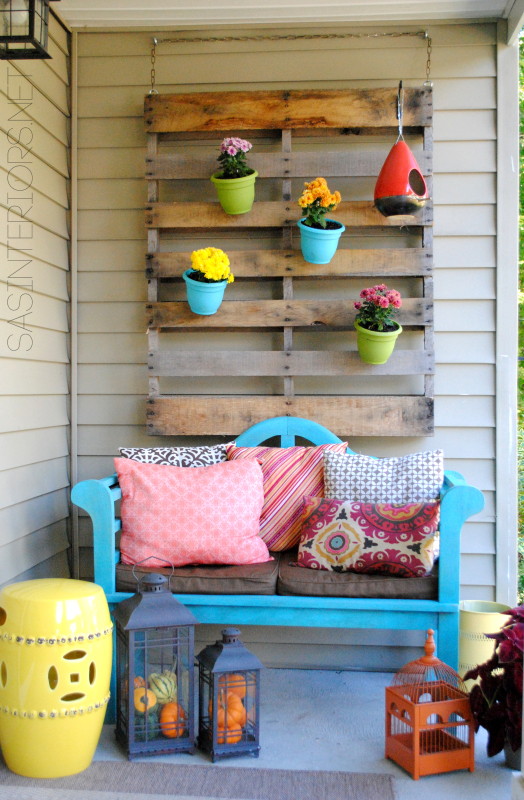
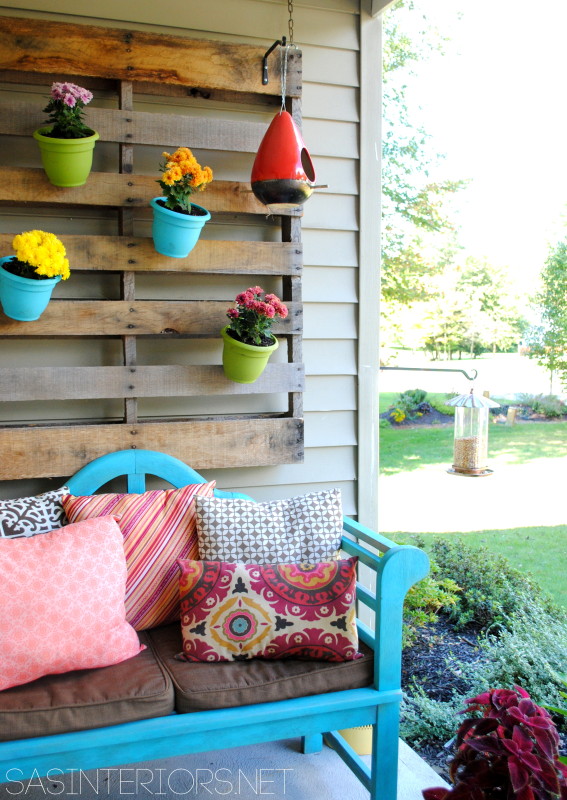
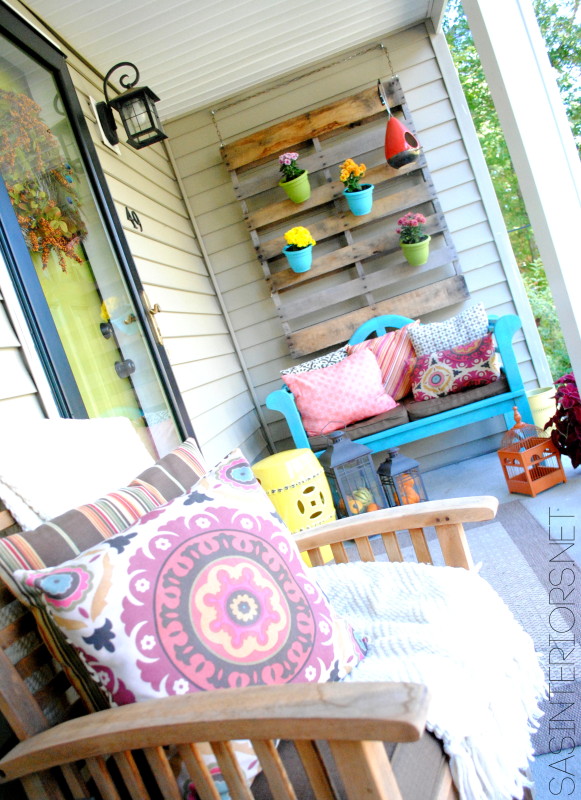
The vertical pallet ‘garden‘ also got a revamp.  Down came the vines + spring flowers and in their place went colorful mums.  I planted them a few weeks ago with the kids.  It was great getting them involved and we got to use my other pallet creation that I made this past summer.

Fall Front Porch by @Jenna_Burger, WWW.JENNABURGER.COM

Fall Front Porch by @Jenna_Burger, WWW.JENNABURGER.COM

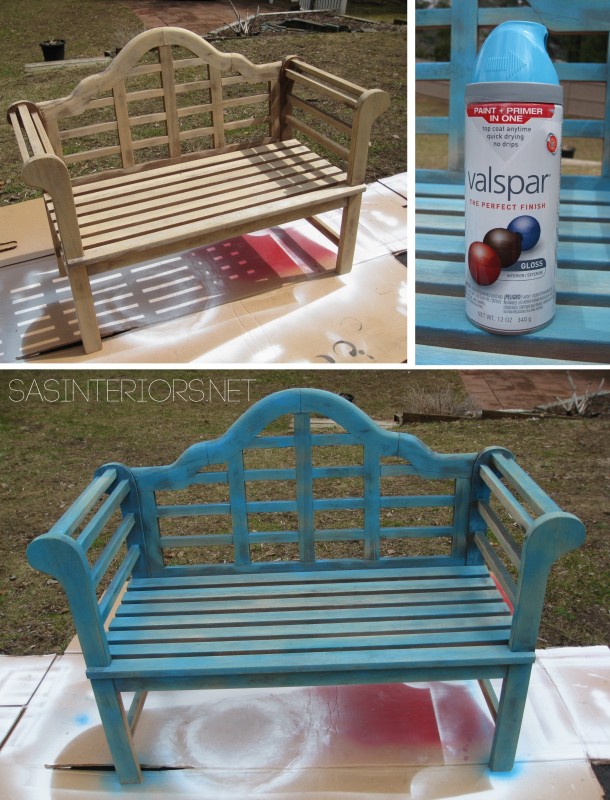
I never shared this on the blog (I kinda forgot with other projects going on), but the lutchens bench that sits under the pallet got a makeover at the beginning of the summer.  It used to be plain wood (natural finish with no stain) and with the desire to bring in more color to the porch, I spray painted it in a turquoise color.  It sure is an eye-catcher!

Lutchens Bench before and after by @Jenna_Burger of WWW.JENNABURGER.COM

It’s amazing how something can look brand new for under $5!

Fall Front Porch by @Jenna_Burger, WWW.JENNABURGER.COM

Fall Front Porch by @Jenna_Burger, WWW.JENNABURGER.COM

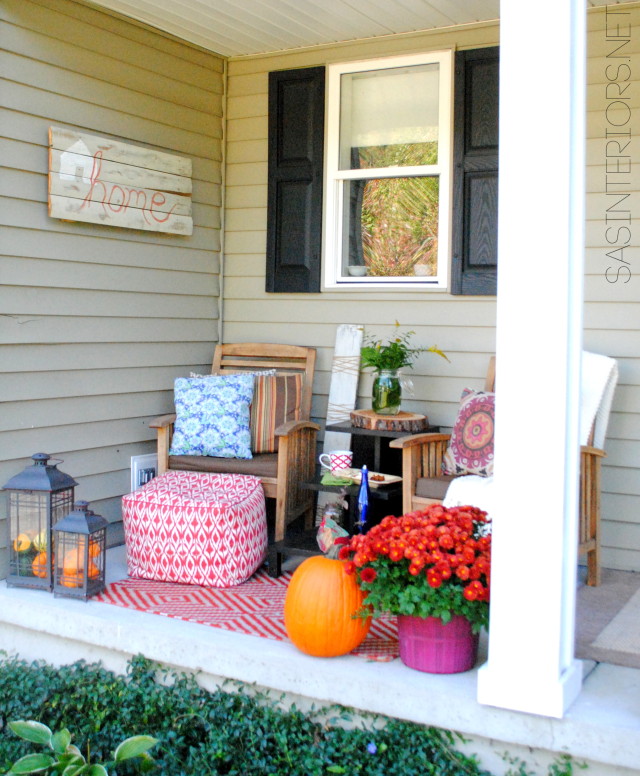
The other side of the front porch is just as delightful with 2 teak side chairs and a tiered table in between.  The table is from West Elm.  It’s seen better days and almost got tossed until I realized outside under the covered porch was the perfect next life for it.

Fall Front Porch by @Jenna_Burger, WWW.JENNABURGER.COM

The table is also the perfect spot to rest a cup of tea and enjoy a few treats.  Yesterday a sliced apple + an apple muffin were my treat of choice.

Fall Front Porch by @Jenna_Burger, WWW.JENNABURGER.COM

Fall Front Porch by @Jenna_Burger, WWW.JENNABURGER.COM

Fall Front Porch by @Jenna_Burger, WWW.JENNABURGER.COM

Even though the front porch isn’t a large space, it’s so cozy.  Whether watching the kids on their bikes or simply enjoying a few (rare) quiet moments, I love sitting out there enjoying our home and ‘the fruits of our labor’.

Fall Front Porch by @Jenna_Burger, WWW.JENNABURGER.COM

Want to see how much it’s changed?  Check out these ‘before’ photos from 2 years ago…

Quite the transformation!

Fall Front Porch by @Jenna_Burger, WWW.JENNABURGER.COM

Fall Front Porch by @Jenna_Burger, WWW.JENNABURGER.COM

Fall Front Porch by @Jenna_Burger, WWW.JENNABURGER.COM

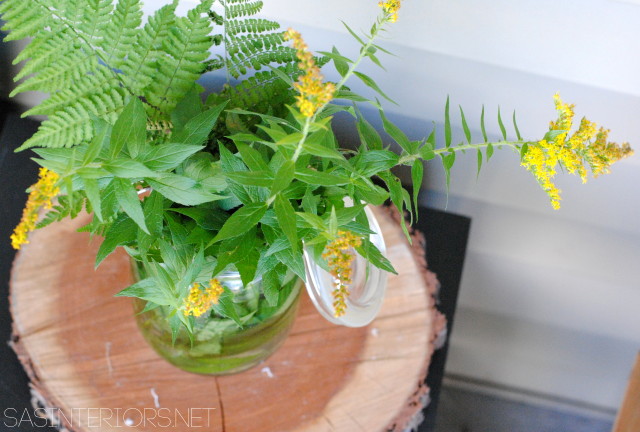
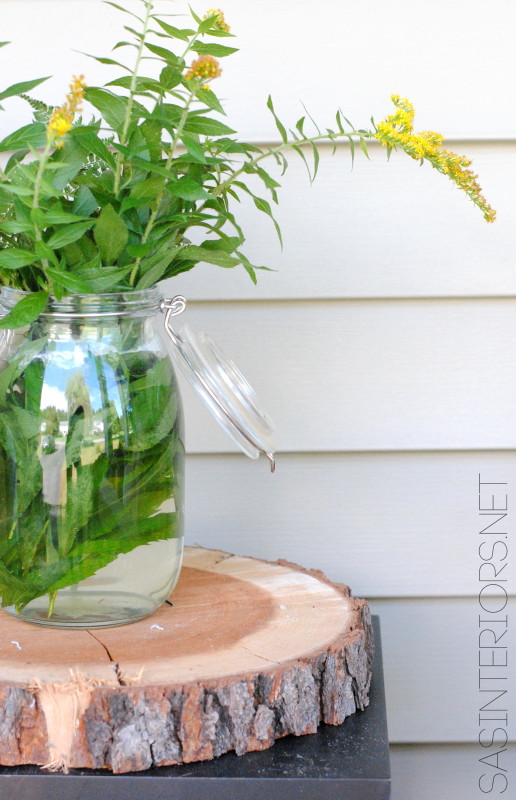
Wild flowers from the yard make the perfect centerpiece.  Not sure if it’s because they’re from our garden or because they’re free, but either way, this simple arrangement makes me so happy.

Fall Front Porch by @Jenna_Burger, WWW.JENNABURGER.COM

Fall Front Porch by @Jenna_Burger, WWW.JENNABURGER.COM

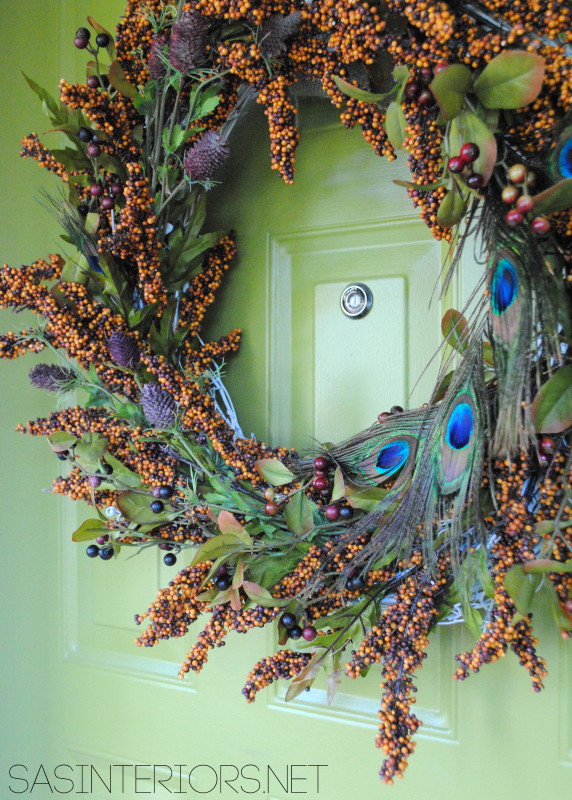
On my apple green front door, sits my latest wreath creation that I shared last week.  I love the plums & navy hues!

Autumn Wreath with Plum + Peacock Accents by @Jenna_Burger, sasinteriors.net

Fall Front Porch by @Jenna_Burger, WWW.JENNABURGER.COM

Thanks for visiting!  I loved having you tour my new festive Fall front porch.  I hope you enjoyed.

Fall Front Porch by @Jenna_Burger, sasinteriors.netWhat elements have you brought in to decorate your Fall front porch?

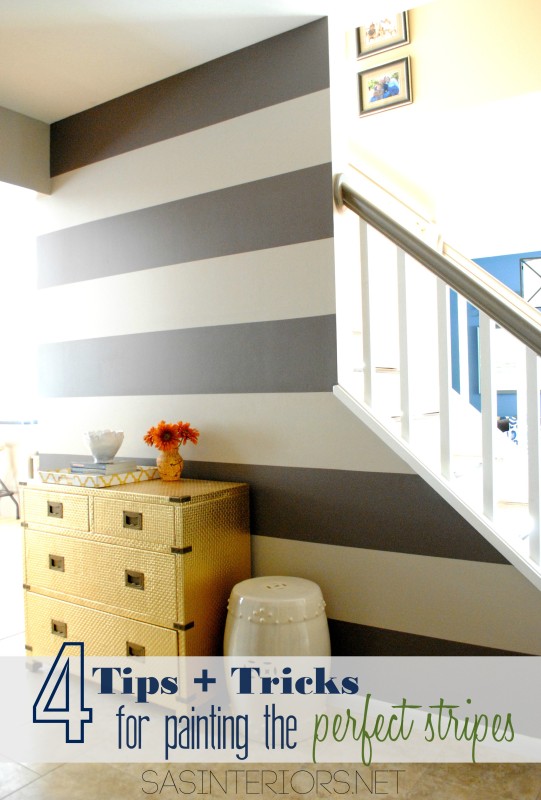
Tips + Tricks for Painting the Perfect Stripes

This time last week I was just about to jump into the foyer remodel.  I was picking up the paint + supplies, removing everything from the space, and getting the walls prepped.

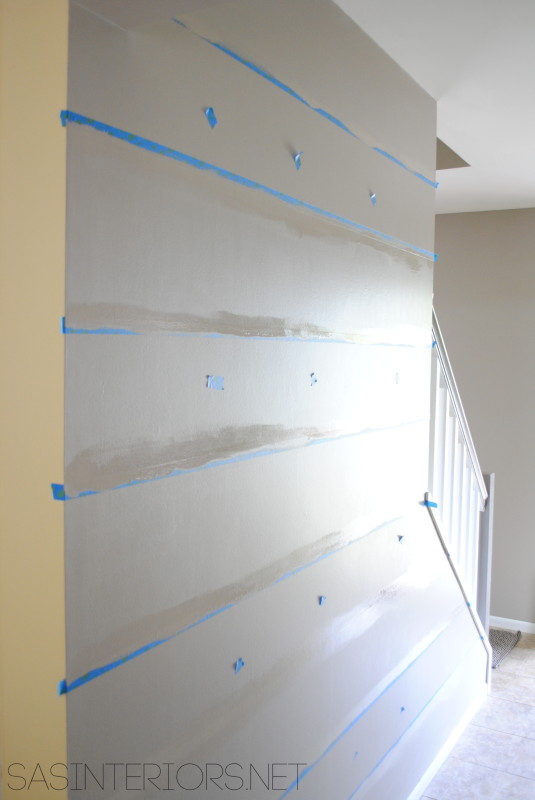
A color was chosen.  The walls were spackled, sanded, and painted.  Then last the stripes were added.

Straight Stripes.
Crisp Stripes.
Perfect Stripes.

I am actually really impressed with myself on how straight the stripes turned out.

Here is the result…

Tips + Tricks for painting straight, crisp, perfect stripes

Now a week later, other than the styling + accessories, the space is complete. {big sigh of relief}…

But taking a step back, I learned alot about painting stripes.  There are many tutorials out there – I’m sure if you google it, you will find plenty –  and instead of giving you a step-by-step, I thought I’d simply give you the 411 on what worked and why.  Ready for it???

Trick 1.

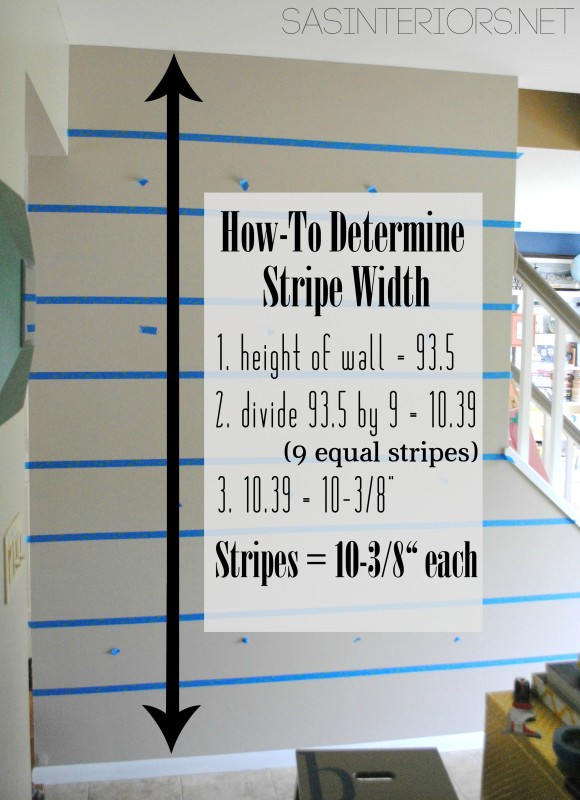
The # of stripes.  Start out by determining how wide + how many stripes you want on the wall.   I wanted to go wide (somewhere between 10-12″ wide) + I wanted an odd number of dark stripes (for some reason odd numbered things appeal to the eye better), so I created a simple drawing of my wall.

The paintable wall (excluding the base moulding) measured =  93.5″.  I divided 93.5 by 9 (because I wanted 9 equal stripes) = 10.38. So each stripe resulted about 10-3/8″ wide.

Are you with me?  

Here’s a picture…

How To Determine Stripe Width + Tips  and Tricks for painting straight, crisp, perfect stripesI hope I didn’t lose you. Stick with me.

Trick 2.

So you got your stripe width figured out.

The next step is to make the stripes.  I went with the simplest technique for creating the stripes No nifty gadgets or gizmos were used, but instead just an ordinary, everyday tape measure.  Yup, I’ve got about a half dozen lying around.

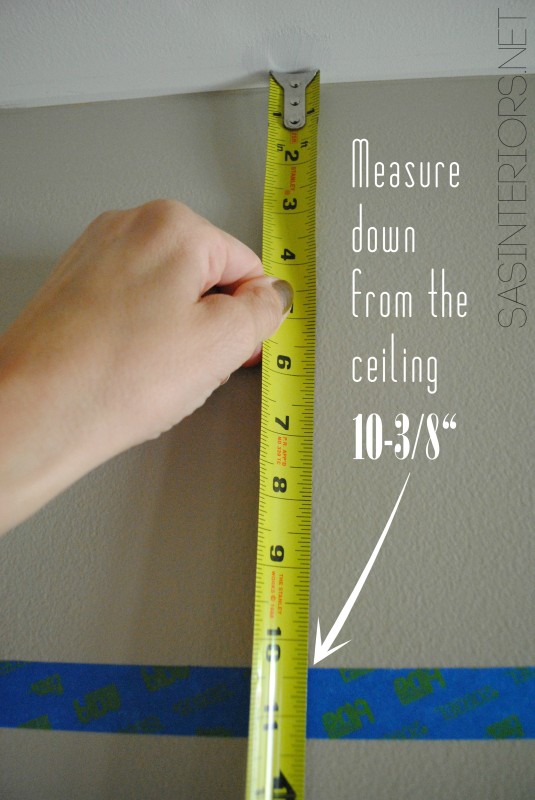
Starting at the ceiling (that’s key – don’t start from the floor), I measured down about 10-3/8″ and made a mark with my pencil about every 20″ across the wall.

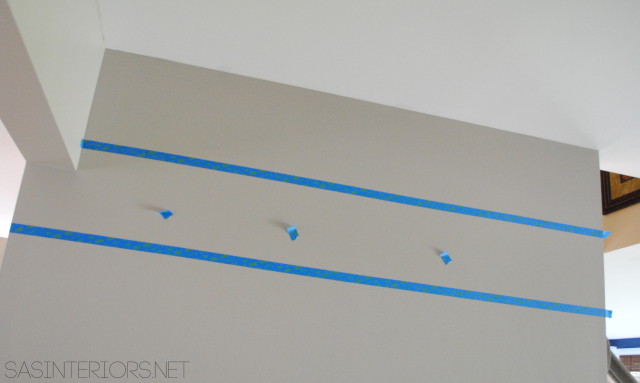
Then I connected the dots.  I lined up the tape with the first dot at the left wall edge, then continued across the wall meeting each dot.  It was fairly simple.  Once the tape was in place, I checked that the tape read 10-3/8″ all the way across.

When measuring stripes for the wall, always measure from the ceiling down.

Tips + Tricks for painting straight, crisp, perfect stripes

For this project, I used 3M painters tape.  I’ve used it before when painting the stripes in my son’s room & I have also tried FrogTape when creating the chalkboard wall for the CCC.  To be honest, I feel both are equal.  Both have a magical “formula” to keep the paint from supposedly seeping under the tape.  I don’t think that it works incredibly (but I have a another trick for that), so overall, I don’t prefer one more over the other.  Both do the job.  But, I will say, don’t cheap out (like I have in the past) and buy a generic painters tape.  IT. WON’T. STICK. TO. THE. WALL.  Go with the good stuff… 3M or Frogtape!

Trick 3.

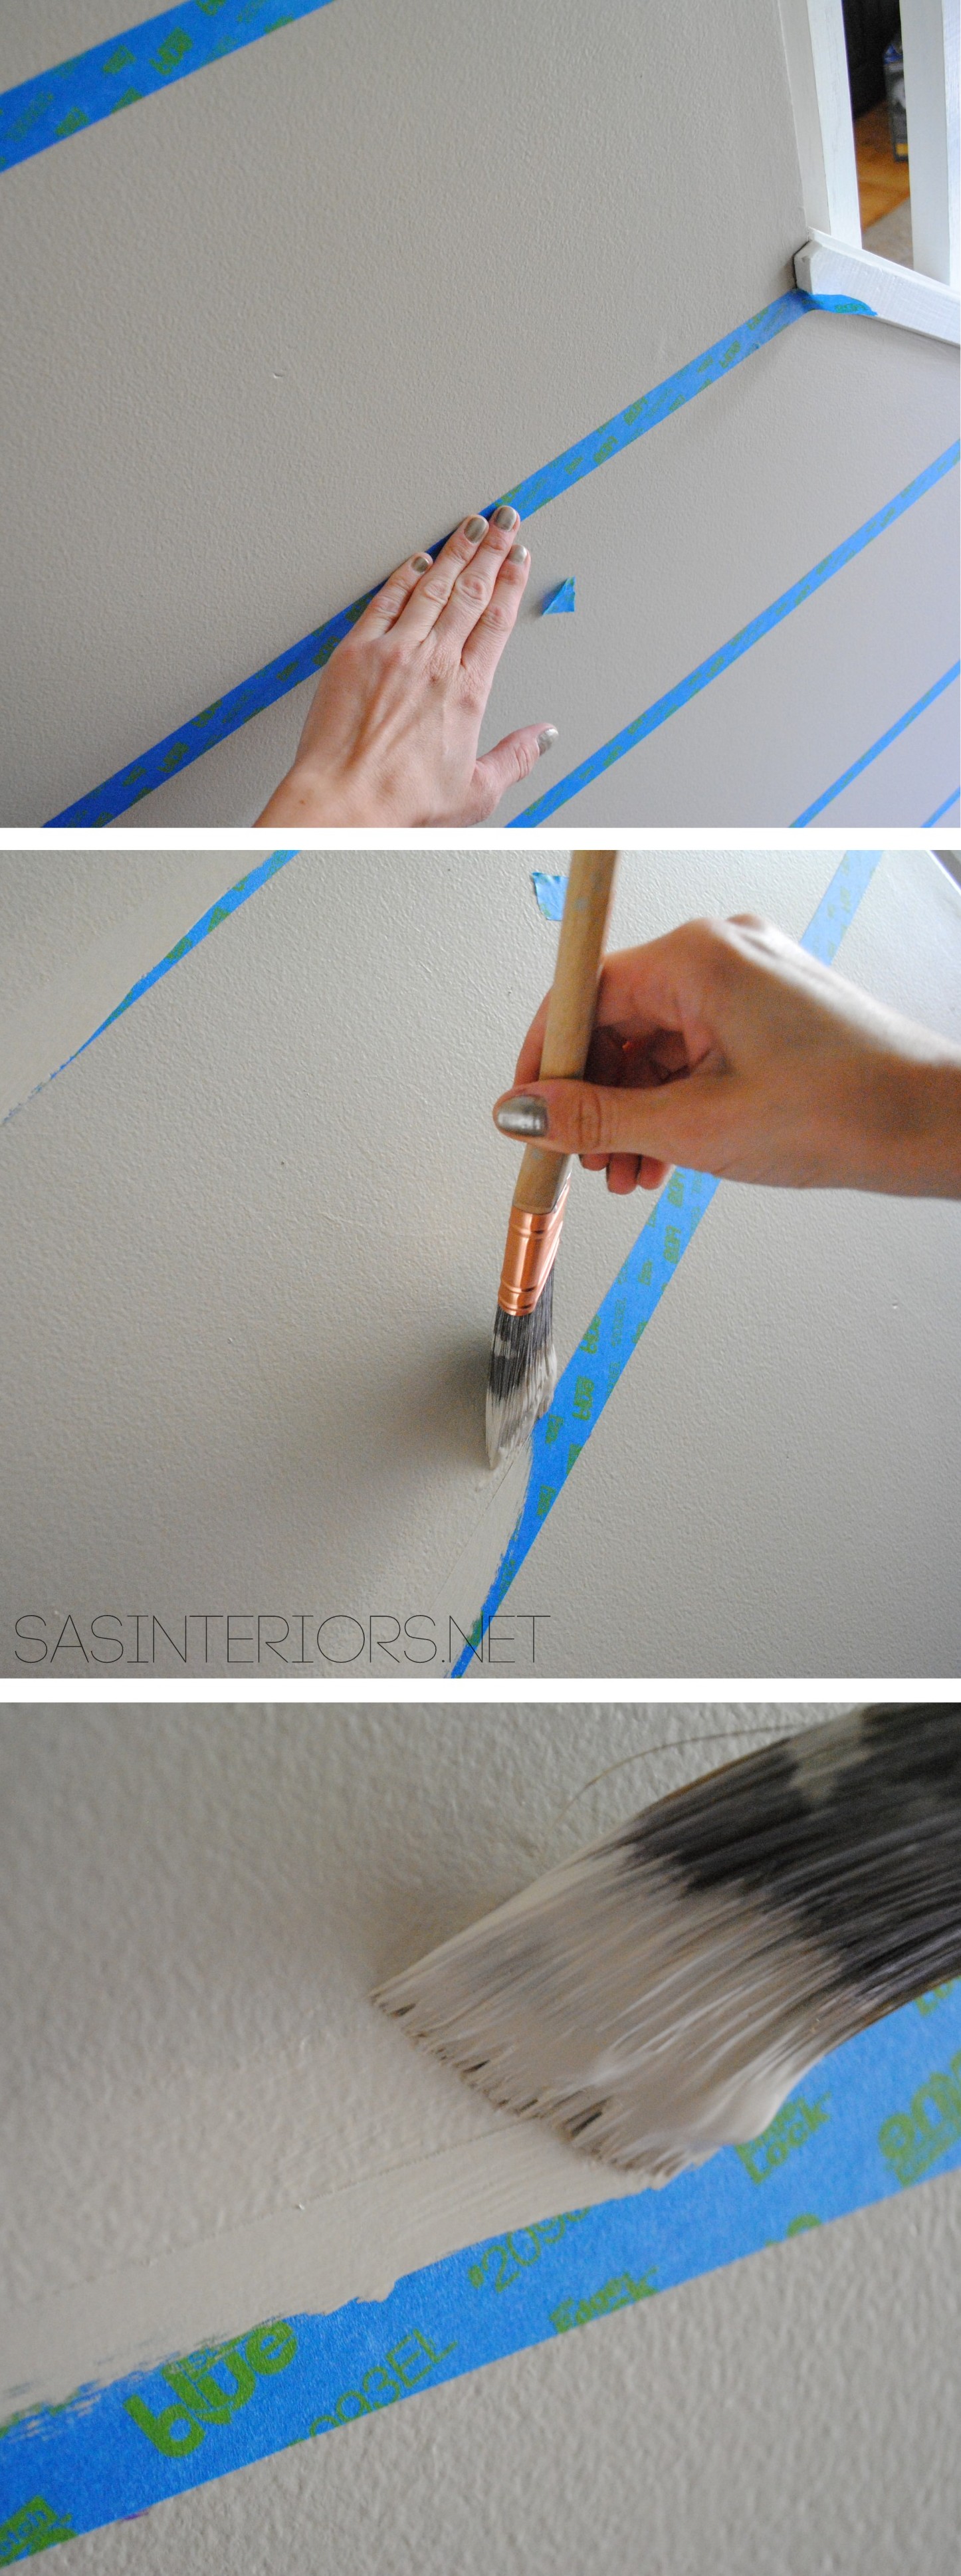
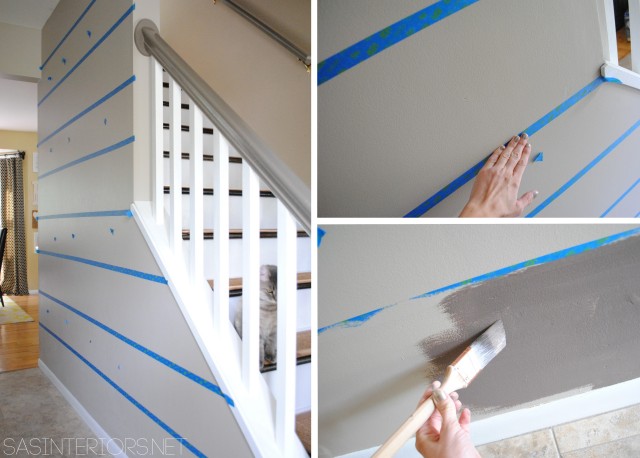
So this is the best trick of ALL!!  The true way to achieving the most crisp, perfect striped lines with NO SEEPAGE under the tape is to “seal it”.  It sounds harder than it is.  After you’ve painted, use a brush to paint over the tape edge on the side you plan on painting the striped color (on my wall it was the dark color).   READ: ***Don’t paint the edge of the tape that is staying the background color because you will get a line after the tape is removed.

Then “burnish” (push hard) the tape into the wall so it makes a good seal.

Tips + Tricks for painting straight, crisp, perfect stripes

To help with remembering which side was which, I added a small piece of tape to the stripes that weren’t changing…  the background color.

Tips + Tricks for painting straight, crisp, perfect stripes

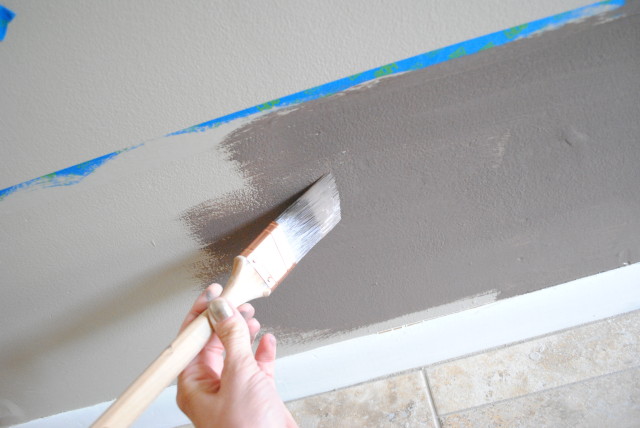
Then came the paint.  I’m sure you know how to do that.  No trick there…

Tips + Tricks for painting straight, crisp, perfect stripes

Last and final tip…

Trick 4.

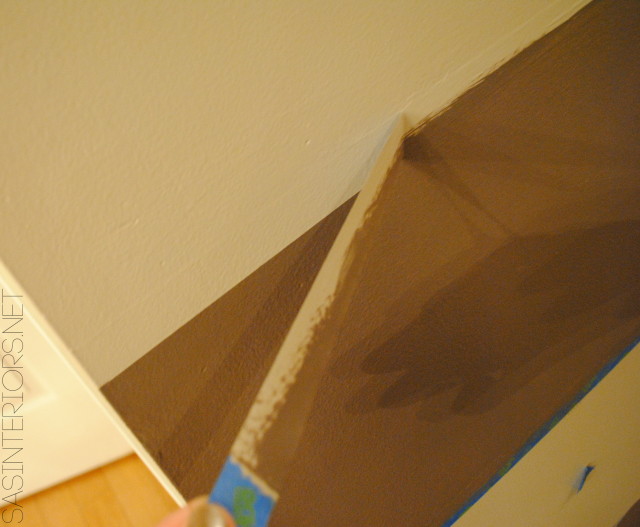
After the second coat of paint remove the tape.  Yes, while the paint is still wet.

Tips + Tricks for painting straight, crisp, perfect stripessorry for the mucky picture, it was late at night when I took these pictures.

And you’re done.  Those are the 4 easy tricks + tips I have for painting stripes on walls.

Tips + Tricks for painting straight, crisp, perfect stripes

Fairly manageable, right?  So do you think you would try stripes now?

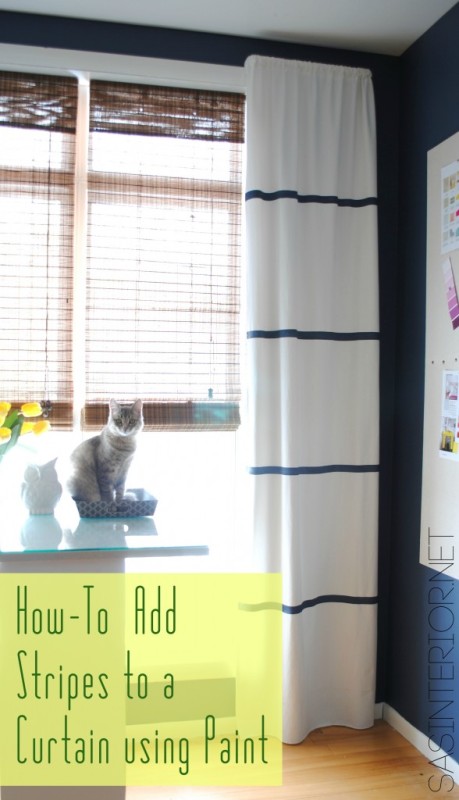
Have you ever seen the stripes I painted onto window curtain panels?  They are still my most favorite curtain panel to date…

How to add stripes to a curtain panel using paint

Anyway, let’s get back to my foyer.  Want to see more pictures of the crisp, straight, and incredibly perfect lines?

Tips + Tricks for painting straight, crisp, perfect stripes

Tips + Tricks for painting straight, crisp, perfect stripes

Tips + Tricks for painting straight, crisp, perfect stripes

Tips + Tricks for painting straight, crisp, perfect stripes

Tips + Tricks for painting straight, crisp, perfect stripes

And there you have it.  The crispest lines you’ve ever seen and it was so easy. Are you ready to paint stripes on your walls?  I’m thrilled with the result.

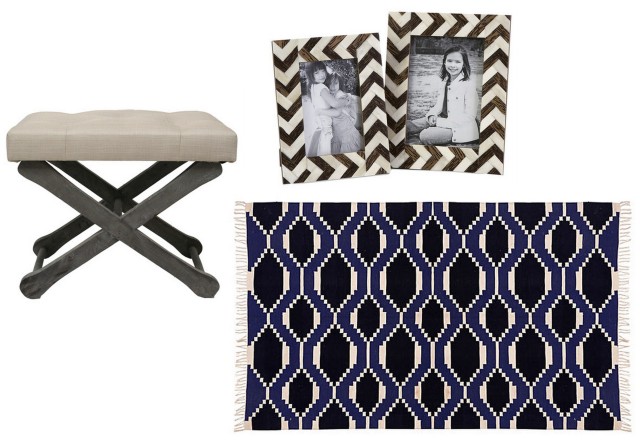
I have a few things I just ordered to finish up this space.  Here’s a peak…

With the new gold gorgeousness, a.k.a. the new gold dresser, these new elements are going to be just right to finish up the space.

Once they arrive, I will share the big reveal.  Until then, be sure to get your stripe on this weekend.

Where are you going to add stripes?  Do you have stripes in your home already?

Foyer Progress + Painting Made Easy

As of 9:00 last night, the painting of the walls + the stripes are done.  Now that’s a big checkmark off my list!

I have one more element in the space that needs a last coat of paint, and then the painting part of the Foyer Remodel will be complete.  A few styling magic tricks to follow and the space will be completely fresh and new.

Taking a step back though, I have to tell ya that the painting process wasn’t too grueling.  Before venturing into a painting project, I’m always a little leery about how long it will really take. From removing everything in the space to spackling the holes to painting the edges to finally painting the main walls, it ends up being double the time than originally estimated. Plus I’m usually tuckered out over the days to follow from all the bending and lifting.

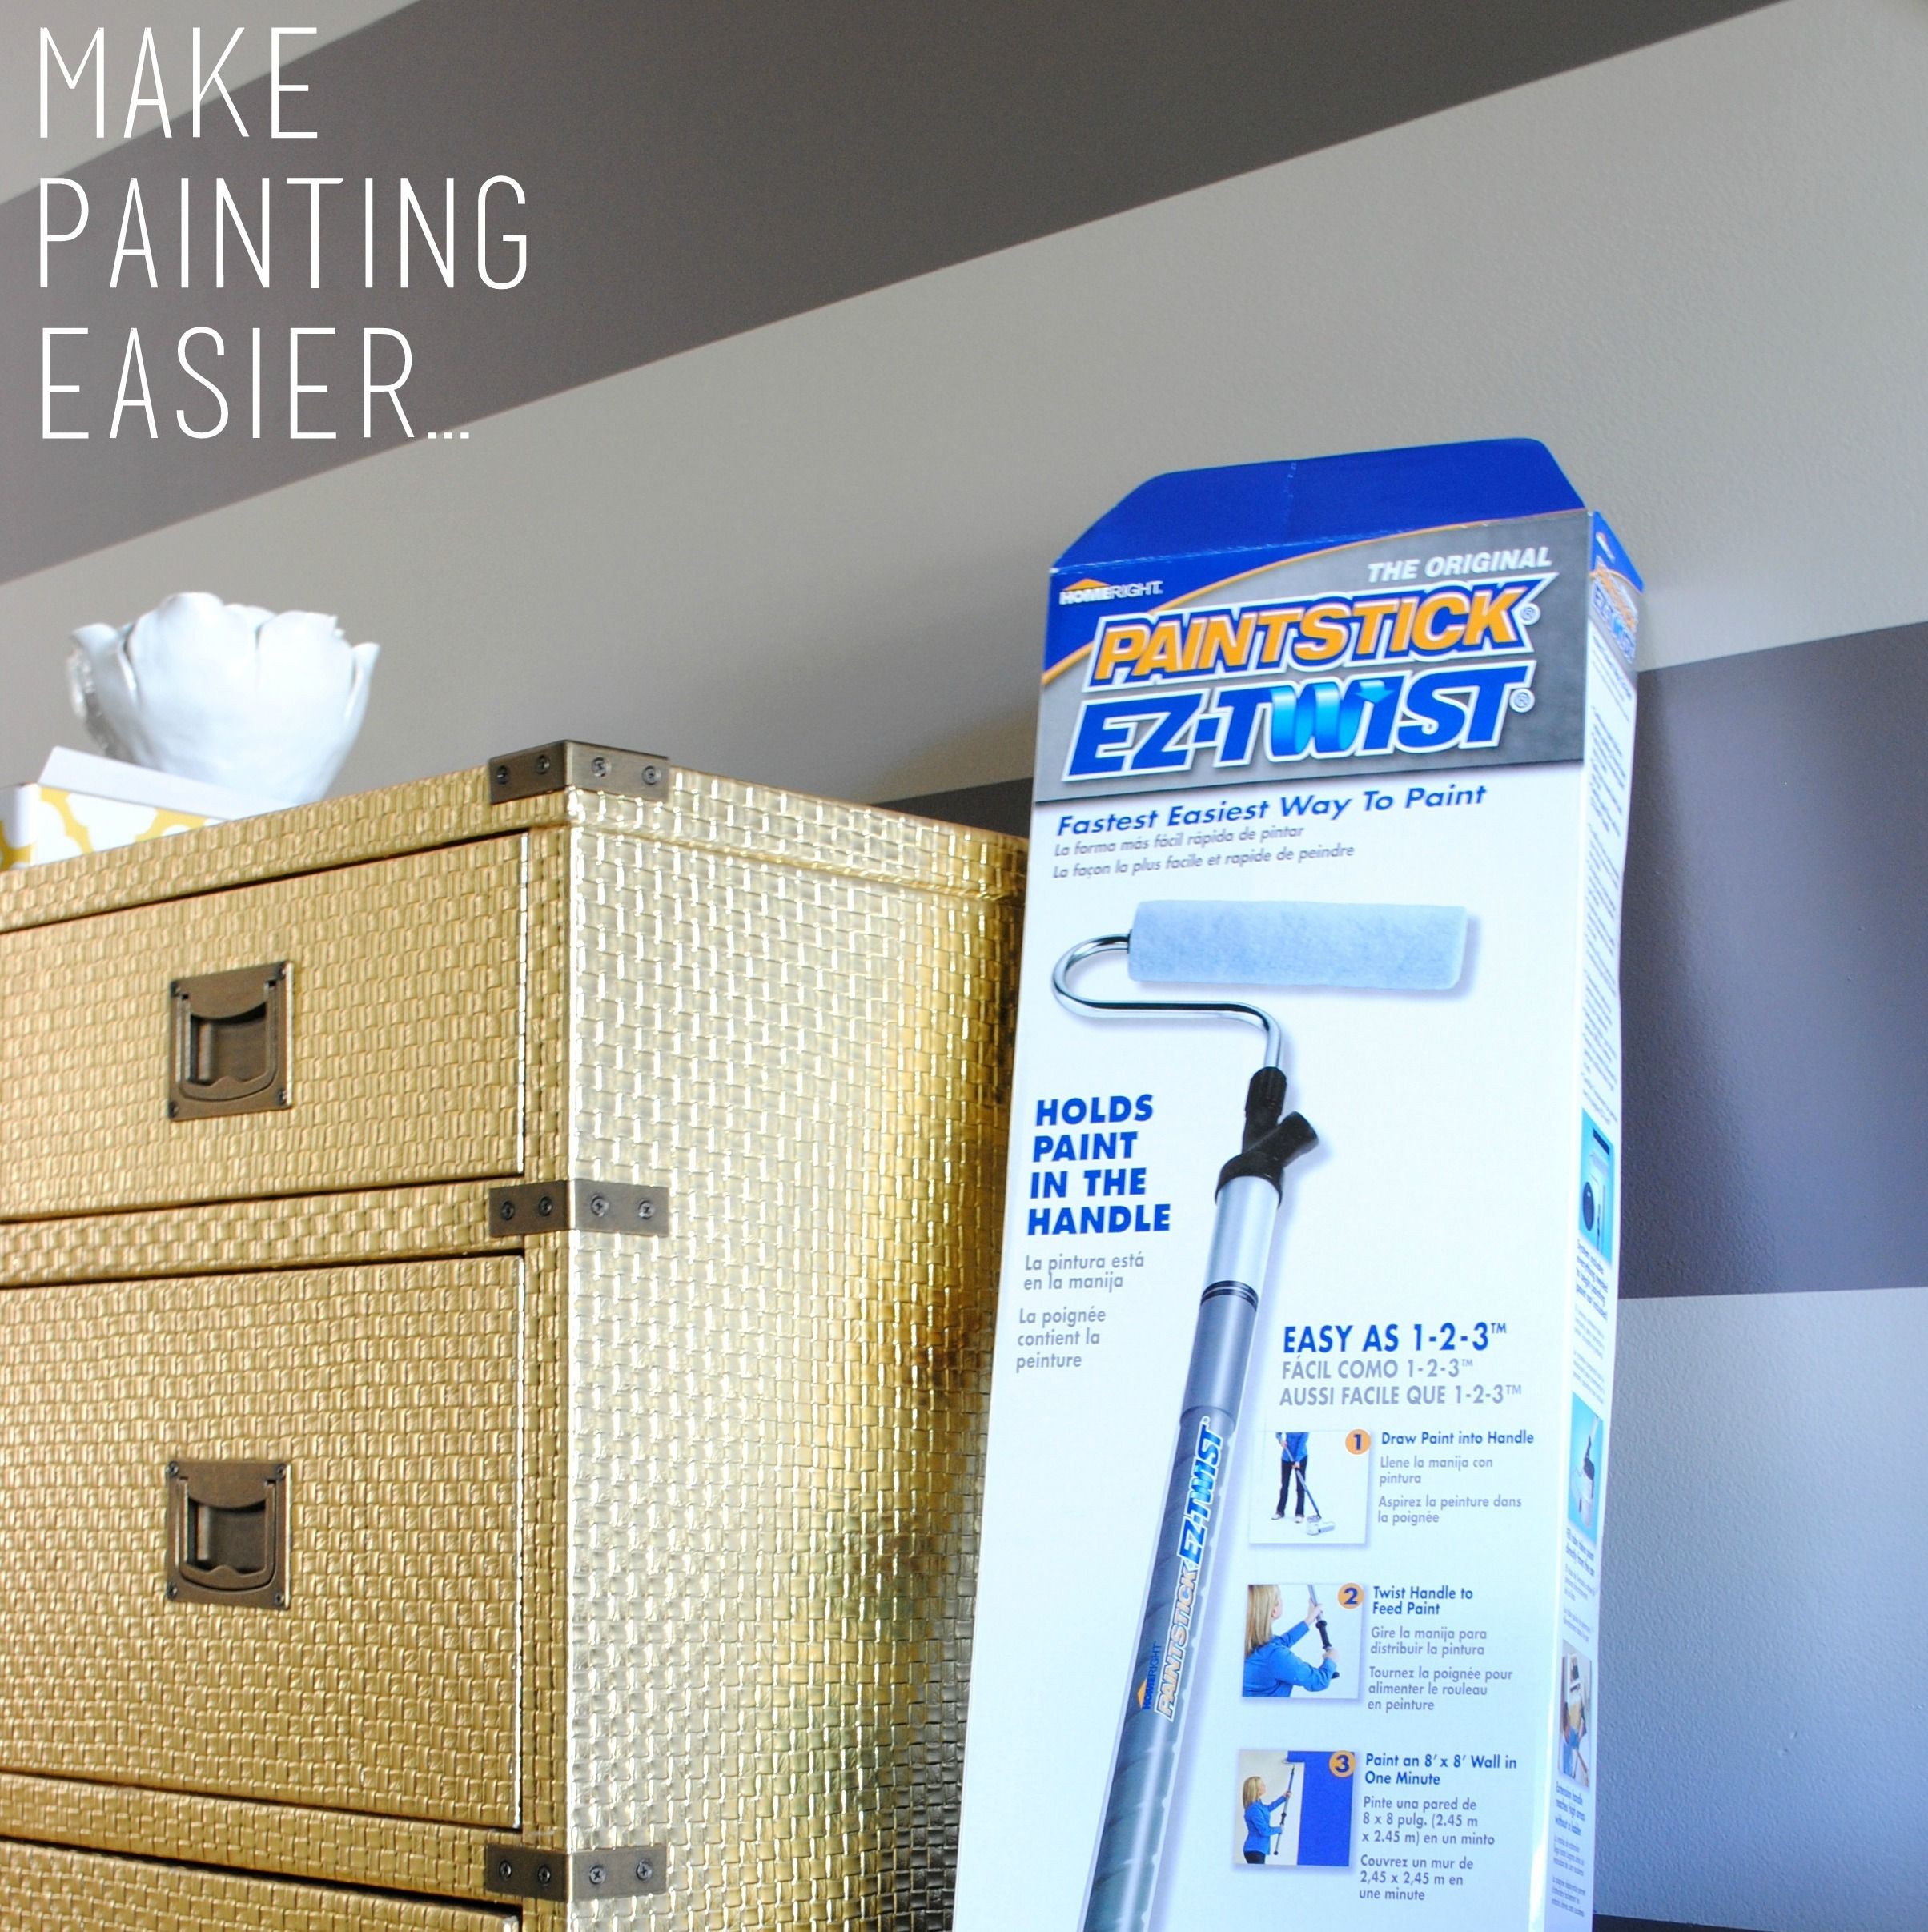
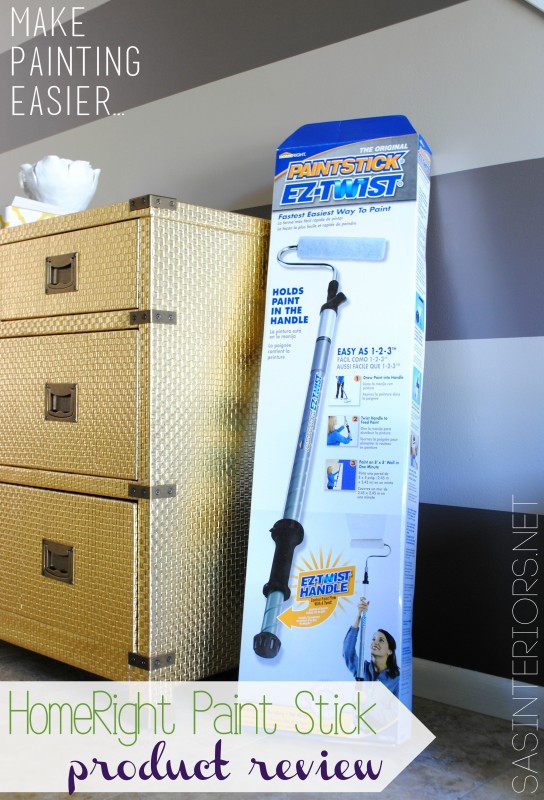
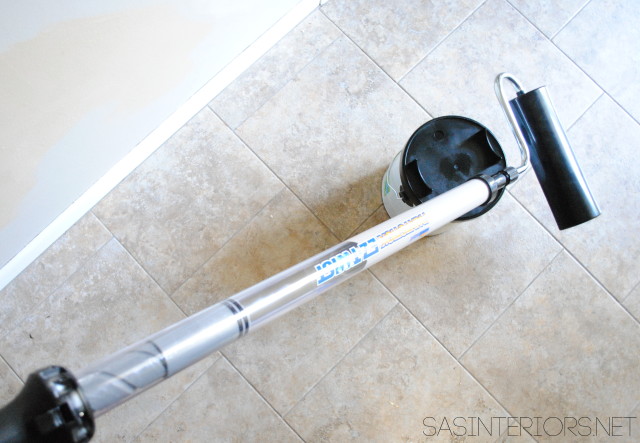
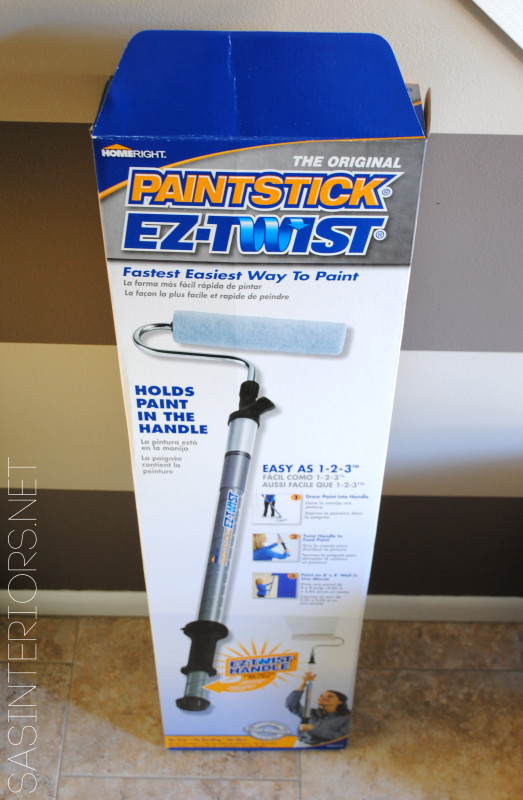
Thankfully the painting part for this project didn’t take long at all and it took exactly the amount of time that I estimated.  Why? Because of a handy dandy tool that I used called the Paint Stick by HomeRight.

HomeRight Paint Stick EZ Twist Product Review

When I was at Haven during the middle of the Summer, HomeRight was one of the vendors.  Since they have a wide-range of painting tools, I gravitated right in their direction. I was awestruck by the huge selection of paint sprayers, but then I saw the Paint Stick.  A minute-long demo later sold me.  I had to try it.

Once I had it in my home a few weeks later, I was psyched to get started.

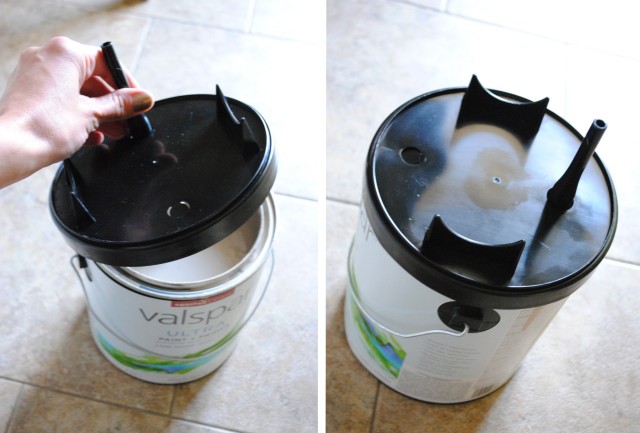
The process of putting the Paint Stick together was fairly easy.  Within about 2 minutes, the stick was in place and I was ready.  One point I will mention is that the first time pulling up the inner tube, which draws up the paint, was difficult.  I had to use some womanpower, and then got it!  I initial thought I was doing it wrong and didn’t want to break anything, but it just needed some muscle.

Once I put the paint cover onto the paint can, I was ready.

HomeRight Paint Stick EZ Twist Product Review

BUT, before I could begin, I had some prep to do.  The good ole’ prep work…

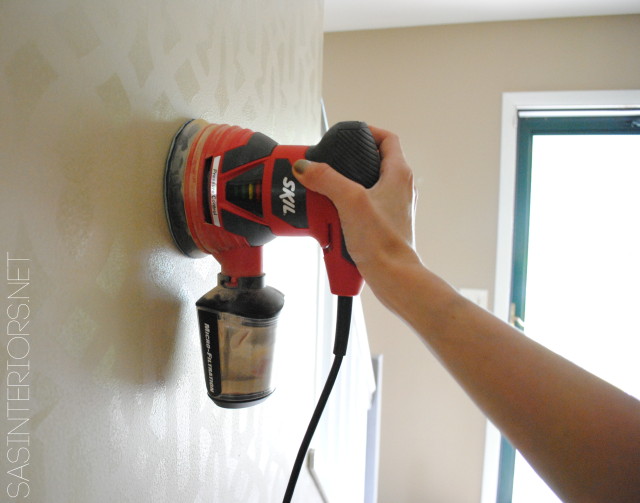
Since the main wall with the stencil was slightly raised, I gave the wall a quick overall sanding.  The ‘before’ wall color was eggshell and the stencil design was the same color but in a high gloss finish.  I was a little reluctant how the new paint would take on the high gloss and thought sanding over the design would cut down on the sheen, allowing the new paint to adhere better.

Sanding the soon to be covered stencil

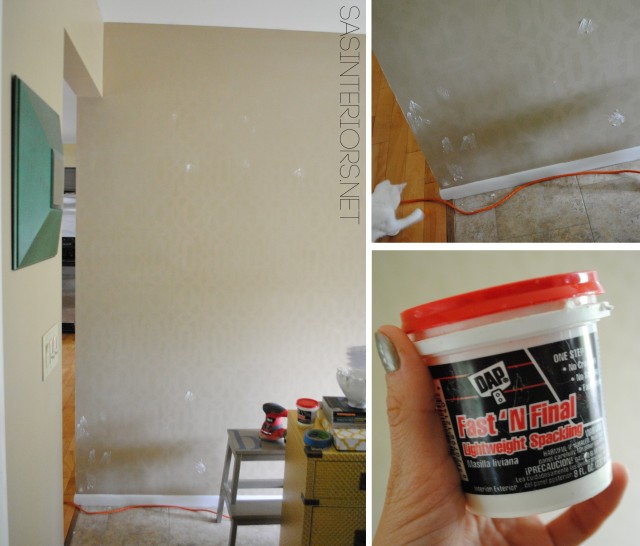
I spackled all the holes.  Those dang holes.  There were more than I thought.

Spackling the holes in the wall

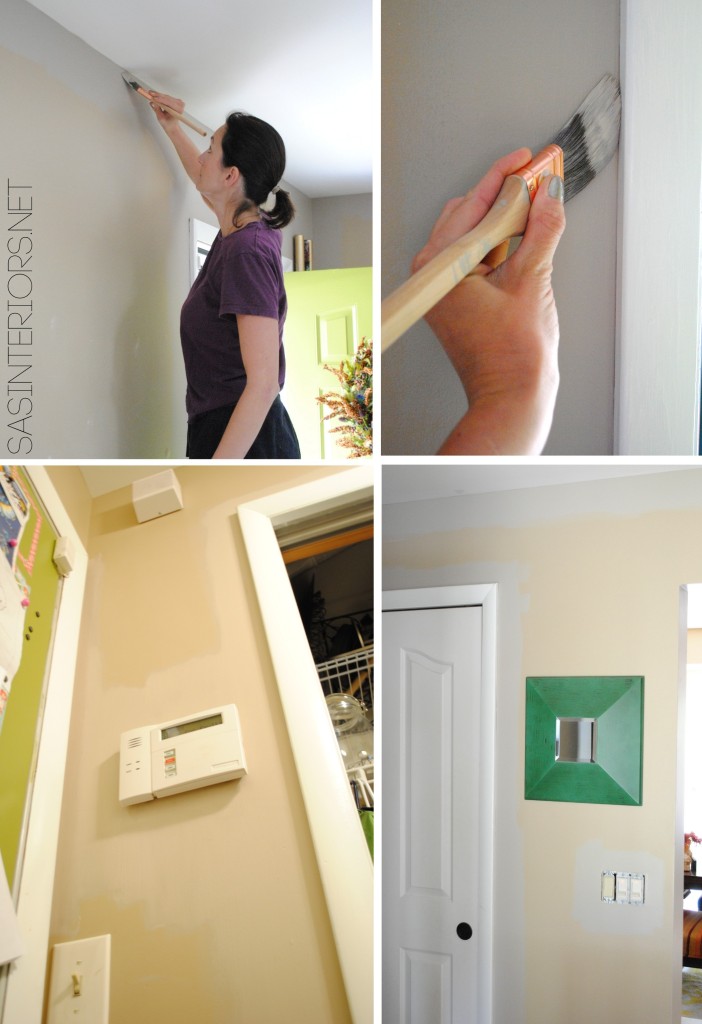
Then painted all the edges and corners of the room.  Instead of taping the ceiling and all the mouldings, I decided to just “cut-in” with an angled brush and I have to tell you, it was so much easier and the result is so much better.  The usual steps I take are: tape, paint, remove tape, and do touchups.  None of that was needed this time.  My angled Purdy brush was awesome.  I bought a new one for this project and it was $10 well spent and saved a ton of time.

Painting edges with brush

At last, it was finally time to paint with the Paint Stick!

I stuck the Paint Stick onto the port of the cover and drew the paint up.  I was ready…

HomeRight Paint Stick EZ Twist Product Review

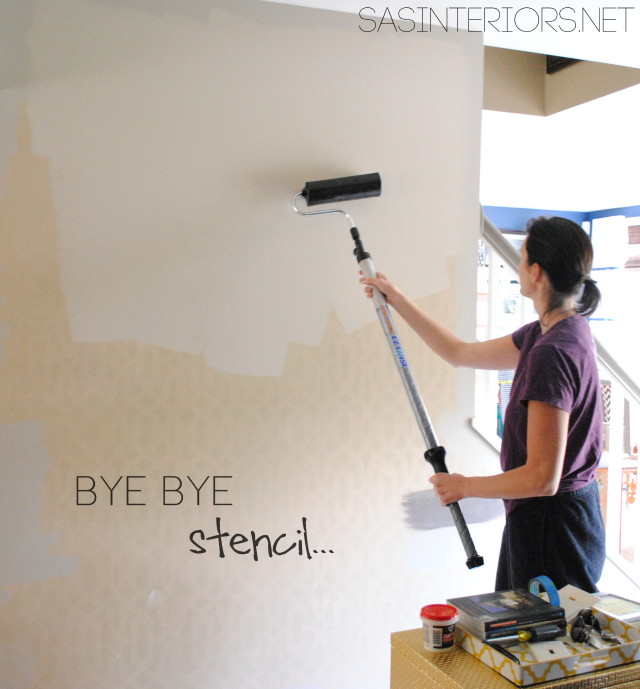
And away I painted…

HomeRight Paint Stick EZ Twist Product Review

Bye Bye Stencil.  It was nice knowing ya.

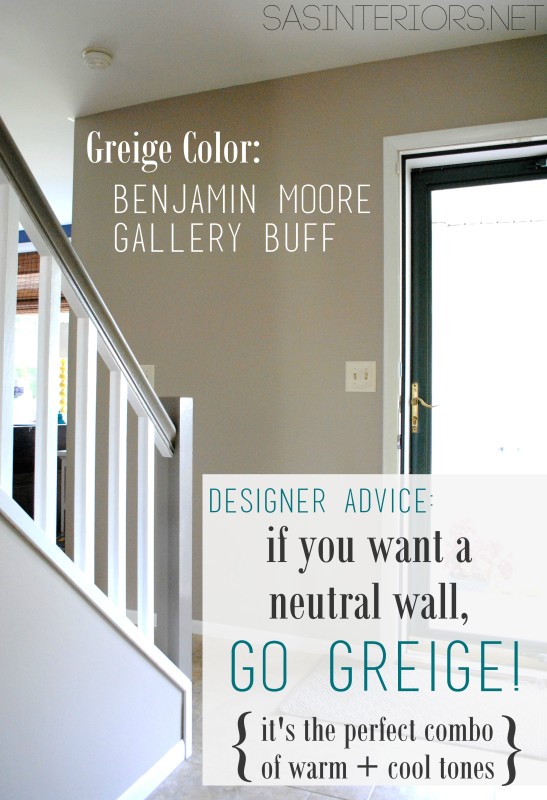
My new Greige color, Benjamin Moore Gallery Buff, is gorgeous and my new handy-dandy paint tool, the Paint Stick, made it easy!

Designer Advice: If you want a neutral wall color, go with Greige! It's the perfect combo of warm + cool tones. @Jenna_Burger

Once the base color was done, I was able to start the stripes.  Check out my tips + tricks for painting the perfect stripes.

Painting Stripes

My thoughts

Overall I thought the Paint Stick was a great product.  It made the process of painting the main section of the walls a breeze.  I only had to fill the PaintStick up twice for my entire foyer.  It’s not a huge space, but a decent size.  The up-and-down on a ladder when using a regular roller was eliminated and the bending over to reach the areas near the lower part of the wall wasn’t necessary.   The other nice part of the Paint Stick is that the paint can be used directly from the can.  There is no need for messy trays + there is no waste.  How many times has someone stepped in paint and/or paint drips all over?  Plus there is never a way to get all the leftovers from a tray back into the paint can.

I will say the cleaning up process wasn’t as easy as simply throwing away a liner and roller, but it wasn’t too bad.  Overall it took about 15 minutes.  I actually started cleaning the supplies without reading the directions – shame, shame on me – and it took much longer than it should have.  If you follow these directions, it’s fairly simple!

Would I use it again? 

You bet and I would suggest you try it too!  You can pick one up at your local Lowe’s.  When picking up the paint + supplies for this project, there was a huge display in the paint aisle.

HomeRight Paint Stick EZ Twist Product Review

So guess what…  HomeRight is super great and is giving away (1) Paint Stick EZ-Twist to one of my fabulous followers.  Want to make painting less daunting and have it take way less time than ever before?  Then enter now >

This Giveaway is Over.  Stephanie Whitacker is the official Winner.  Please keep on the lookout for more giveaways coming up soon.

a Rafflecopter giveaway

Disclosure: HomeRight has chosen to partner with me to share their products with you, my wonderful readers and followers.  I was provided with product to review and was compensated for my time to use the products.  No one told me what to create, what to buy, how to use the product, or what to write.  All opinions are 100% mine!

Gone with the Beige. Hello Greige!

I hope you had a fantastic weekend!  Did the early signs of Fall start creeping through in your neck of the woods?  It did here in Upstate NY and we enjoyed the slight chill + sun by doing a Fall favorite, apple picking.  All day yesterday I was baking away.

Aside from the outdoor fun, I also got my groove on with the foyer.  I shared on Friday that my next room remodel is the foyer / entry / mudroom…  In my home, all the same space.  It’s not huge, but an inviting space that I wanted to give a new look.  One of the most playful new elements in the room is the addition of wide horizontal stripes.  But before the ‘wow’ factor could be added, a new fresh coat of pant was needed.

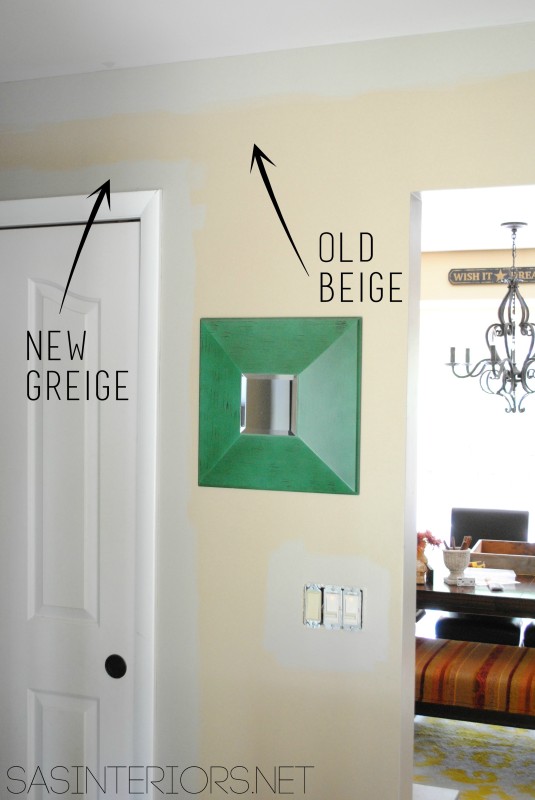
The ‘before’ space was a beige-y color (in eggshell) with a tone-on-tone (in gloss) stencil design on the main wall.  As of late, I’ve been veering towards cooler colors and the beige hue was too orangey, especially next to the new blue walls of the office and the powder room.  Instead of touching up the beige walls, I chose a new color that was a mix of gray + beige, known as greige!

Designer Advice: If you want a neutral wall color, go with Greige!  It's the perfect combo of warm + cool tones. @Jenna_Burger

For my walls, the depth of color didn’t change, but the tone certainly did.  It was amazing painting over the beige because the new grayer hue (that has a tinge of blue/purple undertone in it) made the old color look very orange (something that I never realized before).  It instantly works a lot better with the adjacent spaces.

Old Beige, New Greige - Paint Color: Benjamin Moore Gallery Buff on the walls of the foyer

I’m adoring greige hues because you really can’t go wrong.  Whether a space has cooler or warmer tones, the ‘greige’ will go in that direction.

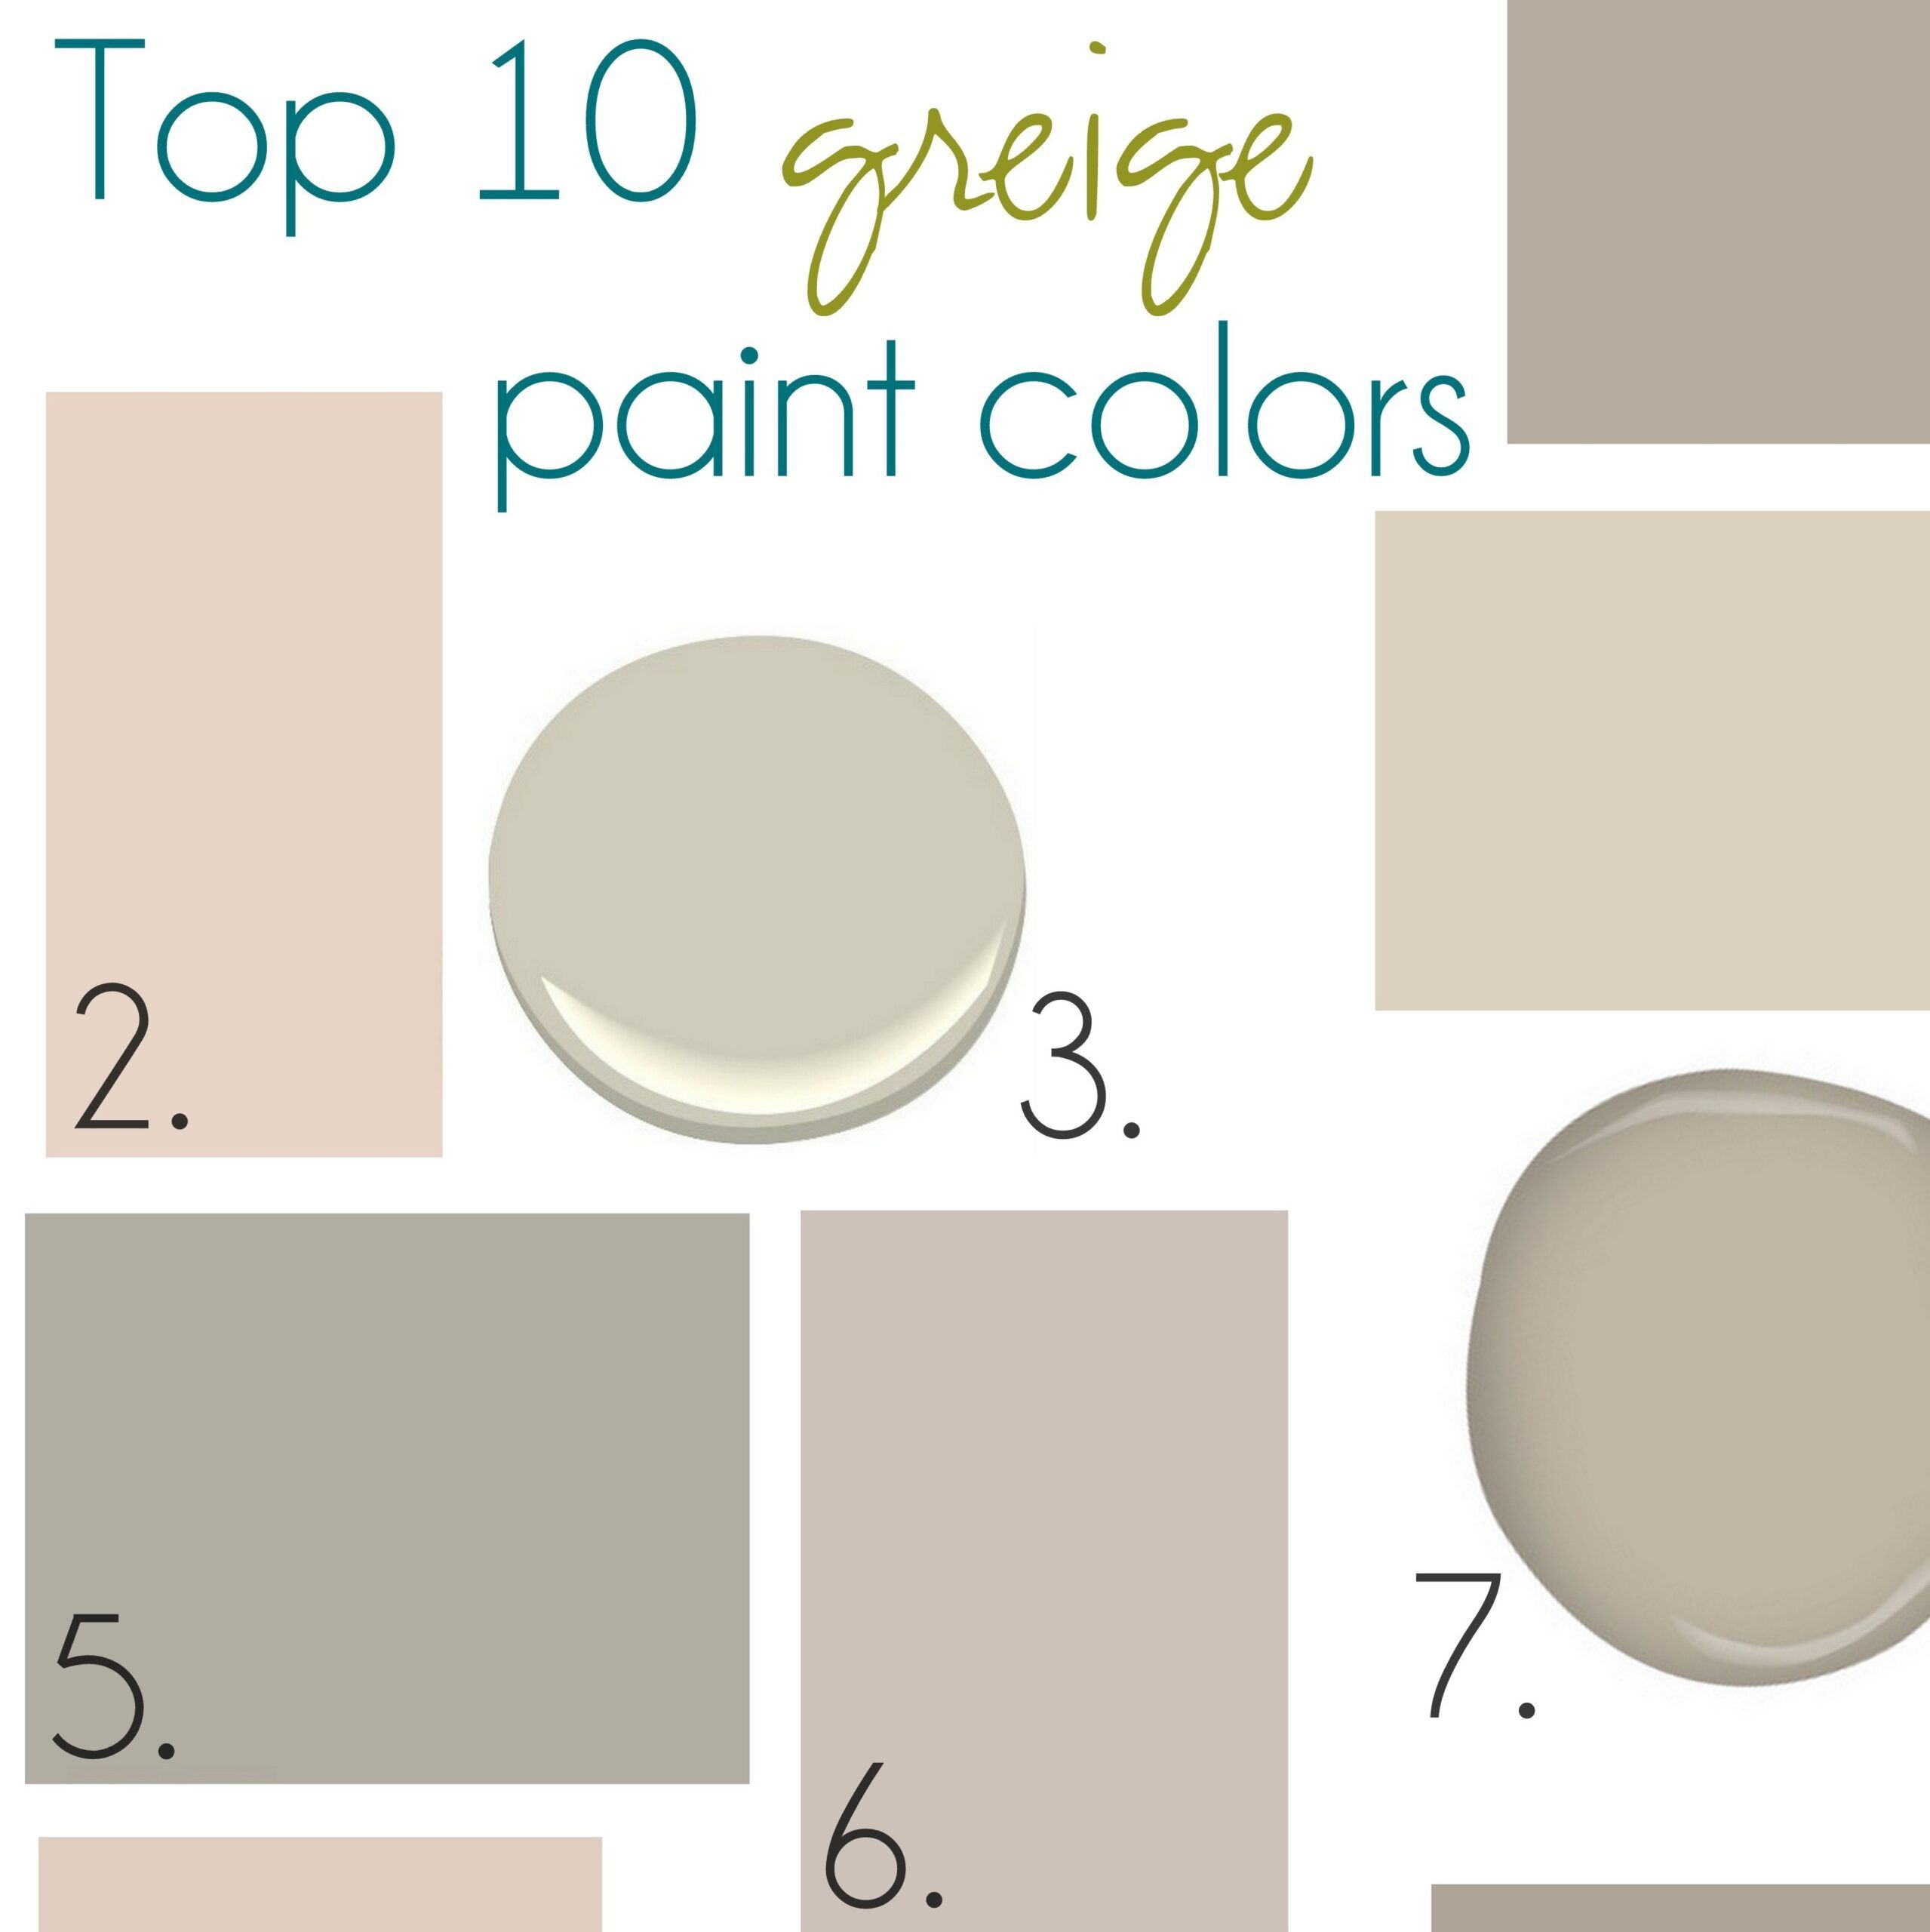
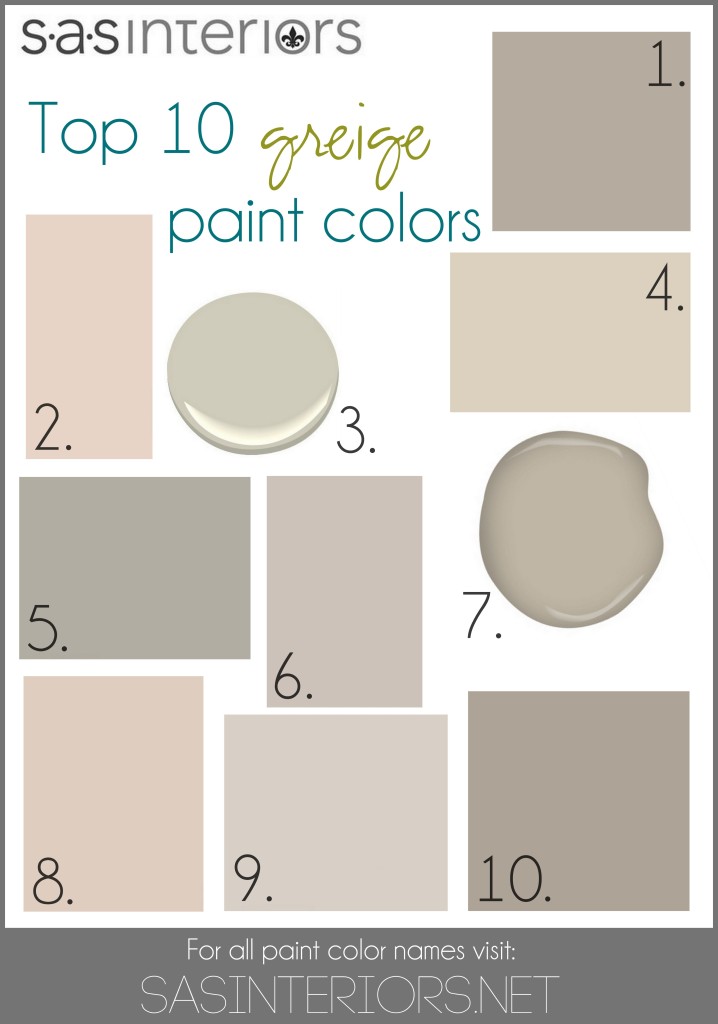
My advice: If you are wanting neutral, go with greige!  While I’m in the midst of finishing up the walls + stripes, I thought I would share with you my Top 10 Favorite Greige Colors…

Top 10 Greige Paint Colors for Walls by @Jenna_Burger

Colors Include:
1. Sherwin Williams Mega Greige
2. Valspar Woodrow Wilson Putty
3. Benjamin Moore Hazy Skies
4. Sherwin Williams Canvas Tan
5. Behr Granite Boulder
6. Glidden Martha Stewart Sharkey Gray
7. Benjamin Moore Gallery Buff (that’s my color!)
8. Valspar Bay Sands
9. Behr Mineral
10. Sherwin Williams Perfect Greige

All of these colors are a perfect mix of beige + gray = greige, but keep in mind when choosing the ideal hue for your space that every color has different undertones (red, blue, green, etc).  The best step for choosing the right color for your space is to select a few samples and test them out.  Don’t forget to try the same color on different walls and also look at them at different times during the day.  As the light changes, the color will too.

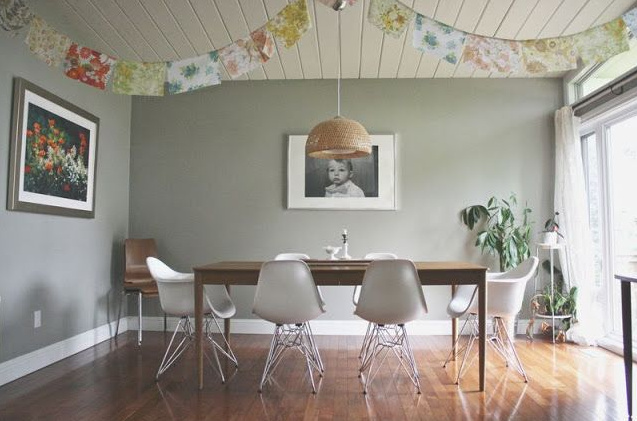
Here are a few spaces with my favorite Greige Colors

Valspar Woodrow Wilson PuttyValspar Woodrow Wilson Putty (interesting name…) on the walls of the living room by Bryn Alexandra

Sherwin Williams Perfect GreigeSherwin Williams Perfect Greige on the walls of the dining room by 2 Vintage Sisters

Benjamin Moore Hazy SkiesBenjamin Moore Hazy Skies on the walls of the home of Kirsten Krason
Behr Granite BoulderBehr Granite Boulder on the walls of the dining room by Sappy Apple

Now that I’ve got my new greige paint color on the wall, I am ready to add the bold + dynamic stripes.  More on that later this week + I’ll be sharing a new handy dandy tool that I just discovered to make painting a bit less daunting – Holla!  In the meantime, enjoy and be inspired by the new greige colors I shared.

What is your favorite color greige?  Do you have a greige wall in your home? 

The Start of the Next Room Remodel. The Foyer.

Now that the kids are back in school and home life is somewhat back on a regular routine, I’m psyched to start tackling my next big room remodel.  This past Spring it was the powder room that got an overhaul, and now I’m ready for something else.  The space coming up is adjacent to the powder room.  Can you guess what it is???  Twist. Twist. Ok, I’ll tell you.  It’s the foyer.  It’s had many lives over the past 4 years, but it’s ready for another.  And it all revolves around this…

Inspirational Elements for my Foyer Remodel

This piece of gorgeousness (that I was reluctant to buy but many of you on instagram encouraged me to take the plunge) is the inspiration for my foyer and the starting element that everything will be designed around.

Want a better look?

Inspirational Elements for my Foyer Remodel

There it is.

It’s dynamic.  It’s unusual.  It’s a showstopper.  And it’s all mine to design around…

Inspirational Elements for my Foyer Remodel

And look I couldn’t stop myself from already styling it…

Styled Console

One of the major needs in the foyer (because it duals as our mudroom) is storage.  Out of convenience, the kids keep most of their everyday shoes in the foyer, so a new piece with storage was a major must!  And this gold bombshell actually has more storage than the last cabinet.

Here is the space before…

Foyer Remodel _ Before

And before that 2-1/2 years ago (prior to the stair makeover & the new flooring)…

Previous Foyer

What a difference, right?  Also going is the tone-on-tone stencil.  And in it’s place…

Stripes!

With a Major Cabinet, there needs to be Major Stripes.

Inspiration for wide horizontal stripes

But I’m going bolder.  I wanted to do black and white (I love Emily Clark’s foyer), but I decided on a greige (a mix of gray & beige) with a dark charcoal brown.  The black would have been too deep for our overall space.

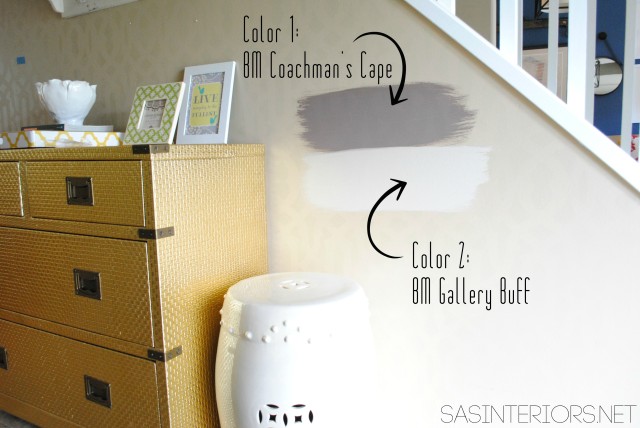
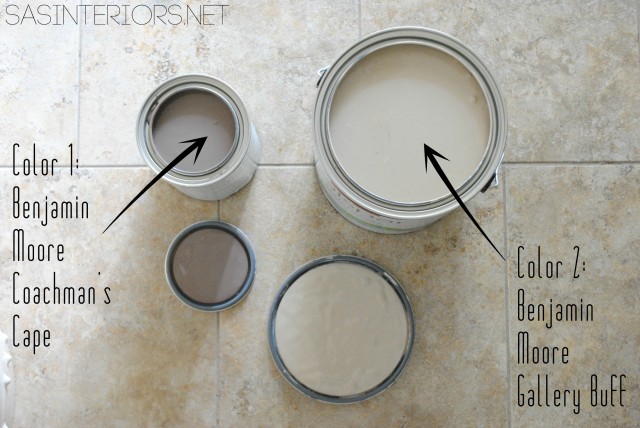
Paint Colors for Foyer Remodel

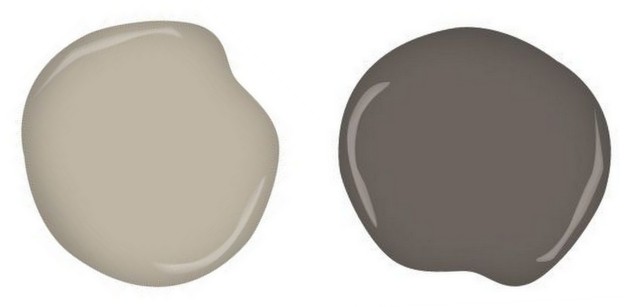
The contrast is major, but I do wish the darker color was even darker.  hmmm… {wheels are turning – did I choose the wrong color?}  We shall see how it looks once the stripes go up.  So many colors, so many decisions.

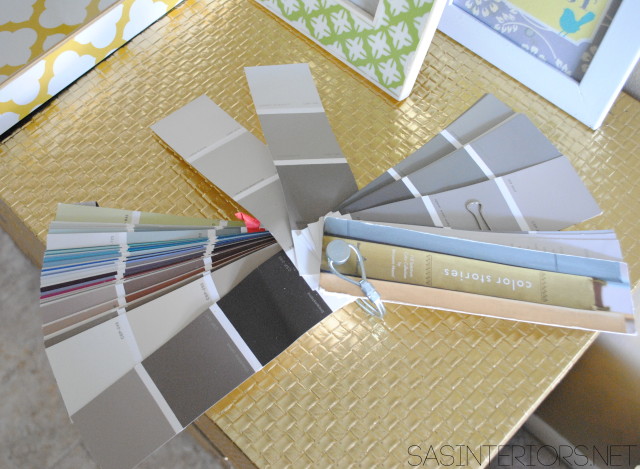
Choosing colors

So the chosen colors are Benjamin Moore Gallery Buff and Benjamin Moore Coachman’s Cape.  I actually had them color matched at Lowe’s and am using Valspar Ultra Paint + Primer.

Paint Colors

Benjamin Moore Paint Colors

And after doing some math this afternoon, I came up with two options for the width of the stripes – I think I’m leaning towards 5 dark stripes at 10-3/8″ high.

Stripe Width

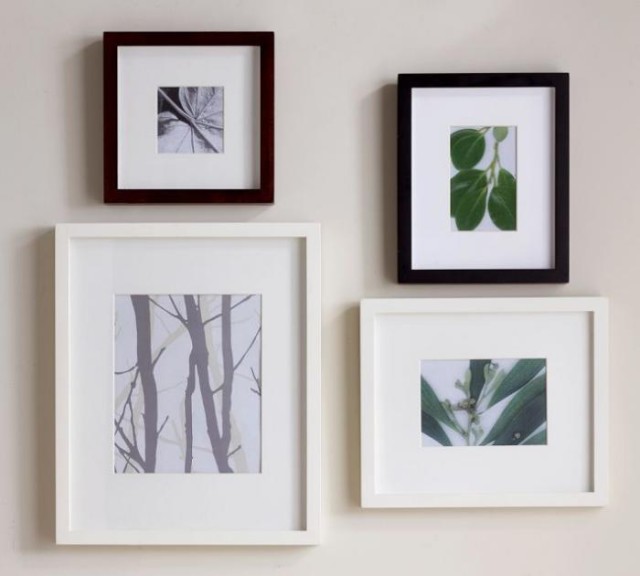
The entire foyer will get a fresh coat of the lighter color, while the stripes will only be on one wall behind the gold console.  Because of the space, it’s most fitting.  Aside from the paint, I want to freshen up the artwork and decor as well.  On the main striped wall I envision 4 or 6 white square frames with large white matting.

Inspiration idea for pictures

Specific pictures or artwork TBD.  There are a few more walls in the space and I’ve got some thinking to do for them.  And of course the powder room is one of the spaces right off of the foyer.

Foyer Remodel

The built-in coat rack that is behind the front door will remain because it’s our everything!  The 30″ wall is so functional – I don’t know what I would do without.  And I think the back of the front door is going to get a splash of color too.

Built-in Coat Rack

Well I’ve got my work cut out for me, but that’s the plan.  You know know where you’ll find me this weekend.  What are your weekend plans?

Autumn Wreath with Plum + Peacock Accents

I haven’t created a new wreath in a long time.  I’ve had my go-to wreaths for Spring, Autumn, and Winter for the past couple of years and every few months they get rotated in-and-out.  But once the chill hit last weekend and the thoughts of Fall started to seep into my brain, I knew a new and unique wreath was ready to be made for the coming season.

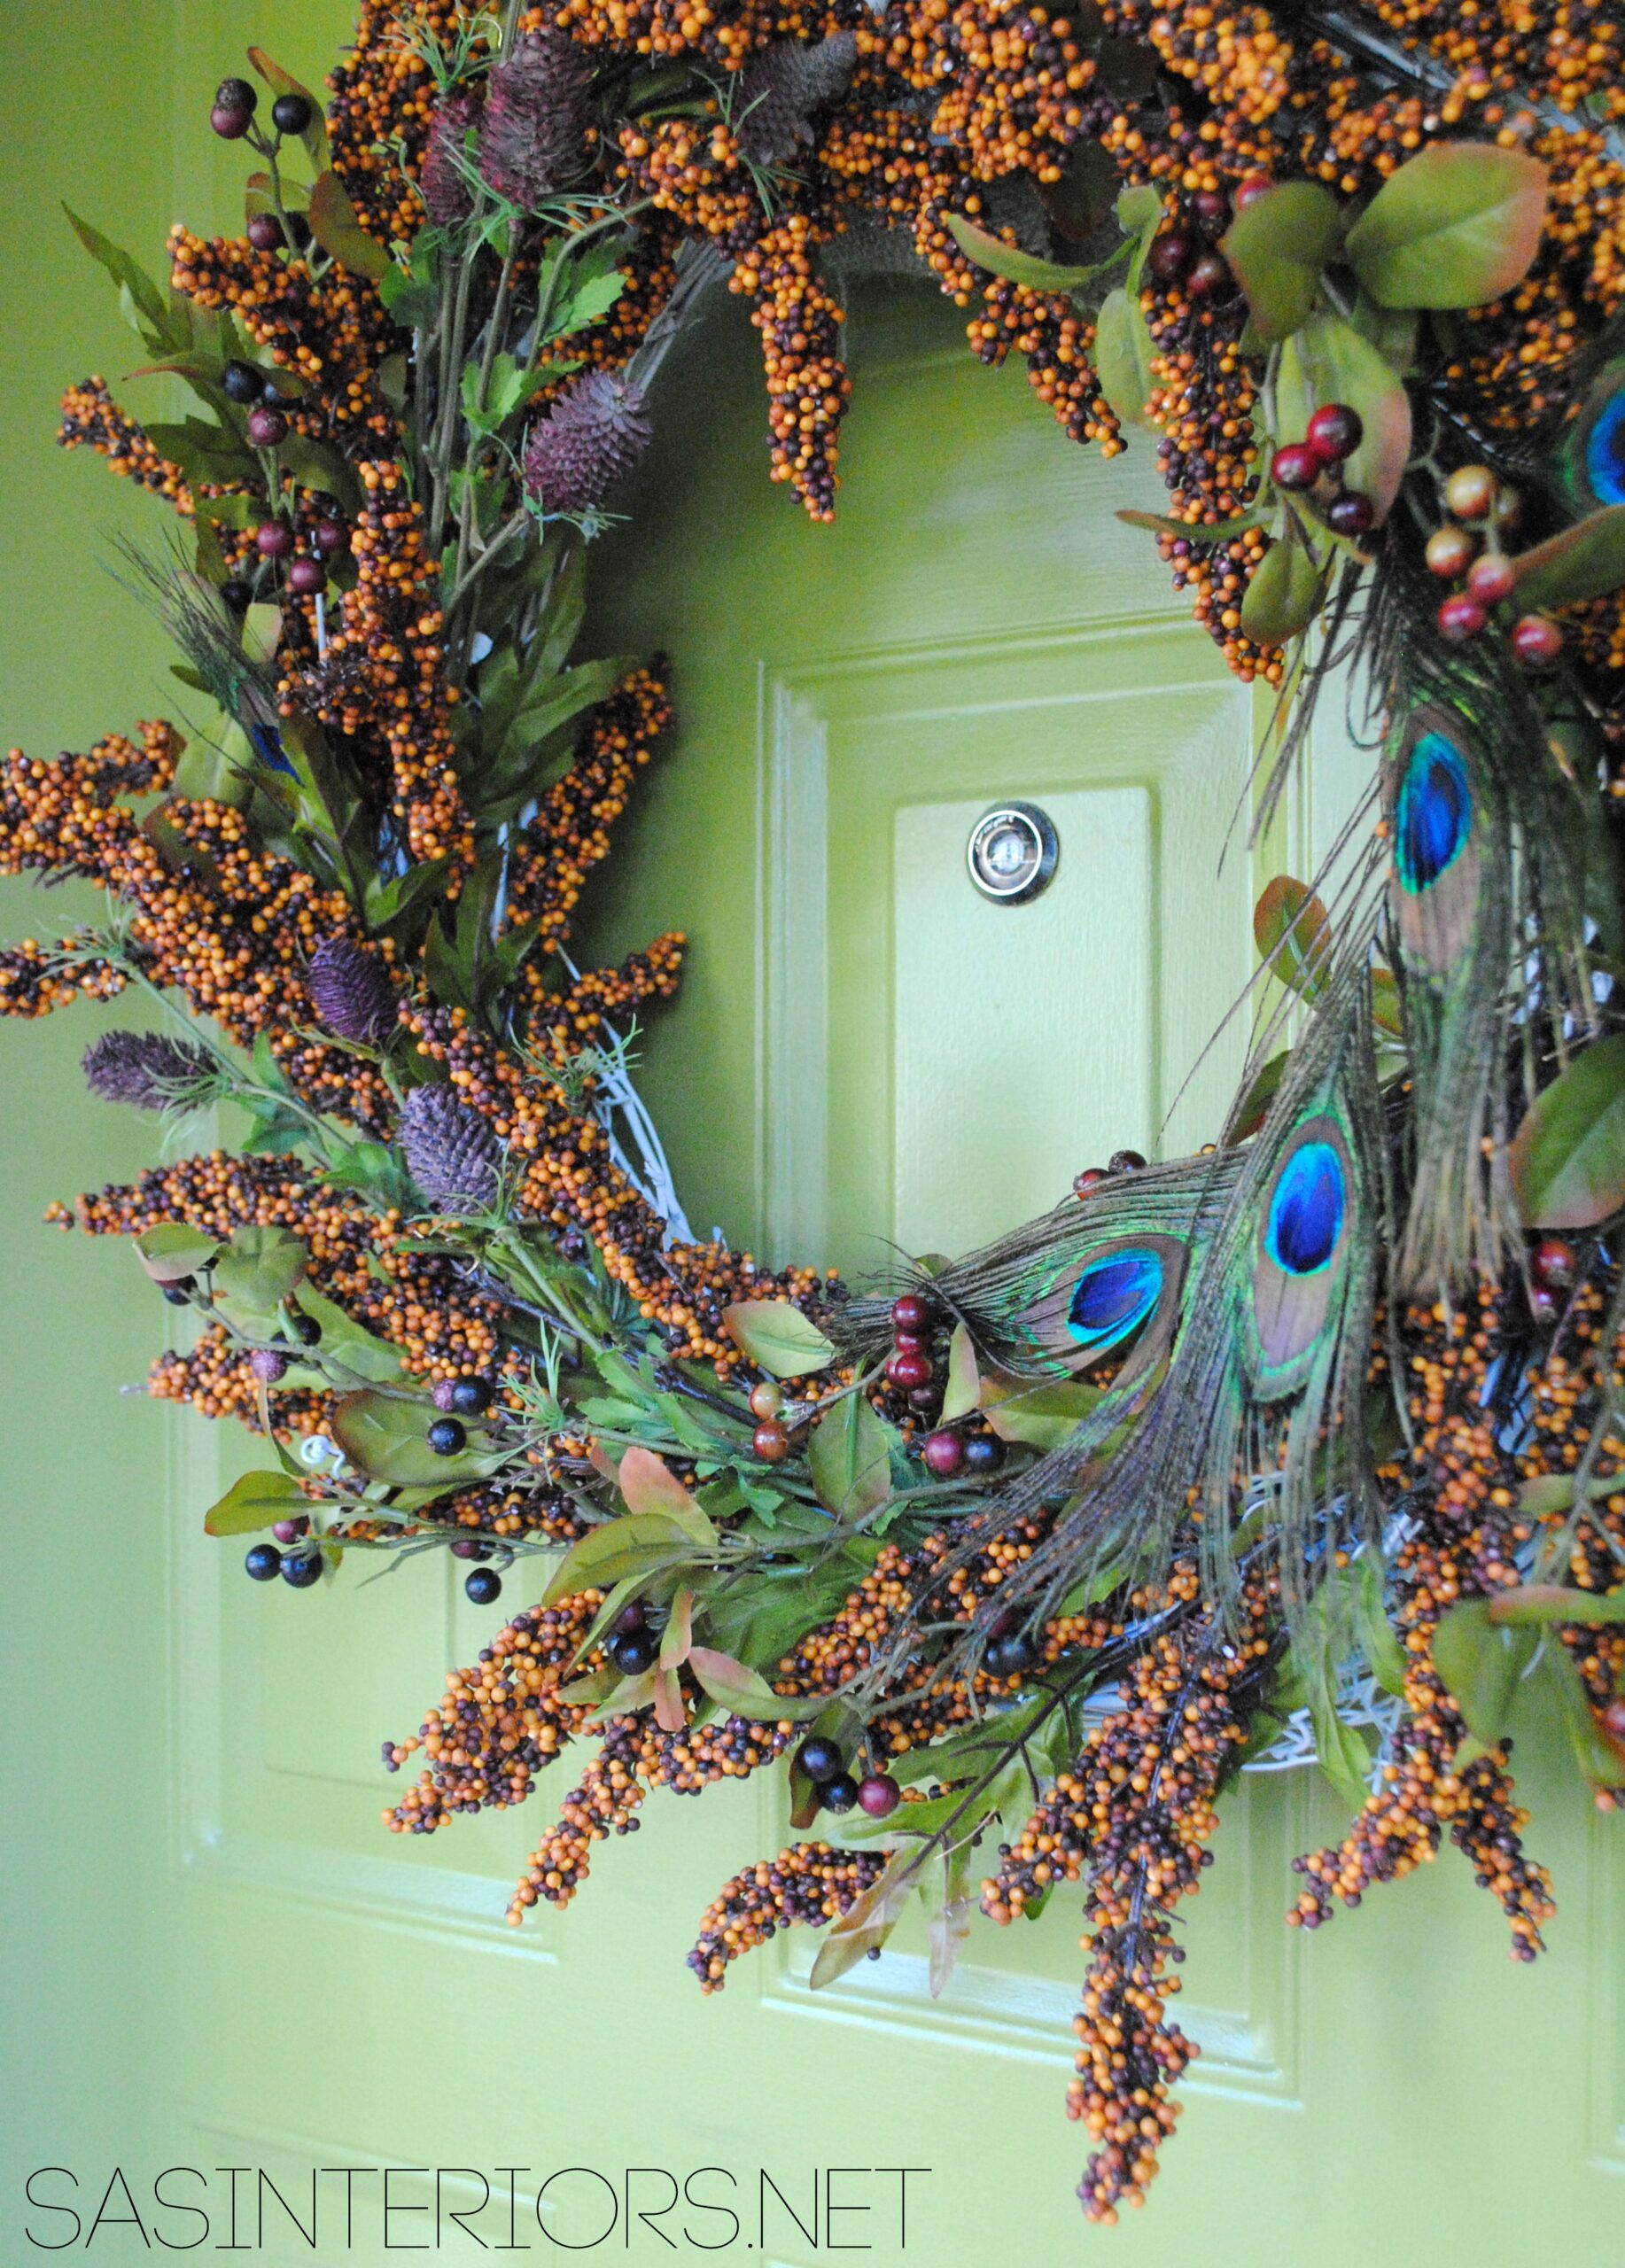
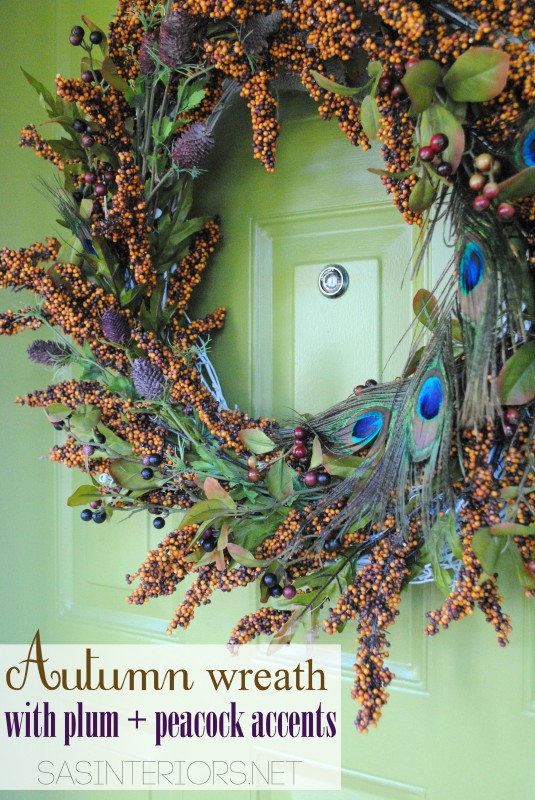
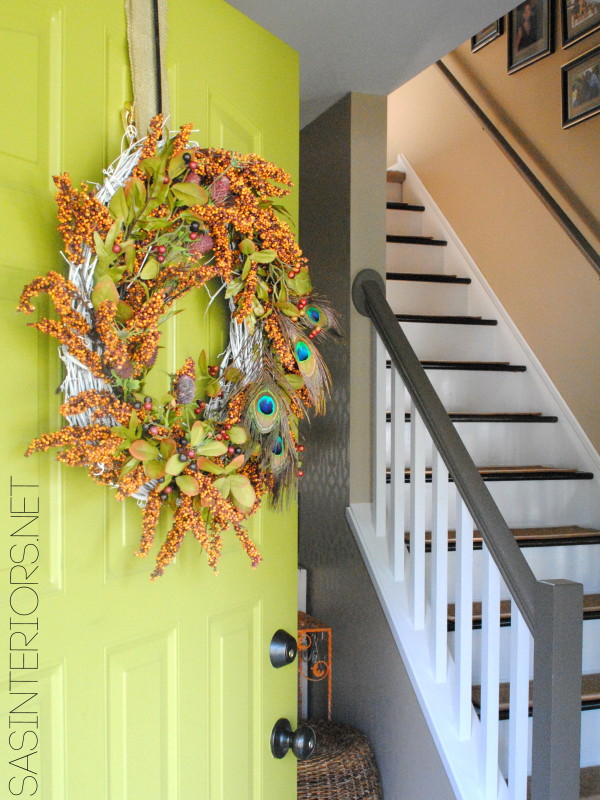
The front door, often thought of as the “mouth” of a home, is the perfect place to make a statement.  My apple green colored front door always gives the best backdrop to any wreath that is displayed, and my latest creation fills my heart with a happy feeling & warm thoughts.  For me the front door, signifies the “entrance of”, so let’s enter this new season with my new Autumn Wreath with Plum + Peacock Accents…

Autumn Wreath with Plum + Peacock Accents by @Jenna_Burger, WWW.JENNABURGER.COM

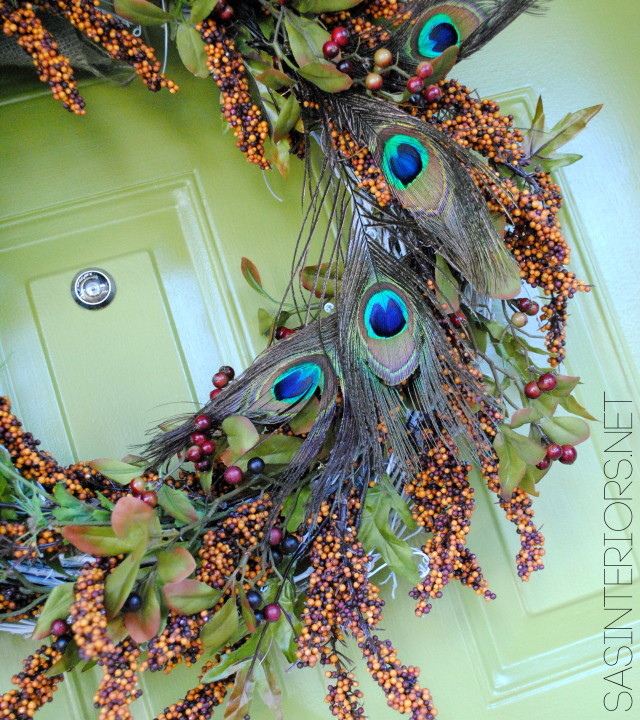
This new wreath is a little out of the norm’ for Fall, but that was my goal.  I passed on reds, oranges, and yellows for Autumn and instead focused on using deeper hues of plum, navy, sienna, and browns.  And then I through in a bit of peacock.  Fun + unique + unexpected!  Exactly what I was going for...

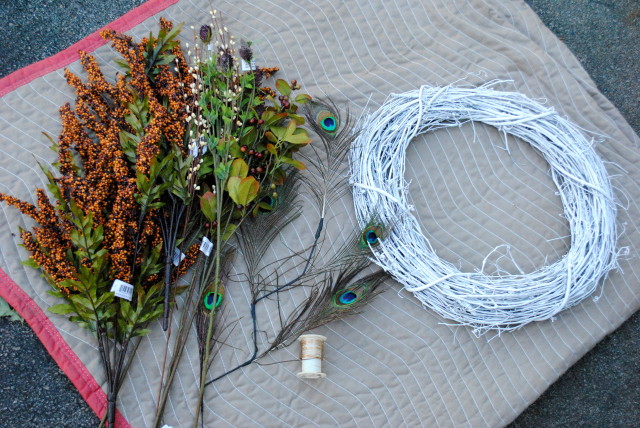
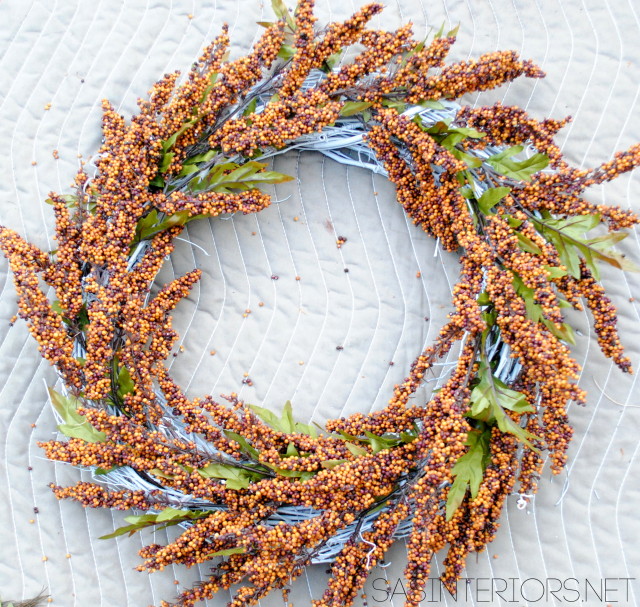
I started off by recycling the white spray painted grapevine wreath that I had on-hand from Valentine’s Day.  It was just sitting around and even though I might have used it again, I took it apart anyway.  Then I scoured the aisles of my local AC Moore and picked out a bunch of faux festive “floral stems” (as they call them).  Other than the berries & the peacock feathers, I don’t know any of the “stems” by name, but basically they were an assortment of styles, colors, and textures.  All three always make a great composition.

Autumn Wreath with Plum + Peacock Accents by @Jenna_Burger, WWW.JENNABURGER.COM

One the styles I got a bunch of with plans of using them as the base.  I thought they were a good neutral to then build the other stems and berries on top of.  Other than the faux stems and wreath, the only other supplies was the wire and snips (for cutting the wire and the stems).

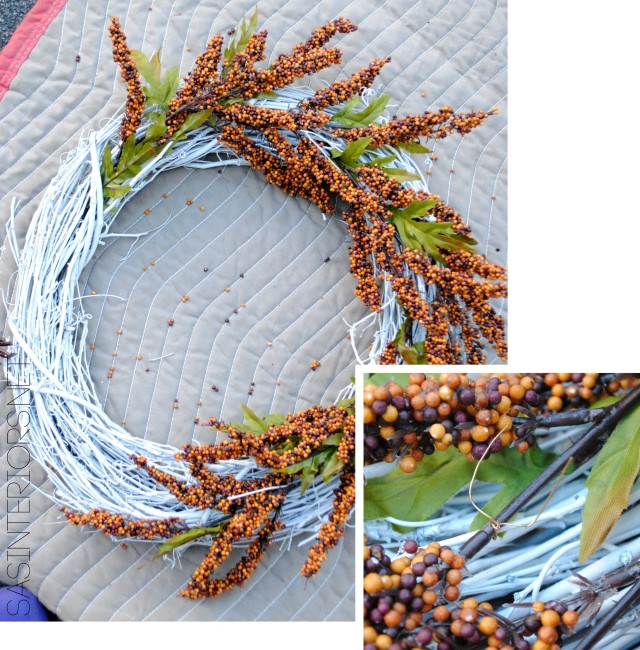
When decorating with faux flowers, I always cut it up so there are individual branches instead of working with one bunch > more on that in this post.  After cutting the bunches apart, I started interweaving each branch through the grapevine wreath. Once the branch was fairly secure, I fastened it to the wreath with floral wire.  Well actually I just used regular gold wire  that I had on-hand, but it was hidden so no biggie.

Autumn Wreath with Plum + Peacock Accents by @Jenna_Burger, WWW.JENNABURGER.COM

About 10-15 minutes later, the base was finito…

Autumn Wreath with Plum + Peacock Accents by @Jenna_Burger, WWW.JENNABURGER.COM

Honestly, this wreath was pretty with just the one style stem, but you know me, I always need more….

At this point, there was no specific hanging point, but with the added layers coming next I needed to choose a spot.  Once I chose a place for where it would hang, I started adding in the other stems + berries.

Autumn Wreath with Plum + Peacock Accents by @Jenna_Burger, WWW.JENNABURGER.COM

Choosing a place for where it would hang allowed me to pinpoint where on the wreath I wanted to position and see certain stems.  I knew I wanted the spikey plum stems to be on the left & the peacock to be on the right…

Then came the berries…

Autumn Wreath with Plum + Peacock Accents by @Jenna_Burger, WWW.JENNABURGER.COM

Then the final layer.  The peacock feathers…

Autumn Wreath with Plum + Peacock Accents by @Jenna_Burger, WWW.JENNABURGER.COM

How fun are they?!

And then the final result.

Autumn Wreath with Plum + Peacock Accents by @Jenna_Burger, WWW.JENNABURGER.COM

Autumn Wreath with Plum + Peacock Accents by @Jenna_Burger, WWW.JENNABURGER.COM

Autumn Wreath with Plum + Peacock Accents by @Jenna_Burger, WWW.JENNABURGER.COM

Autumn Wreath with Plum + Peacock Accents by @Jenna_Burger, WWW.JENNABURGER.COM

Autumn Wreath with Plum + Peacock Accents by @Jenna_Burger, WWW.JENNABURGER.COM

Autumn Wreath with Plum + Peacock Accents by @Jenna_Burger, WWW.JENNABURGER.COM

Welcome to my home…

Autumn Wreath with Plum + Peacock Accents by @Jenna_Burger, WWW.JENNABURGER.COM

Autumn Wreath with Plum + Peacock Accents by @Jenna_Burger, WWW.JENNABURGER.COMAnd there you have it.  My latest door creation set for Fall.

As an Apartments.com Brand Influencer, I strive to share ideas + do it yourself projects not only for those who live in homes, but also easy & affordable ideas + creations for apartment dwellers.  One of the reasons I love wreaths so much, no matter if you live in a house or in an apartment, is that it sets the tone for whats to come on the inside.  A wreath not only makes a door pretty, but it’s welcoming.  It’s a way to greet someone without actually greeting them.  And as the person that resides in the home, it’s a beautiful thing to see each time you come home.

And to wrap up this post, my door color!  It’s been this apple green color for years.  I’ve thought of changing it, but I’ve never come across another hue that I like better.  So apple green it is!  When this door gets featured, I always get asked the question – “What color is it?” Here is the info: Valspar Olive Tree WV34010

How do you don your door for the coming Autumn season?

Visit Sponsor's Site