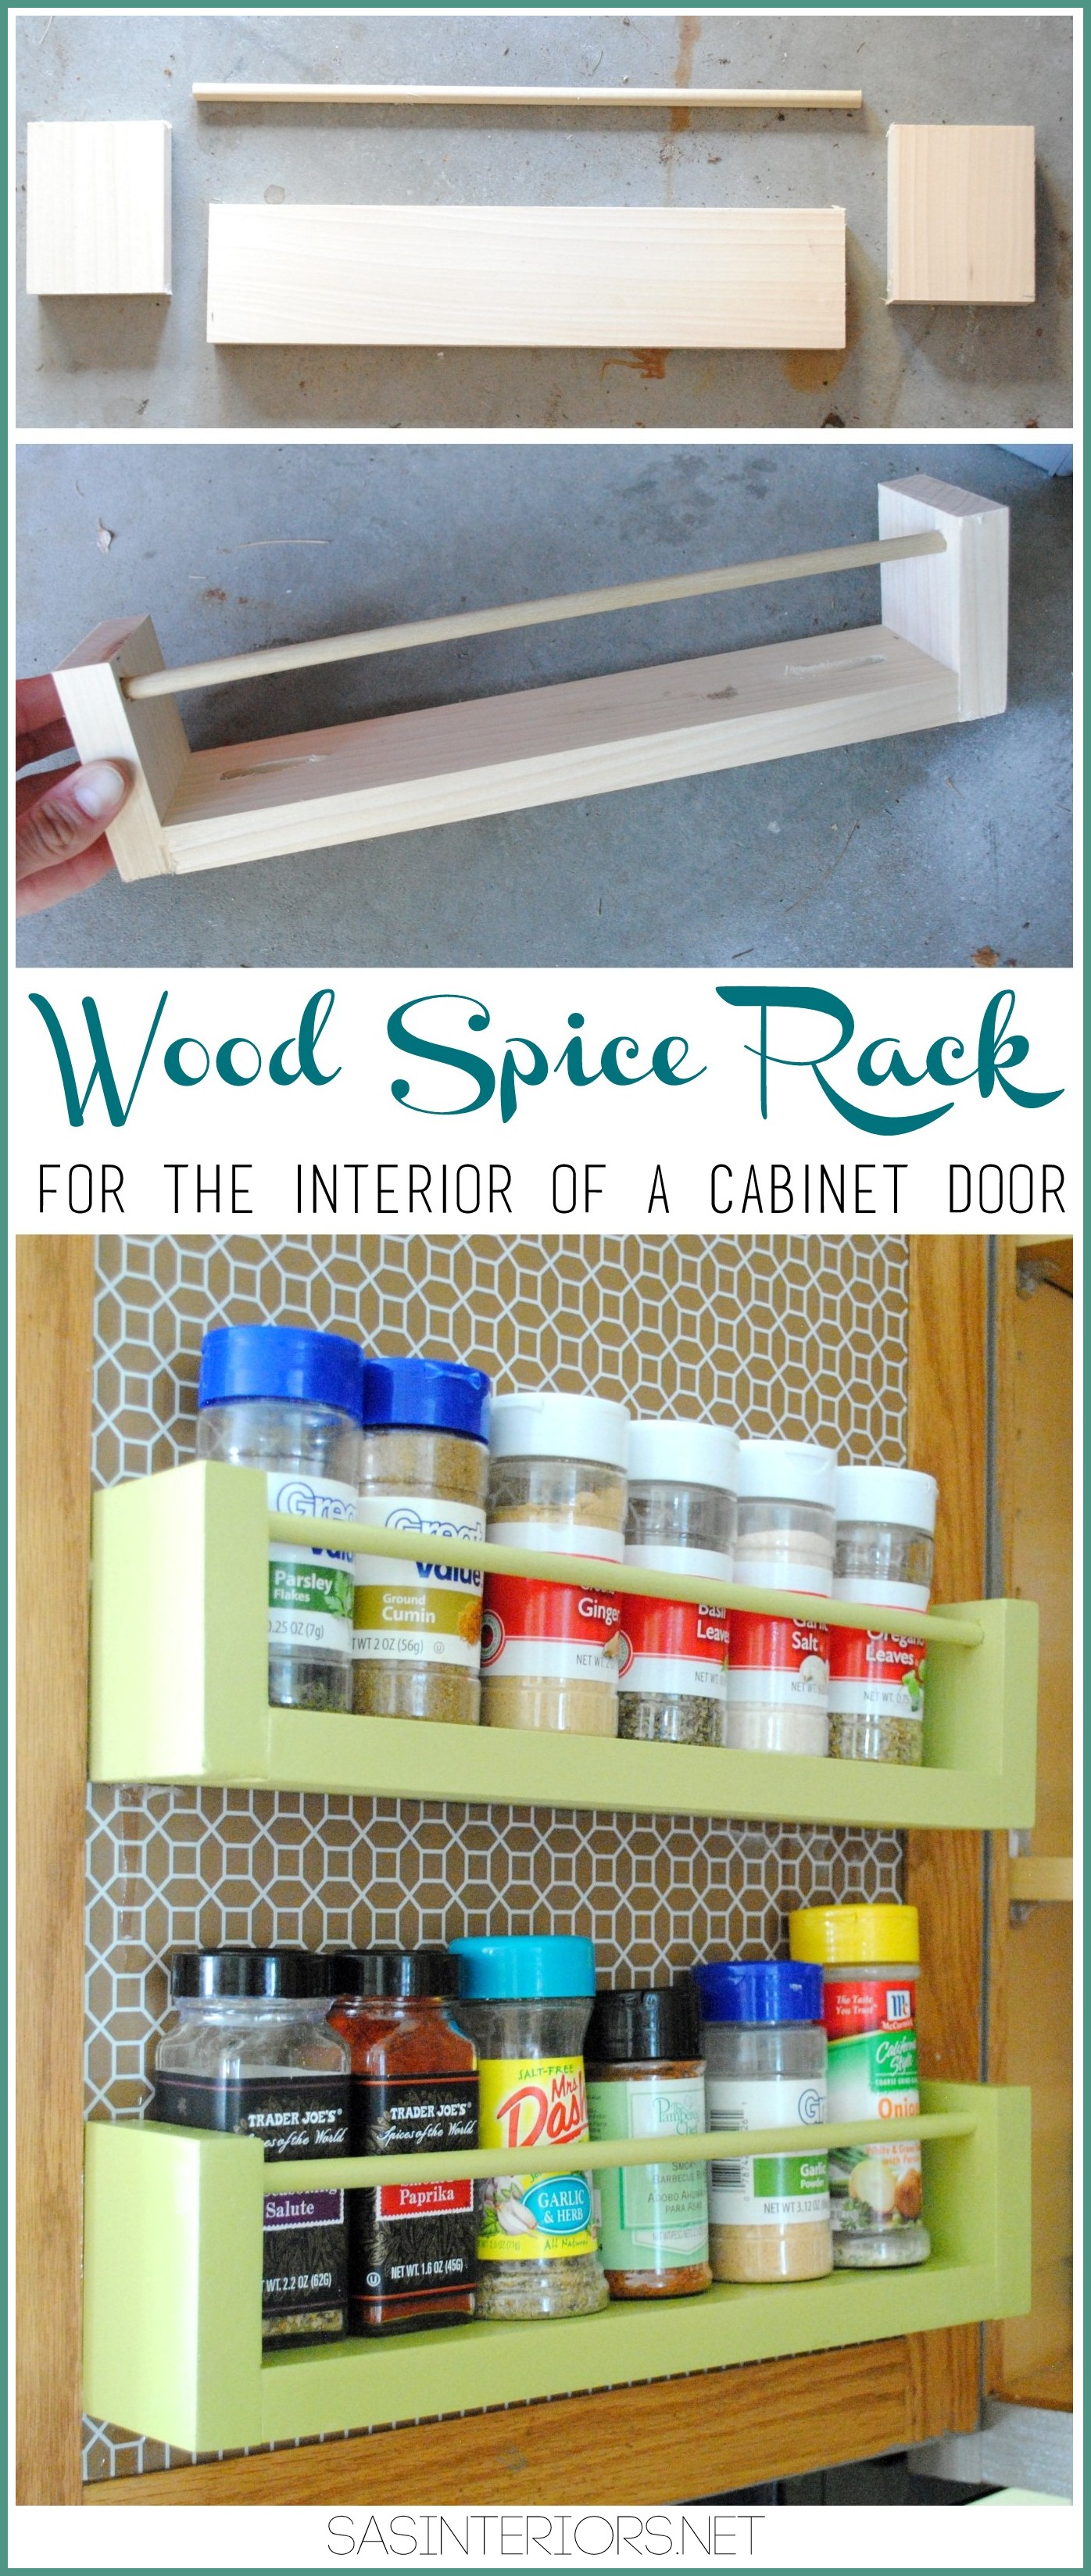
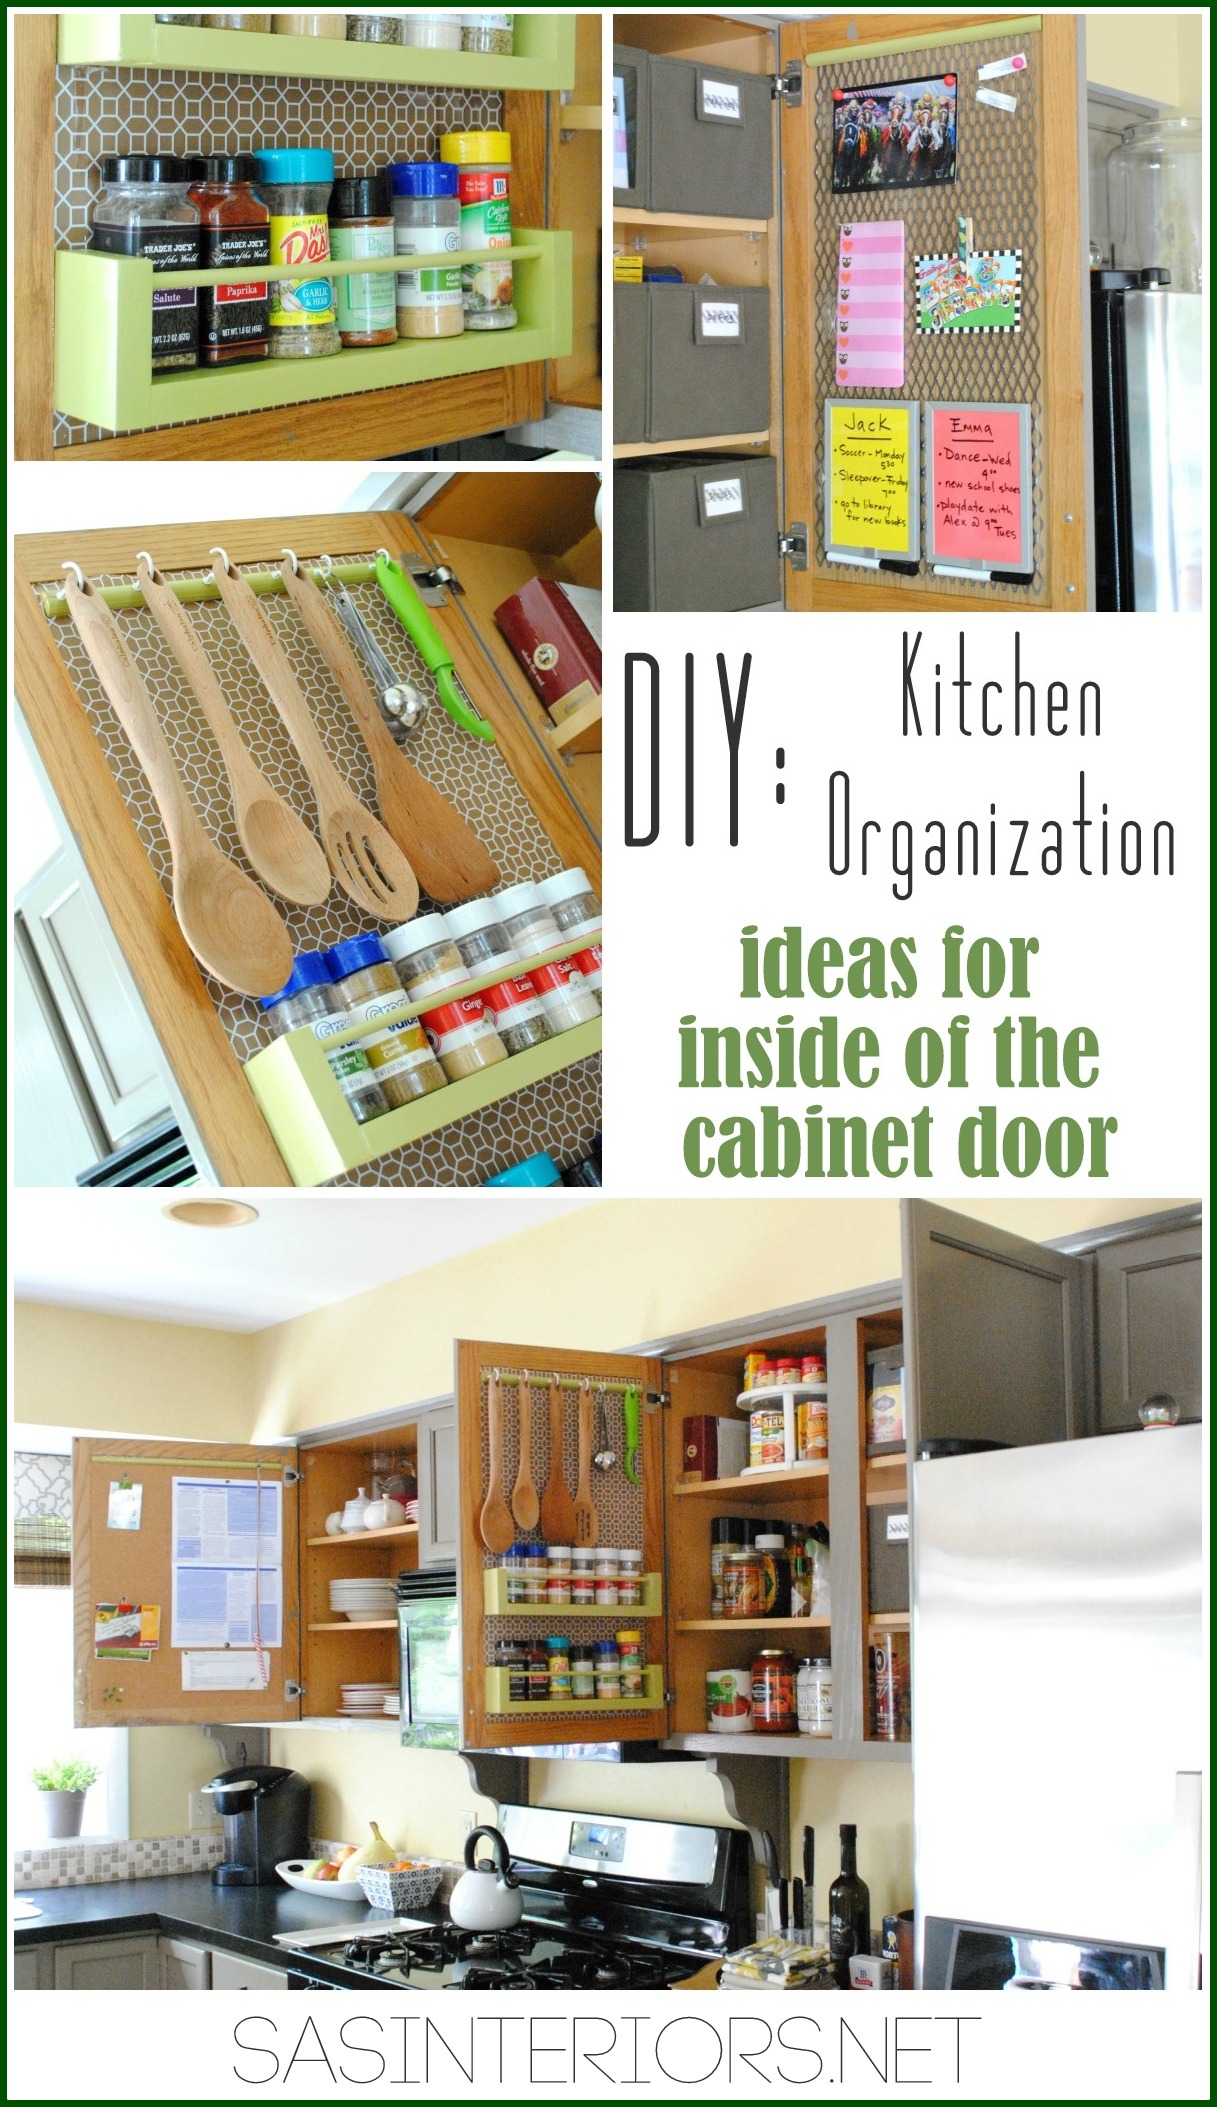
DIY: Wood Spice Rack
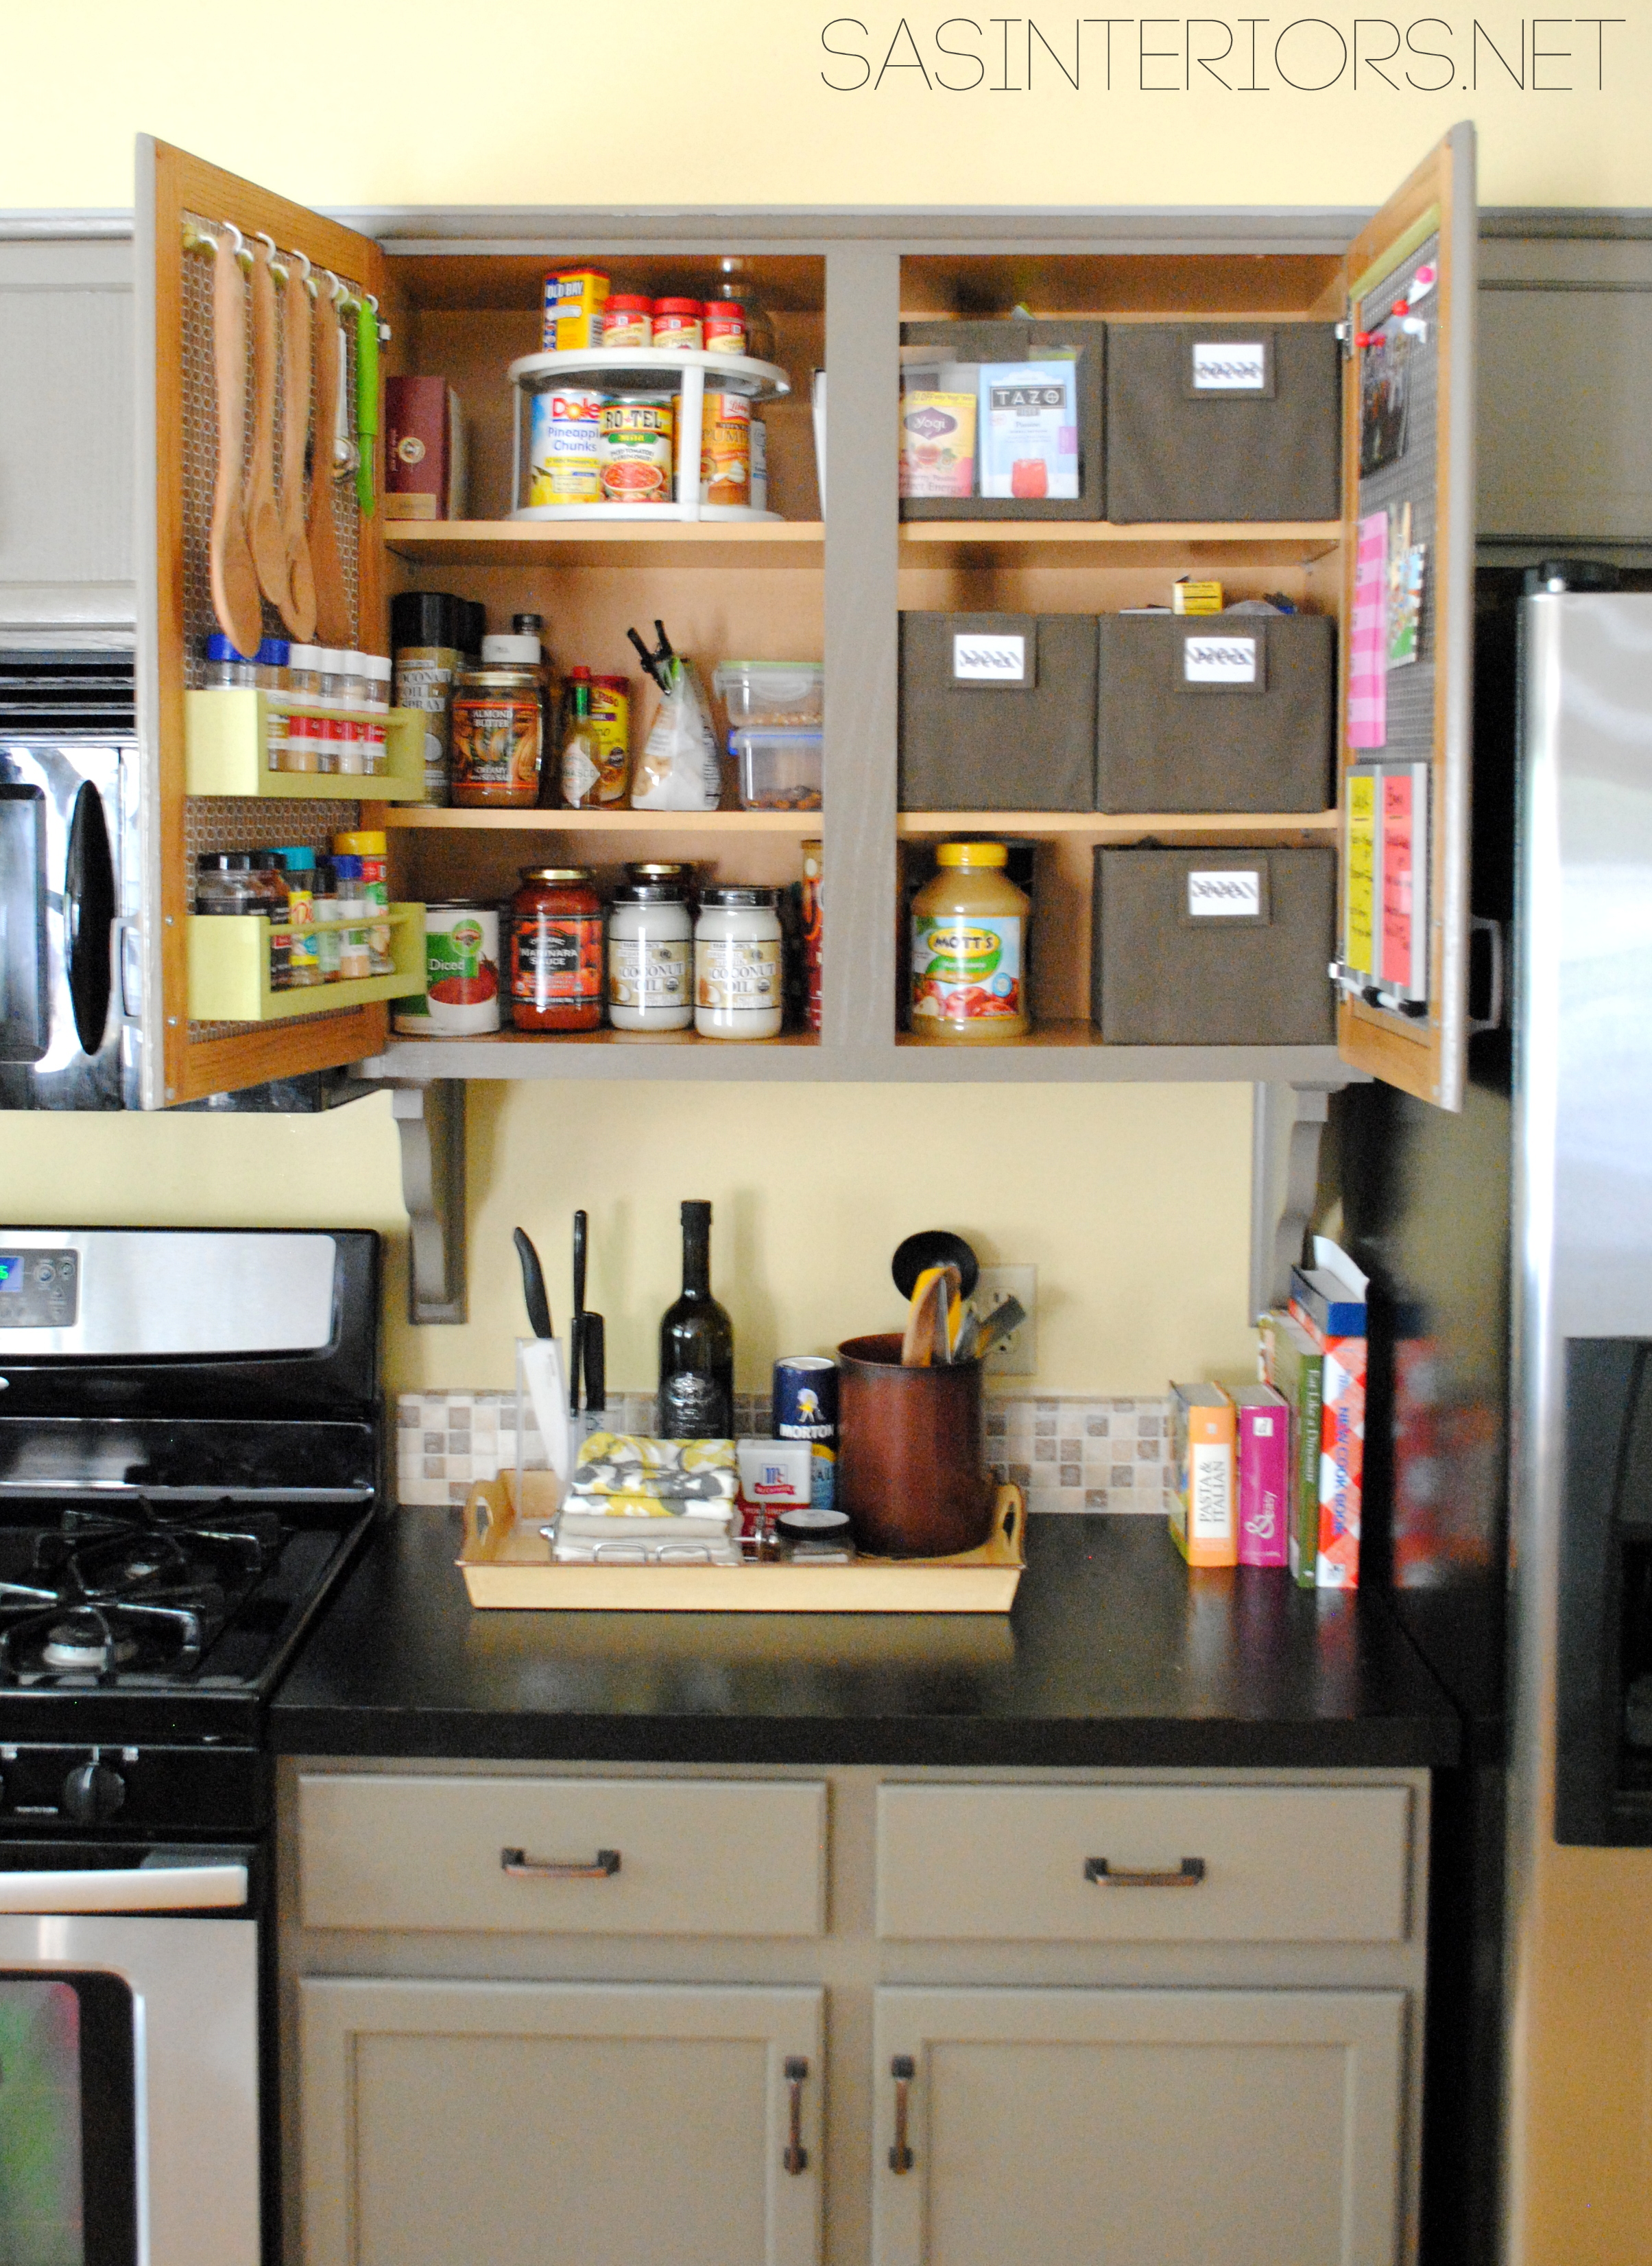
Earlier this week, I shared my newly organized kitchen cabinet interiors where I added multiple materials to make the vertical space on the interiors of the doors super useful. One specific element that made a world of difference, as far as storage, are the 2 wood spice racks that I made from scratch.

While originally gathering materials for the project, I was on the search for pre-made spice holders. I didn’t have a specific style in mind but was hoping for wood. In the end, I didn’t find anything, so instead I DIYed them.
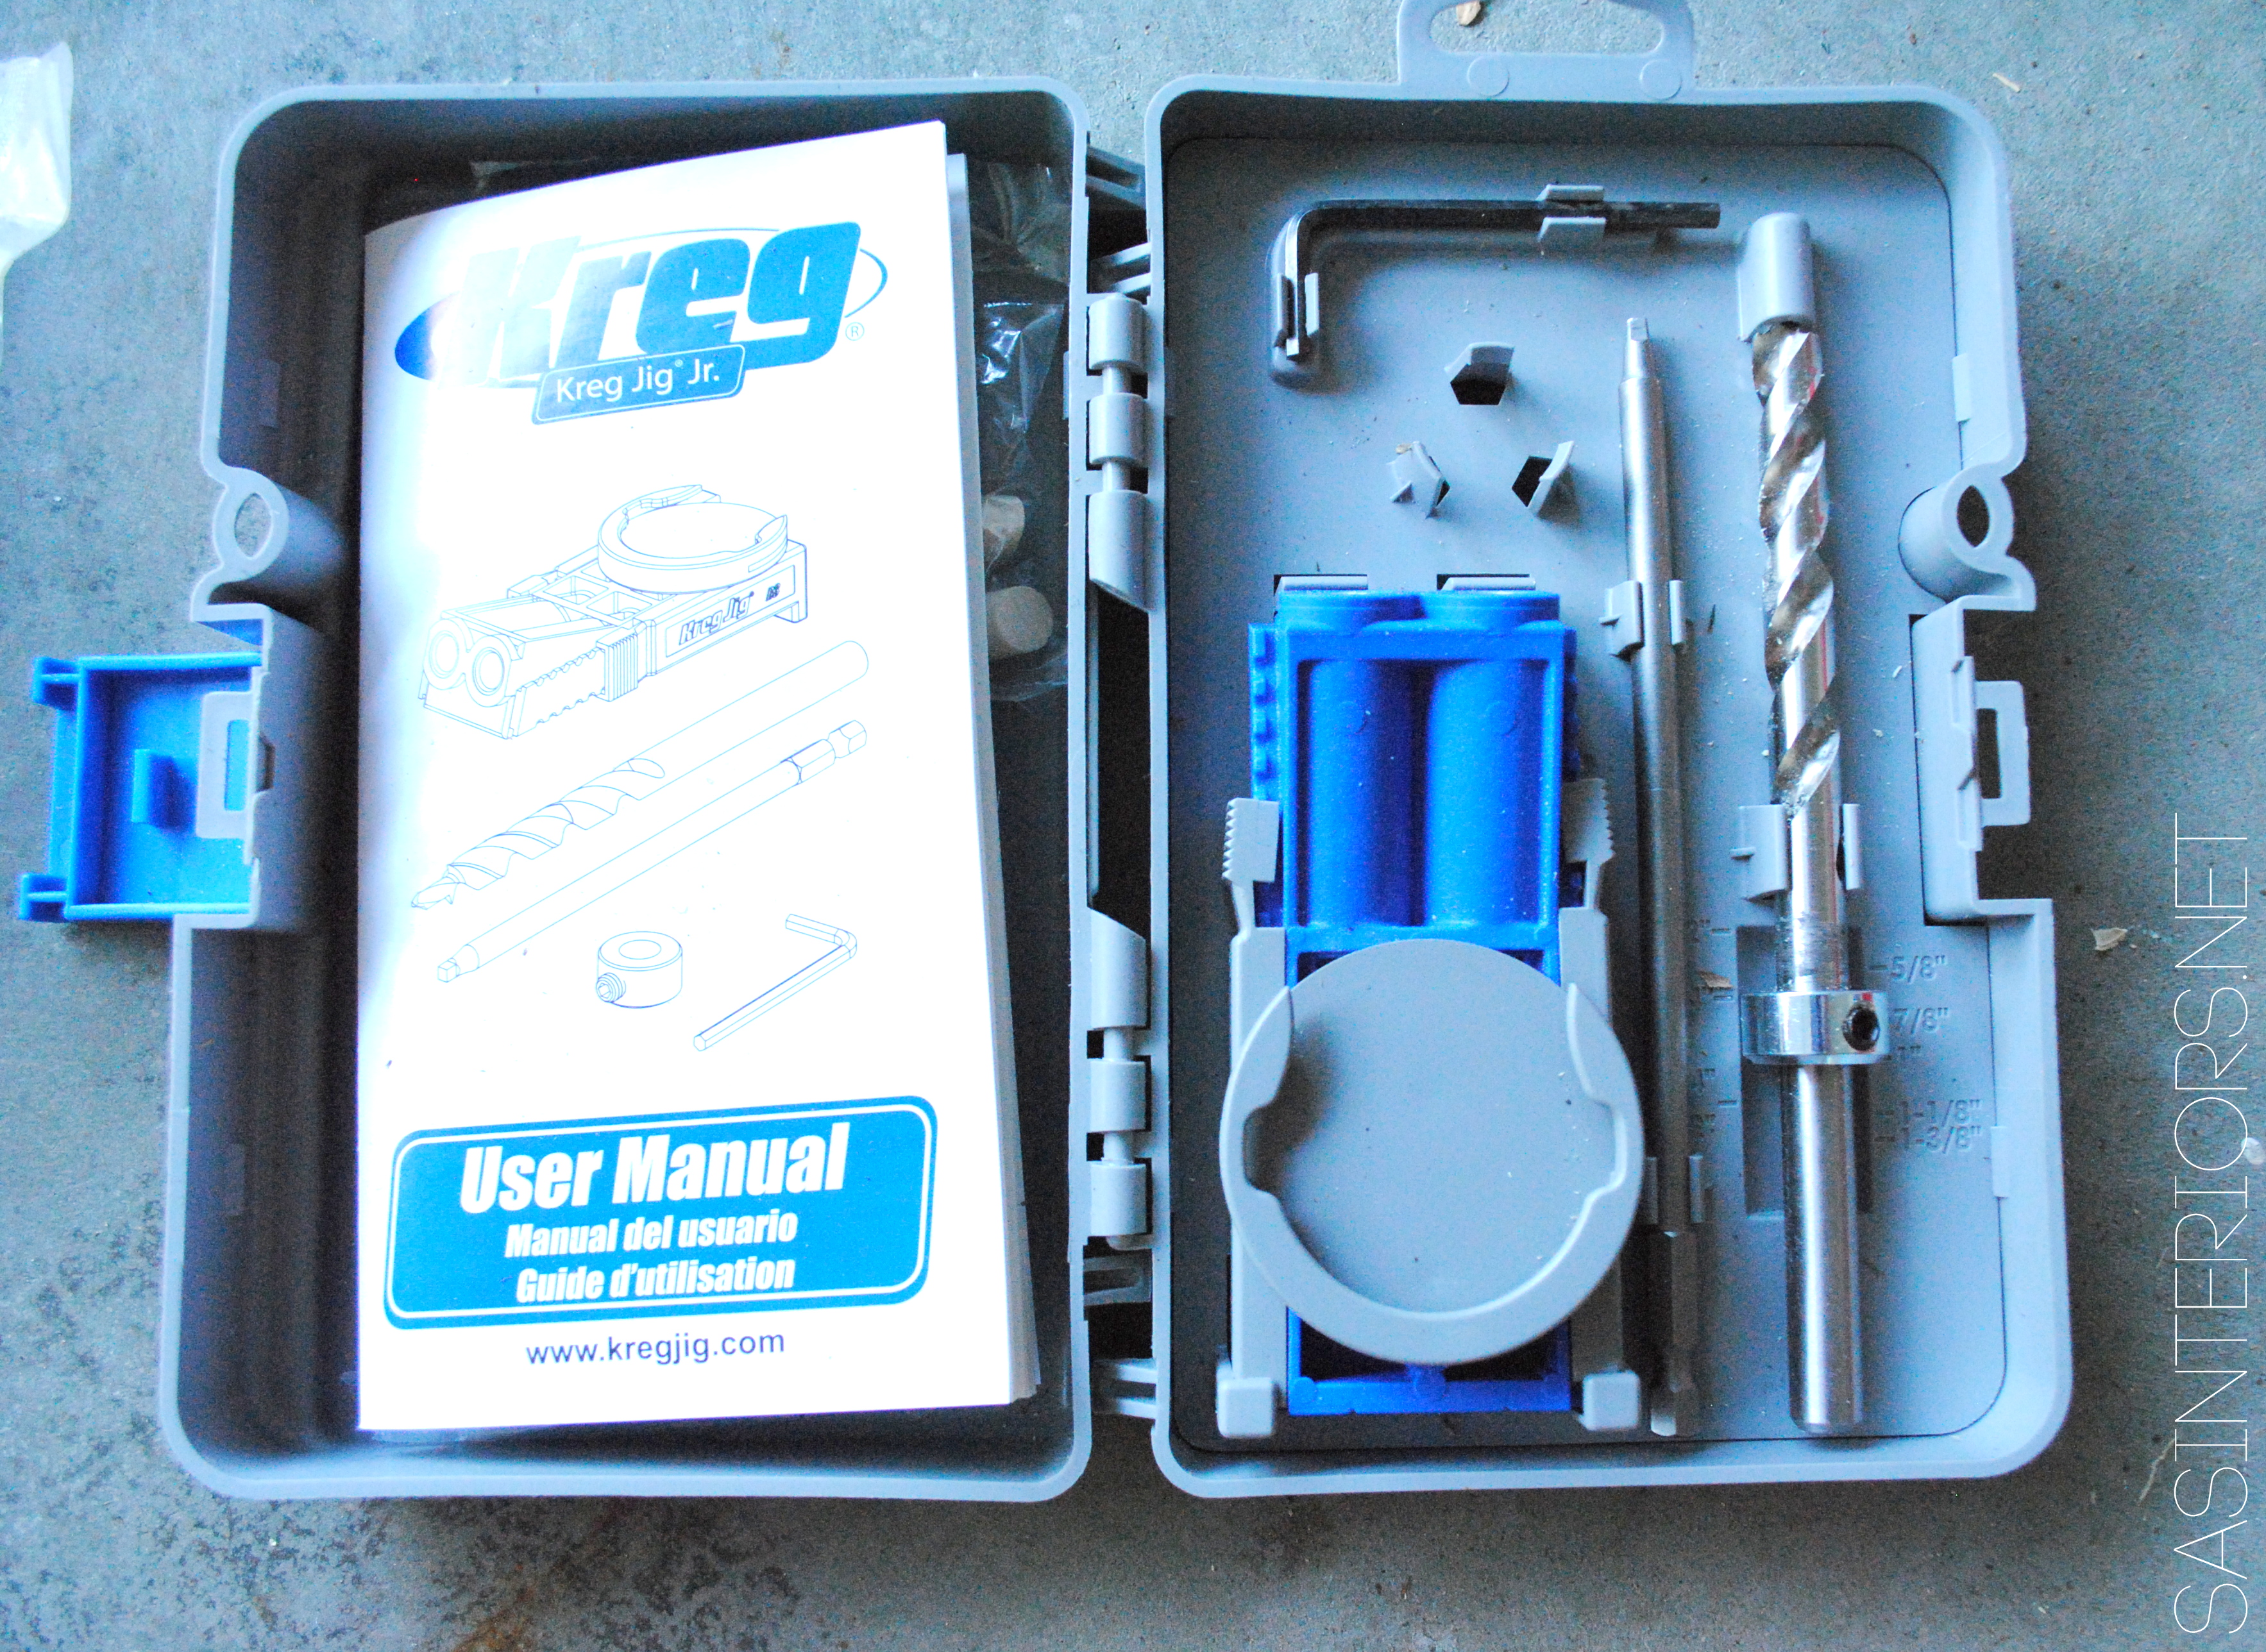
One of the best sponsor gifts I came away with from Haven over the Summer was my new Kreg Jig Jr. I had been eyeing a jig for a while because it makes building furniture so much easier by allowing for the screws to be concealed. When the wood spice holder came to mind, I knew this was the perfect first project for using my jig.
But before getting to that, I headed to Lowe’s for my materials. I purchased (1) 1″ x 3″ x 8′ piece of wood, which are the actual dimensions of 3/4″ x 2.5″.
And here is the breakdown of the pieces needed:
- (2) Side Pieces – 3″ high x 2.5″ wide
- Bottom Piece – 2.5″ wide x 11.5″ long (length to be adjusted depending on cabinet door width)
- Dowel – 1/4″ round x 12″ long (length to be 1/2″ longer than bottom piece)
A picture to explain it further…

And a quick drawing to explain it even more…
This is a front on view of the cabinet and the spice rack
The first step when using a kreg jig is to figure out the depth of the wood to set the jig placement. My wood depth was 3/4″, so the jig and depth collar on the kreg drill bit were set to 3/4″. Kreg really makes using this handy-dandy gadget SO EASY!

After securing the wood and the jig with a clamp, I drilled a hole on each end of the base piece.

Once that was complete, it was time to add the (2) end pieces + the dowel.
Sorry for the lack of pictures for this part. I was so excited about my new jig I forgot to grab my camera. Anyway, positioning about 1/2″ down from the top of the end piece and 1/2″ in from the front, I drilled a 1/4″ hole about 1/4″ deep for the dowel to fit in.
Then I put the dowel in the two end pieces and connected the end pieces with the bottom piece using the Kreg screws specifically made for 90 degree connections.


After filling in the holes with paintable putty, it was complete.

I decided to add some color to the new spice holder and used Valspar Spring Sprout in Satin.
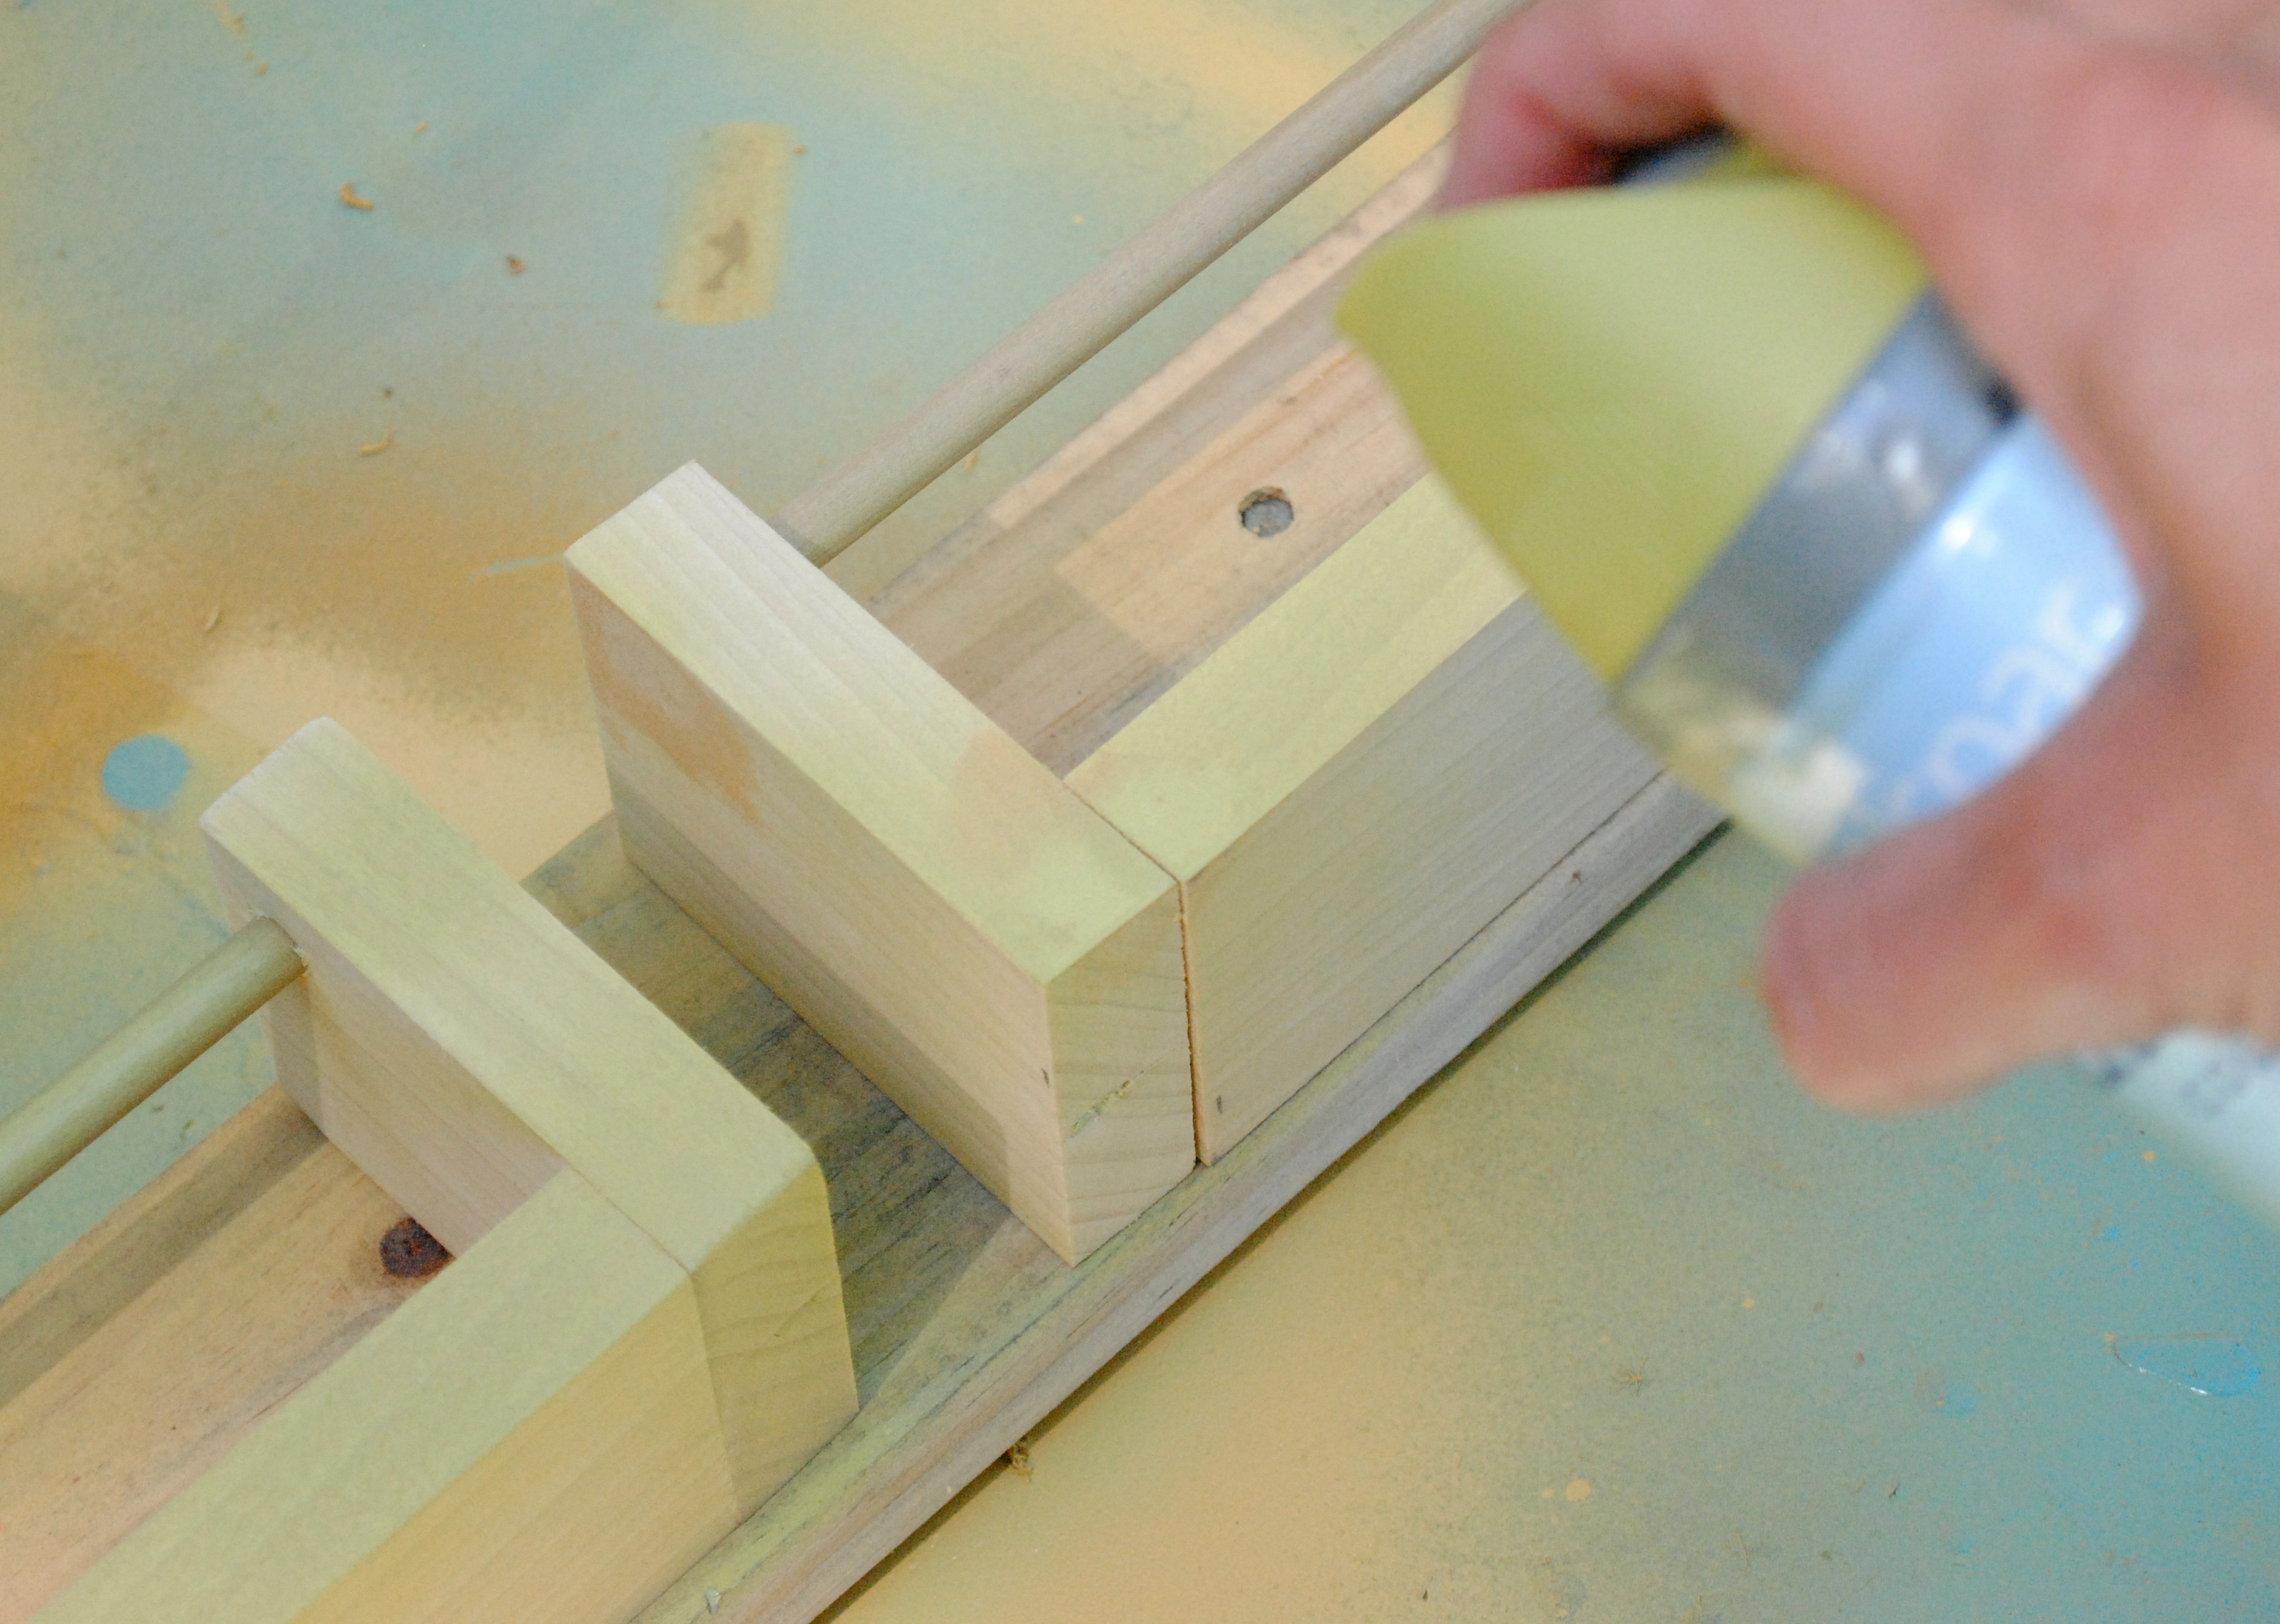
In about 10-15 minutes, this was the result…

I attached the newly made wood spice holders using a very very very strong adhesive – Loctite Epoxy Instant Mix. Basically it’s two formulas that mix together and provide a major adhesive mixture. DO NOT TOUCH IT. I carefully applied the mixture to the back of the wood holder and placed it on the interior of the cabinet. I held it in place for about 3-5 minutes until it was completely adhered to the surface. I will be honest, the wood started to slide a few times, but I was close by and slid it back into place. There are other epoxy mixtures that dry even quicker – 1 minute of less.

I was a total novice at using a jig and I was very happy with the results. I couldn’t believe how easy it was. Now I can’t wait to get my hands dirty with even more furniture projects. Boy, do I have a list!
To see how I organized the rest of this cabinet, plus more of my kitchen interiors, head over to Kitchen Organization: Ideas for the Inside of the Cabinet Doors.
How do you organize your spices? In a cabinet or in a drawer? Is this project something you think you would tackle? With every new tool, there is a learning curve, but it was fairly easy.


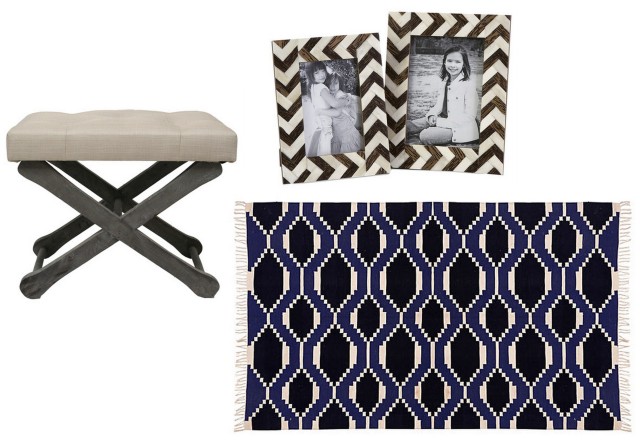
 via
via


 tomorrow which will include the proposed floor plan + vision board to use for the meeting.
WWW.JENNABURGER.COM/wp-content/uploads/2013/09/Cover1.jpg)


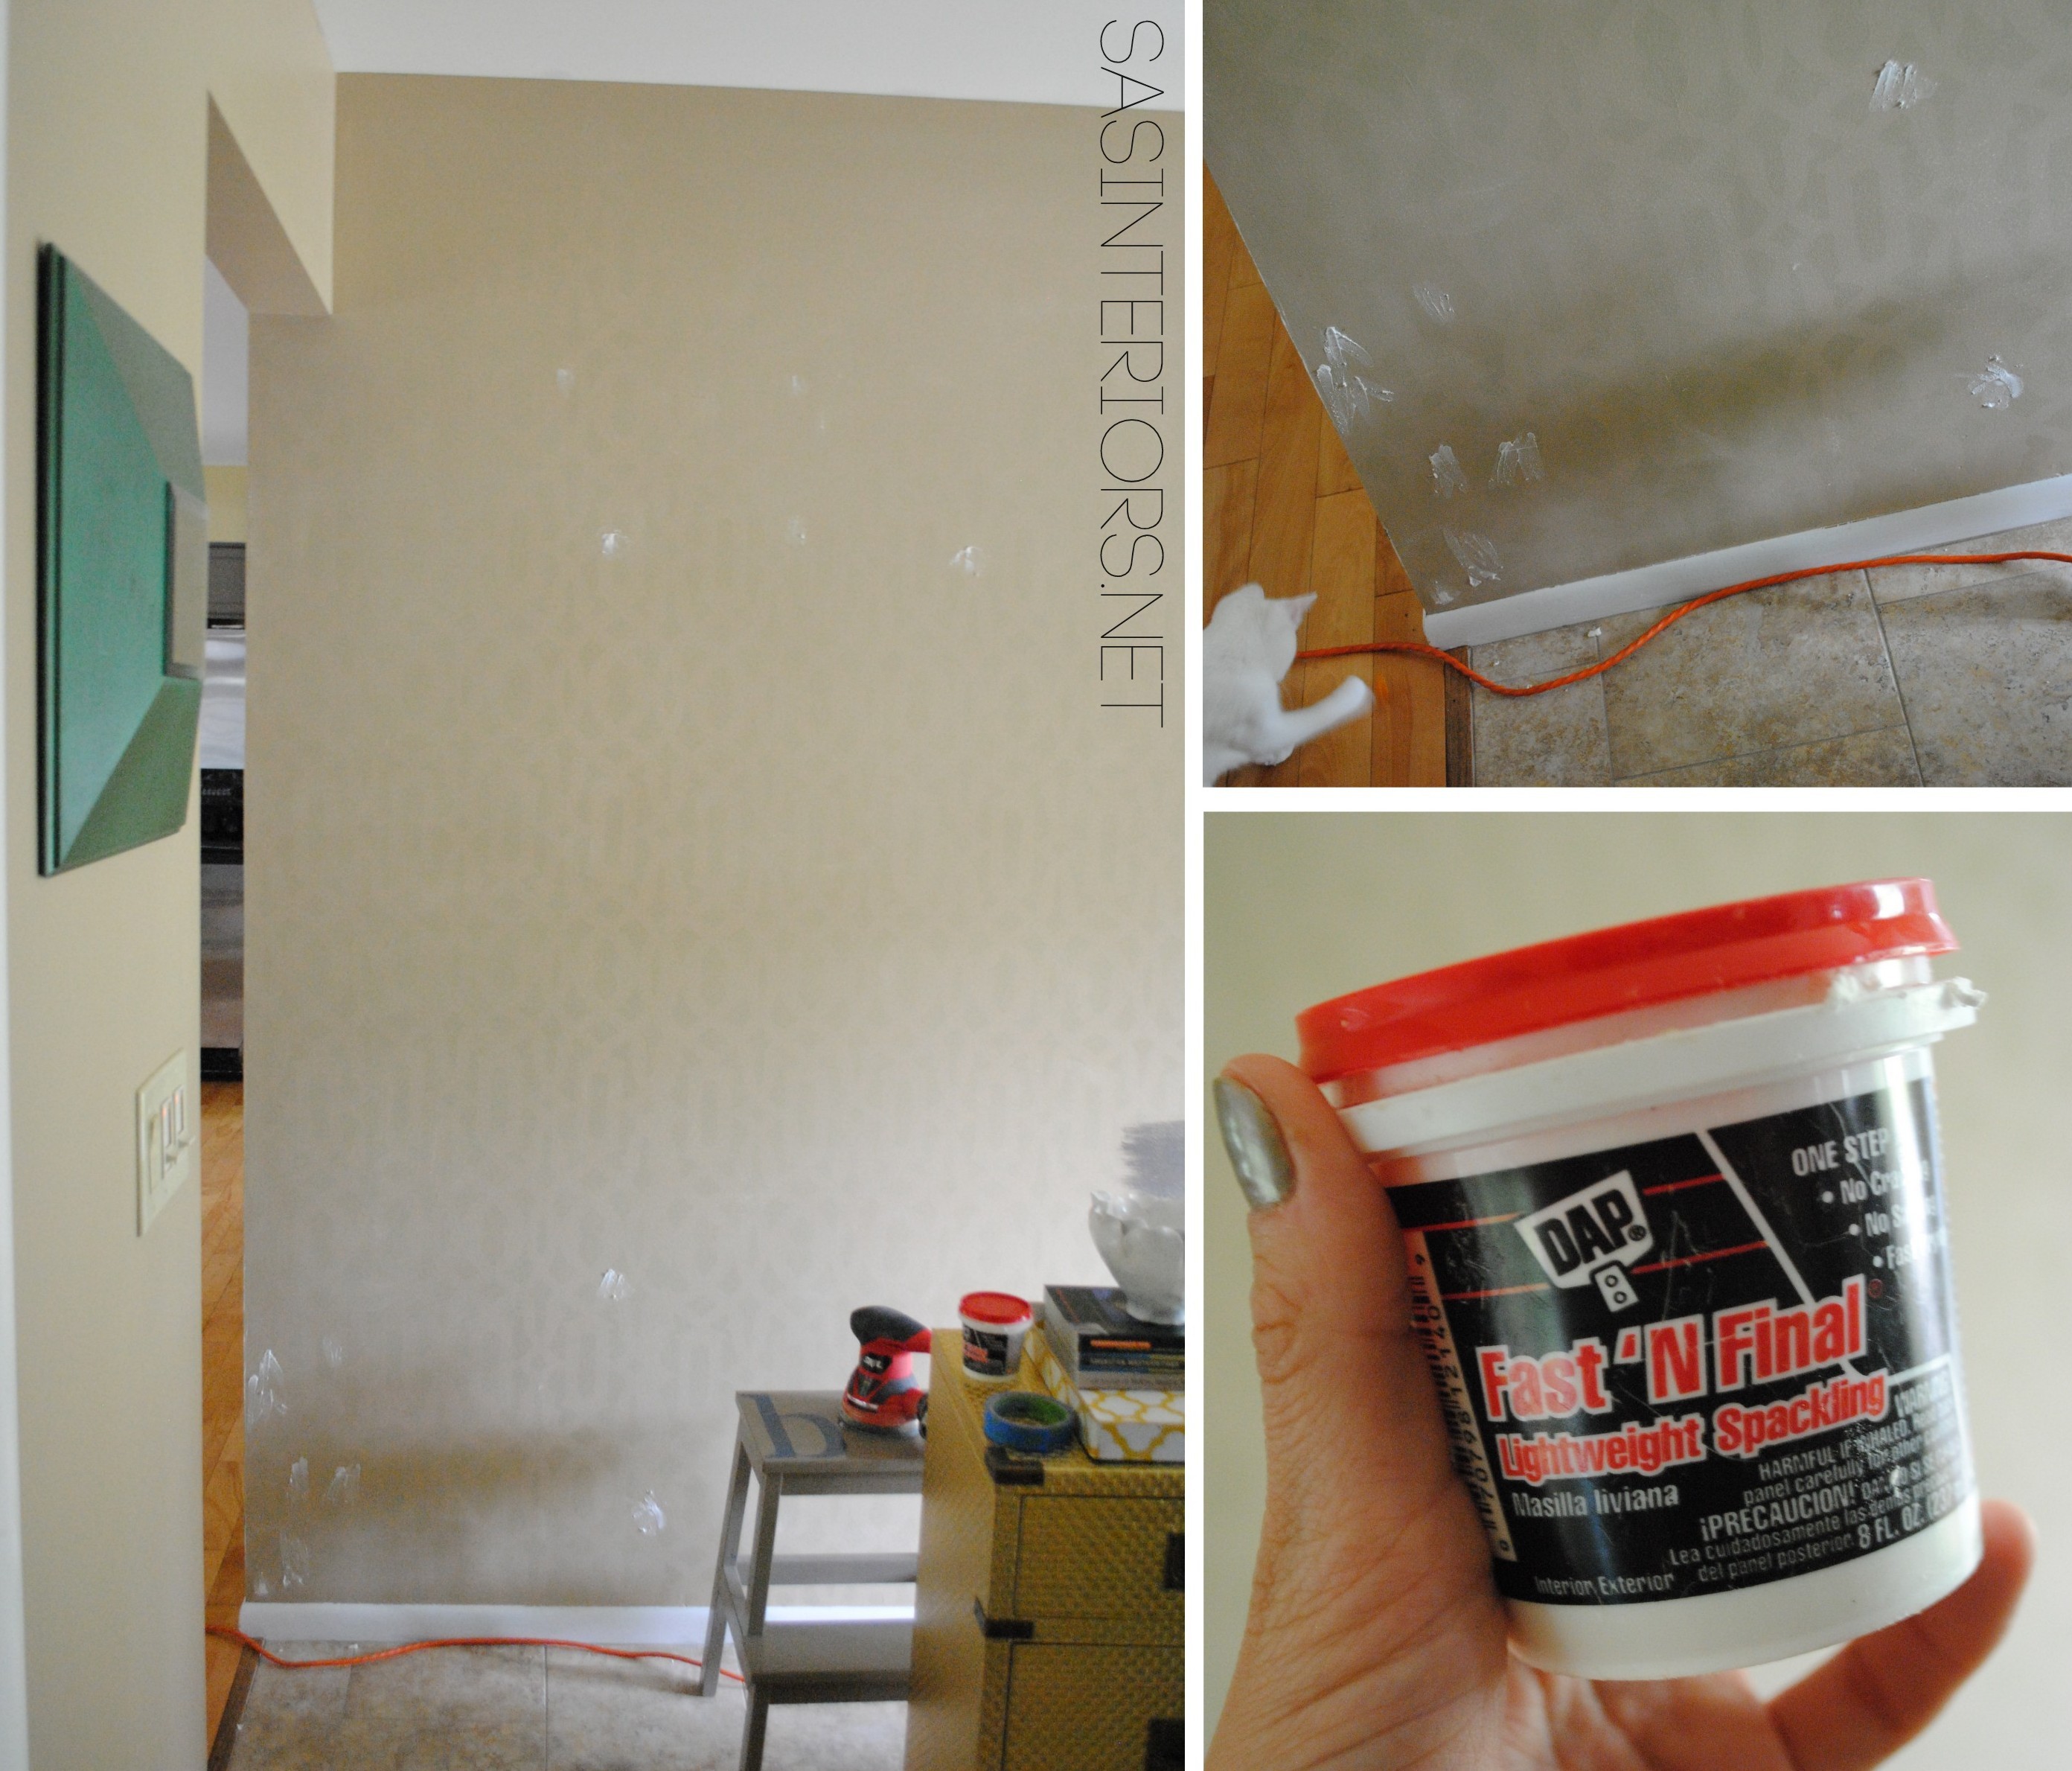
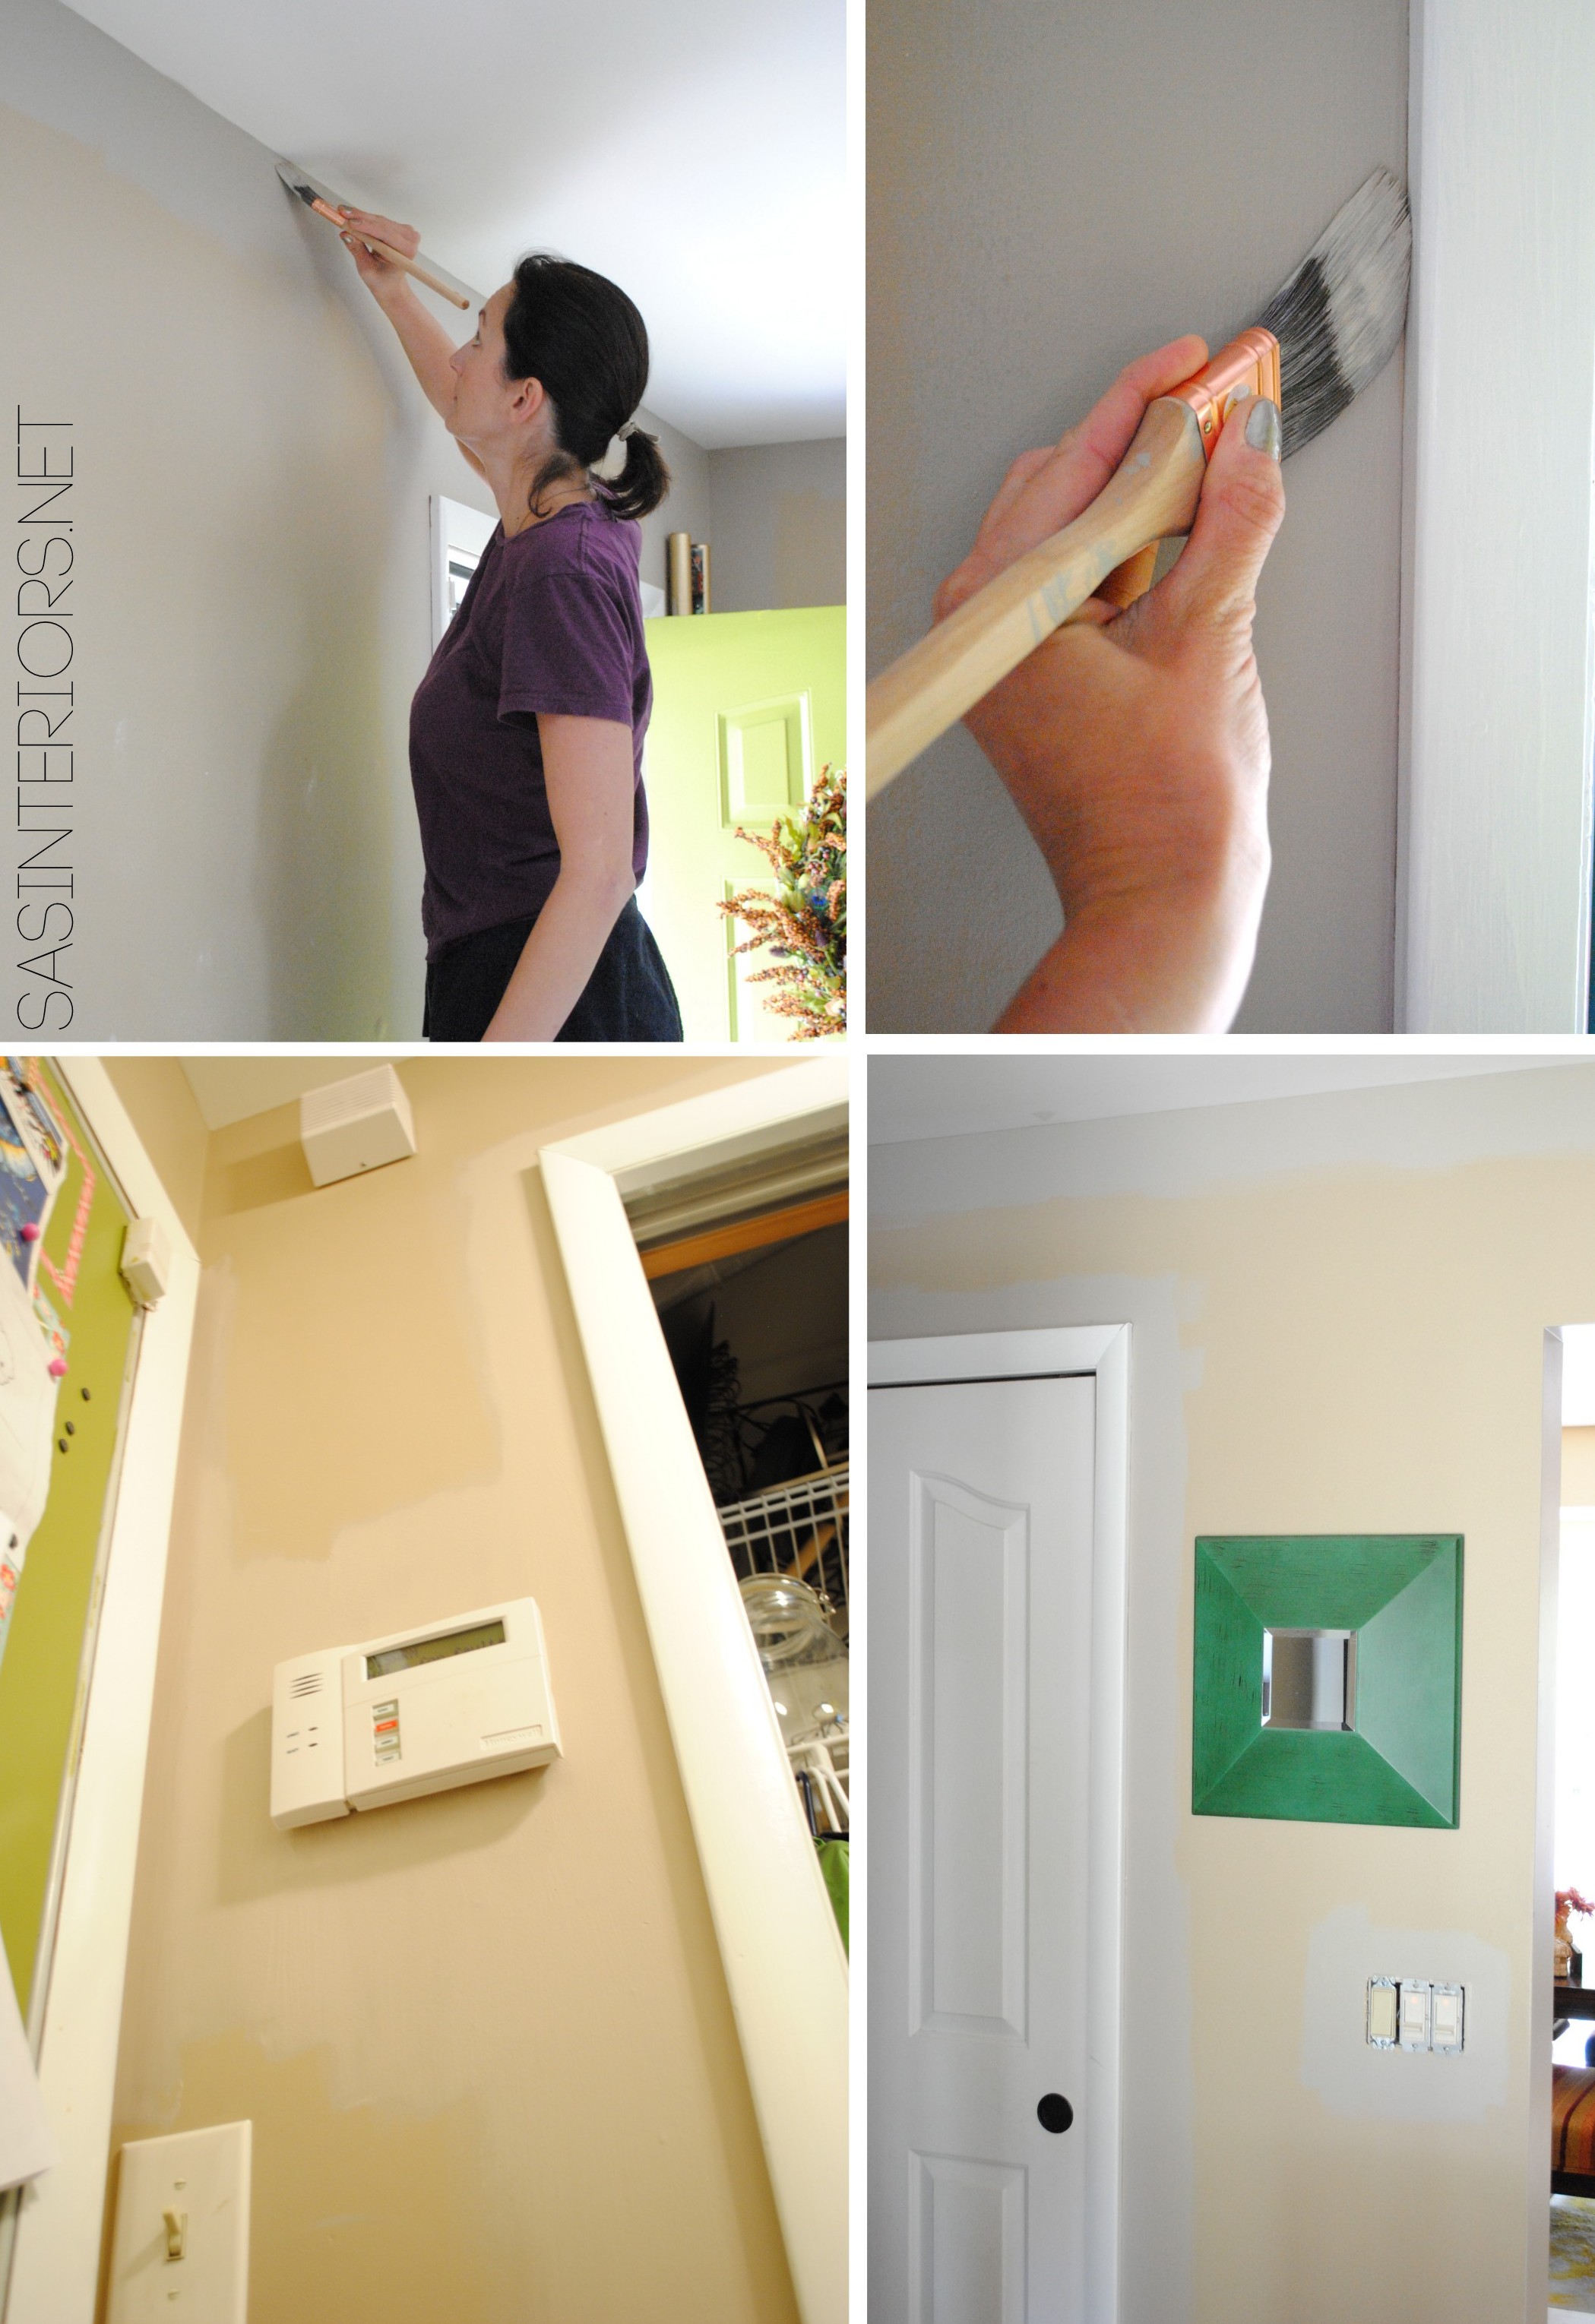


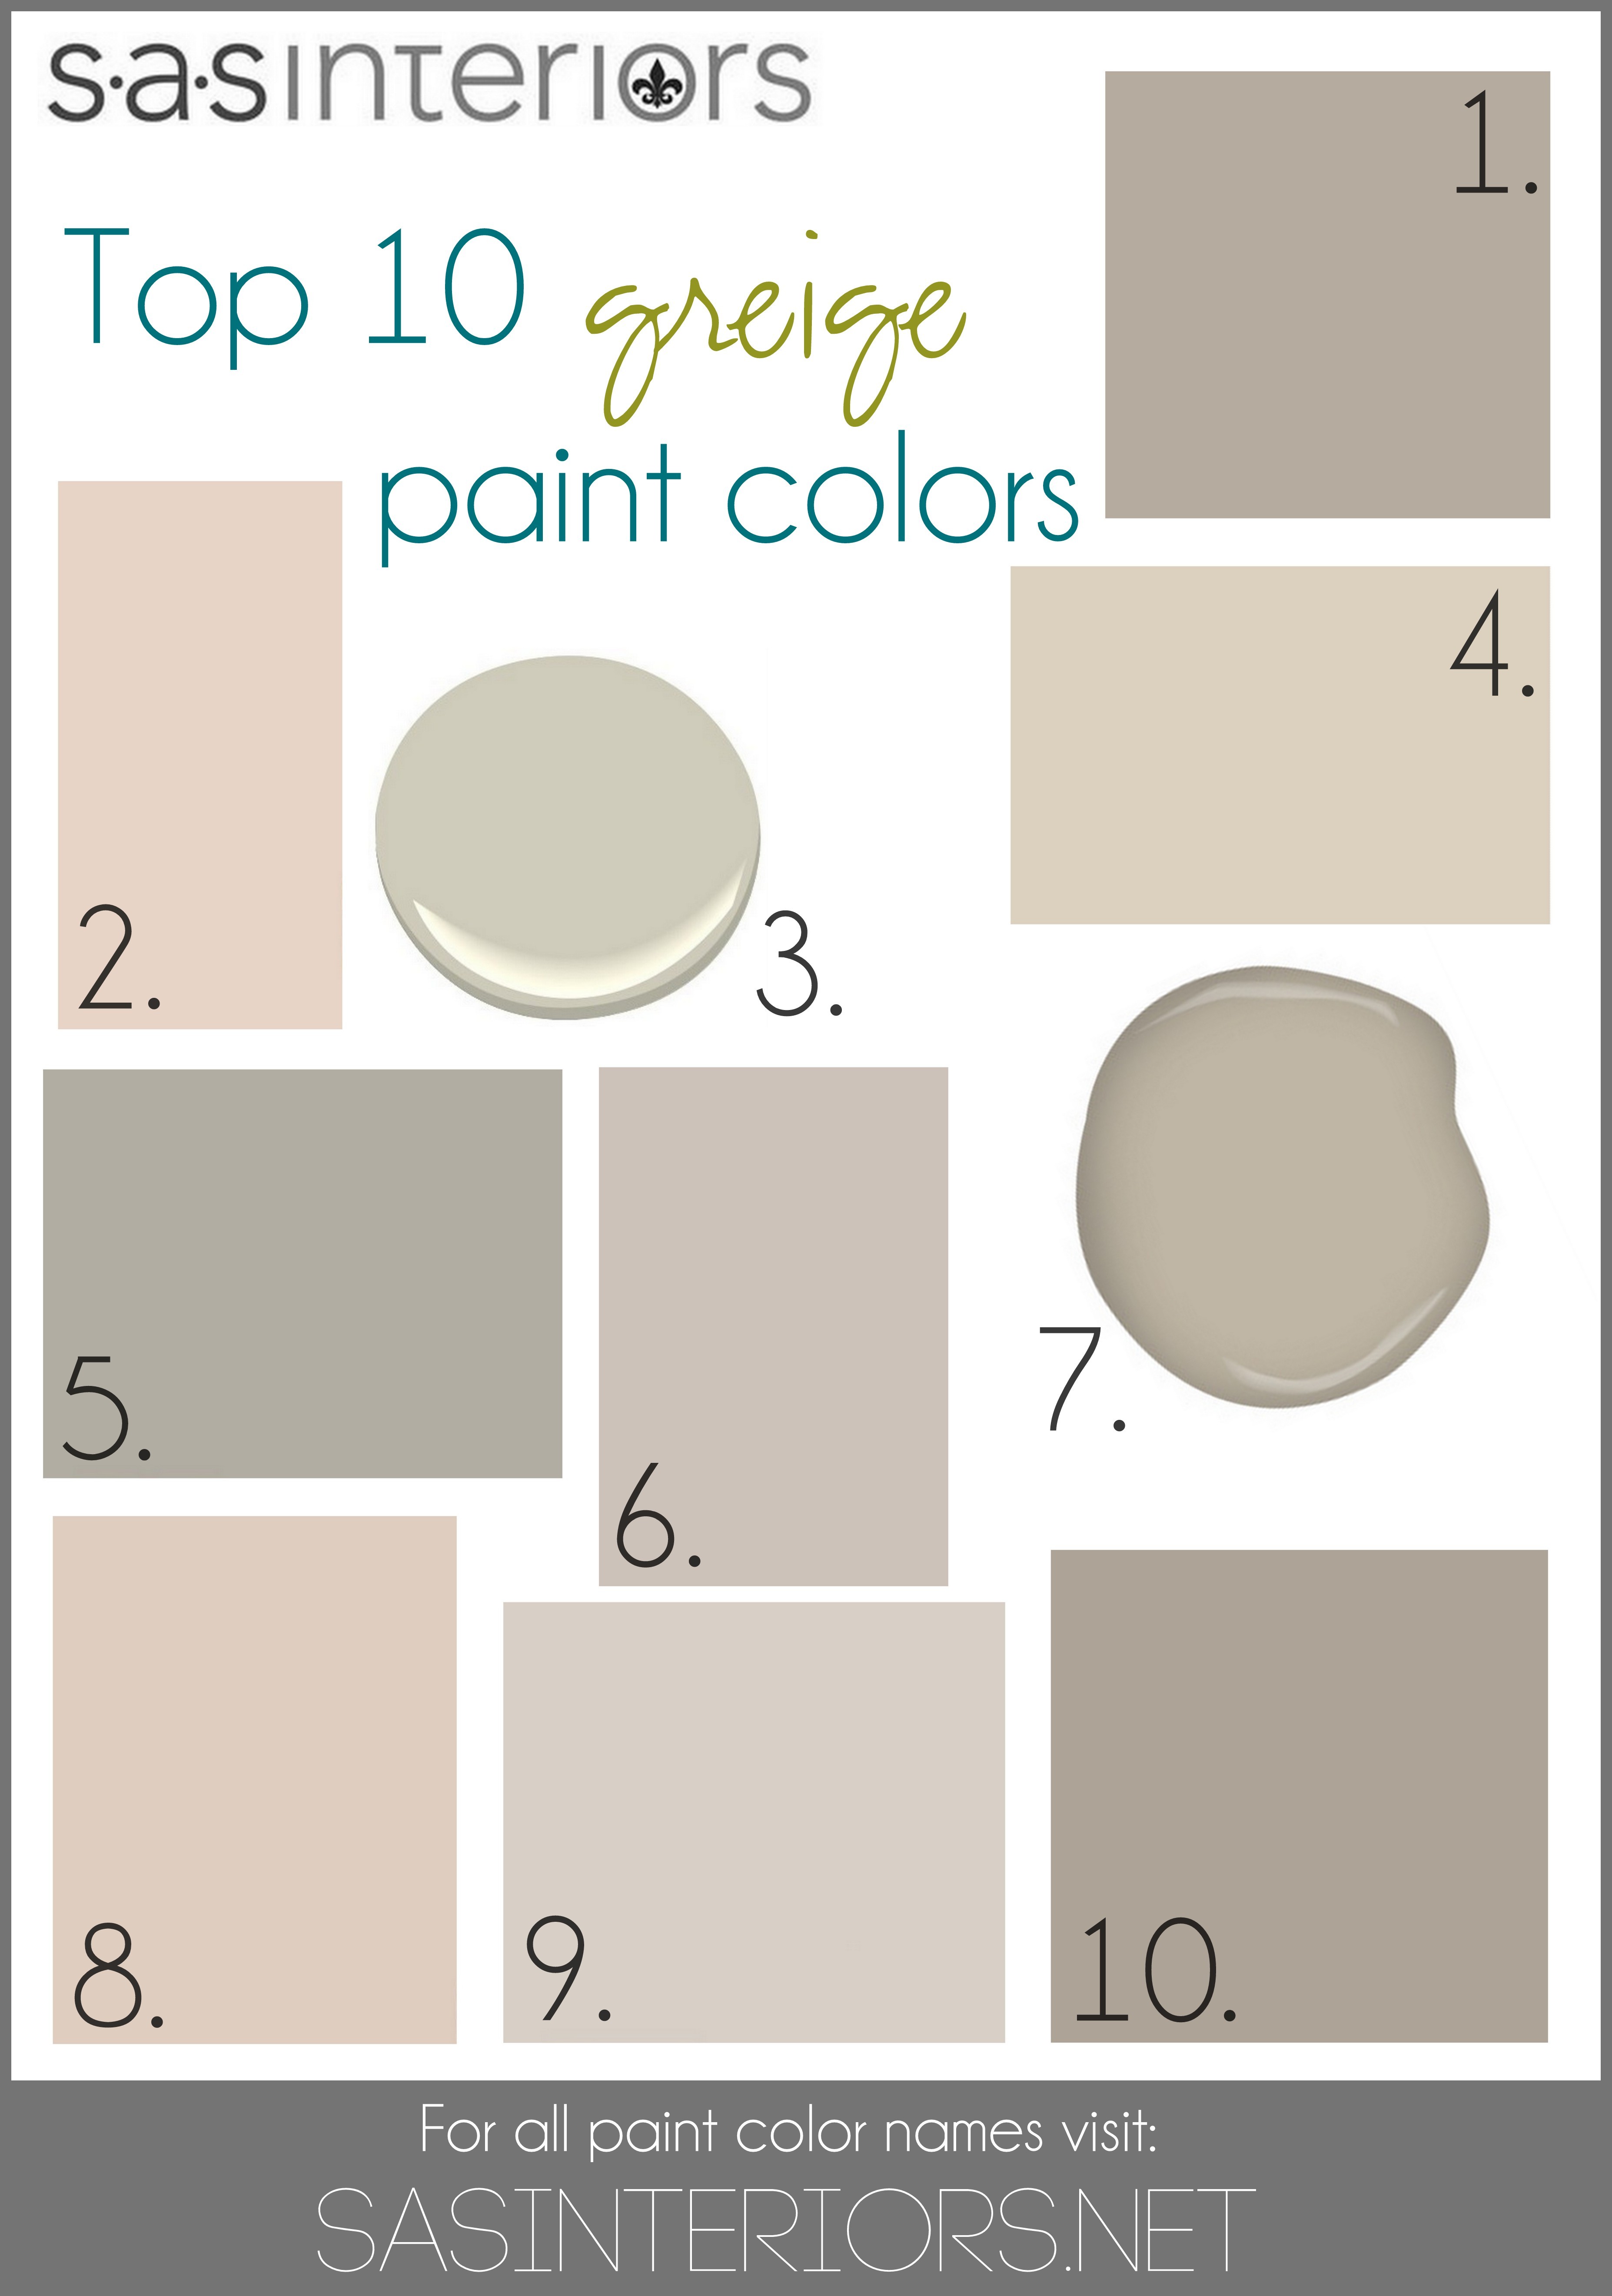

 Sherwin Williams Perfect Greige
 Benjamin Moore Hazy Skies