Autumn Flowers + My Go-To Flower for Fall

This post brought to you by Scotts Miracle-Gro. All opinions are 100% mine.

As we come out of winter hibernation and start to enjoy the first warm days of Spring, my mind immediately goes to outdoor projects.  I get all excited about the beautiful flowers that will start to grow and the endless days spent outside gardening and DIYing.  In those beginning days, I always head to my local gardening center with my endless questions on “How do I grow this?” or “What should I do to make my flowers last throughout the Summer?”.   Then when August hits and the Summer is rearing to an end, my flowers are often blah (or dead) and I think, well Fall is here and flowers don’t live through this season with the cooler evenings anyway.  Boy, is that thinking WRONG!

Fall can actually be the prettiest time for your gardens because if fed and maintained the right way, flowers are at their peak.  And if you introduce the right Fall-friendly flowers and feed, your flowers garden (veggie gardens too) can last well into the colder days and nights.

MiracleGro Logo(1).jpg

Miracle-Gro, one of the most well-known companies for gardening products, has a great website to help find beauty in the Fall and shares simple, fun, and achievable projects for Fall gardening.  Who doesn’t love color?  And the longer it lasts, the better since the heavy white stuff is right behind!

Based on the region of where you live (for example, I’m in the Northeast), gardening tips and suggestions will be made on how to maintain the color throughout the Fall season.  And if you want to add some more color with new plants (for example, in my area Fall is great for mums and pansies), they’ll show you the best soil to use and the steps needed to plant them to achieve a healthy, lasting flower/plant.

I’ll be honest, I have good ideas for interiors, but I have NO GREEN THUMB – I’m definitely still learning!  Though browsing the Miracle-Gro site, I really gathered alot of simple and useful tips which I can’t wait to use.

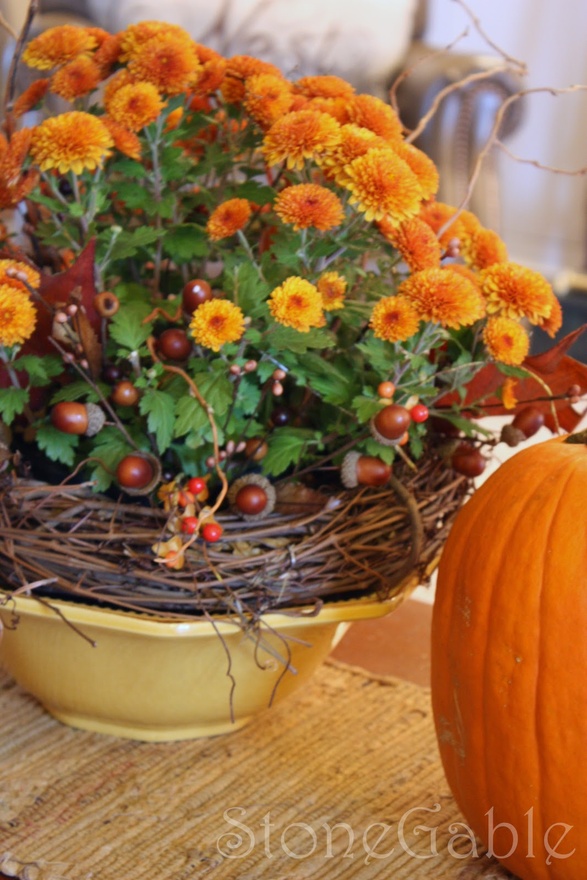
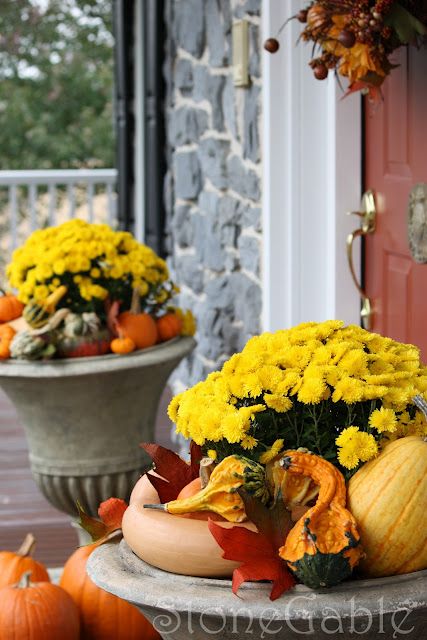
When I was at the store yesterday, I picked up a few mums (deep orange and yellow), which I might plant in the garden or replant in larger pots.  They’ll stay outside for a while, and once Thanksgiving nears, I plan on bringing them indoors to create something similar to this beautiful centerpiece by Yvonne of StoneGable.  What a gorgeous creation, right?!

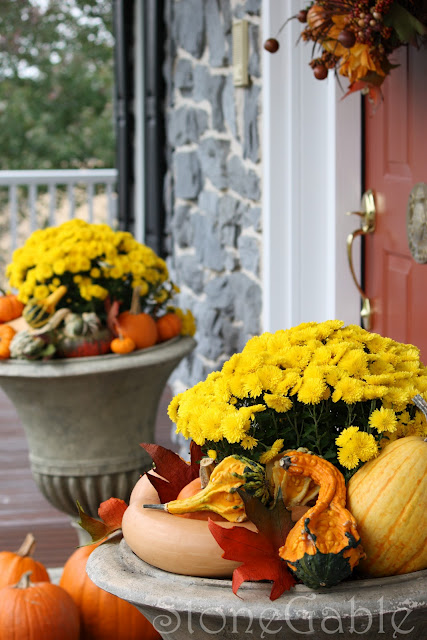
And check out her breathtaking exterior with two vibrant yellow mums in large urns that flank the front door.  Ah-Mazing!

Mums are definitely my go-to Fall flower because they look great, they’re perfect for the cool temps in the Northeast (+ many other parts of the country too), and they’re fairly inexpensive. They can easily be grouped together in a garden or planter, and add fantastic color to a garden, centerpiece, or arrangement.

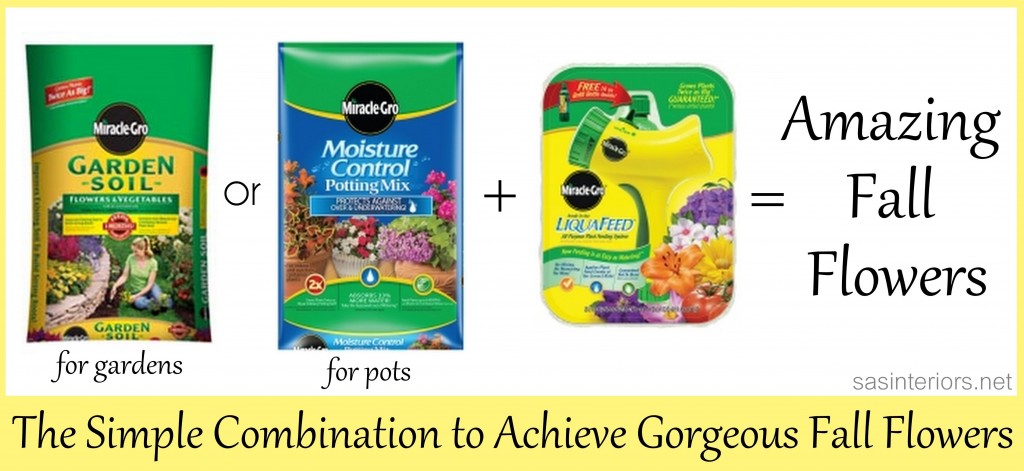
Thinking about planting some mums or other Fall Flowers?  Here’s the perfect combination to achieve Amazing Fall Flowers! These products will give the right amount of nutrients and moisture so you’ll have beautiful, vibrant flowers well into the coming season.

Aside from just flowers for this season, Fall is also a great time of year to plant new bulbs for the Spring, as well as trees and shrubs.  Boy, do I have my work cut out for me over the next coming weeks! To get even more tips for gardening, check out the Miracle-Gro Facebook page, where you can chat with other gardeners and get tips / ideas for your flowers.

What are your favorite Fall flowers?  Have you planted new bulbs in the Fall with better results than if planted in the Spring?
Advertisement

Visit Sponsor's Site

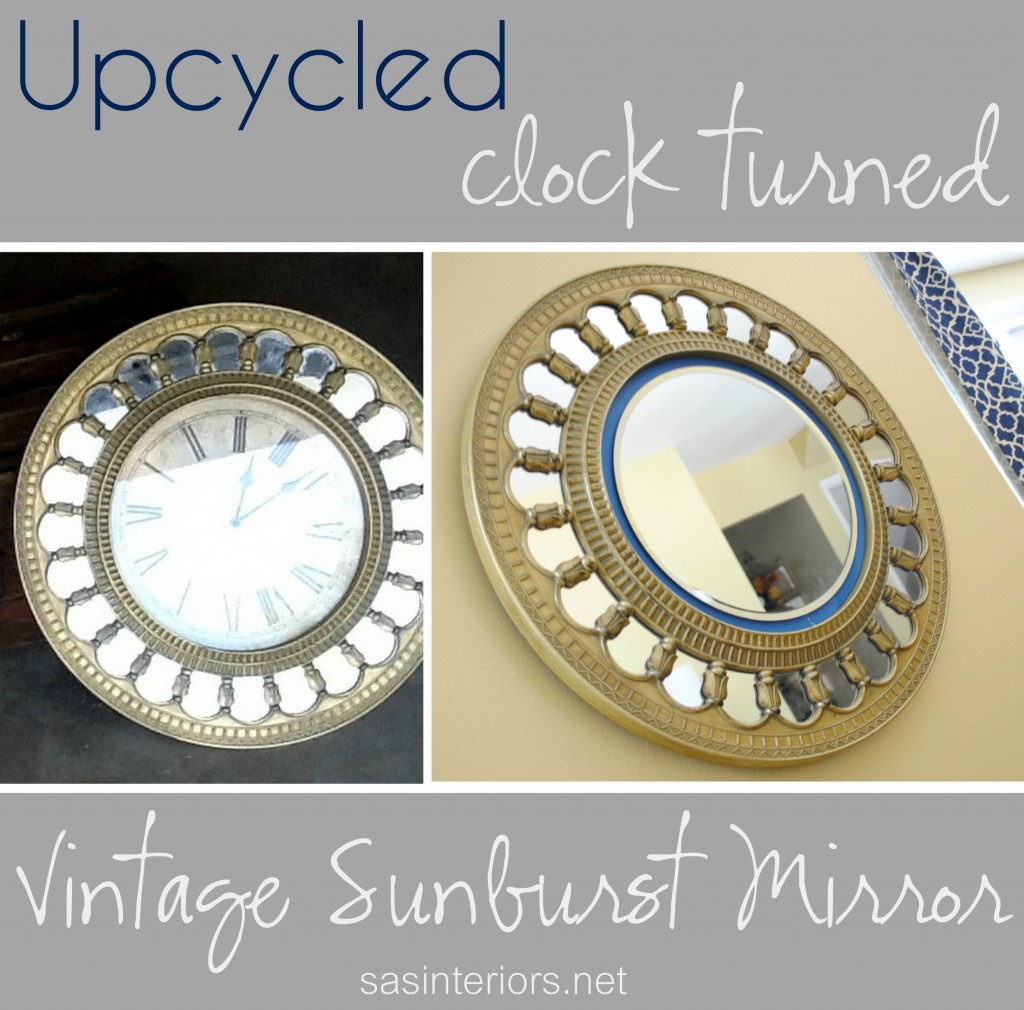
Upcycled Clock Turned Vintage Sunburst Mirror

A few weeks ago while driving through my neighborhood, I spotted a sign for a garage sale.  As always, my garage-sale-radar automatically went into effect, and I quickly turned the wheel down the street and started my typical slow-drive-by.  While still in the car, I immediately spotted a gold antiqued-looking clock. Of course, I had to stop!

Just like my radar noticed, it was in good condition and I knew exactly what I wanted to do with it – turn it from a clock into a sunburst mirror.

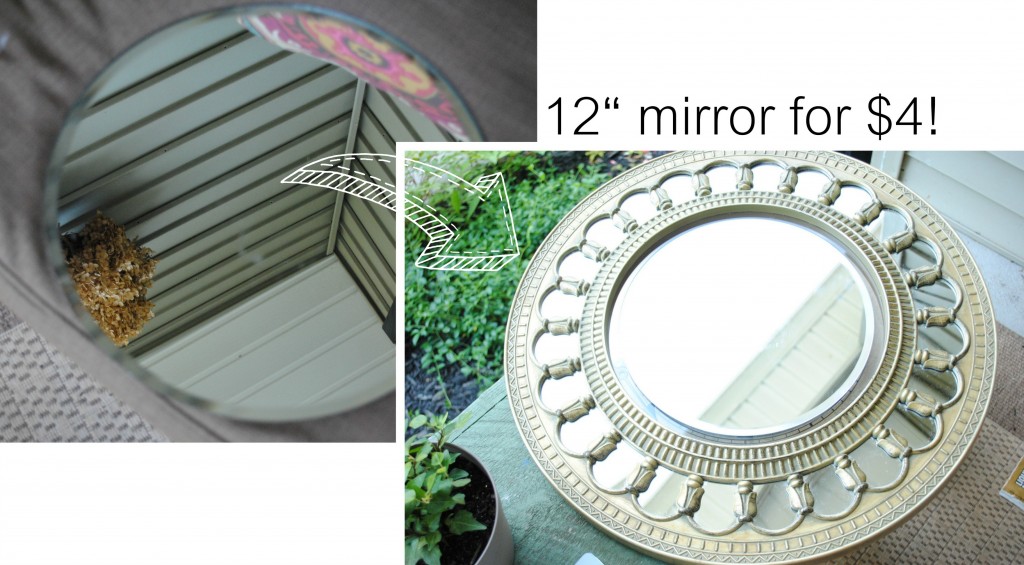
To change this clock into a mirror, the only item I needed was a 12″ round beveled-edge mirror which I found and purchased from AC Moore for $4 (it was actually $8 but I had a 50% coupon – score).

I applied my go-to-adhesive, Liquid Nails, to adhere the mirror to the center of the clock to cover the numbers.

Unfortunately, it didn’t work – the adhesive wasn’t strong enough to hold the mirror 🙁

I was pretty bummed, but onto plan B…  A stronger adhesive.  Situations always work out as they should because when the Liquid Nails didn’t work, it gave me the chance to add alittle color to the edge of the mirror – a detail I hadn’t thought about before.

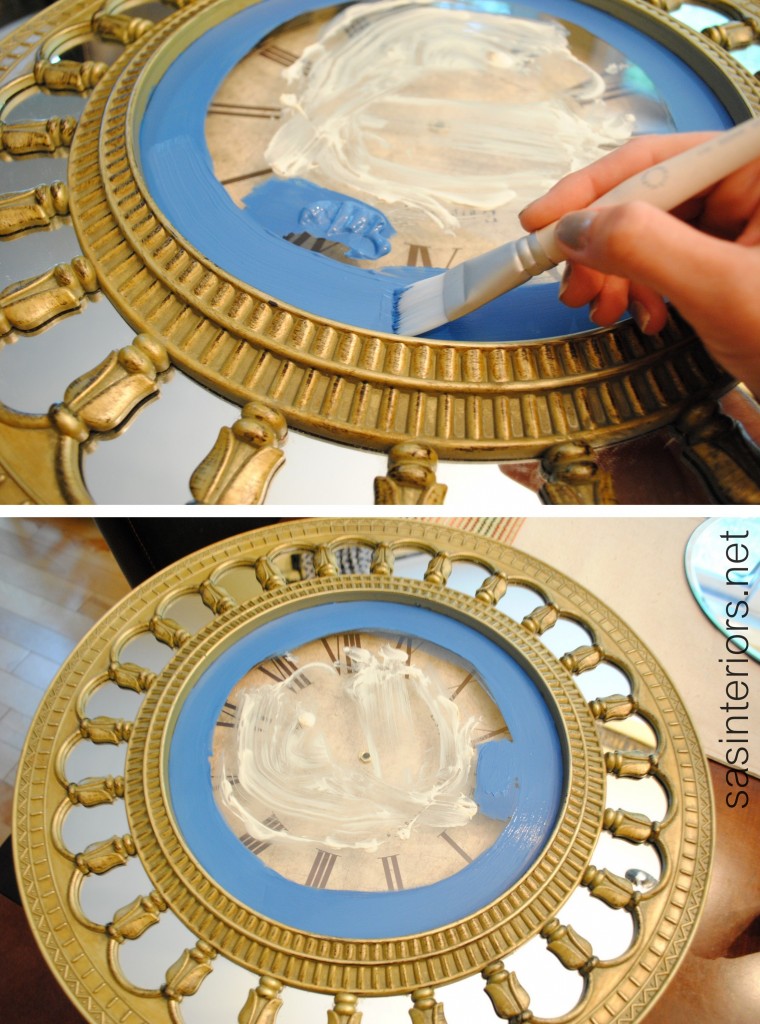
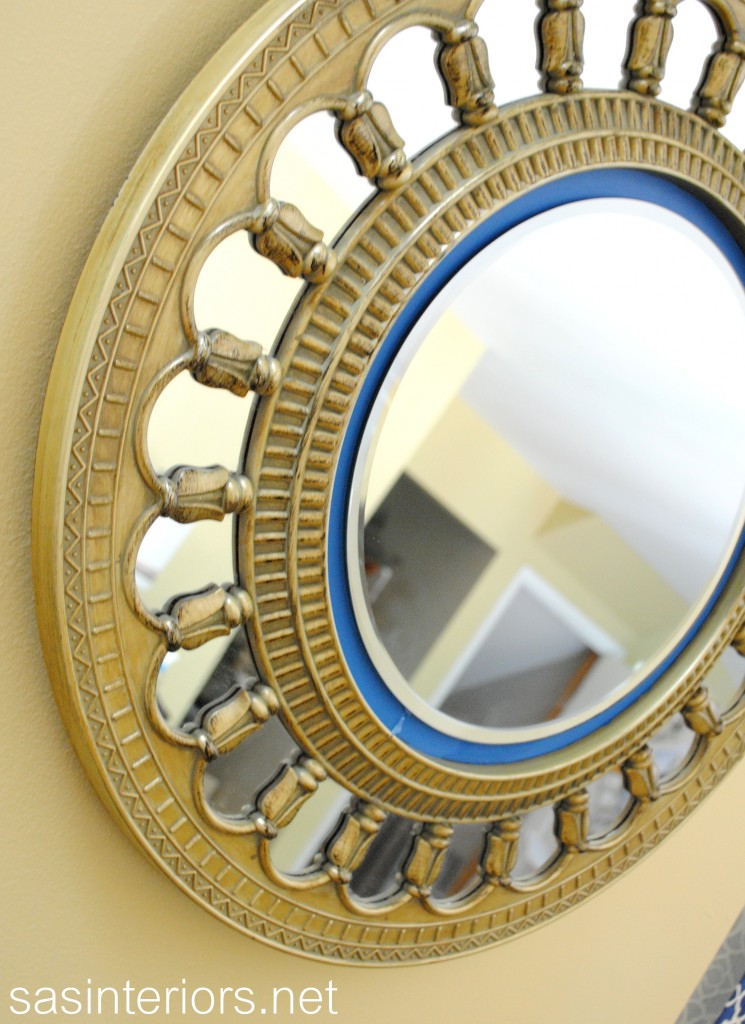
So before adhering the mirror, I painted the outer section of the clock with a navy blue colored craft paint.

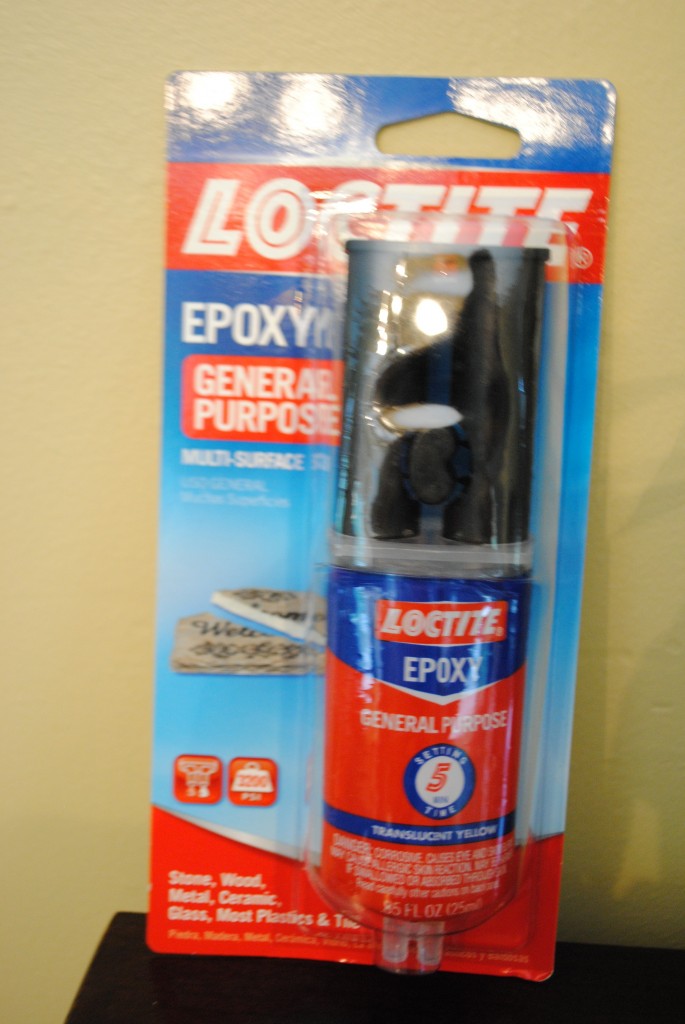
THEN, it was time to add the mirror back for the second time.  This attempt, I used a 5-minute-dry epoxy.

This had to work!

And it did – I was a happy girl again 🙂

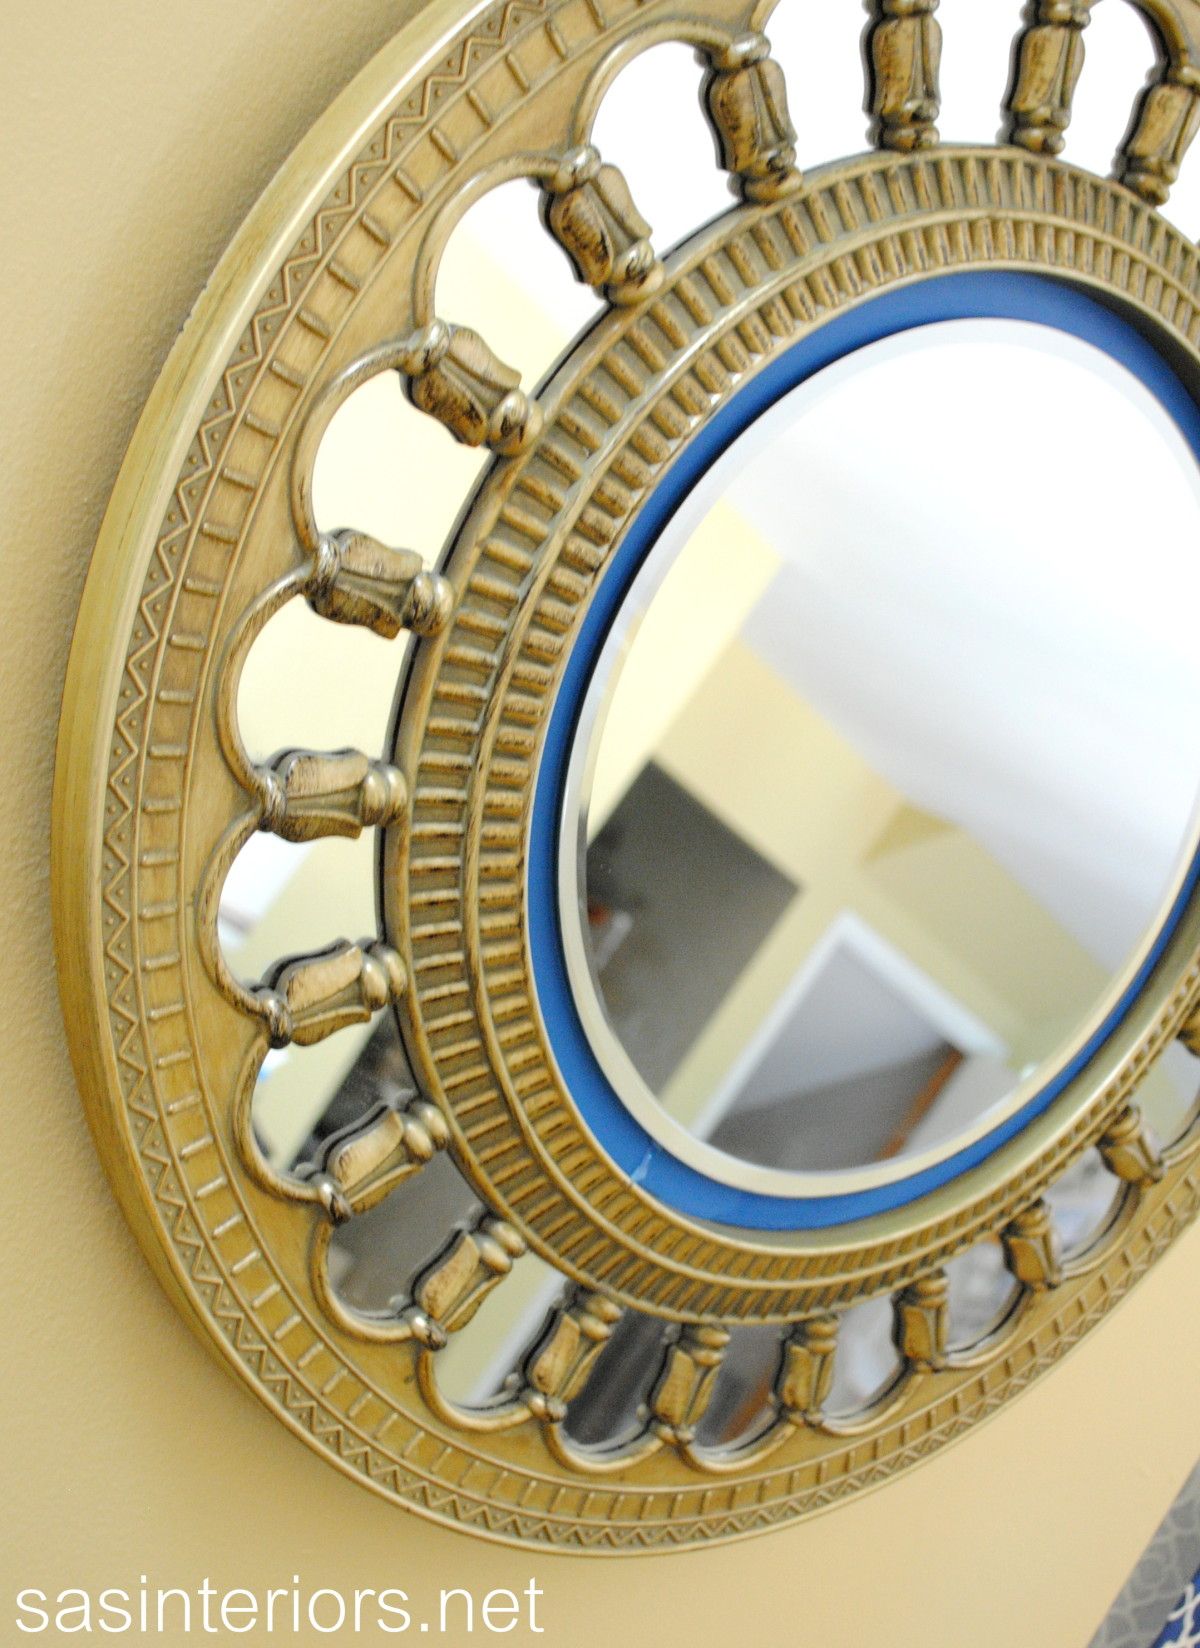
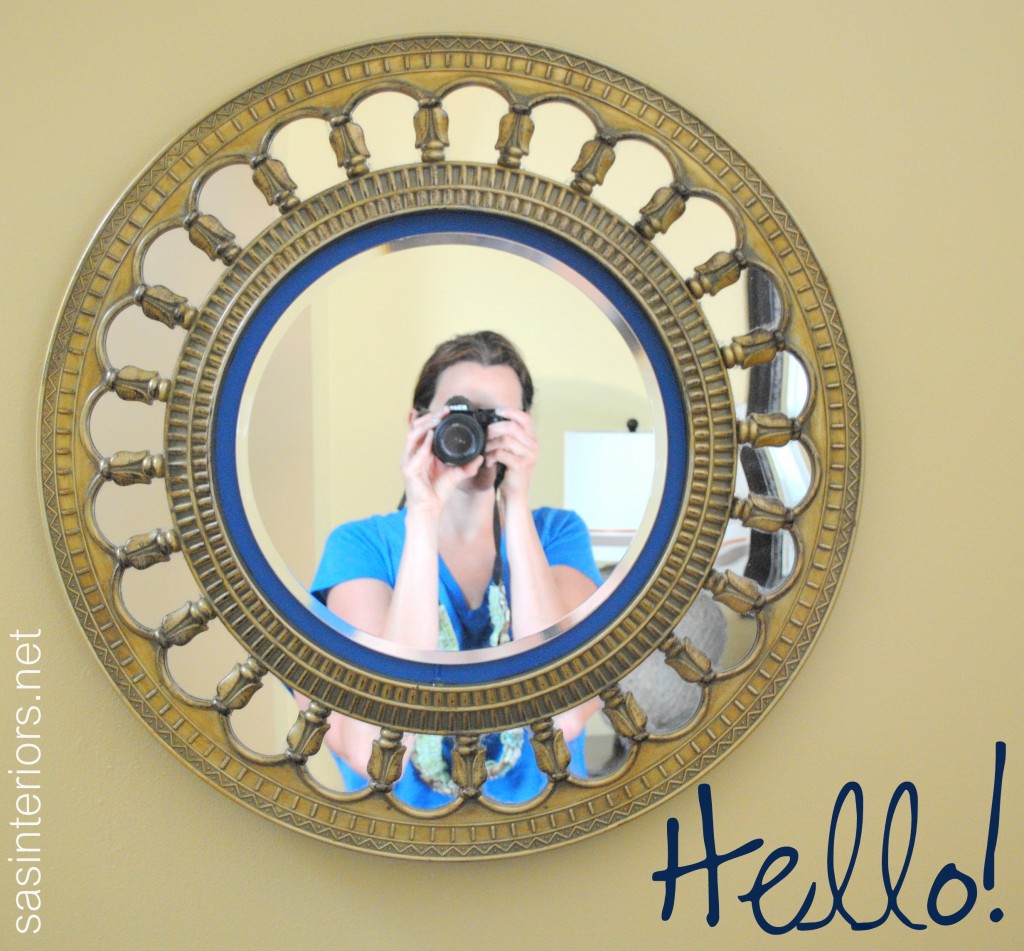
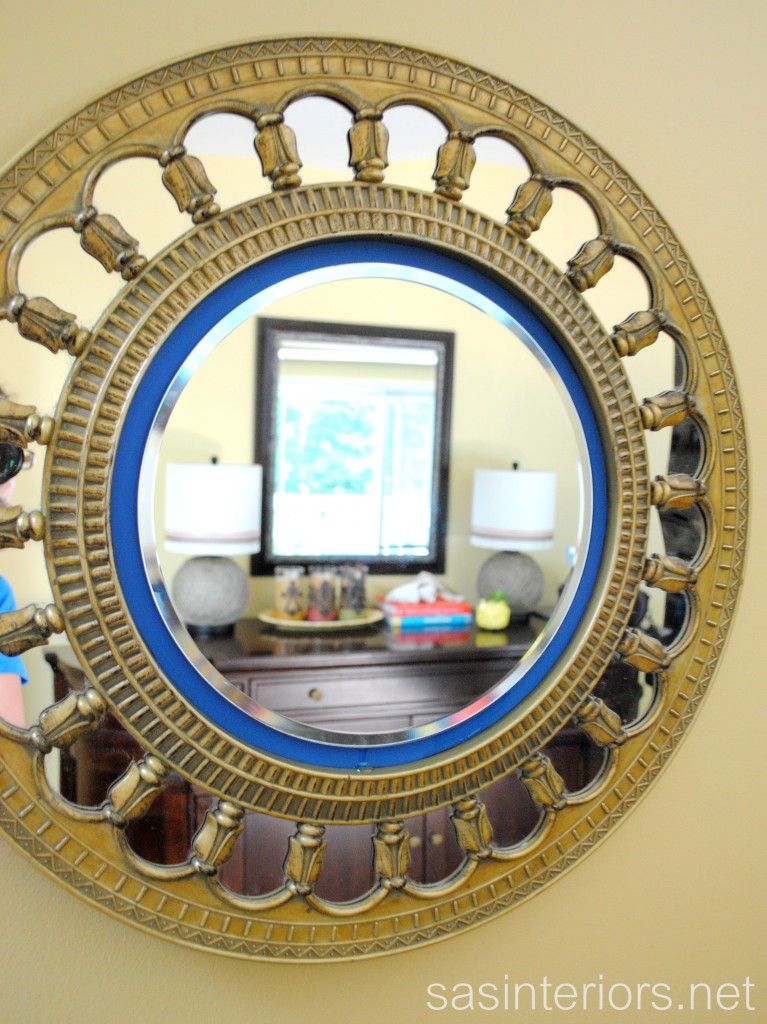
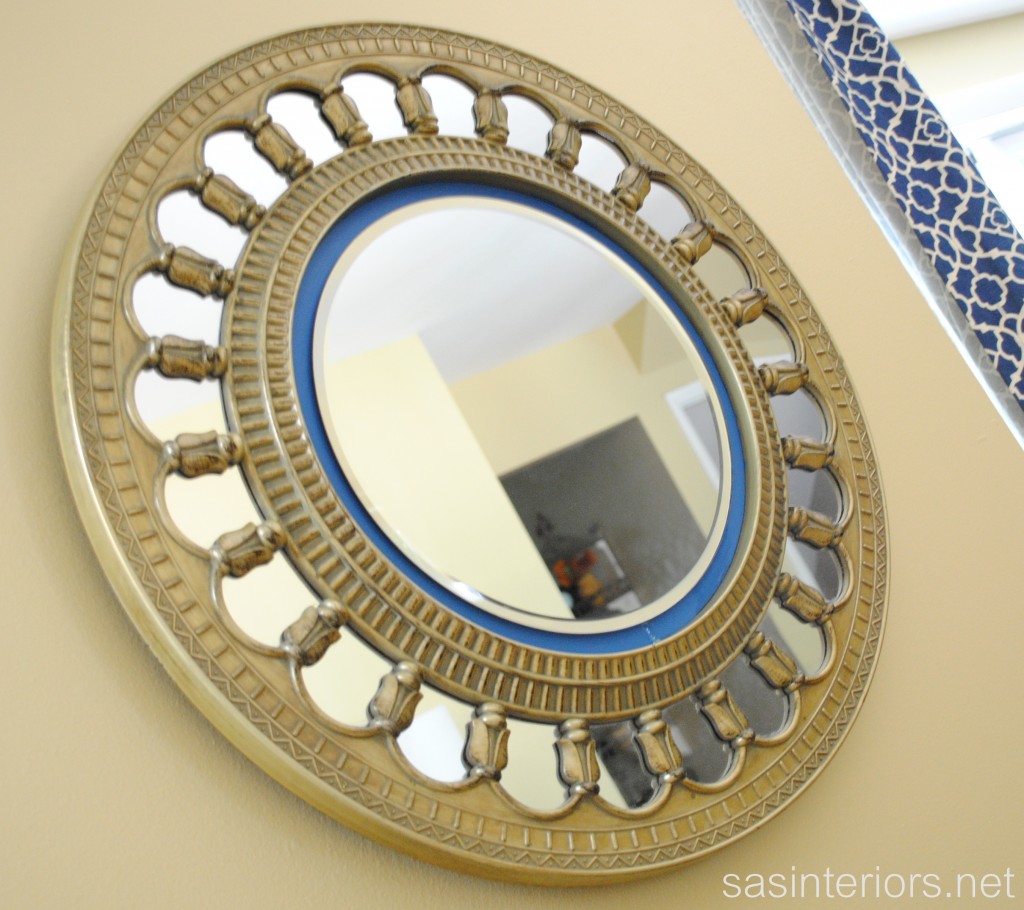
And here’s the result…

Well HELLO!

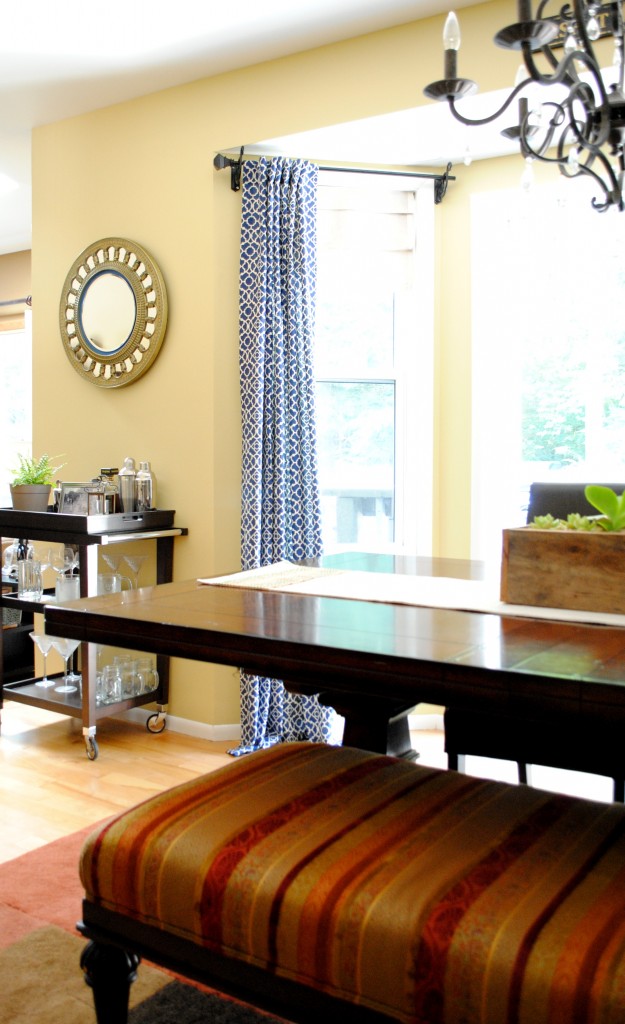
So why did I choose blue for the accent color?  Well I’ve been adding in some royal blue accents as of late – take a look.

Through the new sunburst mirror, you get to take a peak at the lamps that I just revamped last week.

And there it is… A fun and easy update!

Have you upcycled a garage sale find lately?

I link my projects to some of these parties: Skip to My Lou, Dittle Dattle, Between Naps on the Porch, Today’s Creative Blog, Stories of A to Z, All Things Heart & Home, Savvy Southern Style, House of Hepworths, Finding Fabulous, Creation Corner, The Shabby Nest, Tatertots and Jello, Thrifty Decor Chick, Tip Junkie

Master Bathroom Makeover: Part 2

I’ve been living and breathing this master bathroom makeover.

Result? There’s been little time for anything else.

I’ve been making progress, and as of last night, the floor is complete {huge sigh of relief}…  And I’m in major pain today – It stinks getting old!

Sorry for the lack of posts or inspiration this week.  I love sharing new DIY projects (I have a few ready to reveal next week) or decorating tips, but this week’s focus is on the progress of the bathroom and the steps that I’ve been taking along the way.  It’s almost like a reality show, but instead on my blog and NOT start to finish in 30 minutes like on TV.  This week’s posts are a little different than usual, but hopefully you’re still inspired in some way.

  • Maybe these makeover progress posts will show you how a space can come together in a short period of time.
  • Maybe you’ll realize how a bathroom makeover can be done on a tight budget.
  • Maybe you’ve learned some tips or ideas that can be implemented in your own home.
  • Or maybe you’re just simply sitting back, reading the progress posts, and chuckling about the horrid color of the original bathroom.

Whichever it is that keeps you coming back each day, I strive to inspire with everything that I write.  Anyway, let’s move on with the progress that I’ve made thus far…

If you missed the before pictures, here they are again…

SCARY!

Last weekend, my husband and I tackled the painting by covering up that horrid pink/purple color.  After one coat of primer and two coats of paint, that horrendous color is now officially covered {happy}. Then throughout the day on Monday and yesterday, I was able to work on and finish the new tile floor.  I chose to use luxury vinyl groutable tile, so the process was the same as when I laid my parents foyer floor. What a huge difference!  The tile has a beautiful cream tone with touches or taupe and gray.  It’s very similar to a botticino natural stone and when laid and grouted, looks exactly like ceramic tile.

Here’s a closer look.

The existing floor was in good condition, other than the way it looked, so I felt comfortable putting the new tile directly on top.  If you decide to use groutable vinyl tile, you may need to remove the existing floor before laying the new tile.  (I’m sharing the steps that I took, but am not making a recommendation for your space one way or the other).  The funky yellow “stuff”, a.k.a. glue, on the cabinet is from the vinyl strip that I removed, which you will see in the next image is now covered with tile as well, to create a tile toe kick.

After the kiddos were in bed last evening, I grouted the floor. What a difference, right?

Now that the “bones” are complete, the layers can be added.  Still to come…

Until next time when I plan to make the final reveal…  {commercial break} I hope you’ll come back to see.  Now let me get back to work!

Wedding Lyric Stencil Pillow

Good morning friends and Happy Valentine’s Day!

I want to share a little something with you today that I made for the mister for Vday.  I will start off by saying, I can’t take credit for this adorable project.  It was actually a DIY creation that was featured on Daily Do It Yourself and was originally created by Amanda of Wit & Whistle, so I won’t be sharing the whole tutorial here and instead you can hop over to her blog to see how to create one for yourself or a special someone.

Trying to be O So Romantic, I made this pillow using drop cloth material and stenciled words from our wedding song, I Cross My Heart by George Strait.

It’s such a beautiful song and I really wish I had room for all the lyrics, but the refrain was all that fit.  If you’ve never heard the song, here are the words and the video –

And the mister knows me so well!  He passed on chocolates and roses this year and instead got me what I really wanted…

What’s your wedding song? How will you be spending Valentine’s Day??  (Only clean responses please – hehe)

DIY: Drop Cloth Placements with Decorative Top Stitch

The Holidays are right around the corner and as I’ve been finalizing the table decor for Thanksgiving and getting ready for Christmas, I realized that I didn’t have any placemats that were festive or unstained (from past Holiday gatherings).  I was just about to head to the store, when I remembered I had purchased a new package of drop clothes the week before.  Why waste the time of spending money and venturing through the crowded stores, when I could just make what I was envisioning?!

If you’ve been a follower of mine for a while, YOU KNOW that I love drop cloth material!  Have you ever asked yourself, “Why does she always use drop cloth?”  I have.  My answer is because it’s cheap, durable, heavy, and looks very similar to linen (but without the wrinkles).  Have you ever made something using drop cloth material?  If not, you’re missing out – trust me!

To start off making these drop cloth placemats, determine the size you’re desiring.  I made the overall finished size 14″ x 19″, but cut my fabric to be 15″ x 19″ to allow for a 1/2″ seam all around. The beauty of making your own is that YOU can make any size you want / need – smaller, larger, square, triangle, oval…  And you can also use any fabric – It’s not a must to use drop cloth (even though I love it).

I made (4) placemats, so I cut (8) 15″ x 19″ pieces.  Iron.

Pin the right sides of the material together.  With drop cloth, there isn’t a “right” or “wrong” side, but again, this placemat tutorial can be used for ANY material.

Sew around the entire perimeter, leaving a 6″+/-  opening at one side, so you can pull the “right” side through.

Once the soon-to-be placemat is on the “right” side, iron the seams flat.

Looks pretty good and it’s almost done!

At this point, you have a lot of options which will depend on the fabric and/or the decorative embellishments you want to add (or not add).   For my drop cloth placements, I decided to add a decorative top stitch around the entire perimeter, which is inset about 3/4″ from the edge.

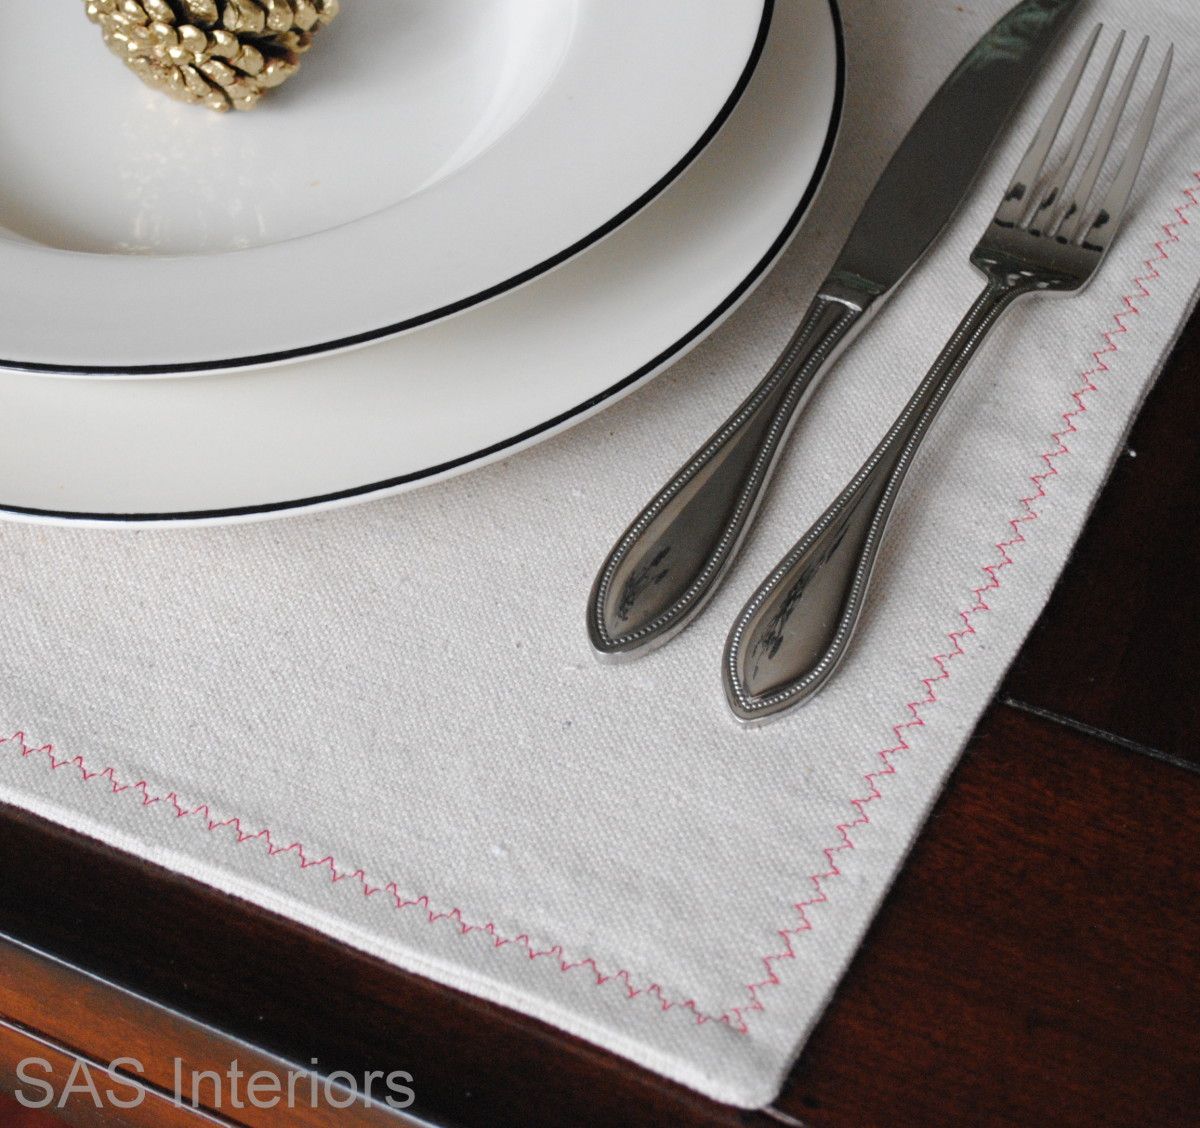
The stitch I used is #16 on my machine, which is a scalloped, zig-zag design, and in keeping with the Holiday theme, I decided on a burgundy colored thread.

This is a close-up of the stitch.  It’s very simple, yet more detailed and interesting instead of a typical straight stitch. 

Here’s a tip: When you are sewing around a corner, don’t pick up your needle, but instead pick up the “sewing foot”, turn your material around the corner, put down the “sewing foot”, and continue sewing.

1 down…  3 more to go! 

And they were all done!

Tomorrow, I have something even more exciting for you.  I’m going to embellish these placemats – still keeping them simple and stylish!

I link my projects to some of these parties: Skip to My Lou, Dittle Dattle, Between Naps on the Porch, Today’s Creative BlogHome Stories A to Z, All Things Heart & Home, Savvy Southern Style, House of Hepworths, Finding Fabulous, Creation Corner, The Shabby Nest, Tatertots and Jello, Funky Junk, Under the Table & Dreaming