Ode to Summer: Capturing Memories
Is Summer really over?
In my eyes, the last 3 months went way too fast. I blinked and it was over.
As another Summer comes to an end and a new school year begins (for some of you school started weeks ago, but my kiddos headed back this morning – sniff, sniff), I want to hold on to every moment that this glorious season of fun unfolded. I’m pretty excited to share that I have figured out THE BEST WAY to capture the precious moments from the past, and how we can look back, smile, and remember all the incredible memories that were made.
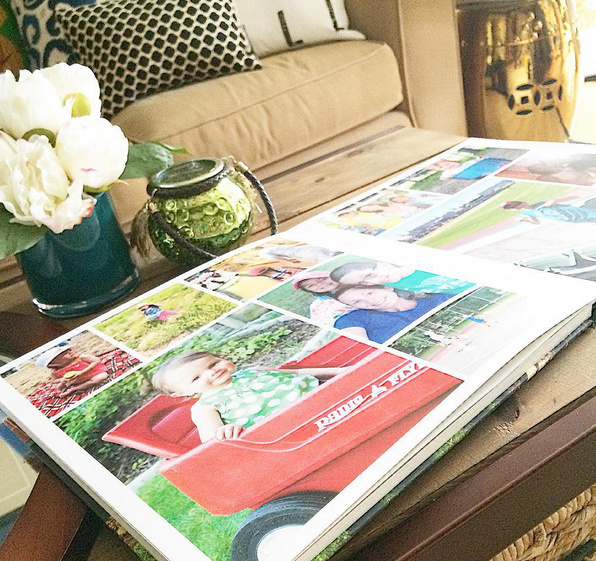
A photo book.
I take a lot of pictures – for work + of my family. Every day, every moment, every occasion, I try to snap a shot and most are simply taken using my phone. It’s convenient and easy + it really takes good pictures.
Sadly though, I rarely print my pictures due to lack of time uploading, sorting, editing, ordering, etc… I’m sure you know the drill. Typically about once a year I will place a huge order of pictures when Snapfish is having their penny print sale. Often or not though, the pictures just sit in the envelope they arrived in because again due to lack of time, I don’t get them into the empty photo albums that are collecting dust on the shelves.
But, But, But… This Summer is different because after taking ALL THOSE PHOTOS, I acted.
I made this…
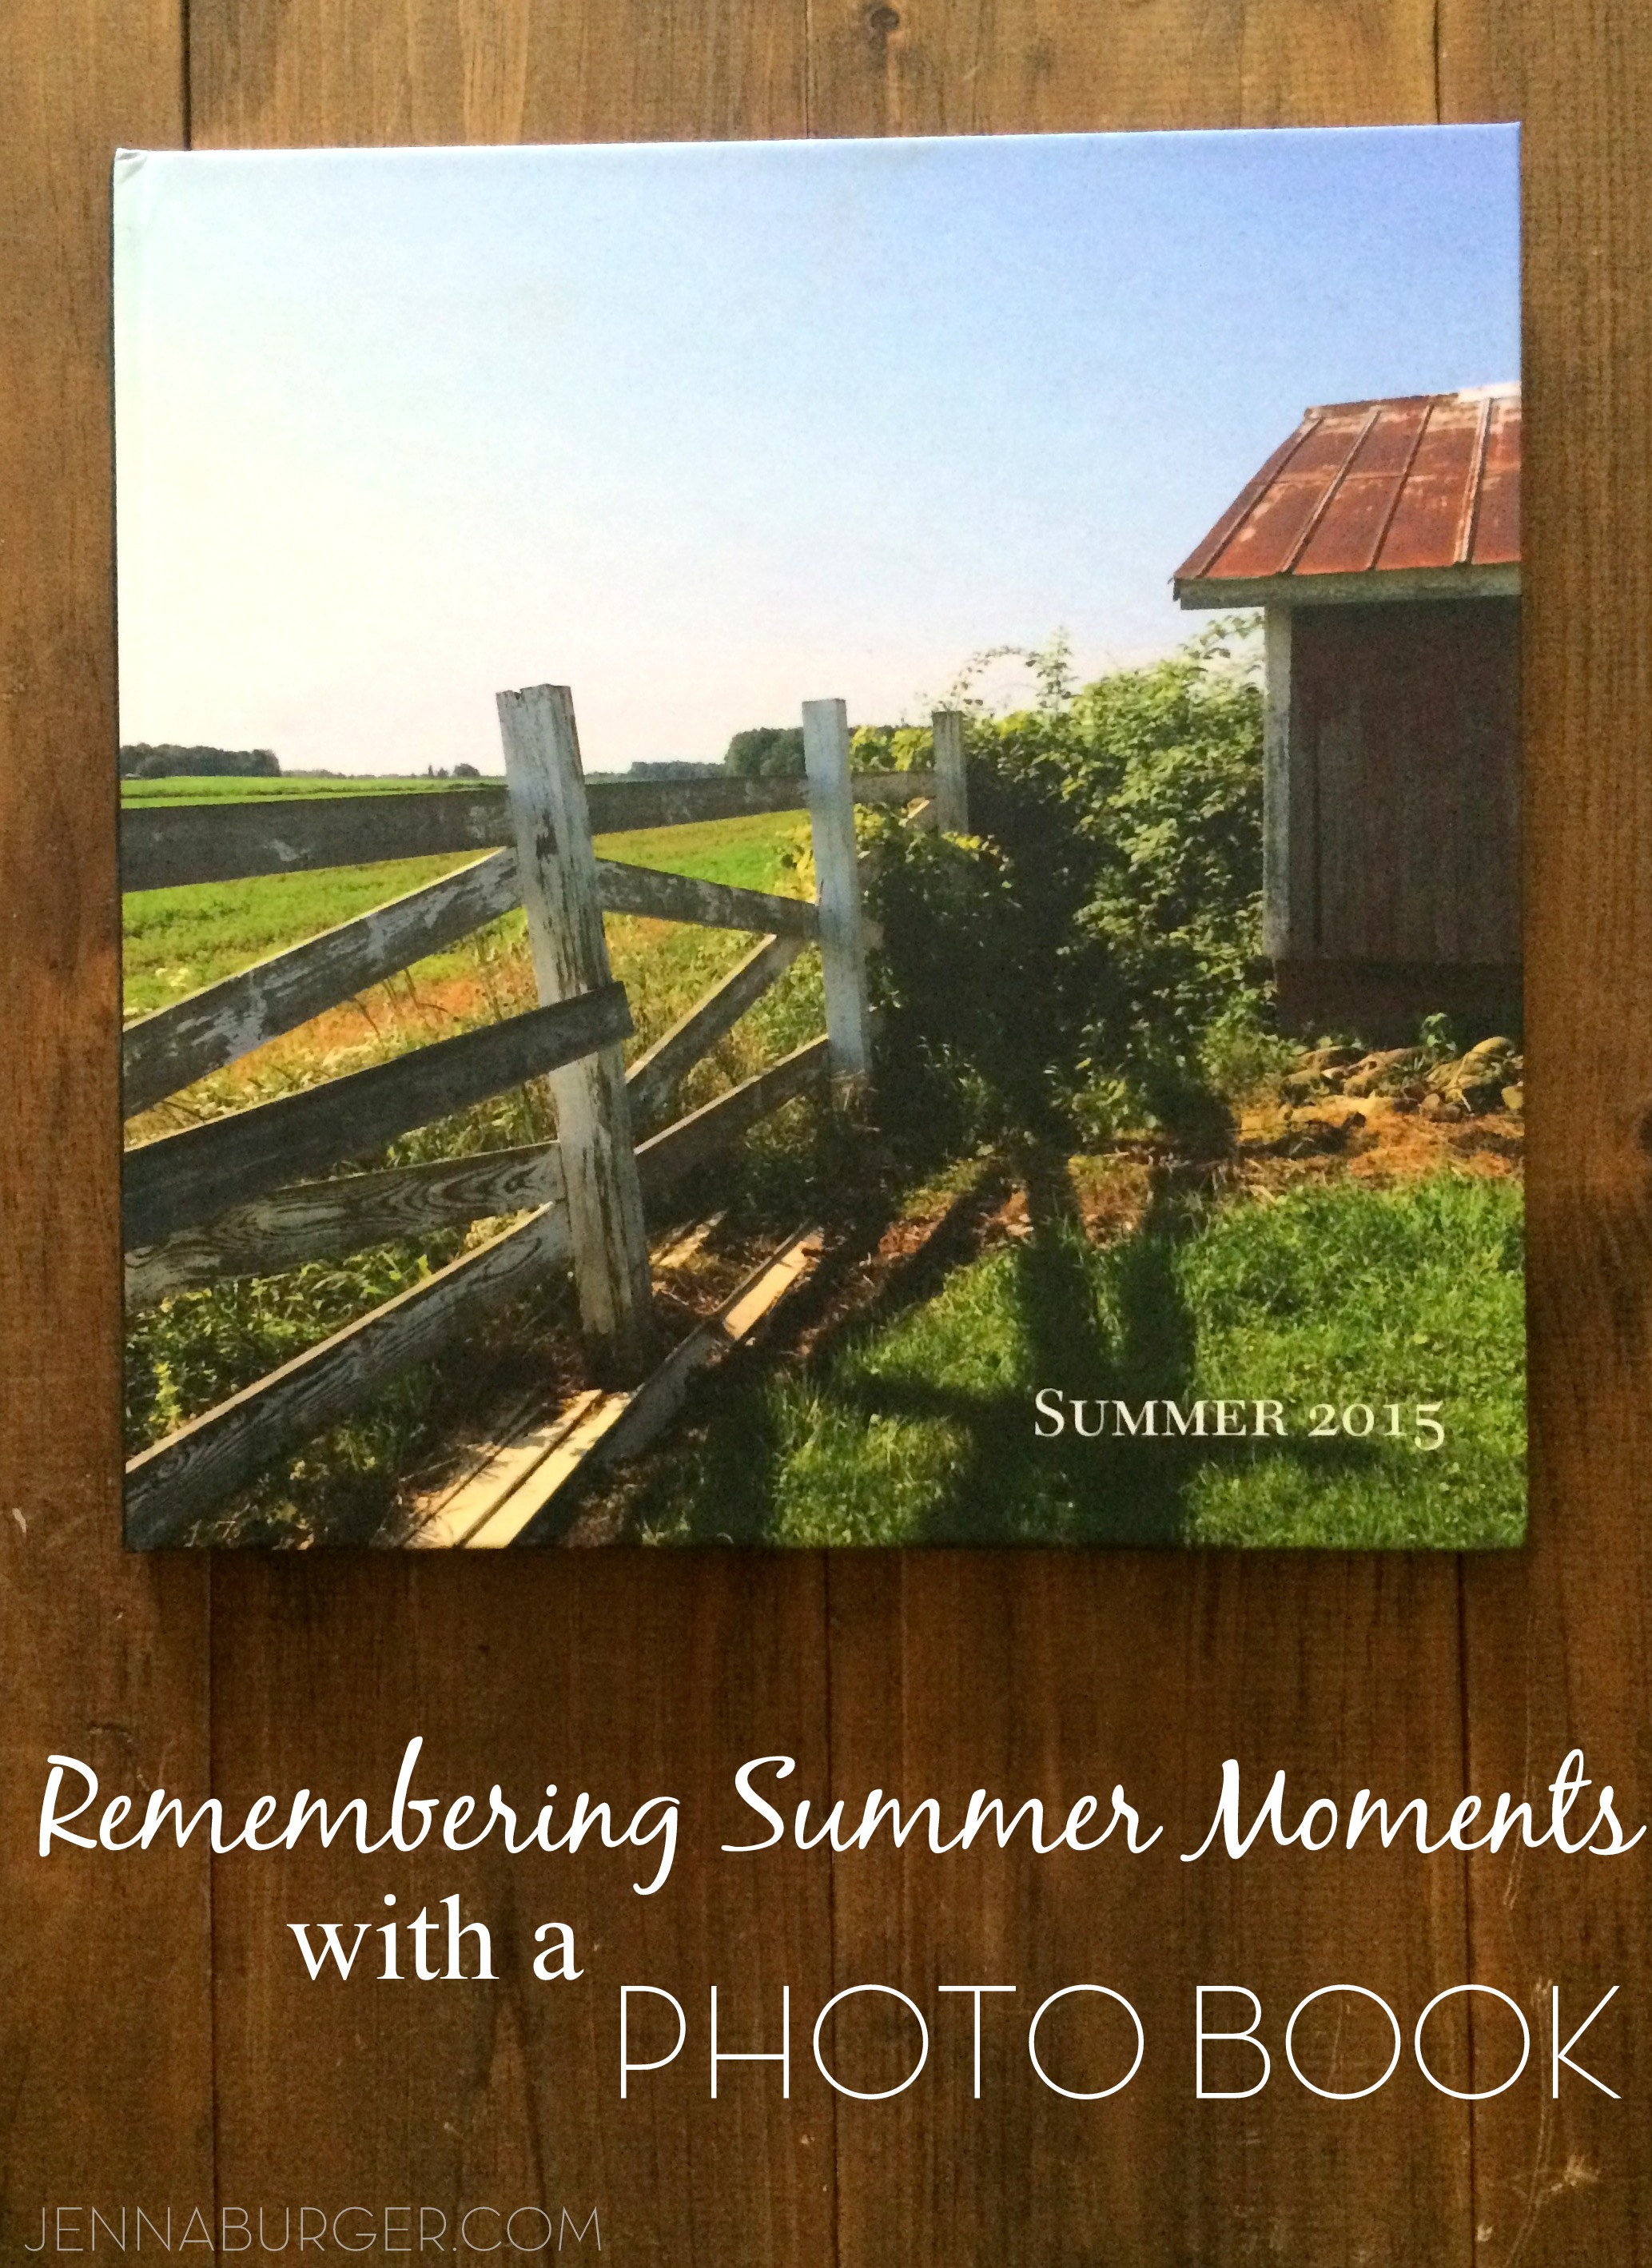
Instead of the typical waiting-for-a-penny-print-sale, I decided to compile our Summer snapshots in a photo book.
Best Decision Ever.
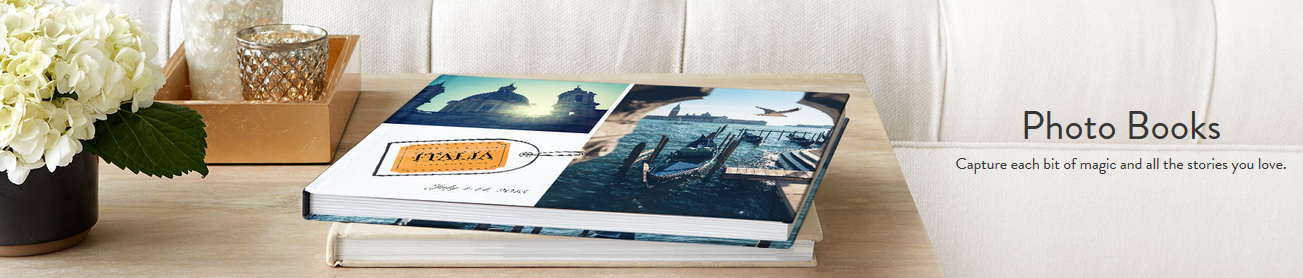
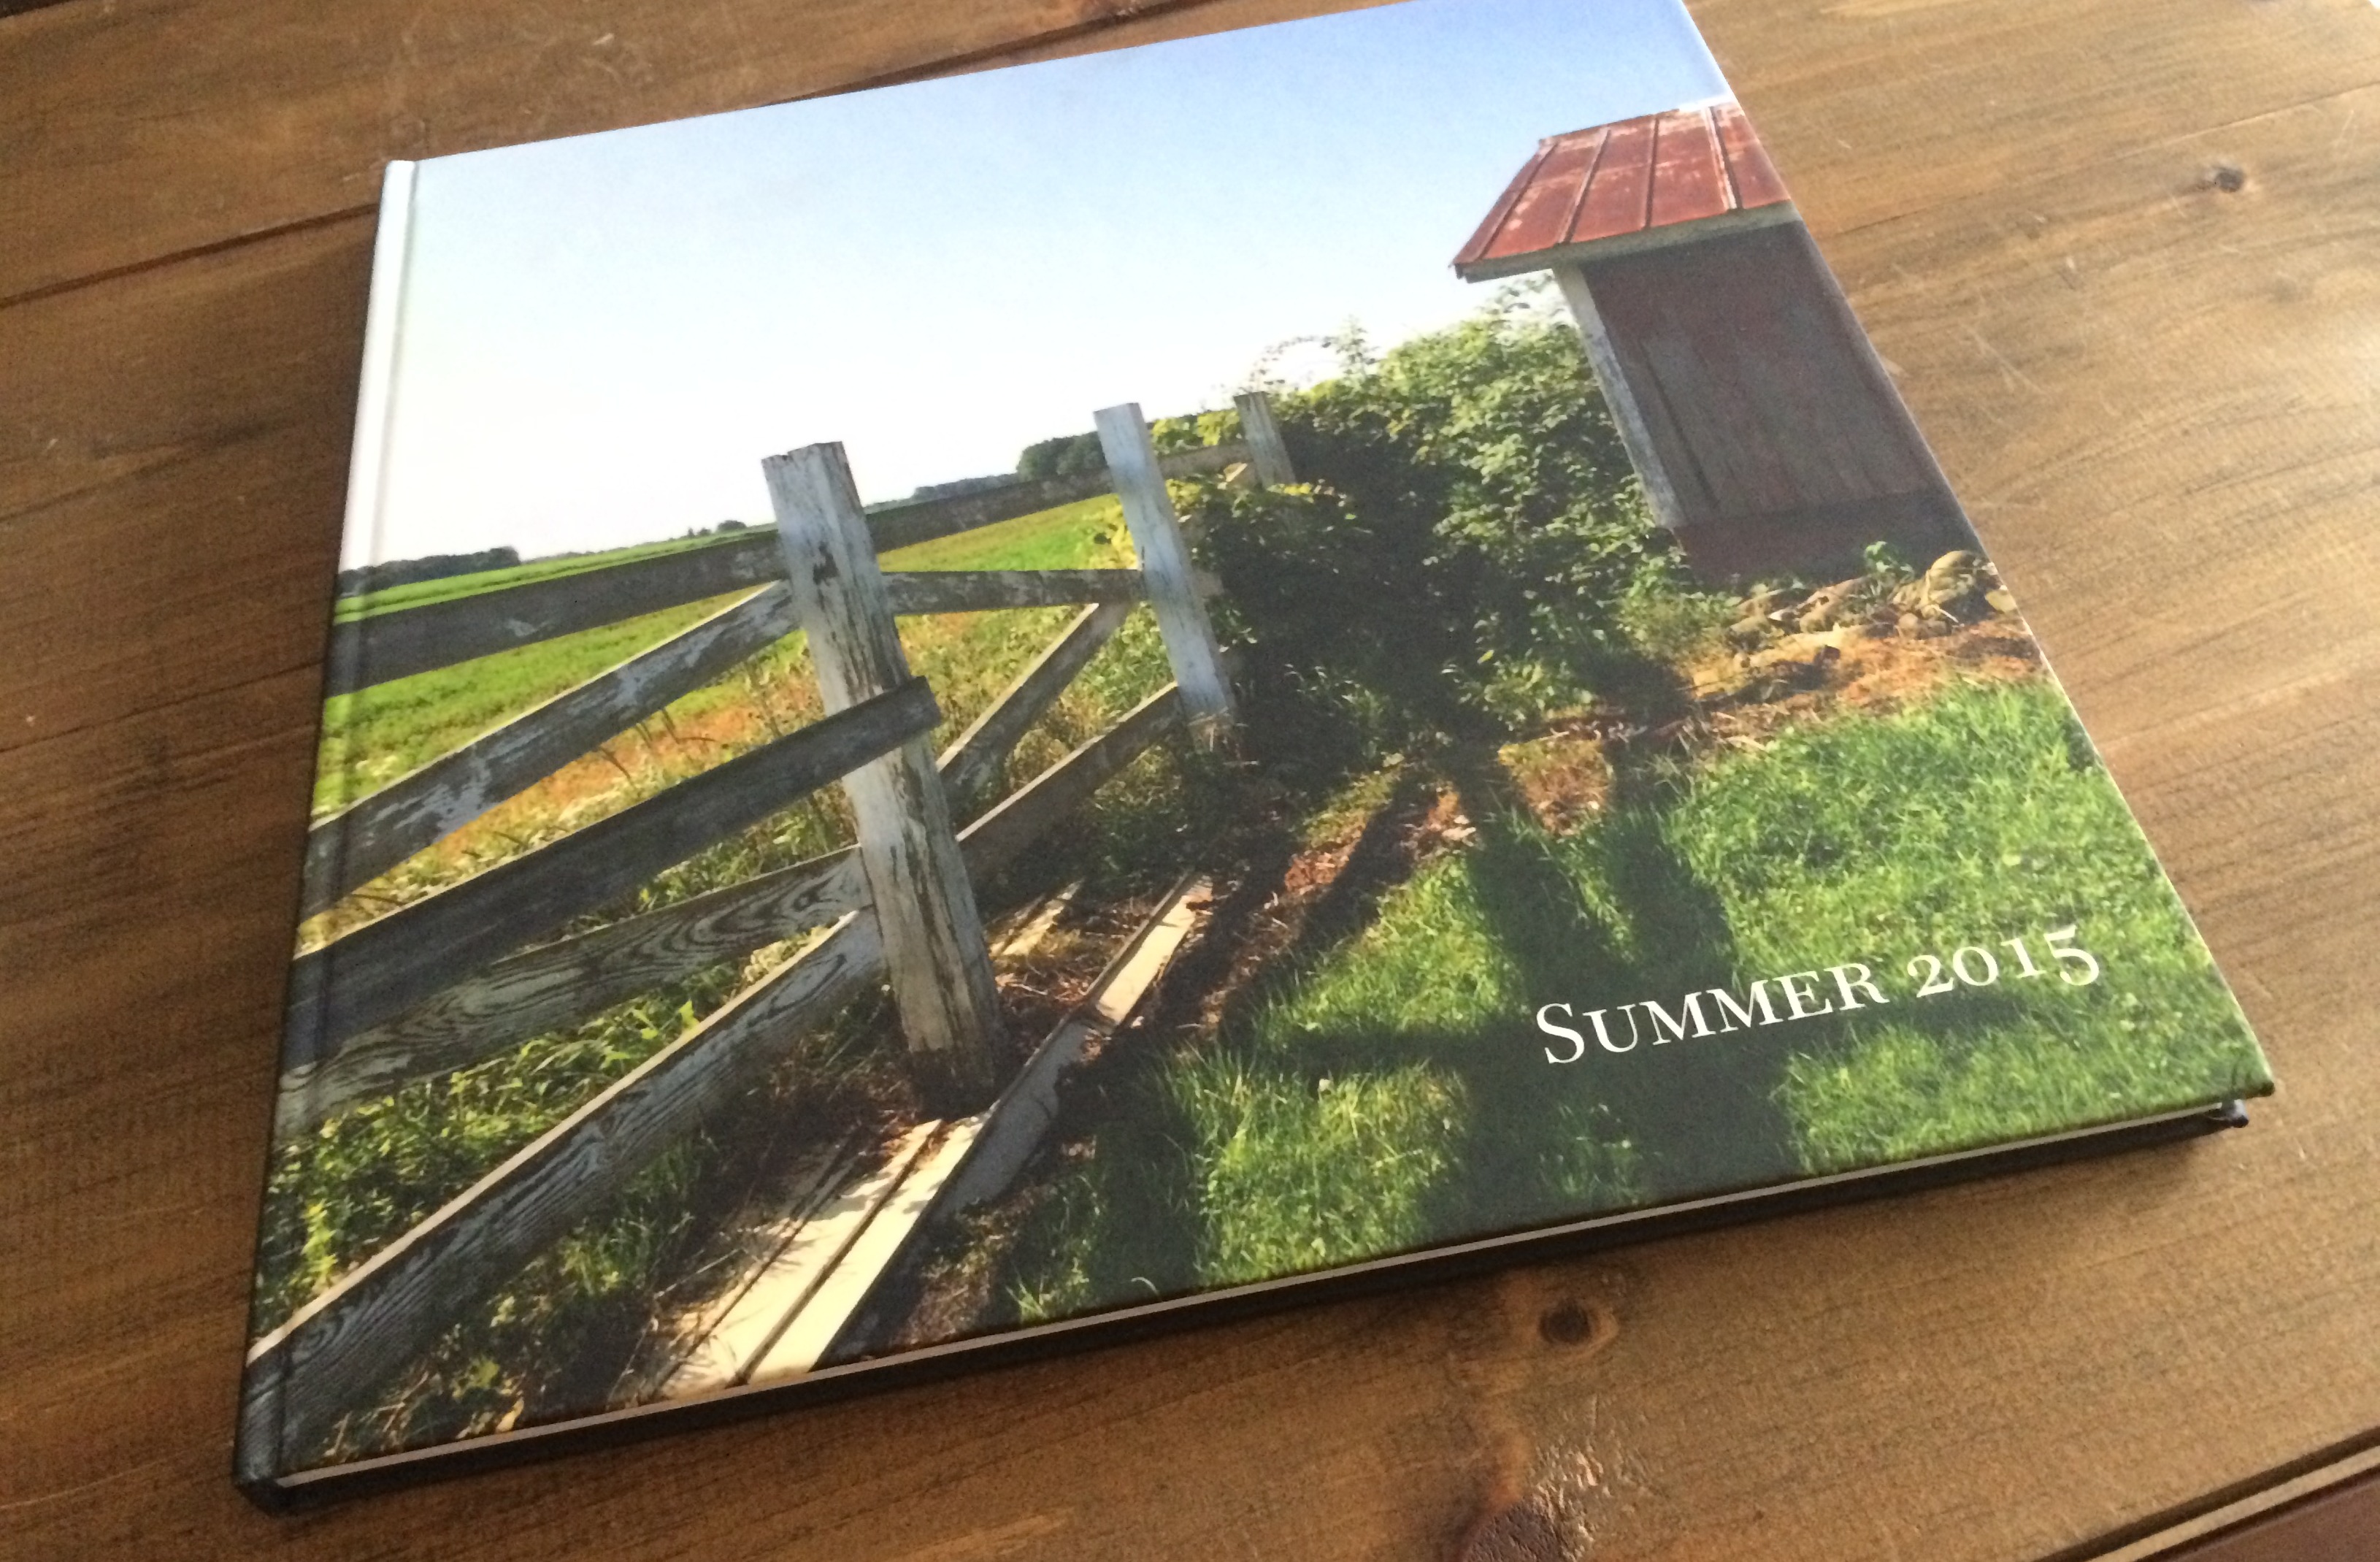
Snapfish has a great selection of photobooks to choose from. I chose the 12 x 12 hardcover photobook, that lays flat when it opens, to hold our special Summer moments.
From classic to travel to rustic chic, Snapfish has a nice selection of themes to choose from for the base of book.

Once a theme is chosen, it’s time to create!
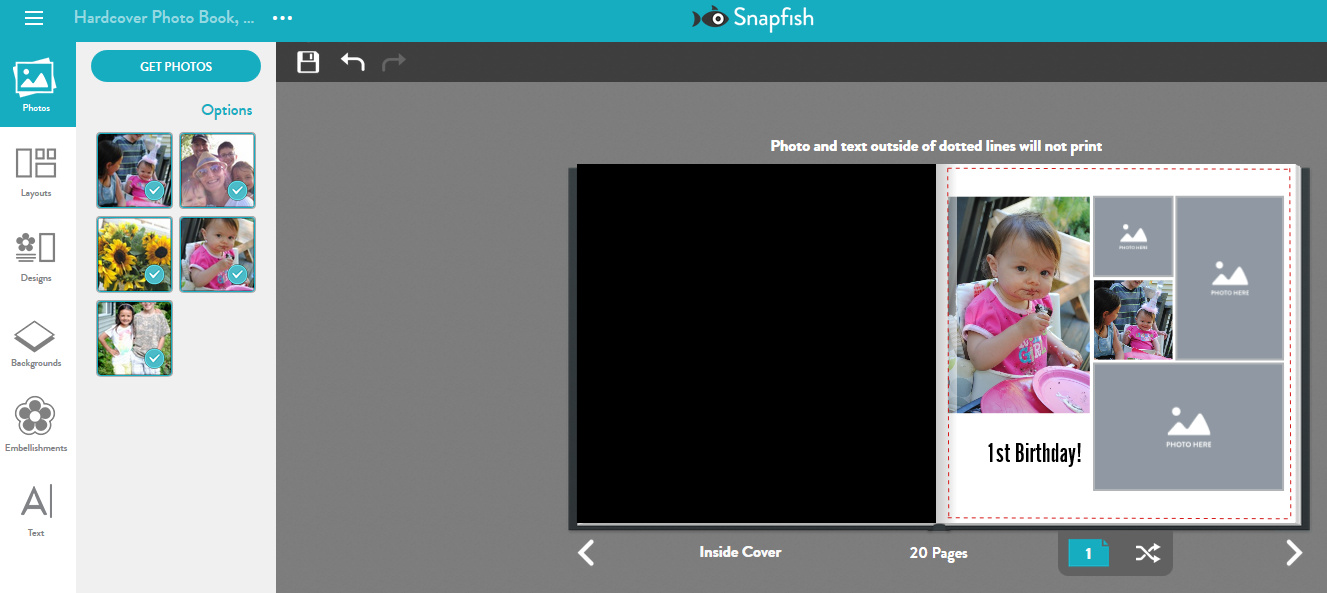
Snapfish recently launched a new site that is very user -friendly and easy to navigate. I’m a long-time Snapfish user, so I was a bit opposed to the new site, but after using it a bit, I really came around and am now loving it.
Once I was ready to make my photobook, I chose the pictures that I wanted to incorporate from the various albums, and started creating my pages.
There is an option to auto-fill the book (to make it easy + fast), but with my Type A personality, I specified where I wanted each picture (not so fast, but 100% customizable). I also added cute captions.
From start to finish our memory book of Summer took me about 4 hours to make. Yes it was long, but in the end it was completely worth the time spent.
This is something we will forever treasure!
As much as I love it, so do my kiddos.
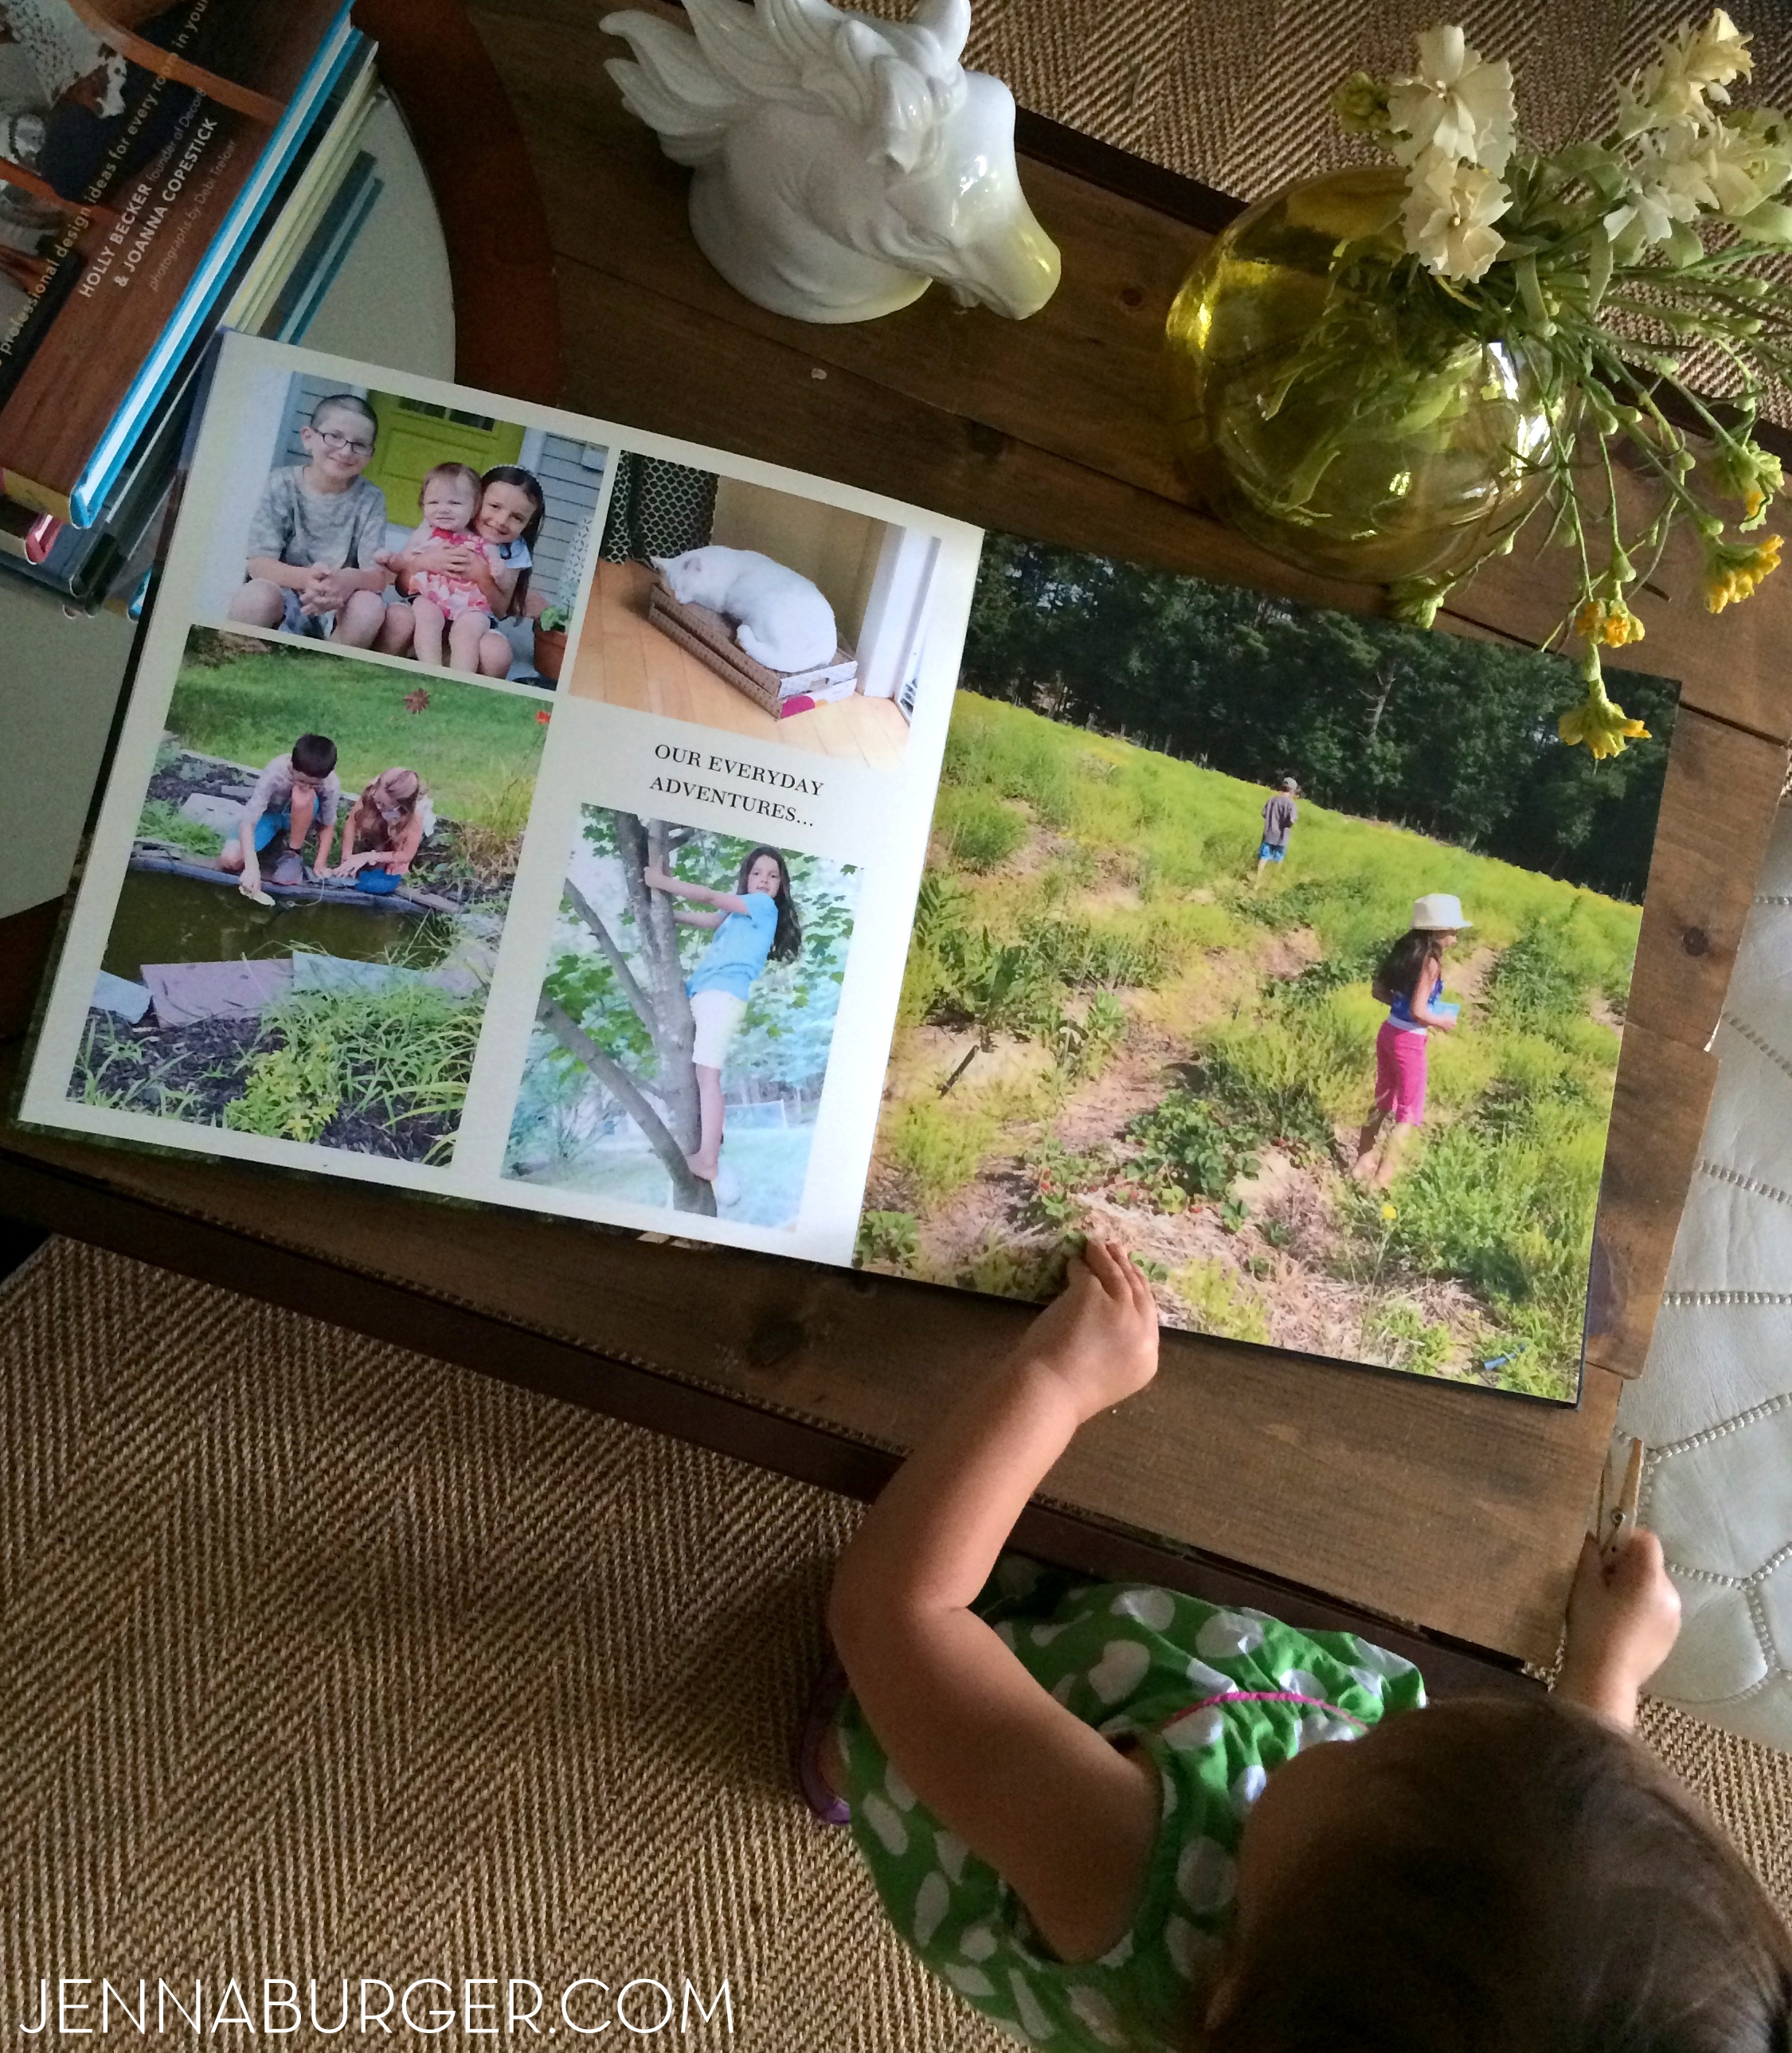
Like this moment, when I snapped a photo while the kids were reminiscing about our daily adventures…
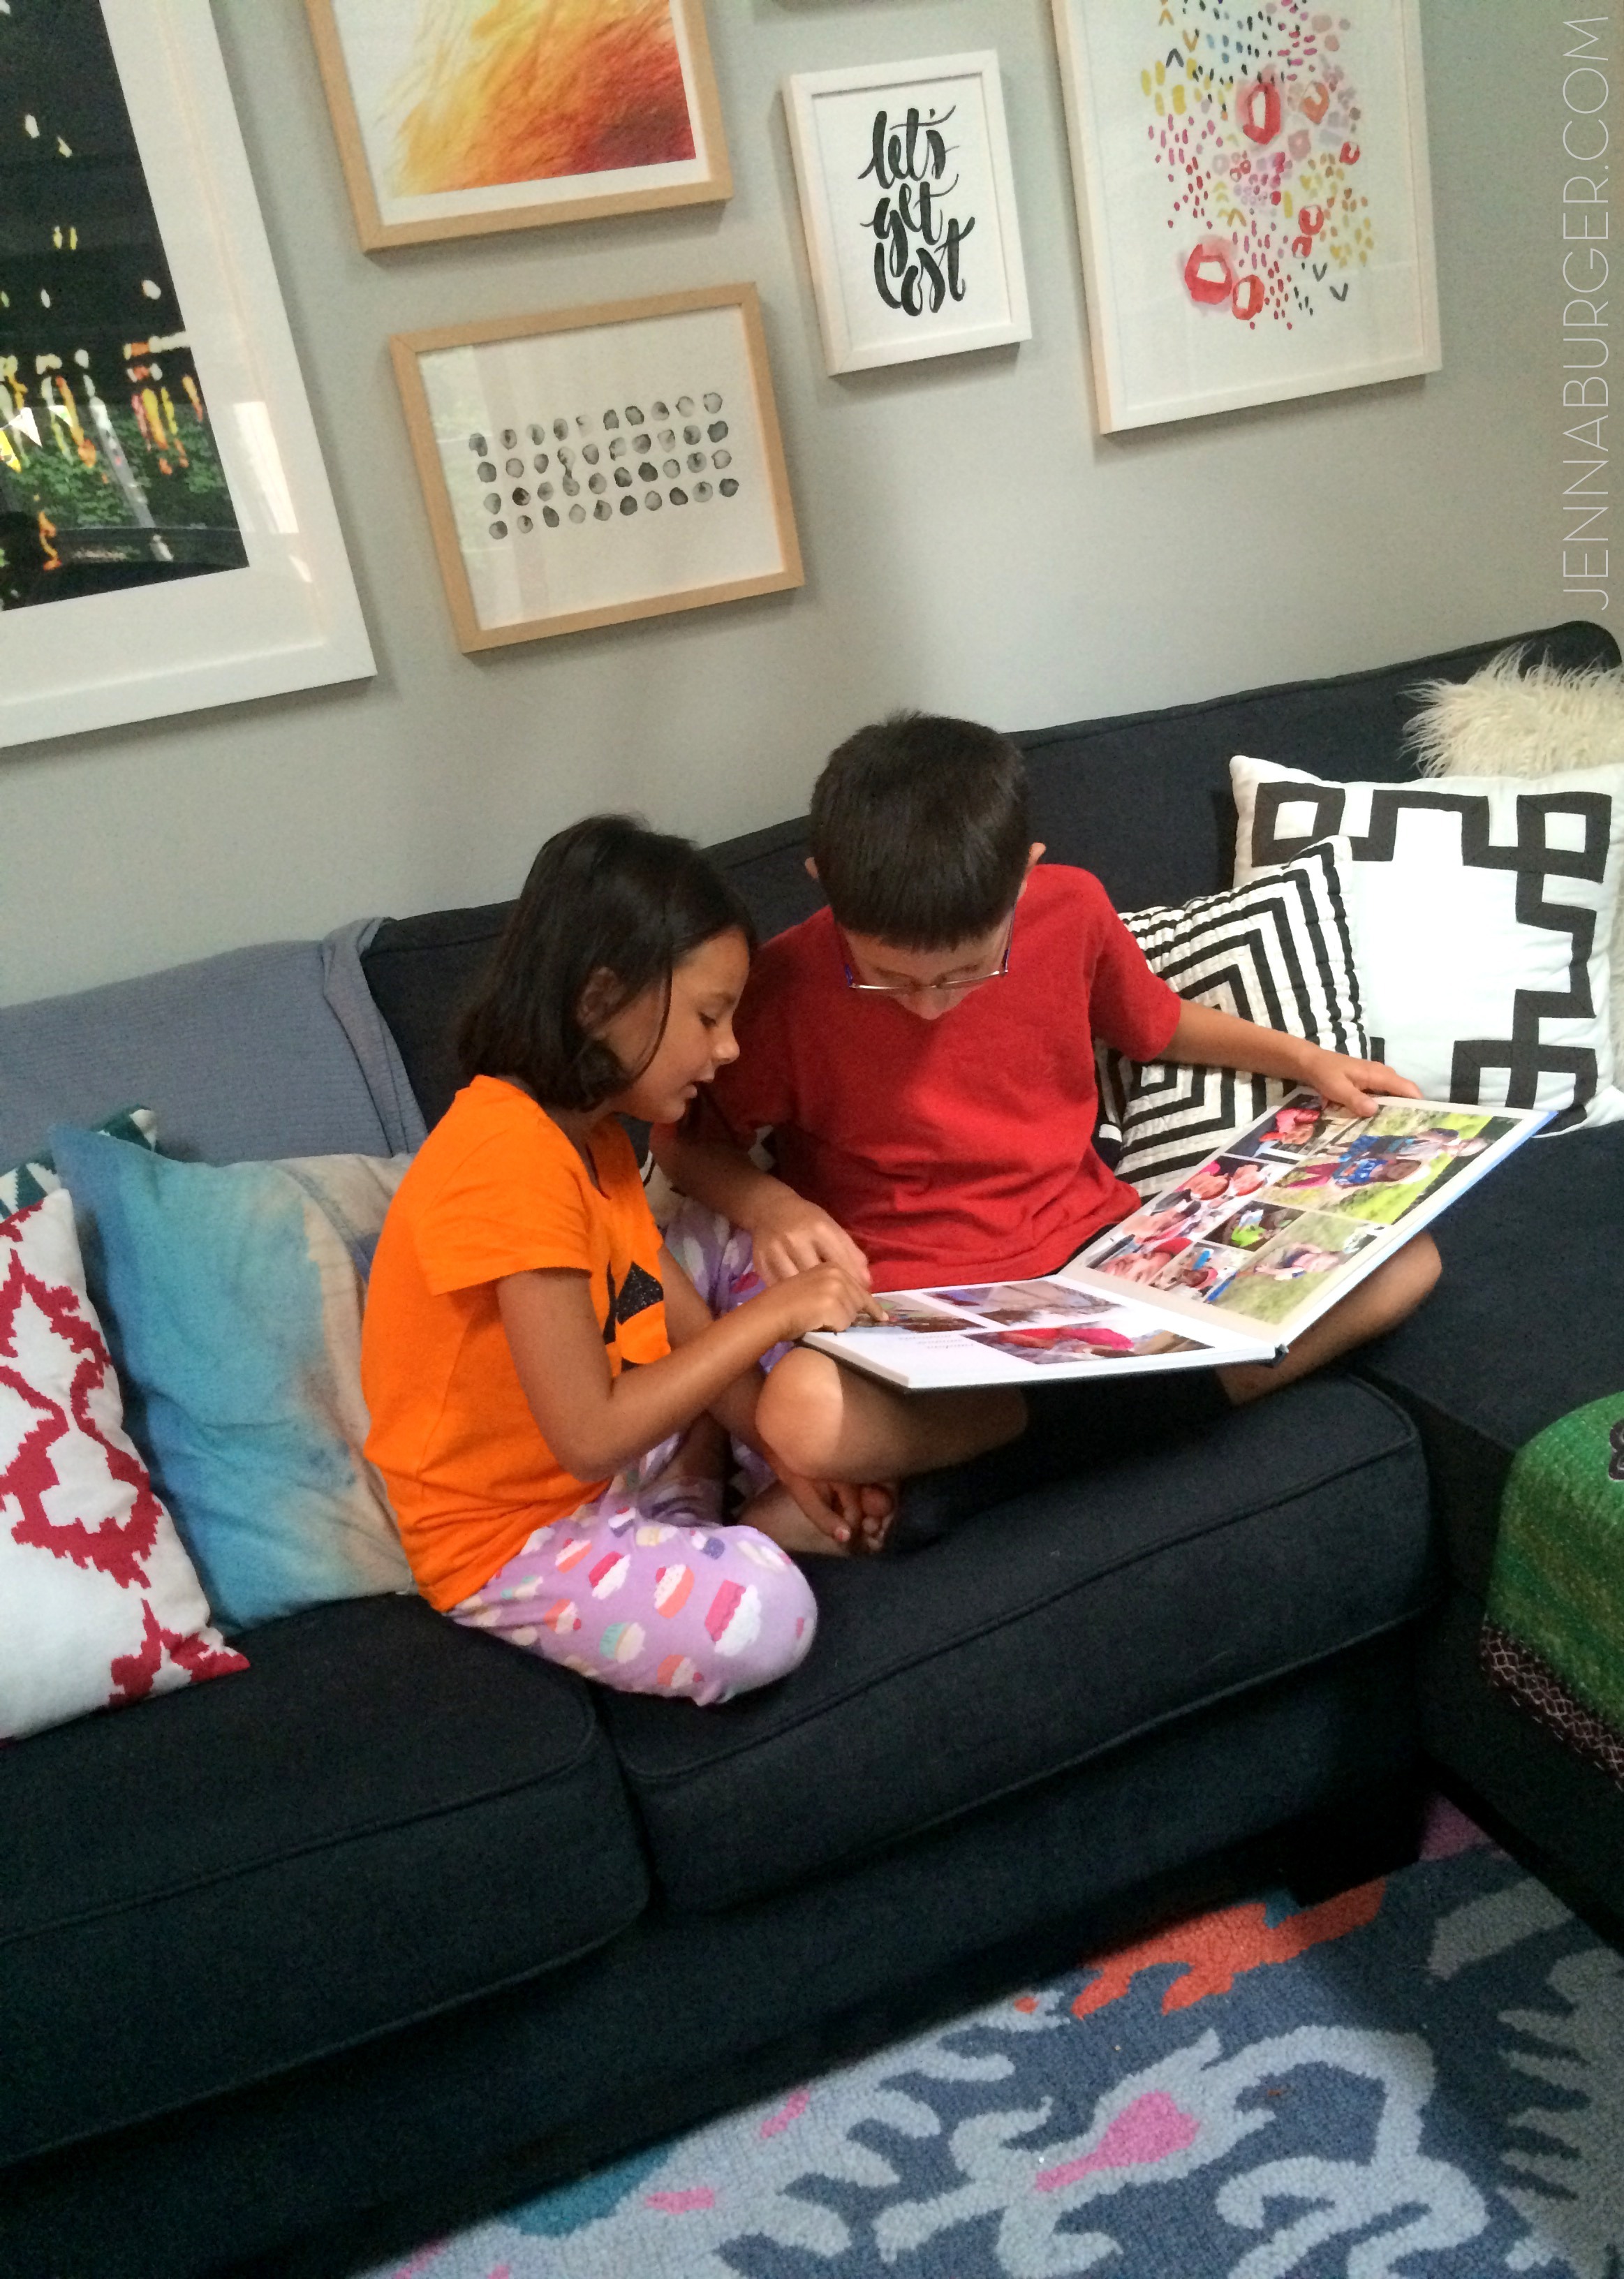 FYI – we are a real family. A moment like this is rare…
All 5 of us (yes the baby loves it too – check out the picture below) have not put our new photo book treasure down. There are fingerprints, some small tears, and even a few jelly marks all over this book and I LOVE IT!
Isn’t my littlest lady the cutest?! She flips through the book, which sits on the coffee table, at least 10x a day…
I also had each of us share a ‘best moment of the Summer’ in the back of the book…
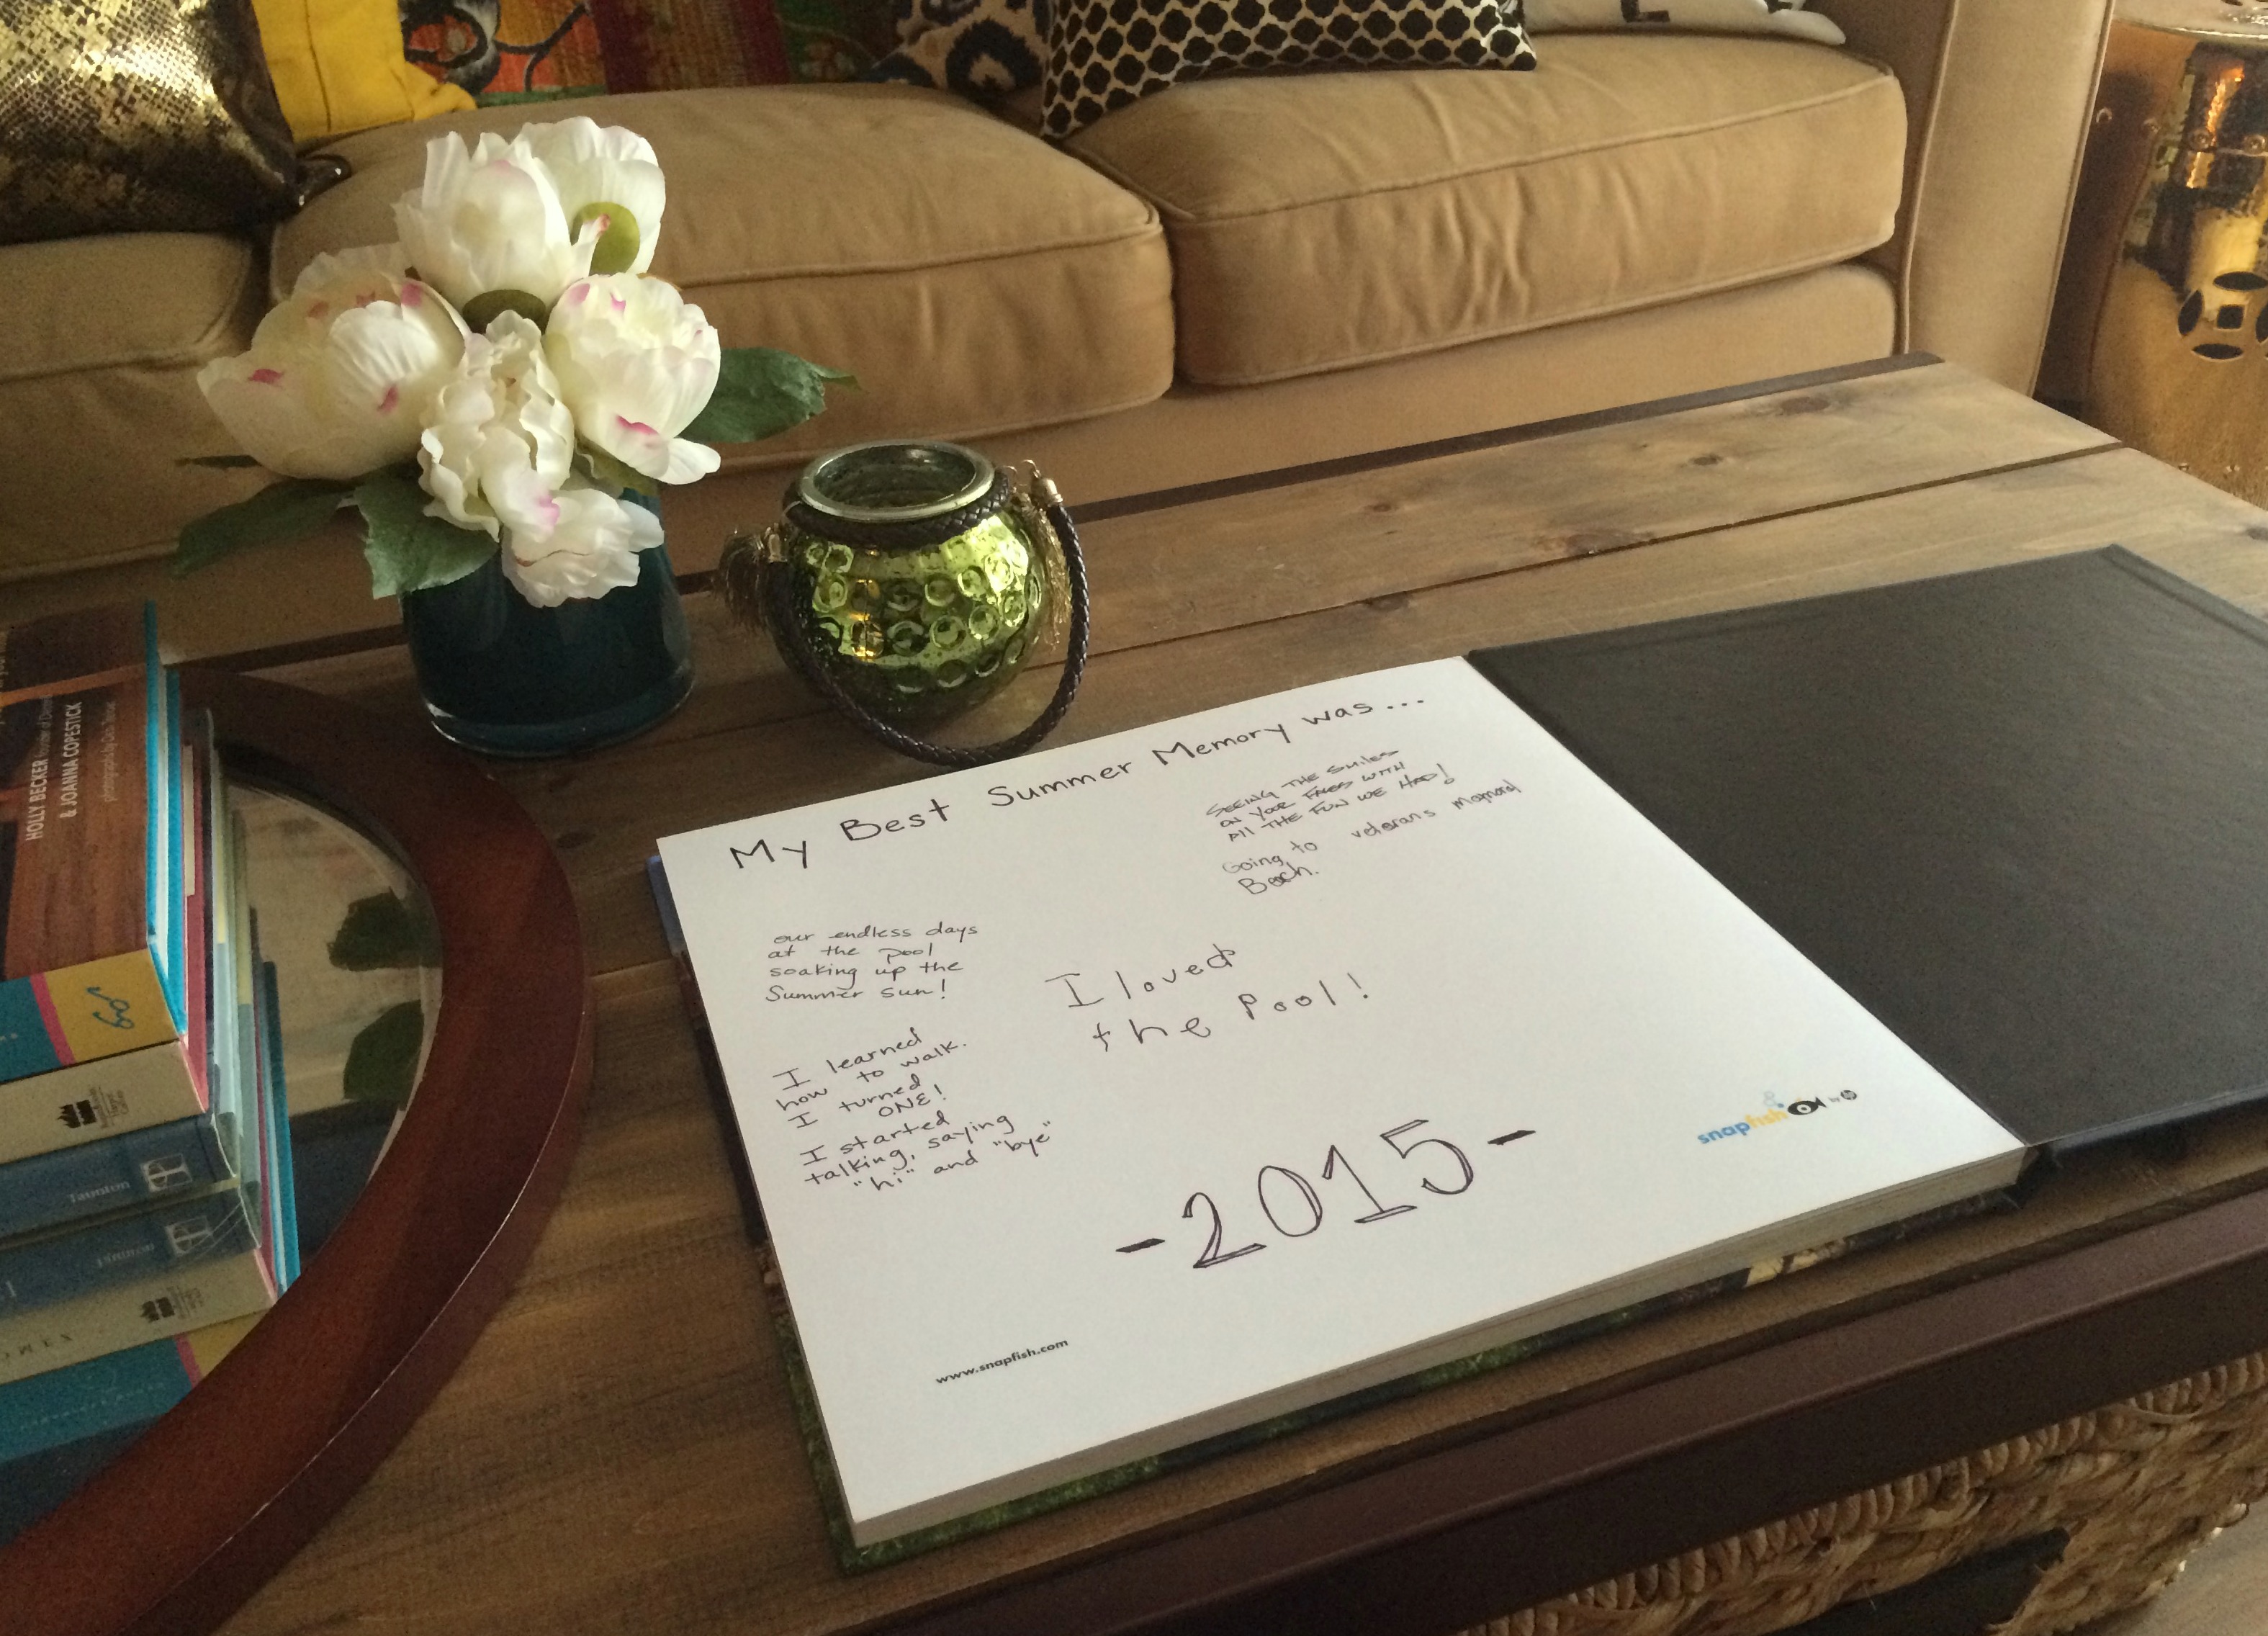
FAVORITE MEMORY.
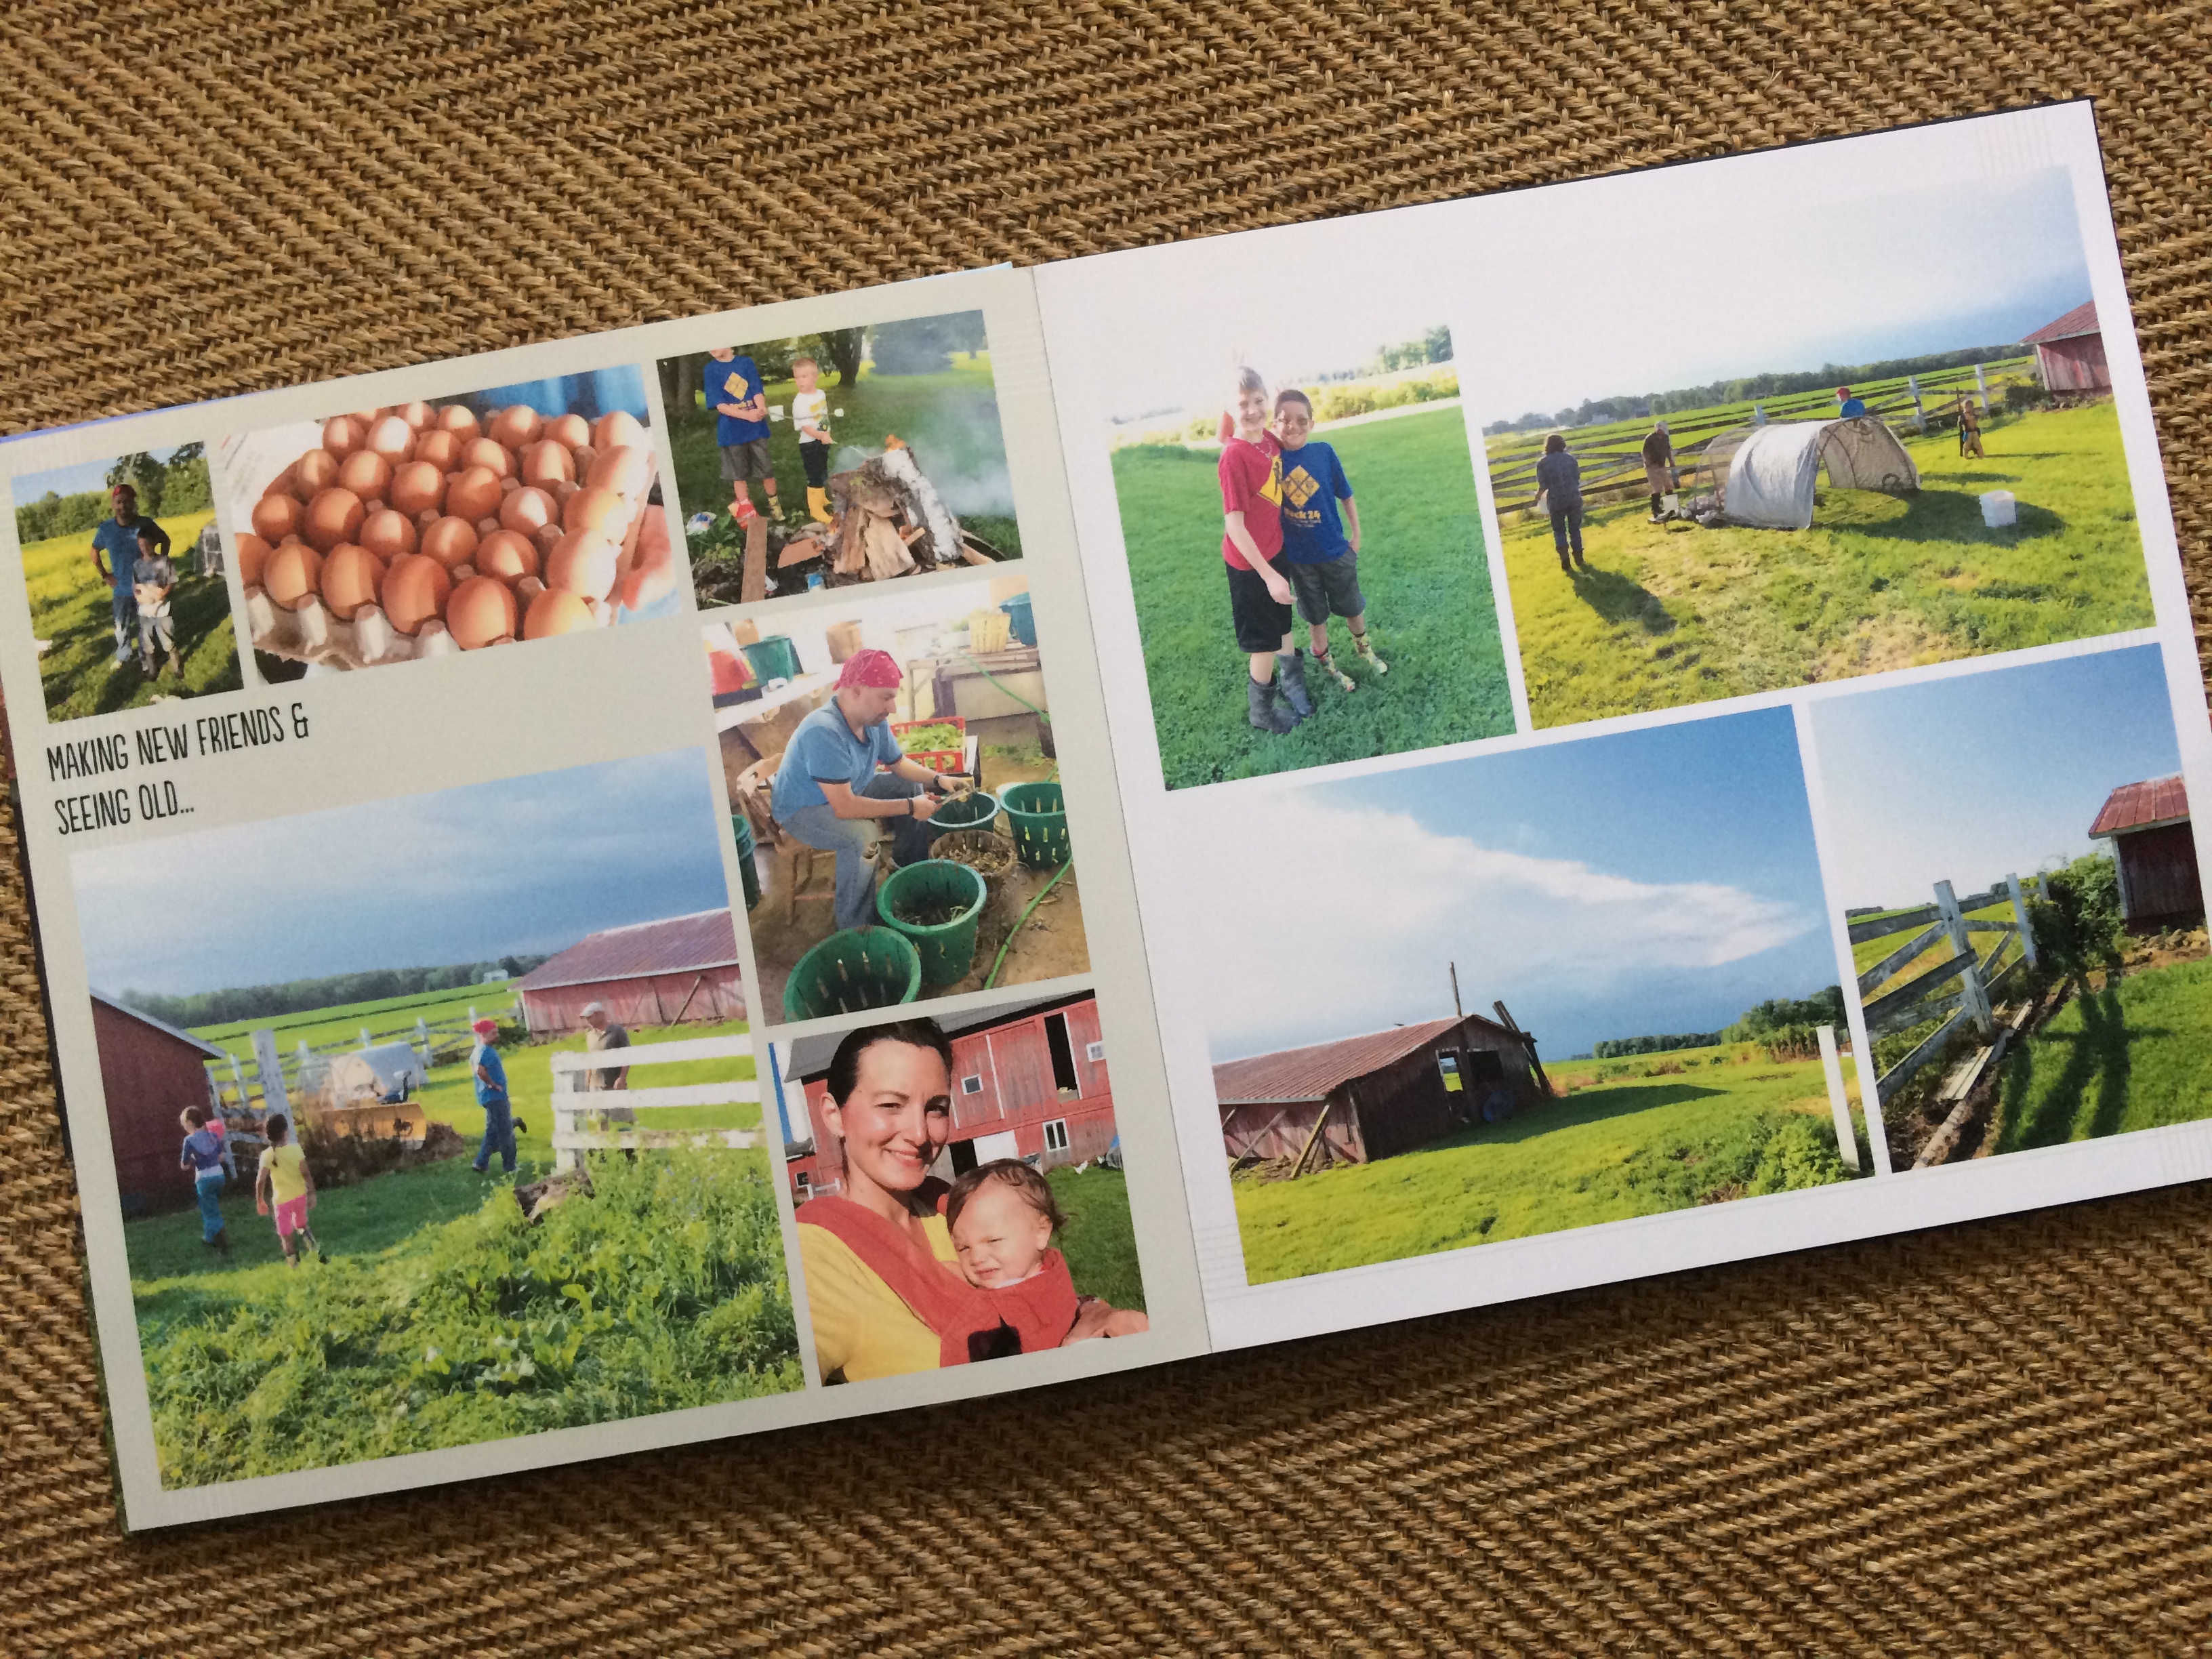
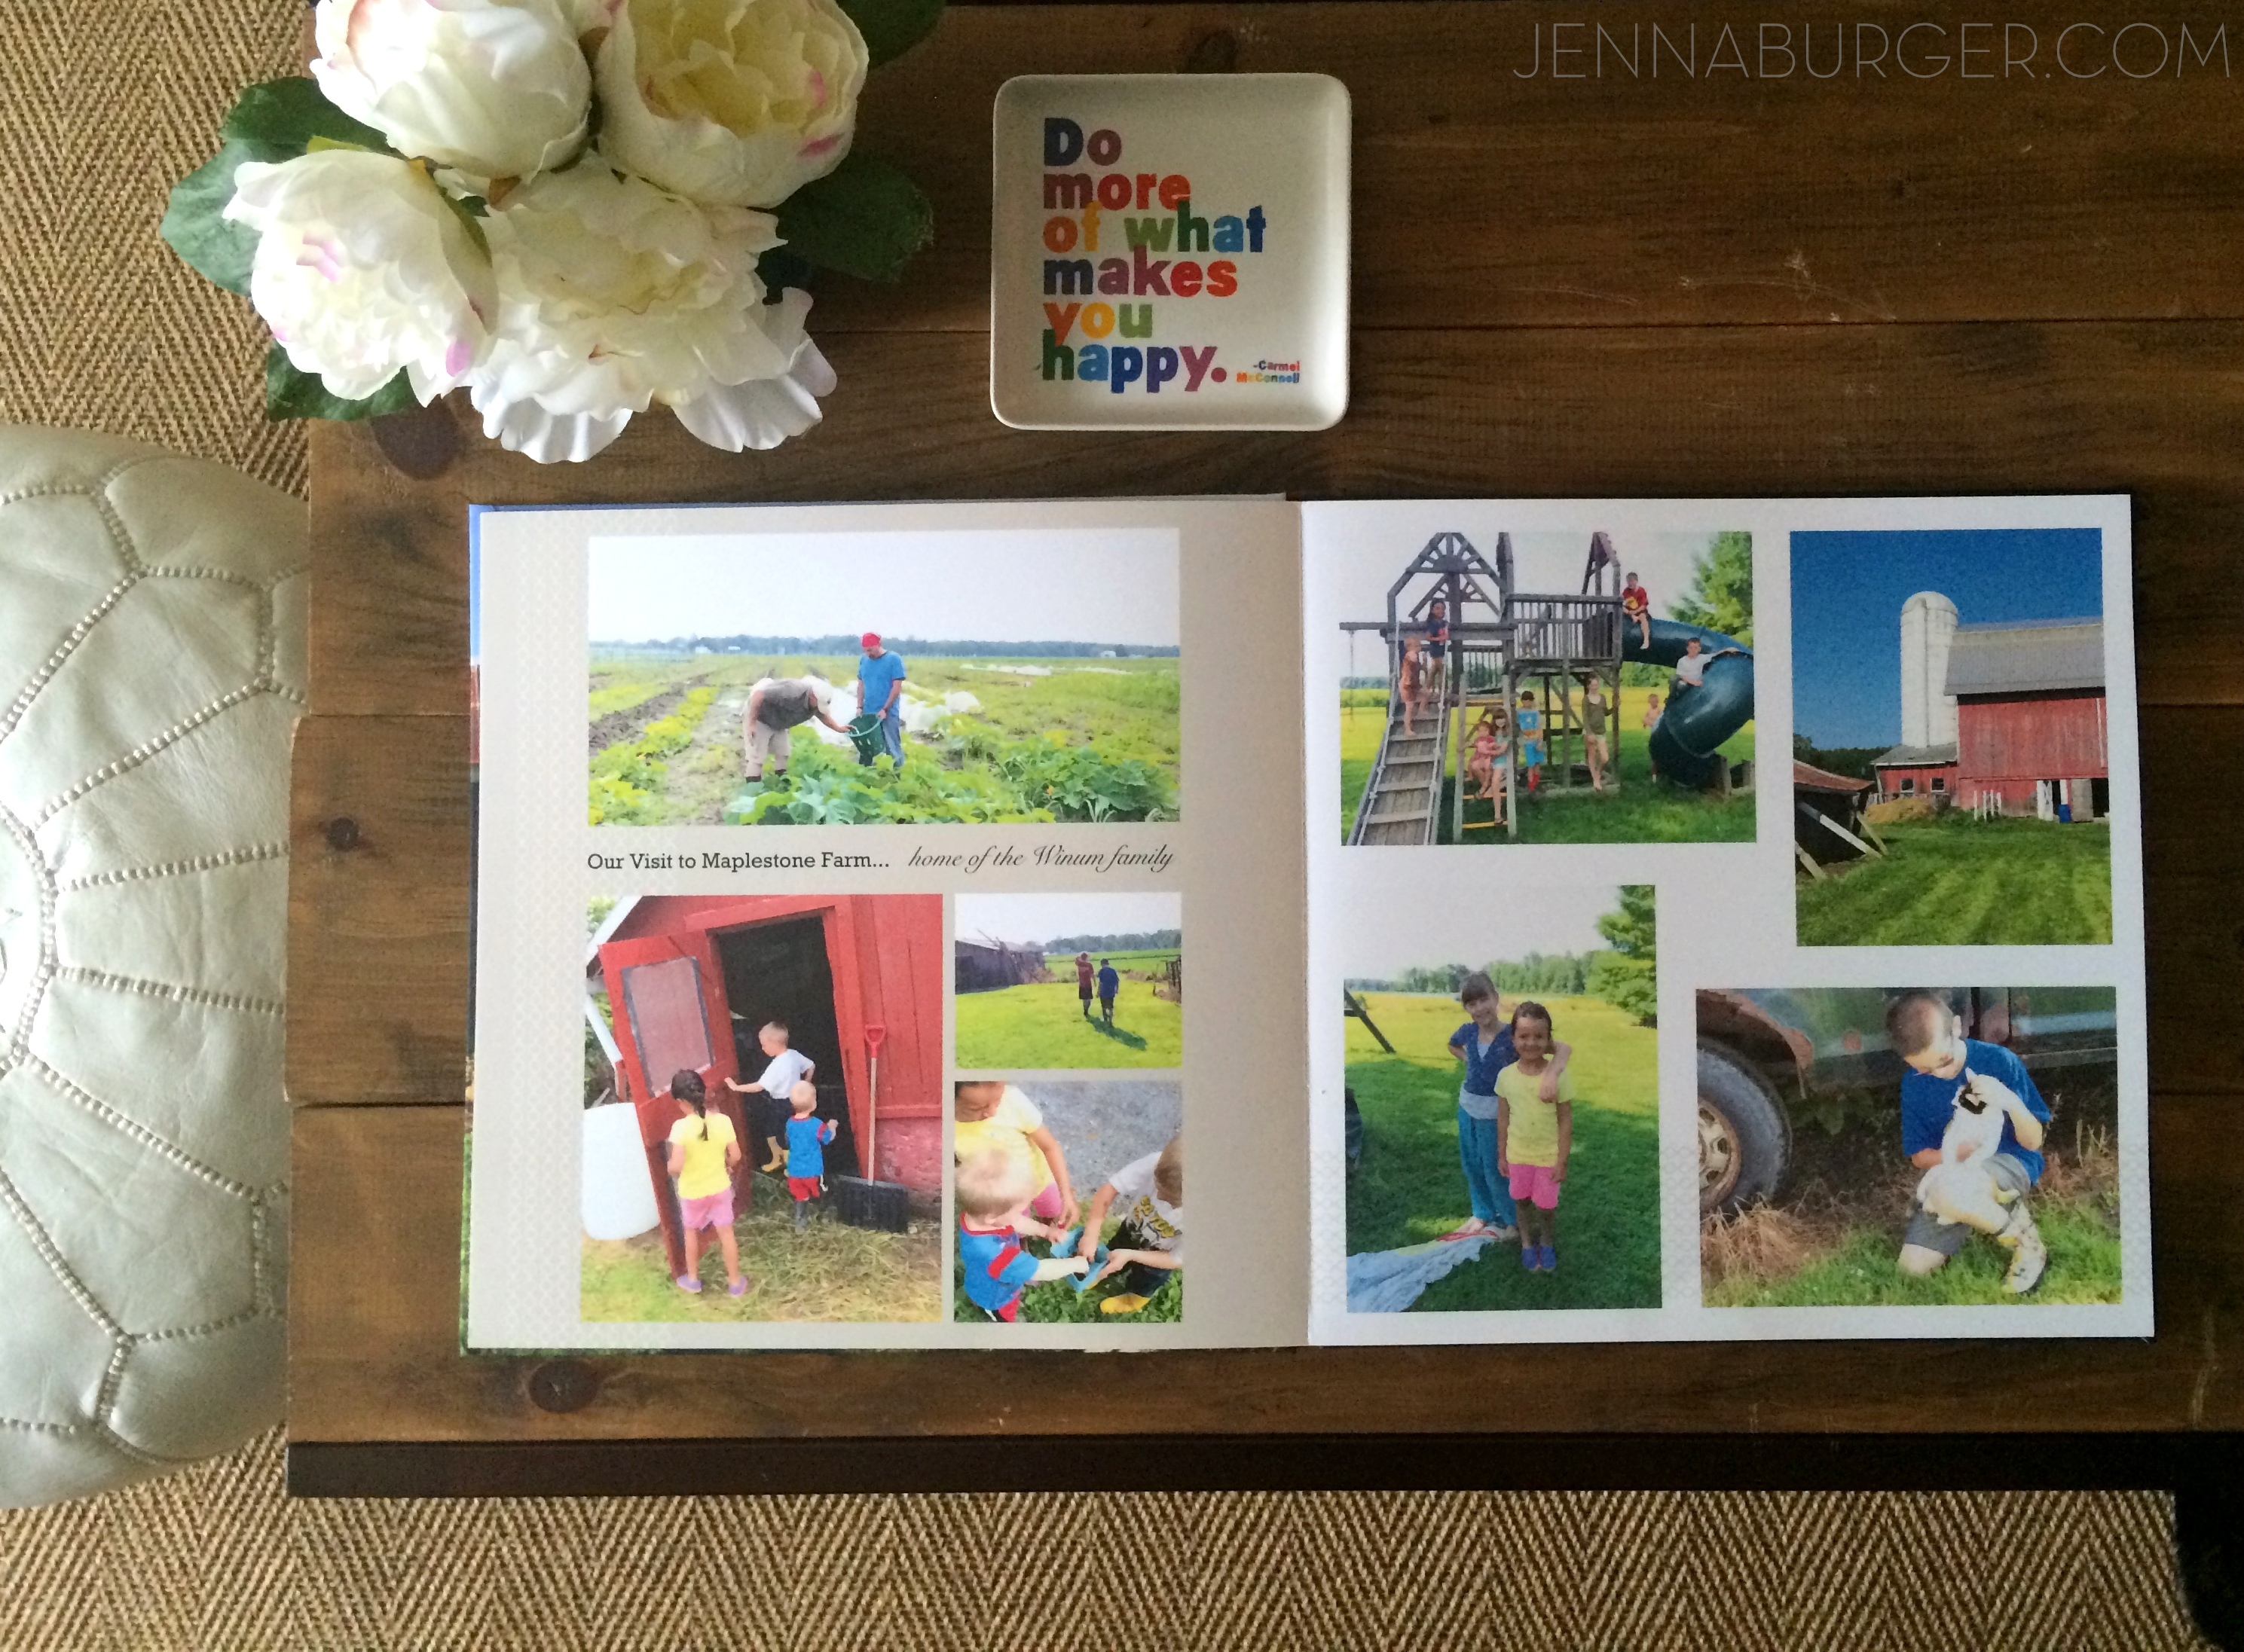
My favorite Summer memory was when we visited friends on their working farm in Central New York. Maplestone Farm, home of the Winums, are a family of 8 and they harvest naturally-grown vegetables and pastured meats. The ‘husbands’ have been friends since grade school and it’s been years – about 9 – since we’ve seen each other. It was a trip long overdue.
The Winum family, who live in the heart of the beautiful Finger Lake region in New York, not only has a CSA program but they also have a Farm Stay where you can stay with them (check out their listing on AirBNB), visit the local wineries + shops, and/or enjoy a ‘follow the farmer’ experience. Ever dream of what it would be like to live & work on a farm? We had the opportunity to experience it firsthand and it was not only educational but eye-opening (plus a whole lotta hard, but rewarding work).
>>> If you want some amazing recipes, check out the Maplestone Farm blog
Their homestead in Stanley, New York is truly picturesque (the cover shot of our photobook is from their home) and I took SO MANY PICTURES.
Our visit to the farm made 4 pages in our Summer memory Photo Book…
What a Summer! It’s a bittersweet day for me as the kids head off to school, but I am ecstatic that I have something to hold on to to remember the special days we had together.
>>> Here’s one for you!
GIVEAWAY.
Now to the best part, I want YOU to remember your Summer or special occasion just like me, so I am giving away 2 Snapfish photo books!
To enter to win an 11×14 Premium Hardcover Snapfish Photo Book, simply leave a comment below sharing what you would do with a Snapfish Photo Book. Two winners will be chosen at random and notified by email, so please be sure to include an email address! Giveaway ends on Sunday, September 13 @ Midnight EST.
THIS GIVEAWAY IS OVER.
The winners are: Dorothea & Swati.
Thank you ALL for entering!
Want to share content and have more chances to win prizes and rewards? Join Snapfish Superfans!
THIS POST WAS CREATED IN PARTNERSHIP WITH SNAPFISH, BUT ALL OPINIONS ARE 100% MY OWN!


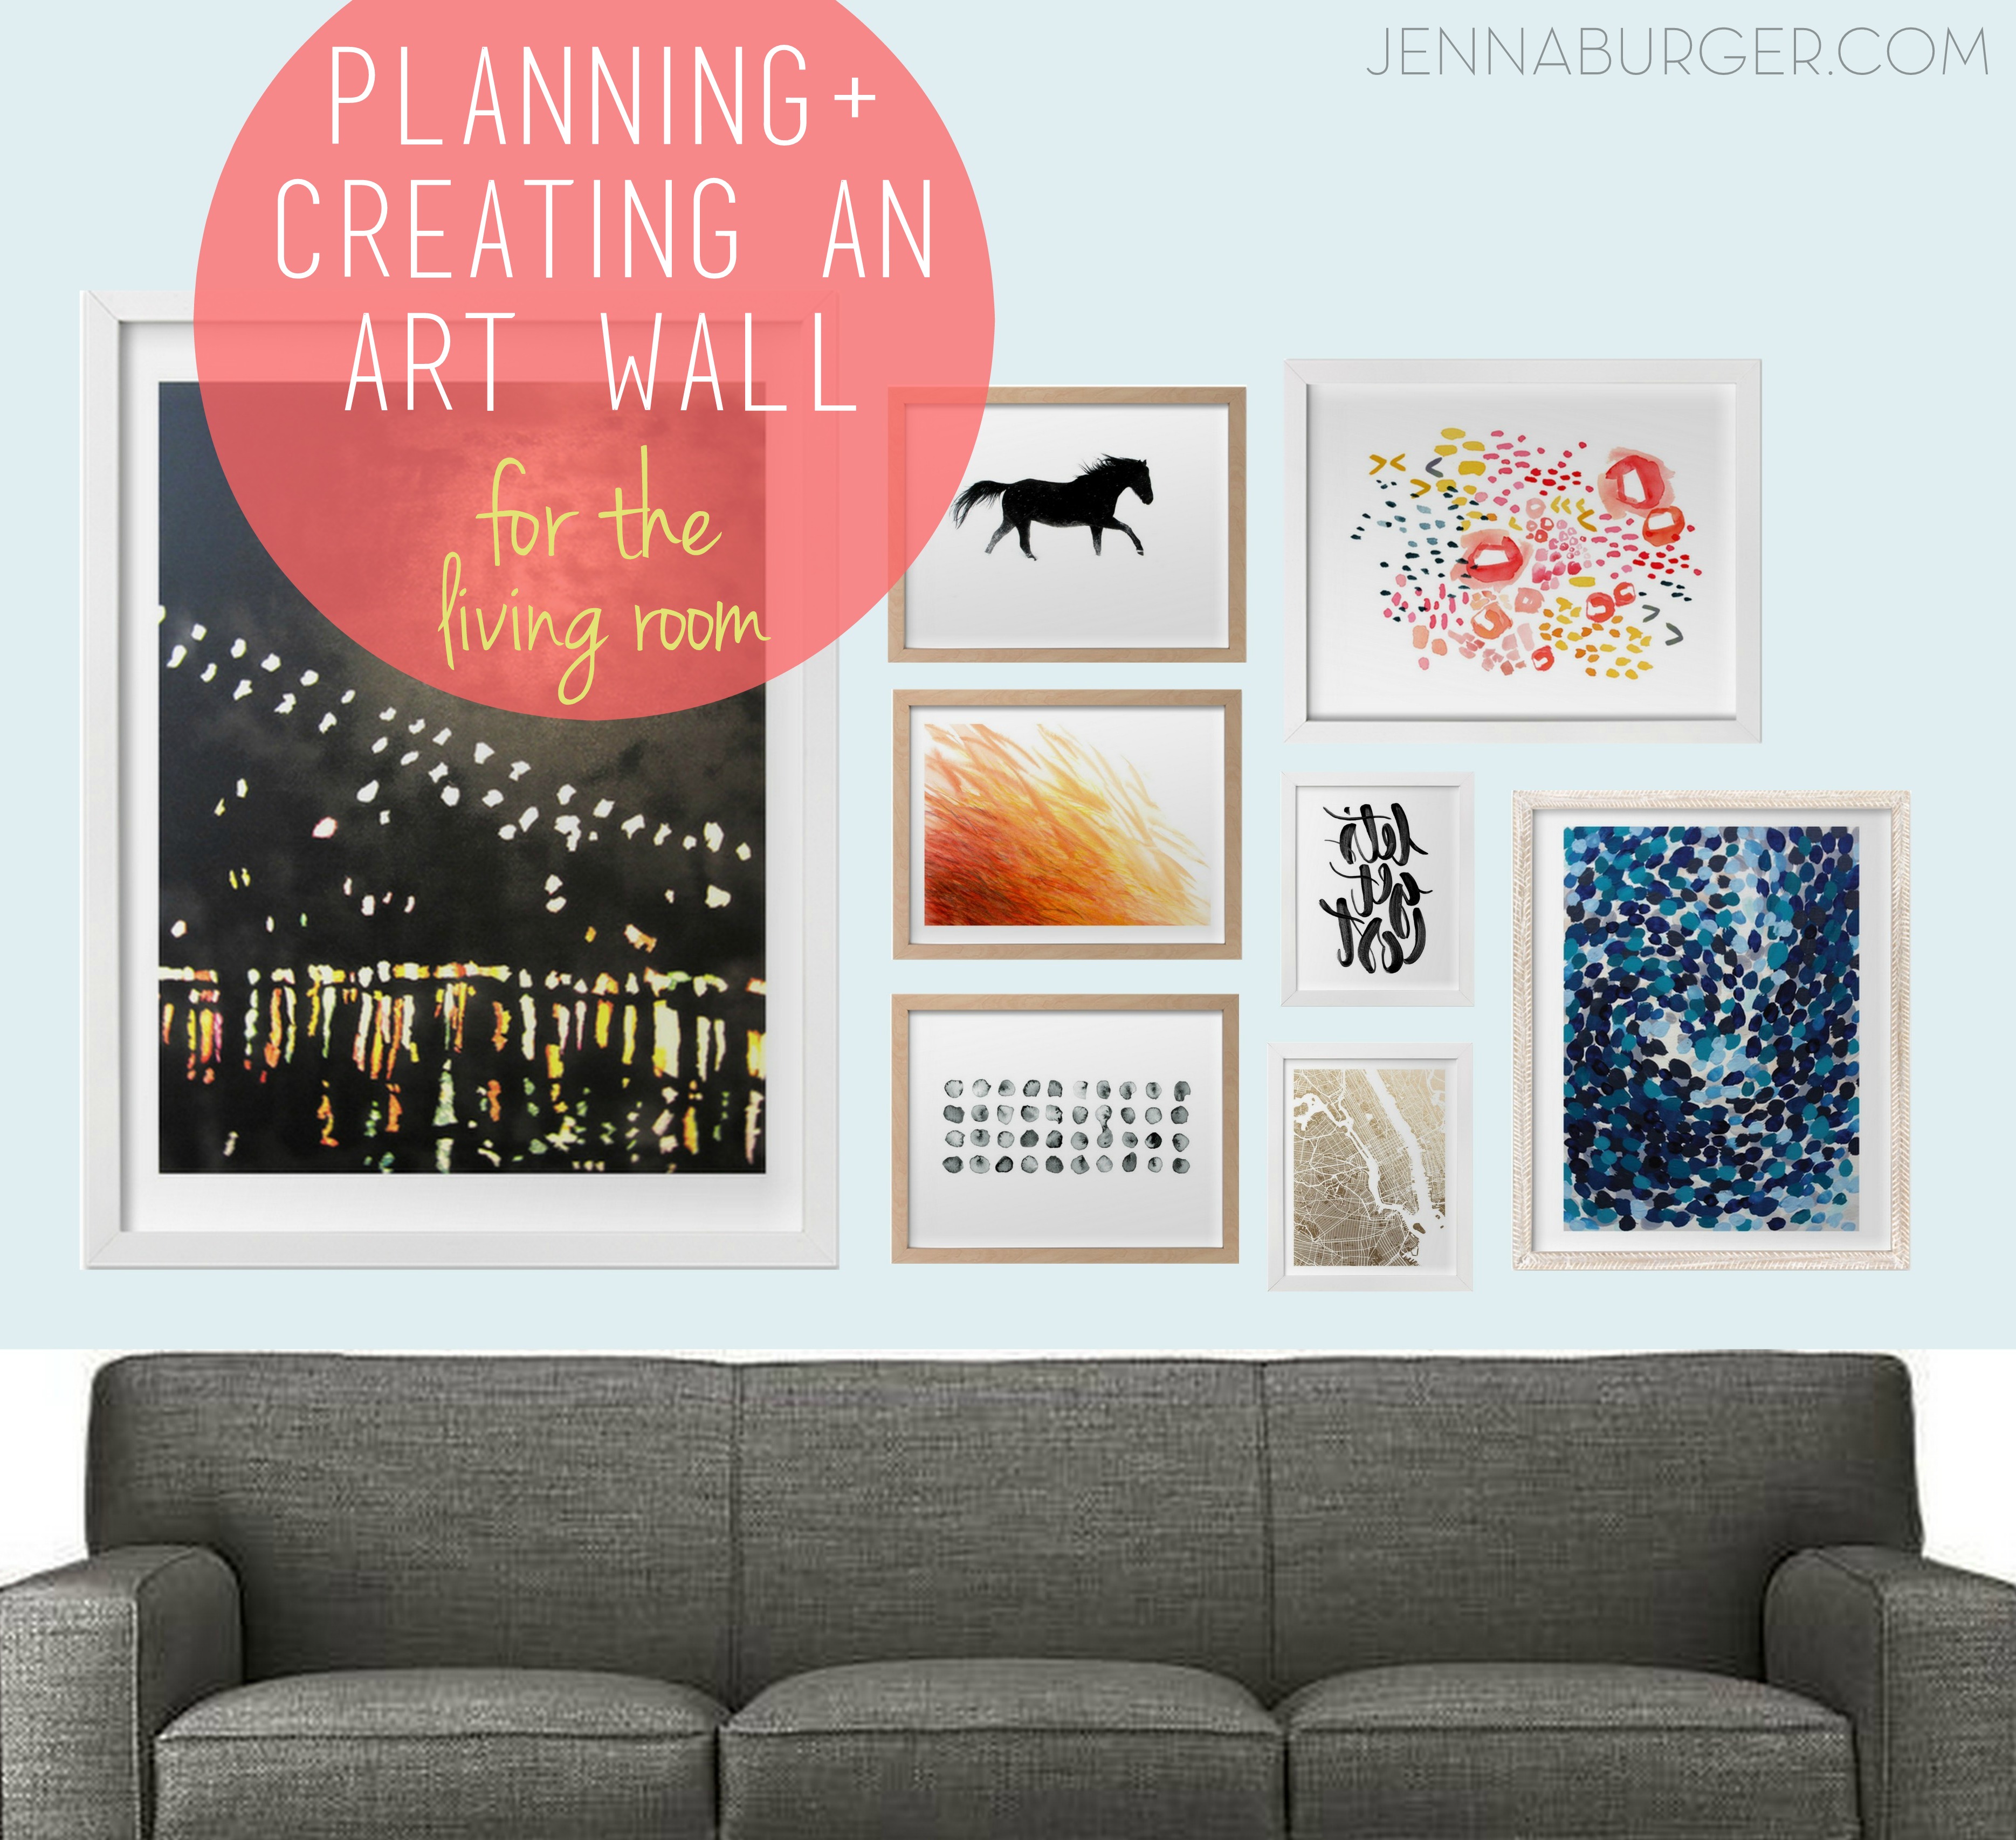
![[RESOURCES] for the Living Room Makeover with bold black + pops of color [emerald, raspberry, coral, and light blue] Design by Jenna Burger Design, www.jennaburger.com](https://www.jennaburger.com/wp-content/uploads/2015/04/RESOURCES-COLLAGE1.jpg)
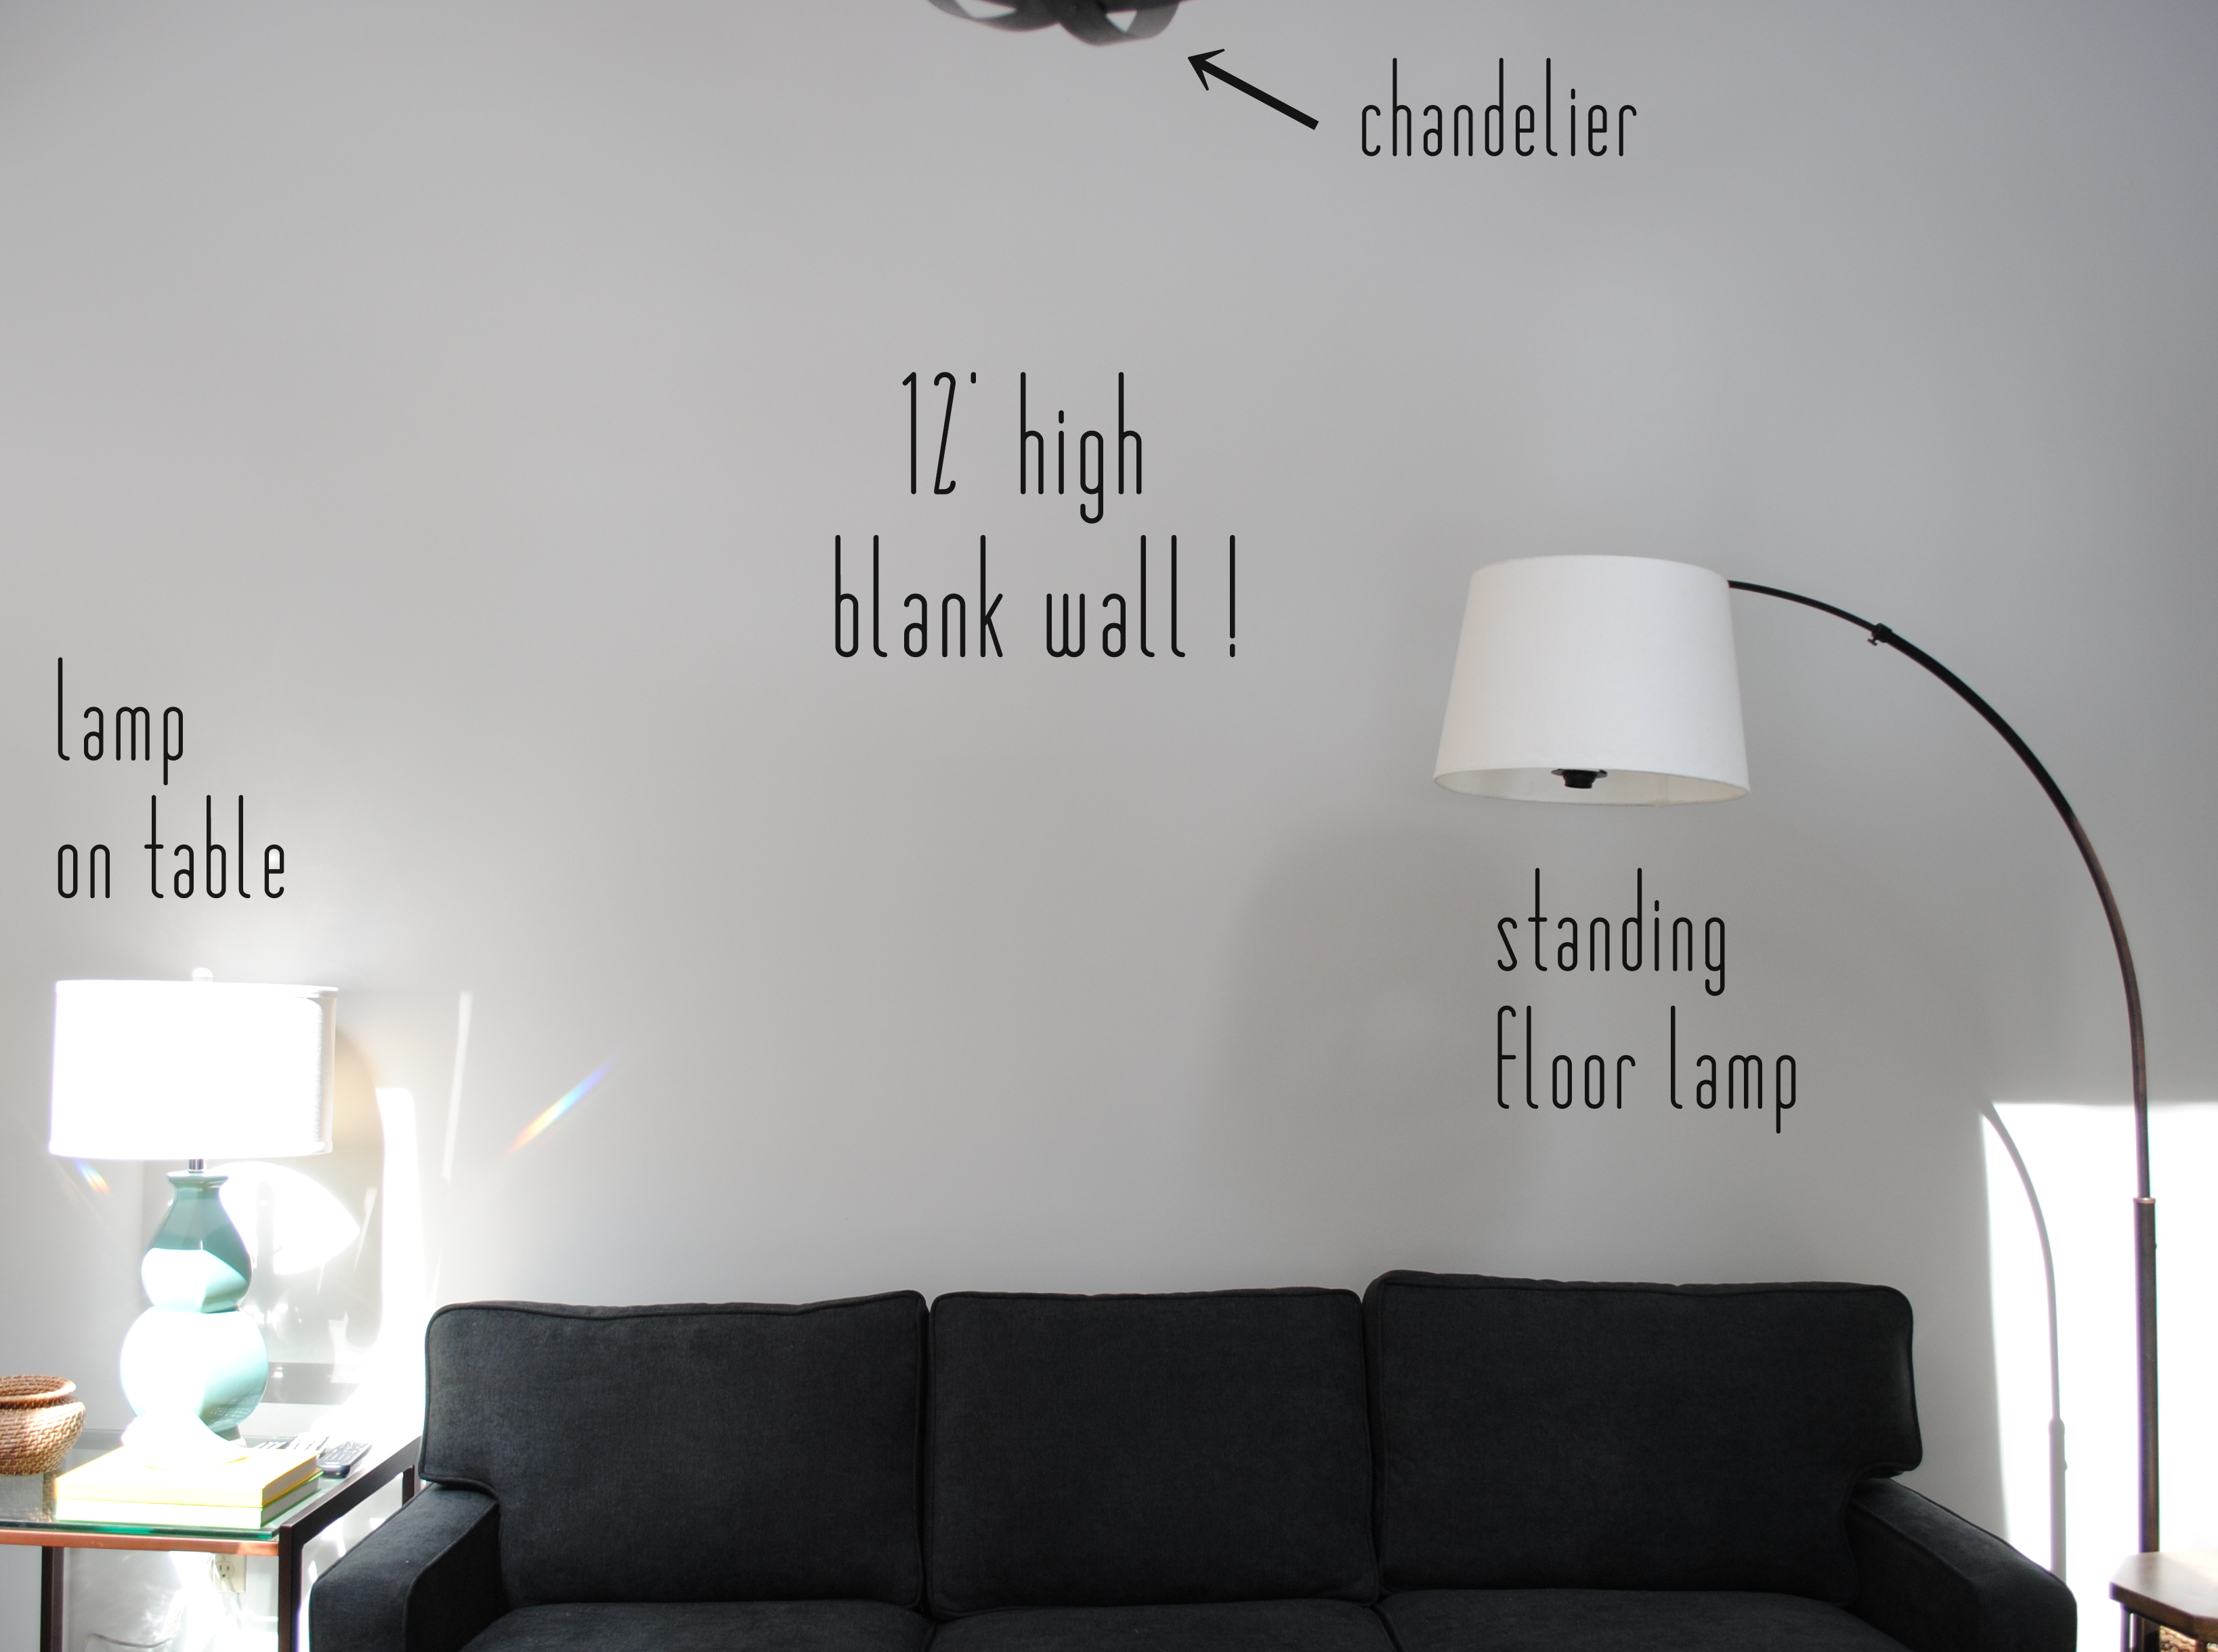
![[RESOURCES] for the Living Room Makeover with bold black + pops of color [emerald, raspberry, coral, and light blue] Design by Jenna Burger Design, www.jennaburger.com](https://www.jennaburger.com/wp-content/uploads/2015/04/Resources_1.jpg)
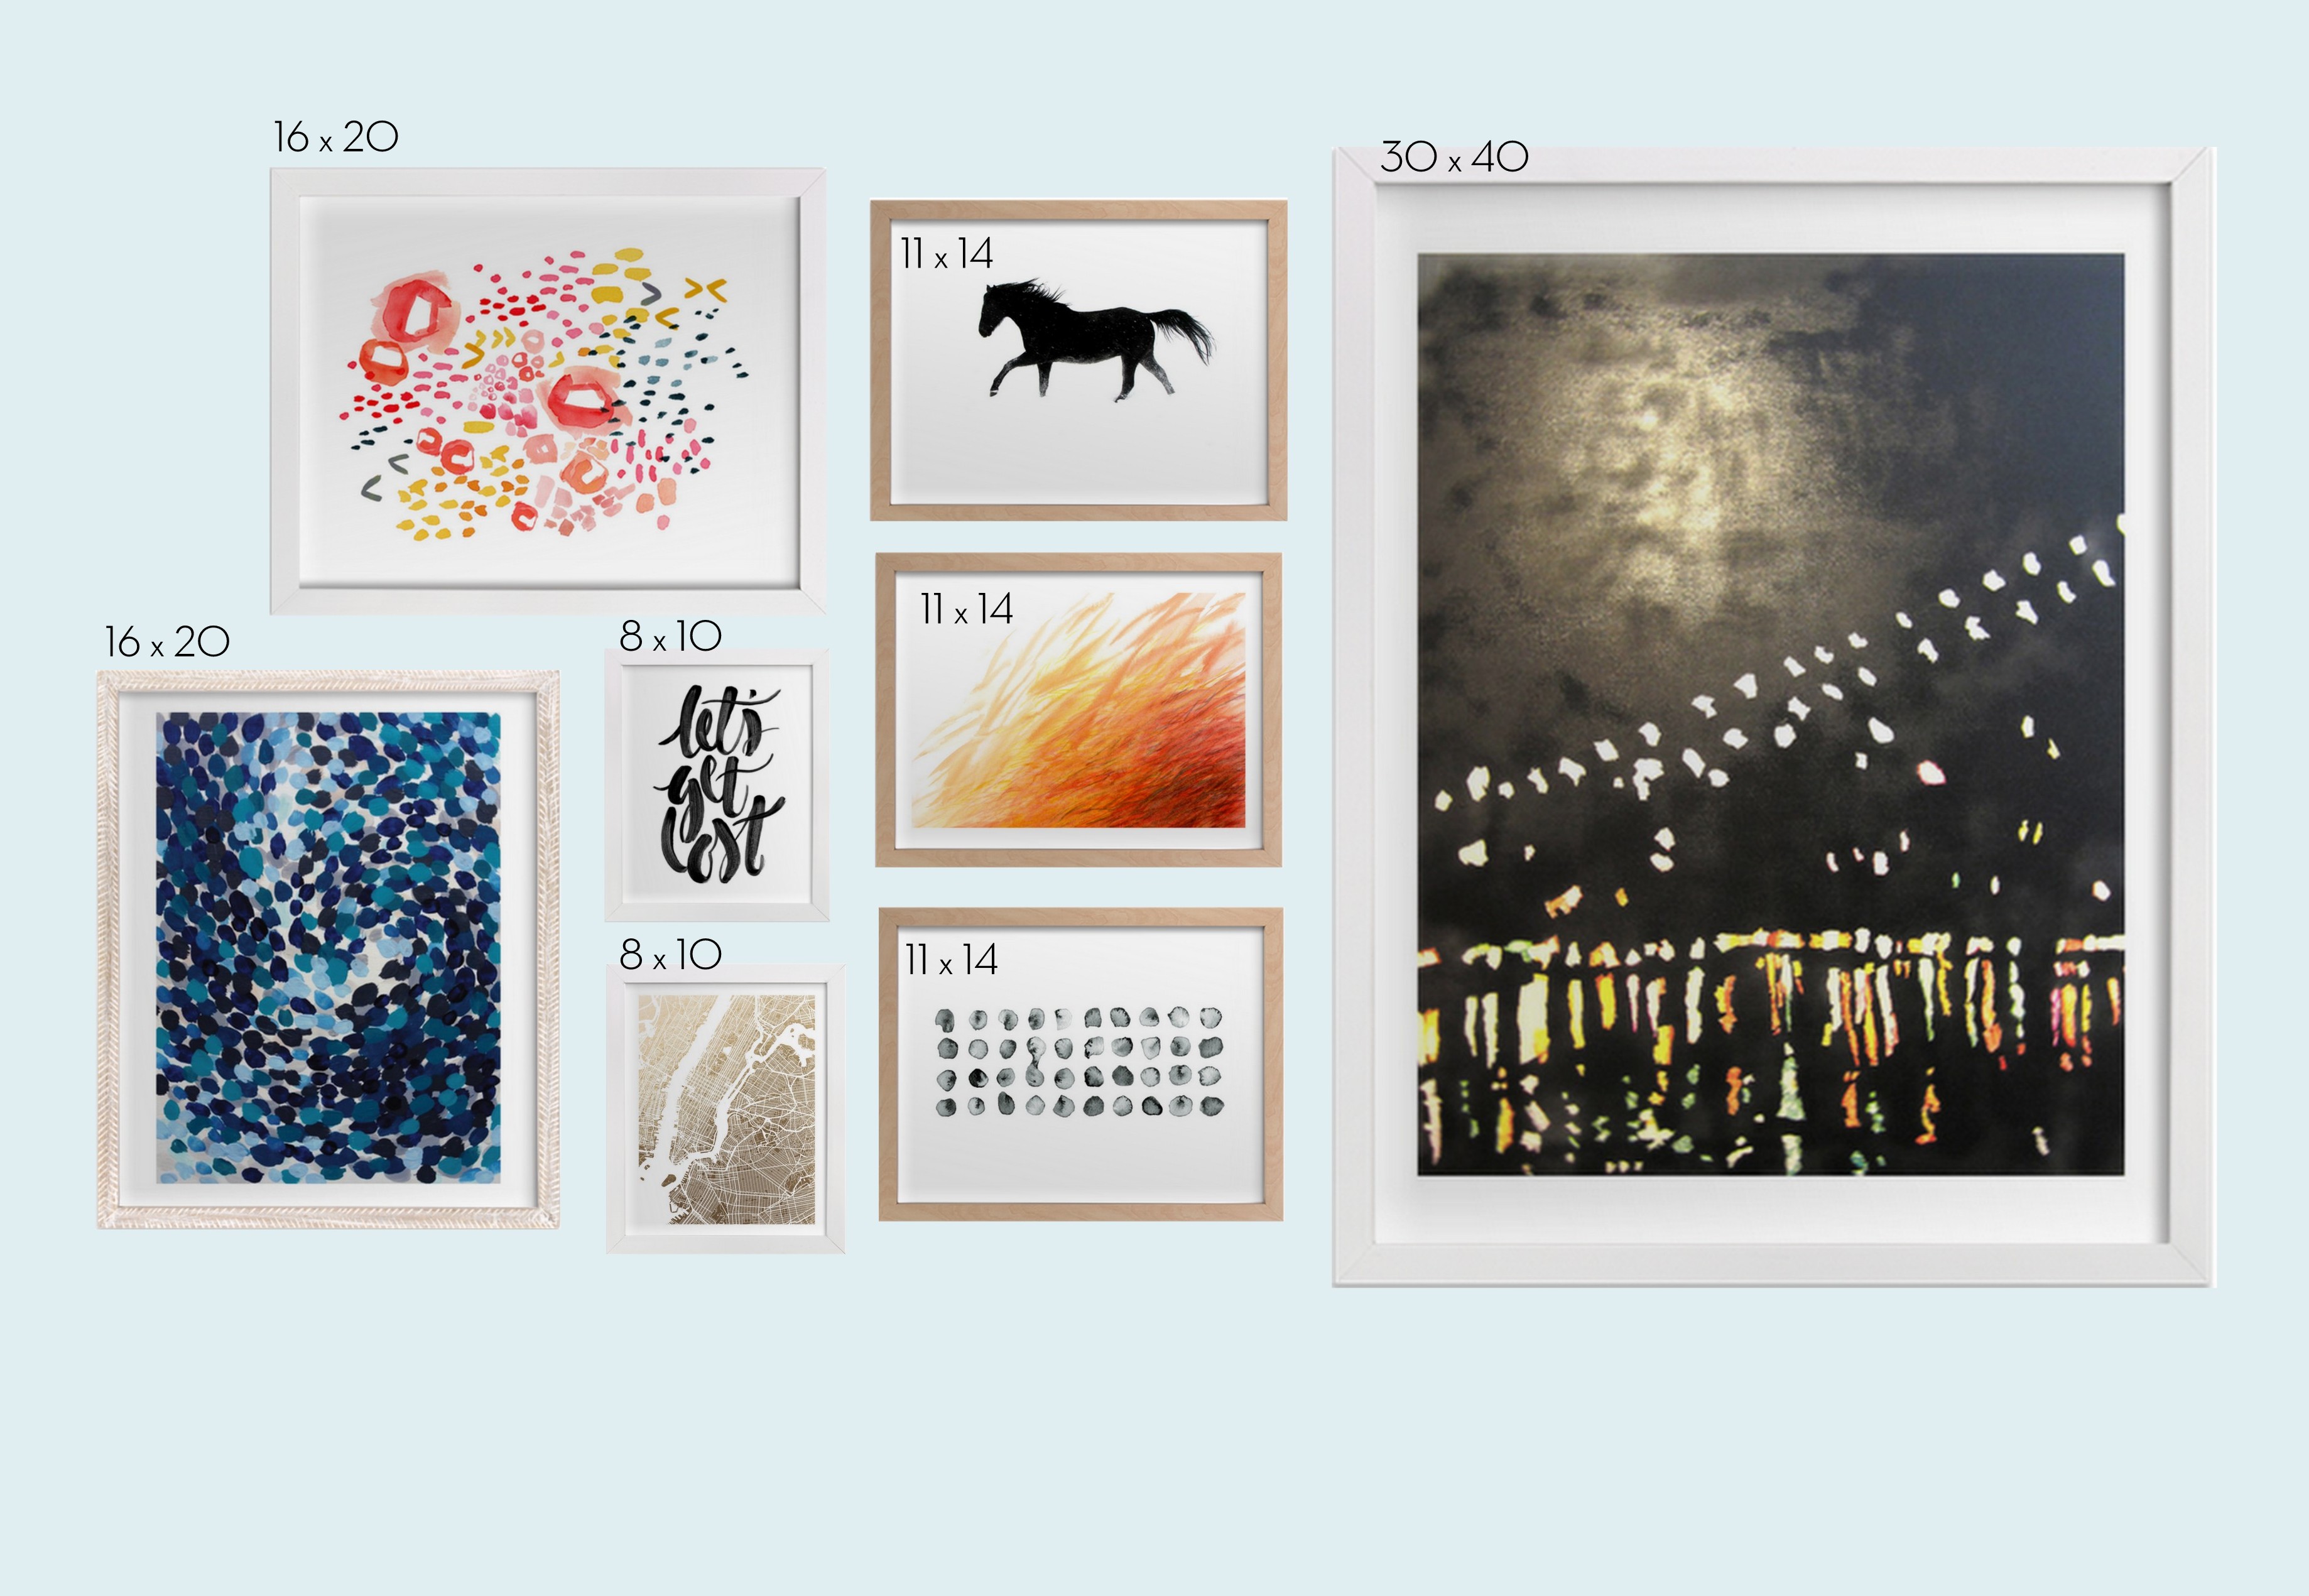
![[RESOURCES] for the Living Room Makeover with bold black + pops of color [emerald, raspberry, coral, and light blue] Design by Jenna Burger Design, www.jennaburger.com](https://www.jennaburger.com/wp-content/uploads/2015/04/Resources_2.jpg)
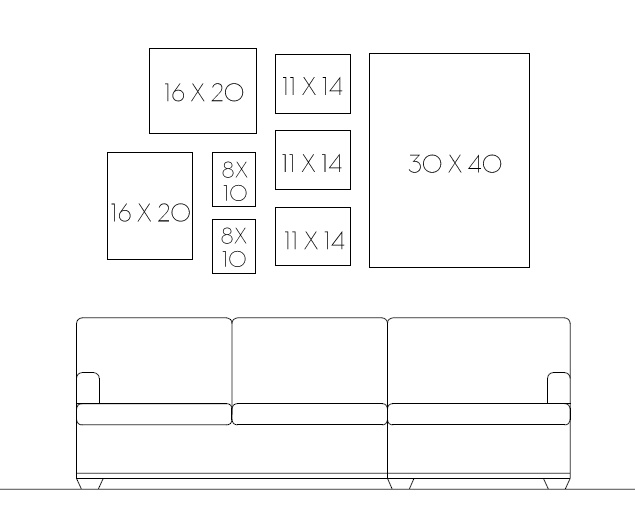
![[RESOURCES] for the Living Room Makeover with bold black + pops of color [emerald, raspberry, coral, and light blue] Design by Jenna Burger Design, www.jennaburger.com](https://www.jennaburger.com/wp-content/uploads/2015/04/Resources_3.jpg)