I hope you are having a wonderful week. I am in pure bliss at the moment. Between the amazing 60 degree sunny days we’ve been having + finishing the living room, I am incredibly delighted. plus my little guy is going to be turning 9 in a few days and that just makes my heart happy…
So yes, the living room makeover that I’ve been working on for the past 4 months is FINISHED and I am overly joyed to finally share details of the makeover + the big reveal!
The evolution of this space has been quite long + slow. And I am perfectly content with that because we’ve gotten the chance to “live” in it to know what works + what doesn’t.
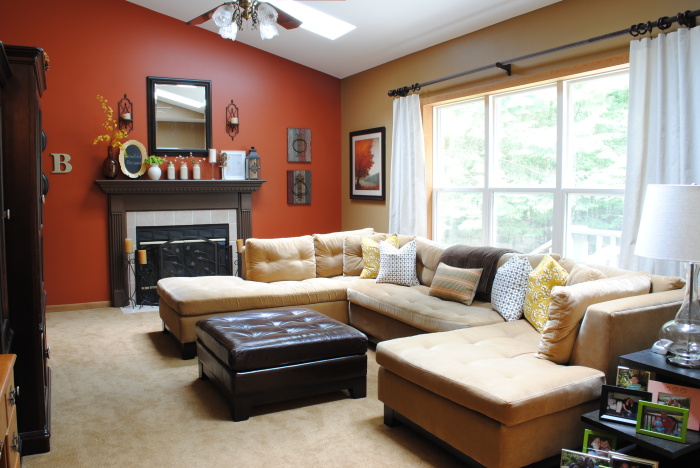
When we moved in to our home about 5 years ago, it started out like this…
welcome to our new home – ugh, ok not so pretty.
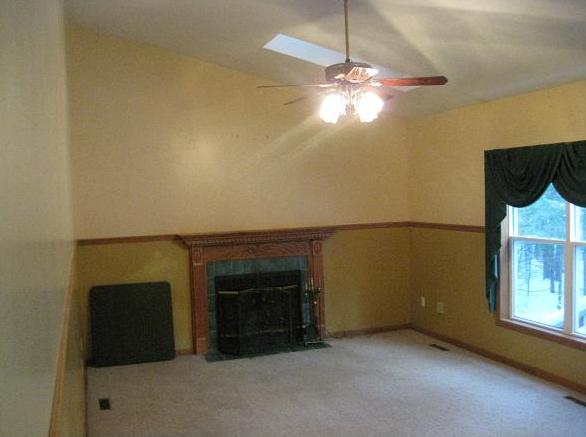
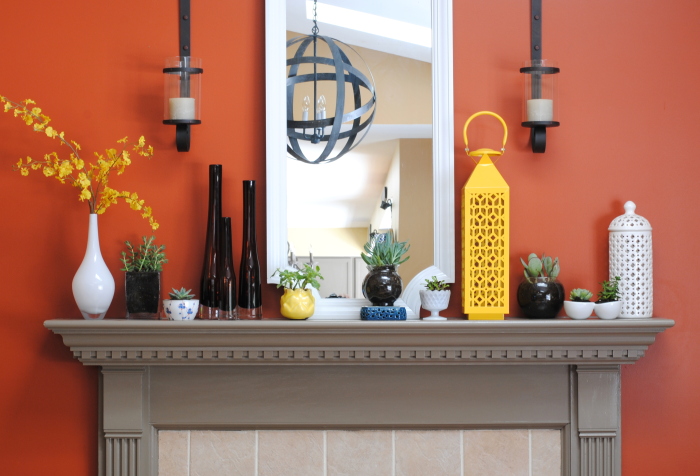
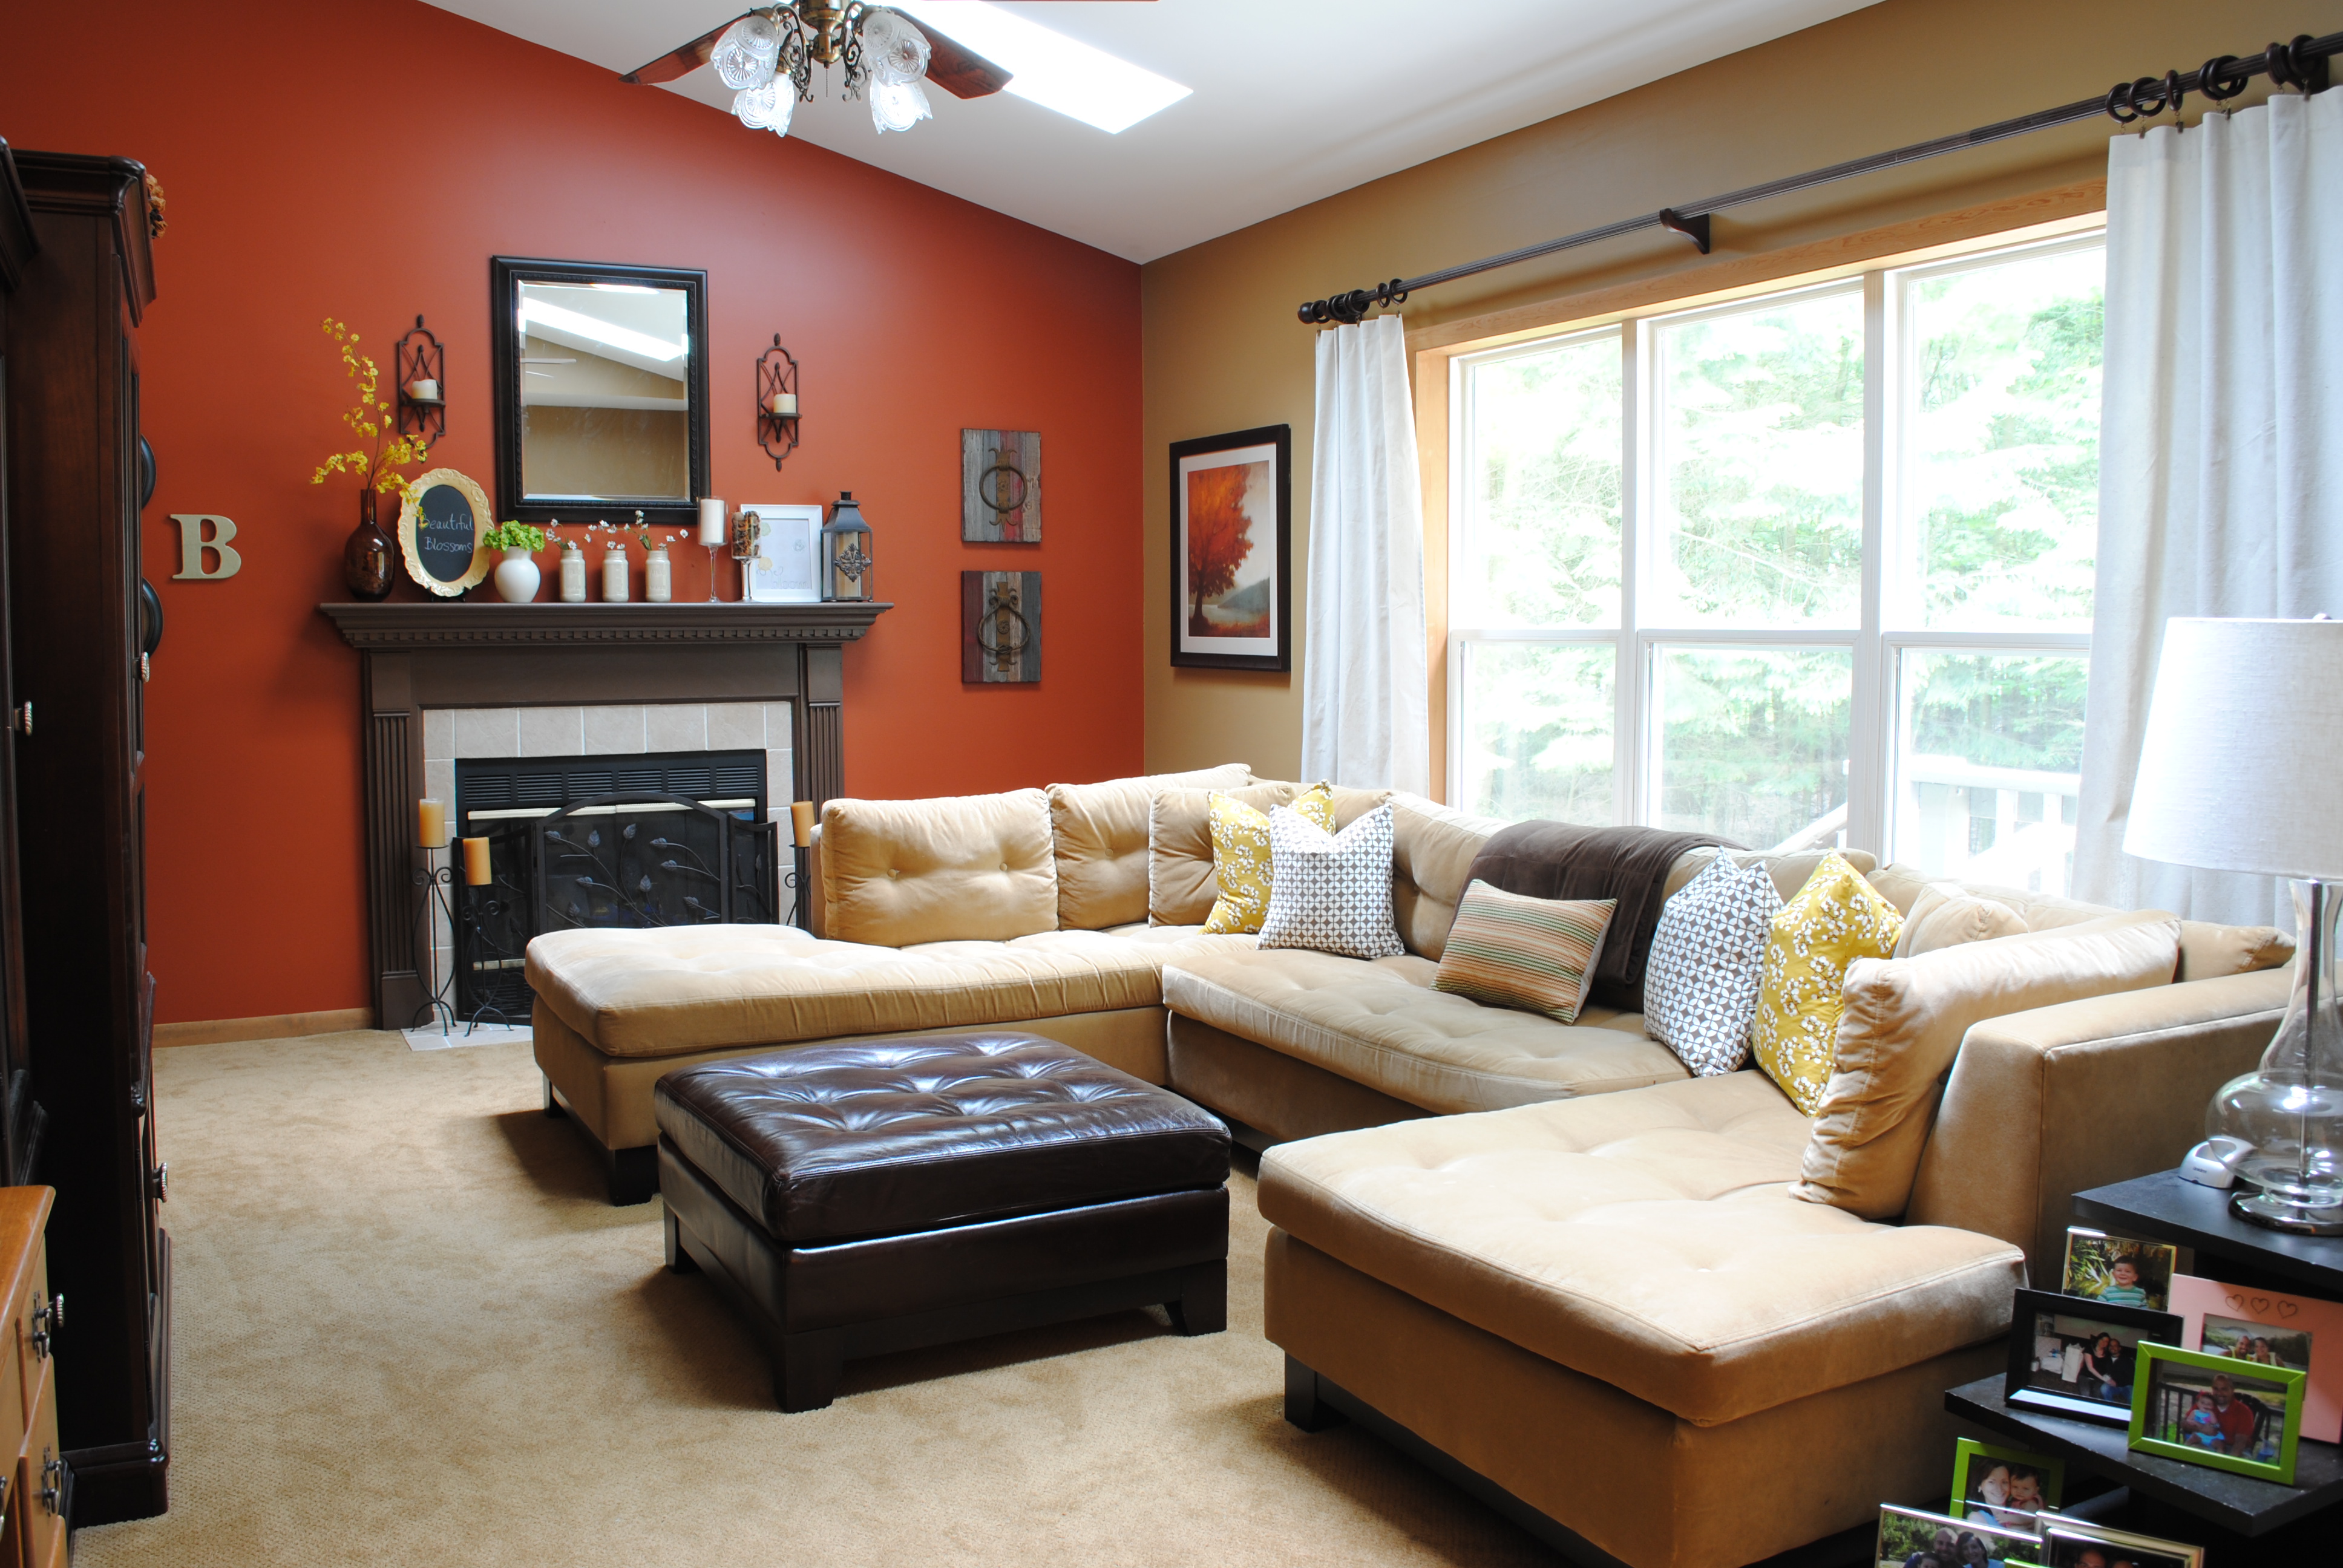
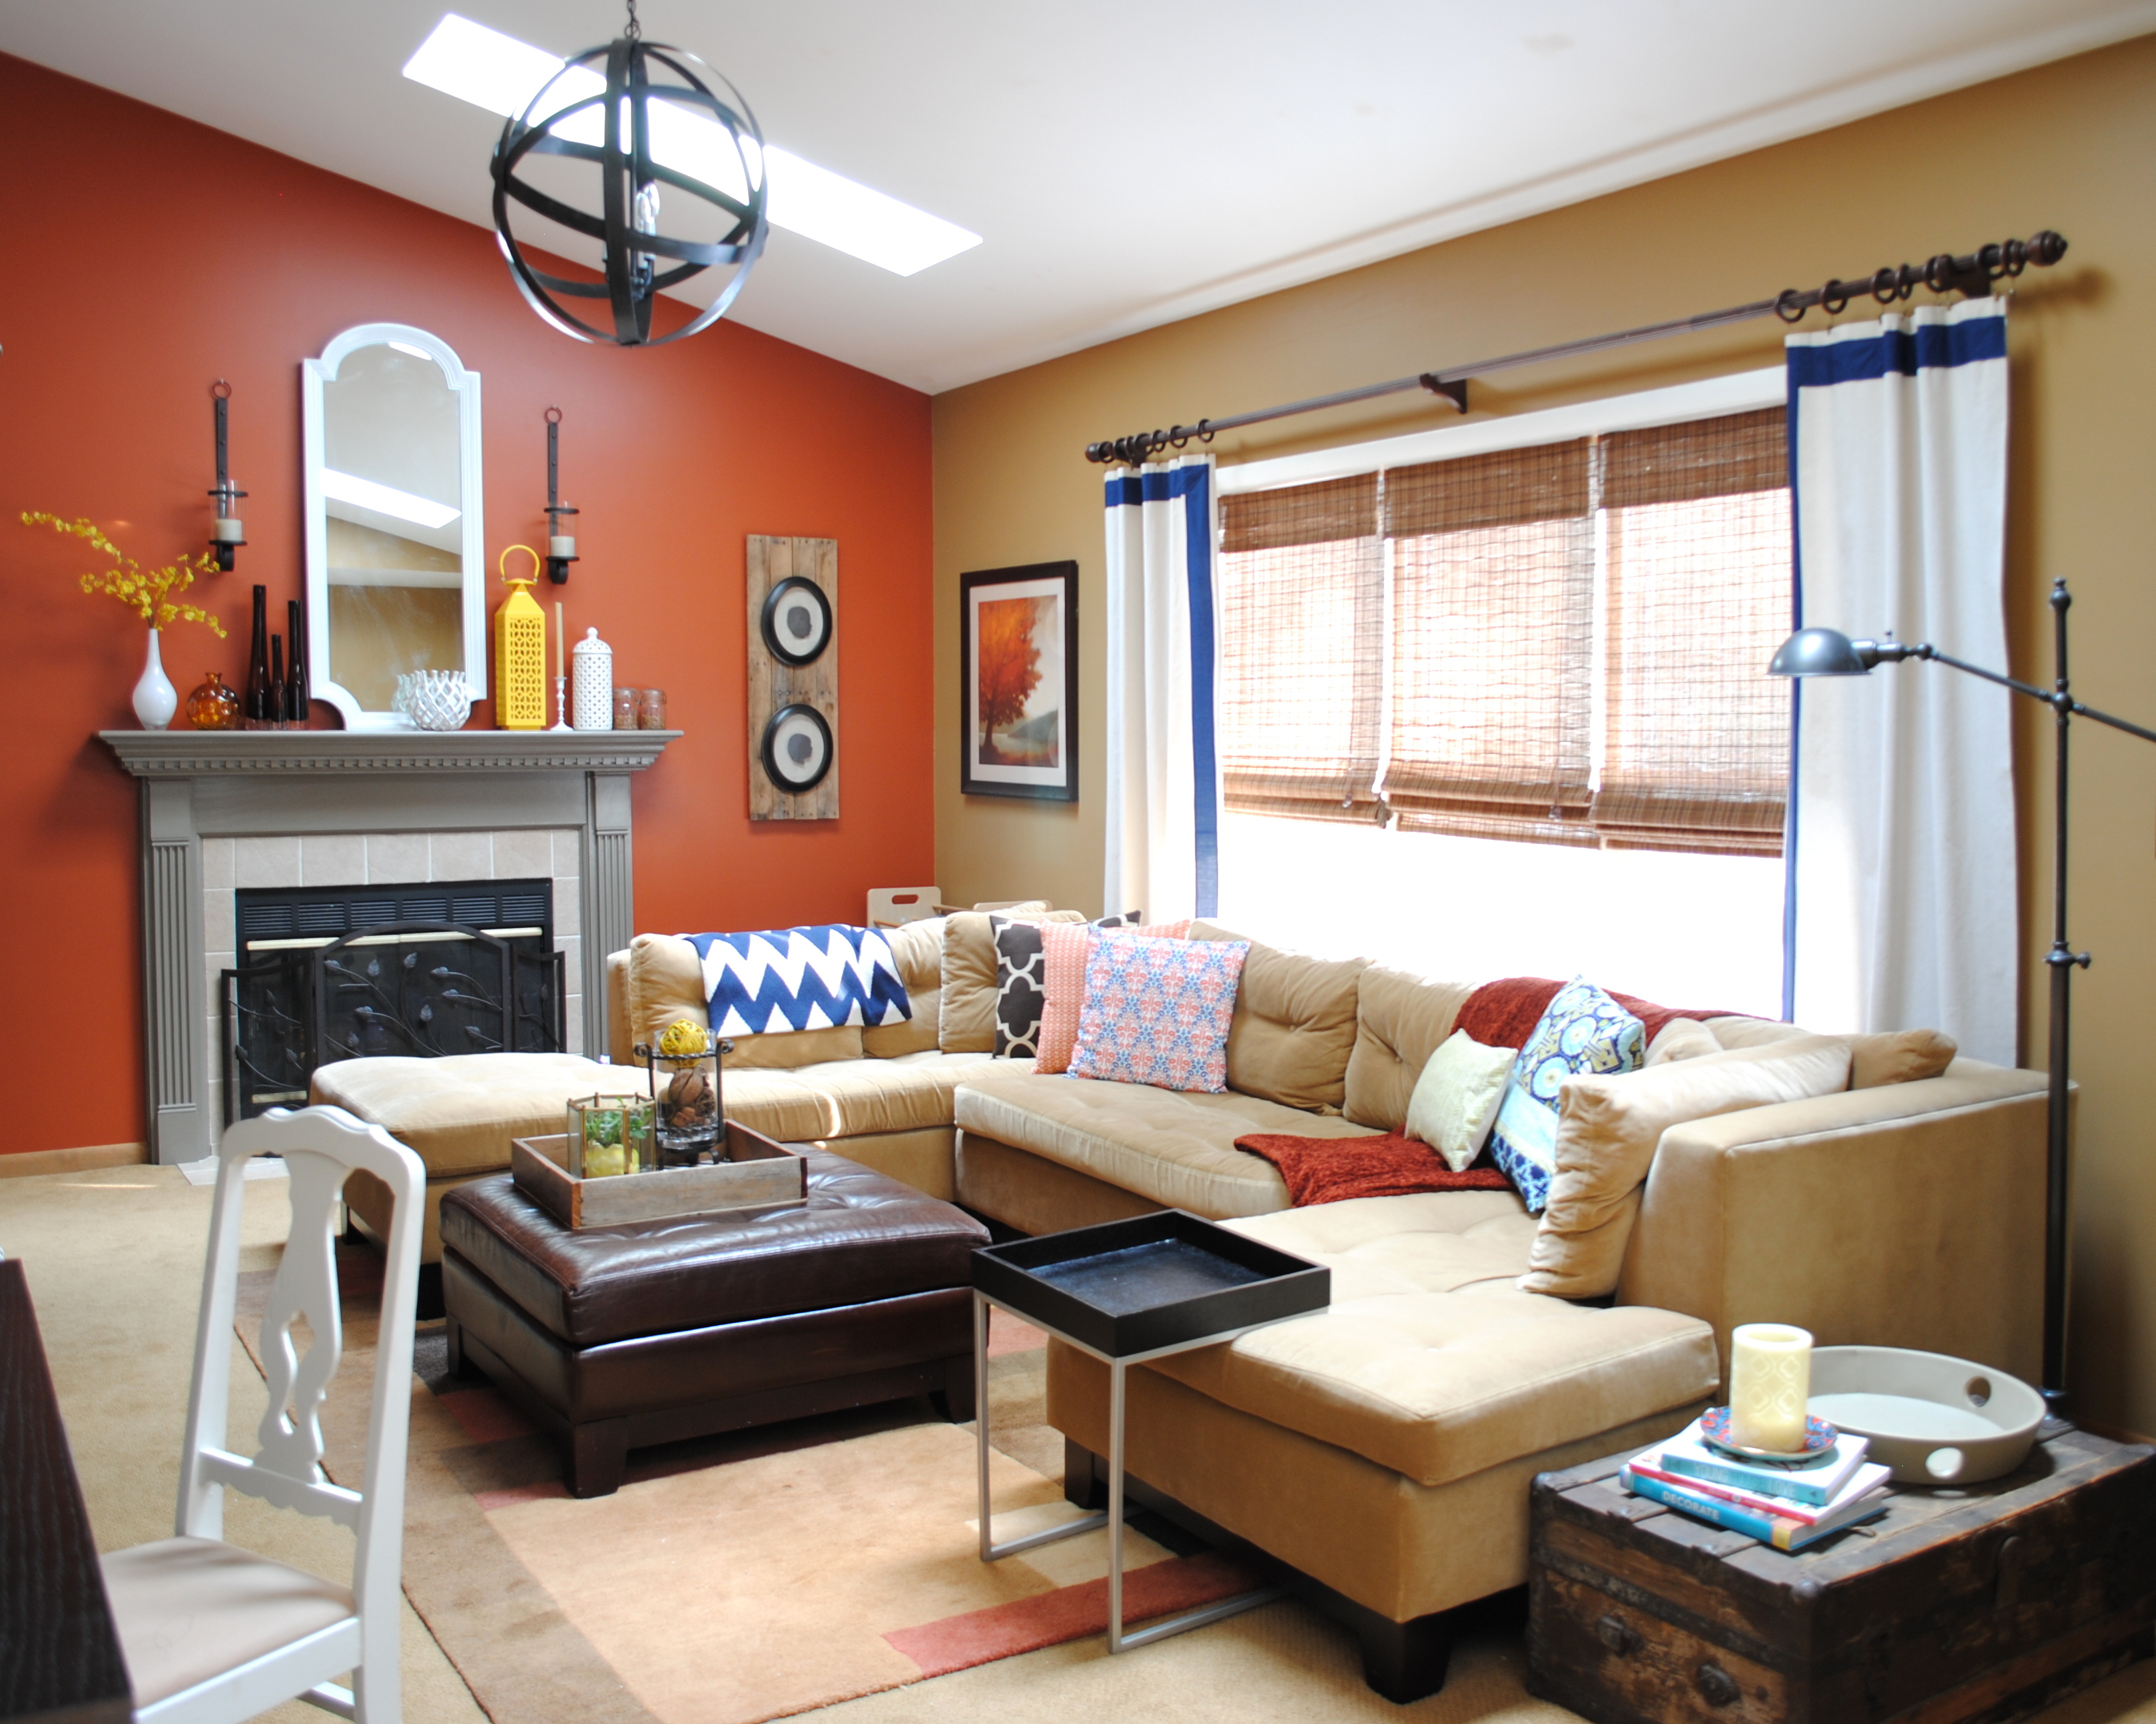
We needed color right away, so we painted the fireplace wall a deep burnt orange hue, while the other walls were covered in a warm-beige, cardboard brown tone. Furniture from our previous home went into place and we were happy to have a space for our family of 4 (at the time).
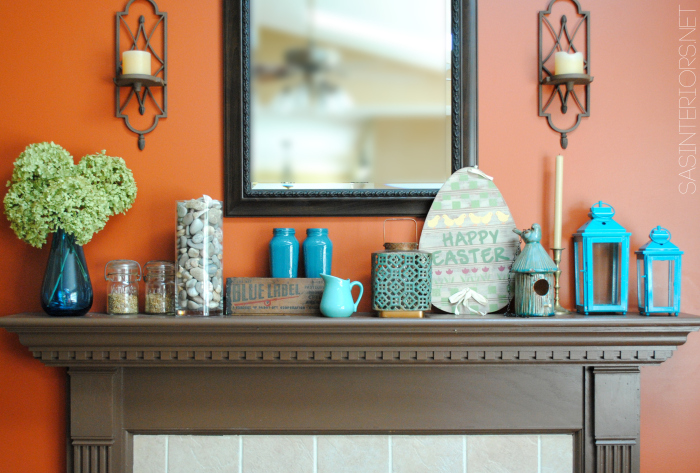
With some minor updates + layers, eventually the space started to feel like “us”…
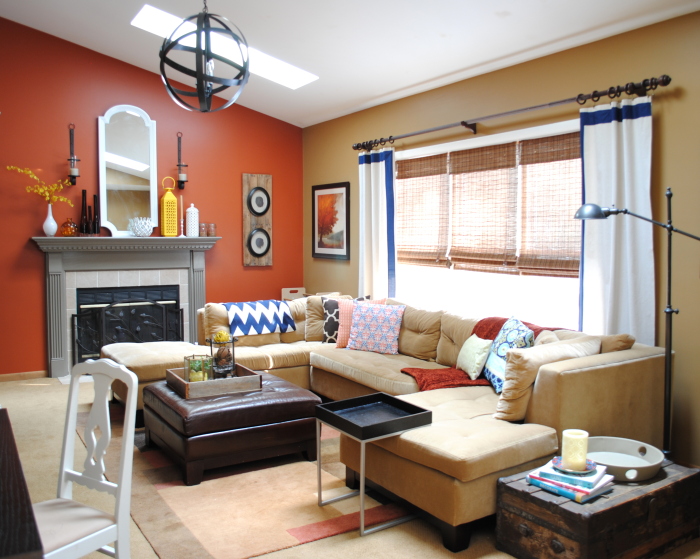
That’s how our living room looked until this makeover started.
Over the years, I knew the furniture didn’t work “right” for the room, but because of the emotional connection/attachment to our beloved sofa + the lil’ budget we had, it stayed as is.
Then late last year we got the bug. Even the Mister who hates change & is content with most any ole’ space, was thinking the room needed some new life. And it all started with the TV…
Here’s a quick storyline: The Mister wanted a larger flatscreen, which the TV cabinet wouldn’t be large enough for. That got the ball rolling to get rid of the oversized TV cabinet [you can see what it looks like in this post].
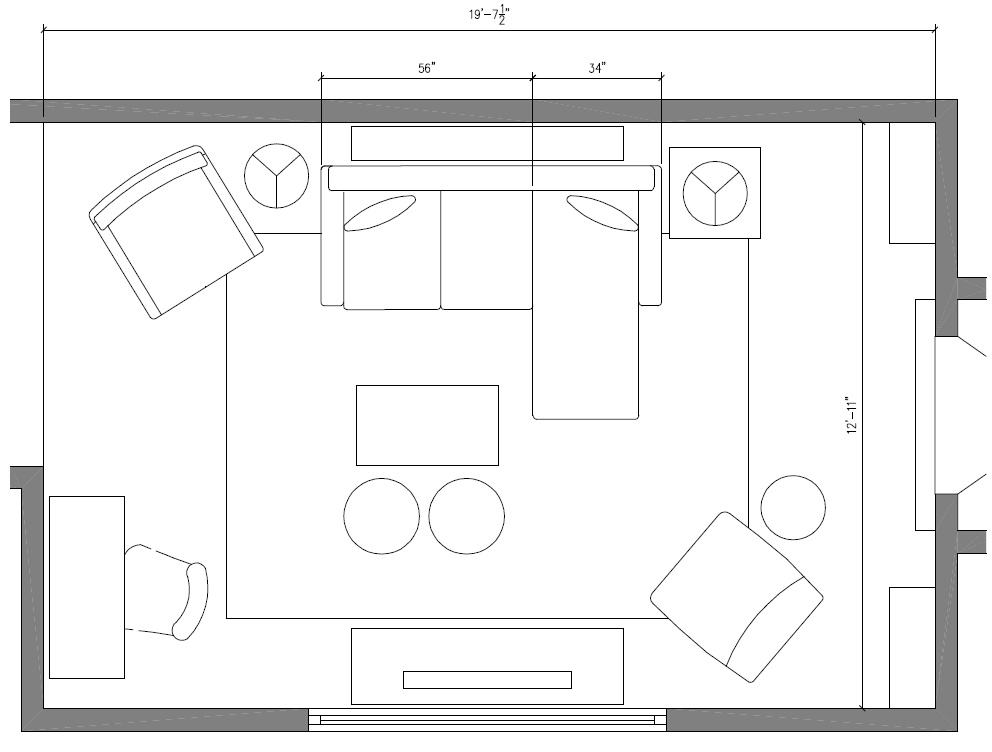
Once the cabinet was gone, the sofa followed along with it, and rearranging the furniture so the TV would no longer be opposite of the windows because of the sun glare made the most sense. it was near impossible to watch tv during the day because of the sun filtering in. In the end, a friend bought most of the furniture and we were left with a big empty shell!
This was the new layout I created for the space…
 My creative juices started to flow and this was what I envisioned for the room. [click to read my original plan of action for this space]

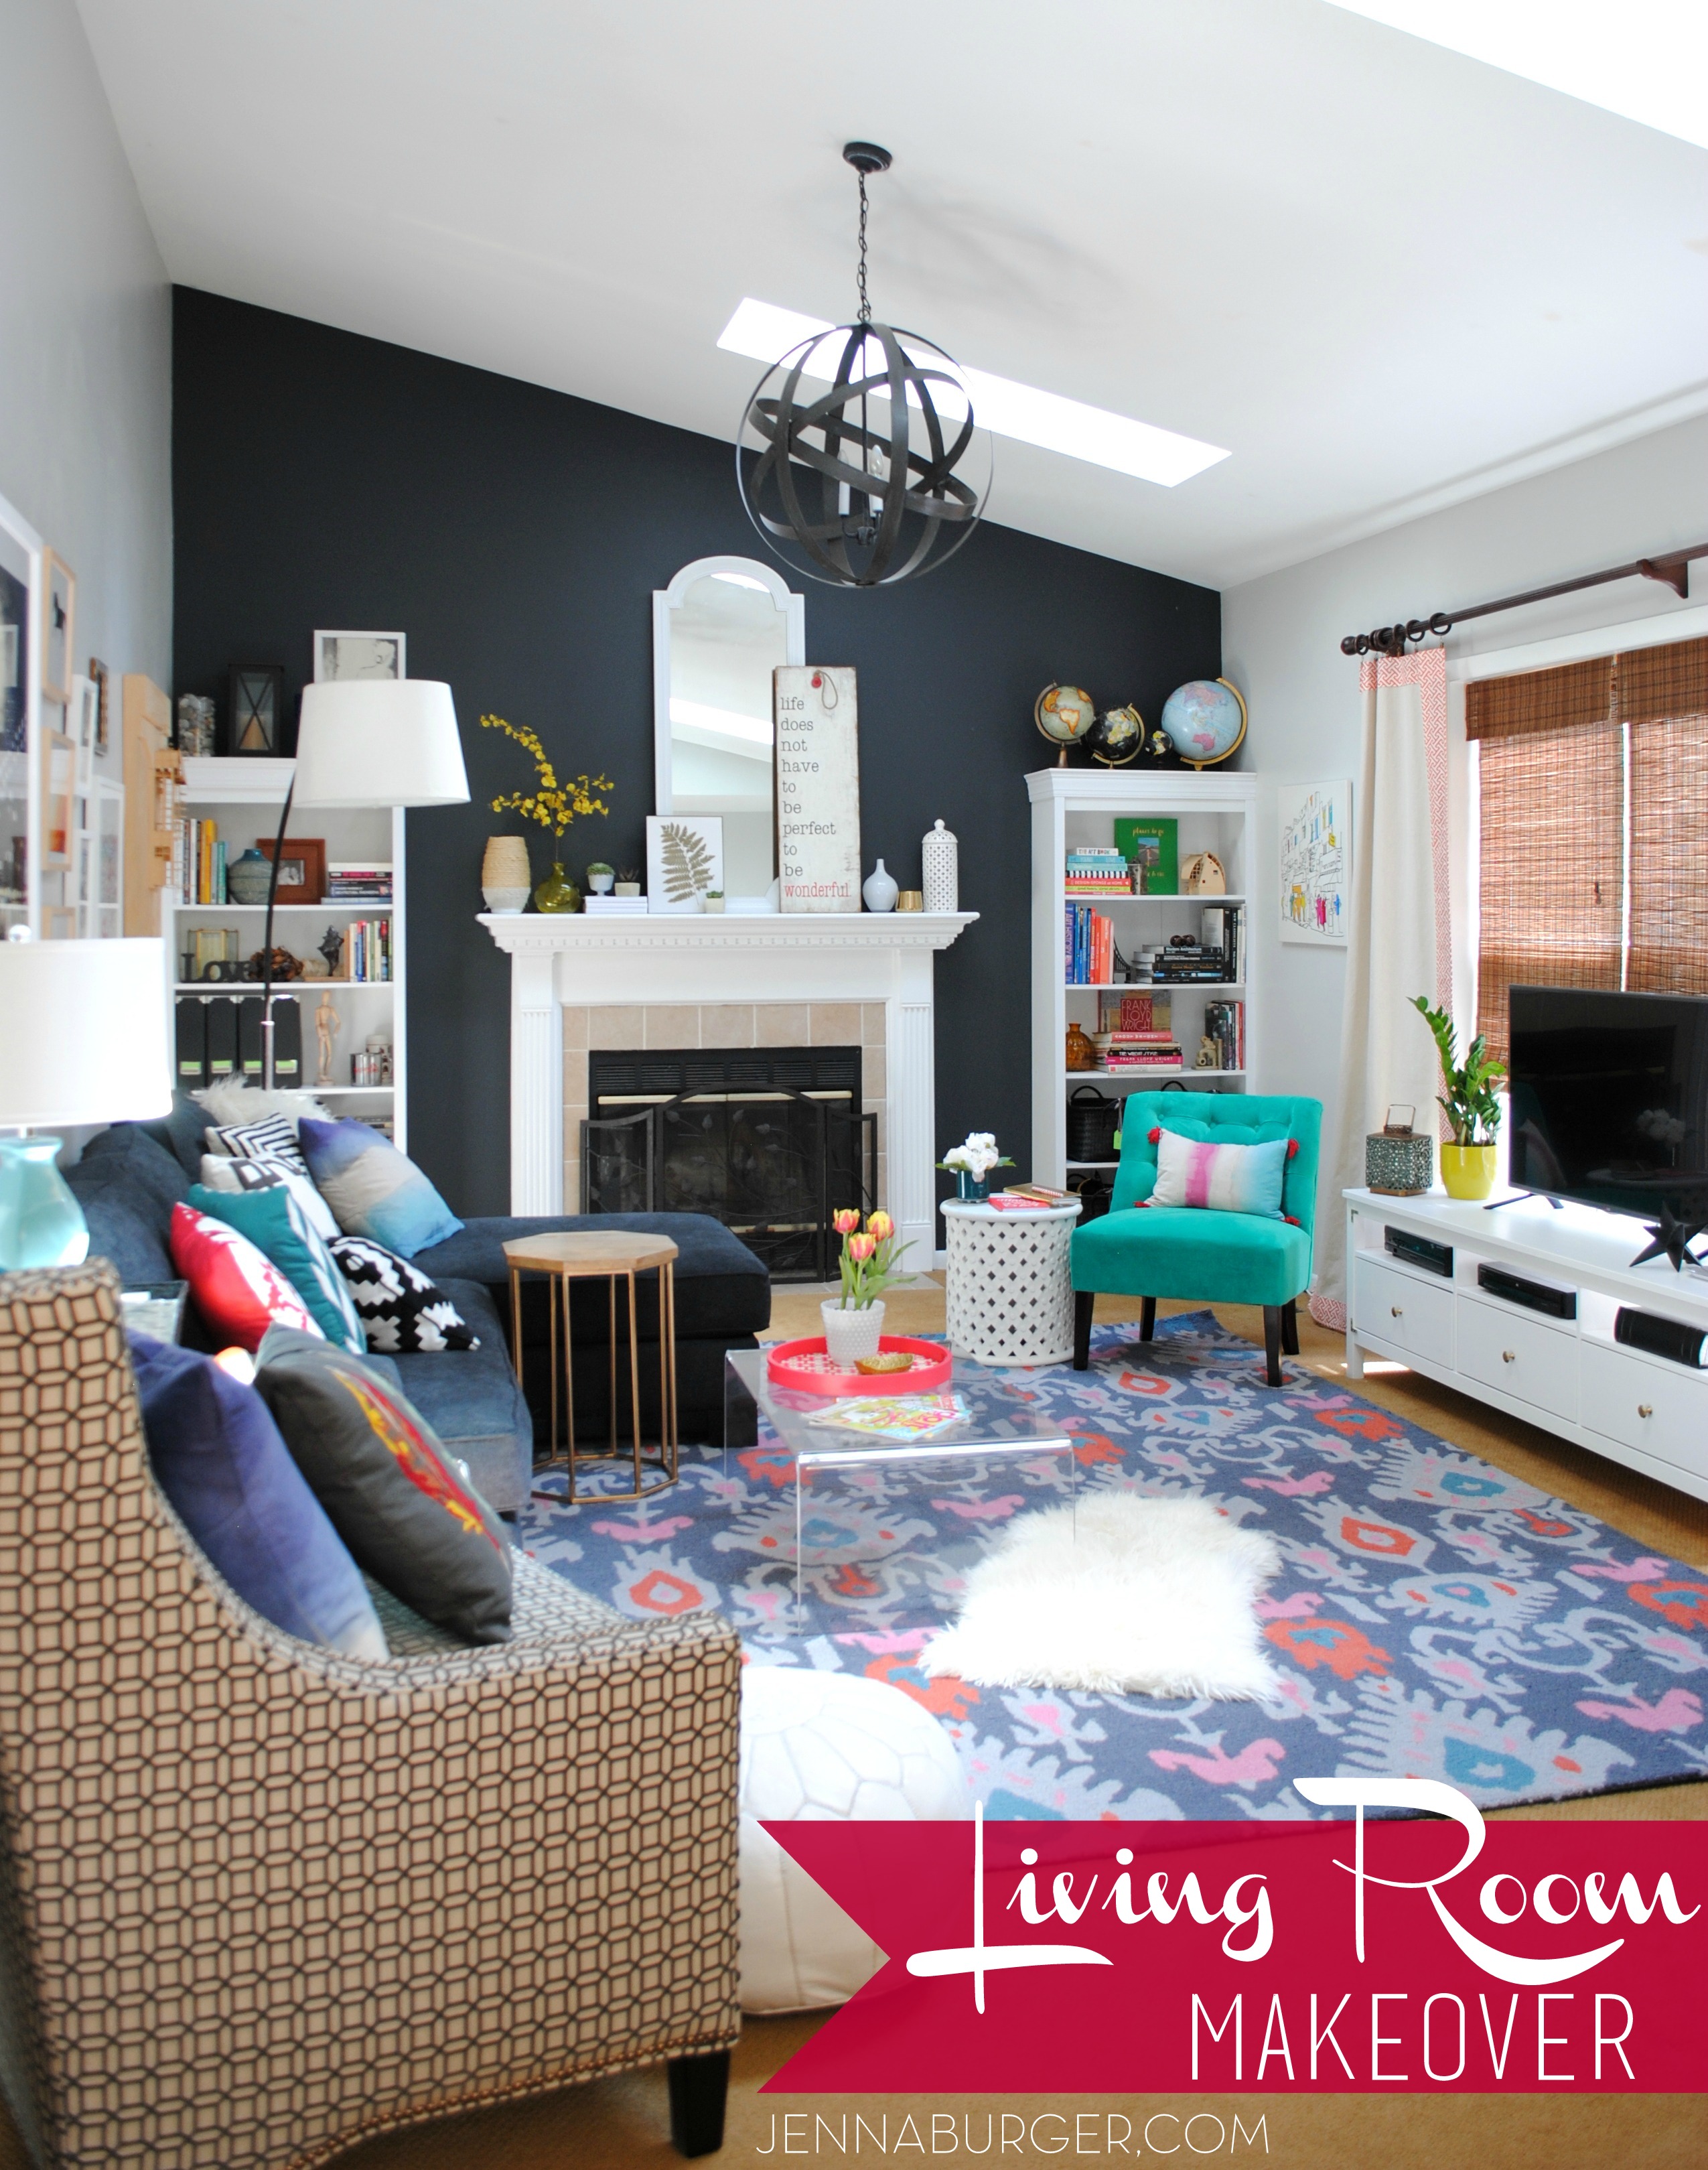
After some project fails & loss of momentum along the way, here is the result of our new living room…
![Living Room Makeover with bold black + pops of color [emerald, raspberry, coral, and light blue] Design by Jenna Burger Design, www.jennaburger.com](https://www.jennaburger.com/wp-content/uploads/2015/04/14A-651x850.jpg)
That is the main view of the room from the kitchen & dining space.
To the right is a desk nook where the kids do their homework & keep their art supplies. I made some styling edits when I photographed the space, but typically there is rolling cart next to the desk that holds their coloring books, notebooks, and art supplies.
Last Fall a local photographer took family photos of us, which we get to treasure in window panes (that I found on the side of the road) turned photo frames.
![Living Room Makeover with bold black + pops of color [emerald, raspberry, coral, and light blue] Design by Jenna Burger Design, www.jennaburger.com](https://www.jennaburger.com/wp-content/uploads/2015/04/210-622x850.jpg)
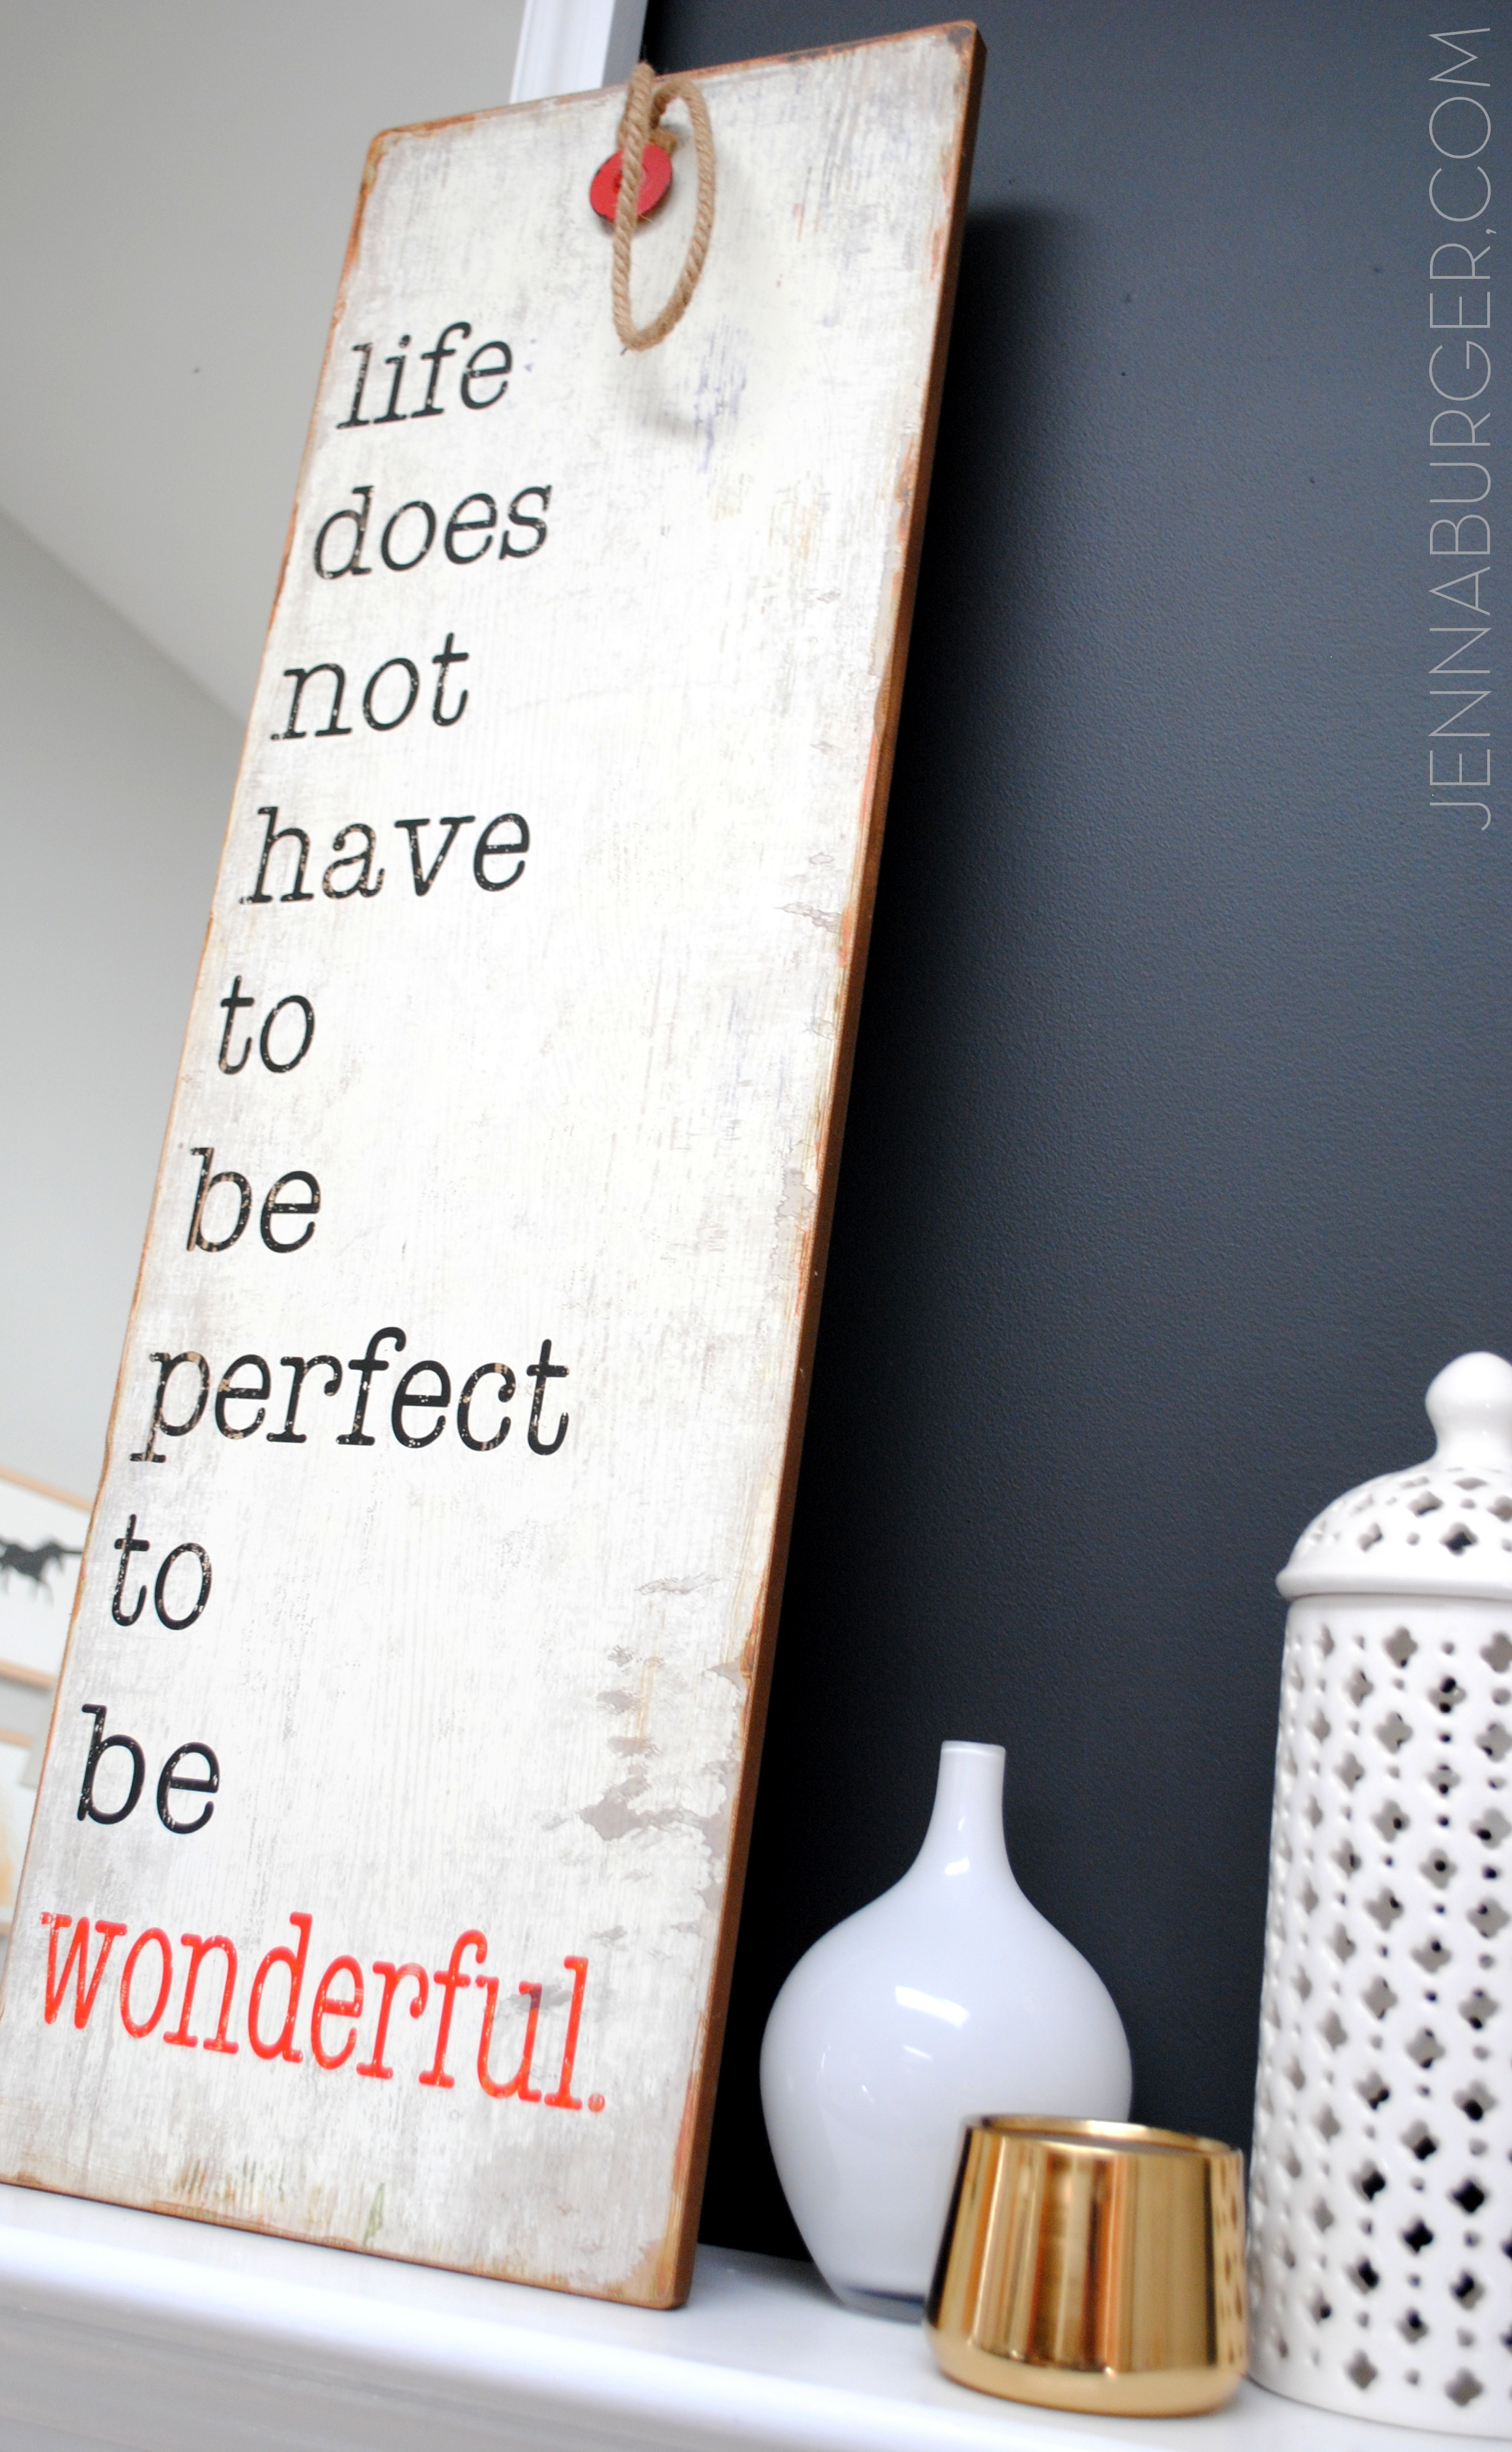
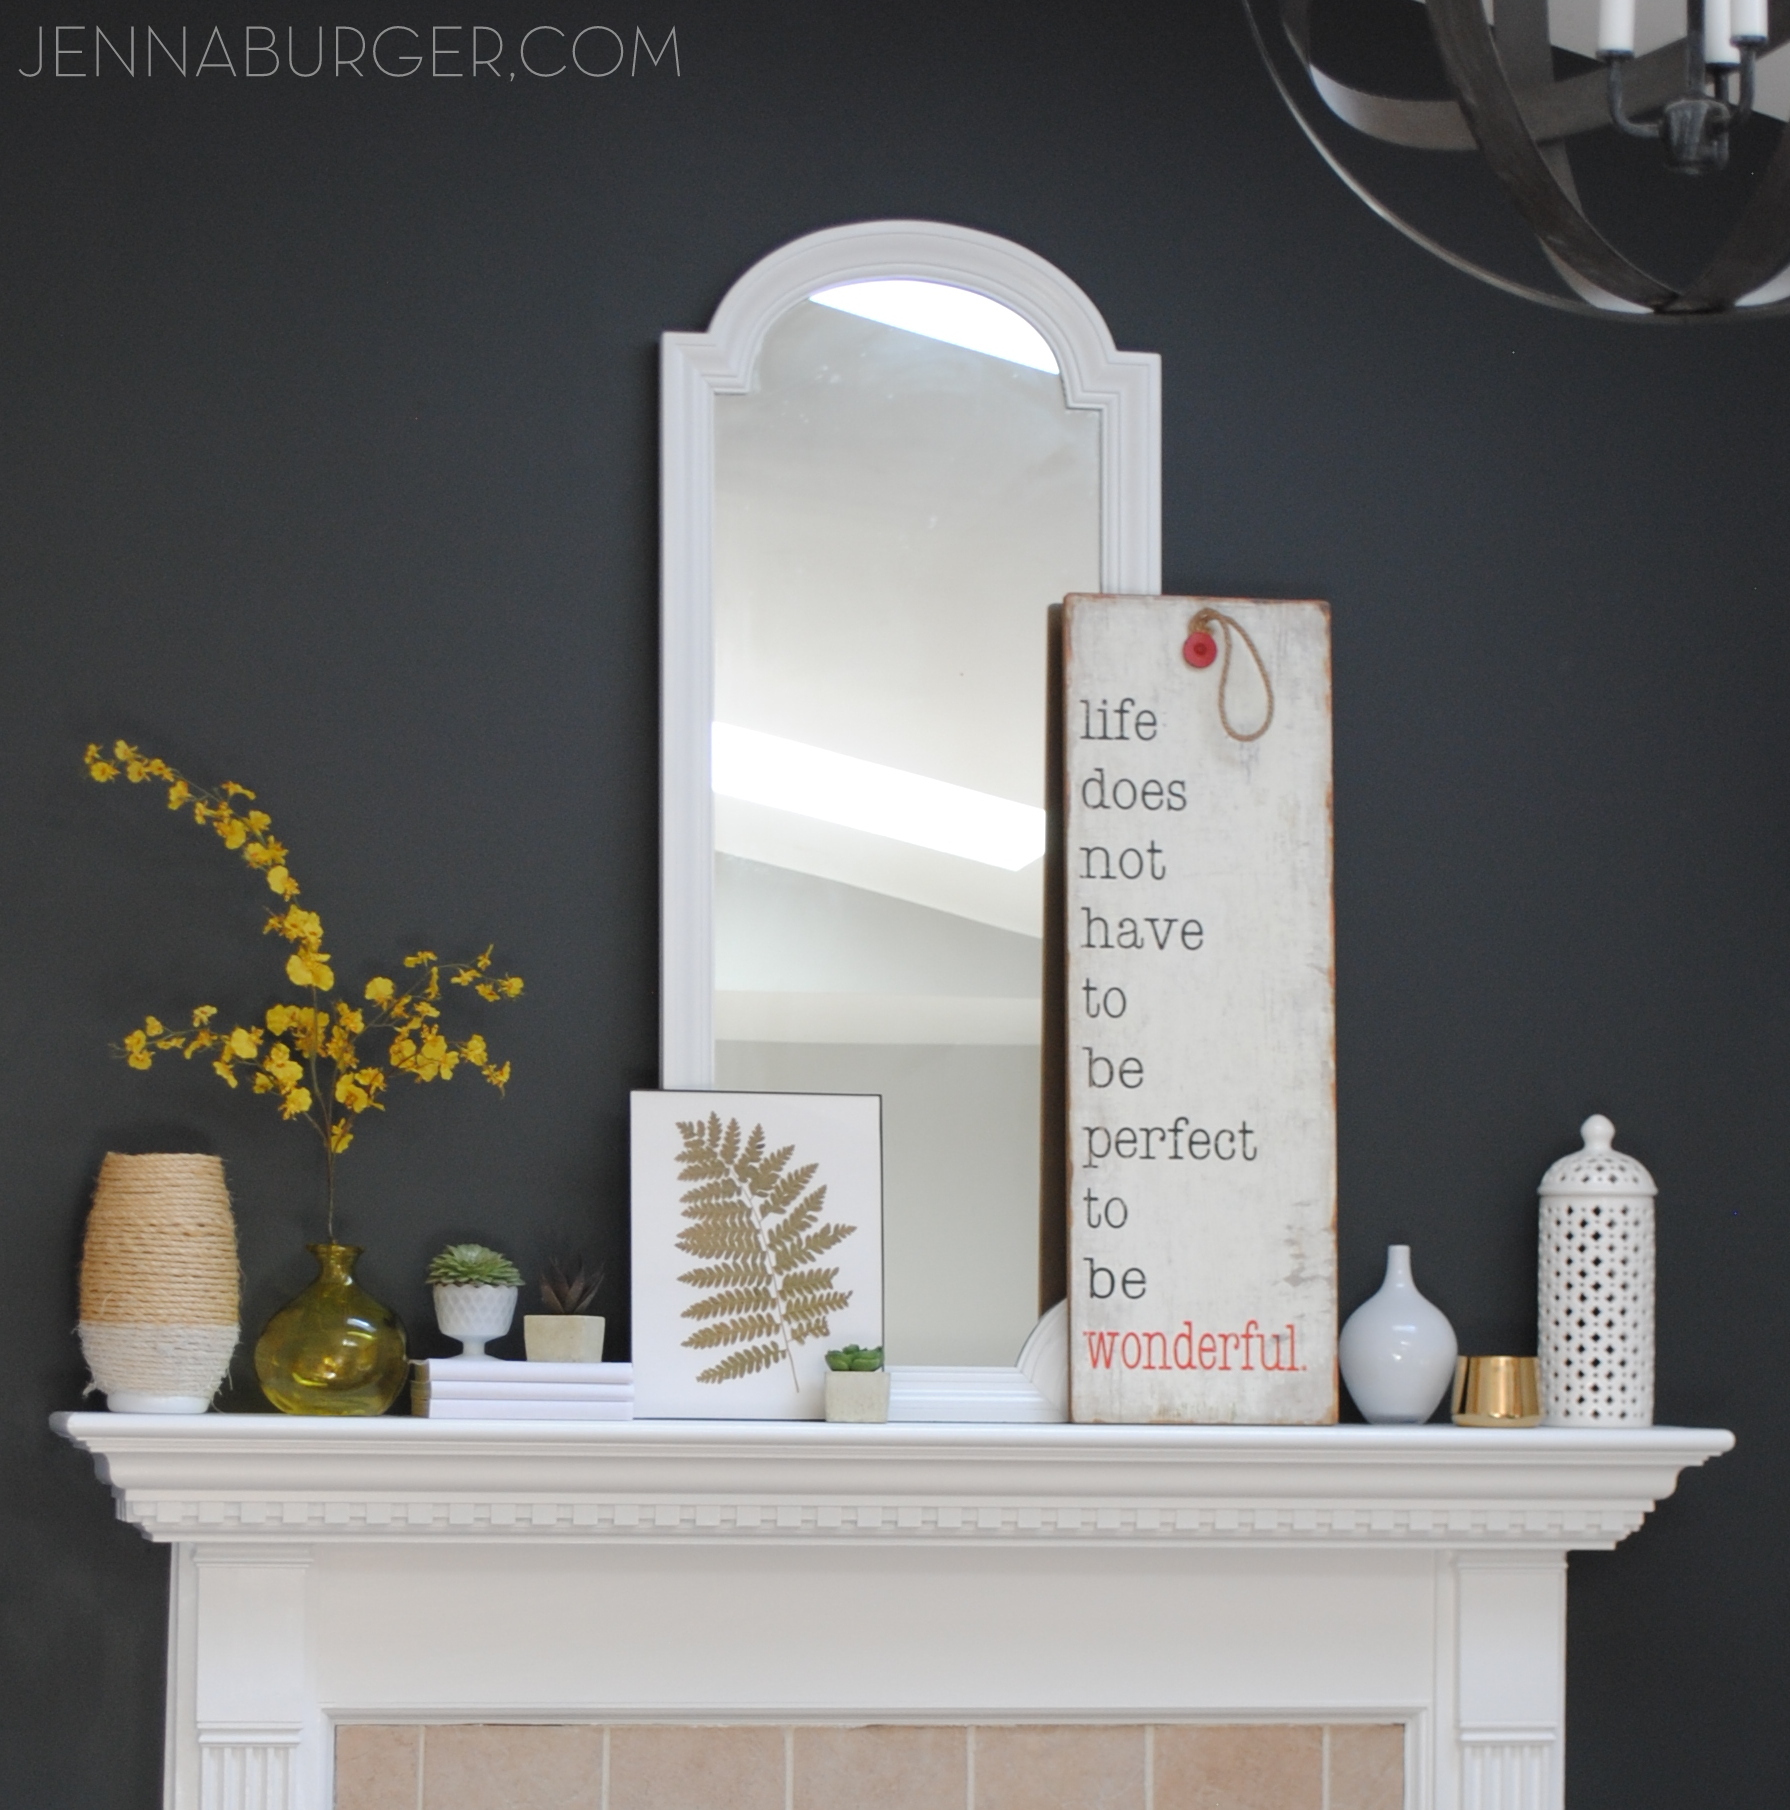
Above the desk is a recent handmade sign creation that I shared about the other day. No stencil or silhouette was used to create it, but instead I used chalk to “transfer” the letters. It was a fairly easy process and the “chalk transfer” technique can ultimately be used for any design onto any hard surface.
![Living Room Makeover with bold black + pops of color [emerald, raspberry, coral, and light blue] Design by Jenna Burger Design, www.jennaburger.com](https://www.jennaburger.com/wp-content/uploads/2015/04/13B-566x850.jpg)
Continuing around the room, I decided to put the TV stand + new flat screen TV (the element that sparked the redesign) in front of the window.
When I shared my original plan for this makeover, I got some comments about the TV location – “you’re putting the TV in front of the window?” – but honestly it really works in this room. The windows are really large + there are skylights above that bring in lots of light. The location of this space is also in the back of our home, so no one from the outside is looking in. I questioned the placement at first too, but we are really enjoy seeing the outdoors (ie: many snowfalls) at the same time we watch TV.
![Living Room Makeover with bold black + pops of color [emerald, raspberry, coral, and light blue] Design by Jenna Burger Design, www.jennaburger.com](https://www.jennaburger.com/wp-content/uploads/2015/04/32-657x850.jpg)
The TV cabinet is from Ikea and to make it unique, I added similar knobs to the china cabinet (that I transformed last year) + ‘L’ brackets to make it like a campaign-style cabinet.
The window panels are the same as those previously in the room, but they too got spiced up with new fabric on the leading edge [the material is drop cloth and here is original the tutorial]. Layered behind the window panels are bamboo roman shades – same as they were before. When I painted the mouldings wood to white a few years back, this window with the layered window treatments took on an entirely new life!
![Living Room Makeover with bold black + pops of color [emerald, raspberry, coral, and light blue] Design by Jenna Burger Design, www.jennaburger.com](https://www.jennaburger.com/wp-content/uploads/2015/04/41-583x850.jpg)
Isn’t that new chair fabulous?! It’s new and it’s daring and I love it. I’m going to share all the sources for the new room in another post, but I have to spill the beans. This fabulous emerald chair (yes, it’s a true emerald green color) is from World Market and it’s really a great bang-for-the-buck. At first, I had another chair in it’s place and it wasn’t dynamic enough. I nervously ordered this chair unsure if it would be too bold for the room. It arrived and there was no other green like it in the room. I thought about it and lived with it for a few days and fell in love. Now I feel it truly makes the room!
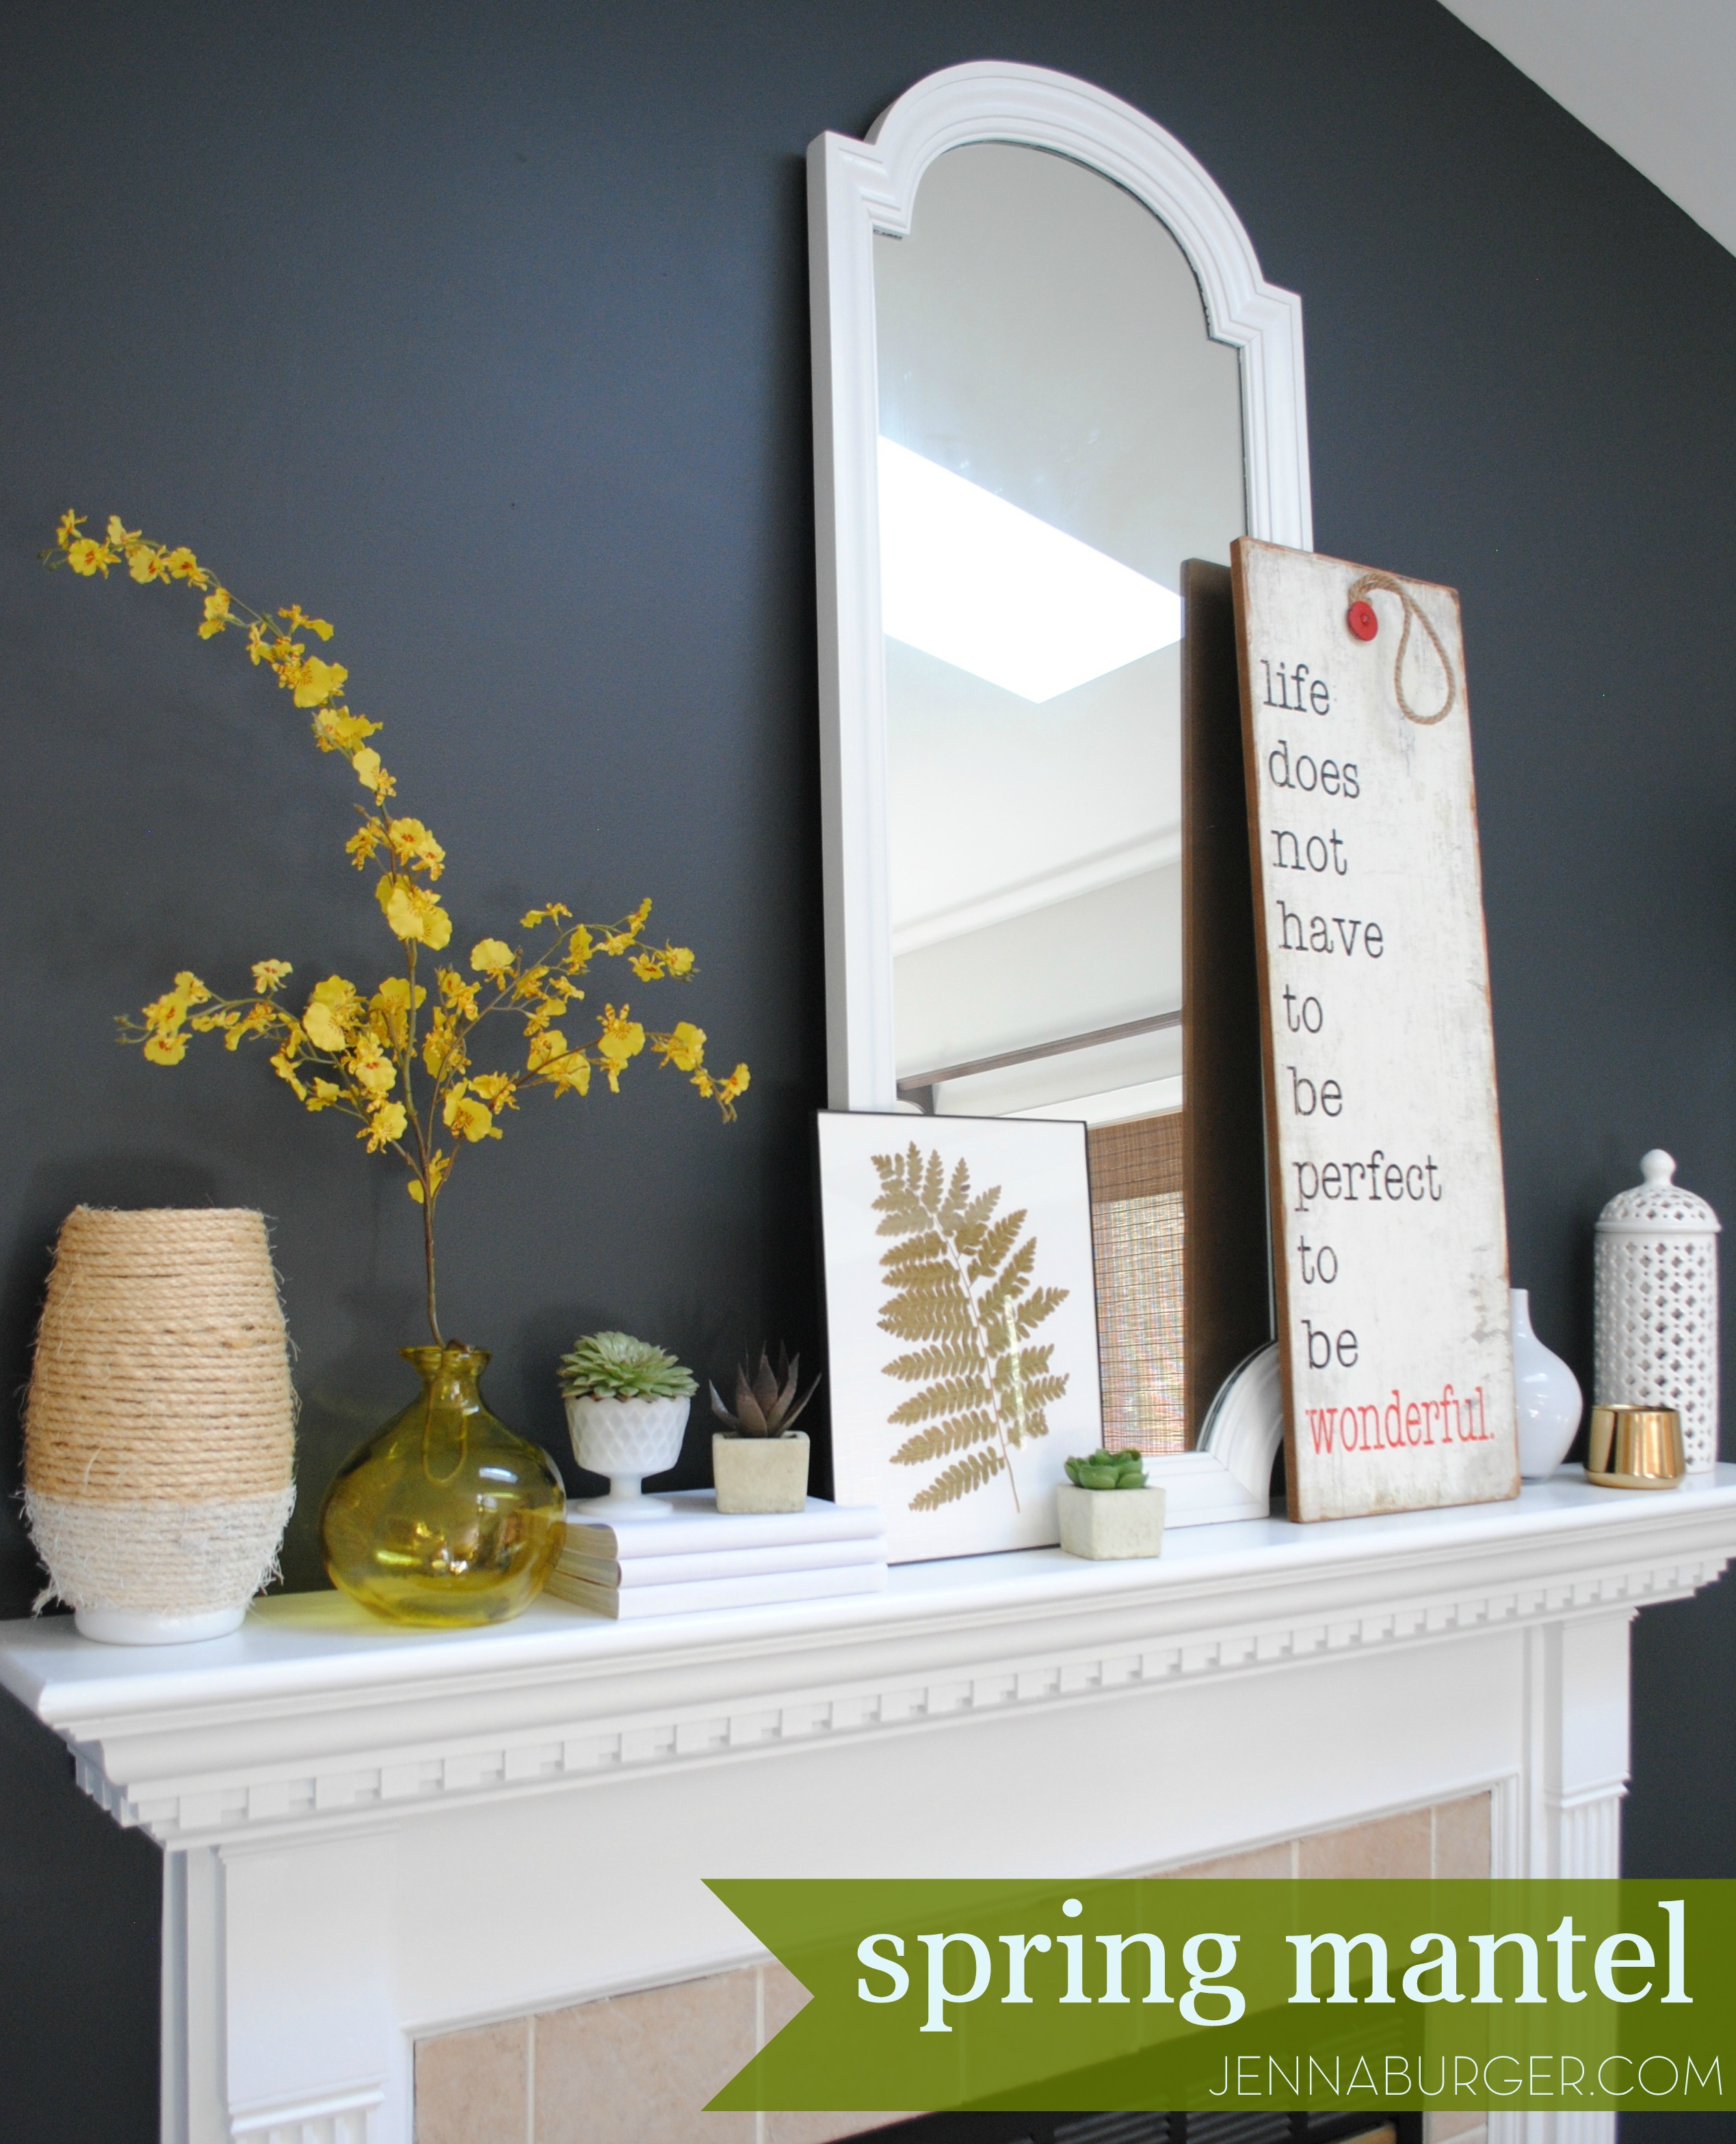
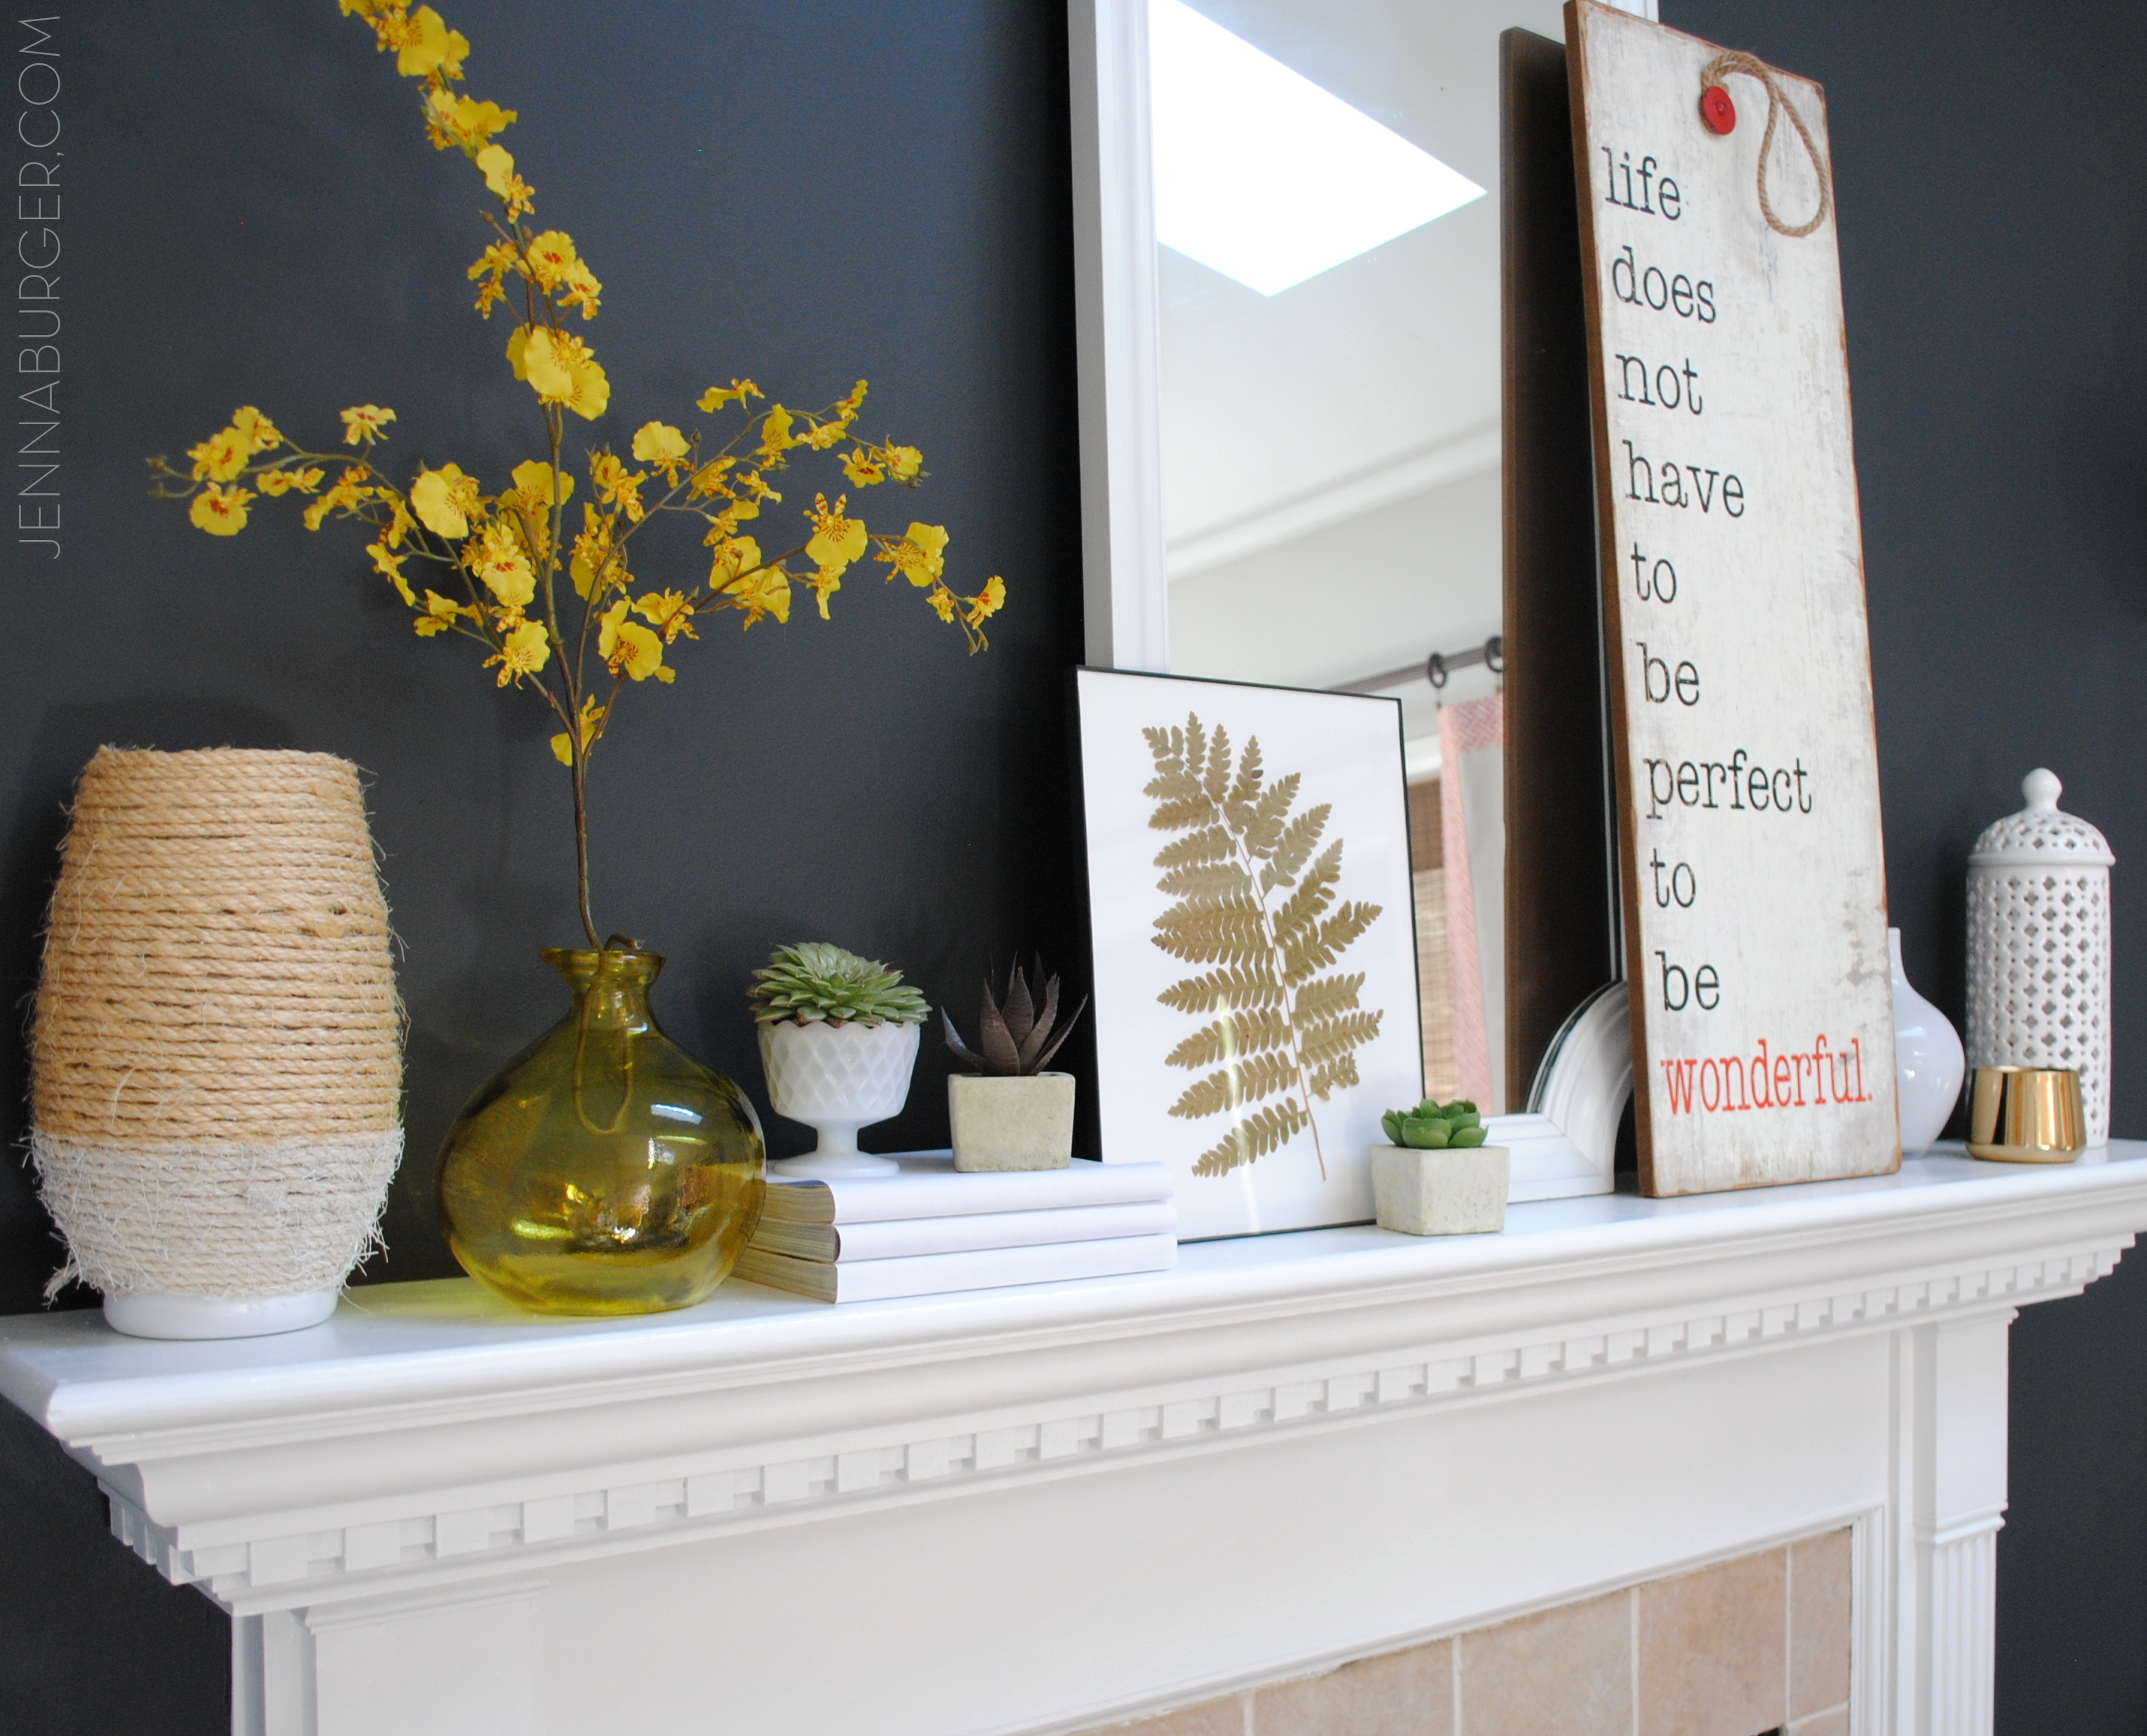
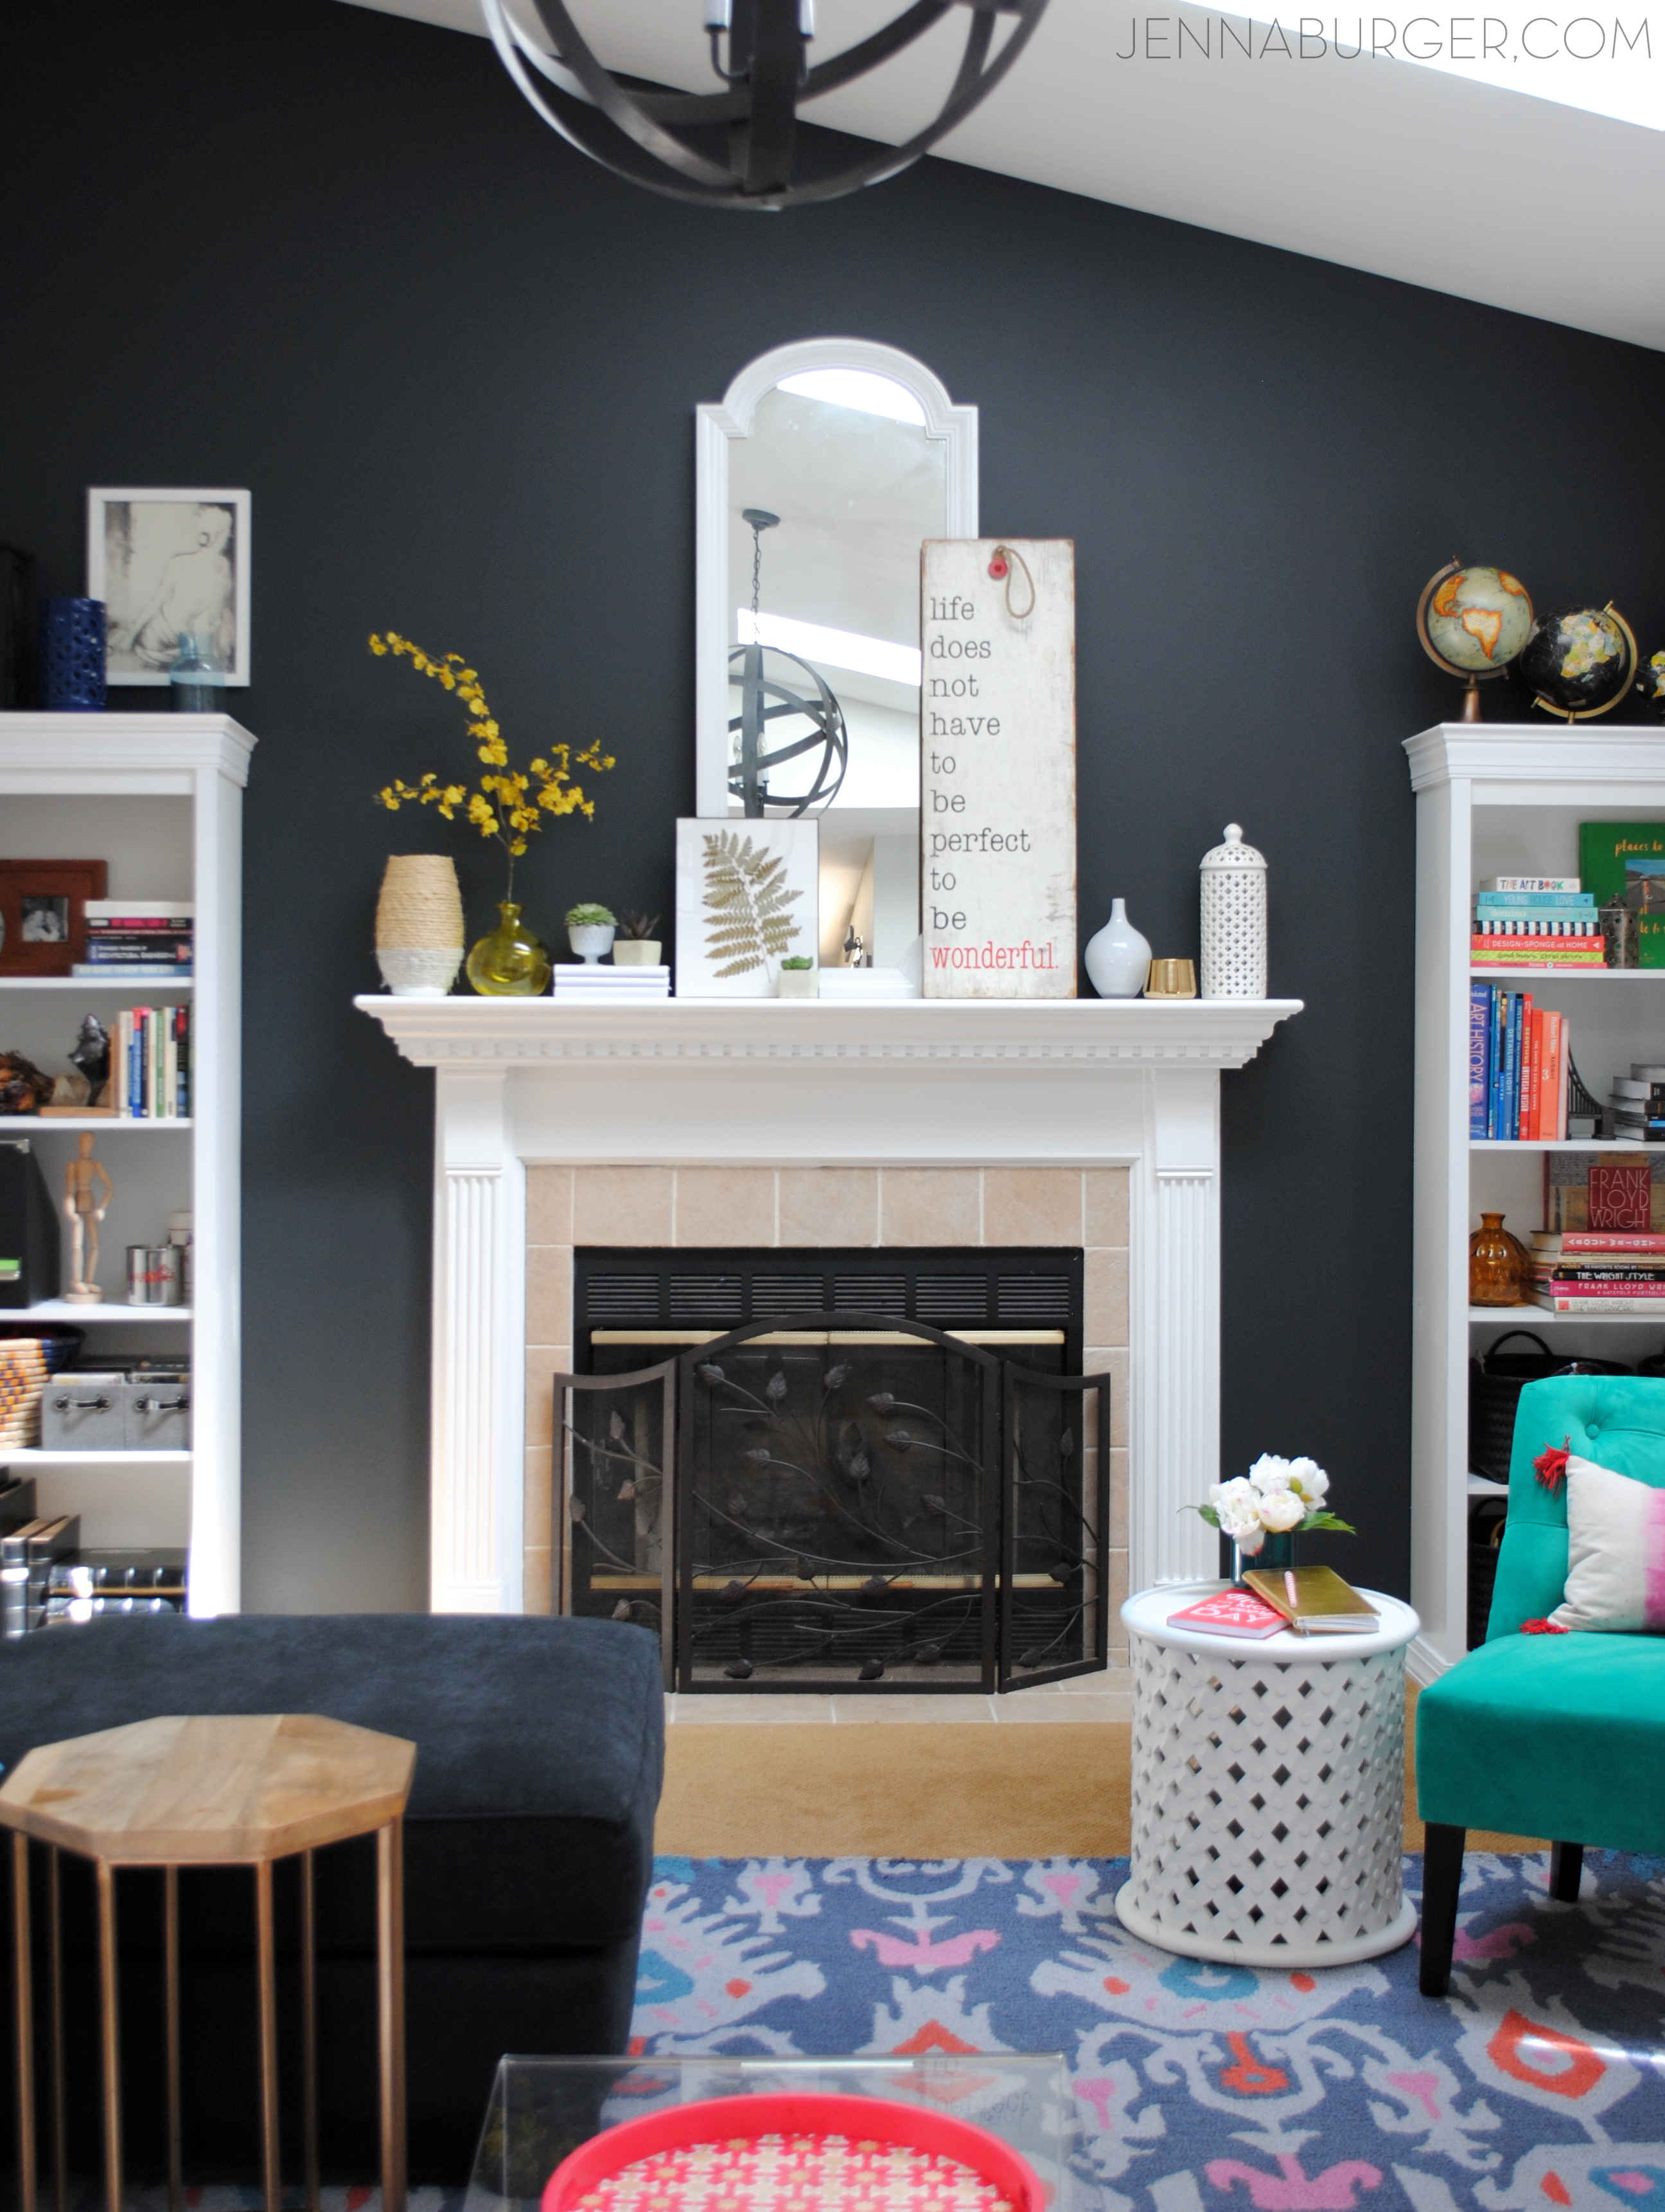
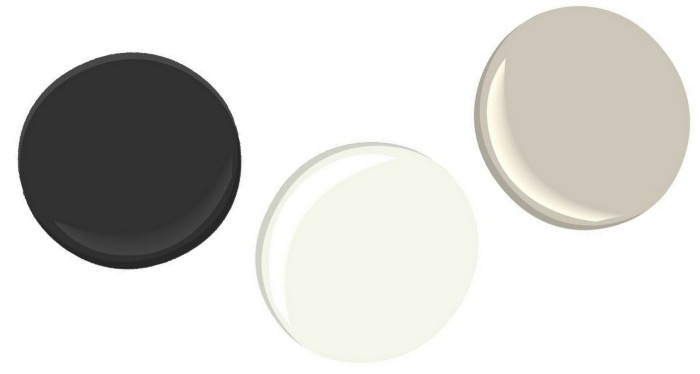
The new black focal wall is a show stopper. Many people thought I was crazy when I said I was going to paint this huge wall black, but it really works. The black is a soft, charcoal hue, so it’s not harsh. The walls flanking the fireplace were always tricky to style and since we never have enough bookcases, we built these beauties – more on that in another post.
![Living Room Makeover with bold black + pops of color [emerald, raspberry, coral, and light blue] Design by Jenna Burger Design, www.jennaburger.com](https://www.jennaburger.com/wp-content/uploads/2015/04/51-564x850.jpg)
The shelves of these new bookcases hold lots of our books, magazines, and accessories + some of the kids toys. This is a living room for our family of 5. This is the #1 space we hang out in, so when designing the new layout, it HAD to be kid-friendly. The older 2 kids have a lot of their toys in their rooms or in the basement, but some of their smaller things are now in baskets on the shelves and are easily accessible.
I have a few more stylish baskets in the living room that also hold the baby toys. I love baskets and when they’re pretty, it doesn’t matter what’s inside. [Here are more savvy storage solutions using baskets]
![Living Room Makeover with bold black + pops of color [emerald, raspberry, coral, and light blue] Design by Jenna Burger Design, www.jennaburger.com](https://www.jennaburger.com/wp-content/uploads/2015/04/13-700x751.jpg)
As you continue around the room, there is a second bookcase to match the other, which holds more books, family photo albums, CDs (yes, we still listen to CDs even though it seems archaic to some), and a large basket that houses a few comfy blankets.
As you make your way around the space, the sofa now sits opposite of the window and a blank canvas above was turned into a beautiful art wall with a bit of old and touches of new.
![Living Room Makeover with bold black + pops of color [emerald, raspberry, coral, and light blue] Design by Jenna Burger Design, www.jennaburger.com](https://www.jennaburger.com/wp-content/uploads/2015/04/17-591x850.jpg)
The new deep charcoal sofa is heavenly. It’s beautiful against the light blue wall + picks up the tones of the black focal wall. It was hard to see our other sofa go (but I still see it often because a good friend of mine is now enjoying it), but this new one really fits the room so much better. We chose a sofa with a chaise on the end, which gives extra seating + a spot to put your feet up and lounge.
The rug really is the statement element in the room and that was the one piece that started the design. I was drawn to it because it has so many colors from other rooms in our home. This space now truly feels cohesive with the rest of the house! The coffee table is another piece that I love. It’s there, but at the same time, totally disappears, allowing the rug to “speak” it’s beauty.
![Living Room Makeover with bold black + pops of color [emerald, raspberry, coral, and light blue] Design by Jenna Burger Design, www.jennaburger.com](https://www.jennaburger.com/wp-content/uploads/2015/04/111-700x481.jpg)
![Living Room Makeover with bold black + pops of color [emerald, raspberry, coral, and light blue] Design by Jenna Burger Design, www.jennaburger.com](https://www.jennaburger.com/wp-content/uploads/2015/04/12-602x850.jpg)
![Living Room Makeover with bold black + pops of color [emerald, raspberry, coral, and light blue] Design by Jenna Burger Design, www.jennaburger.com](https://www.jennaburger.com/wp-content/uploads/2015/04/19-630x850.jpg)
Creating the art gallery wall was fun, but challenging. This wall is almost 20′ of open canvas, so it definitely took some planning [read more about the planning + creating of the art wall] but the extra steps to get it right was worth the effort.
![Living Room Makeover with bold black + pops of color [emerald, raspberry, coral, and light blue] Design by Jenna Burger Design, www.jennaburger.com](https://www.jennaburger.com/wp-content/uploads/2015/04/16-634x850.jpg)
One of the issues with the old space was the lack of lighting. We have a decorative ceiling fixture in this space, but it’s somewhat harsh on the eyes. Personally, I like soft light from table lamps and floor lamps.
I didn’t want to go matchy-matchy on the sides of the sofa, so instead I chose to use a table lamp between the chair & sofa that sits on a side table and an arched floor lamp (which provides a lot of soft light) to the right of the sofa. Now when the lights are turned on in the evening, the 2 fixtures provide the perfect ambiance.
![Living Room Makeover with bold black + pops of color [emerald, raspberry, coral, and light blue] Design by Jenna Burger Design, www.jennaburger.com](https://www.jennaburger.com/wp-content/uploads/2015/04/24-607x850.jpg)
It was very important to continue colors from other areas of the house into this new space. Because our first floor is all open where each room flows from one to the next, bringing in elements to make it feel cohesive was the only way this room would work and feel like an extension of what’s been created elsewhere.
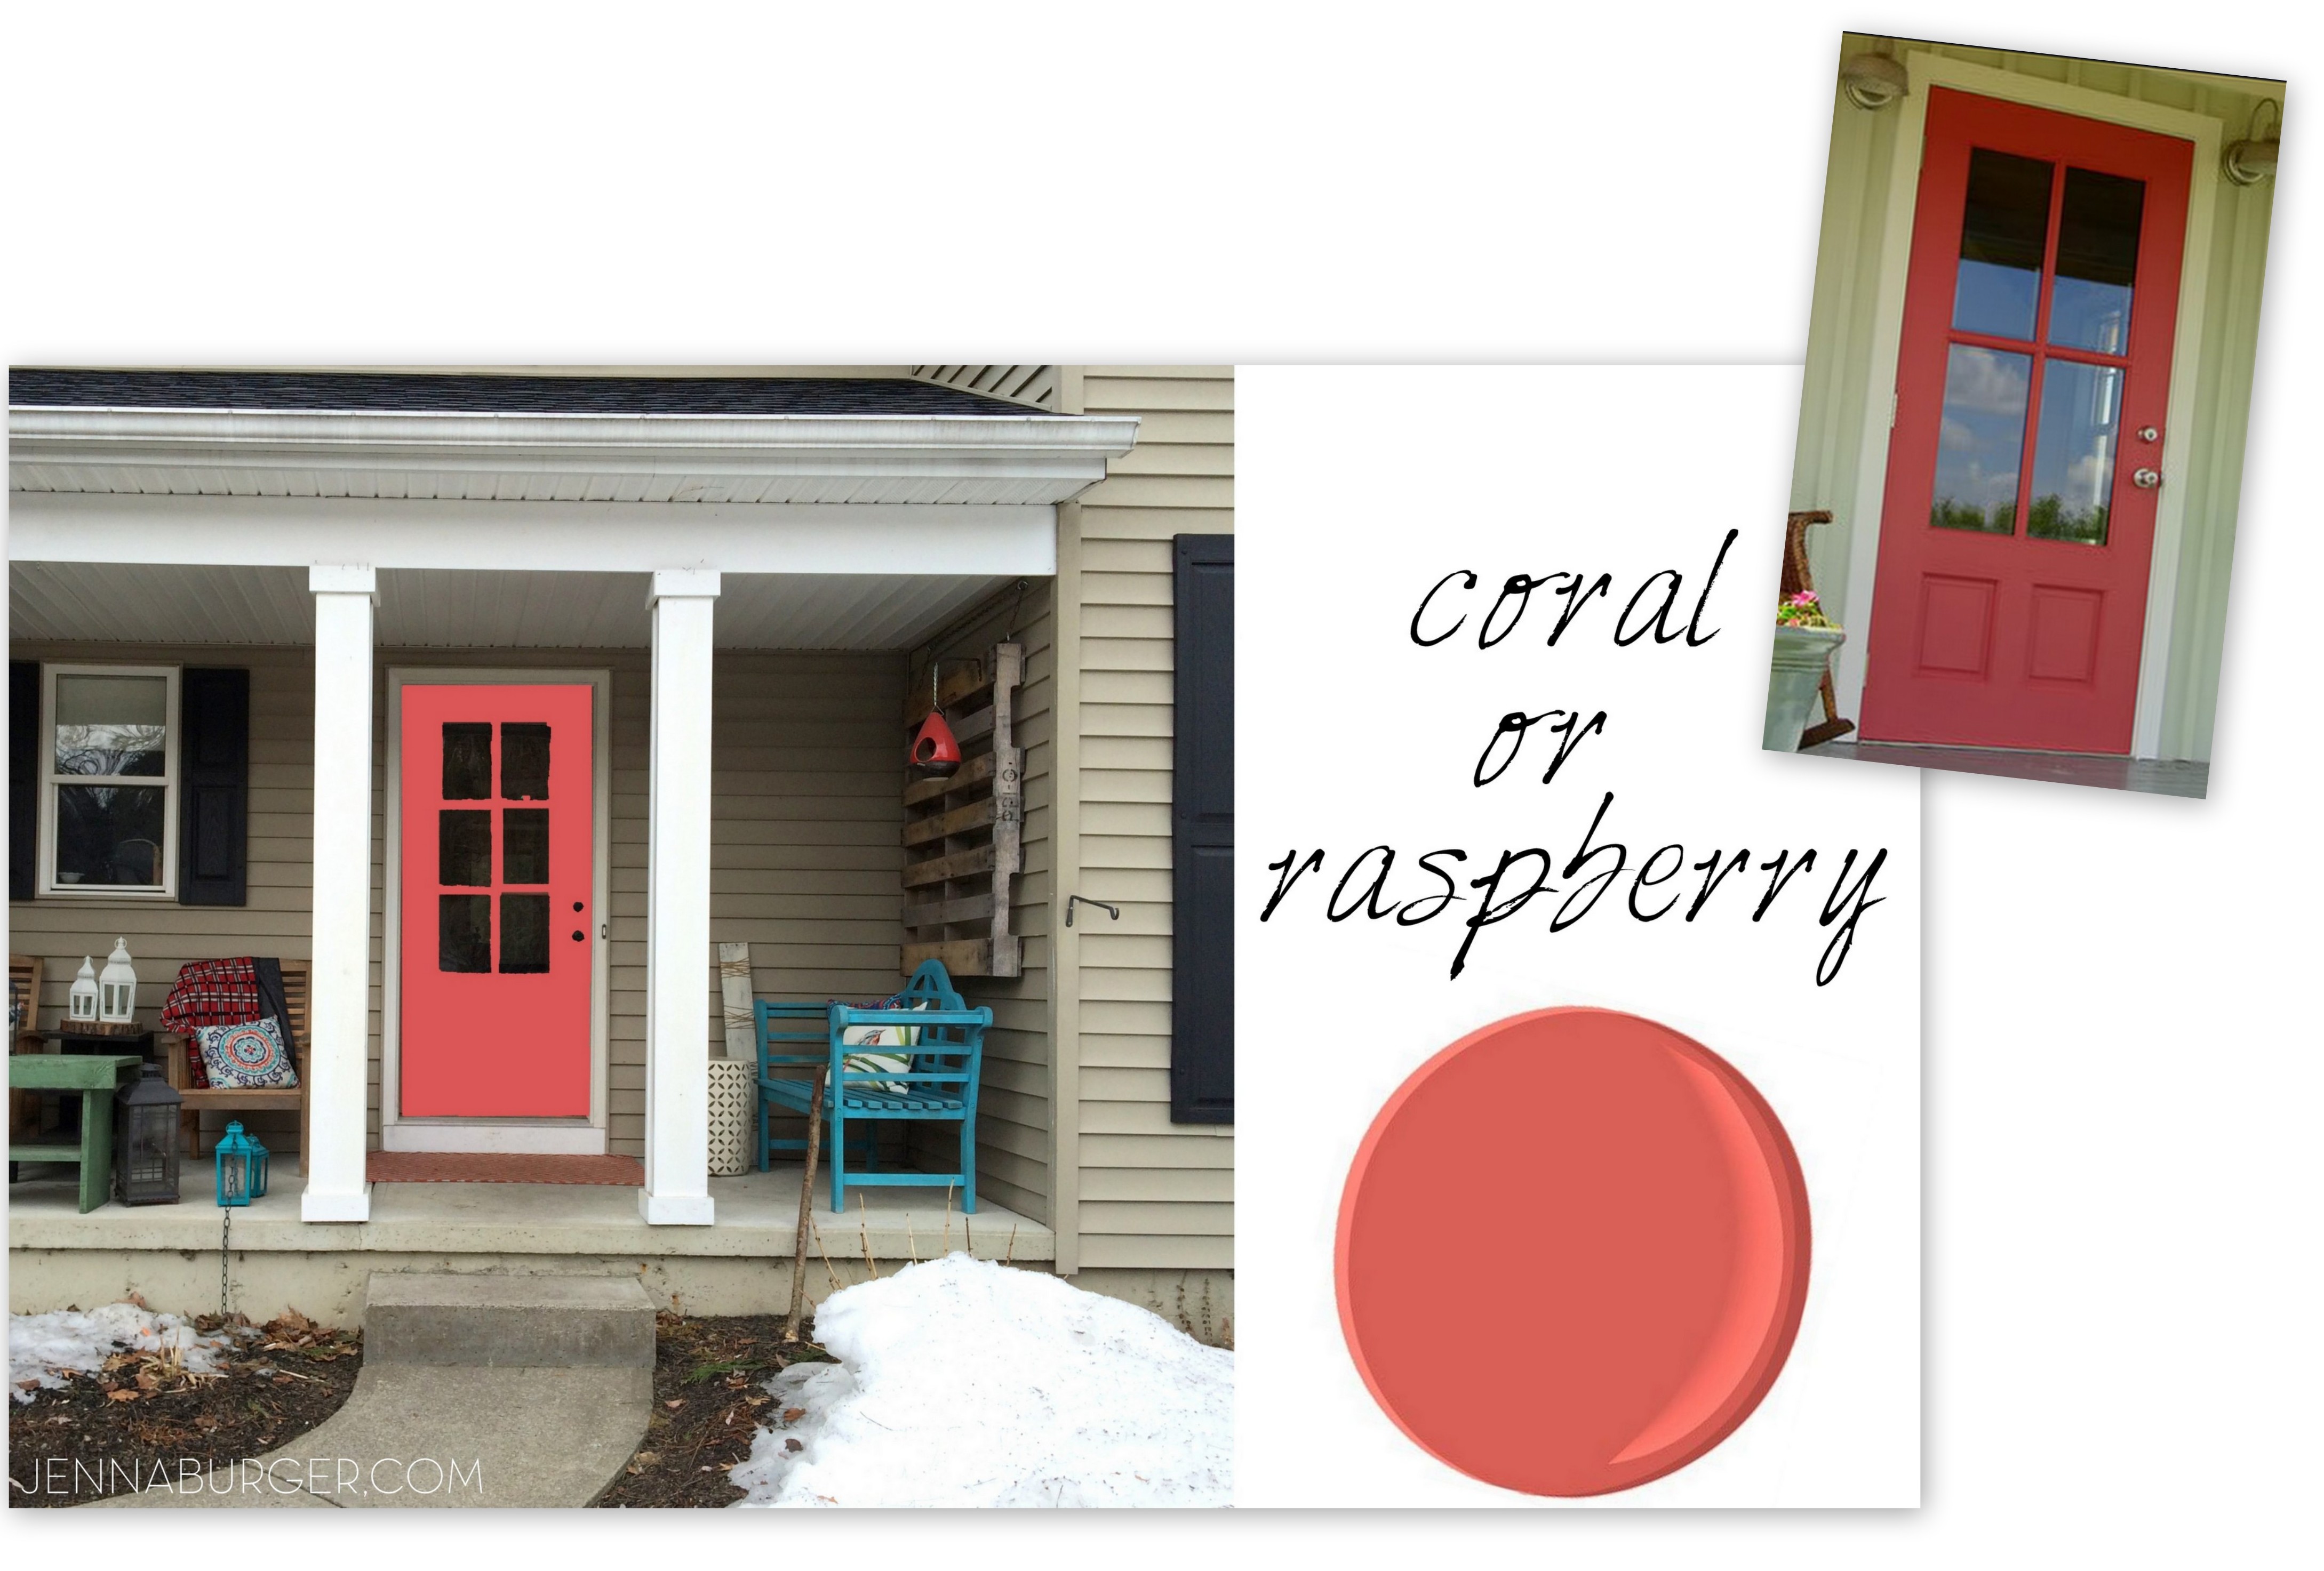
From this view, you can see how the china cabinet painted in a deep raspberry color is in the adjacent dining area. It now all flows and feels like one.
![Living Room Makeover with bold black + pops of color [emerald, raspberry, coral, and light blue] Design by Jenna Burger Design, www.jennaburger.com](https://www.jennaburger.com/wp-content/uploads/2015/04/31-641x850.jpg)
And just so you know we are a real family who absolutely use this space. Here’s my crazy clan of 3 in action…
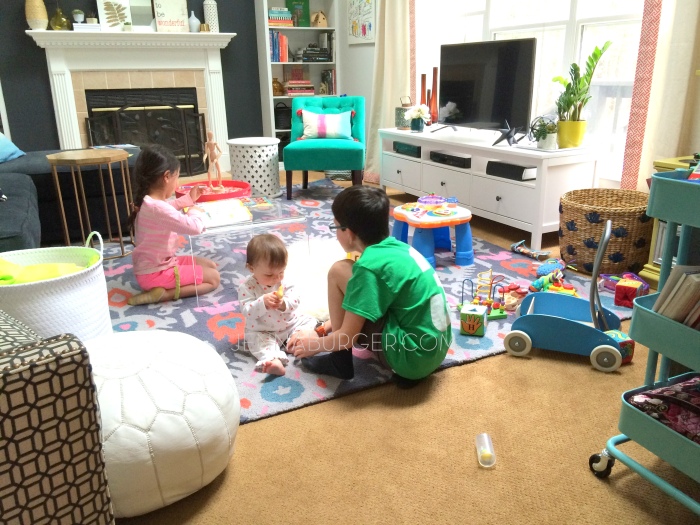
From sunrise to sunset (and beyond) we are 100% enjoying this new living room space. Even though there were a few ups and downs to creating this new haven in our home, we are overjoyed with how fresh it feels & how much it reflects our vibrant family!
I’m sure you are interested in knowing where I found all the awesome pieces for our new living room. Next post will be details on all the sources.


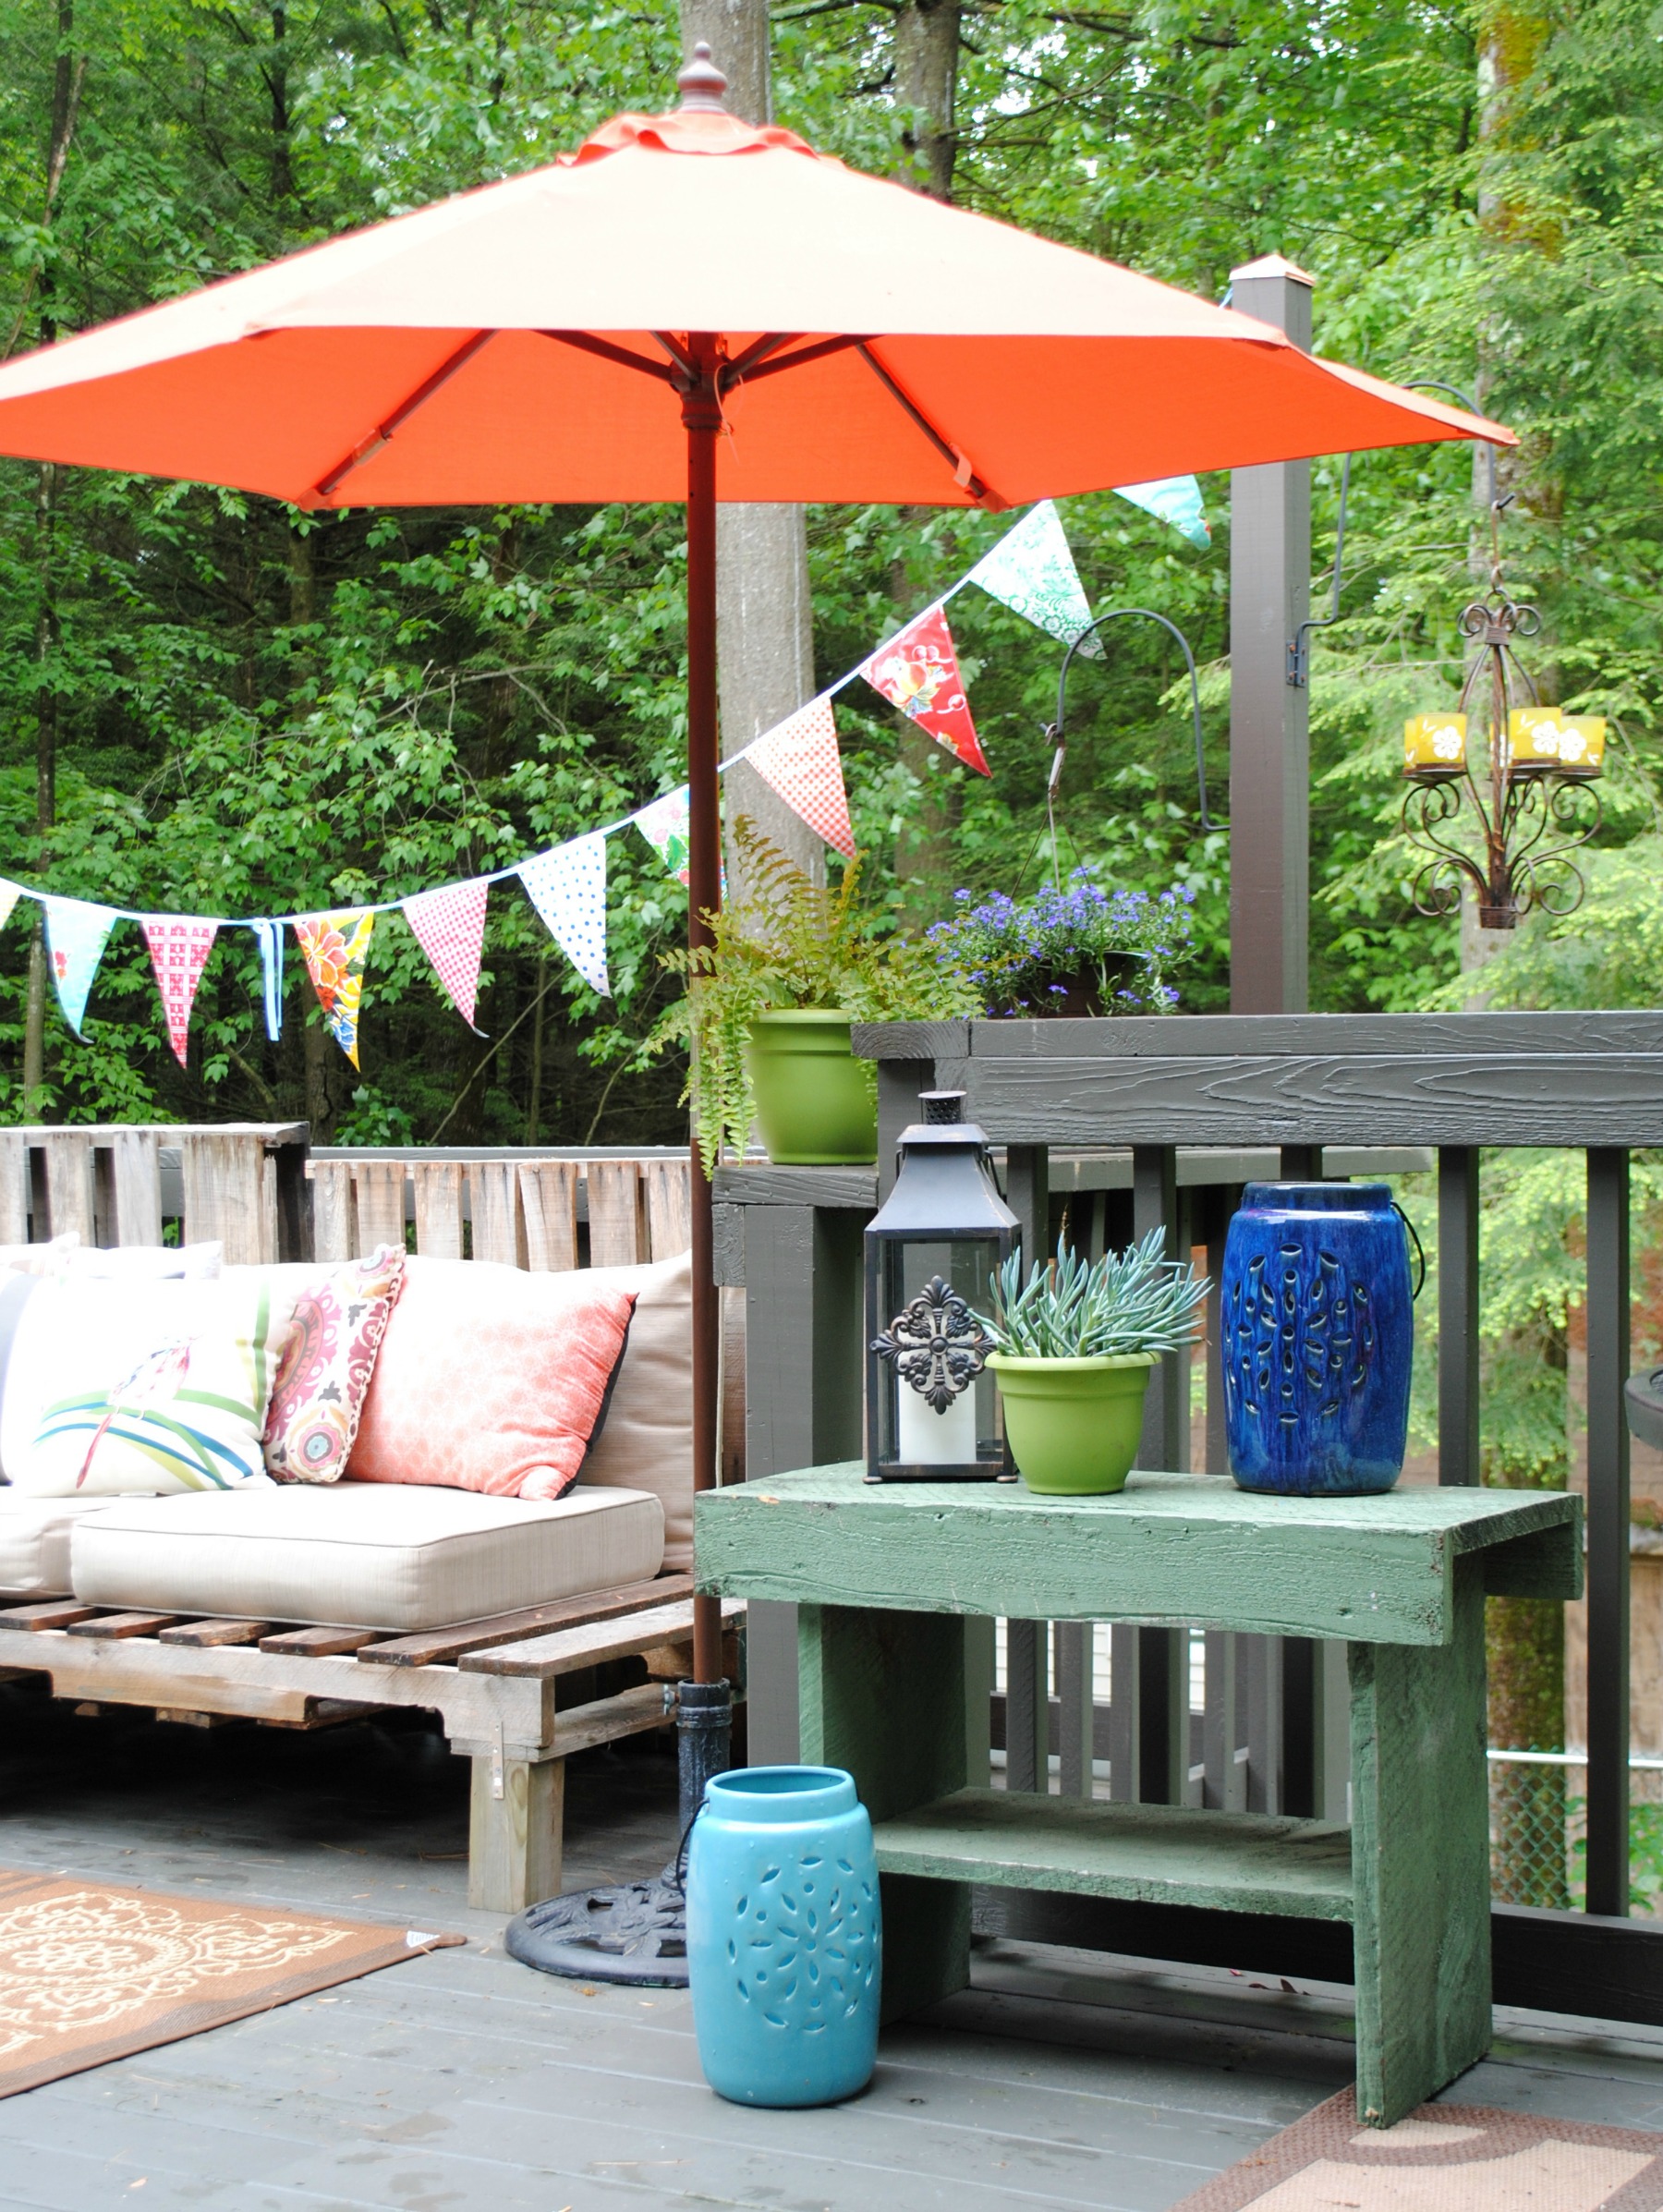
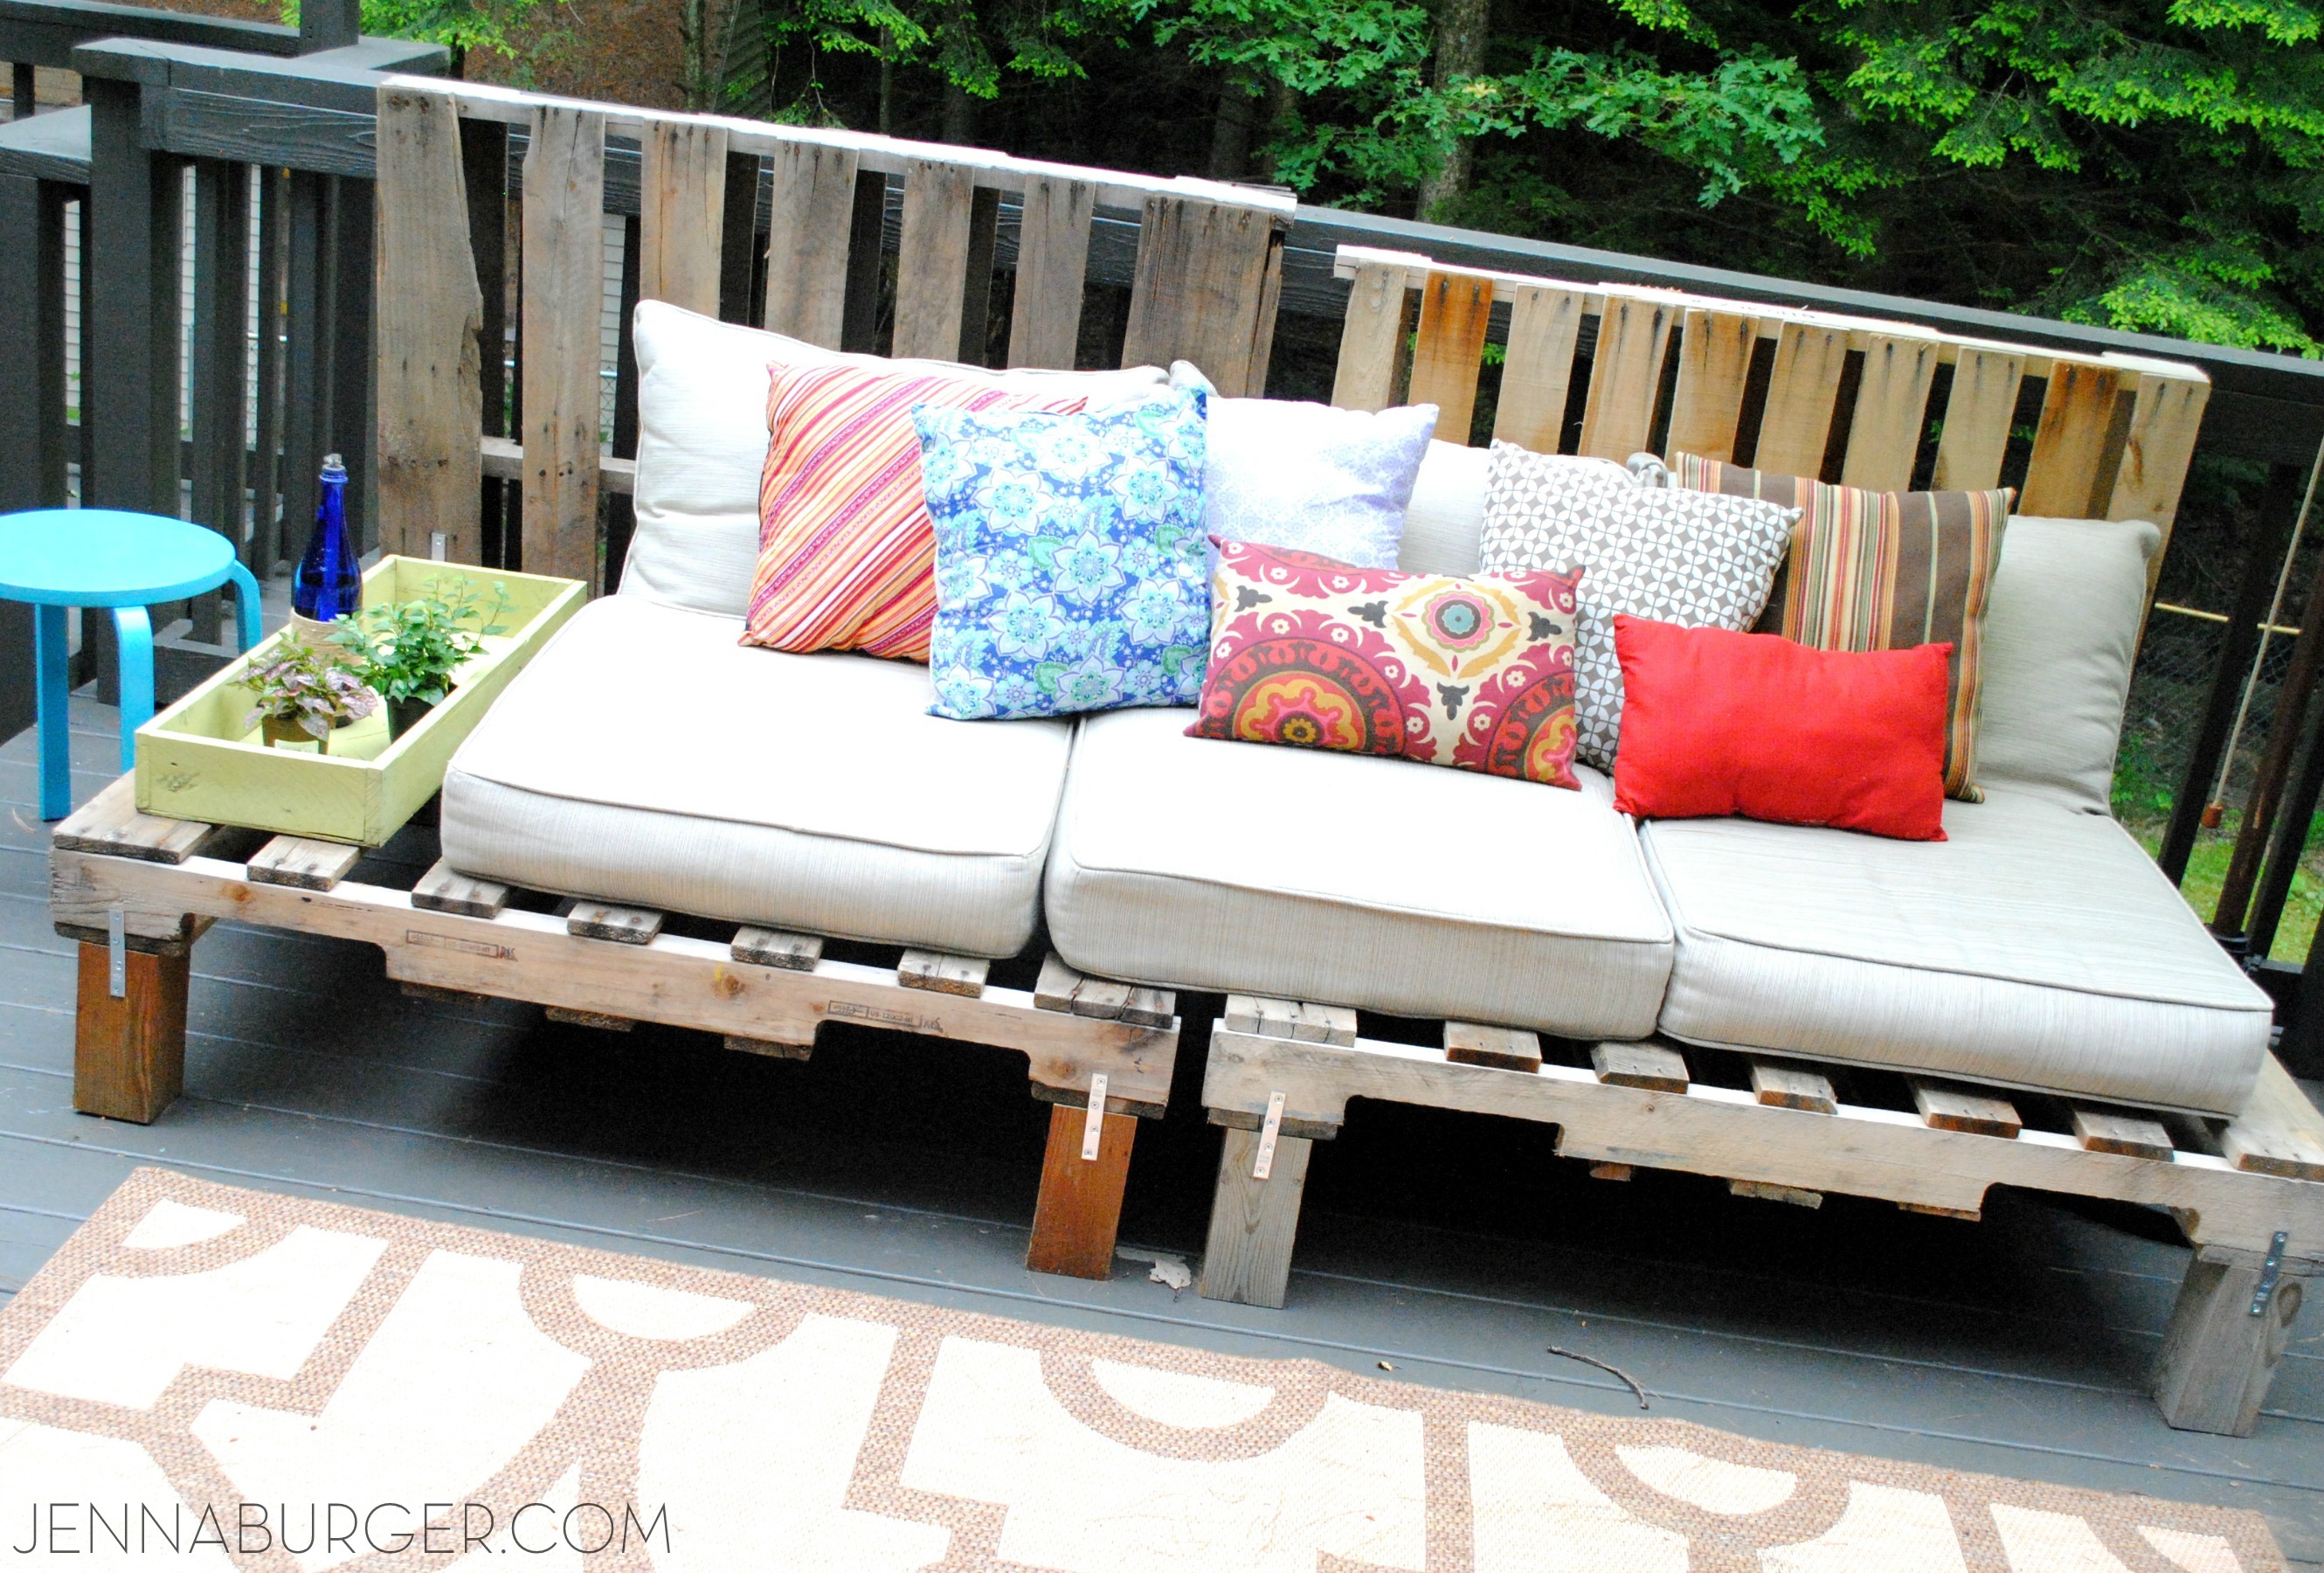 Tutorial for DIY Pallet Sofa
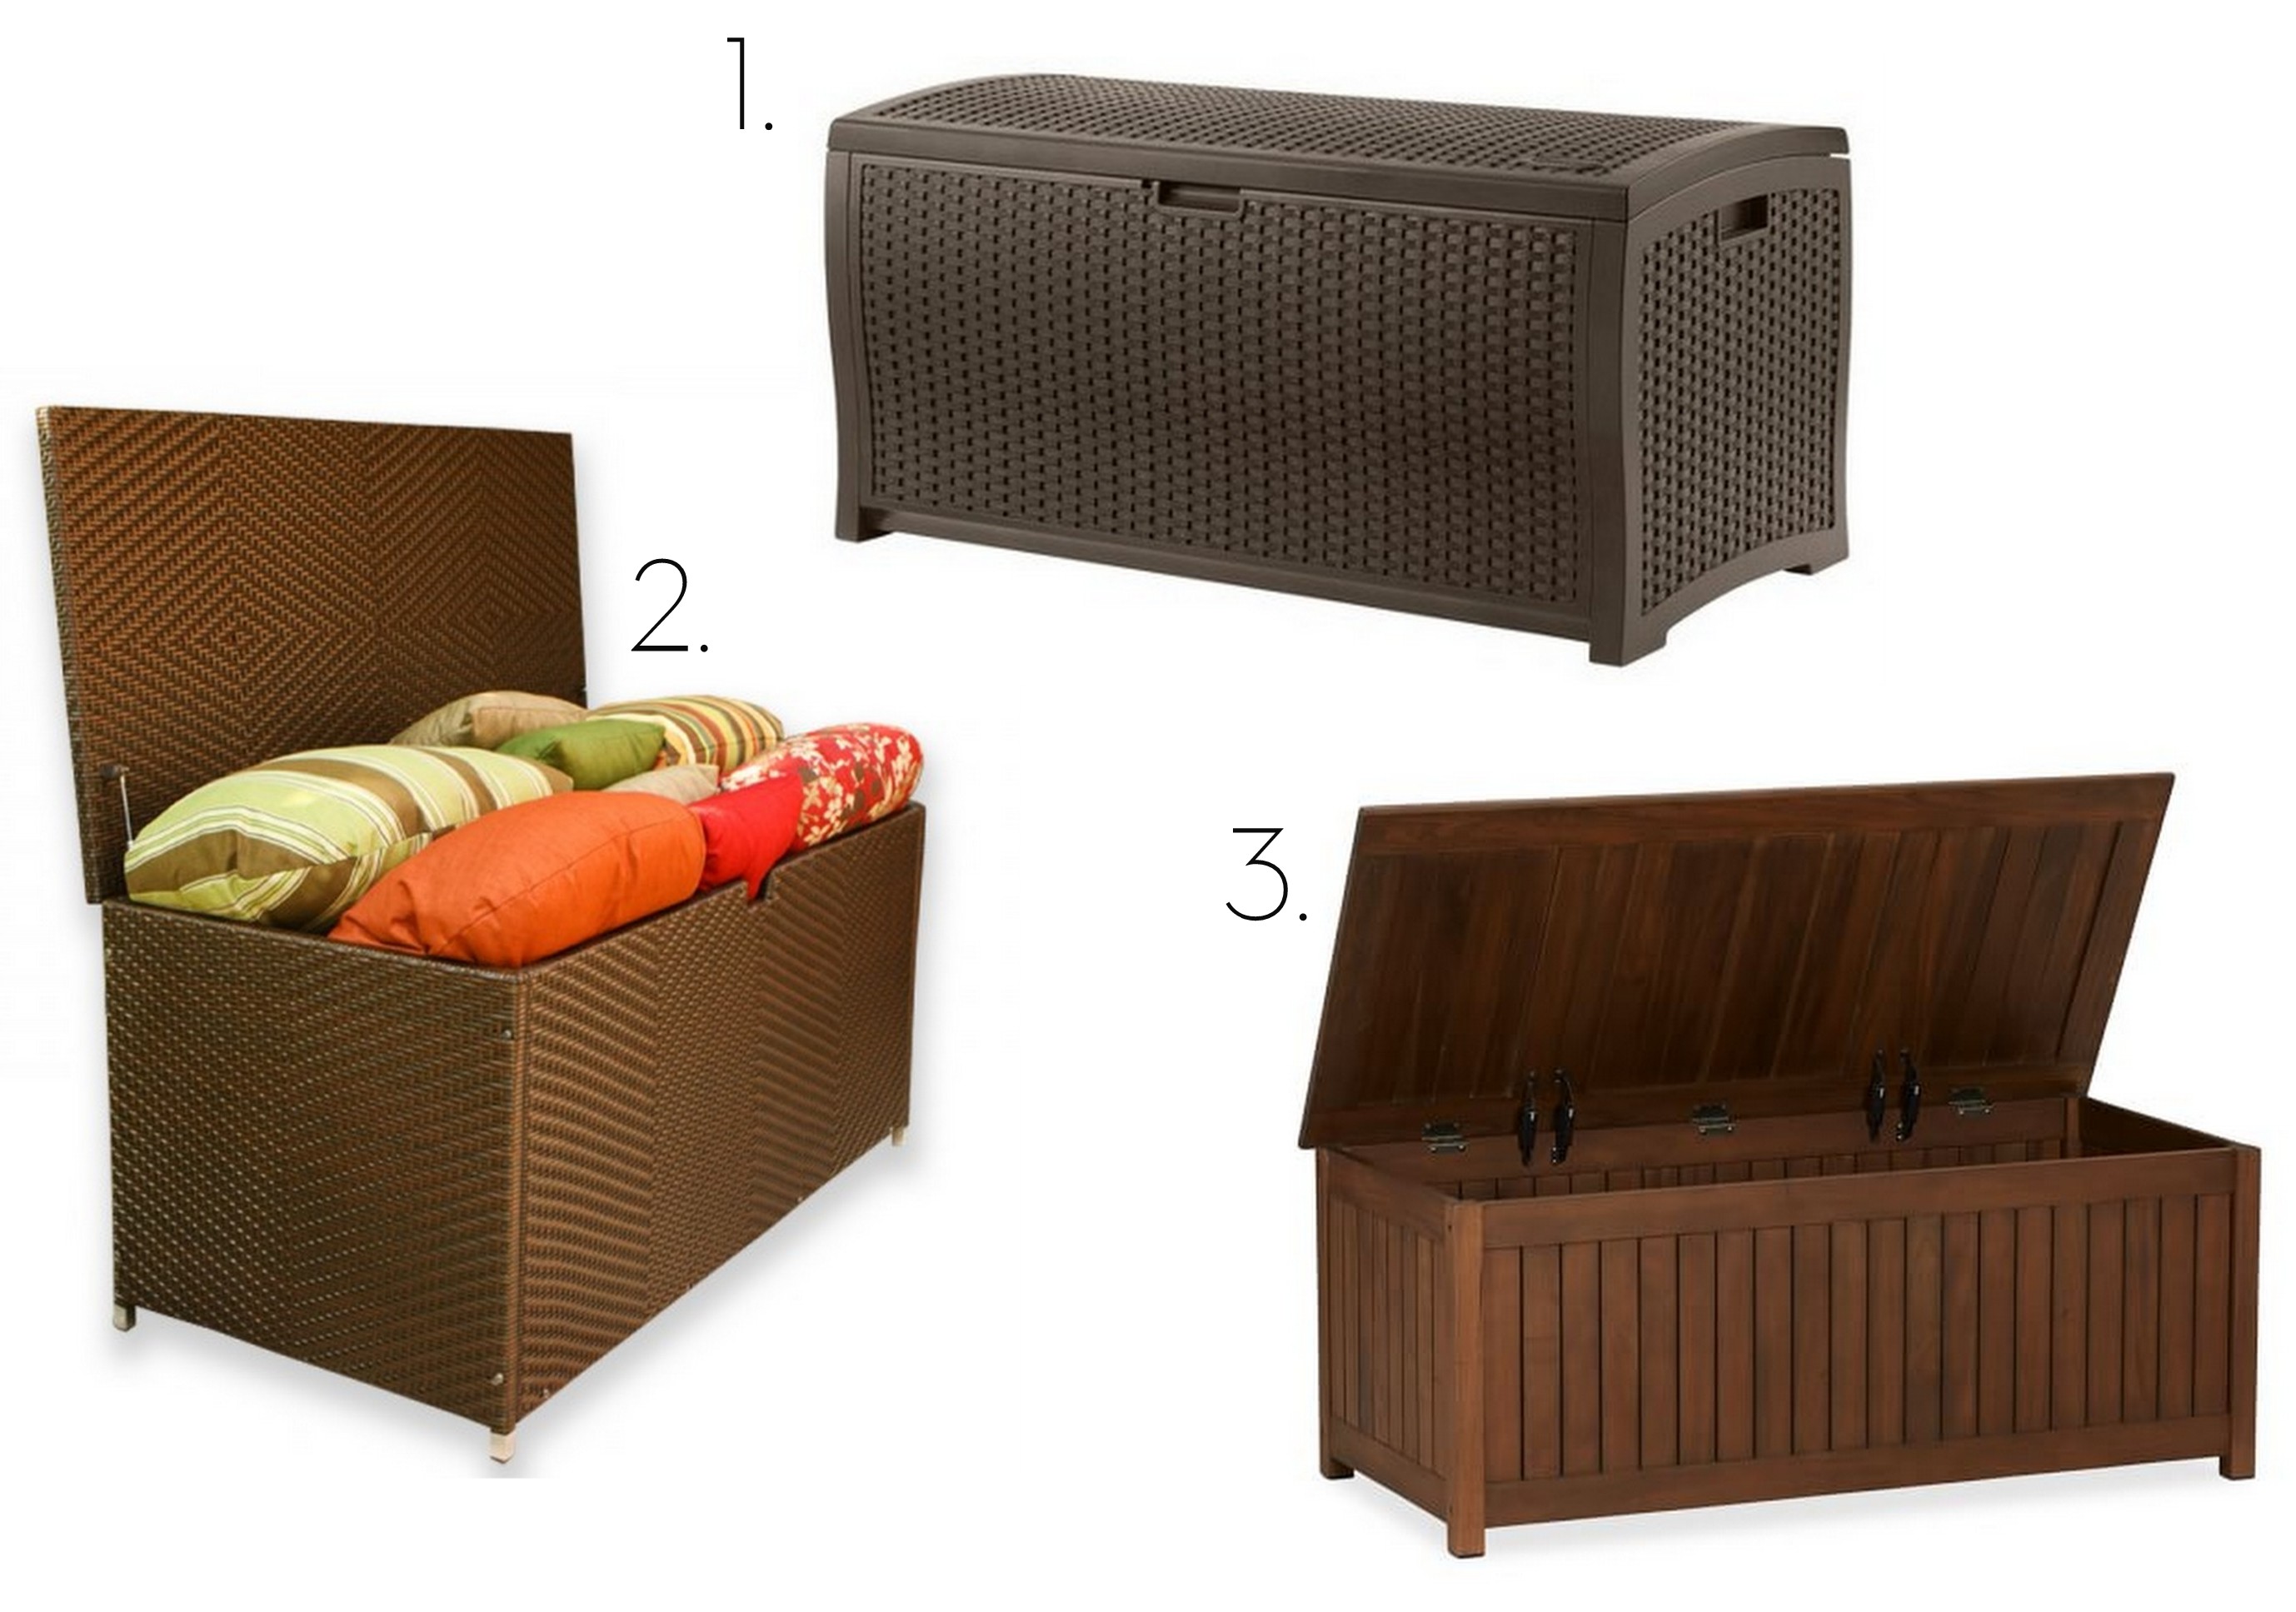 left to right: resin wicker box / wicker storage chest / wood storage bench
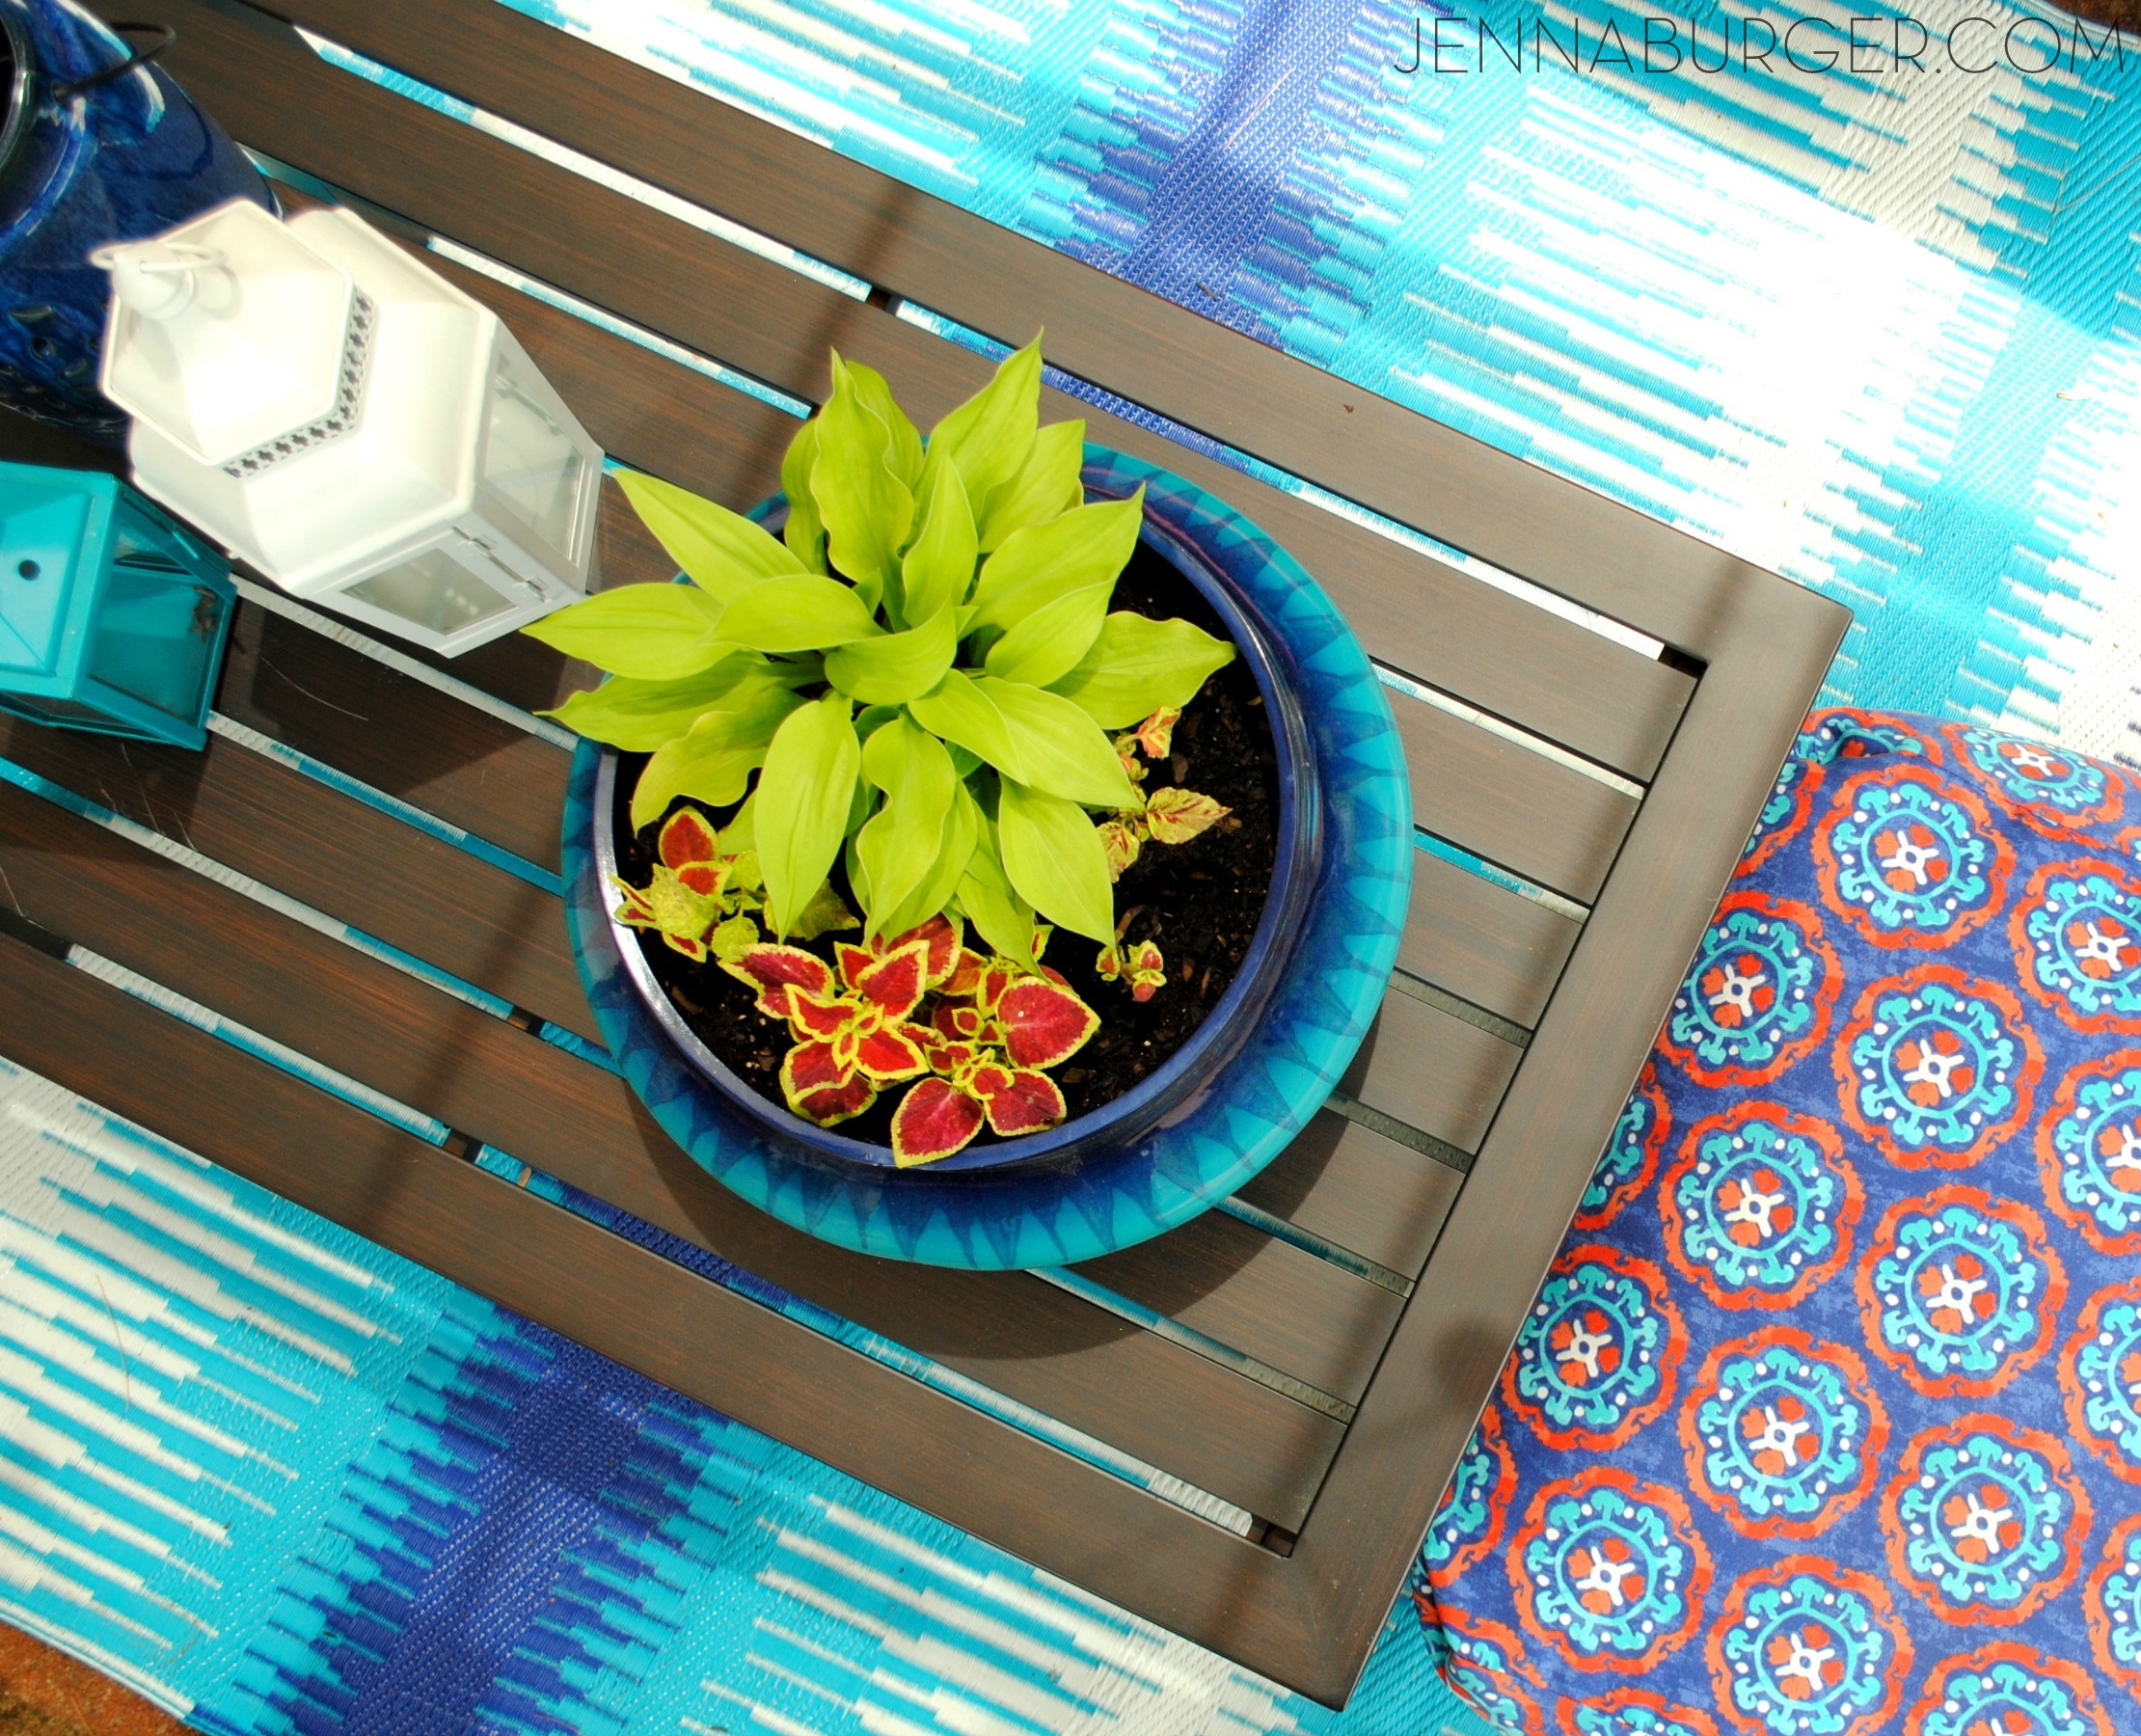
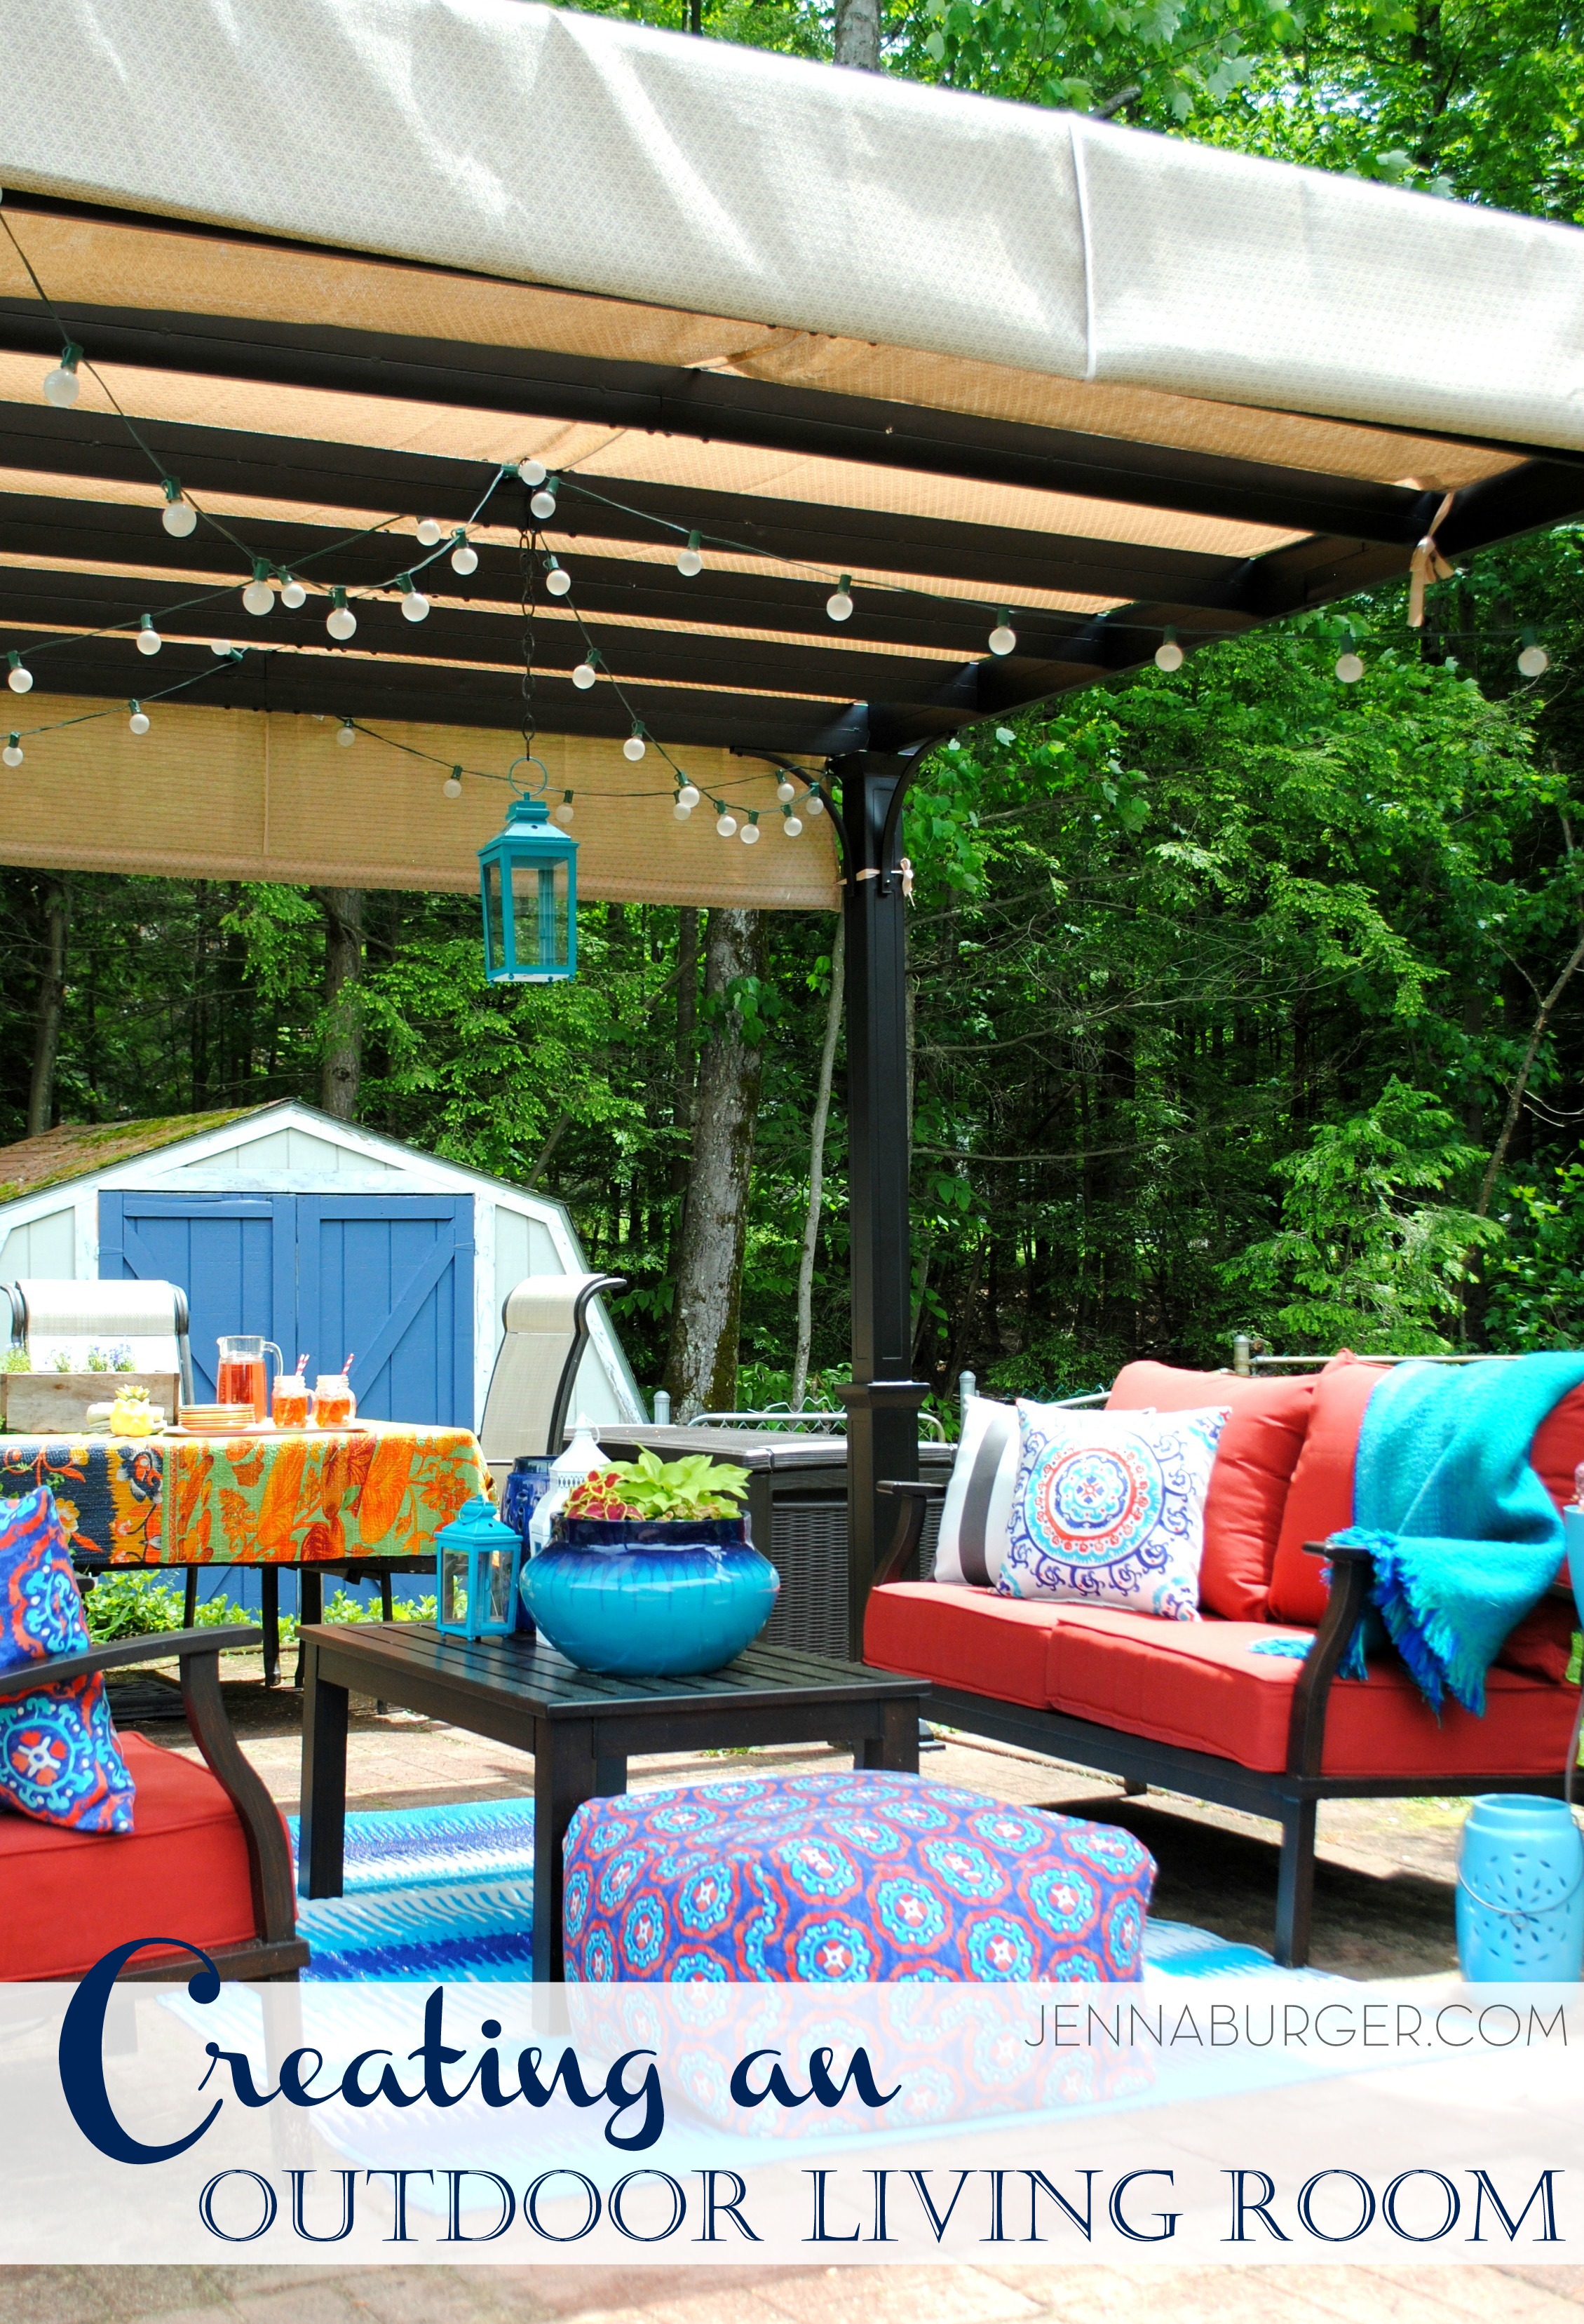
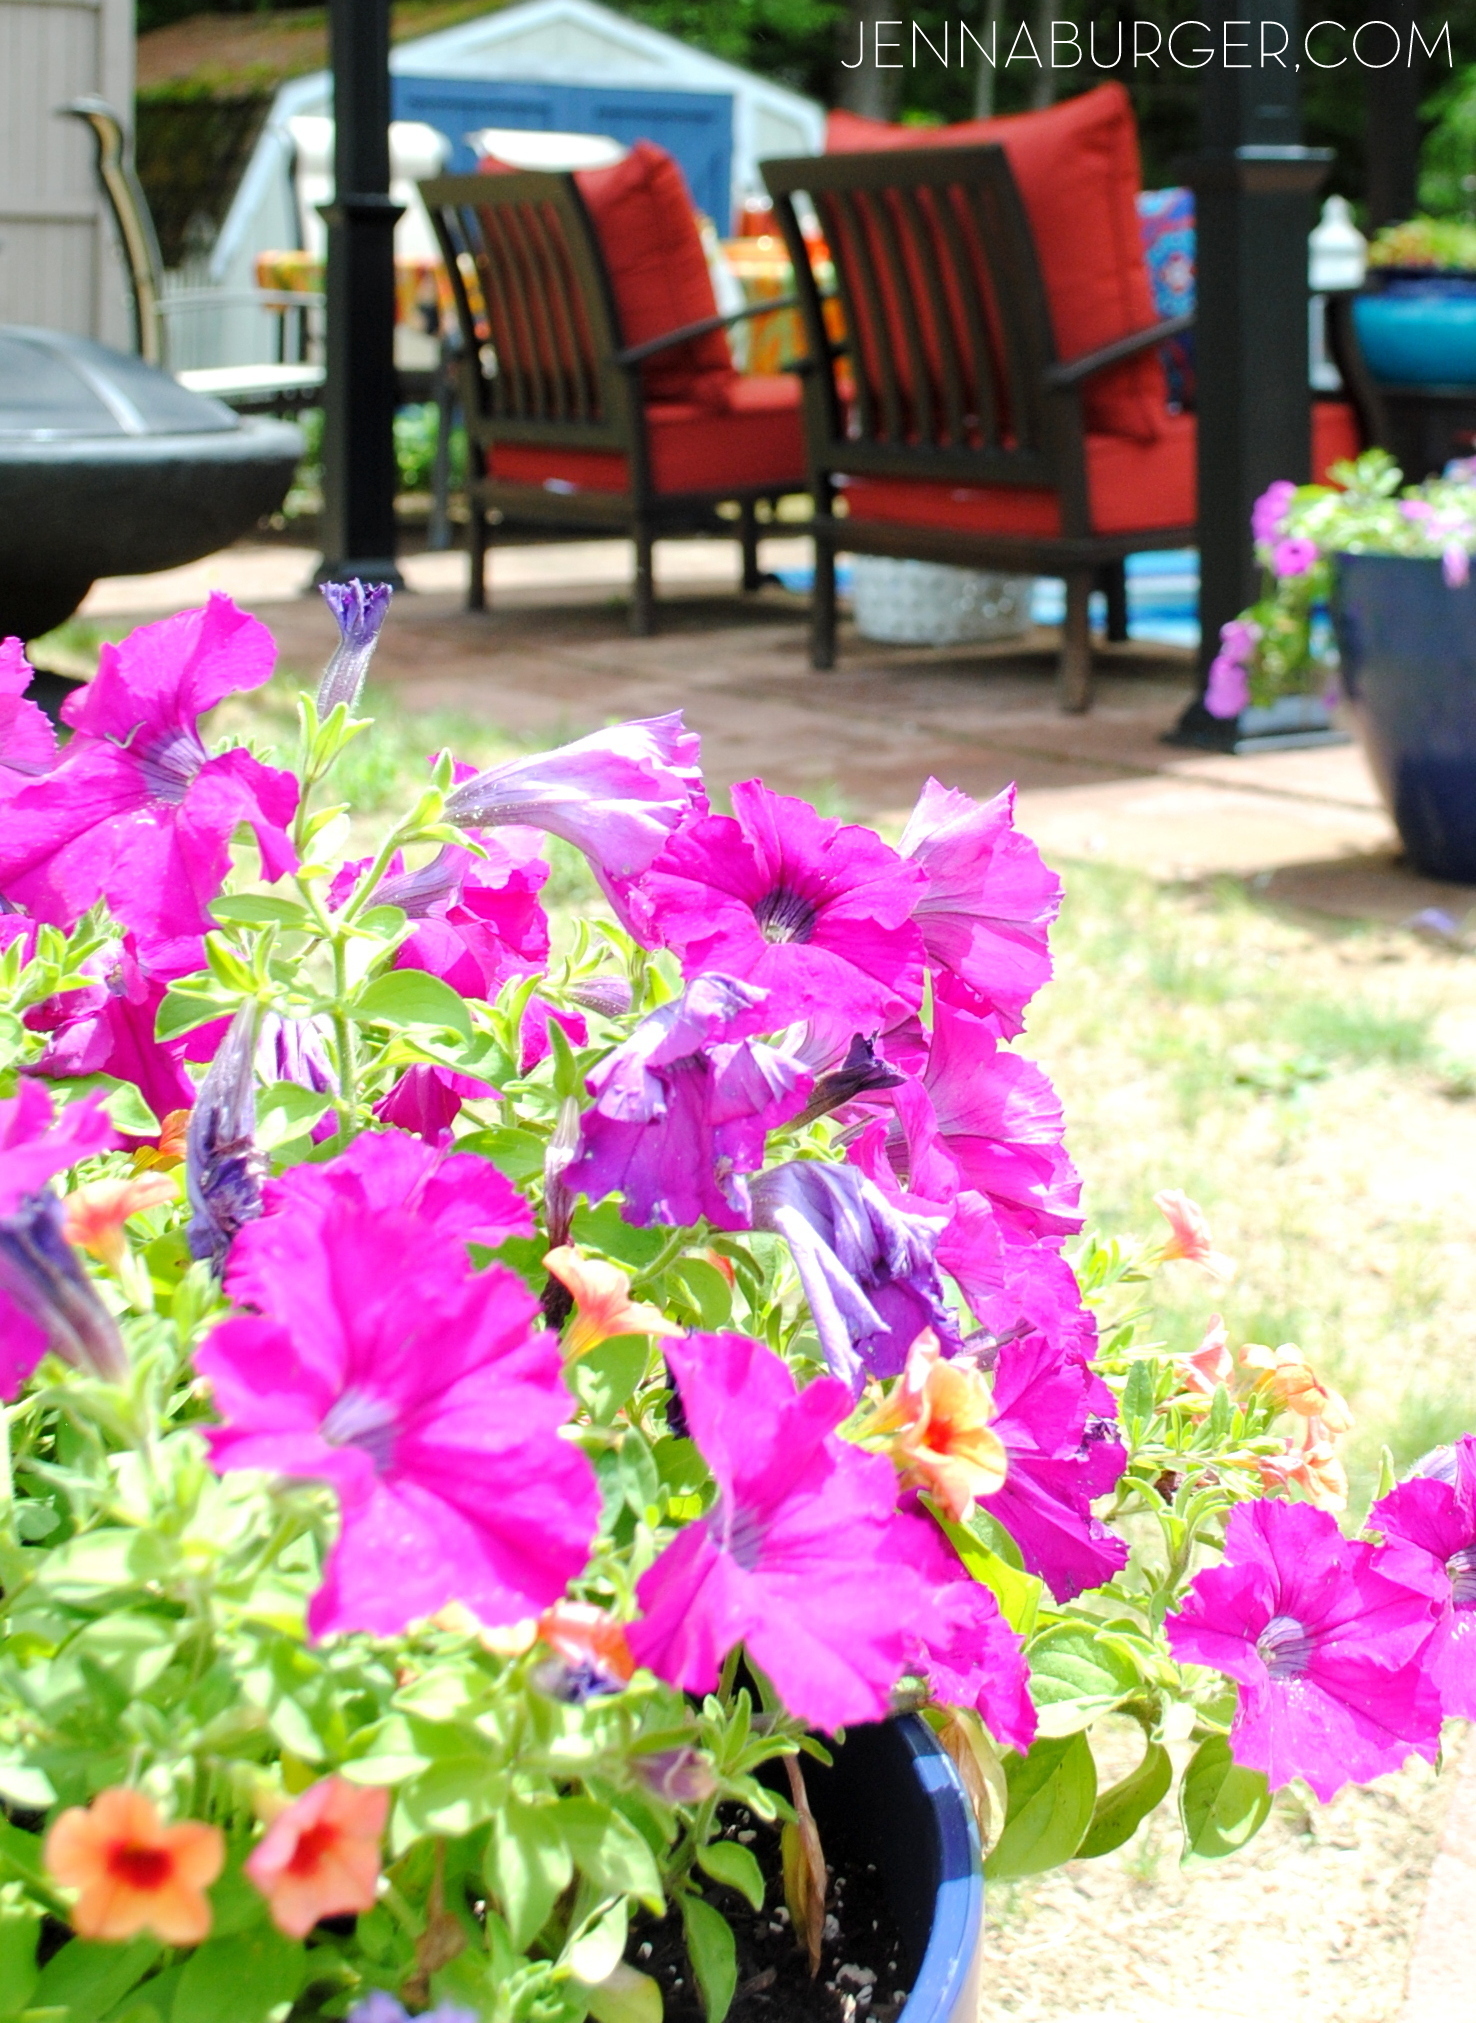
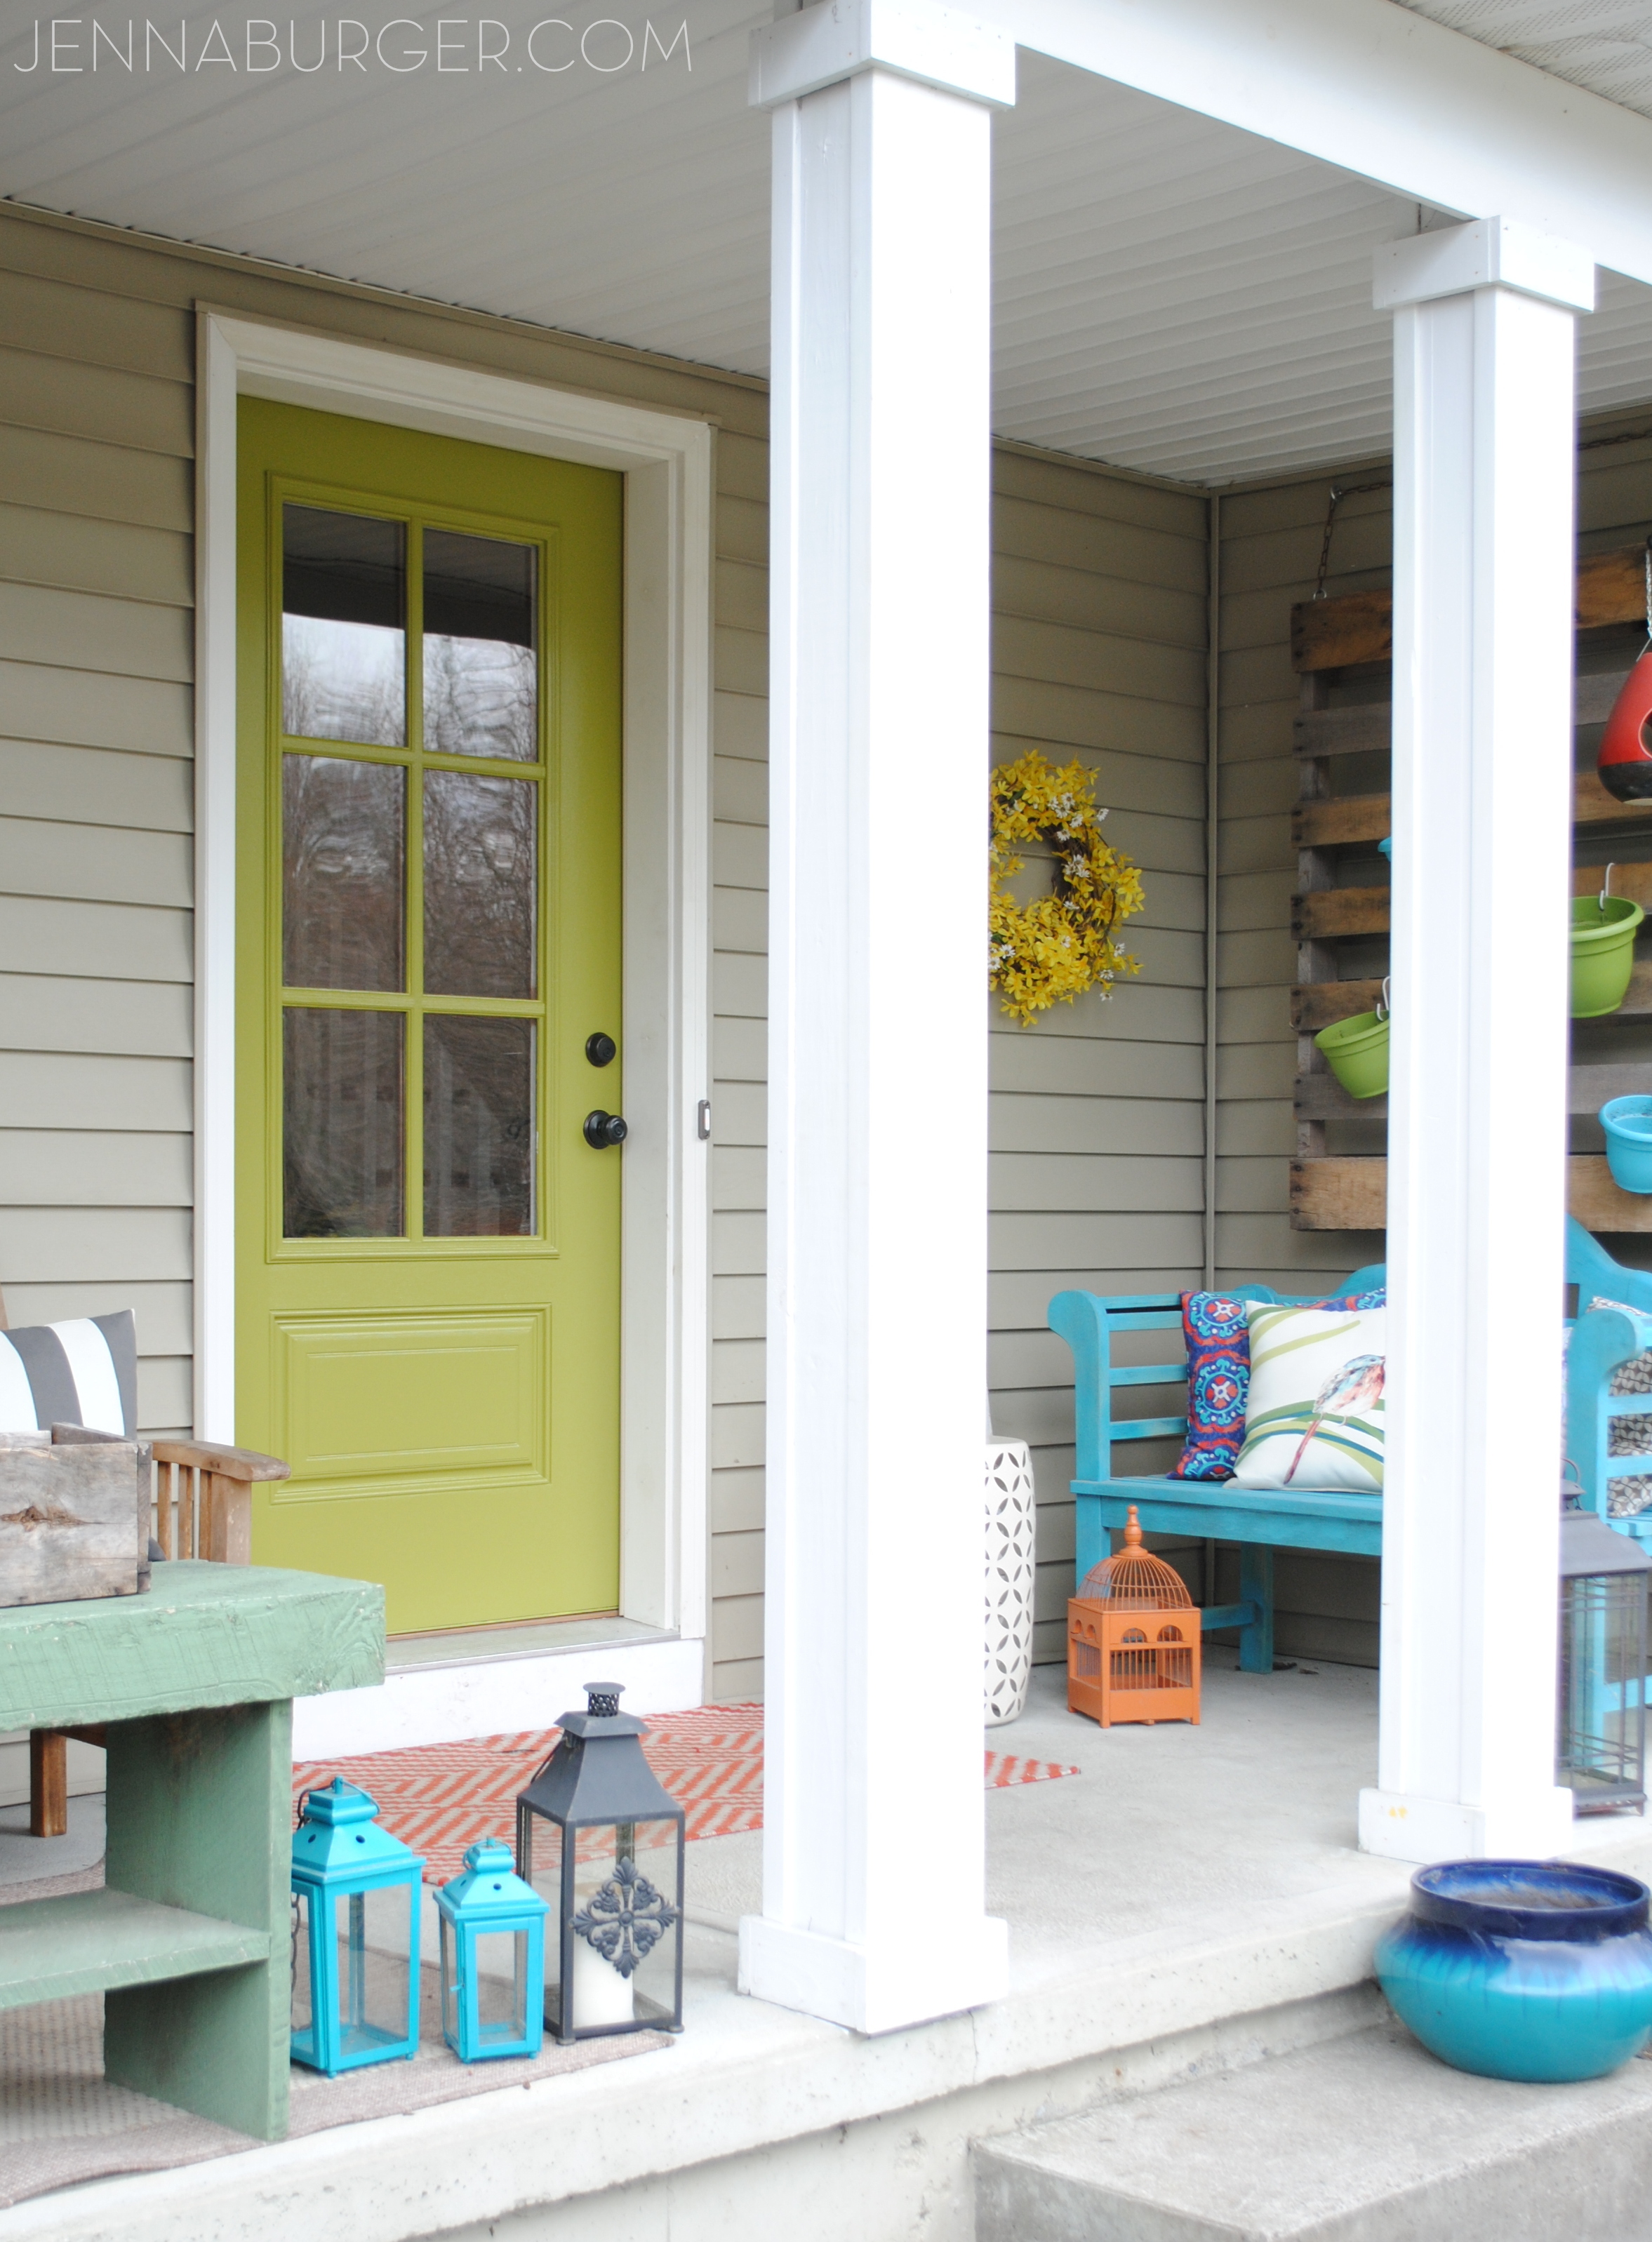
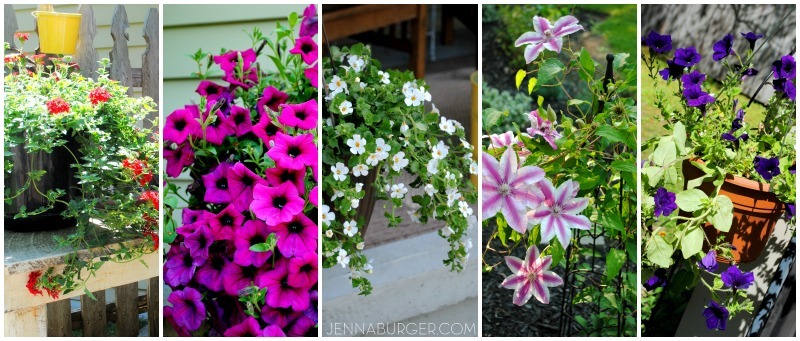 Potted herbs are a great alternative to flowers. Or try perennials in a pot, then transfer them into the ground at the end of the Summer season so they can be enjoyed again next year.


![[RESOURCES] for the Living Room Makeover with bold black + pops of color [emerald, raspberry, coral, and light blue] Design by Jenna Burger Design, www.jennaburger.com](https://www.jennaburger.com/wp-content/uploads/2015/04/RESOURCES-COLLAGE1.jpg)
![[RESOURCES] for the Living Room Makeover with bold black + pops of color [emerald, raspberry, coral, and light blue] Design by Jenna Burger Design, www.jennaburger.com](https://www.jennaburger.com/wp-content/uploads/2015/04/Resources_1.jpg)
![[RESOURCES] for the Living Room Makeover with bold black + pops of color [emerald, raspberry, coral, and light blue] Design by Jenna Burger Design, www.jennaburger.com](https://www.jennaburger.com/wp-content/uploads/2015/04/Resources_2.jpg)
![[RESOURCES] for the Living Room Makeover with bold black + pops of color [emerald, raspberry, coral, and light blue] Design by Jenna Burger Design, www.jennaburger.com](https://www.jennaburger.com/wp-content/uploads/2015/04/Resources_3.jpg)

![Living Room Makeover with bold black + pops of color [emerald, raspberry, coral, and light blue] Design by Jenna Burger Design, www.jennaburger.com](https://www.jennaburger.com/wp-content/uploads/2015/04/14A.jpg)
![Living Room Makeover with bold black + pops of color [emerald, raspberry, coral, and light blue] Design by Jenna Burger Design, www.jennaburger.com](https://www.jennaburger.com/wp-content/uploads/2015/04/210.jpg)
![Living Room Makeover with bold black + pops of color [emerald, raspberry, coral, and light blue] Design by Jenna Burger Design, www.jennaburger.com](https://www.jennaburger.com/wp-content/uploads/2015/04/13B.jpg)
![Living Room Makeover with bold black + pops of color [emerald, raspberry, coral, and light blue] Design by Jenna Burger Design, www.jennaburger.com](https://www.jennaburger.com/wp-content/uploads/2015/04/32.jpg)
![Living Room Makeover with bold black + pops of color [emerald, raspberry, coral, and light blue] Design by Jenna Burger Design, www.jennaburger.com](https://www.jennaburger.com/wp-content/uploads/2015/04/41.jpg)
![Living Room Makeover with bold black + pops of color [emerald, raspberry, coral, and light blue] Design by Jenna Burger Design, www.jennaburger.com](https://www.jennaburger.com/wp-content/uploads/2015/04/51.jpg)
![Living Room Makeover with bold black + pops of color [emerald, raspberry, coral, and light blue] Design by Jenna Burger Design, www.jennaburger.com](https://www.jennaburger.com/wp-content/uploads/2015/04/13.jpg)
![Living Room Makeover with bold black + pops of color [emerald, raspberry, coral, and light blue] Design by Jenna Burger Design, www.jennaburger.com](https://www.jennaburger.com/wp-content/uploads/2015/04/17.jpg)
![Living Room Makeover with bold black + pops of color [emerald, raspberry, coral, and light blue] Design by Jenna Burger Design, www.jennaburger.com](https://www.jennaburger.com/wp-content/uploads/2015/04/111.jpg)
![Living Room Makeover with bold black + pops of color [emerald, raspberry, coral, and light blue] Design by Jenna Burger Design, www.jennaburger.com](https://www.jennaburger.com/wp-content/uploads/2015/04/12.jpg)
![Living Room Makeover with bold black + pops of color [emerald, raspberry, coral, and light blue] Design by Jenna Burger Design, www.jennaburger.com](https://www.jennaburger.com/wp-content/uploads/2015/04/19.jpg)
![Living Room Makeover with bold black + pops of color [emerald, raspberry, coral, and light blue] Design by Jenna Burger Design, www.jennaburger.com](https://www.jennaburger.com/wp-content/uploads/2015/04/16.jpg)
![Living Room Makeover with bold black + pops of color [emerald, raspberry, coral, and light blue] Design by Jenna Burger Design, www.jennaburger.com](https://www.jennaburger.com/wp-content/uploads/2015/04/24.jpg)
![Living Room Makeover with bold black + pops of color [emerald, raspberry, coral, and light blue] Design by Jenna Burger Design, www.jennaburger.com](https://www.jennaburger.com/wp-content/uploads/2015/04/31.jpg)