


A Not-So-Lavish Laundry Room
This past weekend was a busy one at the ole’ homestead! From exterior work on the garden to shuffling kids to various sports activities, it was non-stop. And when we did have a few minutes of “down time”, we started a new project inside…
It’s a horrid-looking space that has been a catch-all for stuff for way too long. Well I should say, was a catch-all because in just a few hours this space I am referring to got a complete new revamp and I am over-the-hill happy! What space am I referring to?
THE LAUNDRY!
Honestly, I use the word ‘space’ because it’s not at all a room… I wish! Our laundry area is essentially a closet. A small closet. A small closet that holds a lot and until now was completely disorganized + a complete MESS.
I dread sharing this, but here WAS (that’s an important word, WAS) the before…
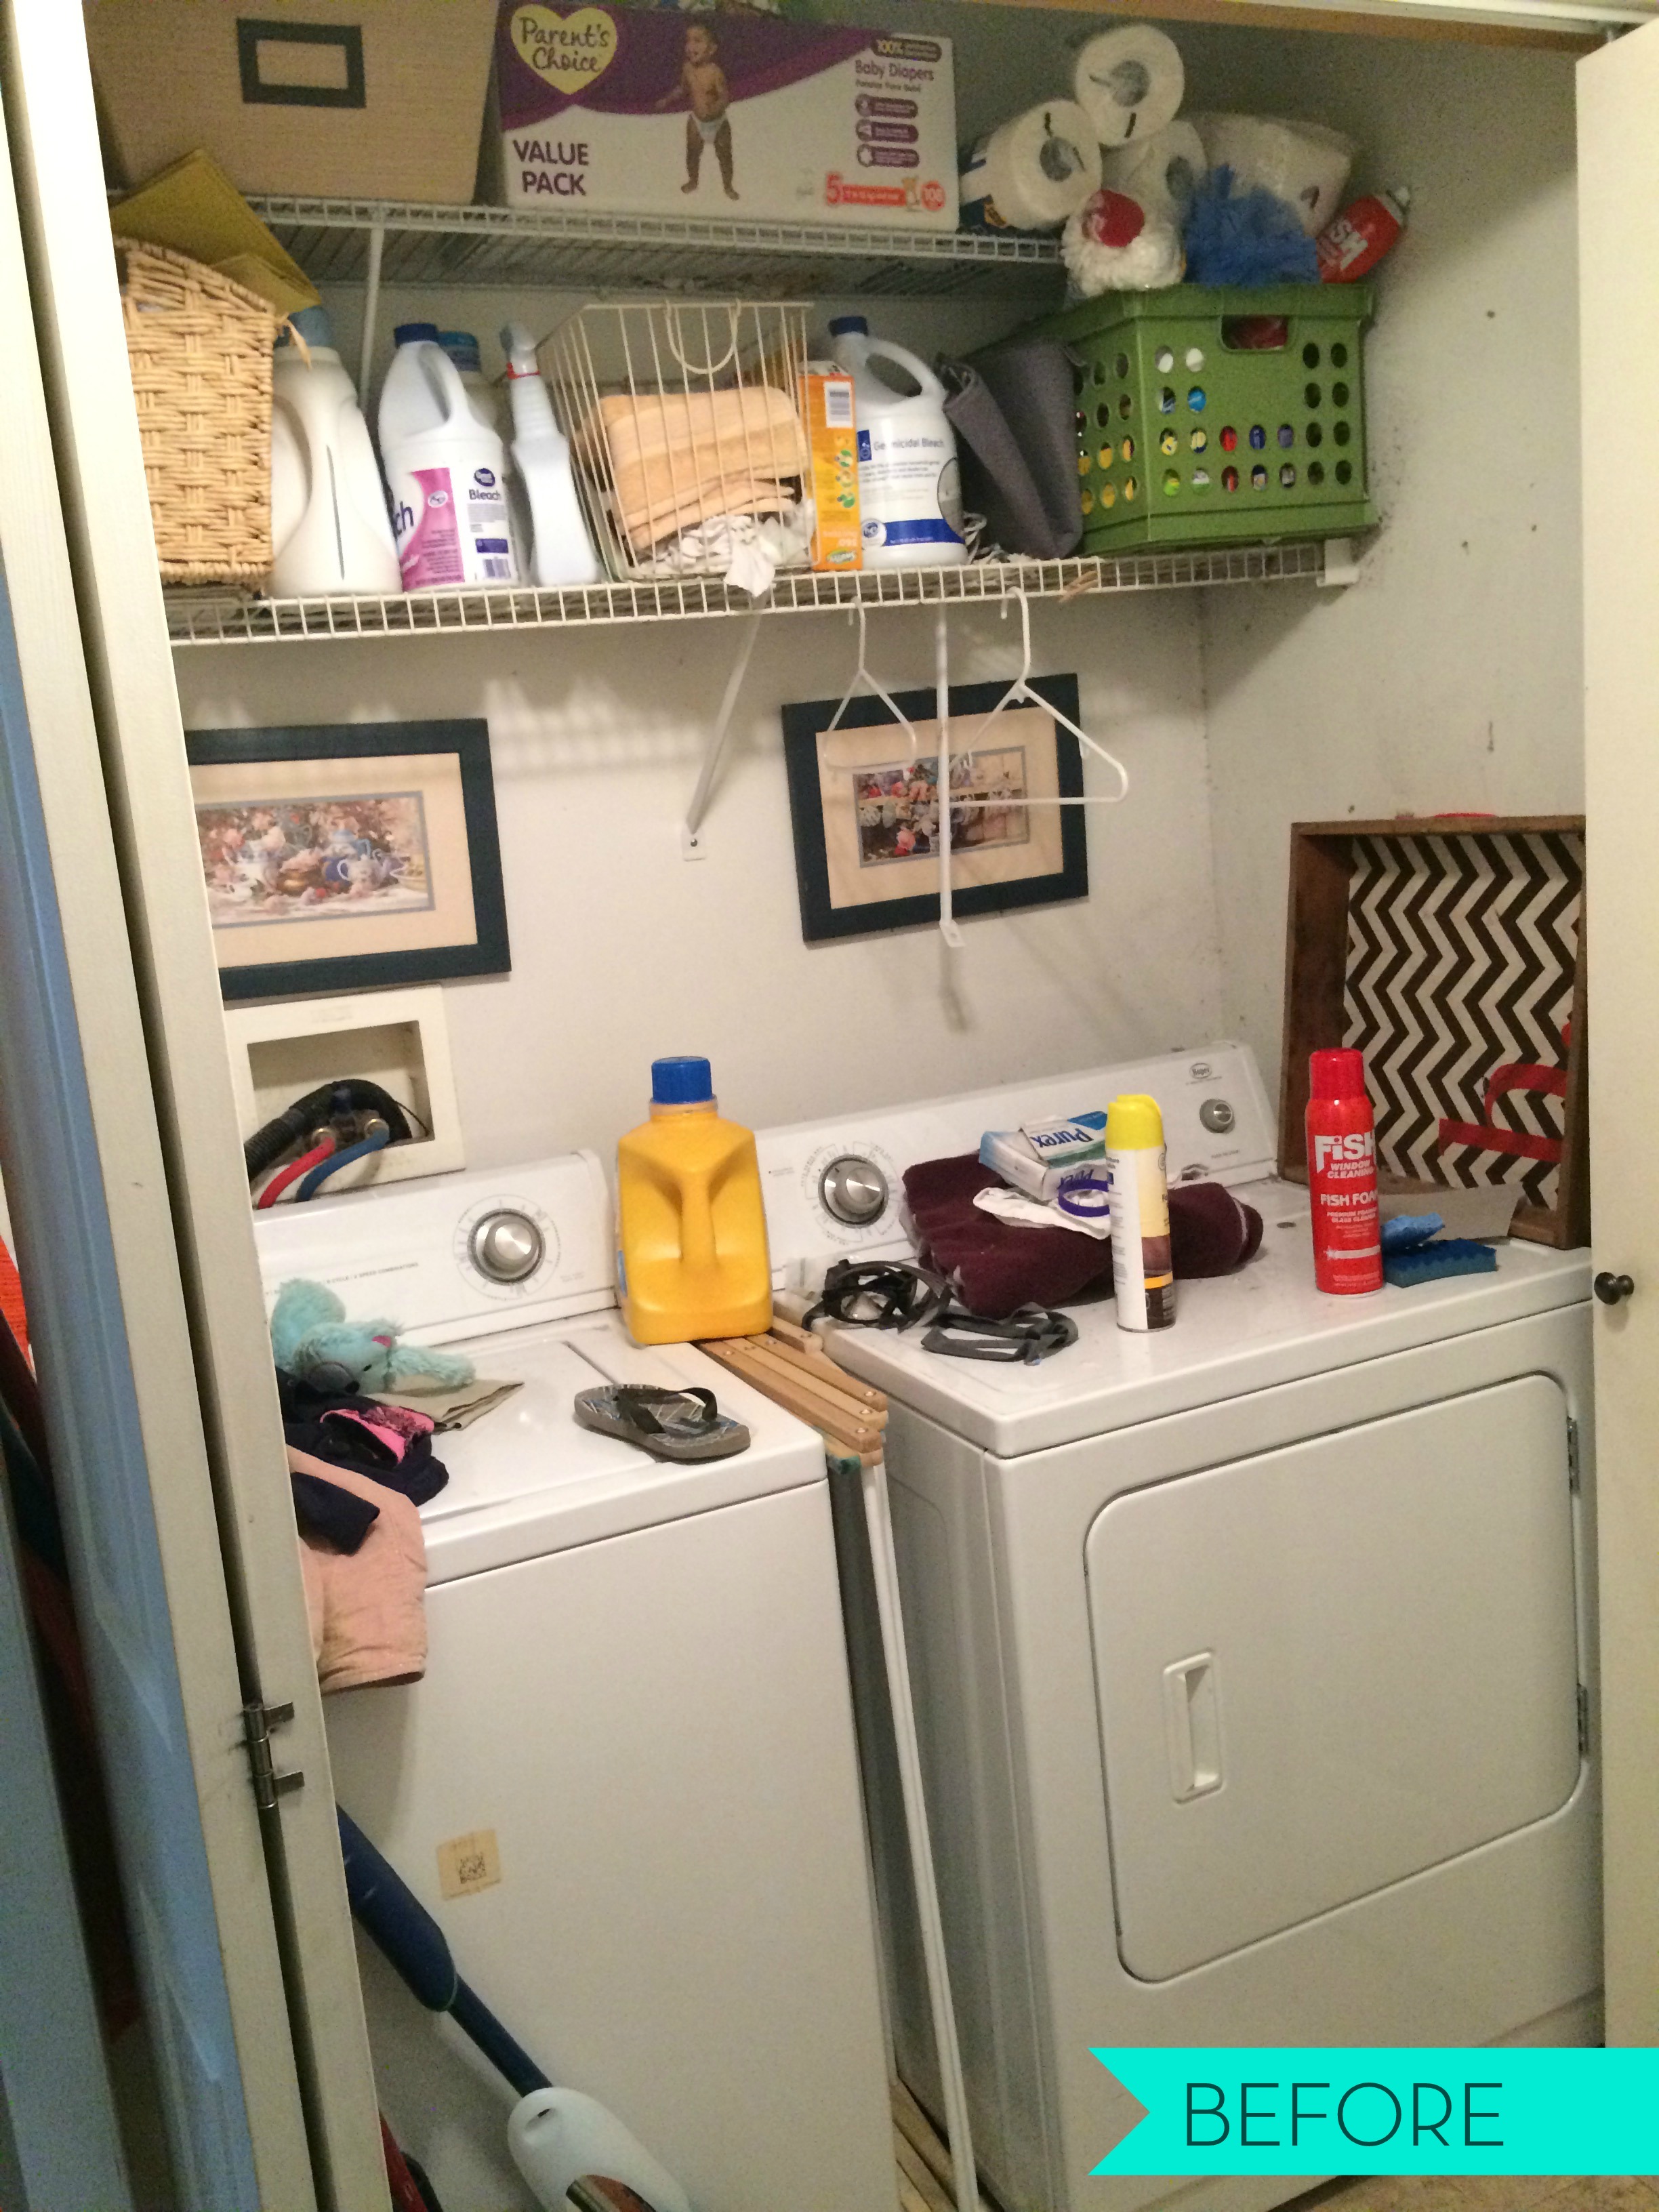
Gutsy, huh?! Yup, no holding back here. My goodness, I can’t believe I just shared that picture. And you thought all the spaces in my home were beautiful at all times… NOT!
This laundry closet (it’s literally a closet that is 4′-6″ wide) is just off the foyer. Across from it is the coat closet / pantry and the hallway leads to the garage. It’s a tight space that is used a lot, and needed a revamp to be as efficient as possible. It’s something that has been on my radar for a while and I knew with some TLC, it would shine up like a pretty penny (and it sure did – more on that in a moment).
WHAT THIS LAUNDRY SPACE NEEDED.
> More Storage (big & small) for dishtowels, cleaning supplies, rags, napkins + paper towels, tablecloths, paper goods (paper plates, cups, plastic ware)
> Wall Storage for holding the iron, ironing board, broom, mop
> New Shelving
> New Paint on the walls + trim
> Layers: Pops of color + pictures (to make it pretty)
THE PLAN OF ACTION.
Before tackling this space, I made some quick notes on what was working (not much) + what wasn’t (a lot) + what I needed to store on the new shelves that I planned on installing.
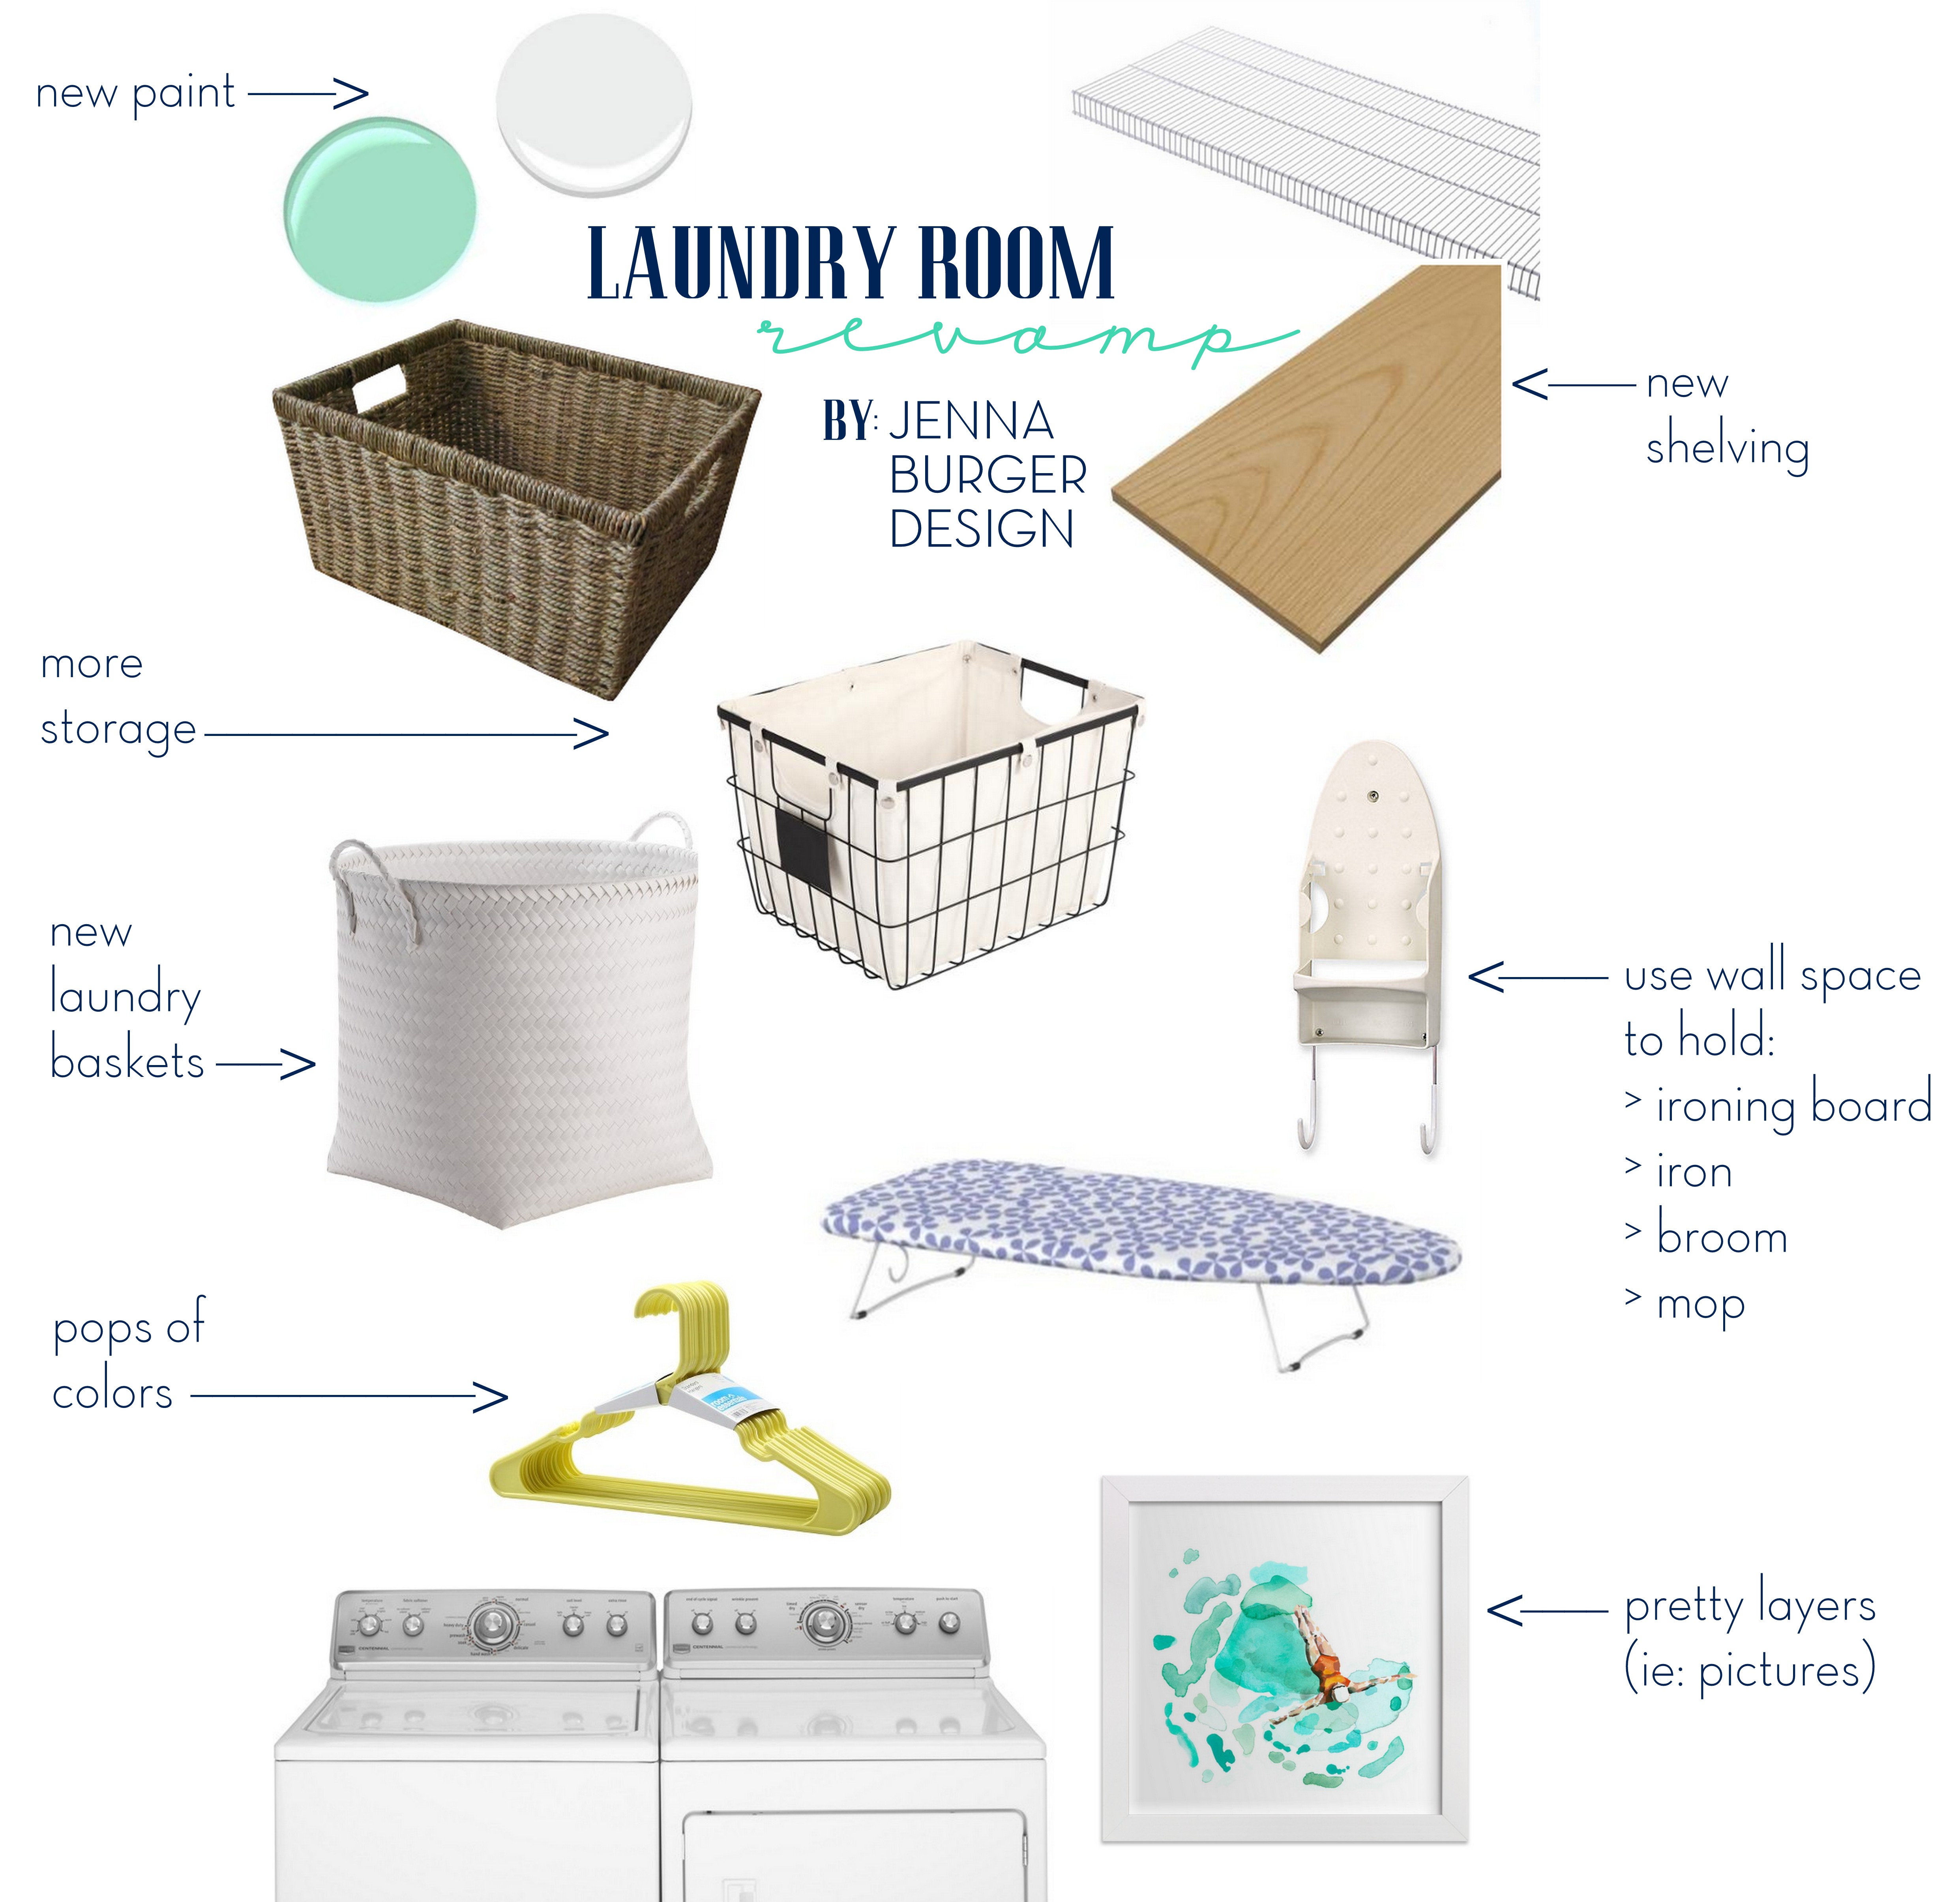
After that, I created a quick creative vision board to help me stay on track for how to best tackle the aesthetics for this laundry revamp…

More specifically, this is what each element in the new space will be used for…
And here’s how it played out in a brief timeline…
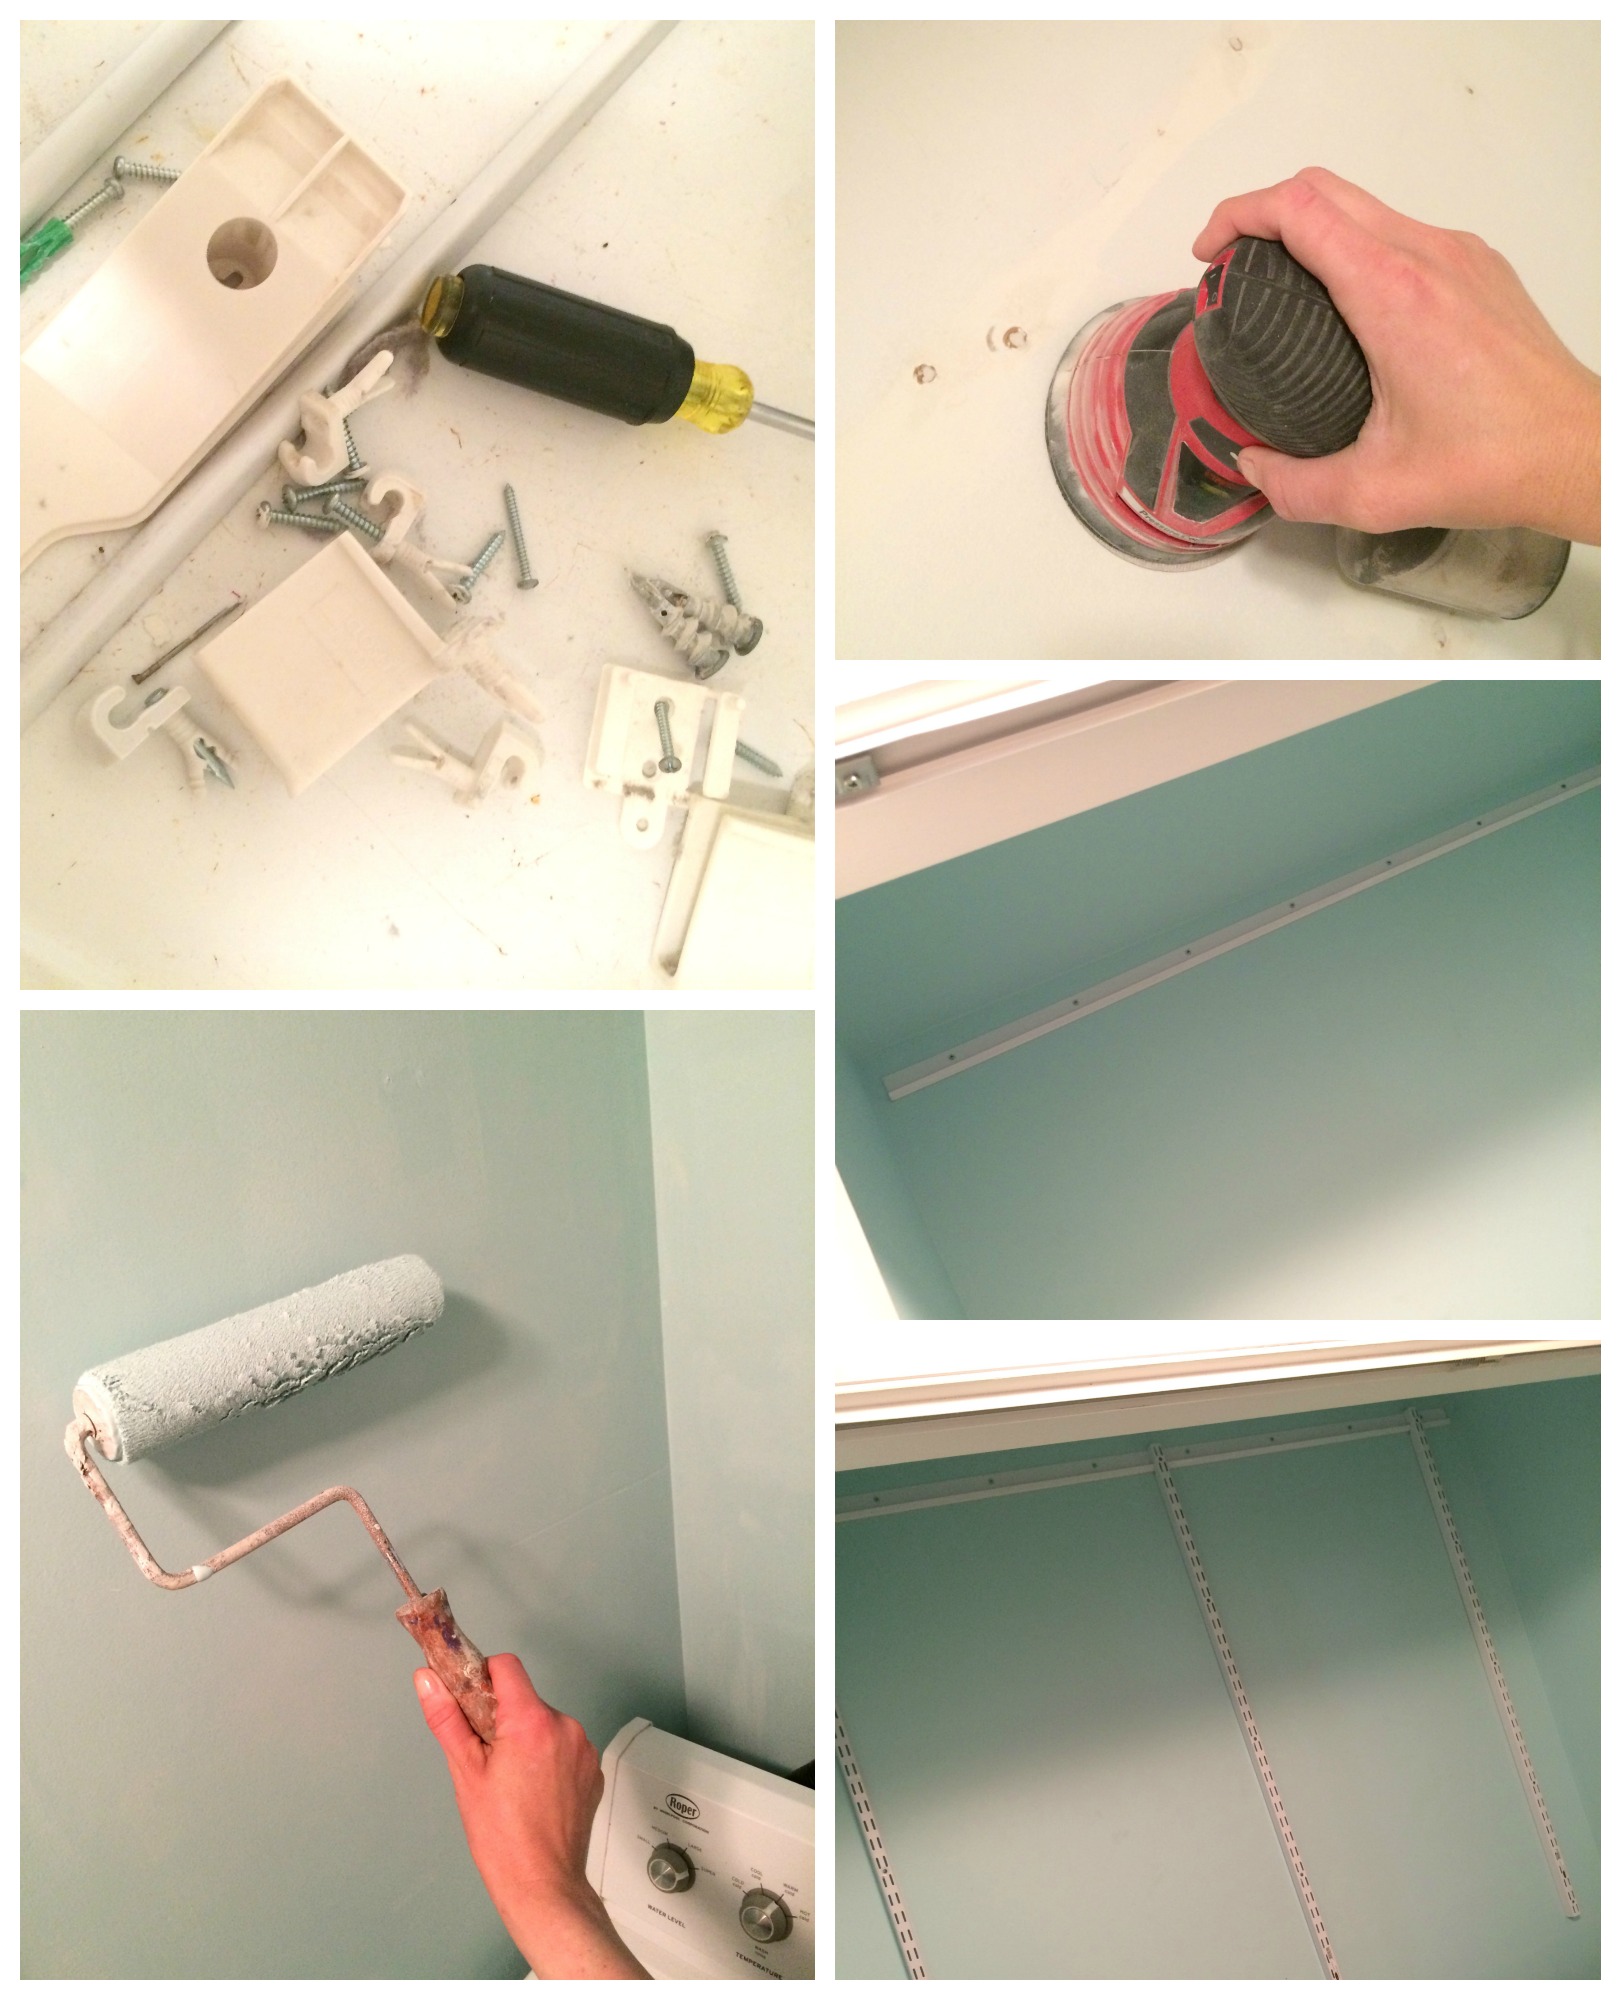
FRIDAY AFTERNOON: Removed the existing shelving that was falling apart / Cleaned walls of dust build-up / Patched the 92 holes in the wall
EARLY SATURDAY MORNING: Sanded the walls (the orbital sander took a lot less time than hand sanding – there were a lot of holes!) / Applied the first coat of new paint (love the color!)
SATURDAY AFTERNOON: Applied coat #2 of the paint (and done – YAY)
EARLY SUNDAY MORNING: Installed the top rail for the shelving unit / Installed the shelves (one shelf was wrong so the Mister headed back to Lowe’s for trip #2) / Started organizing
SUNDAY NIGHT: Finished organizing the shelves with some old + some new baskets & bins
* this makeover certainly could have been tackled in one day, but with our hectic lives, nothing ever gets accomplished that quickly.
A few sneak peek progress pictures…
For a gal that dreads laundry day (which seems like every day of the week with my clan of 5), I have to admit that for the last 2 days, it hasn’t been so bad. I am LOVING my newly revamped laundry ‘closet’ and even though it still isn’t so lavish it certainly is 1,000,000 times better than it was.
The AFTER coming tomorrow. Brace Yourself!