Tag: saratoga springs interior design firm

DIY: Travel Subway Art Sign

I hope you had a great weekend and are enjoying the first officially days of Fall – the leaves are starting to change here, how about in your neck of the woods?

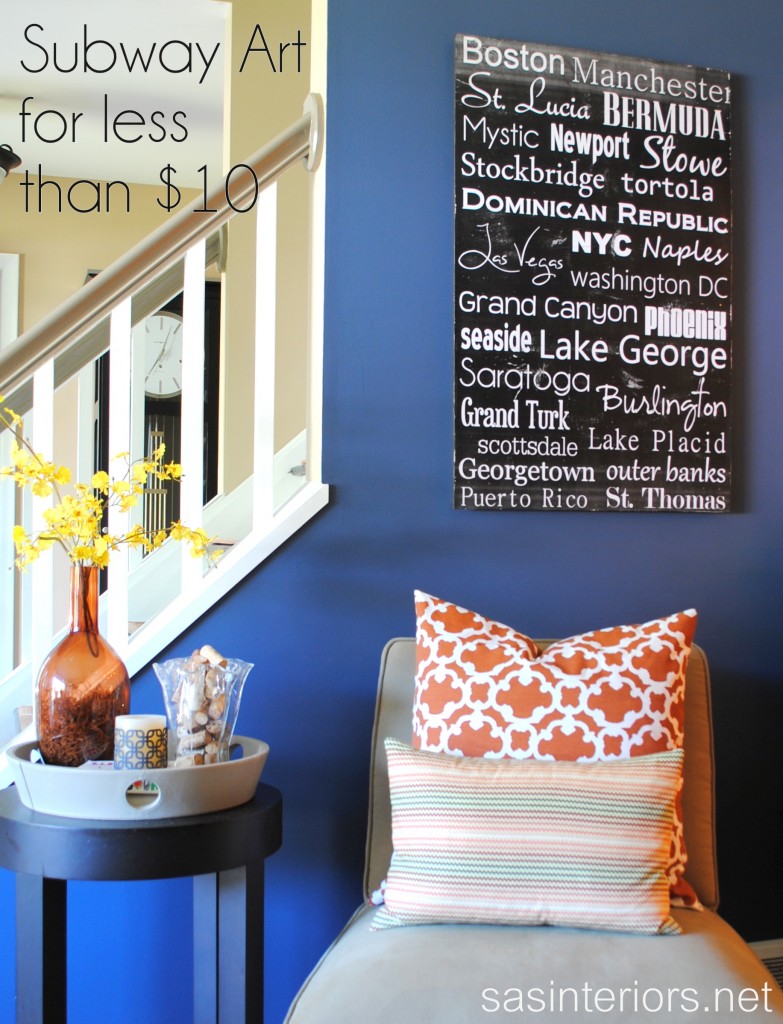
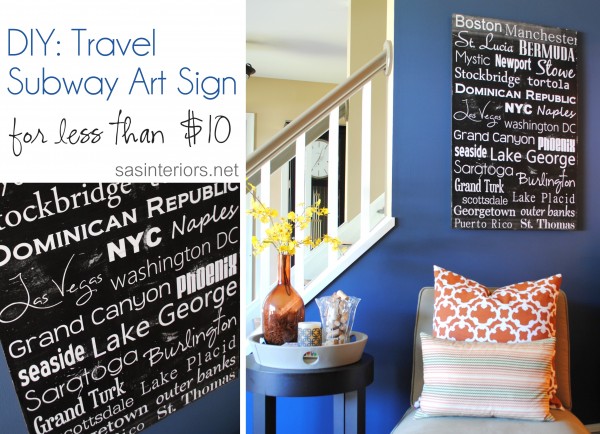
Like usual, I’ve been knee deep in creating new DIY projects and one in particular that I just finished up has been on my to-do list for a long time.  It took me a while to figure out how to make it, but thankfully I’m thrilled with the result, and the main reason is because it cost less than $10 to make – {complete score}!

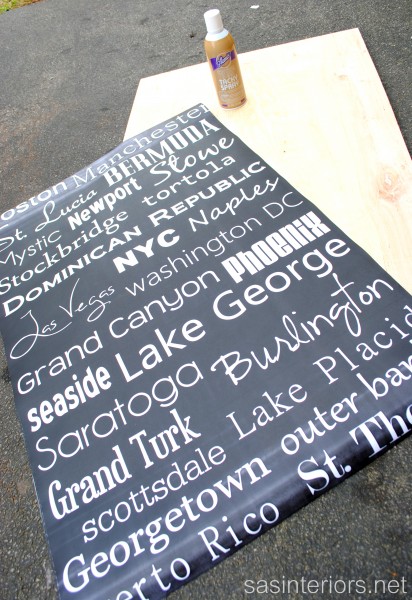
I’ve gotta give credit for the technique on how to create this Subway Art to Cheri of I Am Momma – Hear Me Roar and Monica & Jess of East Coast Creative.  Both gals created completely different projects, yet both used the same idea of creating an image and having it printed as a blueprint (a thin black & white 24″ x 36″ paper) at Staples for less than $4 – Crazy awesome right?!

Here’s how I did it so you can create a similar travel sign or something completely different using the same cheap blueprint technique…

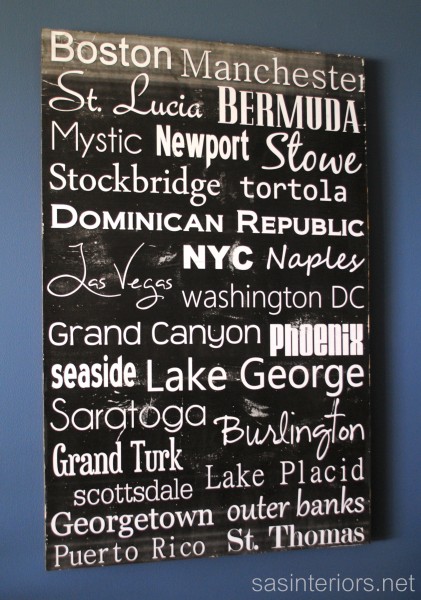
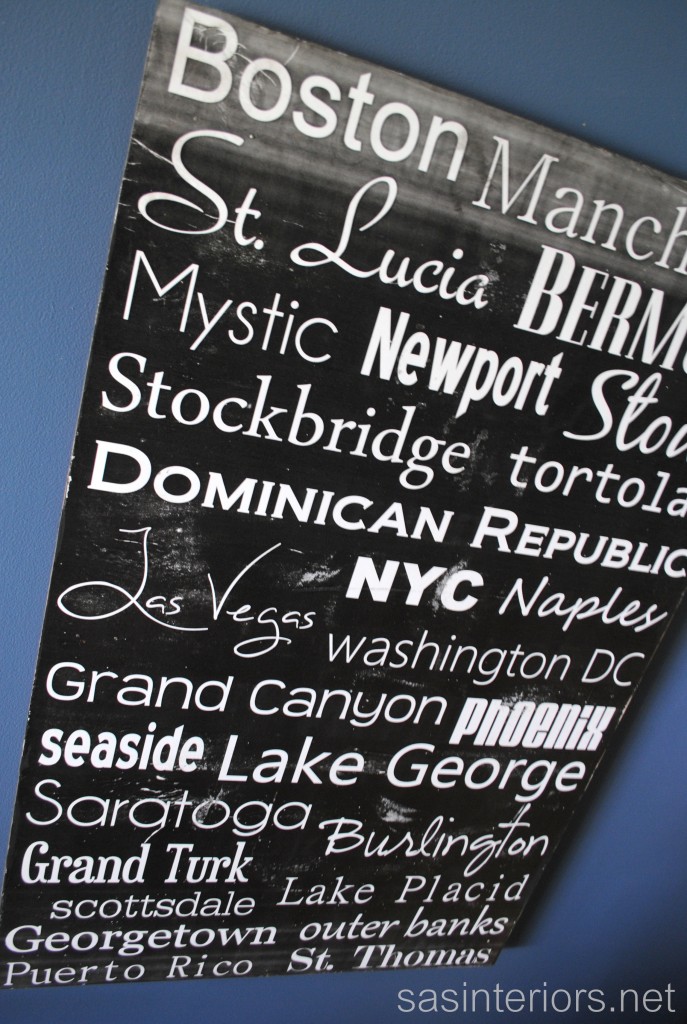
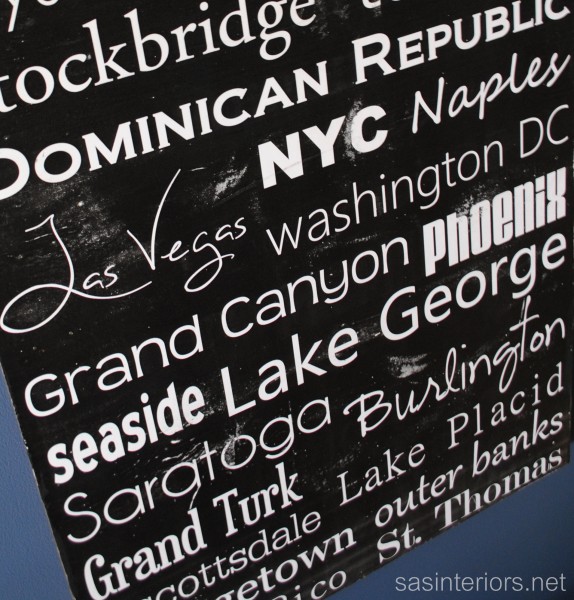
Using Picasa (my favorite free photo editing program), I started off with a clean white collage using the highest resolution possible and then cropped it to a 24″ x 36″ size so the text would print as clear as possible (at a large scale).   A while ago, I had wrote a list of vacation spots that the mister and I have traveled to together over the years and started adding them to the collage in a variety of different fonts.  (want to see a few of the fonts I used?  Check out my favorites!).

Once I created this collage using my computer, I pulled together the rest of my supplies:

  • (1) 24″ x 36″ Blueprint from Staples for – $3.60
  • (1) 24″ x 36″ 1/4″ piece of plywood – $4.00
  • Spray Glue – $2.50 +/-  (50% off with AC Moore coupon)
  • Mod Podge & Brush
  • Black craft paint & brush
  • 2 pieces of scrap wood or pallet boards

After my stop at Staples to get my inexpensive print, I then headed to Lowe’s to get a piece of plywood.  I found a 3′ x 3′ piece and then had them cut it down to my exact size of 2′ x 3′. Important note: The blueprint might not be exactly to size, so you may want to measure that first before cutting the plywood.  I didn’t, but the plywood was only about 1/16″ larger and I sanded the edge with my orbital hand sander, so it fit to size.

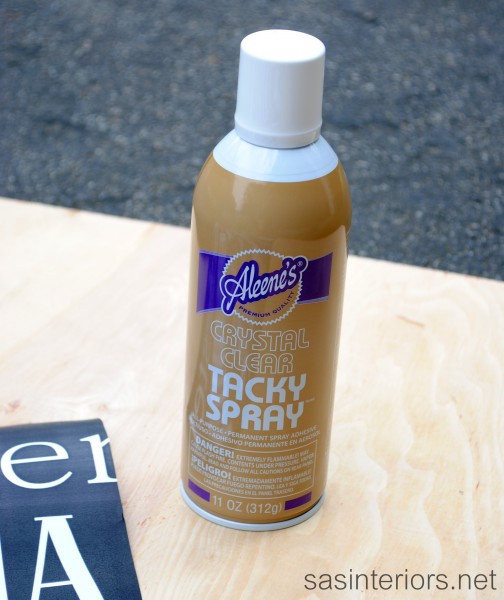
To adhere the blueprint to the plywood, I decided on the Aleene’s Tacky Spray which I purchased at AC Moore.  I was thrilled with their products that I tried out last year, and thankfully this spray glue worked like a charm!

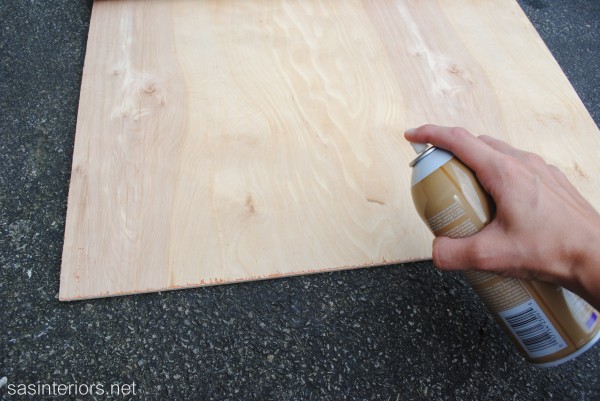
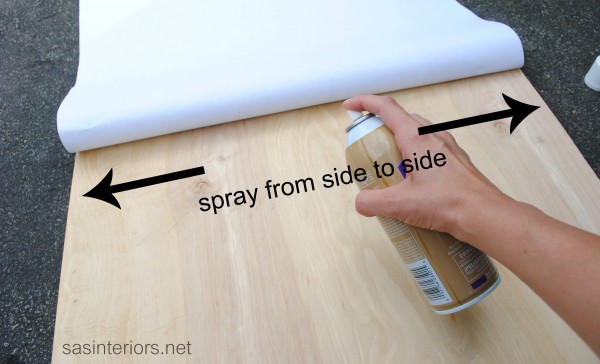
To stick the blueprint to the plywood, I started at the top edge and sprayed a thin, even coat of glue, just like spray paint, from one side to the other side. Then lined up the corner of the blueprint to the corner of the plywood.

Once the top edge of the print was on, I continued to add the glue in small sections – again spraying from one side to the other.

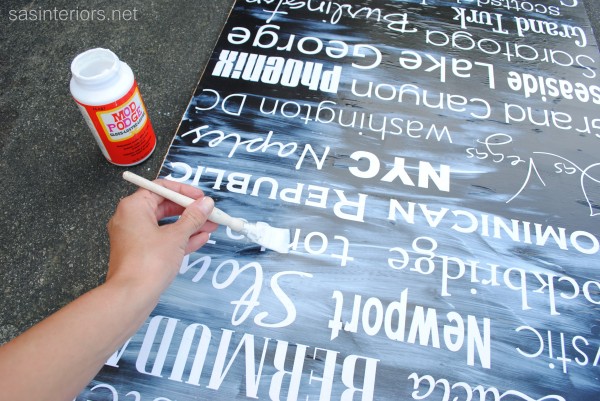
Once the blueprint was fully on the plywood, I added a coat of Mod Podge to protect the paper surface.  I applied the MP from side to side just like the spray glue.

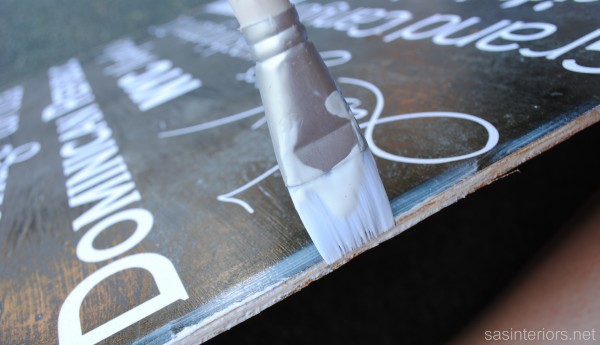
I didn’t forget the sides – it’s a must so the paper doesn’t rip or curl.

Almost done, but I have to admit there were some wrinkly spots once the Mod Podge dried…

Oops, I thought I adhered the blueprint so well.  No worries, I then got out my handy-dandy orbital sander and sanded the edges and top surface of the print.  I also added in a few “wear marks” to give the sign a distressed look.

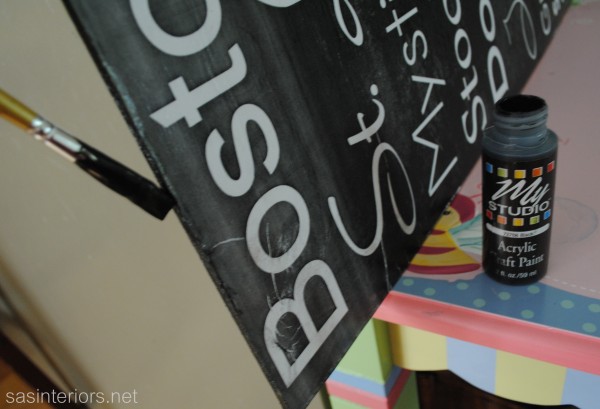
Almost finished… to complete the look and to hide the plywood side, I used a black craft paint and painted the 4 edges of the sign.

The sign is complete…

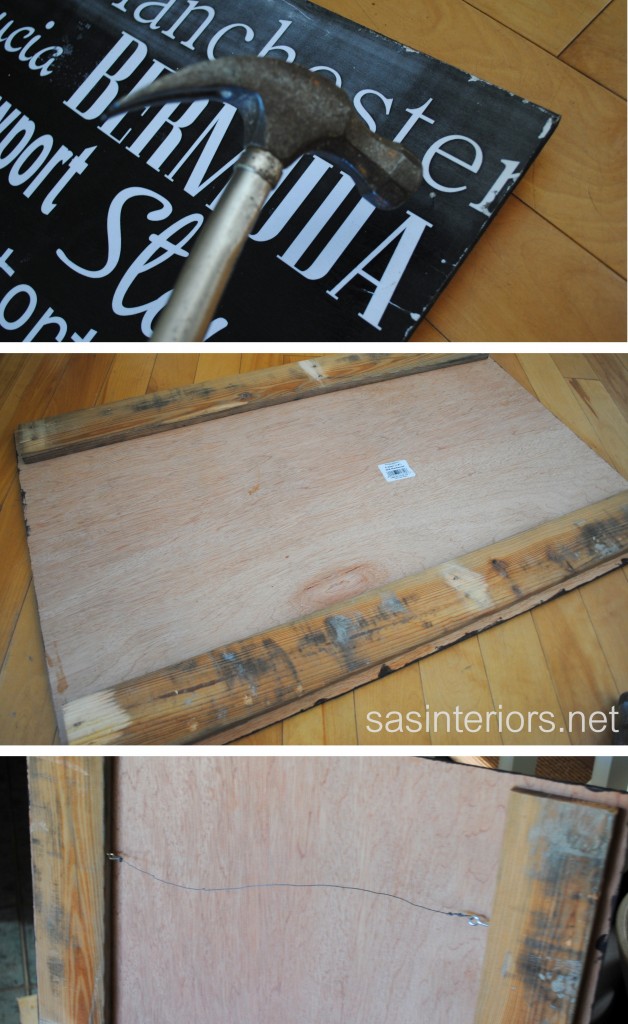
…but wait, we’ve gotta mount & hang it!  To give the sign some depth and importance (plus it was slightly bowed because the plywood is thin), I added two vertical pallet pieces to the back.  Using short nails with a small head, I hammered them through the sign into the pallets. Then added picture hooks and wire.

Then it was really done!

So fun, So easy, and less than $10 – you can’t beat awesome, personalized wall decor like that!

I link my projects to some of these parties: Skip to My Lou, Dittle Dattle, Between Naps on the Porch, Today’s Creative Blog, Stories of A to Z, All Things Heart & Home, House of Hepworths, Finding Fabulous, The Shabby Nest, Serenity Now, Tatertots and Jello, Thrifty Decor Chick, Tip Junkie

Autumn Mantel

I’ve been loving the cool temps over the past few days, have you?  For me, there’s no transition time once September hits.  A switch goes off in my head that says “Fall, Fall, Fall”.  Thankfully I haven’t dug out the sweaters yet, BUT I did gather some decor for my newest mantel for the coming season.

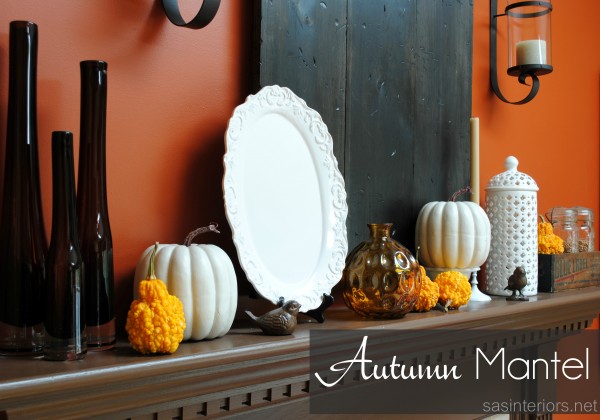
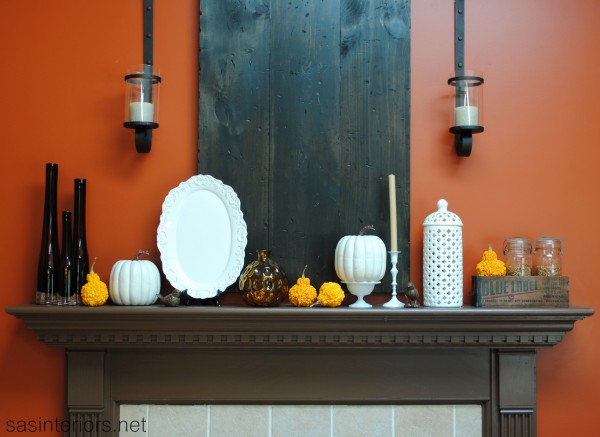
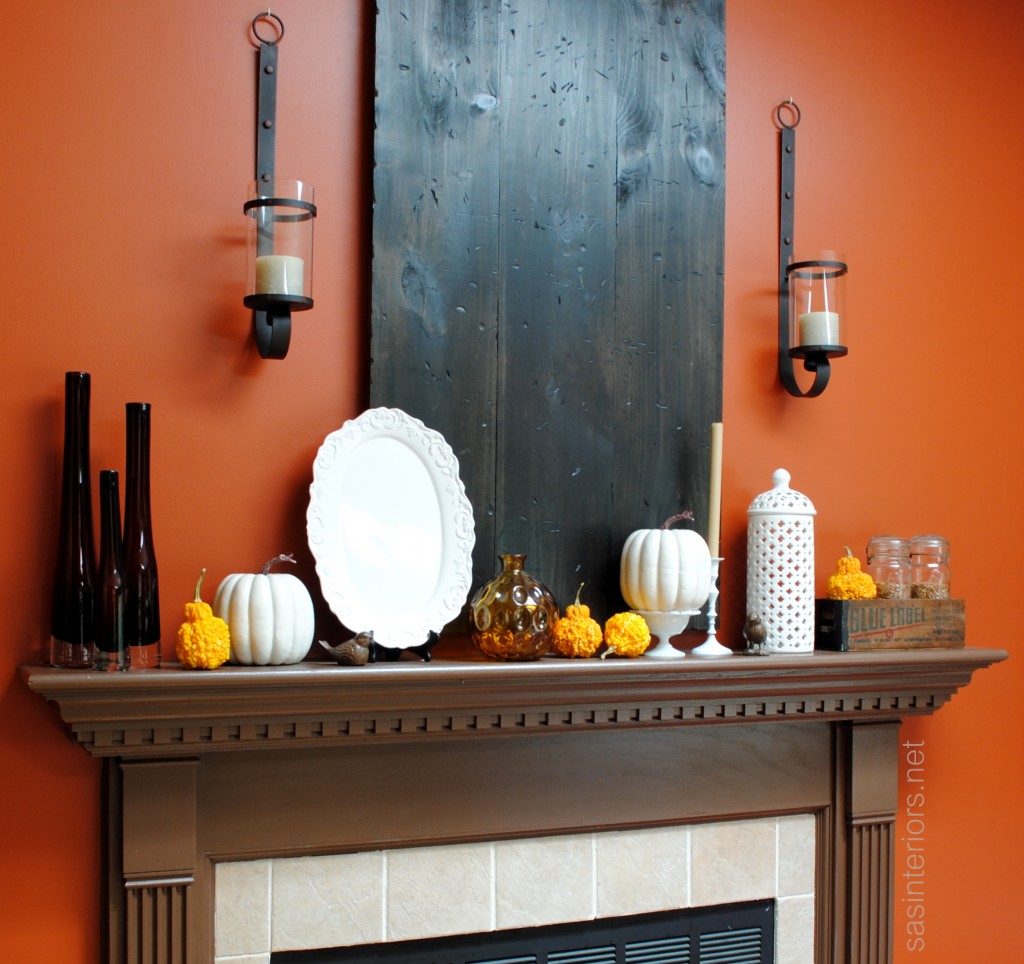
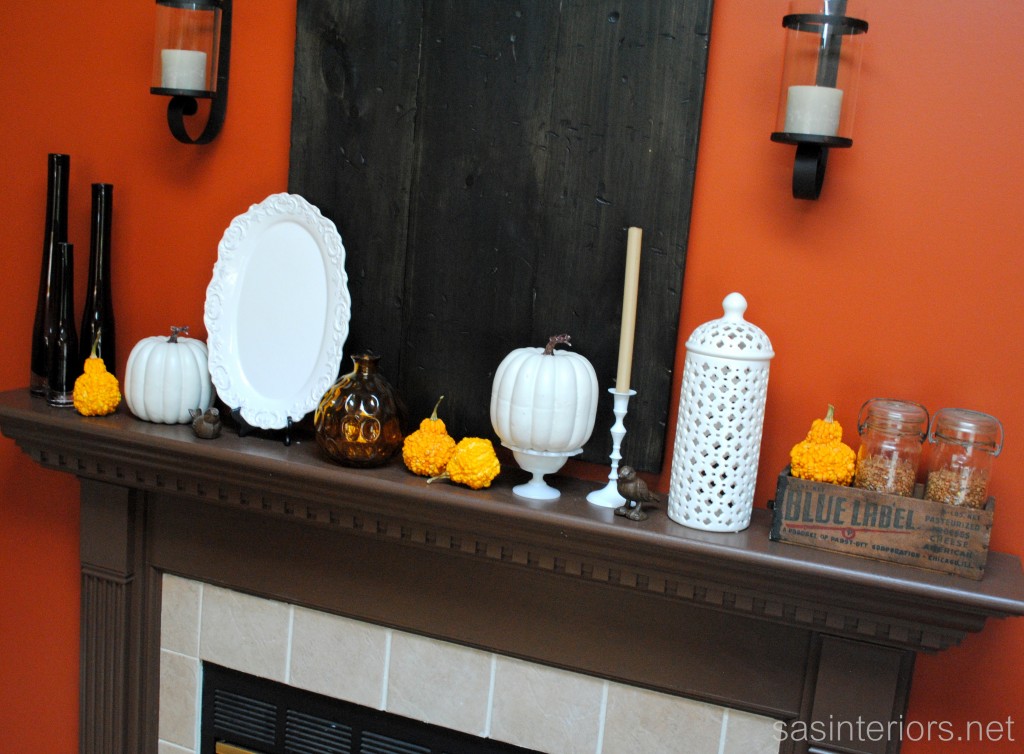
Autumn is almost here and after sharing a fun roundup of Fall Fireplace Mantels earlier this week, I’m ready to reveal mine.  But before we begin, I have a confession to make… I never showed you my summer mantel.  I had great intentions to, but it never happened.  No worries, because for Fall I didn’t change much and basically the reasoning is that I just love it. This years Autumn Mantel isn’t overly “themed” and actually isn’t really “fallish”.  Basically I kept it simple and added a few festive elements.  Take a look…

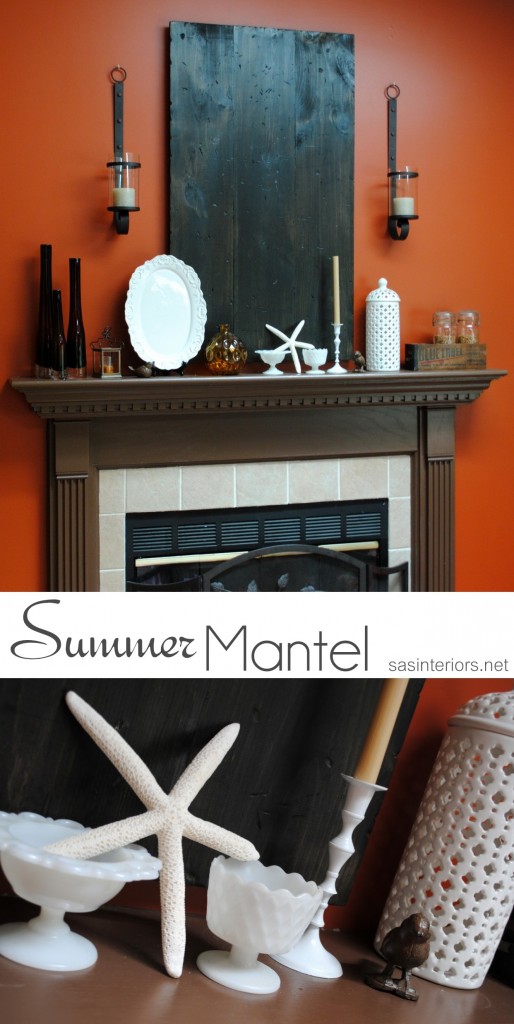
The change from my Summer mantel to now wasn’t that different or difficult.  Since you didn’t see the Summer mantel, this is what it looked like.  With the addition of the starfish for the warm months and the simple switchout to pumpkins and ghords for Fall, the mantel was updated in minutes.

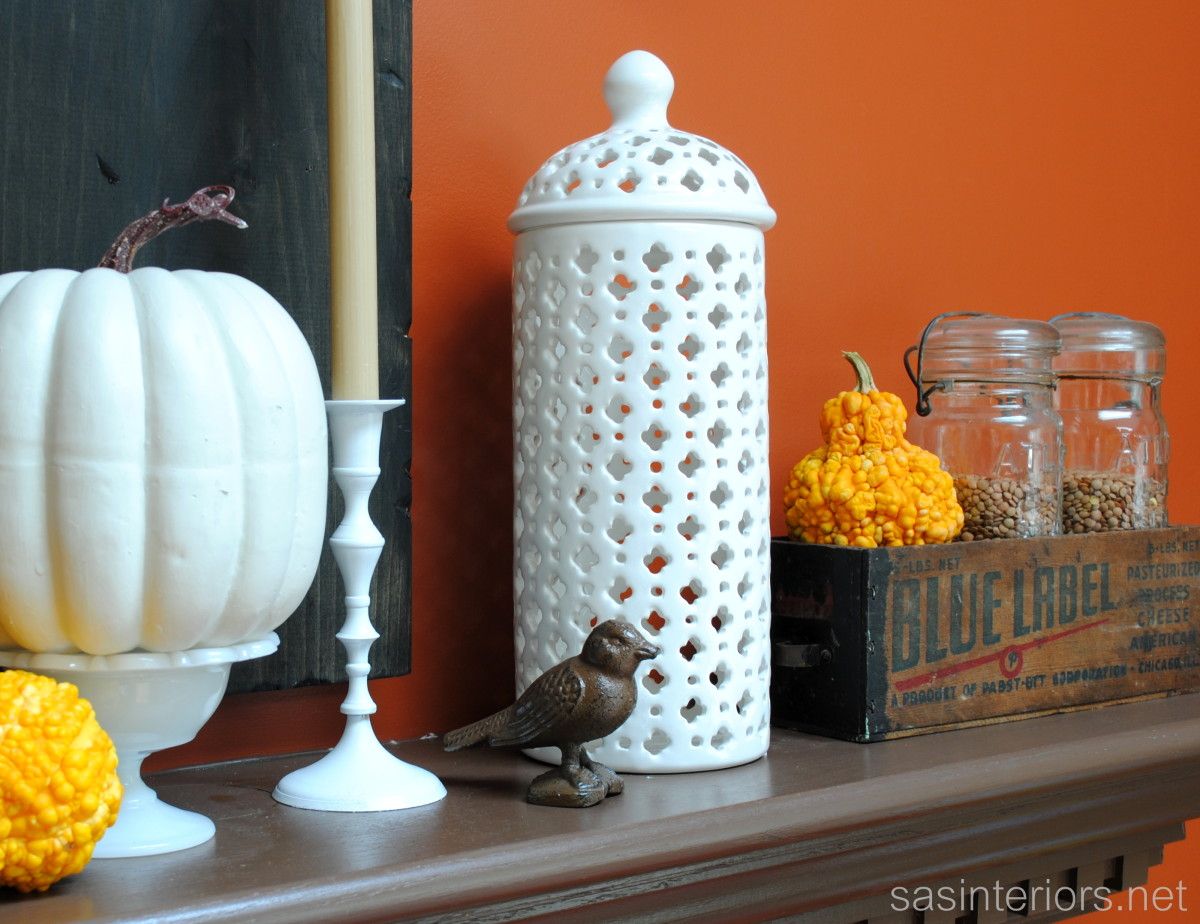
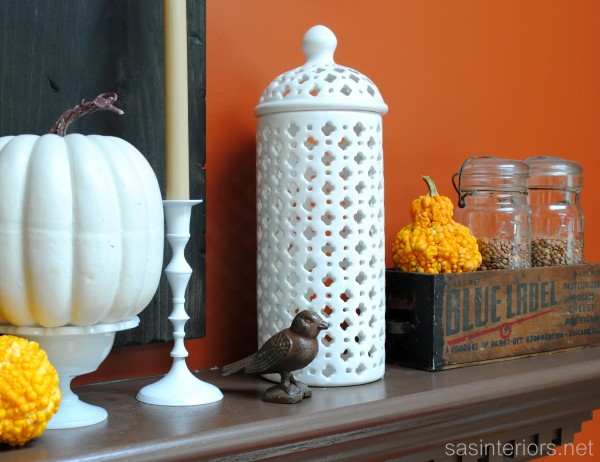
I have to say, I’m really happy with the simplicity and monochromatic look of this year’s Fall Mantel.  For this mantel, I shopped my home for everything, except one piece – the tall white jar.  I had been on the search for something like it and when I saw this beautiful pierced ginger jar at TJ Maxx a few months, I snagged it up – it was attractive and for under $20 it was a must-have!  It’s height and detail bring so much character to the mantel.  Don’t ya think?!

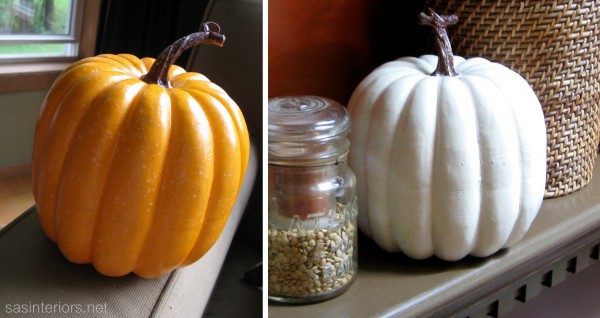
All the other elements in this Fall decor were seen in last years mantel or were someplace else around the house.  The white pumkpins were a great score last year and weren’t always white.  If you recall, this is what I did…

It’s amazing what a little white craft paint can do!

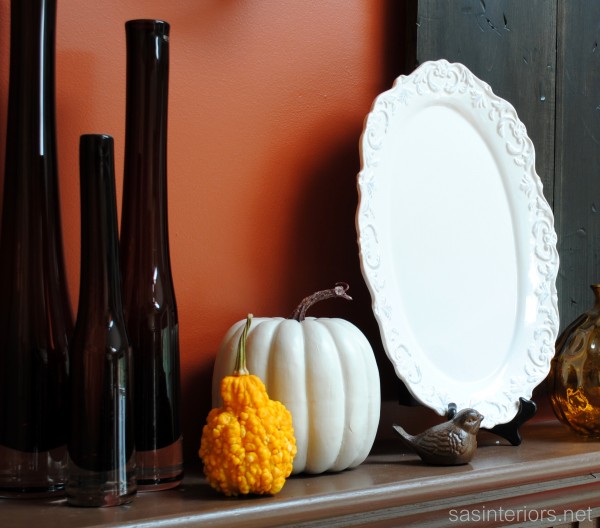
In continuing my simple white aesthetic, I spray painted the candle stick white as well.  In my other mantels, it was brass, but not anymore.  Continuing, my estate sale found mason jars are still filled with lentils and beautiful, bumpy, bright orange ghords were added throughout.  I had to add some color.  right?!

Those tall glass jars are killer – loved them since the day I bought them which was a gazzillion years ago (more like 10+) from Crate and Barrel.  Ya gotta love the Crate!

The birds are another recent find that I purchased at a local home store.  They are dark brown, similar to the mantel color and almost blend right in, but they are so cute and add a whimsical touch to the mantel decor.

I think it’s so important to add varying heights and layers when creating a mantel.  Think of your mantel composition as a wave – it should go up and down as it moves across.  Need more tips on mantel decor? Check out my post on How-To Decorate a Mantel.  Looking at others mantels will also help inspire and give ideas.  That’s where my roundup comes in handy!

Here’s the overall Fall Mantel.

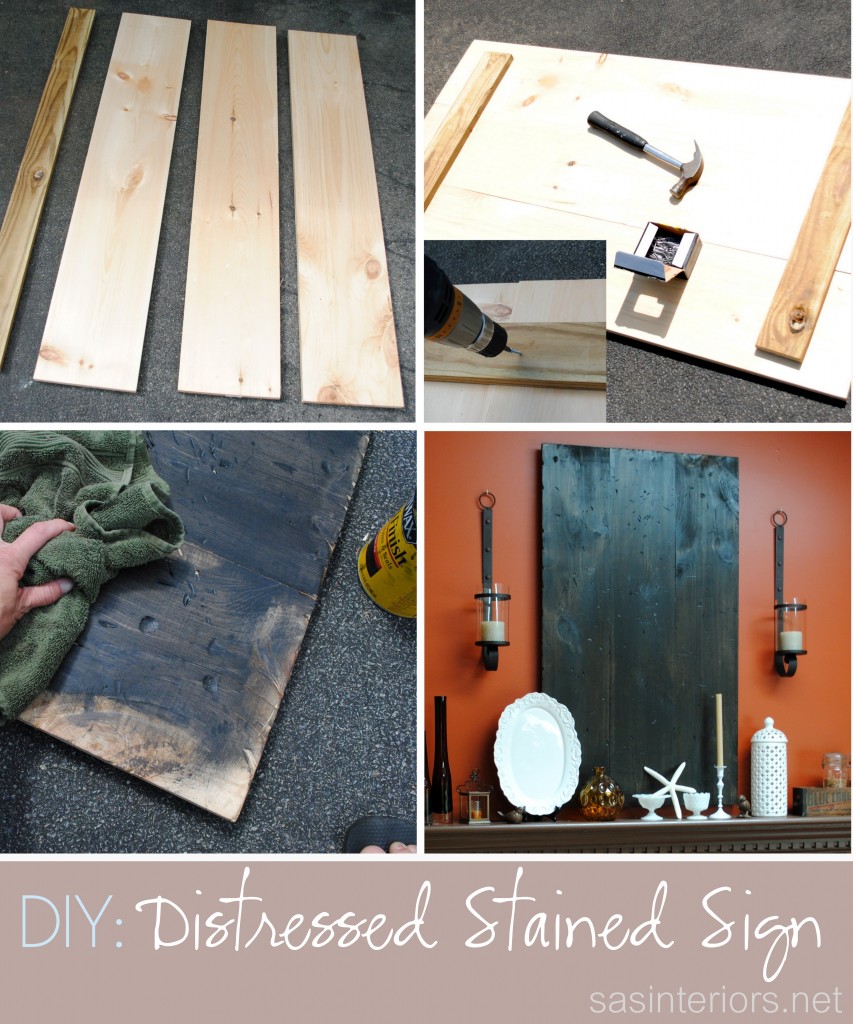
You might have noticed in some of the pictures that there’s somethin’ different on the wall?  Yup, that’s new.  There used to be a mirror there, but that got revamped and moved to the dining area. In it’s place is a new distressed stained sign, which was easy to create and is an awesome backdrop. Want to create something similar?  Here’s how…

Create a Distressed Stained Sign

1. Measure and cut lumber to the size desired (I used (3) 2″ x 12″ x 48″ pieces of pine)
2. Use (2) horizontonal pieces of lumber to secure the vertical pieces (I used (2) 2 x 4, but any size lumber would really work)
3. Distress the sign using a chain, hammer, nails, etc. to add as much or as little distressing as desired
4. Stain your sign.  I used the stain that I had leftover from my staircase which was Ebony, but you can use a lighter stain depending on the depth of color you want to achieve.

Pretty simple, right?!  I love how it brings height and depth to the space, yet still creates a great backdrop to the mantel decor.  And against the burnt orange wall, it really makes a statement.

Simple and Chic Autumn Mantel. Yes, I’m happy 😉

Have you started your decorating for Fall yet?  I’ve got my mums and ghords, and this weekend we’re headed to the apple orchard.  O, do I LOVE Fall!

I link my projects to some of these parties: Skip to My Lou, Dittle Dattle, Between Naps on the Porch, Today’s Creative Blog, Stories of A to Z, All Things Heart & Home, Savvy Southern Style, House of Hepworths, Finding Fabulous, Creation Corner, The Shabby Nest, Serenity Now, Tatertots and Jello, Thrifty Decor Chick, Tip Junkie
From Wood to White: How-To Paint Mouldings

If I could sum up my Summer in DIY terms, it was all about painting. From the staircase to my office chair, from the white shelves to the new blue room, I think there was 2 (or maybe even 3) weeks straight that I had a paintbrush in-hand everyday!  Honestly, I’m kind of sick done with painting for awhile. Anyway, alot of projects got accomplished and one in particular were the oak stained wood mouldings that I painted white.  All I can say is…  WHAT A DIFFERENCE!

The staircase project was what did it and started the process of updating the mouldings.  It’s something that I wanted to undertake for a long time, but just didn’t know where to begin.  Once I started painting the stair risers and balusters, I realized that painting the trimwork wasn’t too difficult, so I just continued around the room. Even though the staircase was time consuming, the result was completely worth the effort and I knew I would feel the same way once the mouldings were finished.

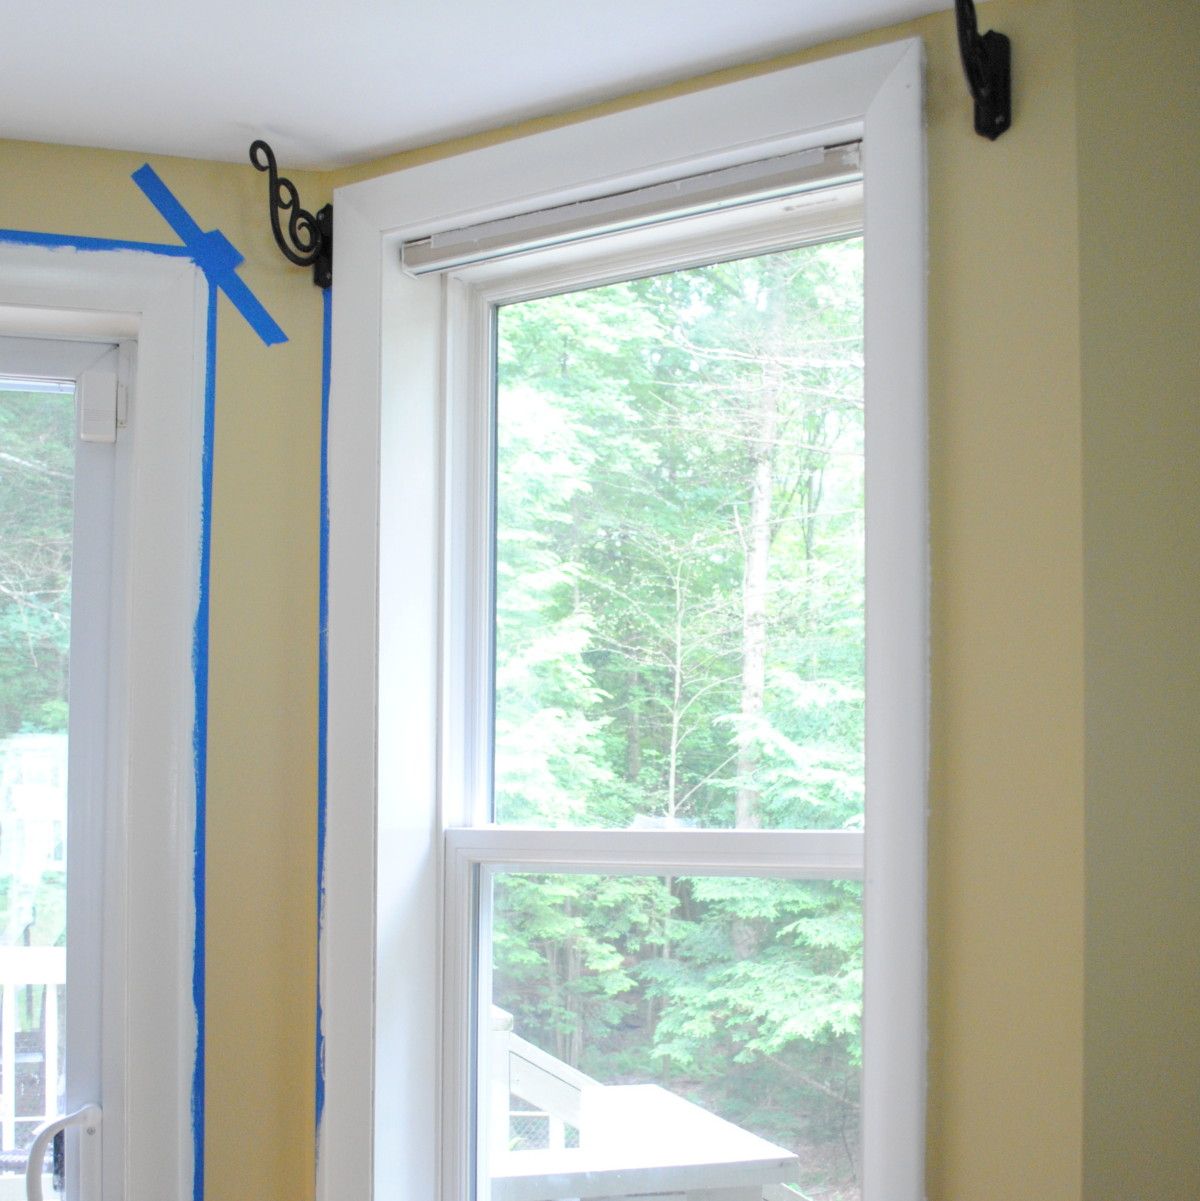
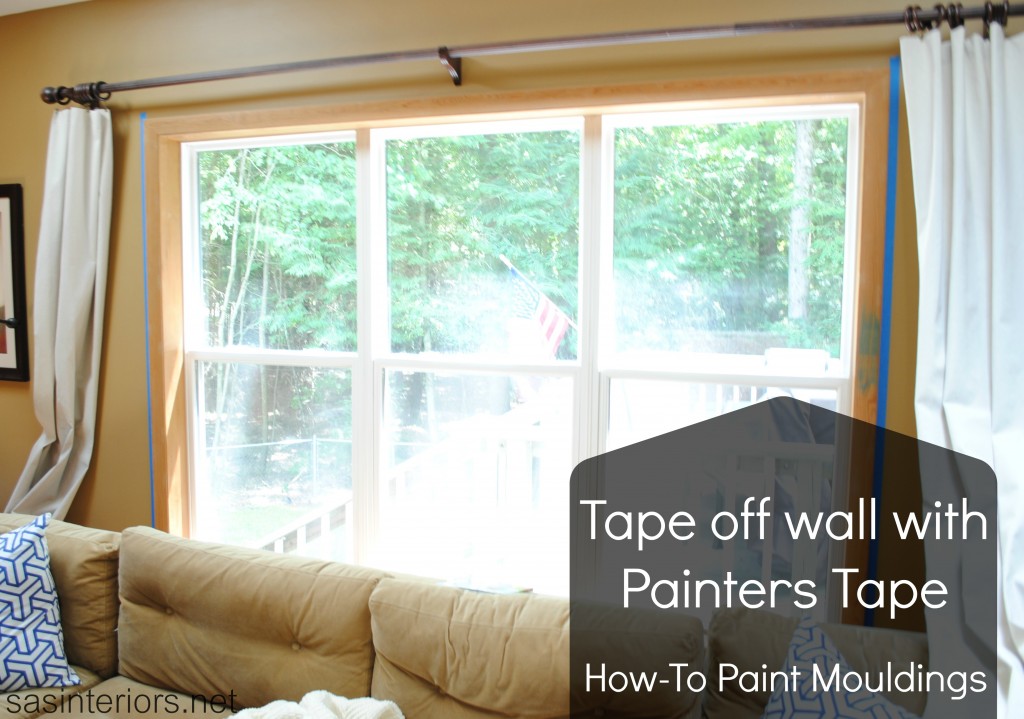
To start off, I applied painters tape to the wall so only the mouldings (the areas that I wanted to paint) were exposed.

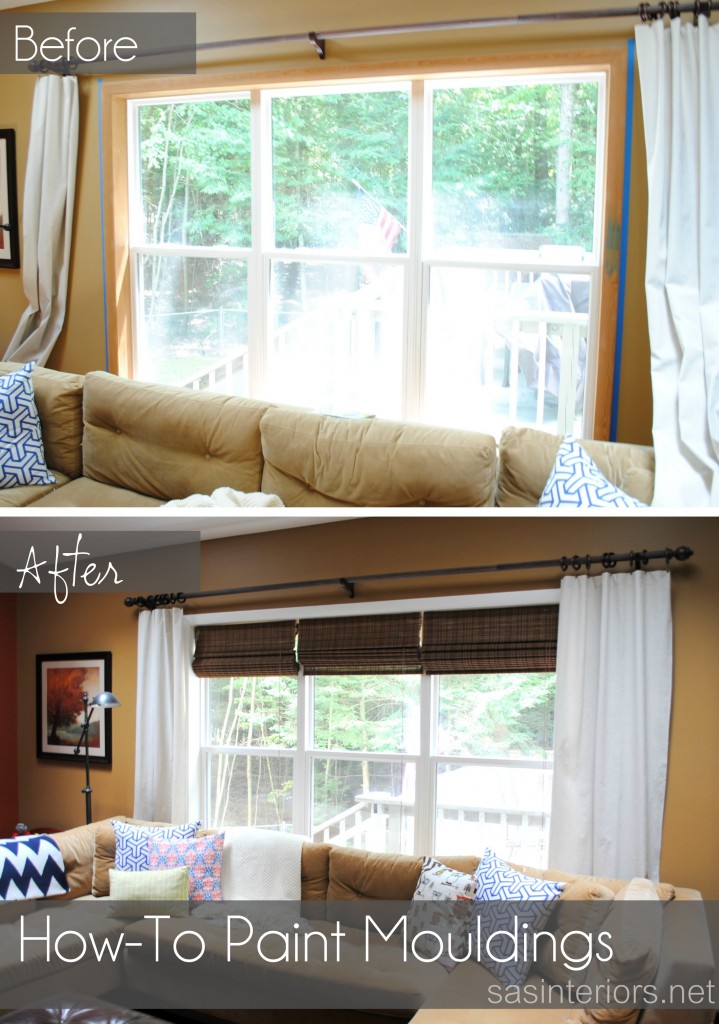
Here’s a snapshot when I painted the area around the window in the living room.

* Sidenote: My walls were already painted, but if you’re undertaking this project and your walls are NOT painted or you plan on changing the wall color, then paint the mouldings first.  Believe Me, It’s much easier!  So you would reverse the step I just mentioned.  Paint your mouldings first and once they are dry, tape the moulding edge (or buy a moulding paint gadget), THEN paint the wall color.

okay, moving on…

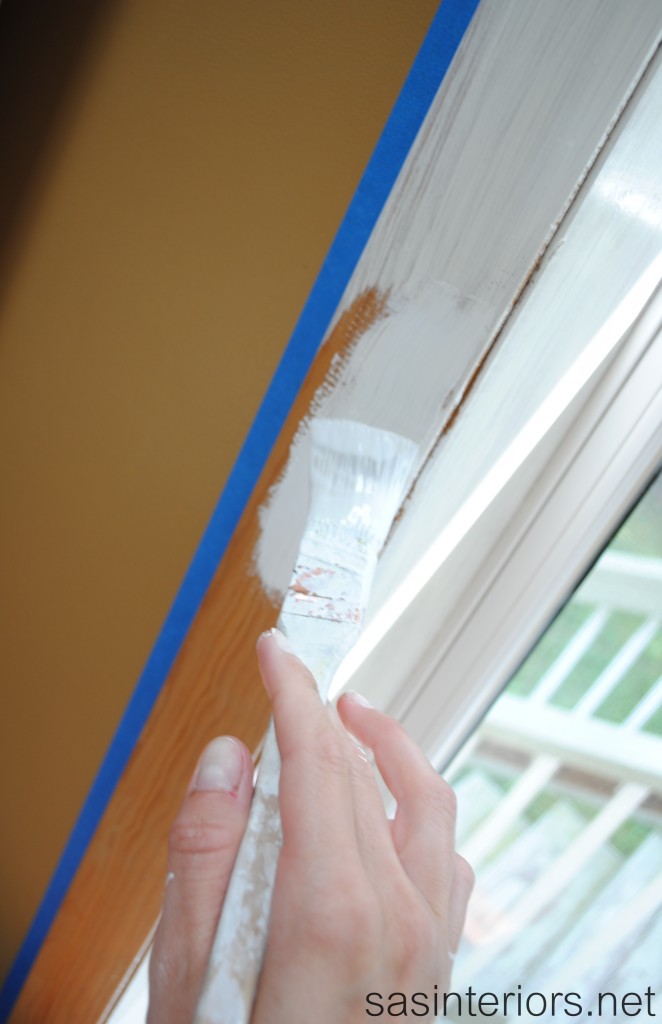
Once the tape was up, I was ready to paint.  Using my favorite Purdy brush, I applied one coat of Kilz Primer (I’ve heard good things about gripper primer too, but haven’t tried it yet).  I didn’t bother with sanding because even though the mouldings were stained, there was no gloss or sheen to them.  They were at the point of needing to be restained (to protect them) or painted (as I did).  IF you’re undertaking this project and your mouldings have a gloss finish, giving them a light sand is probably a good idea.

Primer for the mouldings is really important.  At one window I didn’t use it (by accident – it was late at night – you know the rest…) and you could see the orange color of the stain coming through the paint.  No matter how many coats of paint I applied, the orange tint always showed.  Now with primer, you may still get the orangey color, BUT when you go to apply the paint color, the orange color won’t come through because the primer will block it.  Primer truly is amazing stuff!

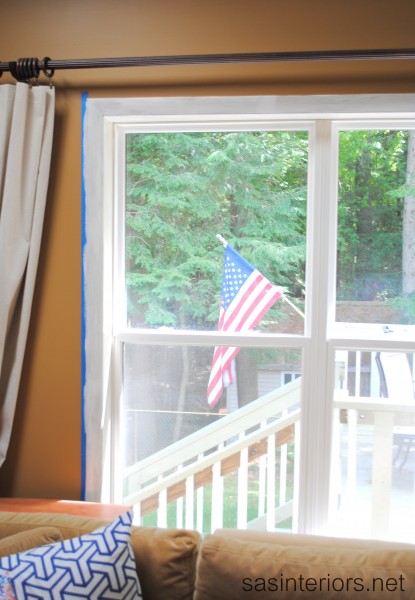
After the one coat of primer, then it was time to paint.   I continued with the paint I used for the staircase which was, Snowfall White by Benjamin Moore (thanks BM for providing the paint!).

Here’s a snapshot of the first coat of paint.

In most areas, I applied 1 coat of primer + 2 coats of paint, but in some areas I did use 3 coats.  It really depended on the finish look after 2 coats.

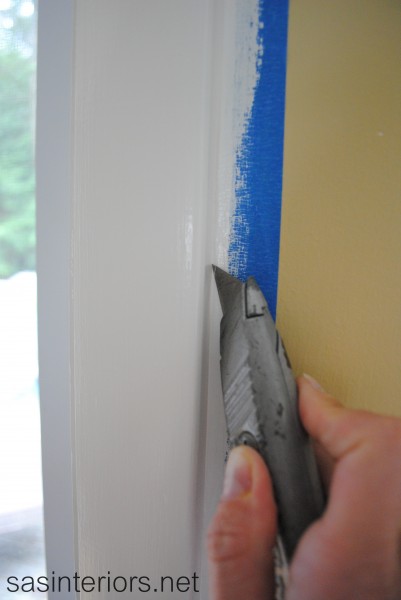
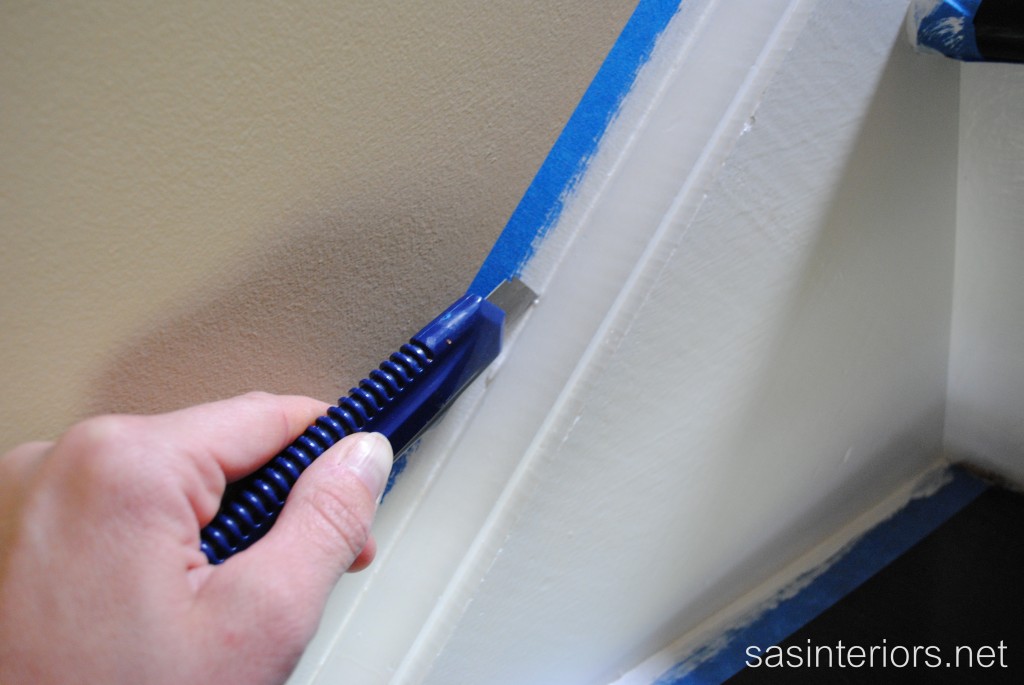
Once the painting was complete, it was time to remove the tape.  I’ll forewarn you – Don’t quickly pull off the tape because you’re freshly painted mouldings might get ruined.  When the paint was dry (to the touch it takes about 20-30 days to fully cure), I pulled off the tape and some of the paint came to.  To avoid that from happening, I used an X-acto blade to score the corner of where the moulding and wall meet…

…then removed the tape.

At this point, I noticed that some of the paint bled under the painters tape – so annoying, right?  I’ll tell ya, I tried lots of different ways to avoid this, but nothing worked.  I even googled it, and I found nada.  If you know a secret way, will you share?  Until then, this is what I did that worked best.

After removing the tape, I took the wall paint color and my Purdy angled brush, and slowly dragged it down the wall where the wall and moulding meet.  It worked perfectly!

And that’s about it…  Not too difficult, just alittle time consuming.  But believe me, the result is SO worth it.  Take it room by room – that’s what I’ve done.  Honestly, not all my rooms are completely finished, but most are and the result is so satisfying!

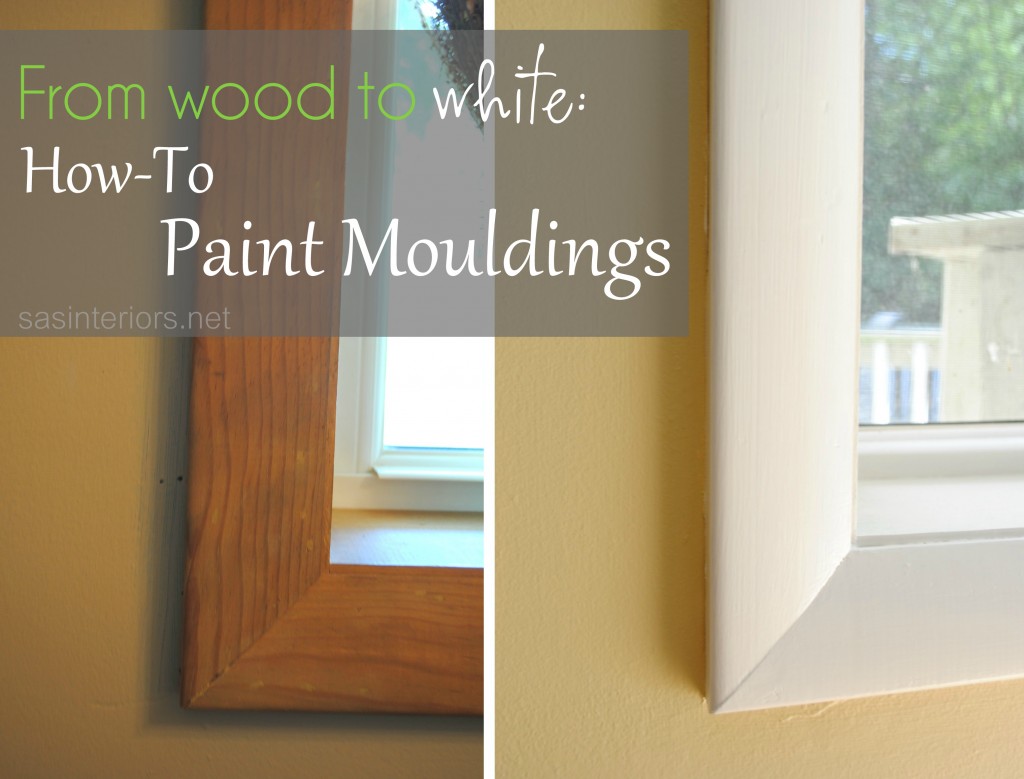
Here is the before and after of the living room…

Want to see some more?

Do you remember when I updated the door hardware? Check out how fresh it looks with the newly painted white mouldings…

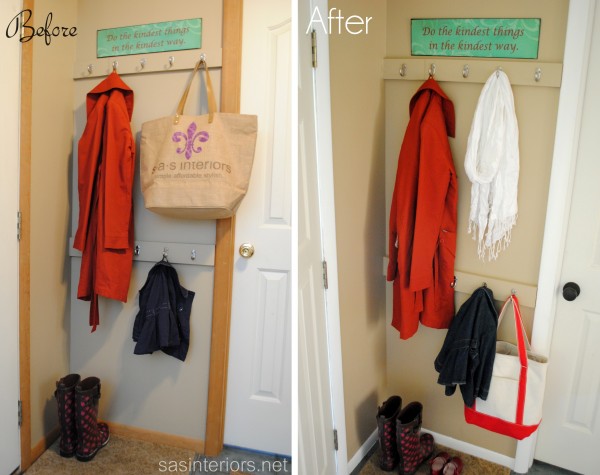
And here’s one more.  Do you remember the DIY built-in coat rack behind my front door?  Well here it is now surrounded by freshly painted mouldings…

What a refreshing update!  Well I have a few more painting projects that I worked on over the Summer that still need to be shared, so check back soon!

What painting projects did you work on this past Summer?

I link my projects to some of these parties: Skip to My Lou, Dittle Dattle, Between Naps on the Porch, Today’s Creative Blog, Stories of A to Z, All Things Heart & Home, Savvy Southern Style, House of Hepworths, Finding Fabulous, Creation Corner, The Shabby Nest, Serenity Now, Tatertots and Jello, Thrifty Decor Chick, Tip Junkie
How-To Paint Laminate Furniture

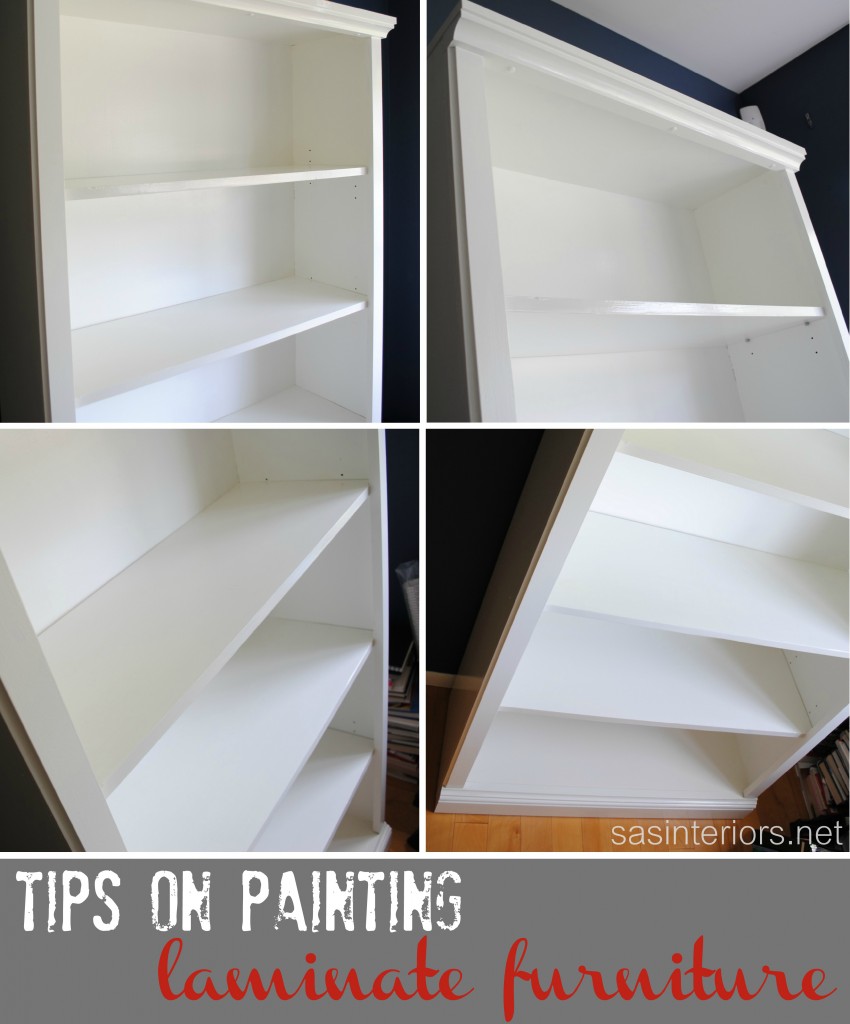
I recently shared my newly styled bookshelves, but before I added all the colorful books and stylish accessories, I gave the bookcases a much needed makeover.

Since painting the space deep blue, the once faux-wood bookcases got lost in the dark hue of the walls, and they were ready for a transformation. A crisp, fresh coat of white was the perfect solution to make a statement.

I purchased these two bookcases from Walmart about 2 years ago.  Each were around $100 and were not the best of quality (duh, look at the pricetag).  Anyway, they fit the bill at the moment, but recently the shelves started to bow.  Aside from the decision to paint the bookcases, I also needed to make a few updates so they would last a few more years – I’ll get to more on that later in the post.

Before starting the process of painting the laminate, I did a little research on the process and the first article I saw was Lindsay’s post when she transformed her TV cabinet.  It was just what I needed to get me started.

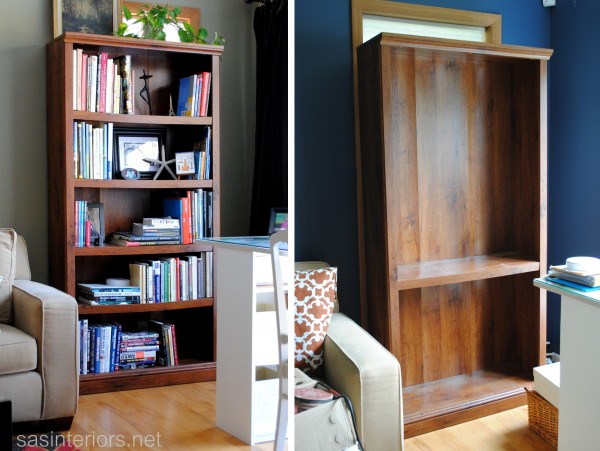
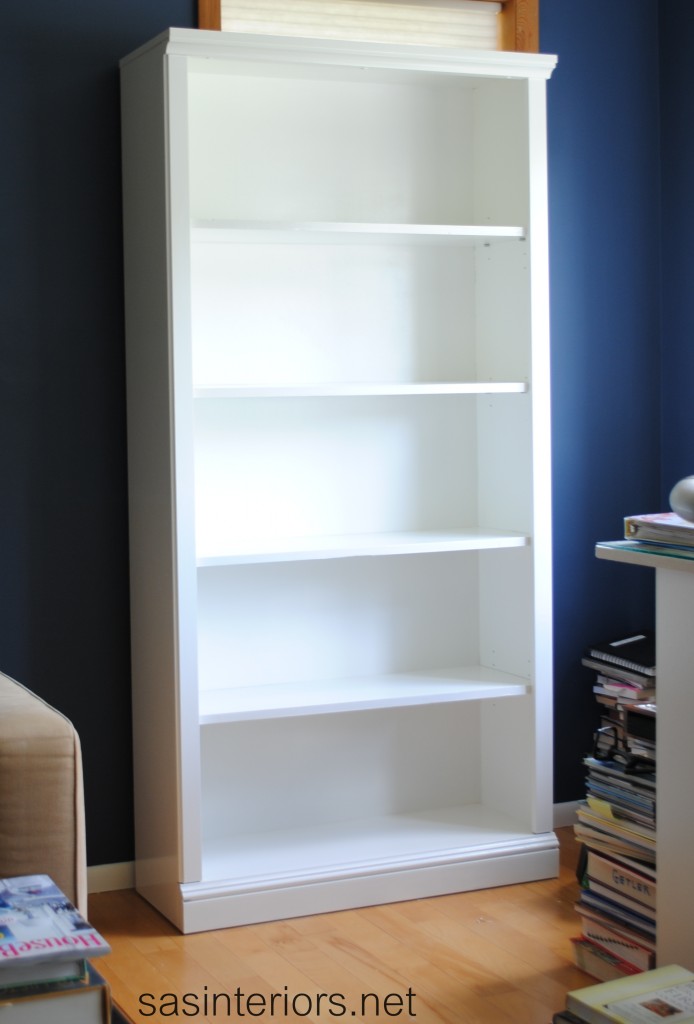
Here’s the bookcase before…

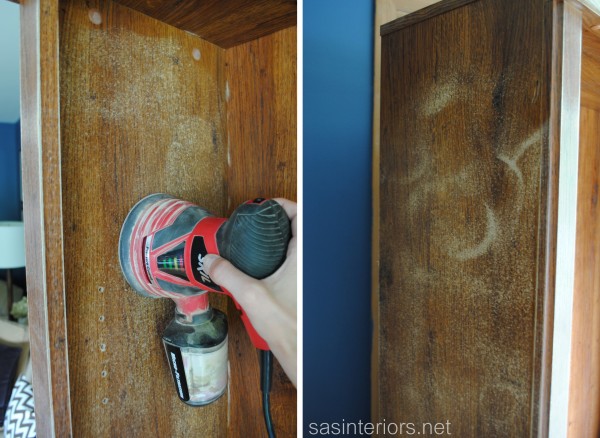
To begin, I gave each bookcase a good sanding with my orbital sander (hands down, my favorite power tool). These bookcases are made of a particle board-like  composite with a faux-wood laminate exterior. It was important NOT to sand too much because otherwise the surface would get ruined (since it’s essentially paper), but at the same time it was important to get them ‘roughed-up’ so the paint would absorb into the surface.

Then the next key step was to prime all the surfaces.  Like usual, I used Kilz Primer which blocks, seals, and preps the surface for the paint to adhere to the surface.  Primer is important, but especially when painting over laminate (as I described above).  Unlike wood, laminate is a smooth, non-porous material, so it really needs something to ‘grab’ on to – primer will do the trick!  It’s suggested that primer takes 7 days to completely dry – you can take that advice if you’d like, but I didn’t (shame, shame on me, I know).  BUT, I did wait about 4 days before painting to really make sure the surface was good-to-go!

My good blogging friend, Diane, recently wrote a post on Gripper Paint.  She uses the Glidden brand (Kilz brand has a similar product), and even though I haven’t tried it, this is another great product to use as a primer.  The name says it all.

Sidetrack Steps…

At this point of the project, I made the decision to make a few much-needed updates to the structure and look of the bookcase.  Instead of moving on to directly painting the bookcase, I decided to replace the shelves and the backing material.

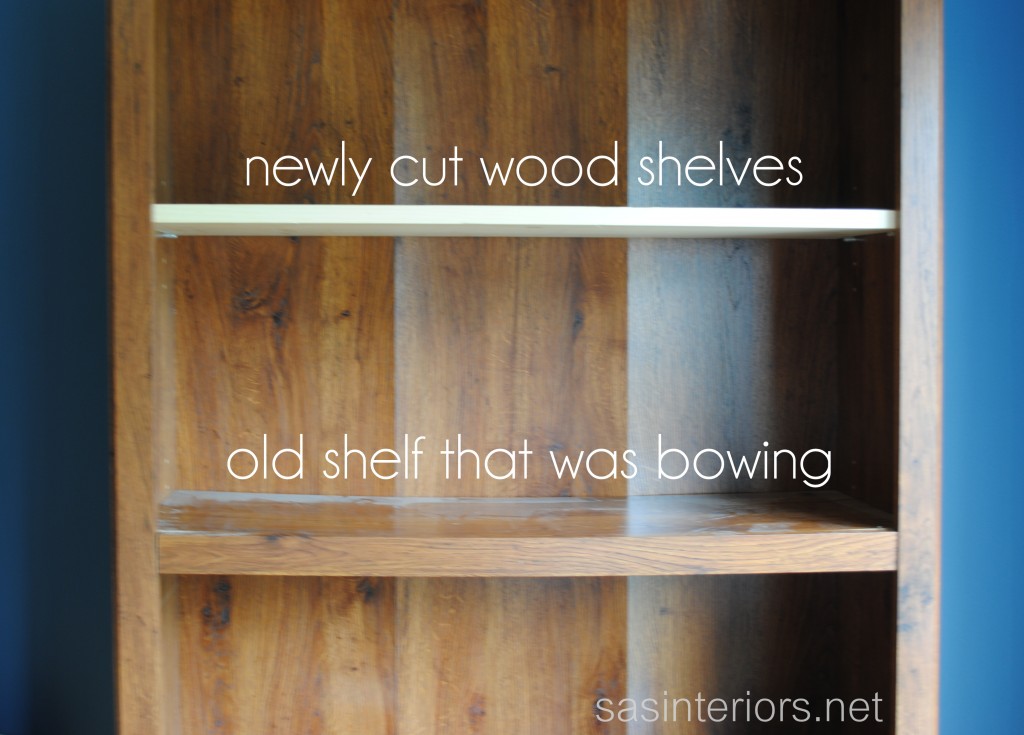
As I mentioned before, the shelves were really bowing – alot – so I took a trip to my hardware store and had a long piece of 2×12 cut into lengths needed for new shelves.

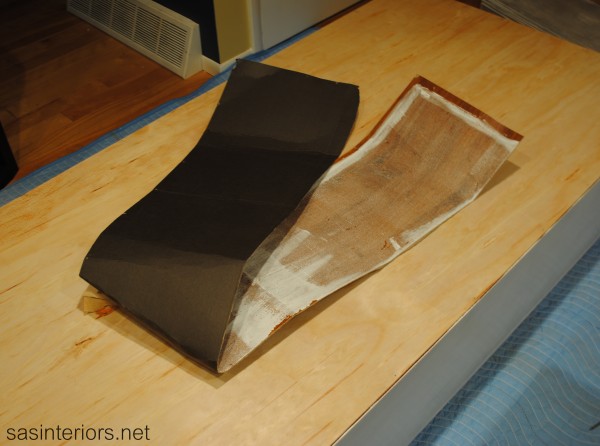
And check out the back of the bookcase…  UGLY!  It was basically paper and when I started to paint the surface, it started warping even more.  Once the decision was made to upgrade the back, I crumbled the paper-backing with one hand…

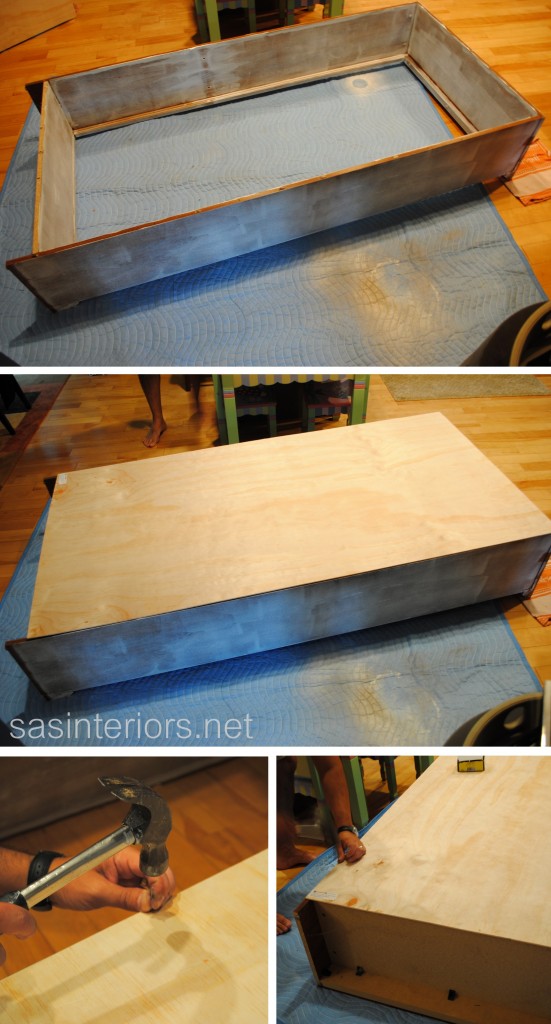
To fix the backing, I had a thin piece of plywood cut to size.  Then the Mister and I flipped the bookcase onto it’s front and nailed the plywood to the perimeter of the bookcase back. (This step might seem difficult, but please be assured it wasn’t – this was probably one of the easiest steps throughout this project).

Now back on track…

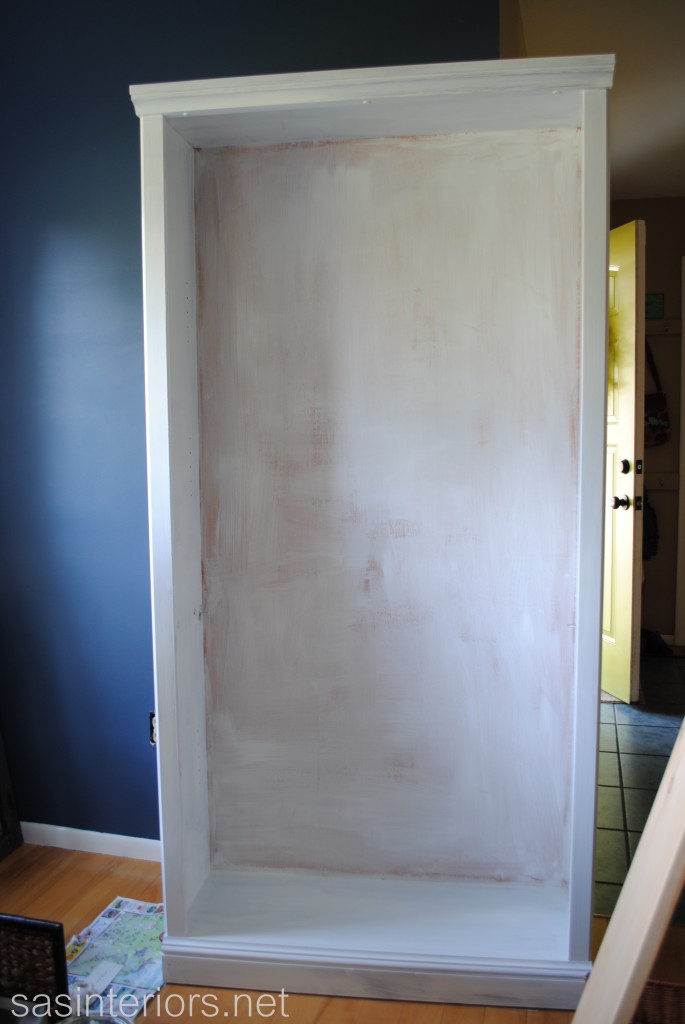
After sanding, priming,and making a few updates, it was time to PAINT!

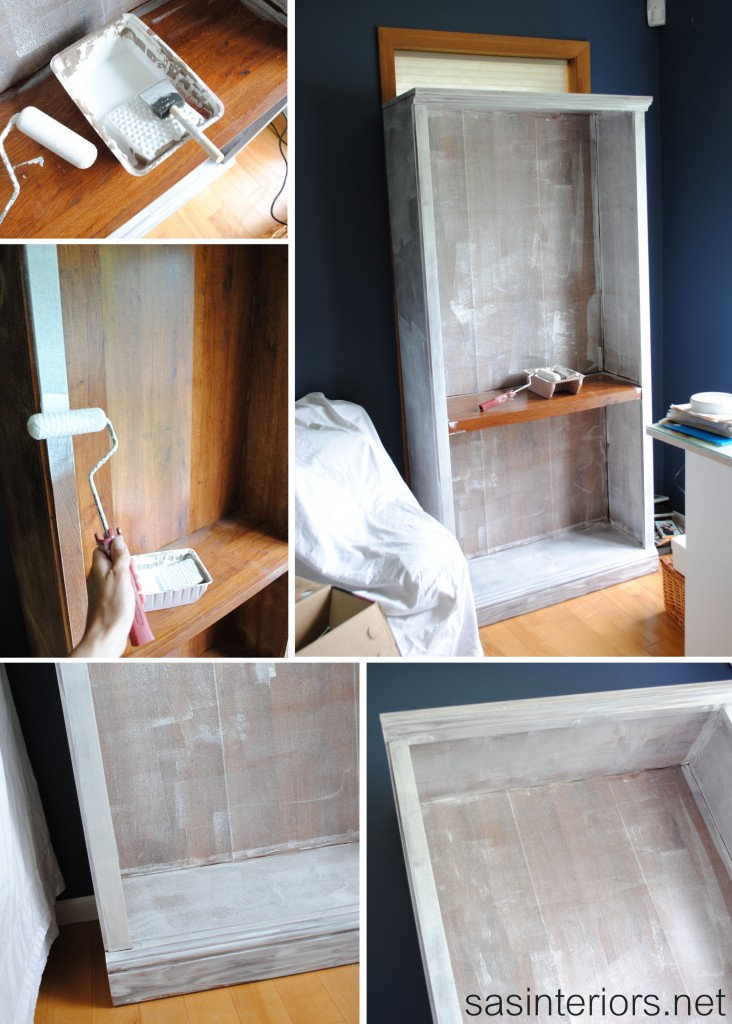
I used a brush for the corners and a roller for the flat surfaces.  In certain areas, I used a brush first, then went over the same surface with the roller to achieve a smooth, stroke-less surface. Here’s the bookcase with the first coat of paint…

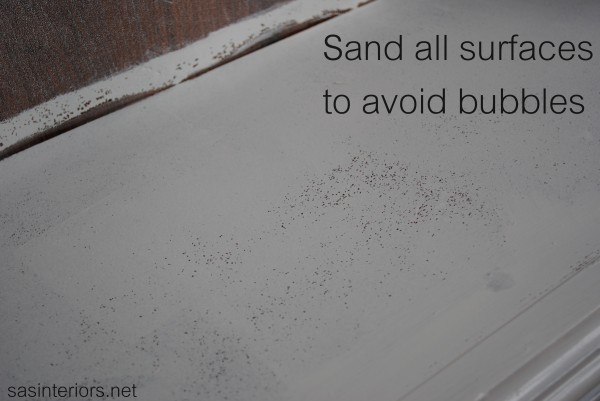
Here’s a tip.  If the surface isn’t sanded or not sanded enough, then the paint will bubble (because it’s not adhering to the surface).  Check this out…

This is a No-No!

I’ll be honest, these bookcases took about 3-4 coats until I felt they were fully covered. And even after they were dry to the surface, I didn’t put anything on the shelves for at least a week.  Paint takes about 30 days to fully cure and with the heavy books and accessories sitting on them, the last thing I would want would be to have them ruined or peel!

And this is the result…

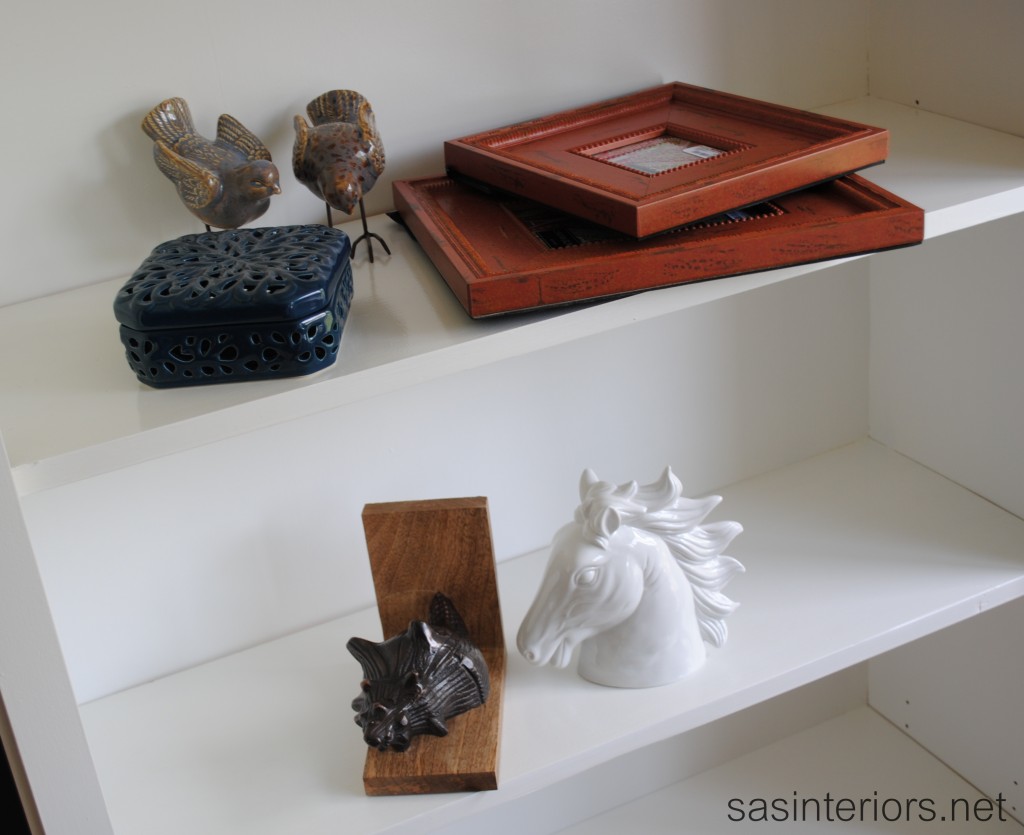
So refreshing!  Then it was time to add the books and accessories.

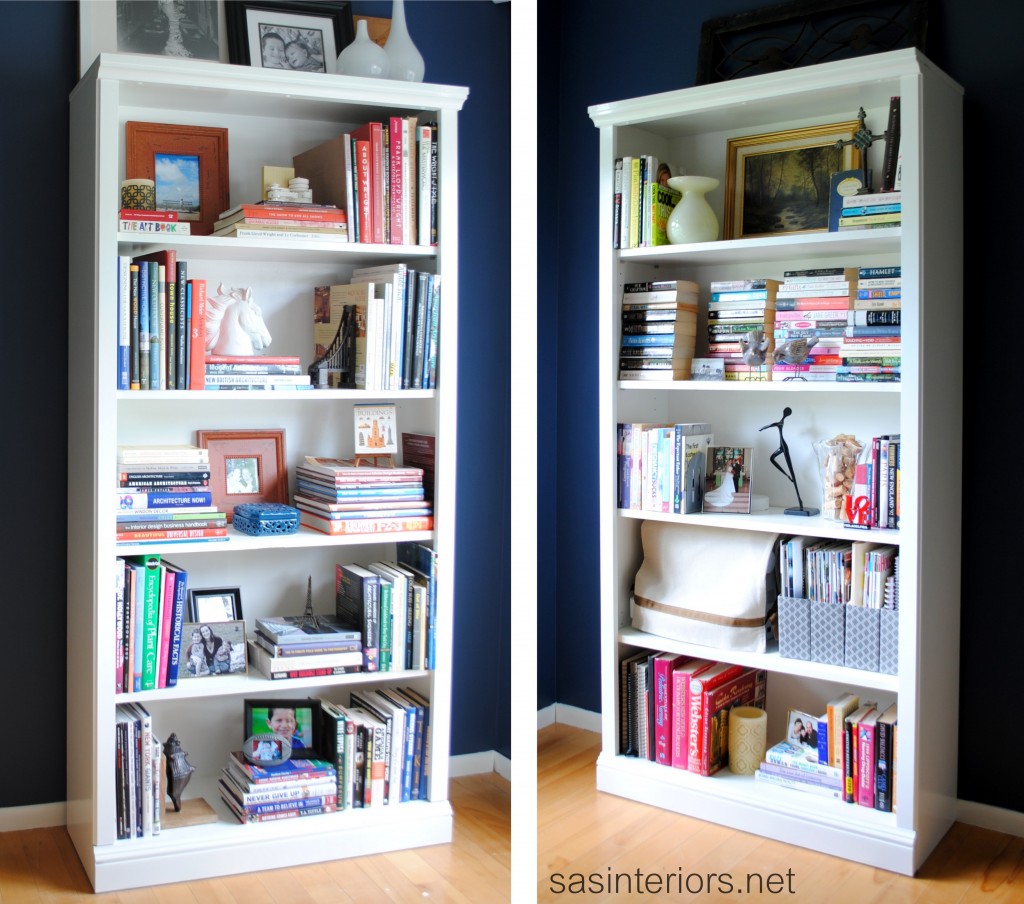
And here’s a peak at how the bookcases look fully styled with books and accessories.  You can check out more by viewing this post.

Painting laminate wasn’t difficult, but I did find it more time consuming than painting wood.  To sum it up, the most important steps are to sand and prime all the surfaces before painting.  If you were to skip the 2 steps, your paint would have nothing to adhere to and would most likely peel right off.  Going into this project, I wasn’t sure of the result and if the paint would even stay since the surface was so smooth, but with the right preparation, I was thrilled with the outcome.

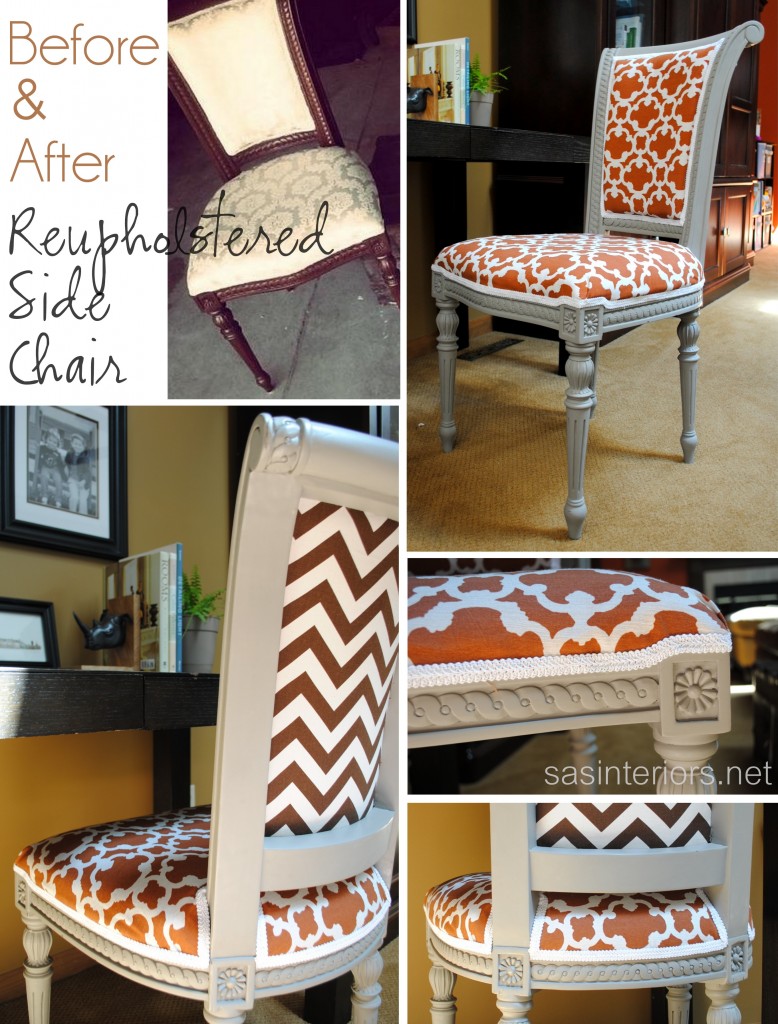
DIY: Reupholstered Side Chair

I’ve always had the desire to attempt the process of reupholstering a chair.  Quite a few of my blogger friends did and the results were amazing, but I was still reluctant – Could I really do it? 

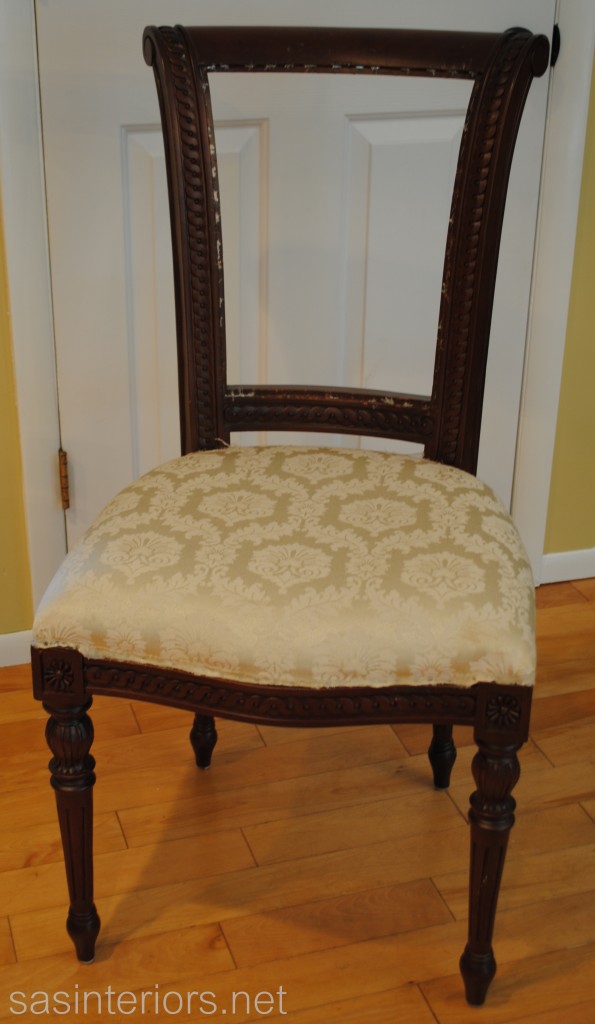
After reading this post, for some reason, “it” clicked and I was on-board.  My mission of finding a chair had started.  I needed something new anyway for my desk since I’ve been using this chair which has no seat padding and gets uncomfortable after a while. It took some time, but one day when on a thrifting adventure with my mom, I spotted it and bells started to ring.

Let me start off by saying, I have no upholstery skills, so this is something that absolutely ANYONE can do.  If I can do it, so can you!  Don’t get me wrong, there were quite a few times that I wanted to give up, but I kept chug, chug, chugging along and I’m thrilled with the results of a comfortable, stylish, and inexpensive desk chair.

It all started off here…

I began by removing the fabric from the back of the chair.  The old fabric was secured with ALOT of staples (which brought back memories of the carpet on the stairs), so using plyers I (and the mister) removed each and every one.  It took a while and part of the surrounding wood on the chair got slightly damaged, but it ended up being fine since the new fabric and trim covered it later.

The seat upholstery I left since it was in fine condition and the new fabric would cover right over.

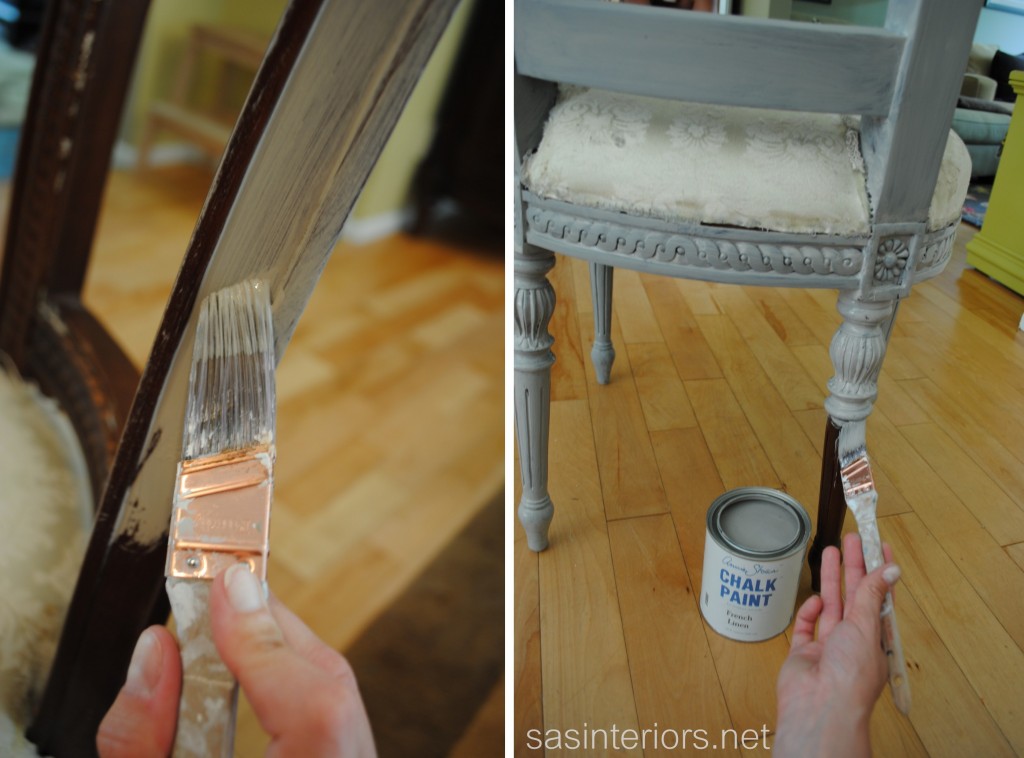
Once the fabric was stripped down, it was time to give this chair a paint makeover.  Up until this point, I had never before tried the Annie Sloan Chalk Paint and thought this would be the perfect piece.  Because of the ASCP formula, there is no need to sand before painting and I was ALL FOR THAT! Holla…

I had some hurdles to overcome with the paint and wax, but all in all, I was happy with the result.  My experience with the paint is a story in itself, which you’ll have to wait for later this week. (Click HERE to read about My First Annie Sloan Experience)

Anyway, here is me painting the chair…

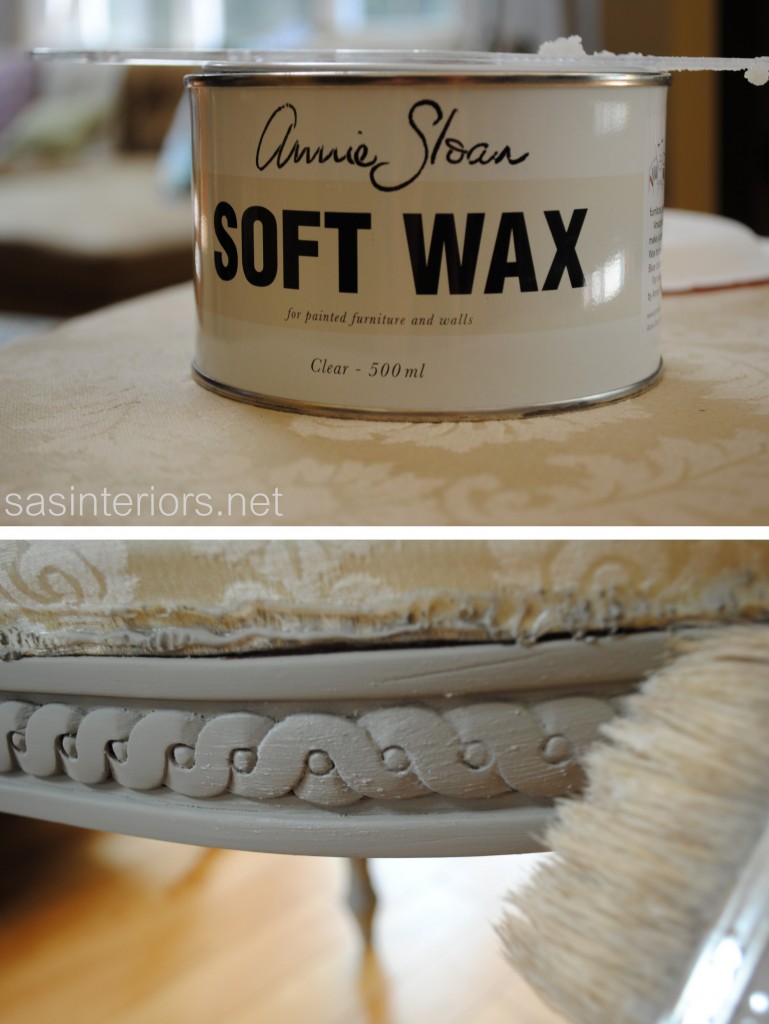
Two coats later, I then added the clear wax as top coat.

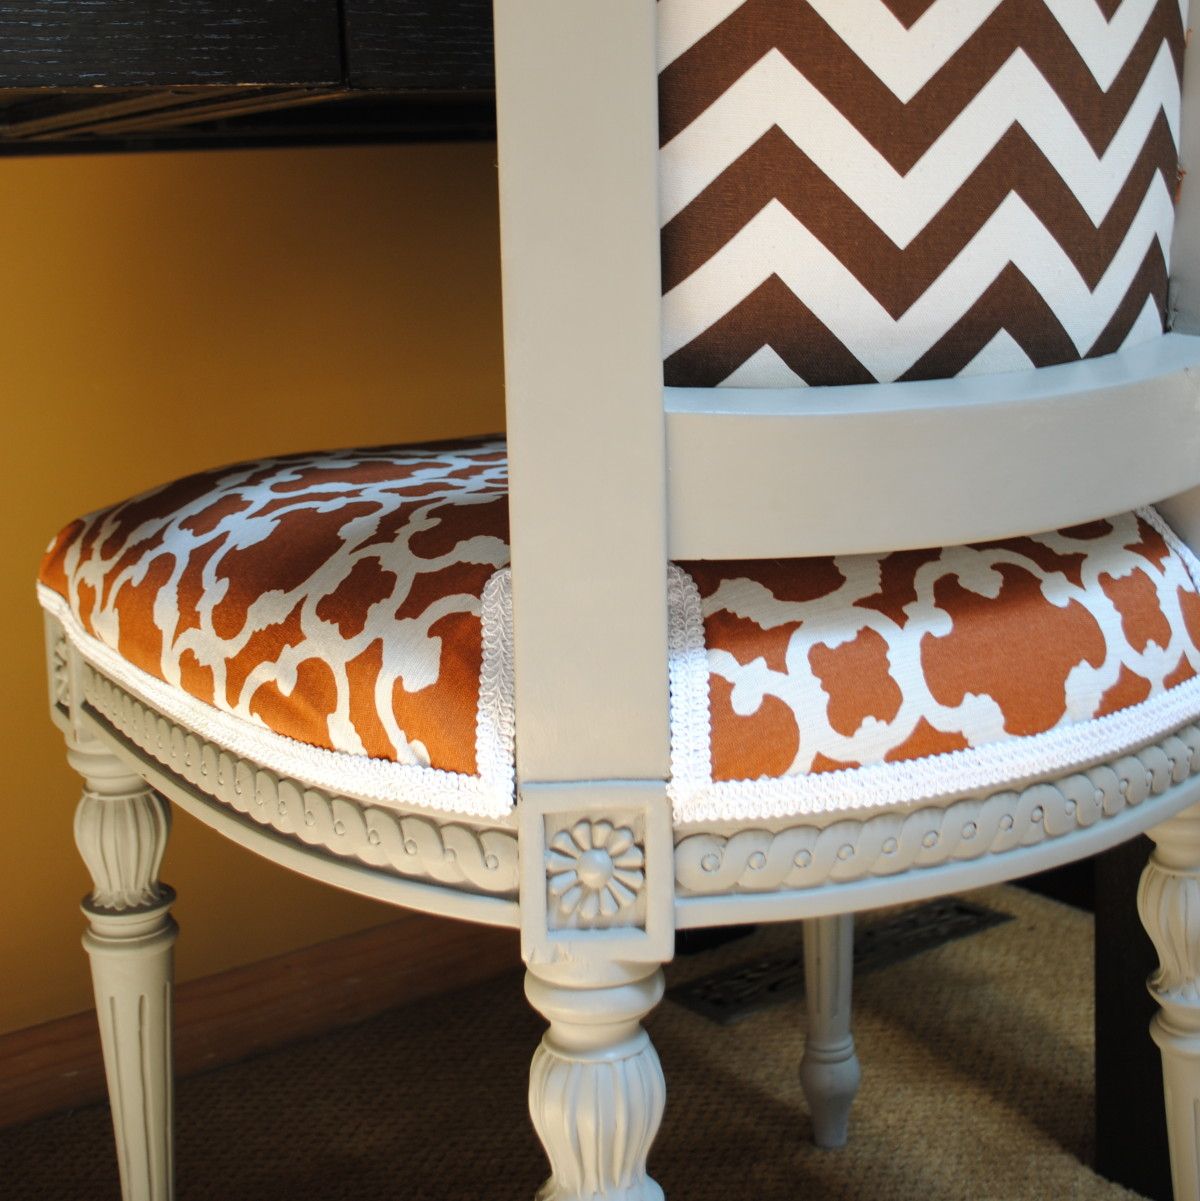
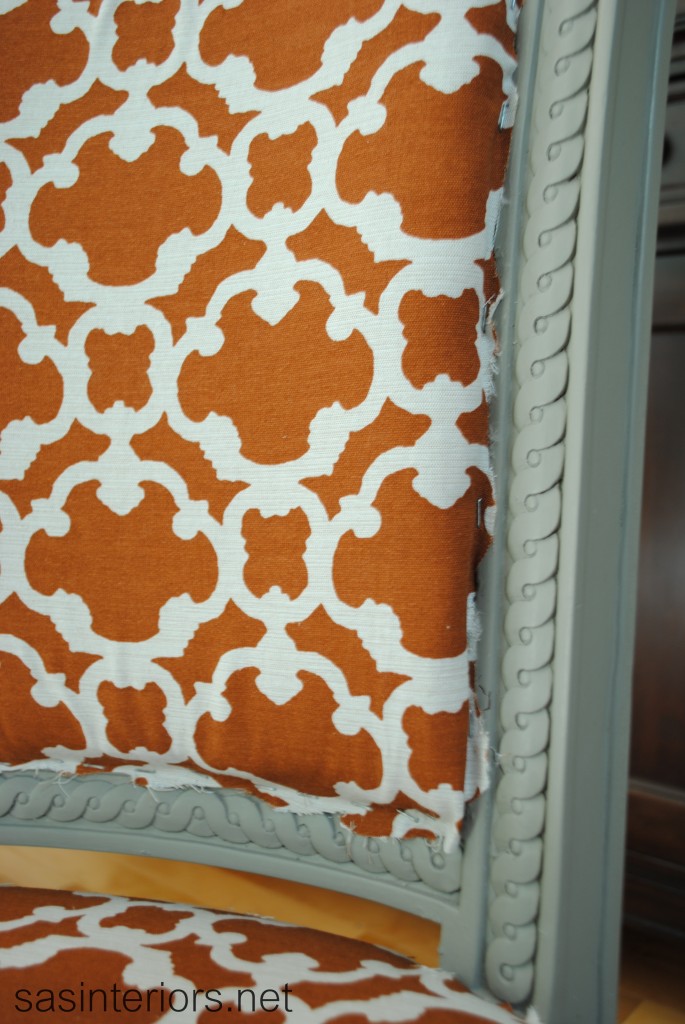
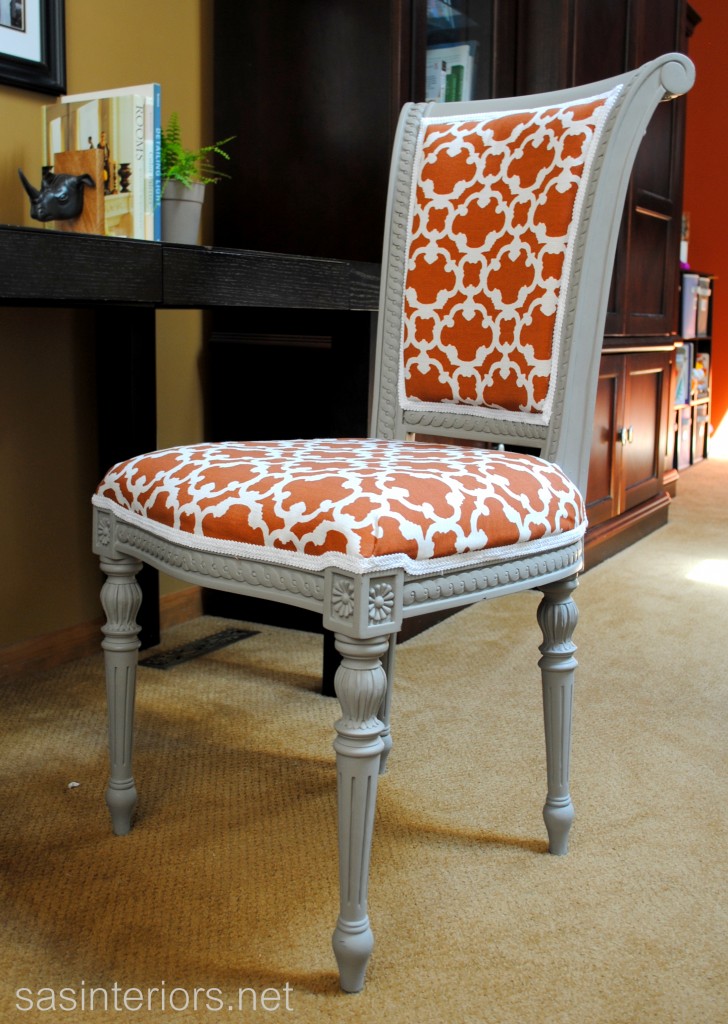
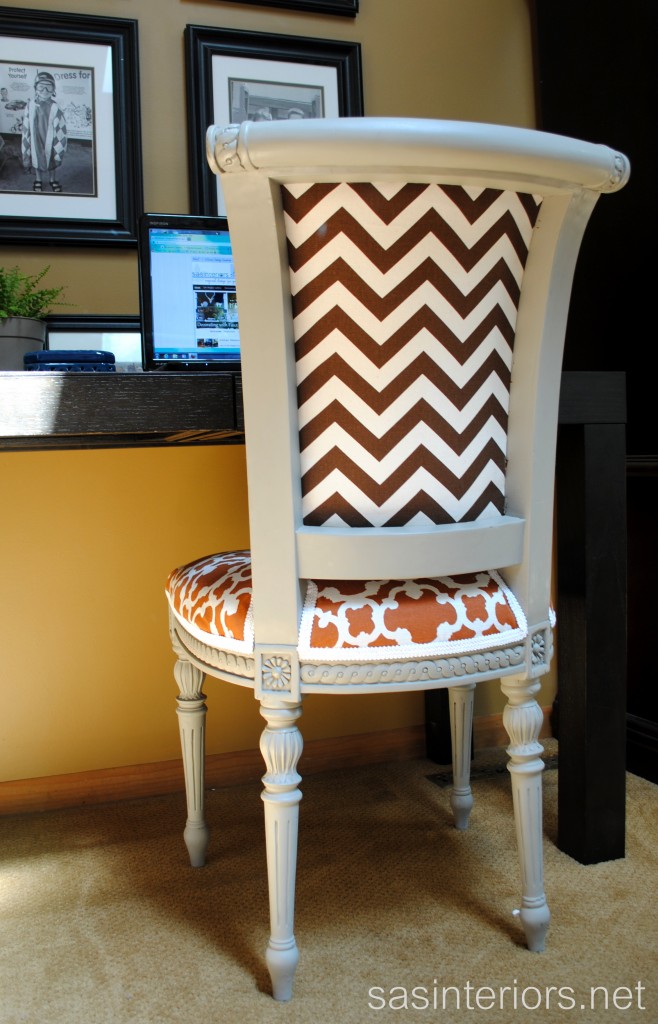
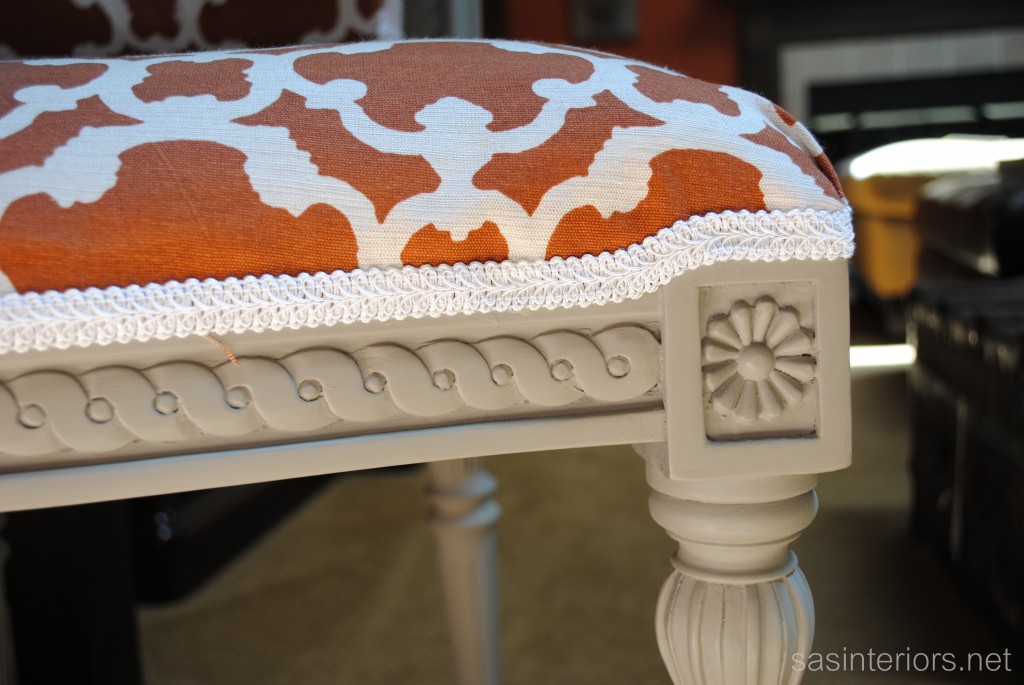
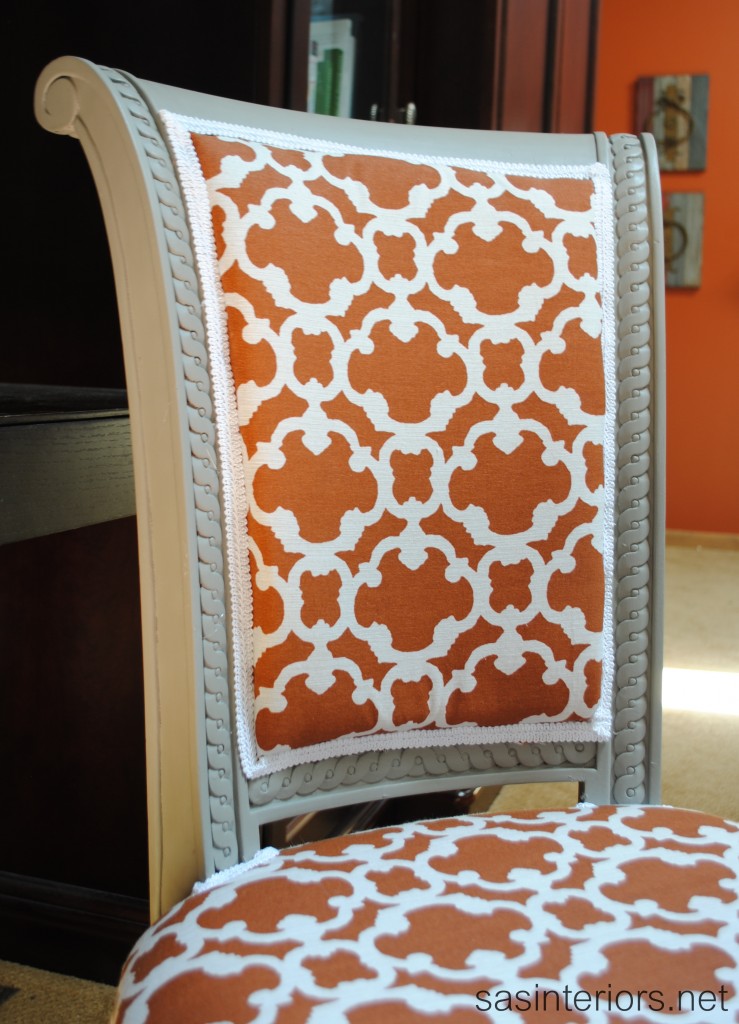
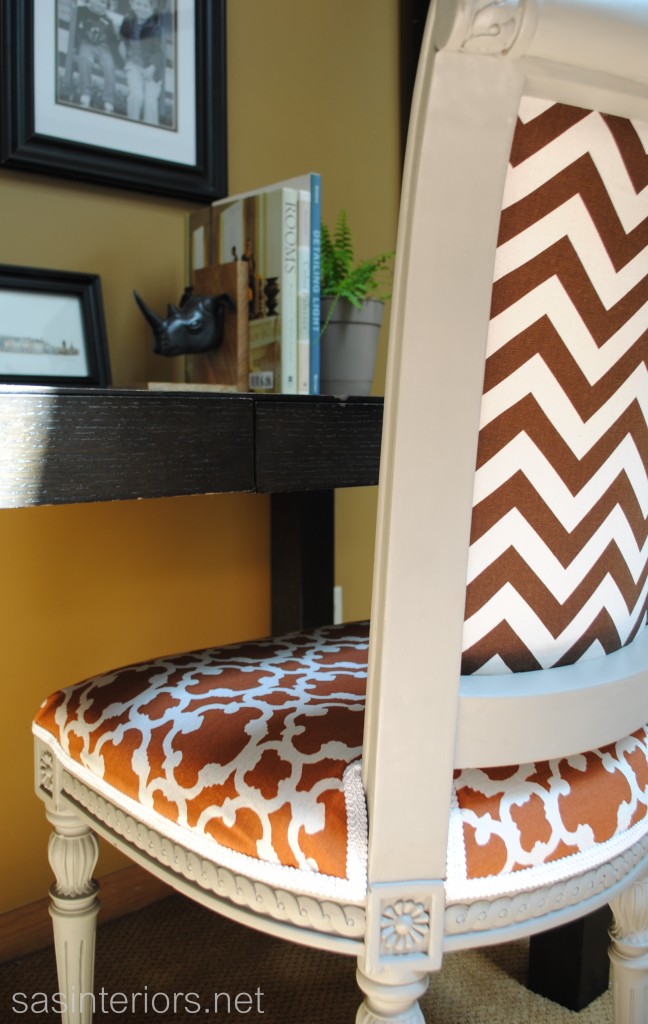
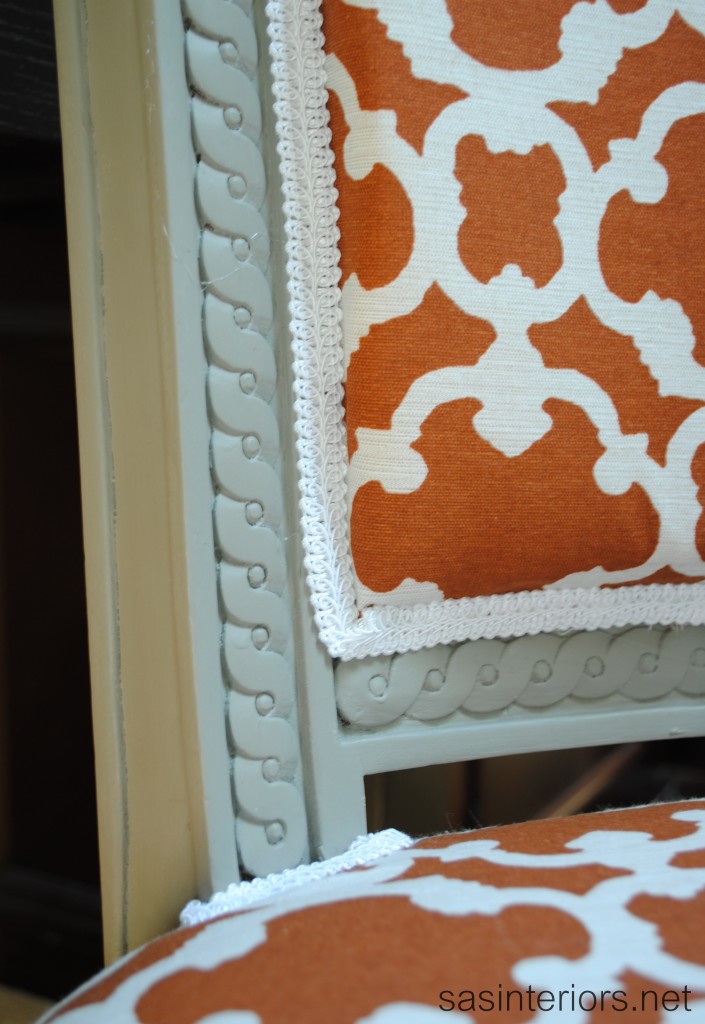
Once that was done and dry (remember, I’ll chat more about my ASCP experience later this week), the reupholstery work began.  I was psyched to start this part of the project.  I chose a brown and white chevron pattern for the back panel, along with a burnt orange and white patterned fabric for the seat and back. The chevron fabric I had leftover from a pillow and table runner, while the orange fabric is a panel that I purchased from Target to use for this project and some new pillows (that I have yet to make – story of my life).

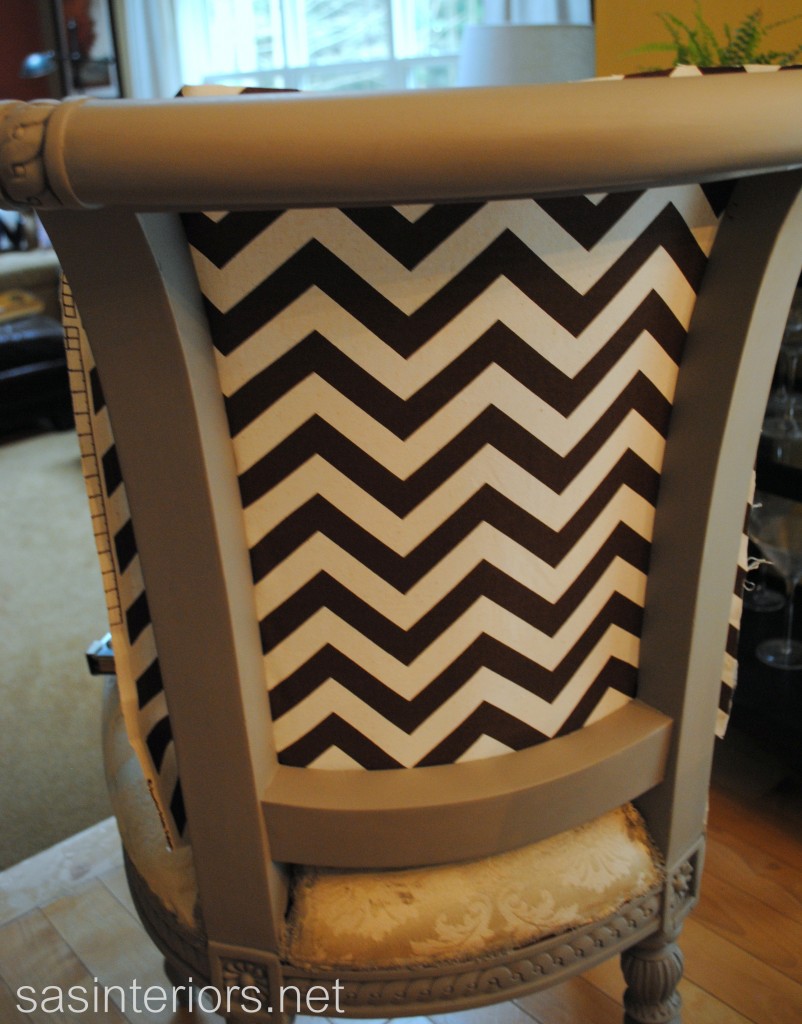
I started with the chevron fabric first and stapled it to the inside of the wood trim surround in place of where the previous fabric was. (this is a few from the front of the chair)

Once the fabric was stapled all around, this is how it looked from the back…

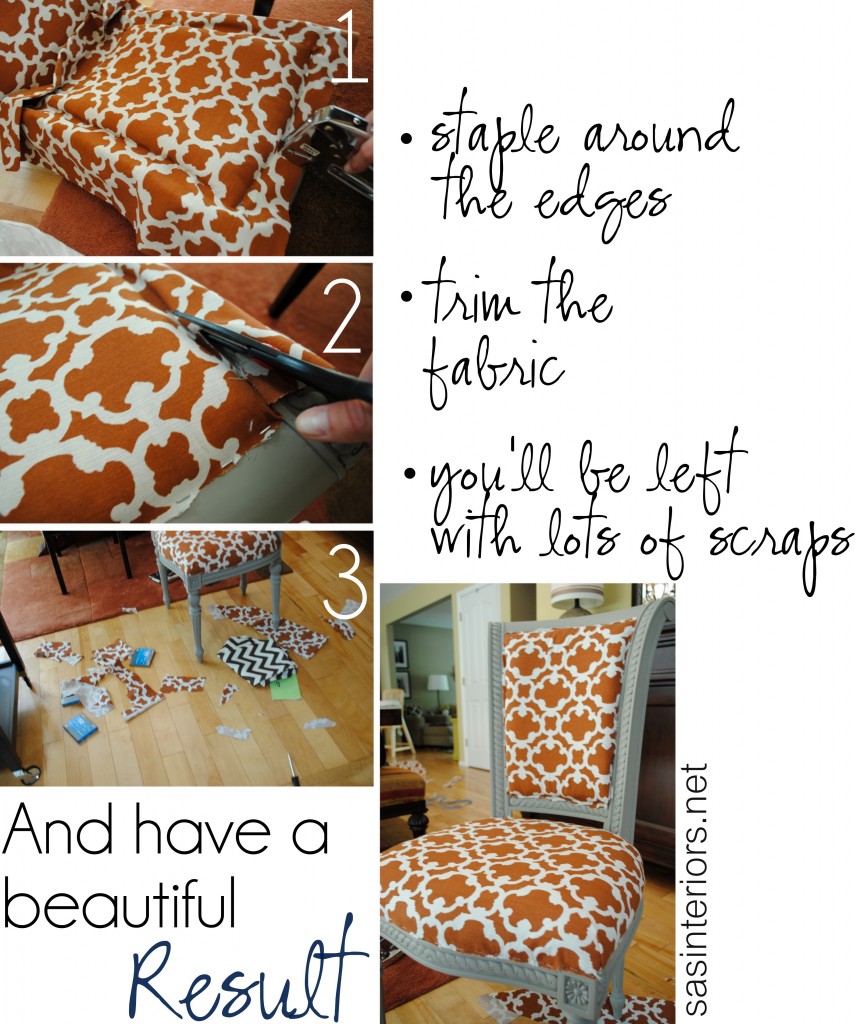
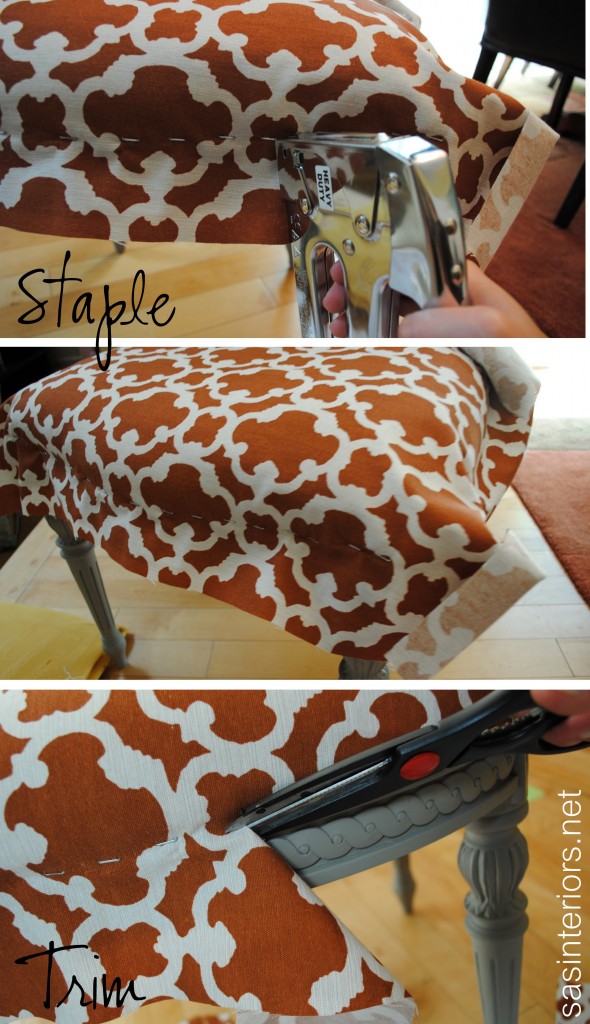
Then it was time to work on the seat and back reupholstery.  I started with the back.  I added back the original foam insert that was previously used, stapled all the way around, and finished by trimming the leftover fabric with scissors.

Then I used the same steps for the seat.

Once I exhausted out my staple gun, this was the result…

Eek! Those edges don’t look good.  BUT WAIT… here’s how I fixed it.

Trim!

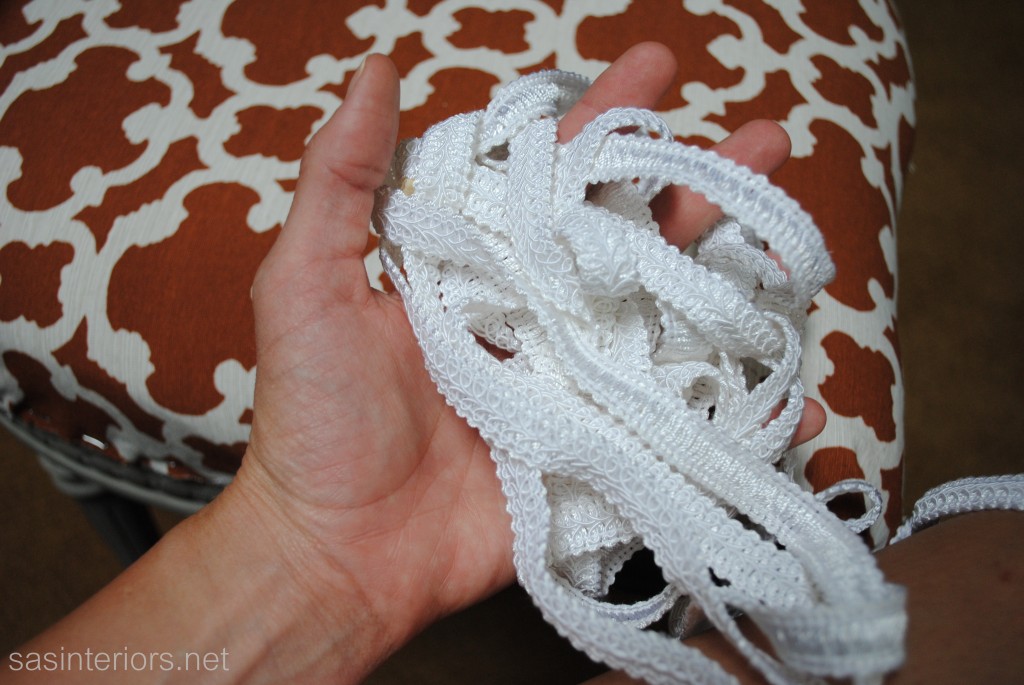
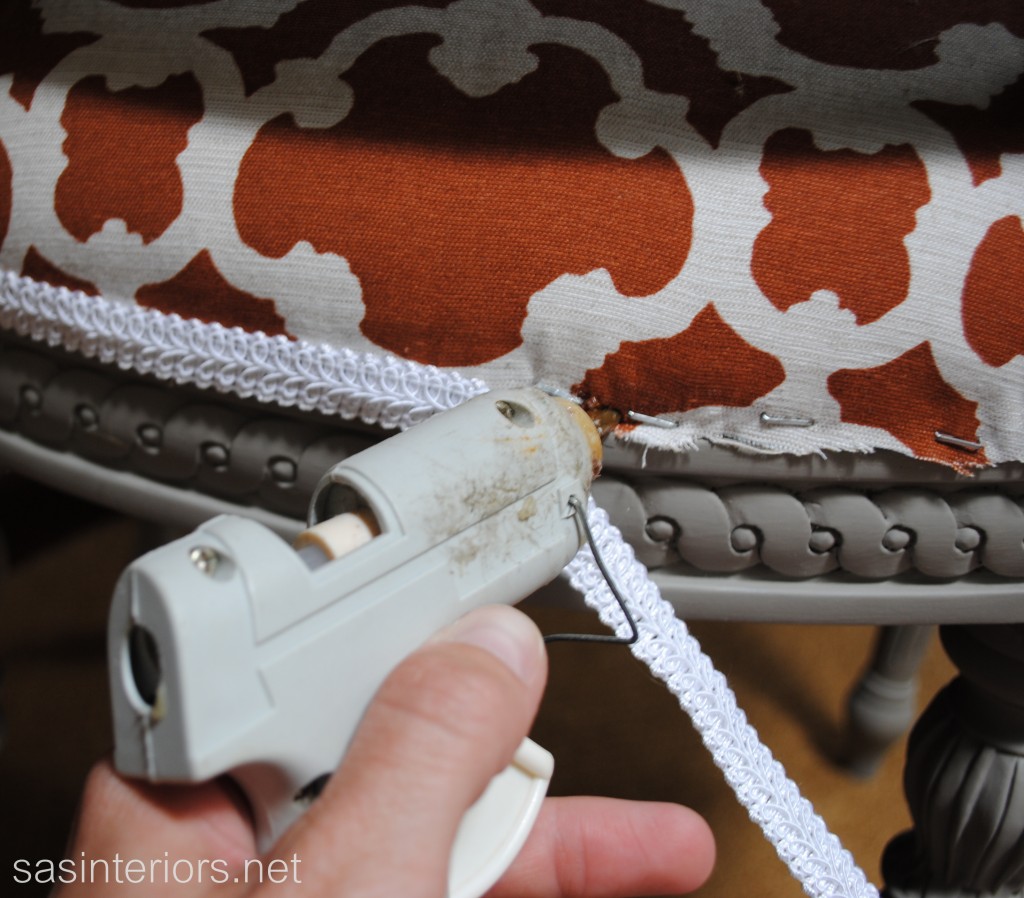
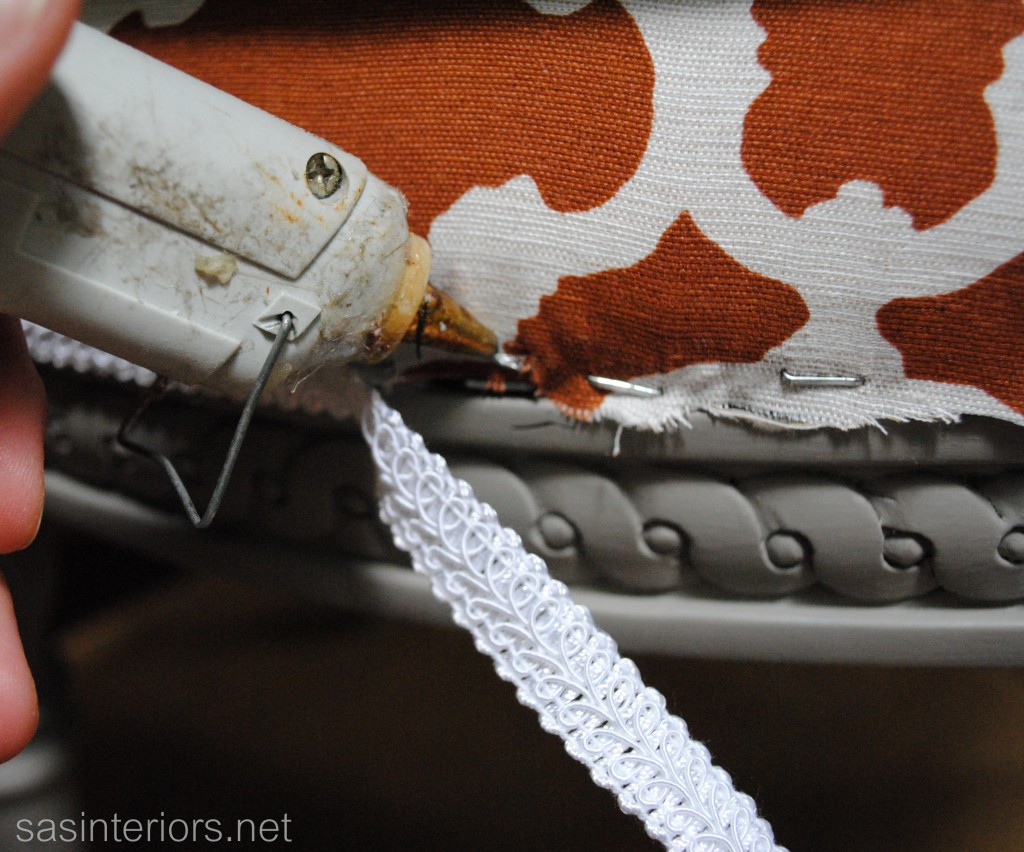
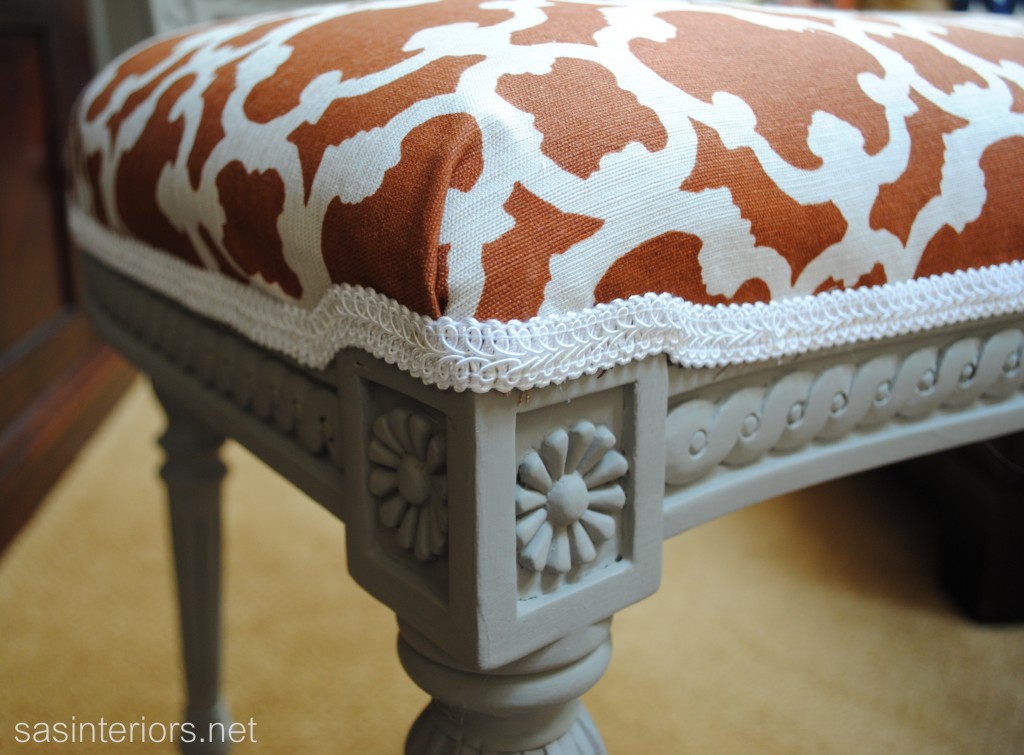
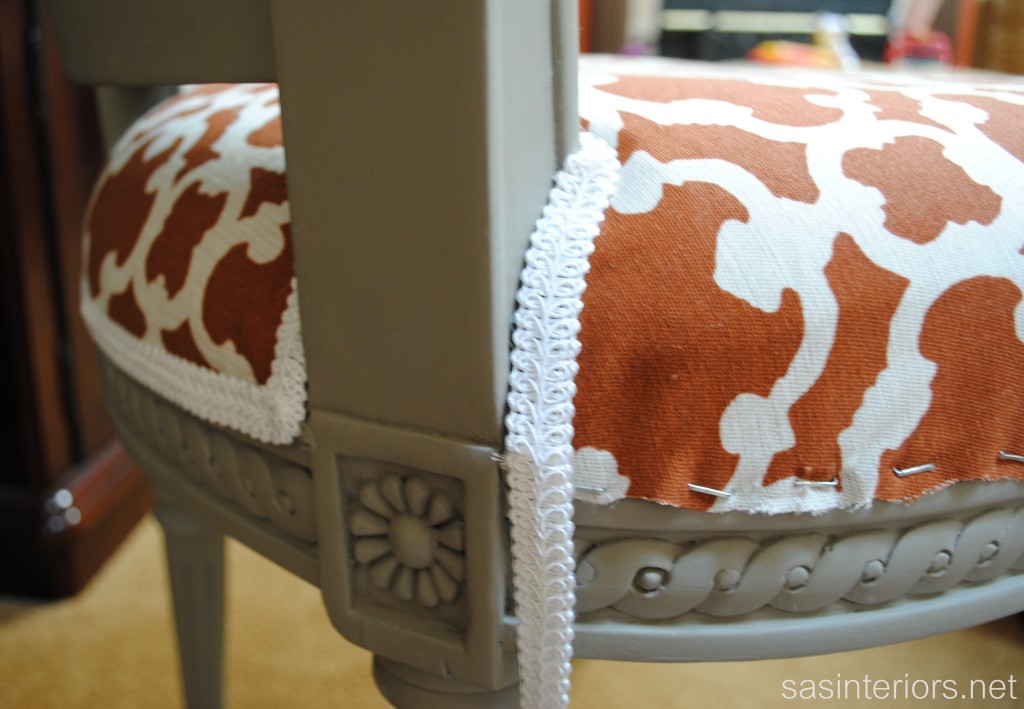
Trim is the key to novice upholstery perfection!  Using a good ole’ hot glue gun, I added the trim surround to cover all the ragged edges of where I used the scissor to trim the fabric.

And minutes later, this was the result.

Beauty, right?

I am thrilled with the final upholstery project and glad that through some tough parts (mostly the removal of the old staples and fabric), I stuck with it.  This chair really gives such a fun flair to my office area. The chair is temporarily in this spot while my front room / office space is under remodel.

And here’s me working away (thanks to my 6 yr. old for snapping this shot) …

Have you ever reupholstered a piece of furniture?  Did you find the first time easier or more difficult than you thought? What DIY projects have you been working on lately?

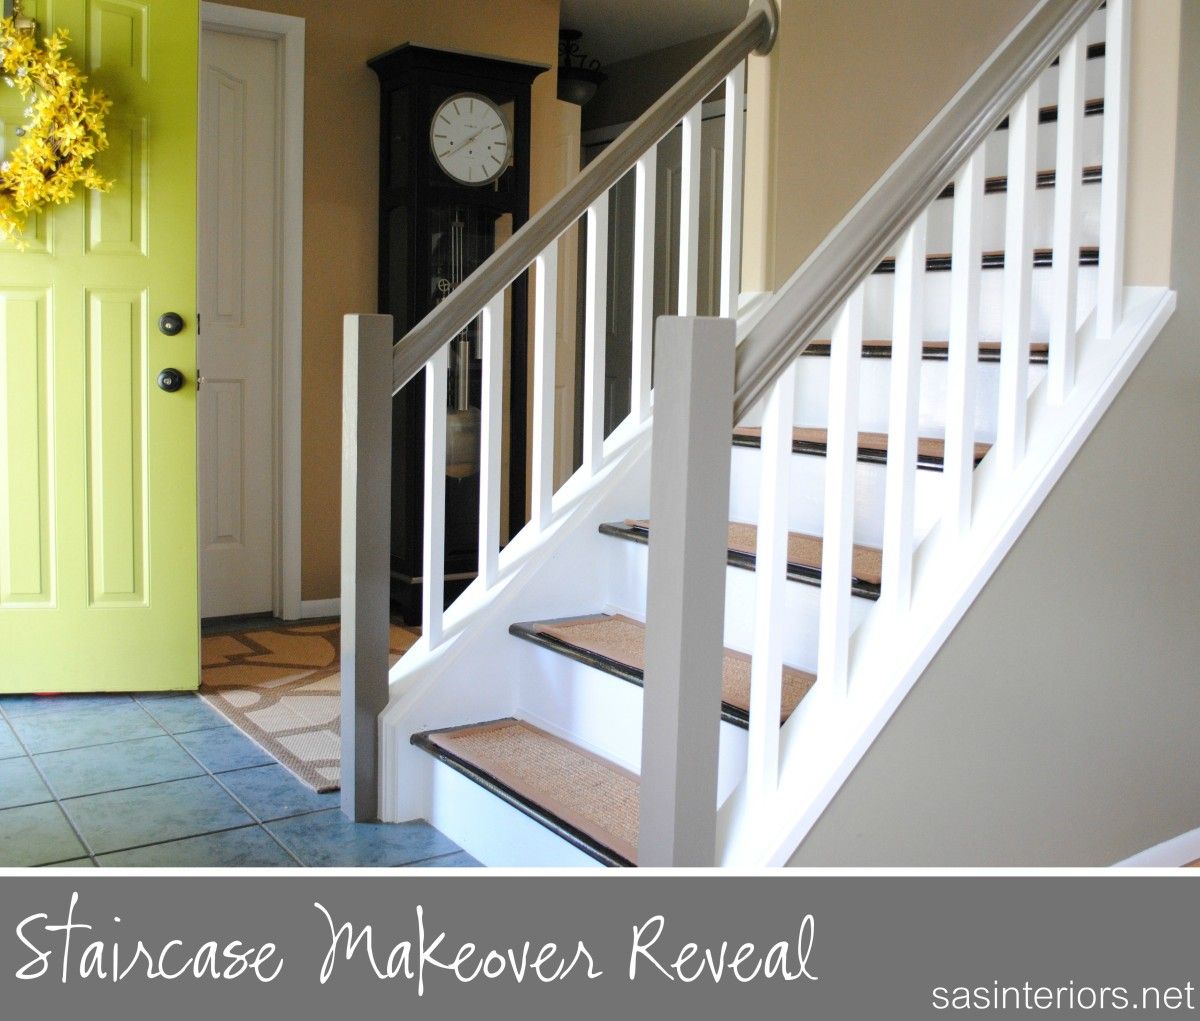
DIY Stair Makeover: REVEAL

The day has finally arrived for me to share the final reveal of my staircase makeover.

Alot of progress has been made since I announced and started this latest DIY endeavour only 3 weeks ago.  It’s amazing how one change can totally impact the aesthetic of a space.  As you know, my home is my experimental playground which is constantly work in progress, and this stair makeover has been an incredible update.

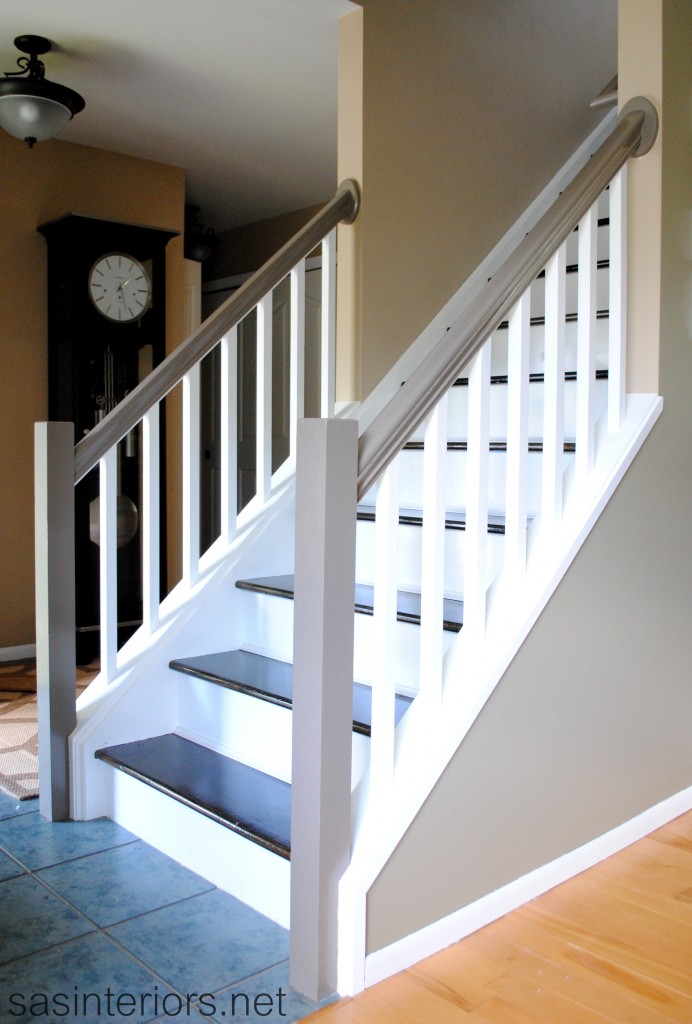
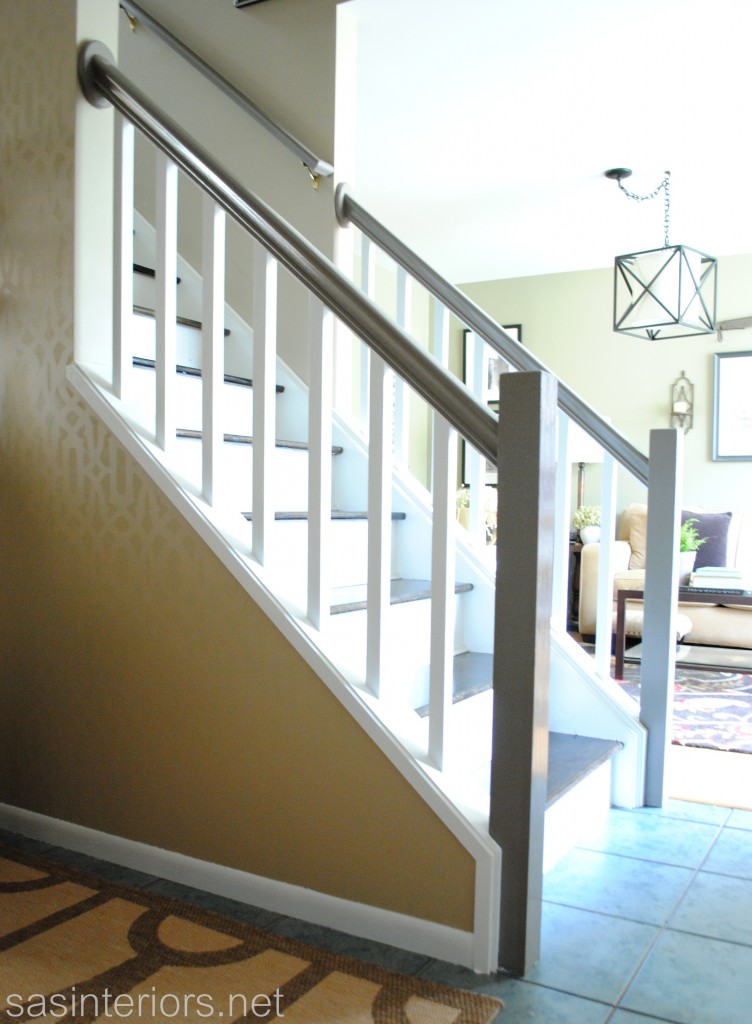
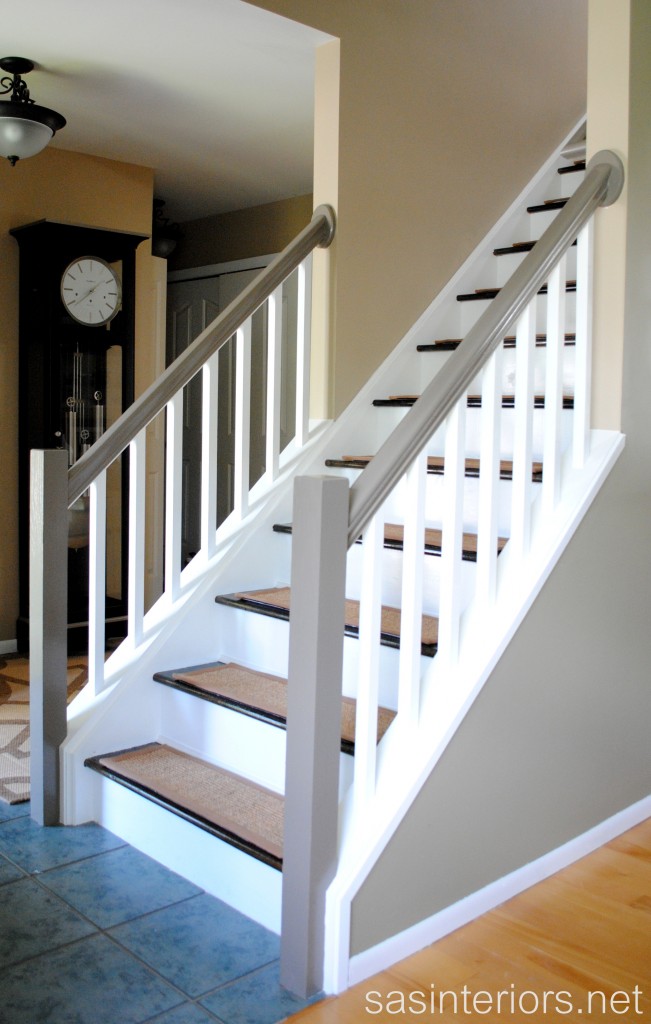
Take a look at the result…

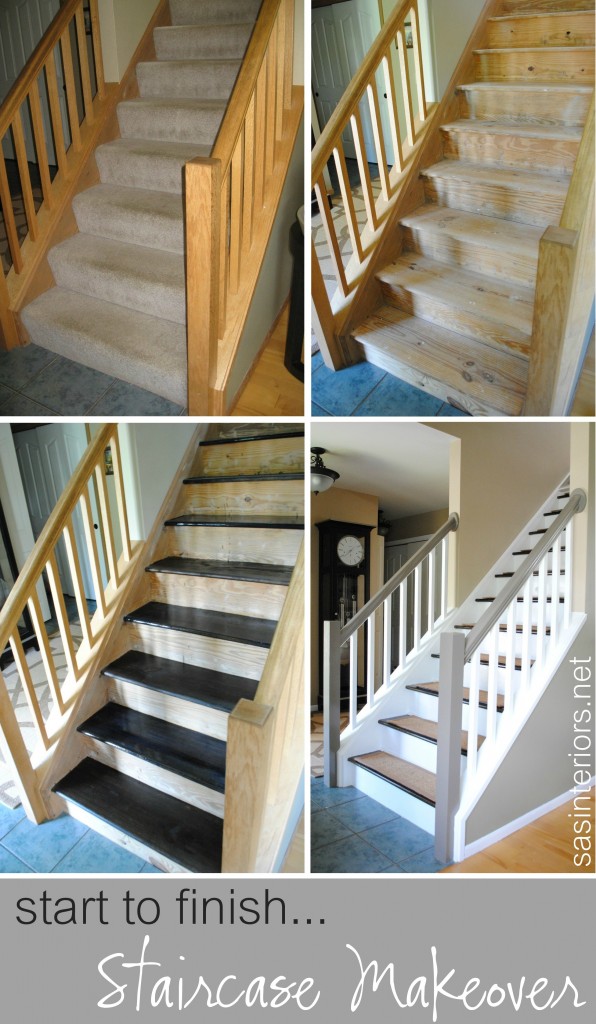
And here is the progress that I’ve made from start to finish…

Amazing change, right?!

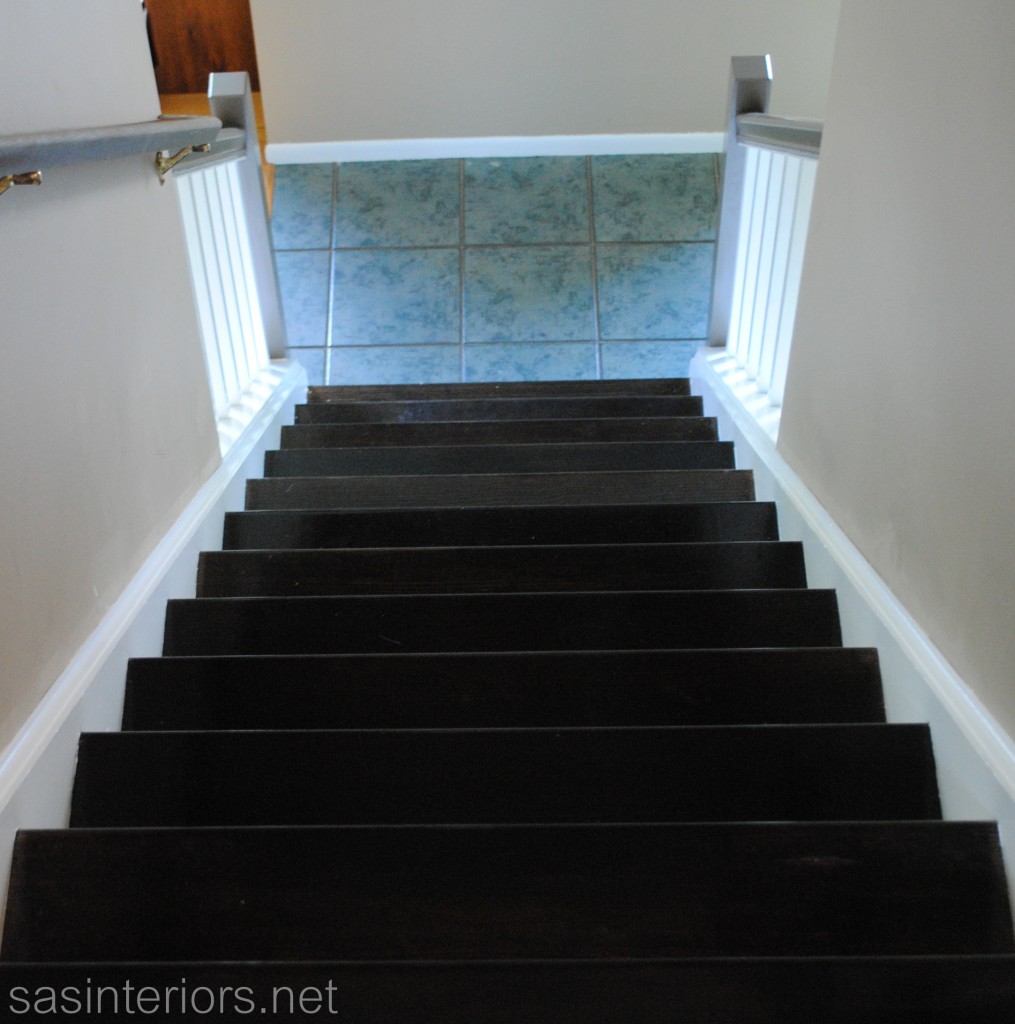
Since my last post where I left you off at the staining of the stair treads, I’ve been a non-stop painting machine! And actually, I’m still painting (which I’ll get to more in a bit).  After the filling of the holes, the sanding of the wood, and the staining of the treads, it was time to paint the stair risers, the balusters, and the banister – and that’s what I’ll be sharing details about in this post.

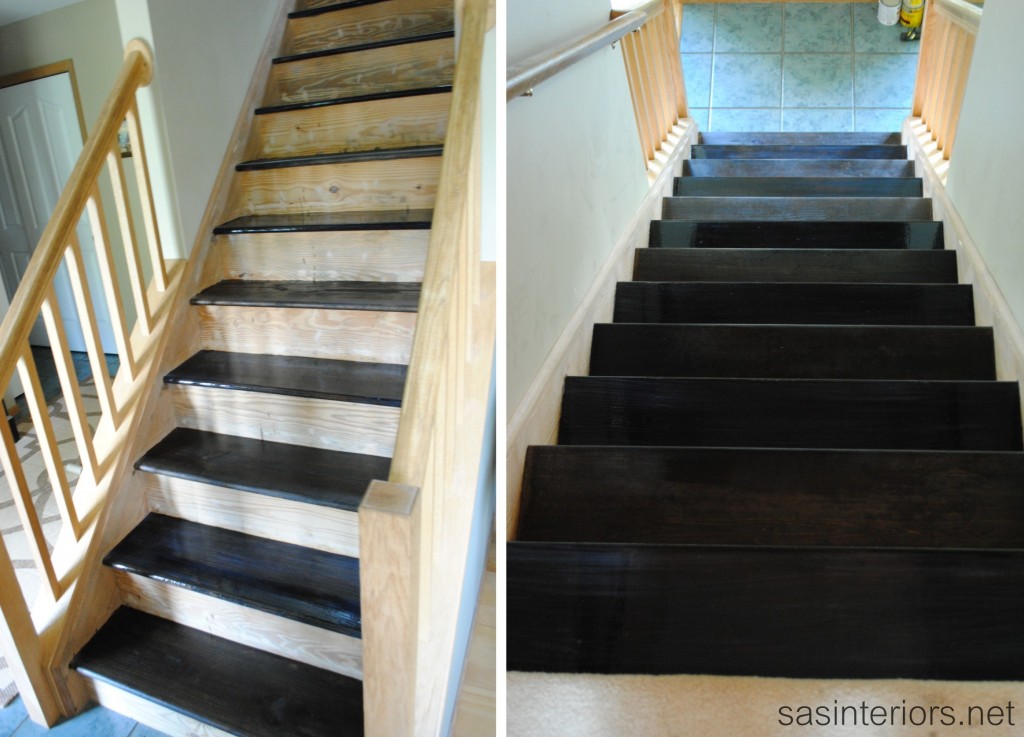
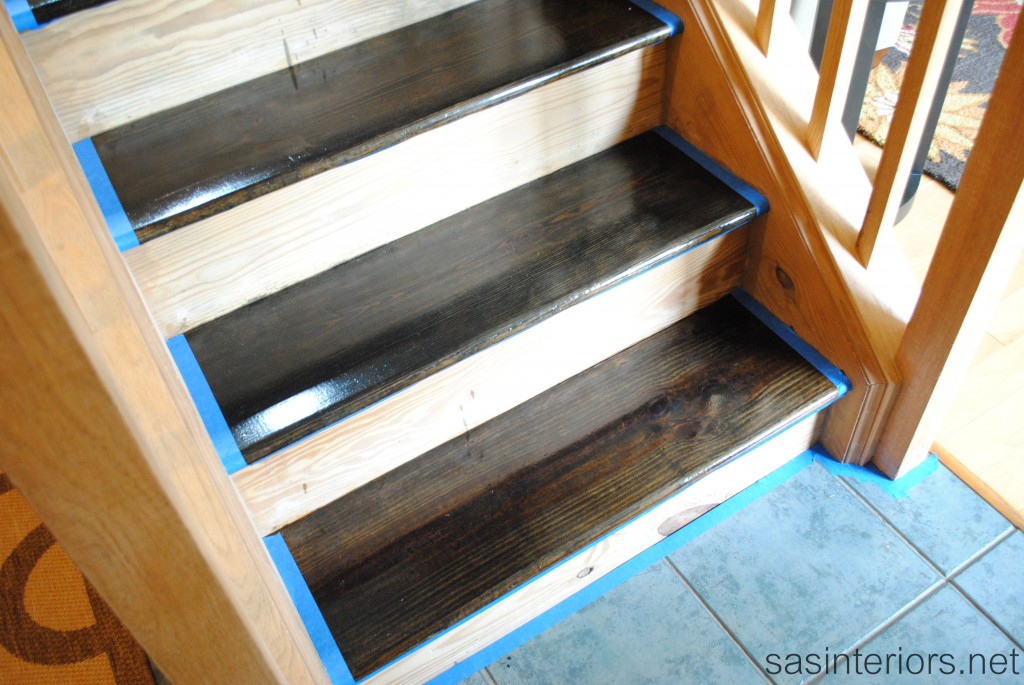
In my last post, I left you off here…

So after that, it was time to prime!

Whenever I have a big painting job (like my kitchen makeover last summer), I always turn to Benjamin Moore as my go-to paint line.  Their paints are of really high quality and it applies with an effortless manor.  Since this project was pretty big, I immediately turned to them for assistance and they kindly donated the product for this project (Thanks BM – I love you)!  Their Aura paint line is like no other and actually has a primer built-in (which is why my kitchen cabinets came out so great and still look as fabulous today).  BUT, since I was working with a white hue, I thought it would be best to use an actual primer FIRST, then the Aura paint on top.

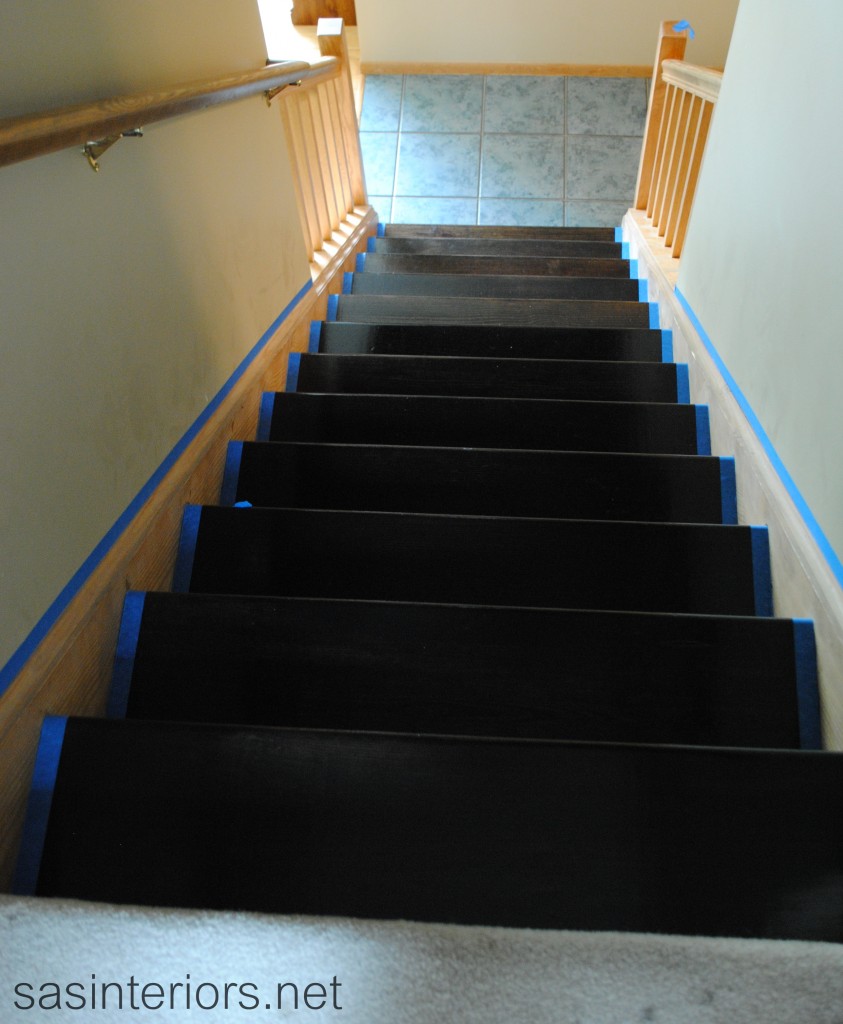
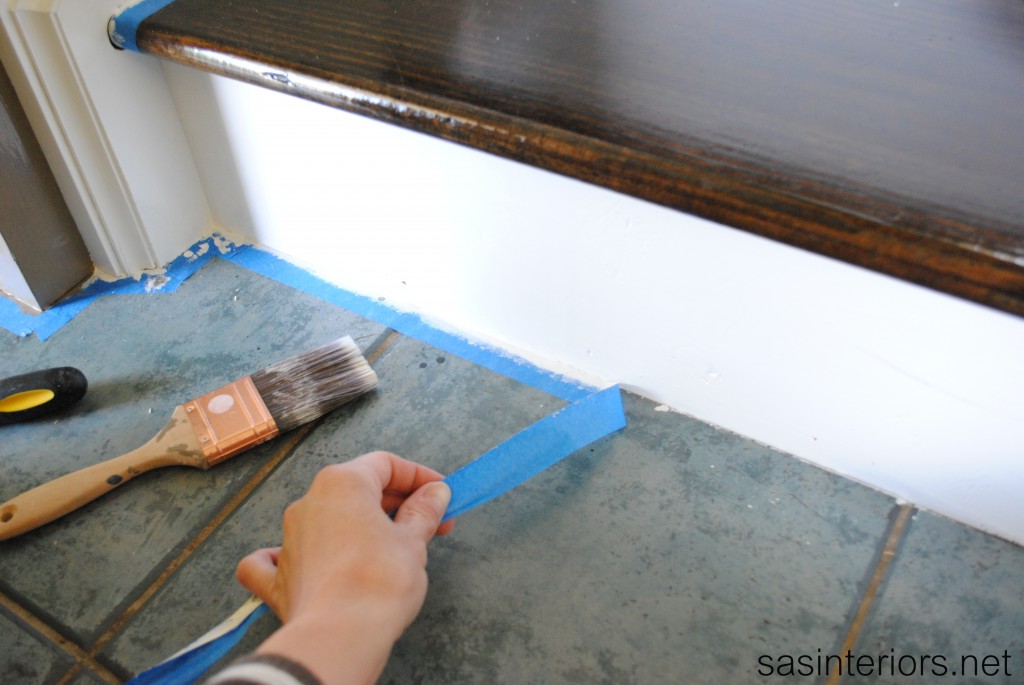
To start off, I first taped off all the areas that weren’t to be covered with the primer and that was basically just the newly stained treads and the surrounding walls.

Once everything was properly taped, it was time to apply one coat of Benjamin Moore Fresh Start Primer.  I learned recently that the primer coat does not need to be a thick coat  – a thin coat just to cover the wood surface is perfect.  As long as your coating the wood, it’s blocking the stain from coming through and preparing the surface for the paint color.

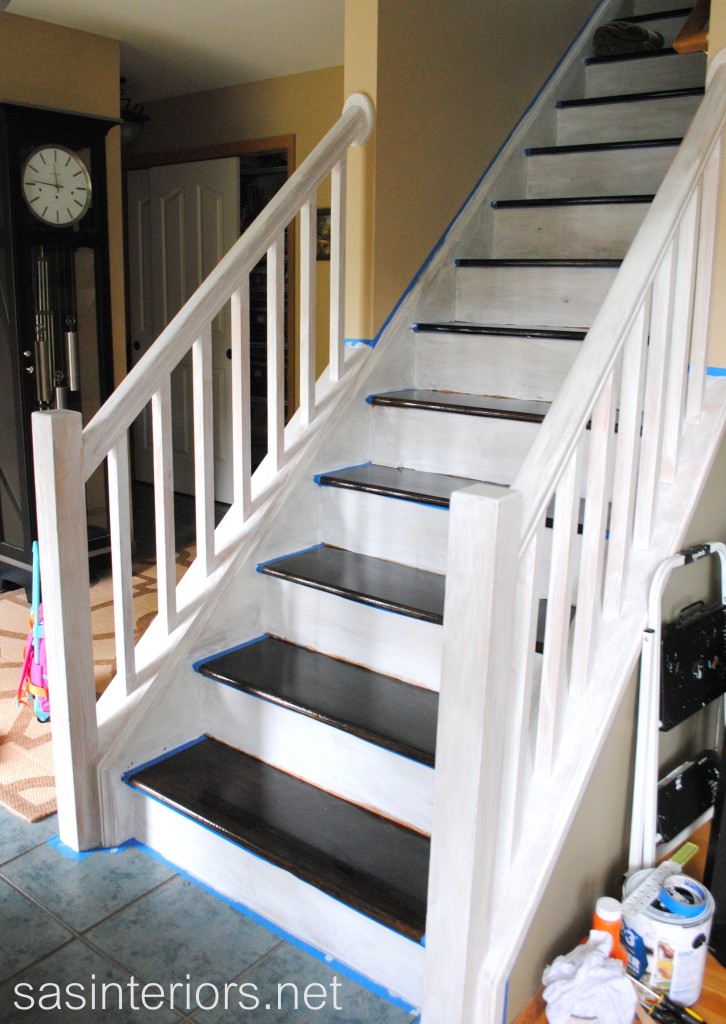
All primed and ready for paint!

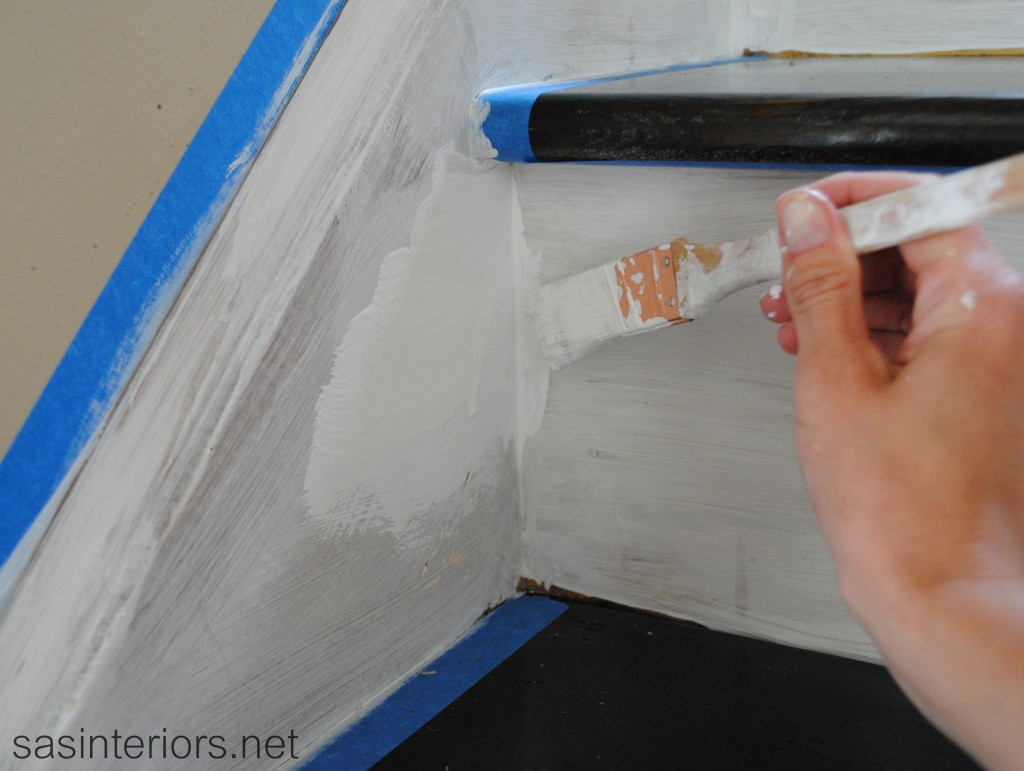
Once the primer was dry, which didn’t take long (the stairs were thirsty!), it was time for the 2 coats of Benjamin Moore Aura paint.  For this project, I chose the color Snowfall White, which is essentially white, but has a slightly warmer hue (no blue undertones).

And of course I’m using my favorite Purdy Brushes 😉 (I wasn’t paid to say that – just sharin’ the love).

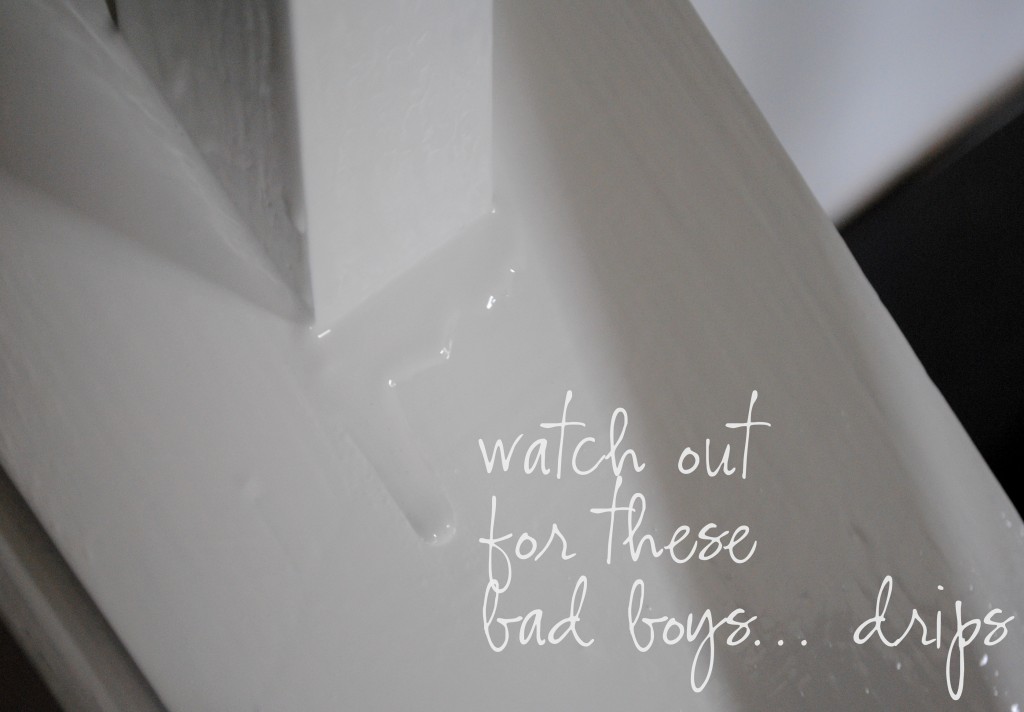
I mentioned that I applied 2 coats of paint, but in some areas a 3rd coat was needed.  Thin layers of paint are better than thick, so 3-4 coats isn’t unlikely.  It’s best to apply thinner coats than to end up with drips!  If you do though (like me), continue to go over the drips with your brush.  To avoid fast drying paint so you can fix those drips, it’s important to use a paint additive like Floetrol.  Learn more about that from my post on Tips for Painting Furniture.

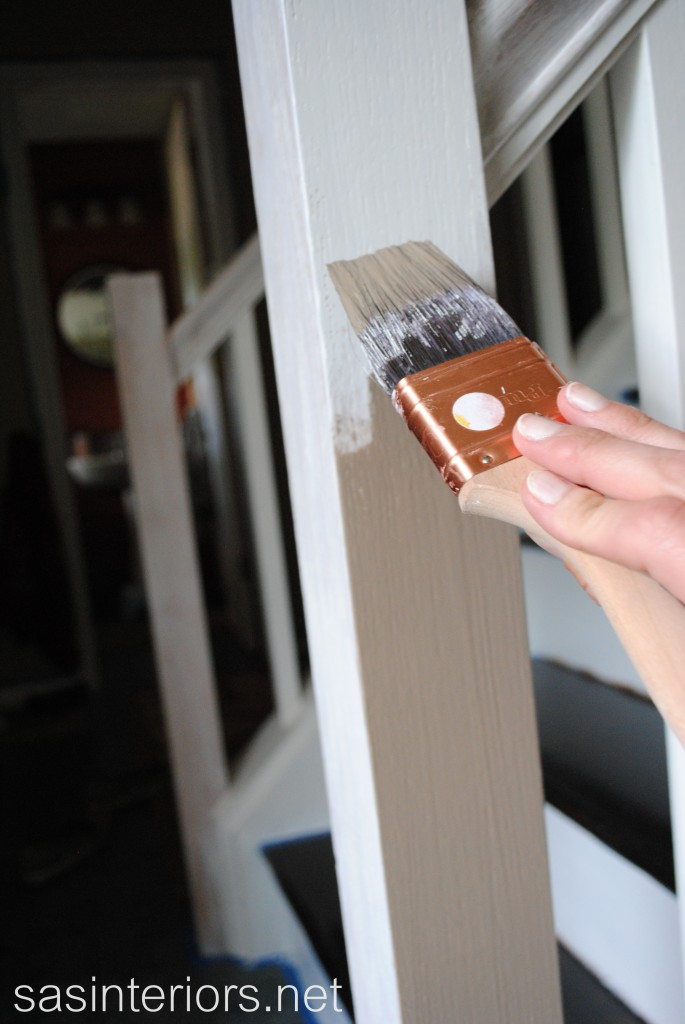
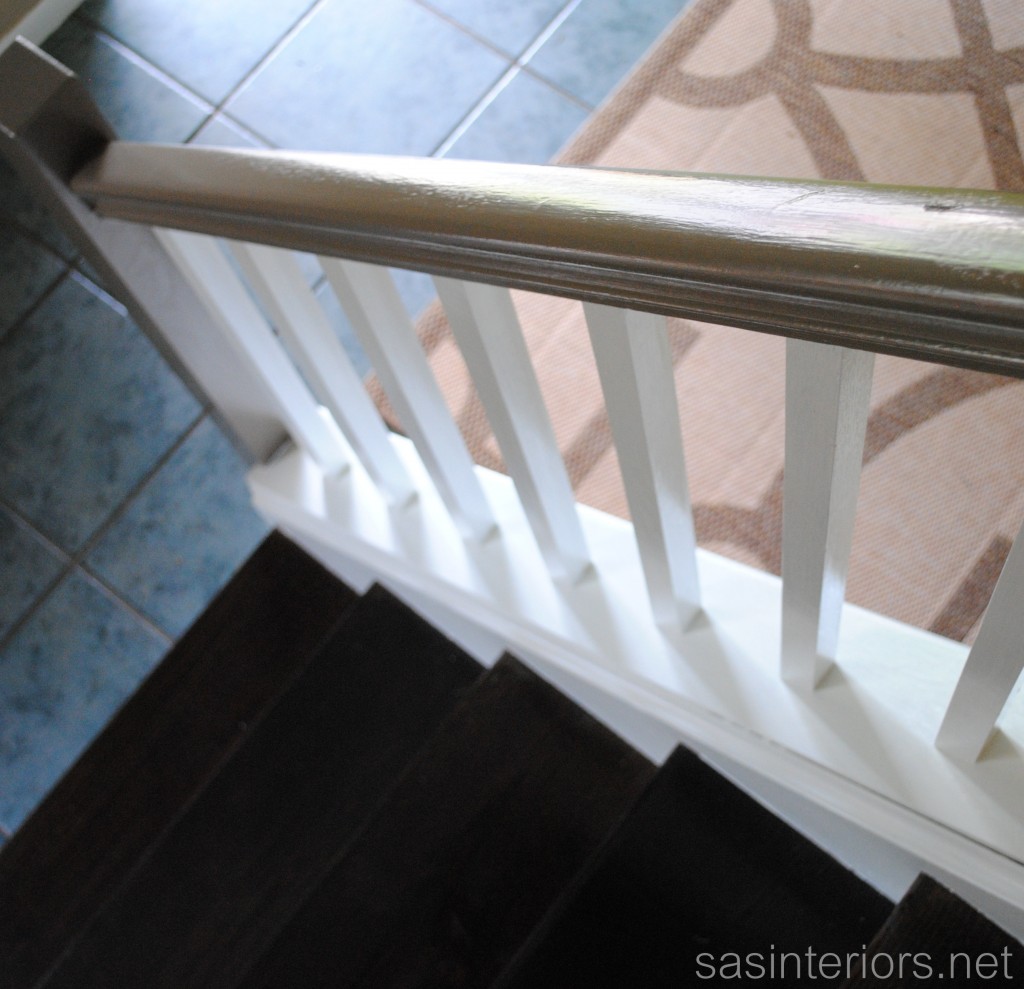
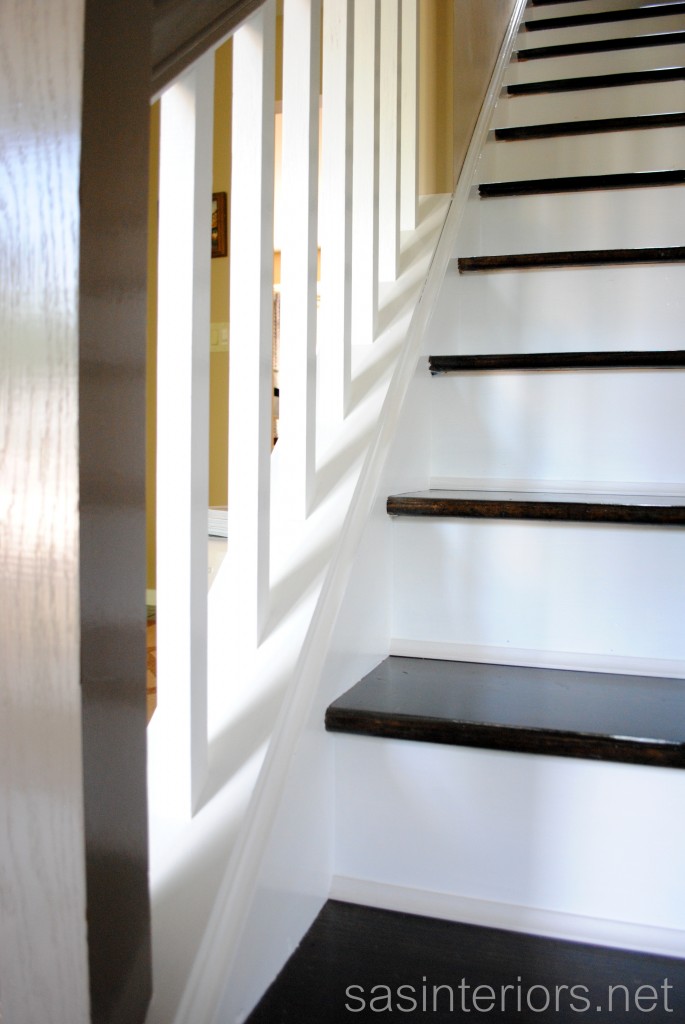
The painting around the balusters took a long time and it was the most grueling part, but honestly looking back, it wasn’t that bad and it’s done – YAY!  Once I was finished with the white areas (the risers and the balusters), it was time to paint the newel post and banister.  A few people thought I was crazy when I said I was going to paint the post and banister instead of staining it to match the treads, but I’m glad I stuck with the idea, because I love it!

I decided to use the same color as my kitchen cabinets which is Benjamin Moore Texas Leather. It was one of my all-time favorite colors and can be seen here and there throughout my home.  Painting the post and railing gave the stairs a unique touch rather than a typical stained railing.

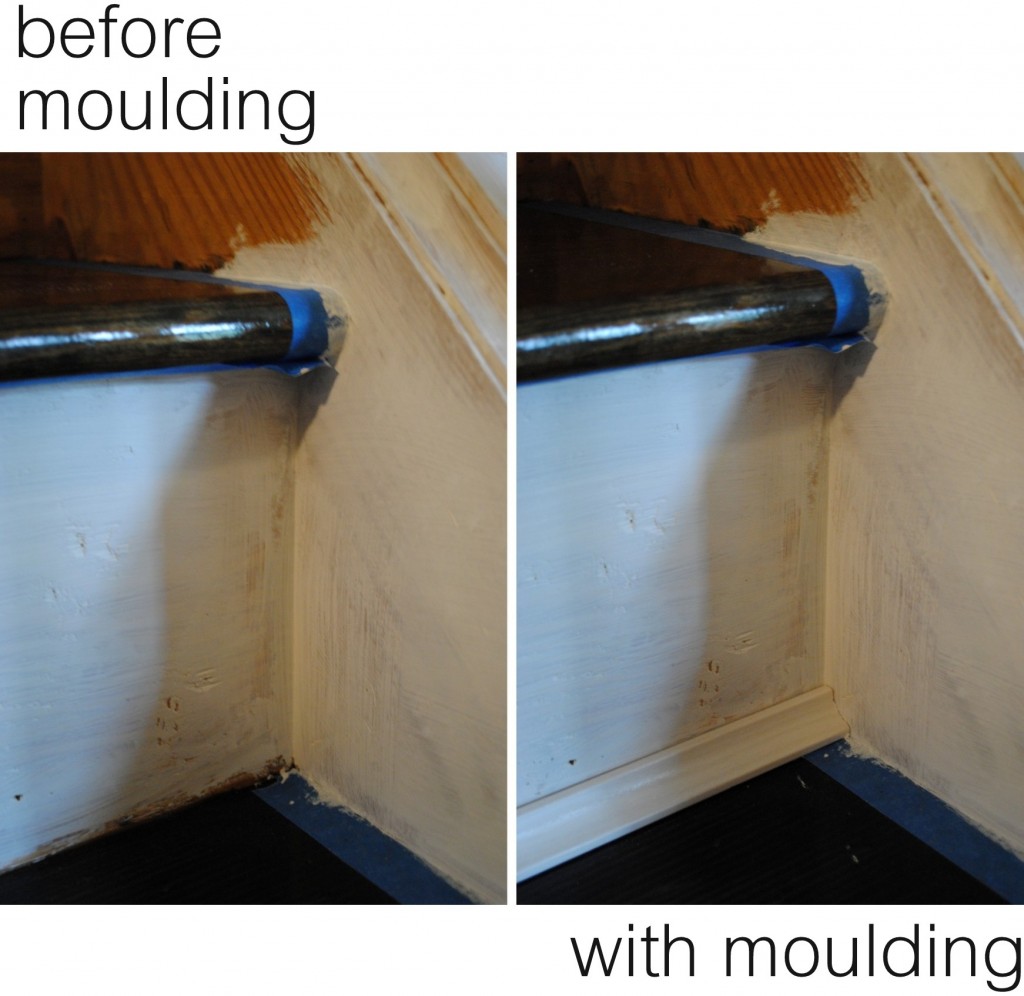
One itty bitty part that I didn’t mention above when painting the risers white was that there was a large gap at the edge where the treads and risers meet.  When painting, I didn’t have to be perfect with the white paint because I knew I would be adding a small piece of cove moulding afterwards.  Take a look…

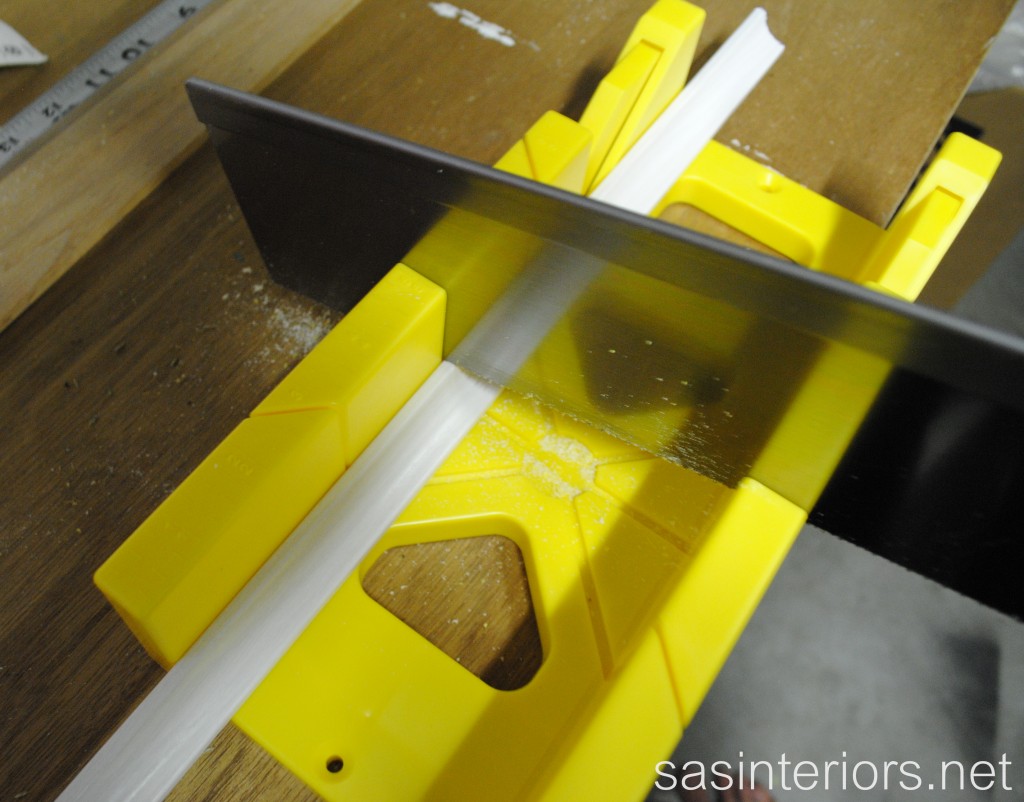
I found the cove moulding at Lowe’s and it was about $2.50 for an 8′ long piece.  It actually wasn’t wood and instead a plastic composite. (The wood version was $5+, so this less expensive version was just fine).  At this point of the project, I dragged the Mister  back in to help out.  He measured the length of each tread and cut the cove moulding using a miter box.

Using Liquid Nails, we adhered the moulding to the tread/riser to cover the gap.

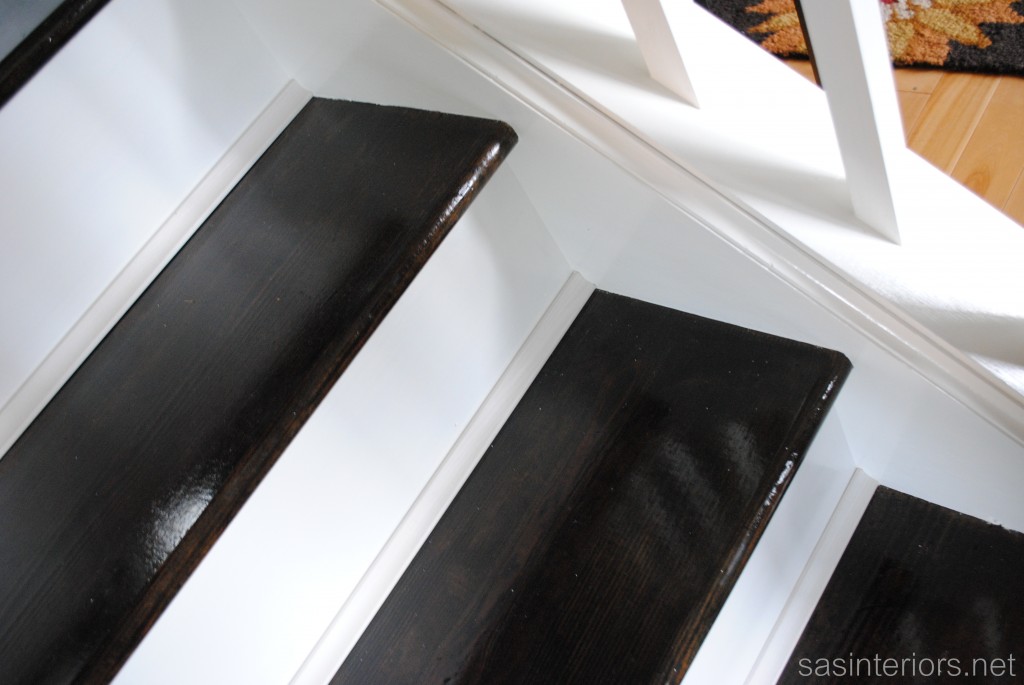
And Voila, the gap was hidden!

Once the paint was completely dry, the unveiling was about to begin a.k.a. the removal of the painters tape…

A little trick that I’ve learned along the way is to score the joint where the tape and the painted surface meet with a sharp razor.

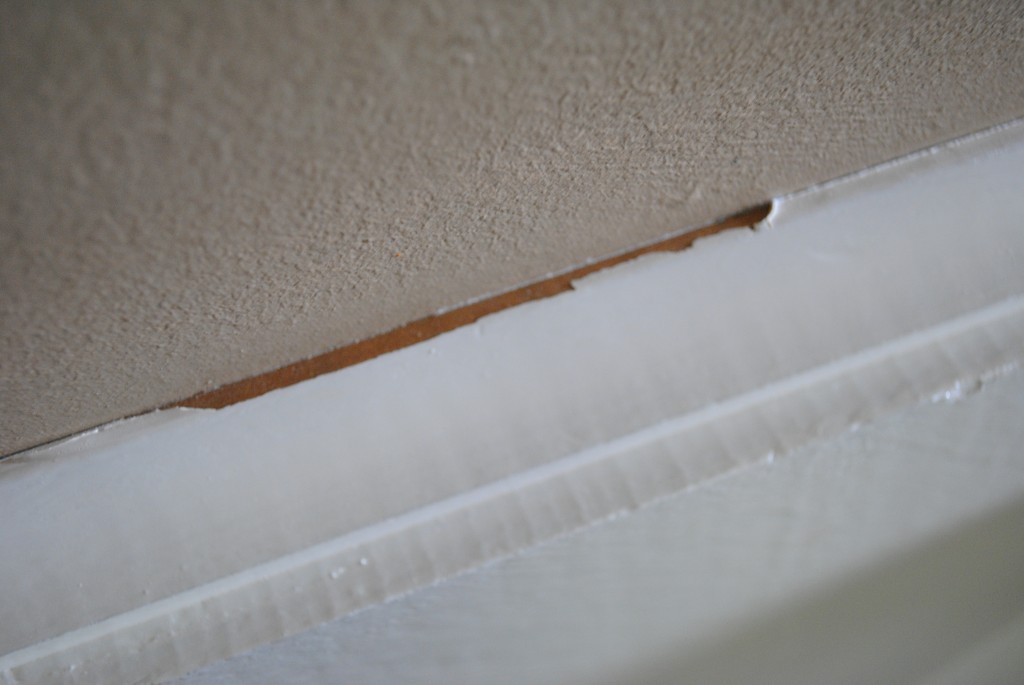
This allows the tape to be easily removed and avoids the paint from coming off where it’s supposed to stick (see below where I didn’t score the joint).

Once the tape had all been removed, the stairs were basically done – not too bad right?!

And now it’s time for a ton of pictures (I hope you don’t mind)!

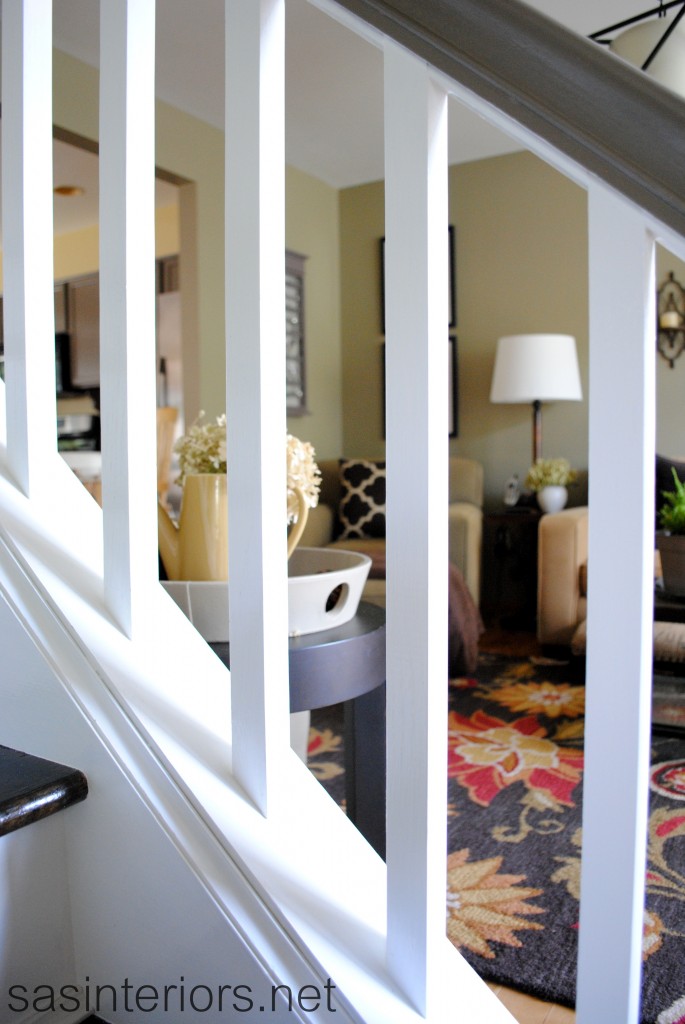
Looking from the front room into the foyer

Close up of the banister

The stenciled foyer wall looking into the front room

Psst…  You probably didn’t realize, but check out all the mouldings in the foyer and front room – I painted them white too. YES, as I was painting the stairs, I just continued right around the room (+ the dining room and kitchen).  Those oak mouldings had to go!  My goodness, the house feels so much fresher now – more on that soon.

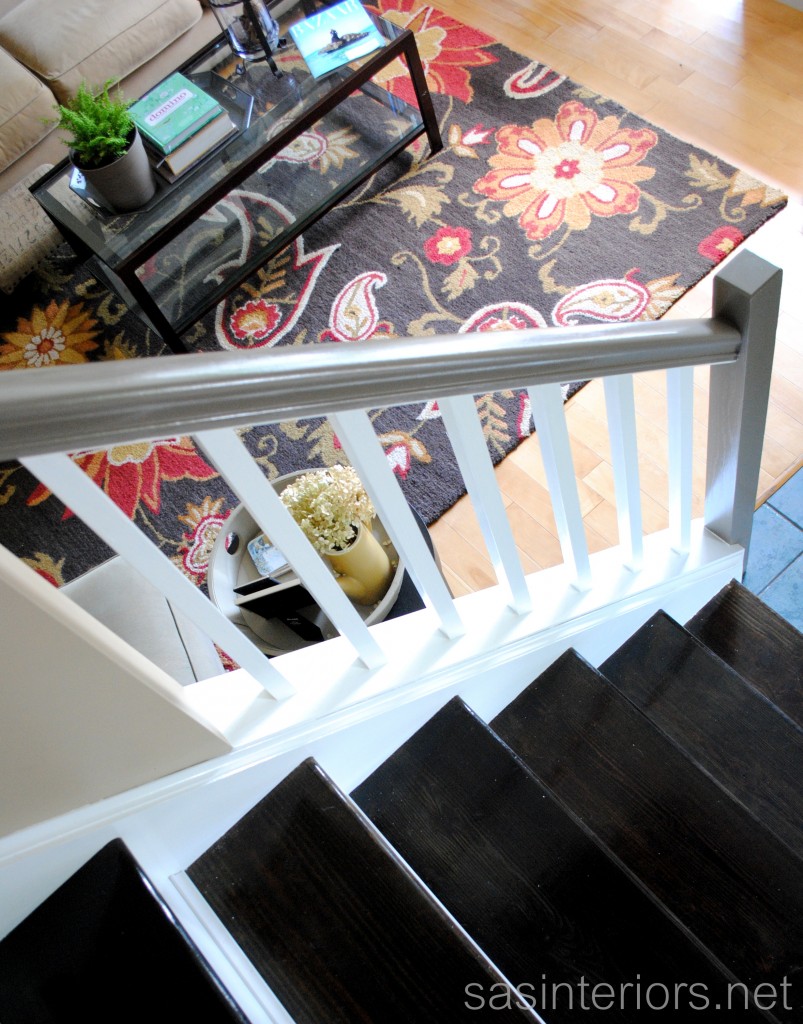
That’s a whole lotta dark wood and I love it 🙂

I definitely was apprehensive about removing the carpet from the stairs and risking the possibility that one of my young kiddos (or me) could fall – carpet has a lot more padding than hard wood.  Thankfully this is my awesome solution…

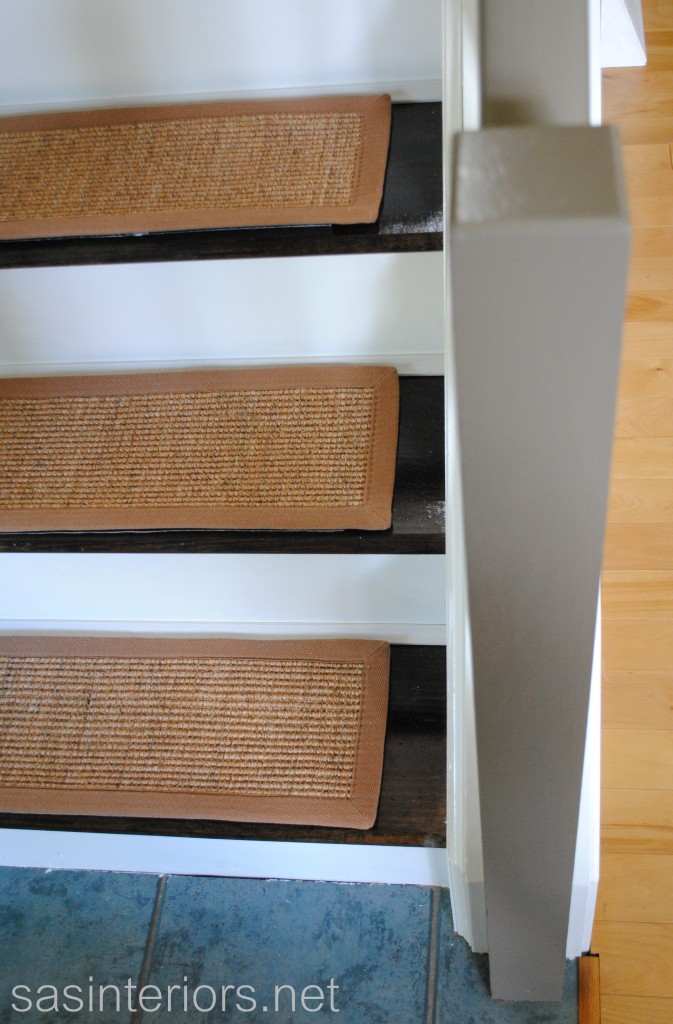
Sisal Carpet Treads!

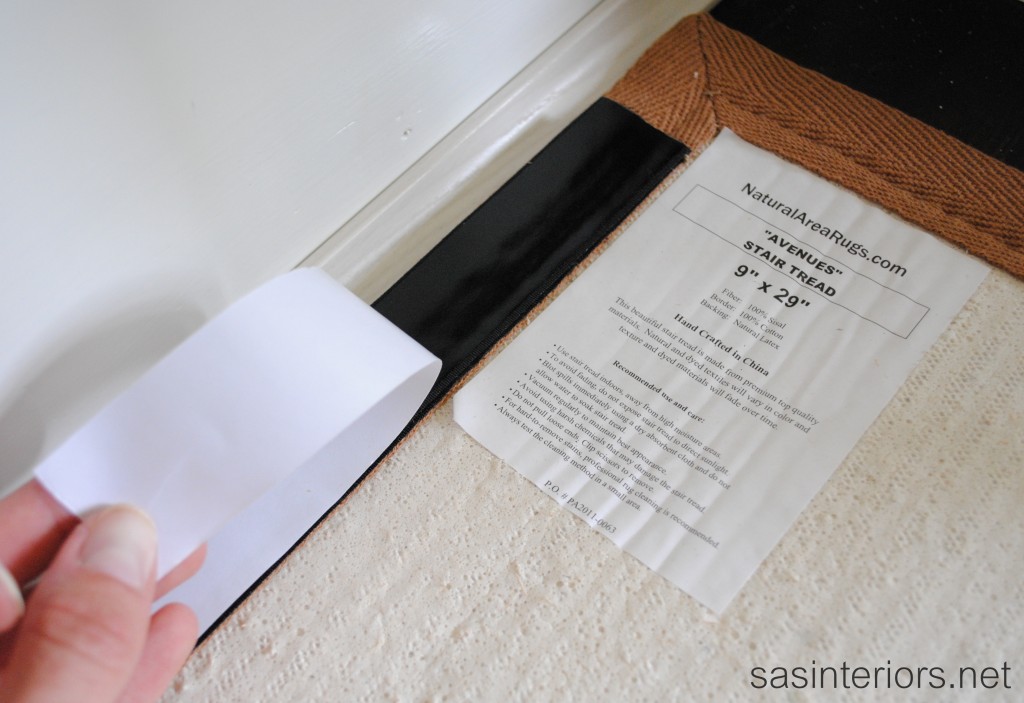
These carpet treads are perfect and I love them.  The kind folks at Natural Area Rugs sent me these attractive woven sisal treads which have a cotton twill border and non-slip back.  They’re ideal for giving the added protection for people walking up/down the stairs, plus they protect the actual stairs.  After all that work, the last thing I’d want are scuffs and scrapes!  But the beauty is that you can still see much of the stairs unlike a typical stair runner which covers the treads and risers.

The carpet treads have velcro on the back, so they easily attach to the stairs with a sticky back.

I’m ecstatic about this solution!

And it’s complete! What do you think?  Have you ever considered giving your stairs a makeover? Thank you for following along over the past few weeks!

Related Posts:
The Beginning of a New DIY Project
Phase 1: A New DIY Venture Begins
Phase 2: Filling Holes & Staining Treads
Kitchen Makeover Reveal
Stenciled Foyer Wall

Monogrammed Chevron Pallet Tray

As a Blogger, finding support throughout the blogging community is important for blog growth, friendship, and creative inspiration. For the past several weeks, I’ve joined forces with a few fabulous DIY bloggers and we’ve been helping each other with various aspects of blogging.  Along with our helpful “chats”, we were given a Blogging Challenge by Beckie of Infarrantly Creative to create a DIY project using specific materials – additional items could be added, but it was a must to use the required five.

What did I create you ask?

Well take a look… (and then keep on reading for the details)

Included in our Blogging 2 Better group was Monica & Jess of East Coast Creative, Allison of House of Hepworths, Brook of Being Brook, and Kim of Sand & Sisalall incredibly talented and inspiring women and friends!

To begin, this is the list of items that we were required to use, and actually I pretty much just stuck to the list and didn’t use many additional items.

Fun, but definitely challenging!  I was quite nervous at first trying to think about what to create with these 5 items and then it came to me…  A tray that would be perfect to bring items in and out while BBQing (or even just to display on the coffee table – you know I love trays).

Once I had the idea, my project was quickly underway, especially since I already had a stash of pallets in my garage for a few other projects.

Item #1 – Pallet

To start off, I determined the size of the tray that I wanted to make (17″ x 17″), so the Mister and I measured (4) 17″ long pallet pieces.

Using the reciprocating saw, we buzzed right through that wood :-/

I’m always leary about using the BIG TOOLS (even though my friend Brittany has empowered me with the right skills), but I helped out and made a boo-boo when cutting. No problemo – the Mister came to the rescue with his Band Saw and cleaned the edges right up.  In no time the (4) pieces of pallet were ready to make into a box.

Lining up the corners of the pallet planks, we hammered 2 nails into each corner.

Onto the bottom of the tray…

The only material used that wasn’t on the list was a piece of 1/8″ thick plywood that I used for the bottom of the tray.  Once the pallet “frame” was made, we measured the distance to the outer edges and cut it using the Band Saw.

Once the plywood was cut to the right dimensions, we nailed it onto the bottom of the pallet “frame”.

I gave the overall tray a quick sanding, and within 20 minutes it was done!

Now onto the fun part…  Using my second and third required items, fabric and Mod Podge, I lined the bottom of the tray with a brown and white chevron fabric.

To start off, I spread a nice coat of Mod Podge along the entire bottom of the tray.

Item #2 Mod Podge

Then I added the fabric onto the glue-y surface and made sure to get it nicely in the corners as well.  Make sure the fabric size is larger than the surface because in the next step, I’ll show you how I trimmed it.

Item #3 – Fabric

Once the fabric was well stuck to the Mod Podge, it was time to trim the fabric (this can be done before the glue underneath is dry).  Using a very sharp blade, I dragged it along the edge of the tray to trim the excess fabric.

Once the fabric was cut, I add a layer of Mod Podge OVER the fabric – no worries, it will dry clear!

Once the Mod Podge was dry (fully about 1 day later), it was time to add my last 2 items – the stencil and the color coral.

Using a new Word Doc, I found a font I liked (credit valley) and printed a large letter ‘B’ in lowercase for Burger (my last name).  Then I cut it out with a scissor and traced the outline on the fabric.

Item #4 – Stencil

Then filled in the stencil with a beautiful color coral (it needed about 4 coats, but it didn’t take long).

Item #5 – Coral

And here it is all complete!  My Blogging 2 Better Challenge was done and I was quite happy with the result.  What do you think?  Perfect for the indoors or out!

And you of course have to check out the other B2B Challenge Projects using the same materials.  It’s truly amazing how they’re all SO DIFFERENT!

Rustic Industrial Storage Bins by Monica & Jess of East Coast Creative Blog

Dangle Earring Frame by Allison of House of Hepworths

Fabric Wall Art by Brook of Being Brook

Pallet Art Surfboard by Kim of Sand & Sisal

I’m sure you know all these ladies, but if not, you are REALLY missing out!  Be sure to visit each of their great Challenge projects, as well as their daily DIY creations.

I link my projects to some of these parties: Skip to My Lou, Dittle Dattle, Between Naps on the Porch, Today’s Creative Blog, Stories of A to Z, All Things Heart & Home, Savvy Southern Style, House of Hepworths, Finding Fabulous, Creation Corner, The Shabby Nest, Tatertots and Jello, Thrifty Decor Chick, Tip Junkie
5 Minute Lamp Revamp with Spray Paint and Ribbon

For a while, I was on the hunt for a pair of lamps for the dining room buffet. They couldn’t be overly large, but something that would be unique and add a soft glow.  I had brought home a few options, but nothing was quite right.  Then one day when randomly shopping at HomeGoods for another project, I spotted this treasure –>

It wasn’t perfect, but immediately I had an idea up my sleeve.

Could I ever just leave anything alone?  NOPE!

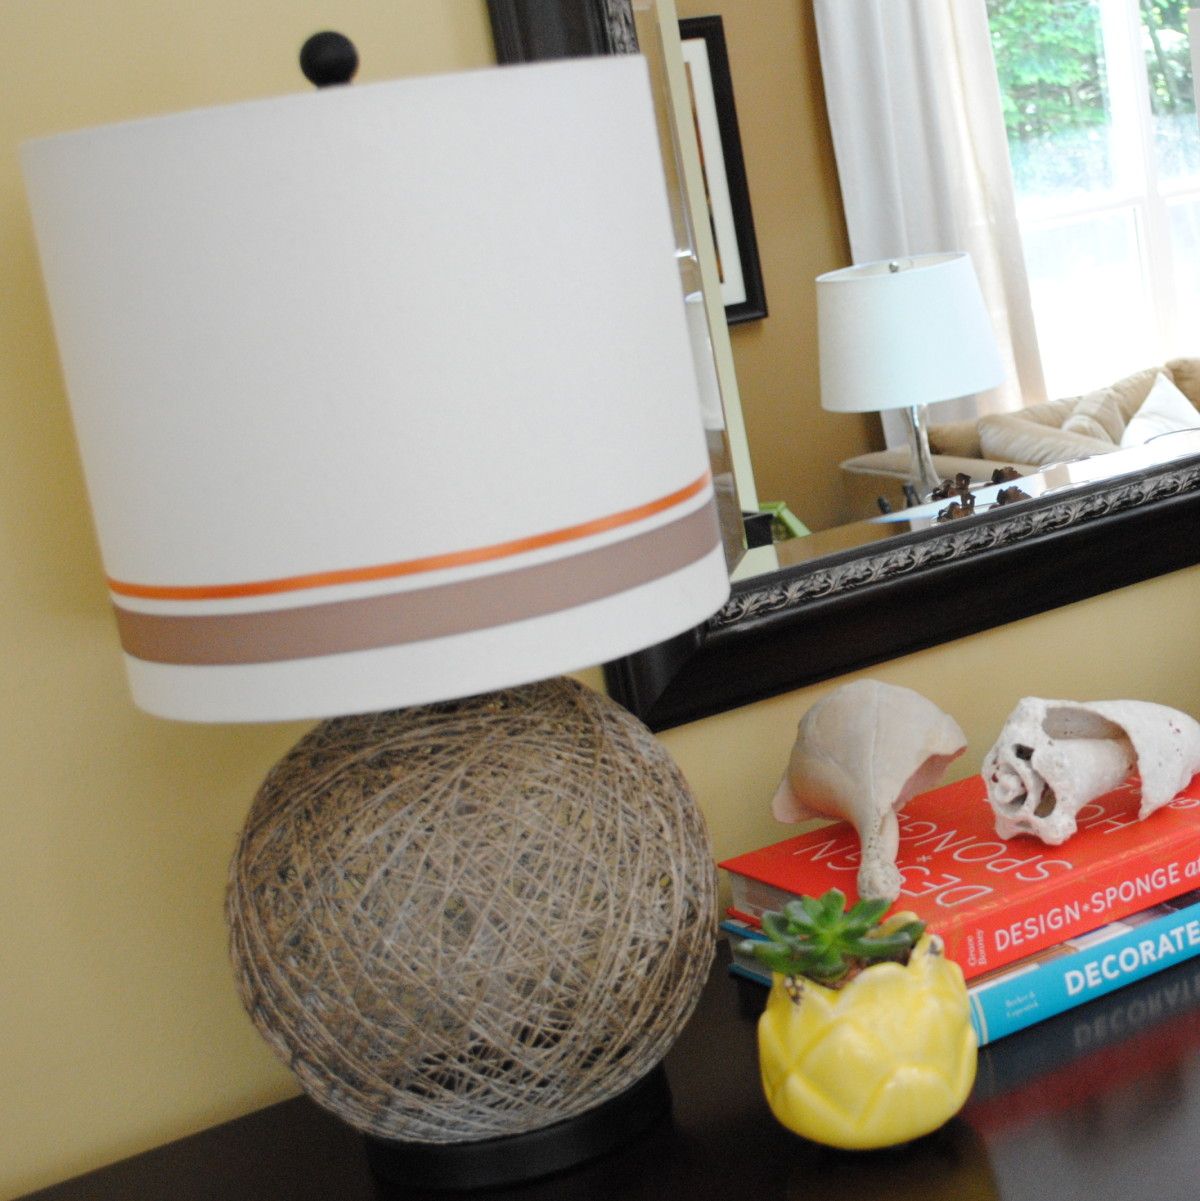
My immediate idea was to spray paint the globe, but I wasn’t sure what color.  Should the lamp be subtle or dramatic?  Since the lamps were a nice piece of change (around $30 x 2), I thought a quieter color would “live” longer.  So, I hit up my favorite spot at my favorite home improvement store and chose a taupe color with a hint of gold.  Interesting, right?

The color name is Caramel Latte  – sounds scrumptious (I must have missed my morning coffee that day and got my fix another way, hehe).

Before starting the exciting transformation, I covered all the areas of the lamp that I wanted to protect.  So ONLY the basket-style globe was exposed and ready.

Now, I was armed and ready! I started off spraying my new fav color on the black globe area of the lamp. Nope, didn’t work. 

I wanted it to be lighter, so instead I first spray painted the globe white (basically as a primer)…

…THEN applied the Caramel Latte Color.  Yes, that’s what I wanted!

Perfection – DONE! well maybe not?

You know me…  I can never leave well enough alone.  I wanted to embellish the shades a little, so I decided to add two rows of ribbon in a taupe and burnt orange color.

Adding Ribbon to Embellish a Shade

  1. At the lampshade seam, dab a small amount of hot glue on the shade and attach one end of the ribbon.
  2. Wrap the ribbon around the entire shade (no need to glue all the way around). Trim the ribbon, fold over the edge so it doesn’t fray, and glue.
  3. Complete!

In about 10 minutes (well, for me it was 20 because I had two), these lamps got a total makeover and are completely unique for my space!

I hope I’ve inspired you with my Lamp Revamp to think-outside-the-box and create or transform something in your home.  Sometimes with a little spray paint and an idea, your options are limitless!

I link my projects to some of these parties: Skip to My Lou, Dittle Dattle, Between Naps on the Porch, Today’s Creative Blog, Stories of A to Z, All Things Heart & Home, Savvy Southern Style, House of Hepworths, Finding Fabulous, Creation Corner, The Shabby Nest, Tatertots and Jello, Thrifty Decor Chick, Tip Junkie
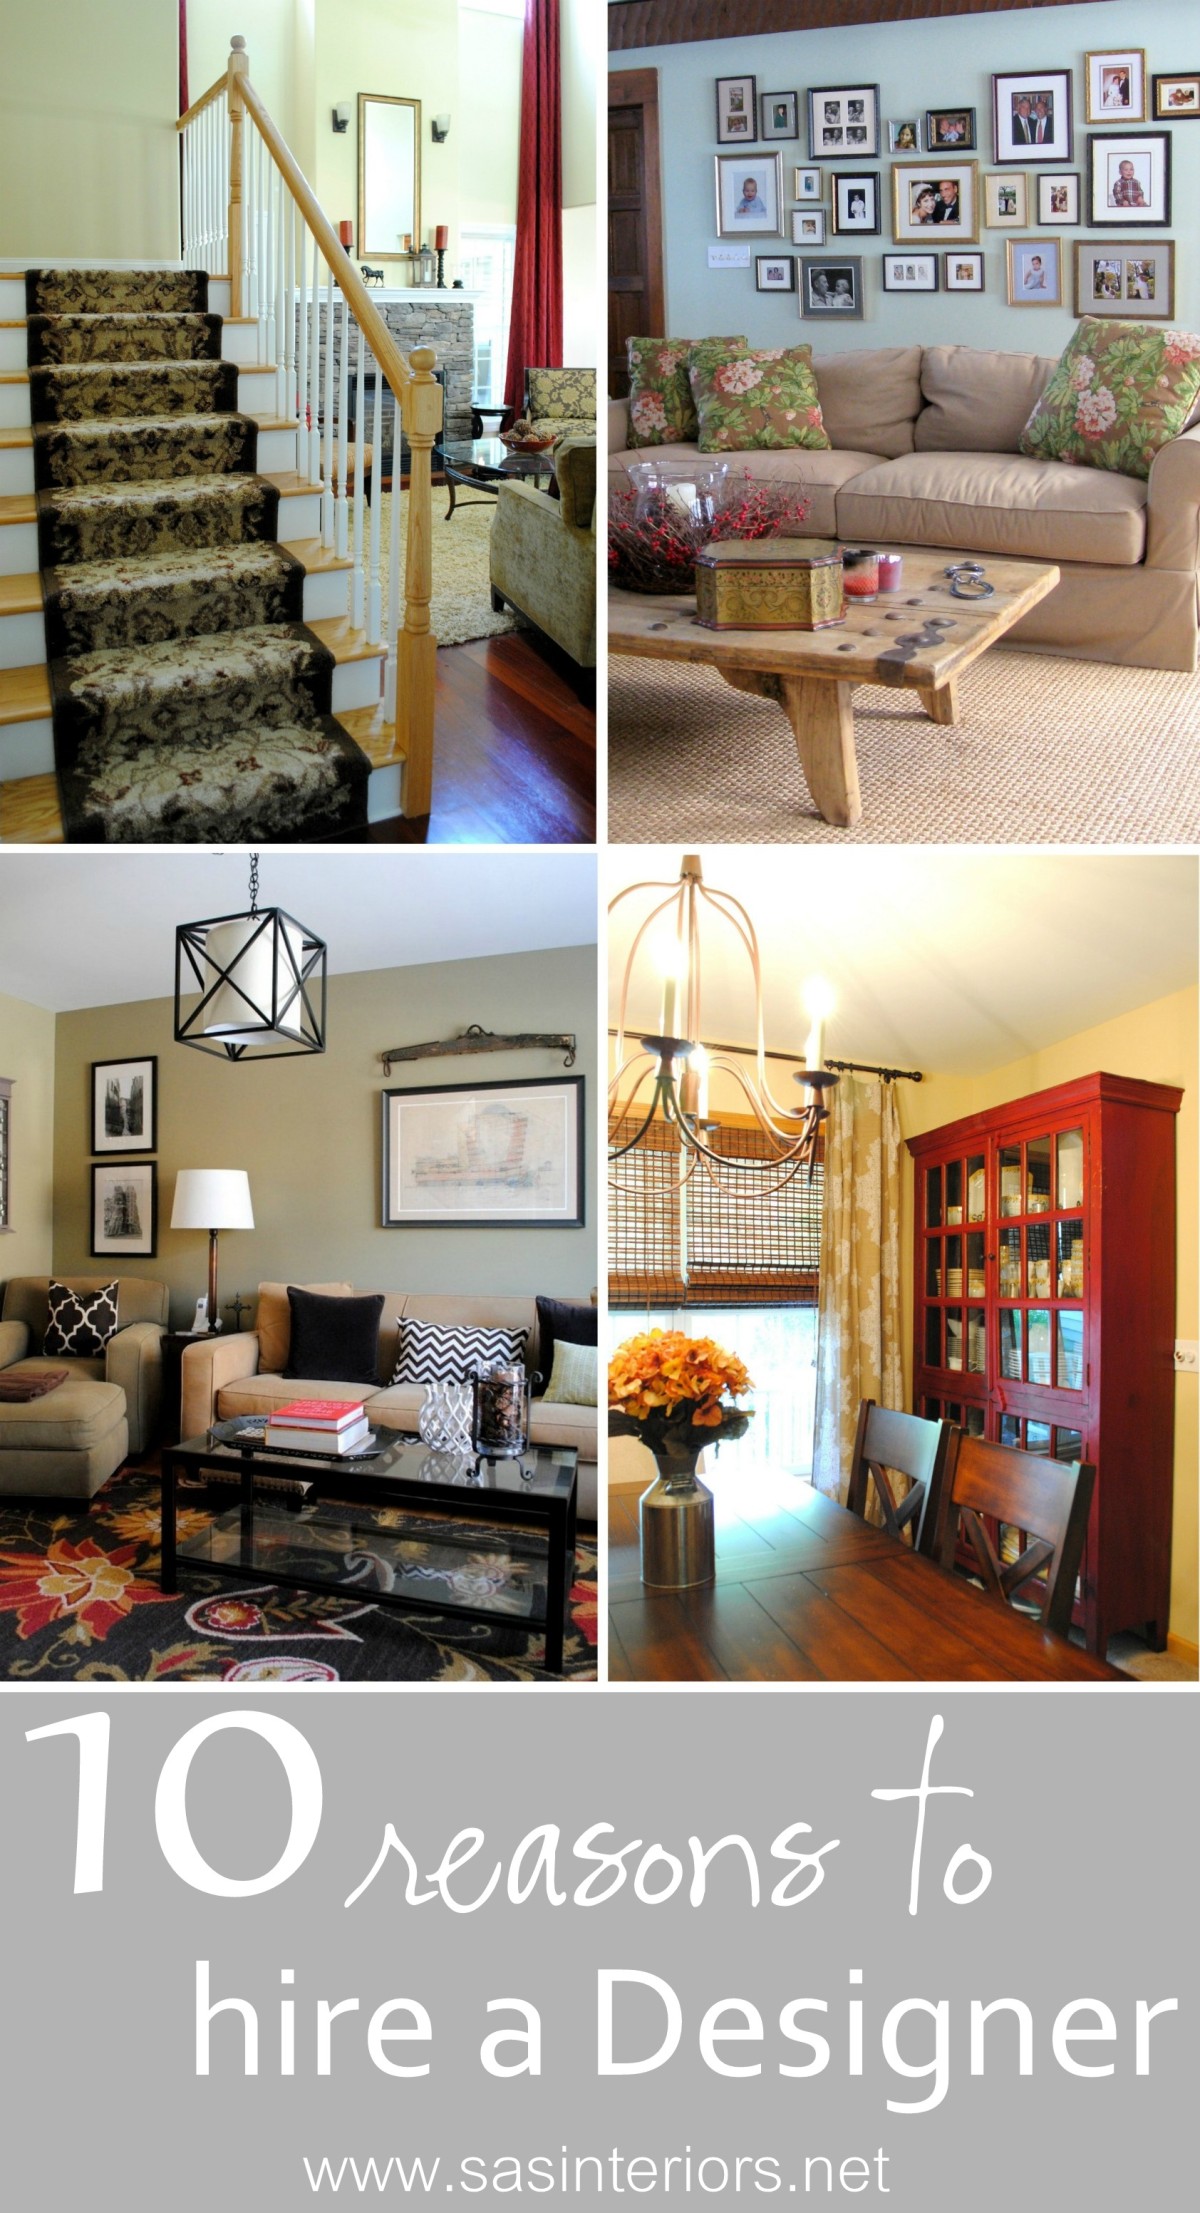
10 Reasons to Hire an Interior Designer
It’s been a little crazy around here lately and one of the reasons is because I just wrapped up three design jobs this week.  It’s always so gratifying when a project is complete and the vision that I originally had for a space comes to fruition.  As I finished up the final details of these latest projects, each client said (in a different way, of course) how I made them think outside the box and how the space wouldn’t be what it is without my assistance.  That surely brought a smile to my face 🙂
Many think, that an Interior Designer is only for the stars or the uber-wealthy.  So not true!  For many years I worked in the high-end design field, but honestly, I’d much rather assist the everyday person with making their vision a reality.  That being said, I am so thankful for what I learned when practicing high-end design because  I now know how to get that pricey look at a fraction of the cost!

As these projects are wrapping up and it’s fresh on my mind, I thought I would share a few reasons why hiring an Interior Designer is a must for anyone, with any budget!

WHY HIRE A DESIGNER!

1. Designers can save you money.  When making interior selections and decisions for one room or your entire home, it can be overwhelming and it’s possible that you’ll make purchases or choices on items that are either not worth the cost or won’t “live” for long.  With a Designers (like me) assistance, direction, and know-how, they can steer you in the right direction so the entire space can come together as a whole.  Let me ask you this – How many times have you purchased 2,3, or 4 different gallons of paint to repaint a room and you still weren’t satisfied?  Maybe once or twice??  Be honest…  With a Designers perspective, big bucks can be saved, along with the countless wasted hours.  That leads me to my next reason on why to hire a Designer…

2. Designers can save you time.  Think about all the time (and gas) wasted by buying items, not being happy with them once at home, and then returning them.  Has that happened to you once or twice?  When I work with clients, many never step foot into a store or showroom (unless they want to), because I bring samples, images, and pieces to their home.  Not bad, right?!  I’m sure the last place you want to be on a beautiful Saturday afternoon is a furniture store with 3 crying kids. I won’t even get to the point on how much time a Designer can save you with all those gallons of wrong paint.

3. Designers think outside the box and give a fresh perspective.  The mind of a Designer is simply made up differently.  We can see things that others may not and we think outside the box to provide fresh ideas and a unique perspective for a space.

4. Designers create and work within a budget. (most of the time) A good and experienced Designer will work within your budgetary means (and/or tell you up front if your scope is/isn’t possible within your budget) and make a plan before anything is purchased.

5. Designers listen.  When working with a Designer, the designs are exclusively for you and your project. I listen to my clients needs and wants to direct / assist them so the result is a space that reflects their personality and style.

6. Designers push you.  Not literally (well, some may, hehe) of course.  Designers are trained to know scale, proportion, color, size, texture, etc. so that a space is unique and personal, and not directly taken out of a catalog.  I like to introduce elements into a space that my clients wouldn’t have chosen without me.  Sometimes pushing the limits truly makes for an amazing result.

7. Space Planning.  Determining the best furniture layout for a space is critical in how the room functions and how it reads aesthetically.  When I meet with a client, we discuss the pieces that they want to repurpose or eliminate, and what needs to be added. Planning the space is HUGE (and my favorite part)!

8. Project Management.  Whether a homeowner desires a few new accessories or an entire kitchen renovation, alot of time and effort is needed for project management and coordination.

9. Designers have passion.  I live and breathe design.  From my blog to my business, design is what I know and what I do, day in and day out.  It’s not just my job, but a hobby and career that I’m truly passionate about, which is reflected in every one of my creations.

10. We have contacts. Designers have access to trade only resources that are not often available in retail stores and are often deeply discounted from retail costs.  Additionally, being in the design / building field, Designers often have formed relationships with kitchen consultants, millworkers, plumbers, electricians, etc.  We can get the right people for the job!

I hope you learned a little something, especially that working with a Designer is attainable for anyone with any space and any budget!  If you are in the market for a Designer or if reading this post peeked your need to finish up the space you’ve been working on for the last year, you can gladly take a look at the Design Services that I offer by clicking here.  I also offer E-Decorating services and can gladly assist you with a project if you live in the US.

Have you ever worked with an Interior Designer?  Have you ever thought of working with a Designer but didn’t think it was possible? I’d love to hear your thoughts!

Painted Two-Toned Desk + Tips on Painting Furniture

I’m just about finished with the updates for my son’s bedroom makeover.  It hasn’t been a huge overhaul, but with rearranging the furniture, adding colorful stripes on the wall, and hanging new DIY pallet shelves, this space has received a welcome refresher.  In the midst of moving around the beds and dresser, I realized  my little man is at the age where he really needs a desk to work at and hold all his creative supplies.

If you remember back quite a long time ago, I purchased a beauty of a desk off Craigslist.  It lived in my family room ever since (over 6 months), but wasn’t “right”.  Then pufff… I had an idea – it would be perfect for my son’s room.


And this is the evolution of the Craigslist Desk…

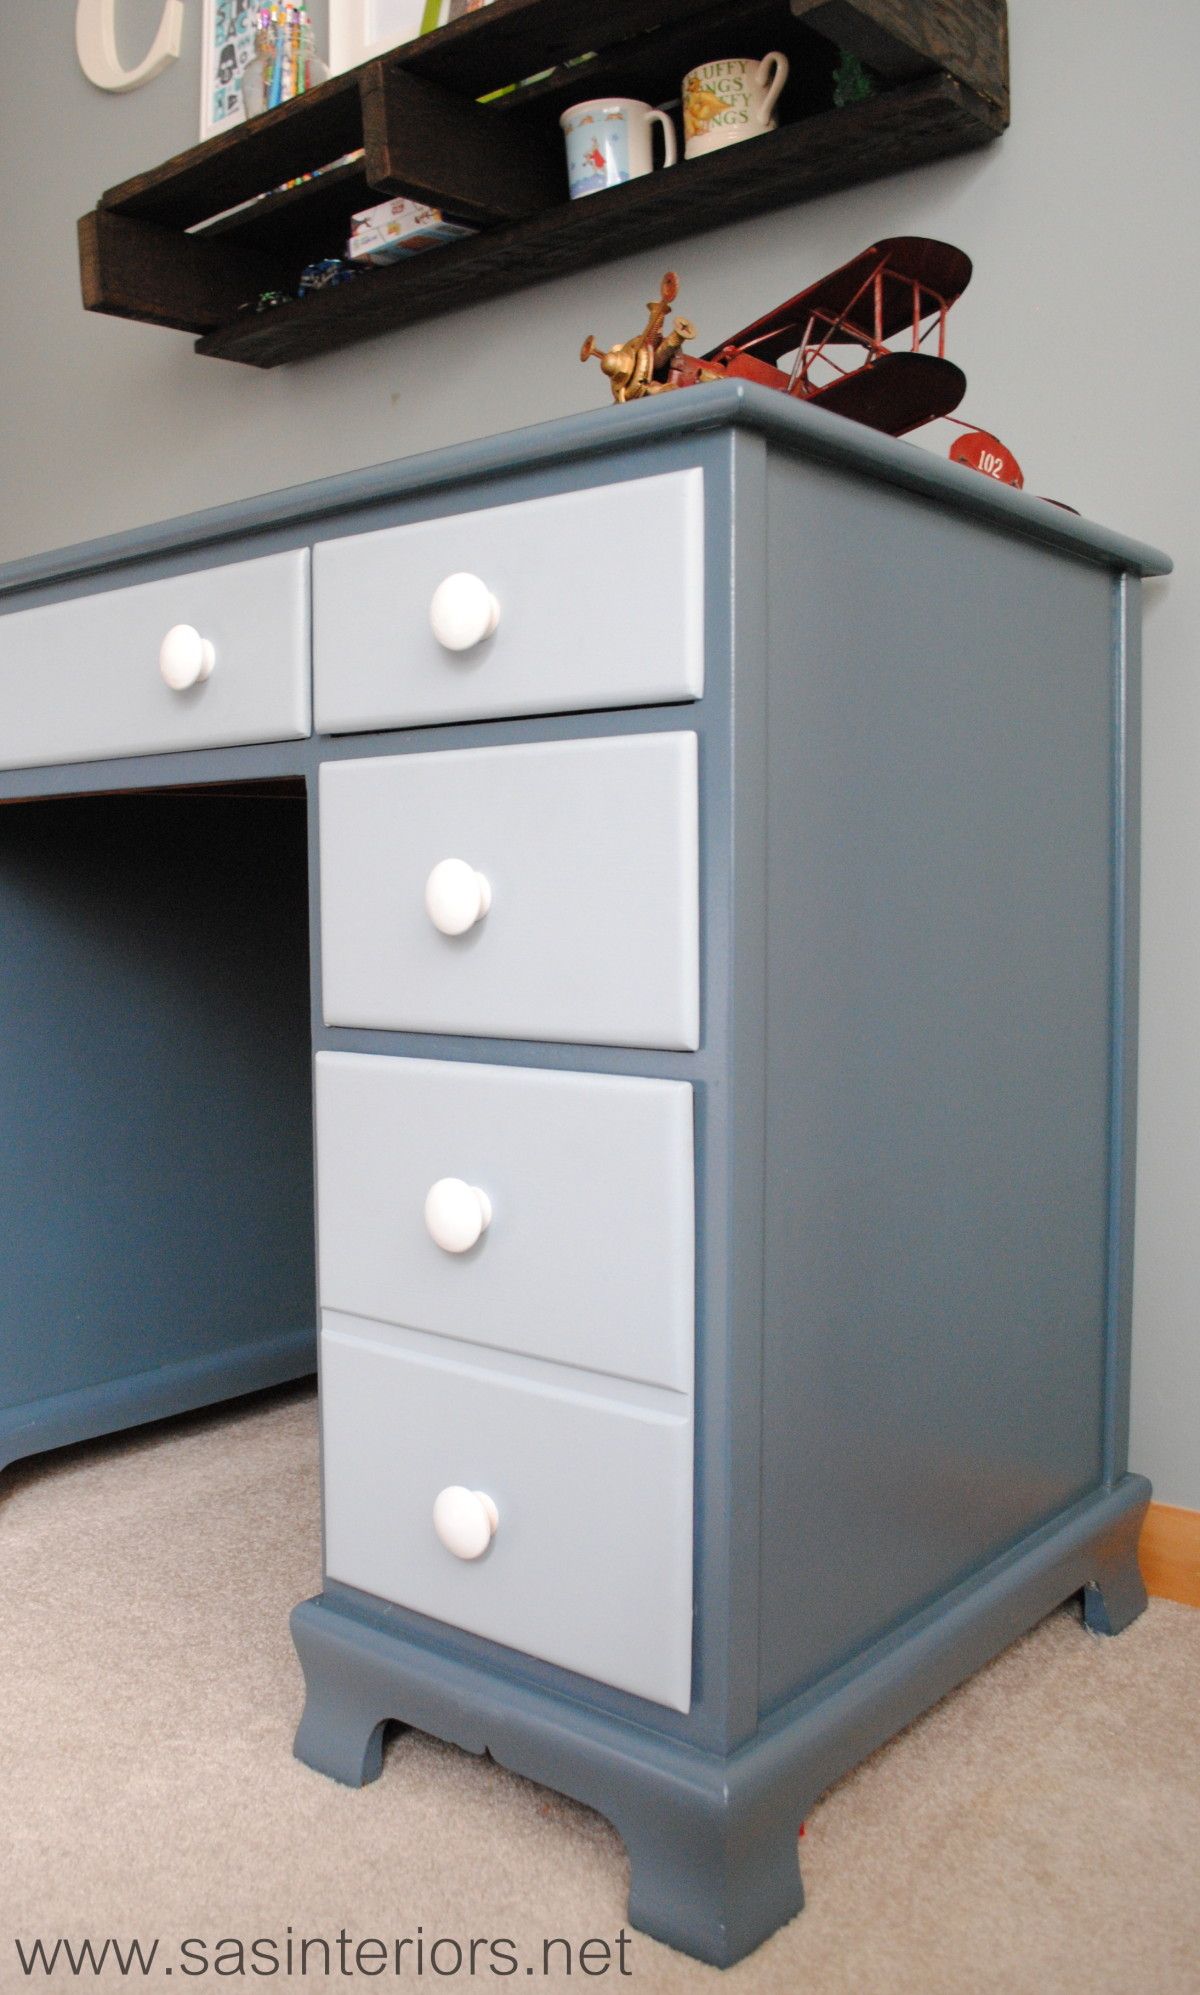
It started off as a stained executive desk typical of the 1940s and is in really great condition.  The only thing it needed was a little makeover to update it and bring it back to life to mesh with today’s decor style.

In knowing that the desk would live in my son’s room, I wanted to do it right.  With my lack of patience, I sometimes skip steps or rush, but with this desk makeover I took my time so the result would be something he could live with for many years.

Supplies: Onto the makeover – here’s my arsenal of supplies…

1. Fill Holes & Sand: I started off removing the hardware, which I decided to replace with simple knobs.  Then I filled all of the scratches, holes, and nicks with wood filler.   And the last step before painting was to sand the overall desk surface with my orbital sander using a 120 grit sandpaper (medium coarse), then a 220 grit sandpaper (very fine coarse).

2. When the sanding was complete, I cleaned off the entire surface with a damp rag before I started priming.

3. Primer: Once the desk was completely dust-free, I added one coat of primer with my favorite Kilz Primer which blocks the stain and allows for a well-prepared surface to paint.

4. Secret Agent: With every painting job, I always add my favorite “formula” to eliminate brushstrokes – Floetrol.  It always works like a charm to achieve a clean, brushstroke-free surface! (And I wasn’t even paid to say that – I truly just love it 😉

Desk Colors:

  • Desk Top & Frame – Dutch Boy High Seas
  • Drawer Fronts – Dutch Boy Hurricane Cliffs

5. Paint: After the one coat of primer, I added the first coat of paint, which I used both a brush and roller.  On the top and flat surfaces of the desk, I used a 5″ wide small roller and for the difficult crevices and edges, I used my favorite 1.5″ wide Purdy brush.  *Sometimes, I used the brush first and went over it with the roller.  The roller makes for a smooth surface to avoid brushstrokes.

6. Then onto painting the drawers.  I wanted this desk to be a little playful and not just one color, so I decided to use a lighter color blue on the drawer fronts.

7. Polyurethane: The last painting step was to add a coat of polyurethane – truly the most important part in finishing any piece of furniture!  I usually use water-based clear satin polyurethane, but since I knew this desk would be getting lots of use in the years to come, I decided to use an oil-based polyurethane, which really is more durable (hands-down).

8. Hardware: Once the painting was complete, I drilled one hole in each drawer front for the new knobs, which were originally natural that I spray painted white.  The knobs went in and the desk was complete.

To add a little unexpected fun to the desk, I added a drawer liner that has a geometric pattern with green, blue, and turquoise colors.  My son was quite surprised when he opened the drawers to find this hidden treasure!

And once again here is the before and after…

And these are just a few important tips to remember when painting furniture:

 Do you like painting furniture? Have you painted anything lately?