My Winter Wreath Creation
In the midst of preparing for Thanksgiving and taking care of my two crazy fun and amazing children, I had a few ~ very few ~ moments of downtime to create this Holiday wreath…I have to say, I’m quite happy with it!

I’m always searching the web for new ideas and inspiration. One of my favorite design / DIY bloggers, Kate at Centsational Girl, created this whimsical wreath (below) for her front door…and it triggered my creative spark! So on one of my (many) recent trips to the craft store, I thought instead of buying an ordinary Holiday wreath, why not create my own….so here is the breakdown:
{MY INSPIRATION}


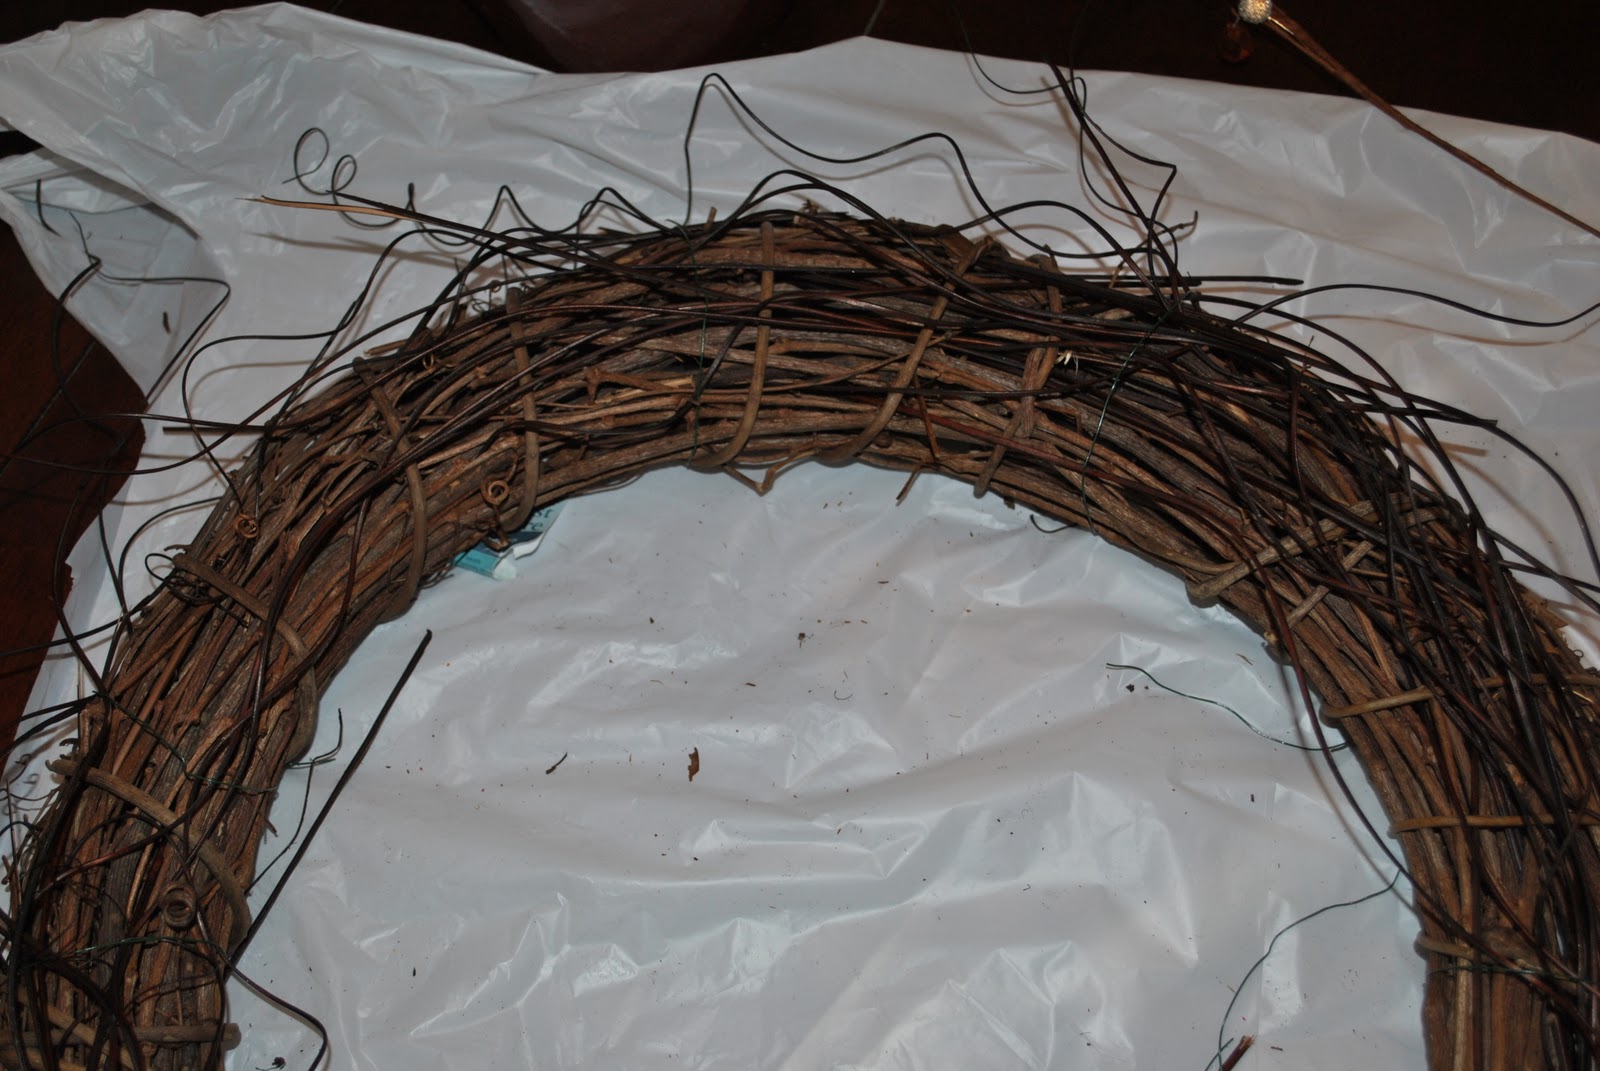
{My Wreath Making Journey}

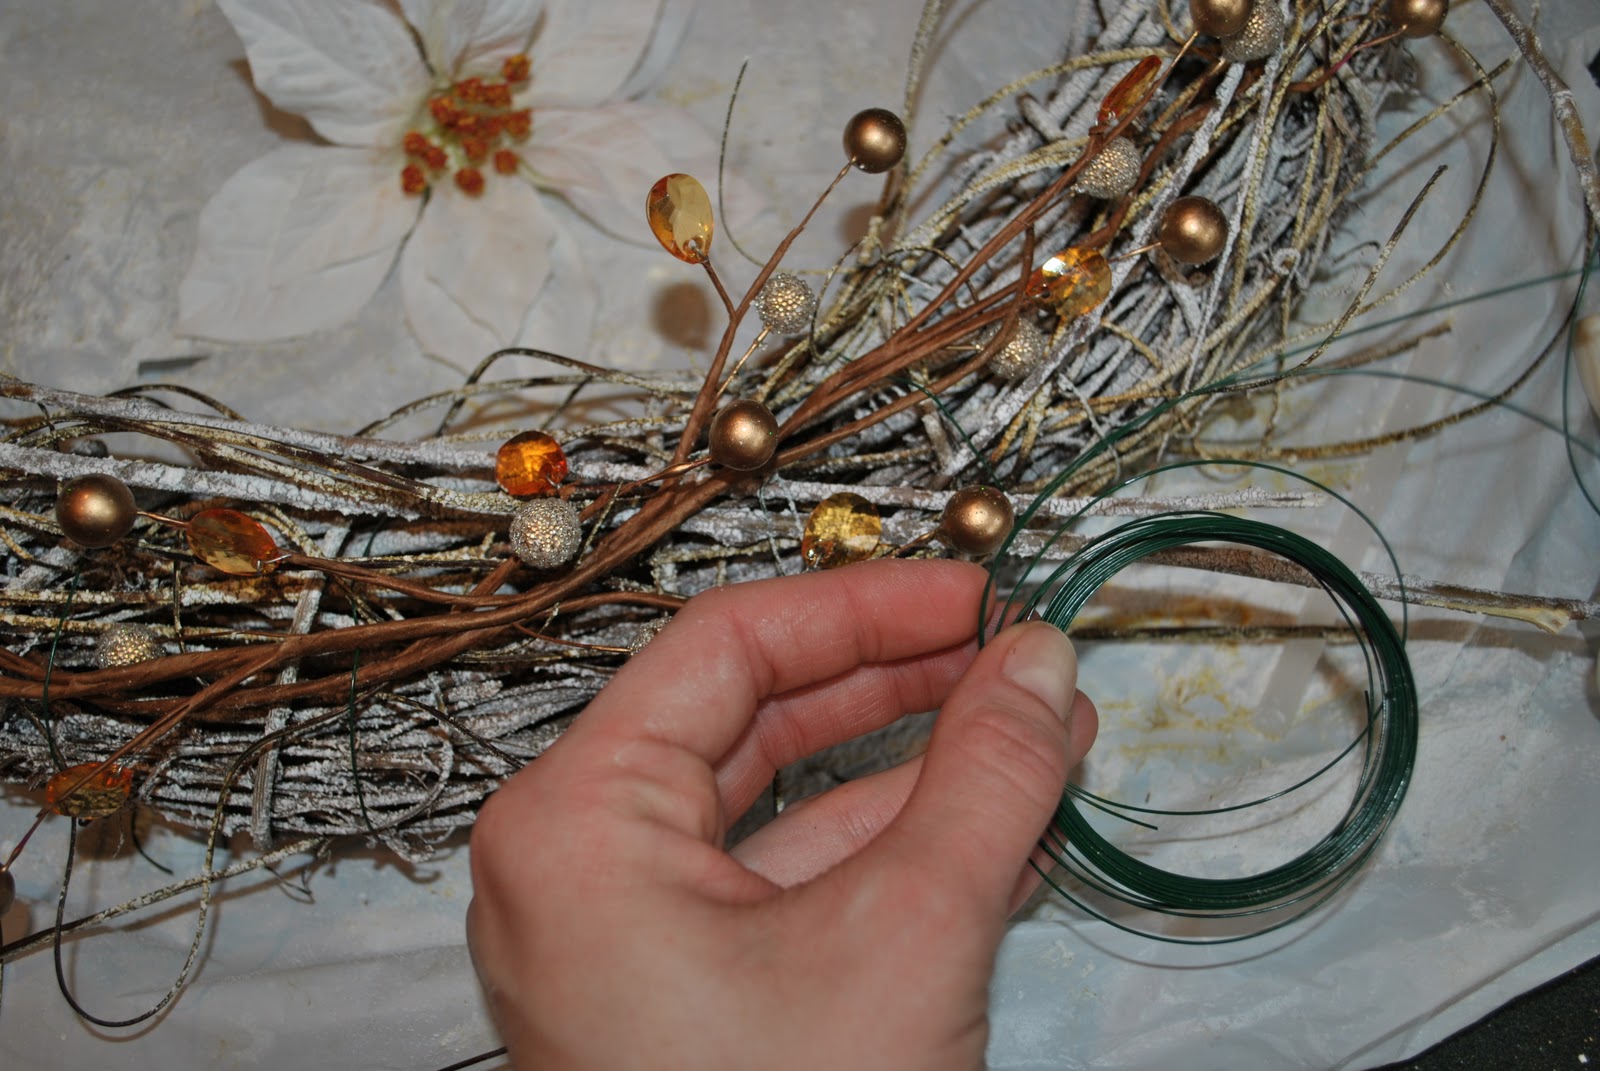
I purchased a $5 wreath from AC Moore, which I scored for $2.50 with my 50% off coupon. Then to give it some more interest and a whimsical-feel, I introduced some ‘curly-cue’ branches that I bought, as well as some sticks, branches, and pinecones from trees around my house.
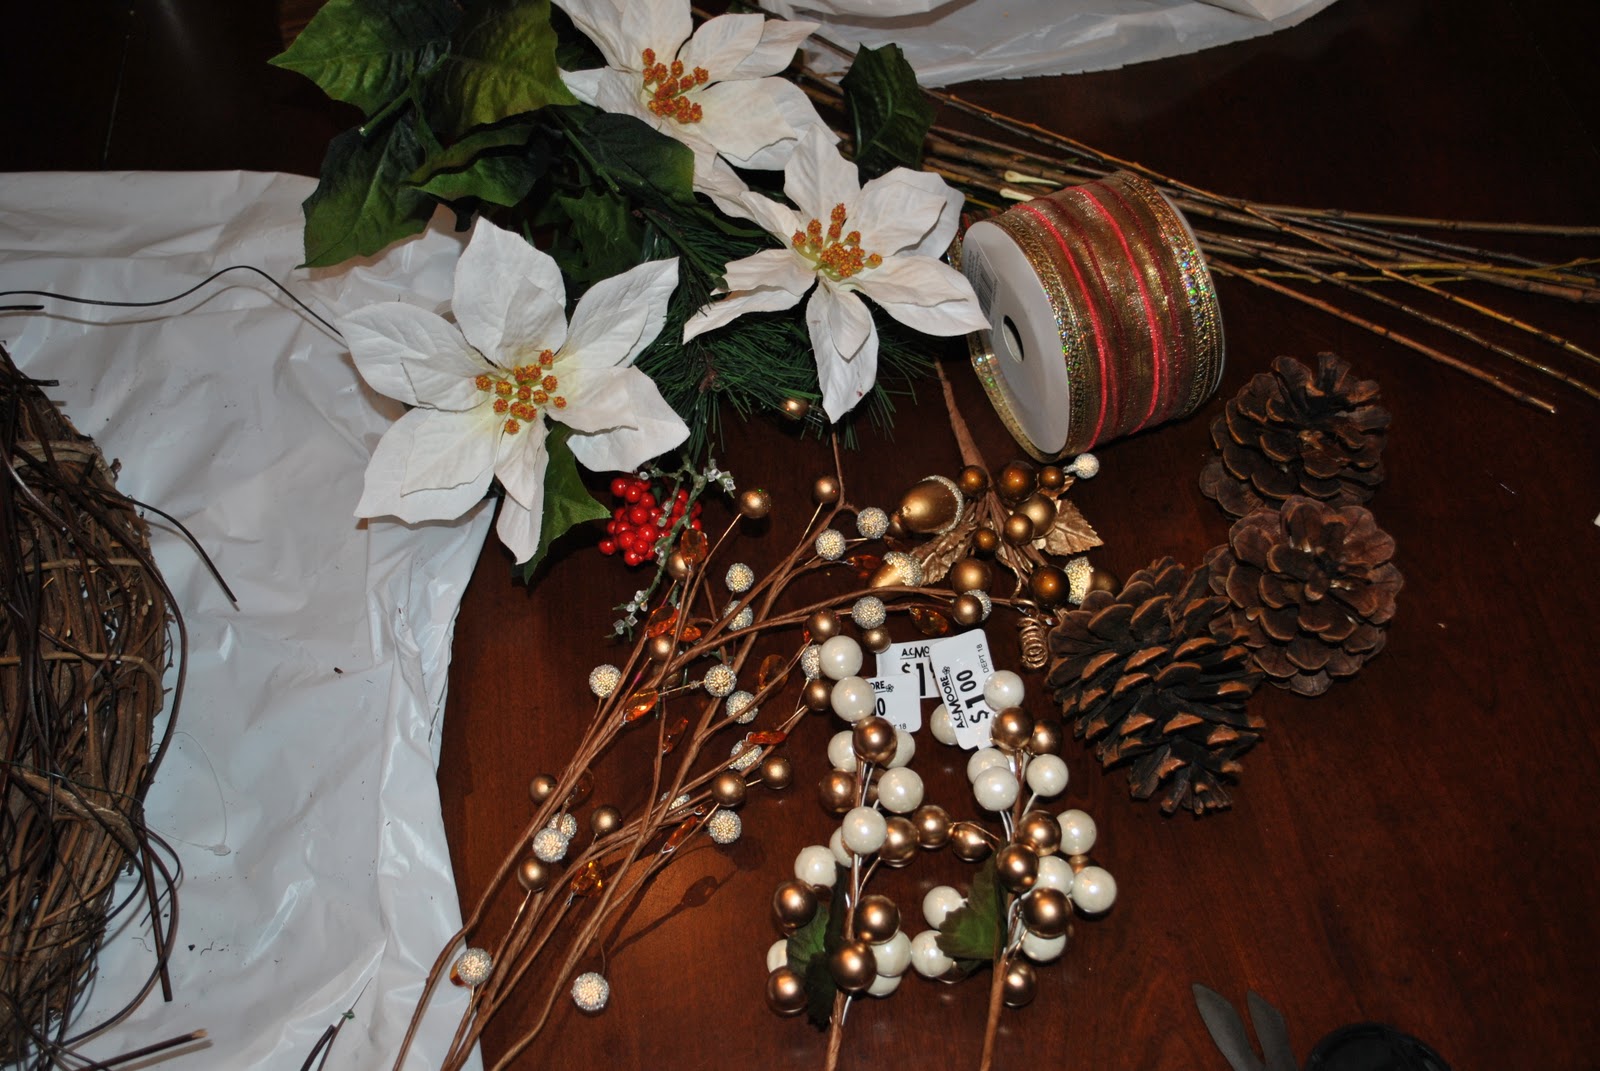
Here is a pic of some of the other supplies I purchased to create my wreath, including a bouquet of poinsetta-like white flowers, different styles of berry branches, and ribbon.
Kate of Centsational Girl used spray on faux snow, so I tried it out….and I wouldn’t do it again. I am a faux-snow-virgin, and it didn’t work as anticipated 🙁 I thought, like spray paint, that it would dry after a few hours…NO, it doesn’t really ever dry. Anyway…I made it work. Next time, I think I’d use a spray paint or something similar.
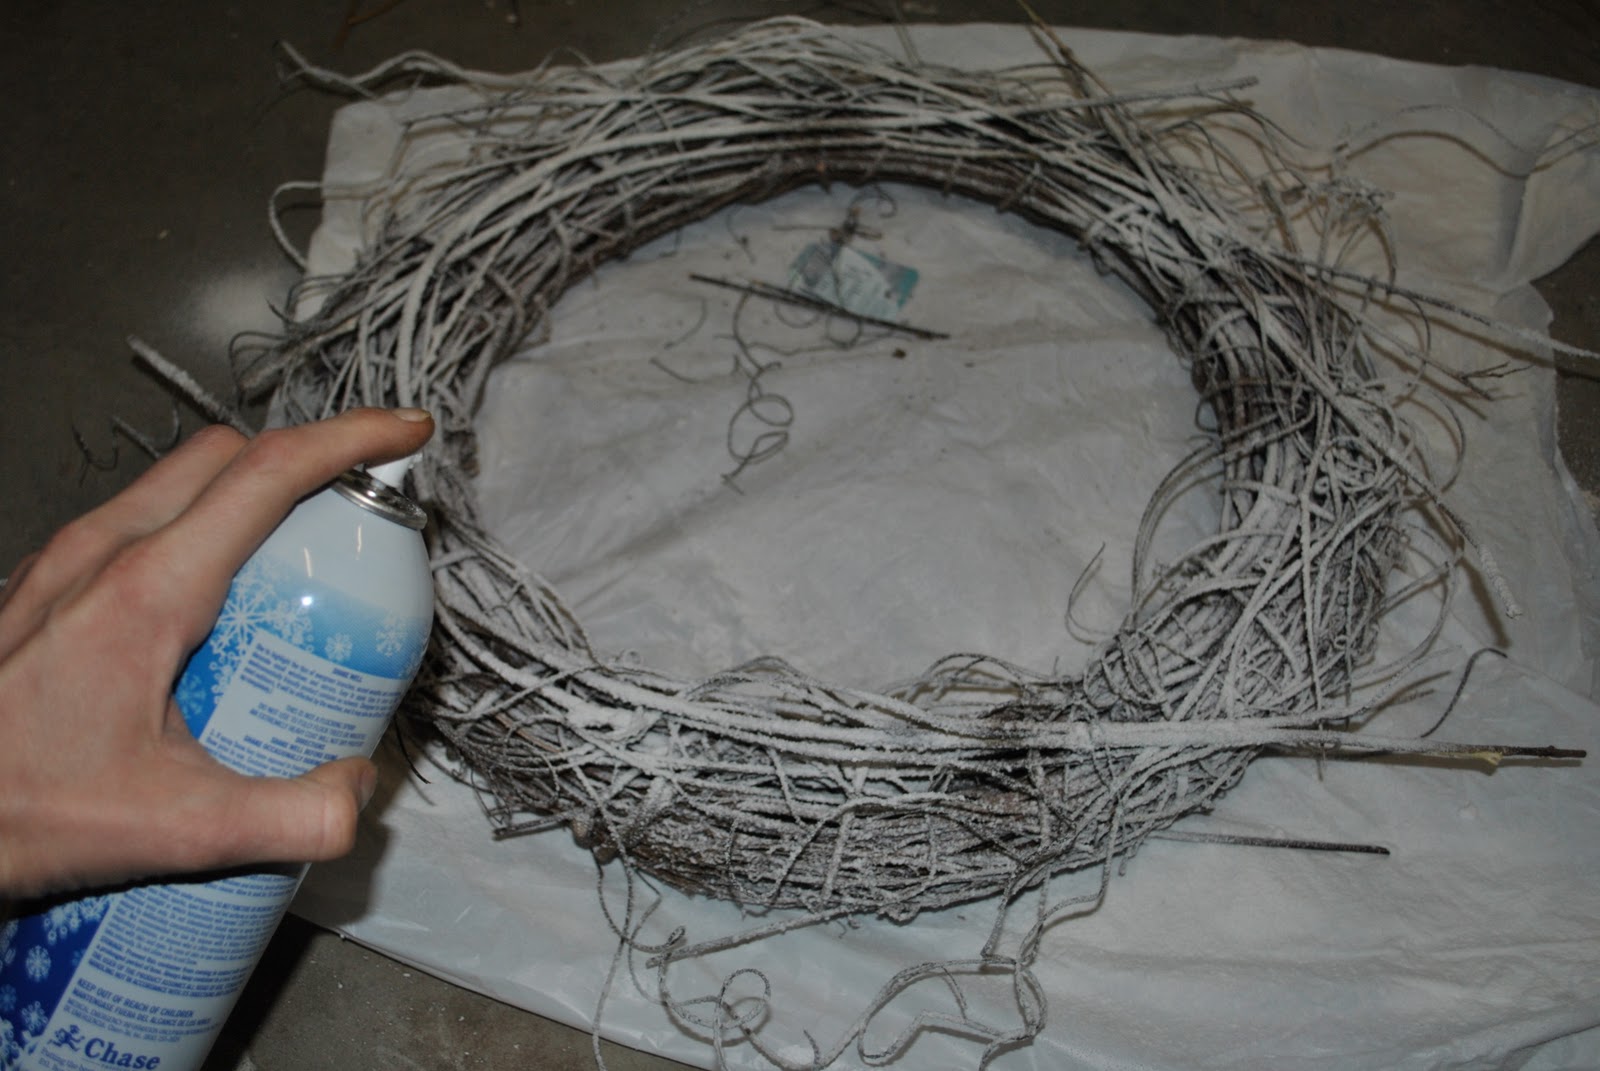
So this morning, I started adding the details!
To create this white willowy wreath, I used my hands,

Hot Glue and…

Floral Wire.
{VOILA…THE RESULT}

Since my front door is green, I decided to use white flowers along with deep gold and brown accents (berries). Then to pop it with color, the ribbon has some gold and red tones. It’s a simple, yet fun wreath that is a welcome statement for our guests over the Holiday season!


I hope I’ve inspired you to create a fun and personal wreath for your home!
And don’t you just LOVE the leaping reindeer wreath hanger?!…It’s available at Willow House.