DIY: Chalkboard Platter
Happy Groundhog Day… The pivotal point of the year when we await Famous Phil’s emerging from underground to see if Spring will be here soon or if winter will be sticking around for another 6 weeks. With all the snow we’re having in the Northeast, was Phil even able to make his grand entrance from the hole this morning??
I recently picked up a can of chalkboard paint and it’s been a blast to work with. I’ve used it for several projects and my most recent was to update a simple platter that I purchased from TJ Maxx for $5!
{The Completed Chalkboard Platter Makeover}

{The Before}

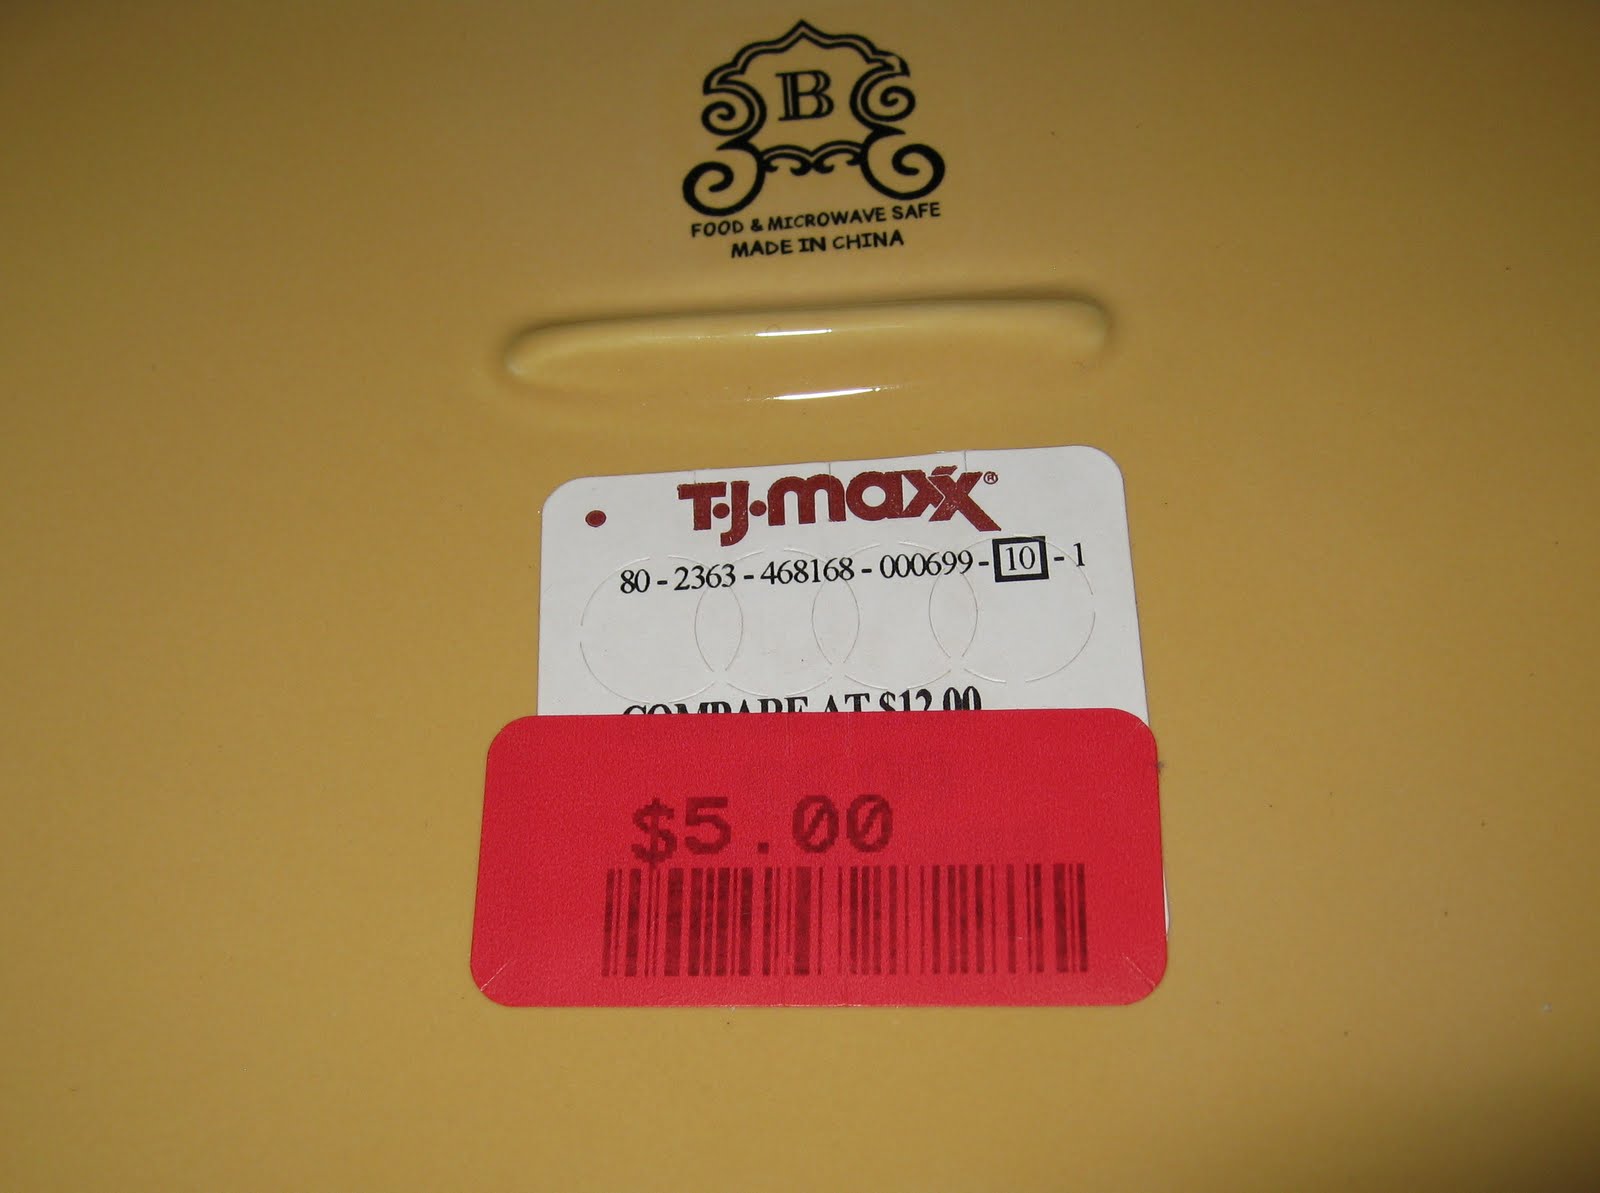
This is a before picture of the platter &
proof of my $5 {AMAZING FIND}
Step by Step Transformation:
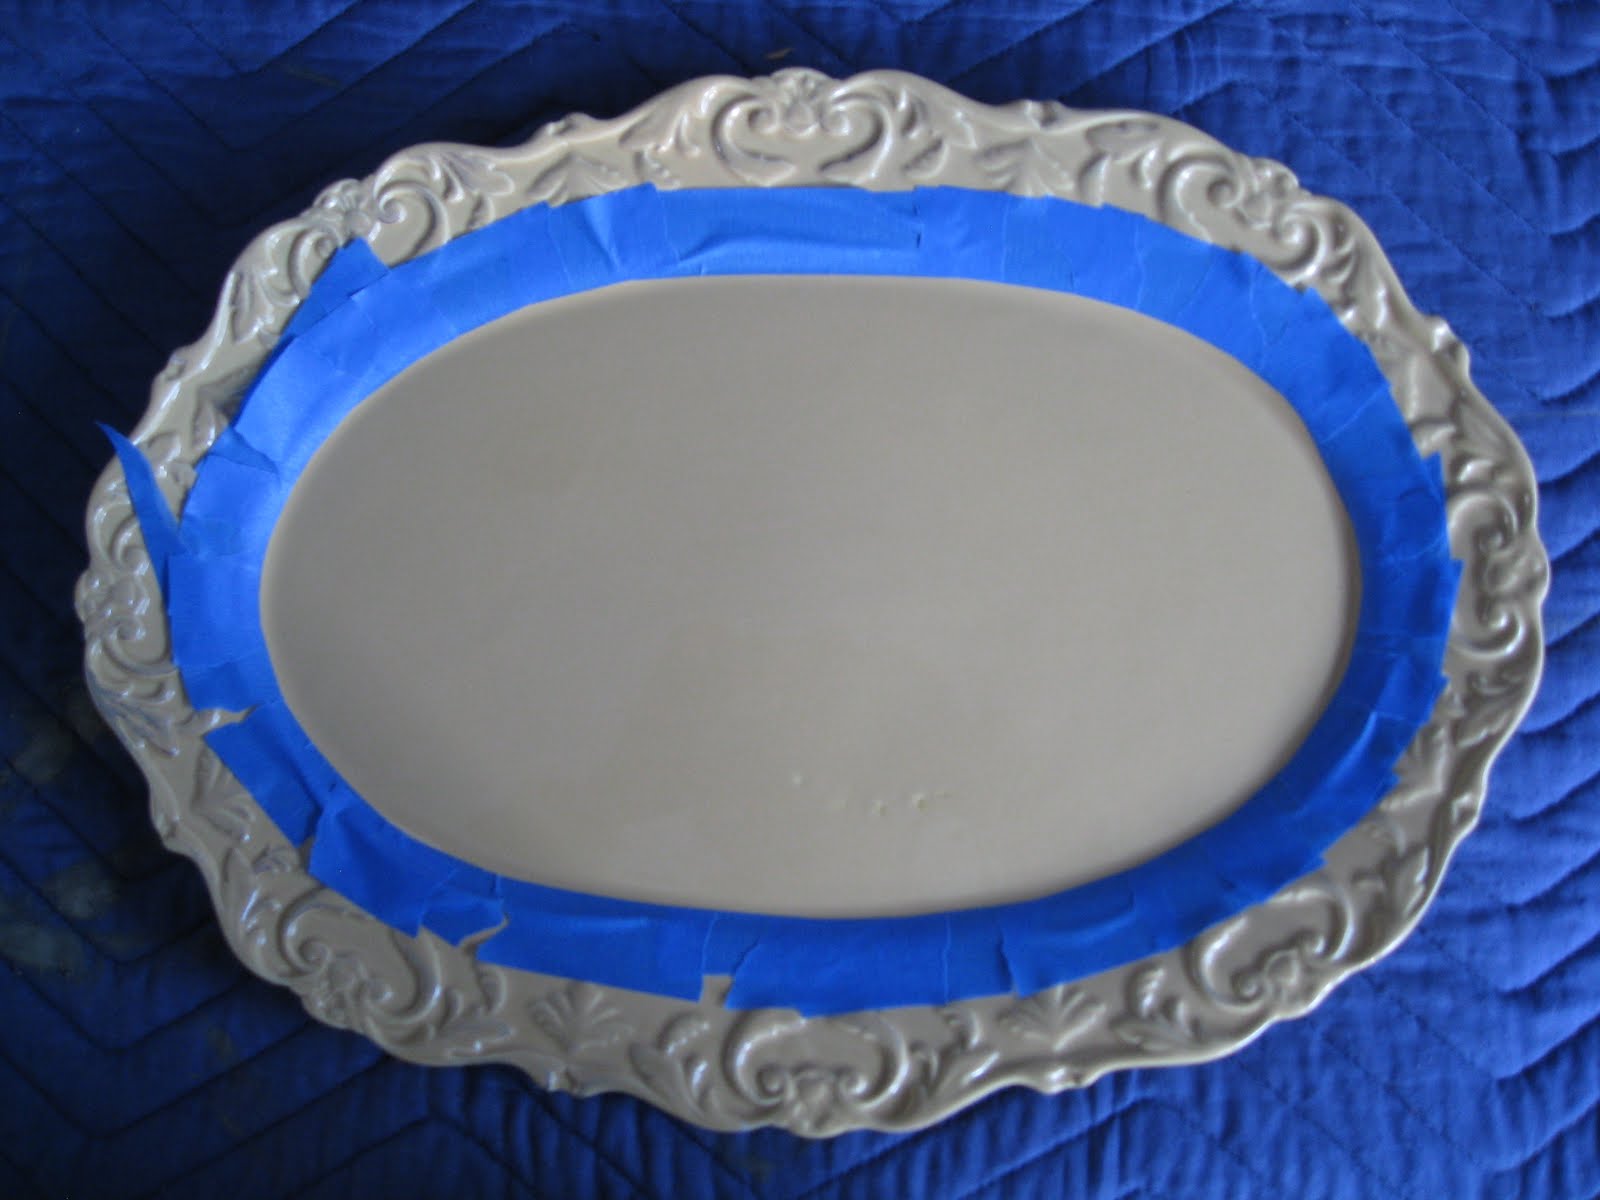
Once you find the perfect piece that you want to don with chalkboard paint, mask out the area to be painted.
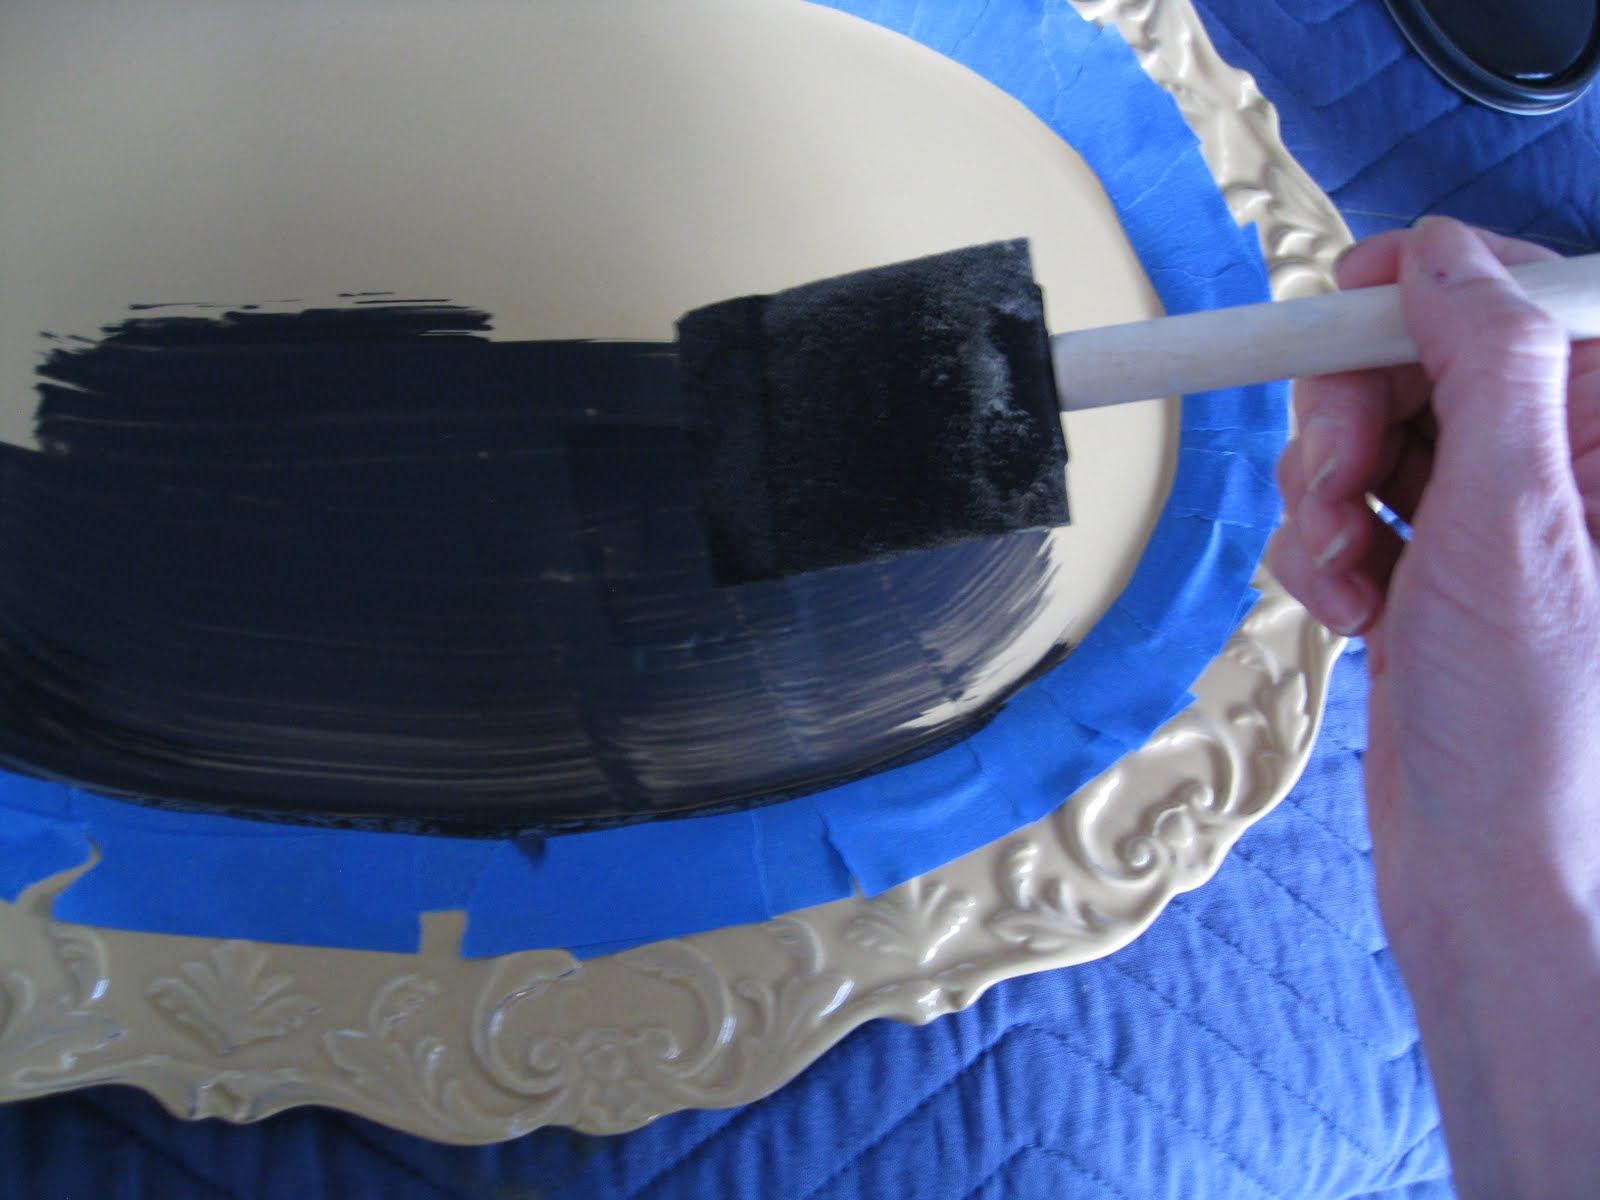
Start spreading it {ON}! Apply THIN coats of the chalkboard paint. The can says it’ll need 2 coats, but I used 3. It also says to use a roller or a foam brush. Due to the shape of this platter, a roller would have been impossible, so I went with the foam brush. IMPORTANT NOTE: Once the paint is applied to the entire surface, make continuous strokes from side to side without stopping. This will make for a smoother (non-bumpy) finish.
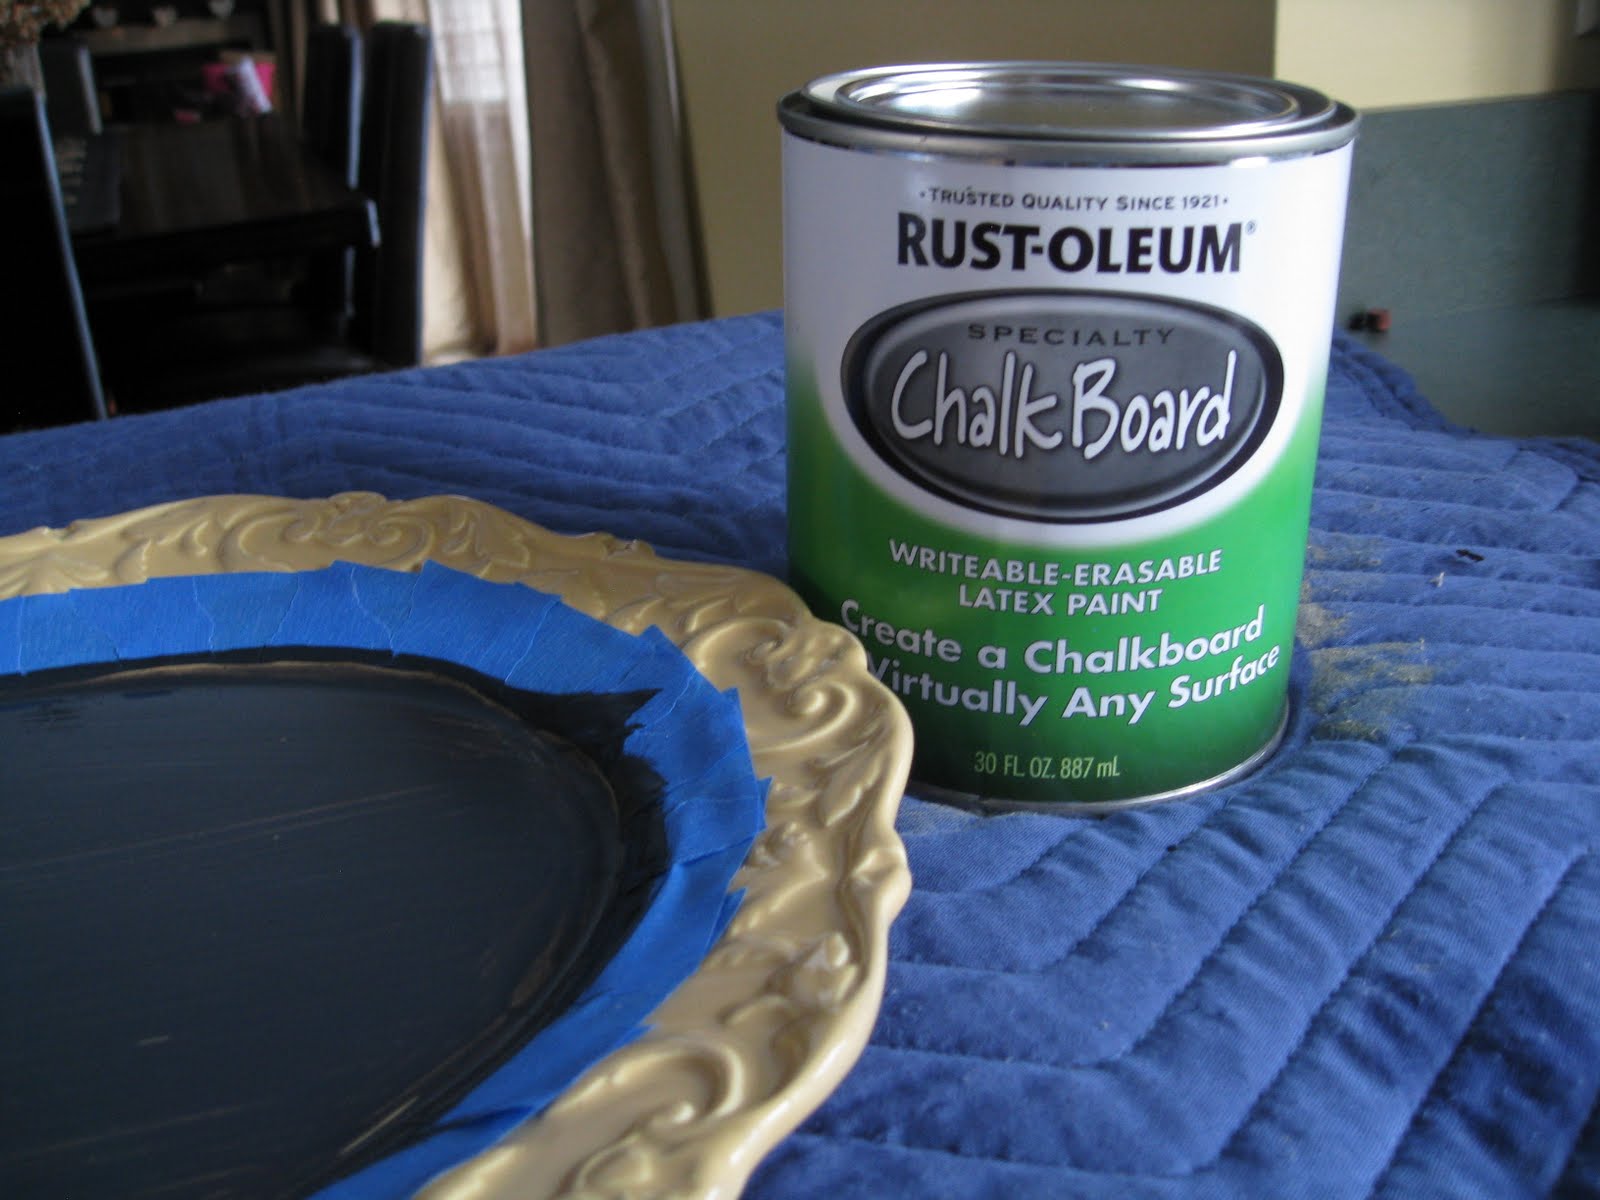
This is the product I used…it’s about $10-$12 and can be found in the paint section of most major hardware stores.
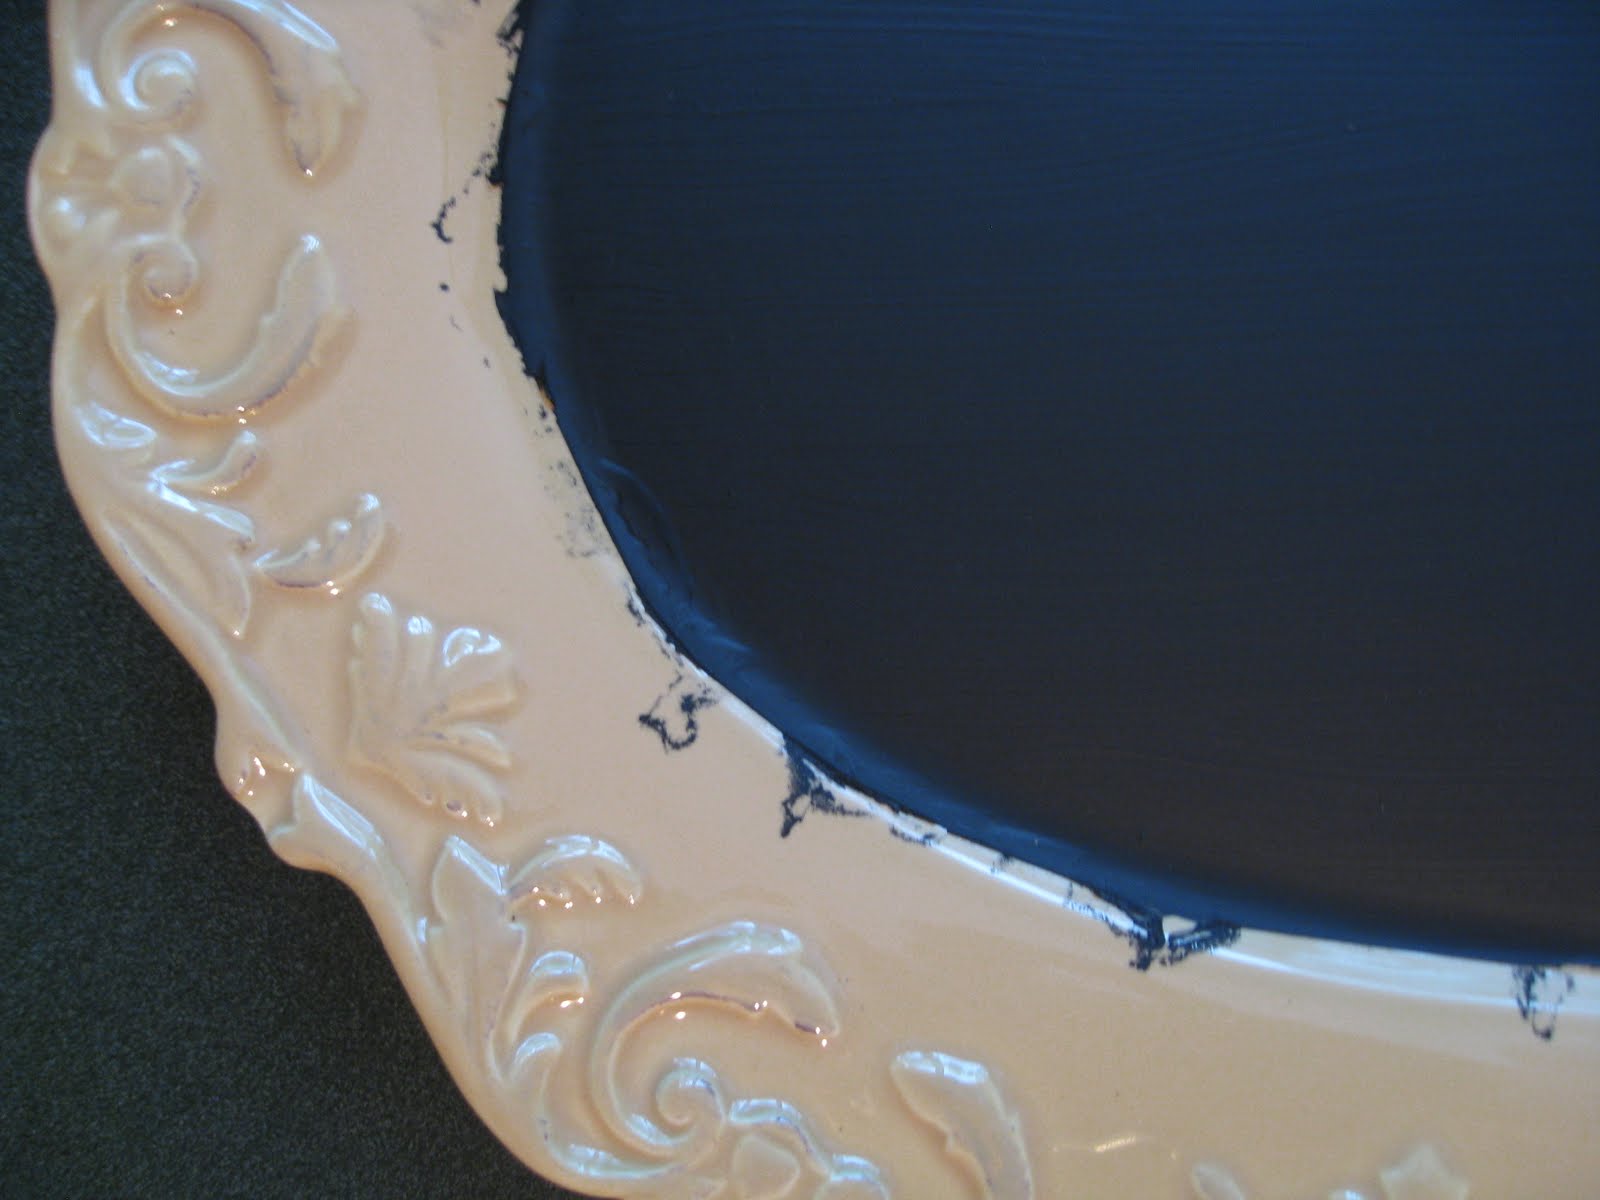
Once you’ve applied your 2-3 coats, it’s time of the {REVEAL}. I pulled off the tape, and was left with a bit of a mess…UGH! Because of the platter shape, the tape wasn’t applied perfectly, and some paint spread onto the surface that I DIDN’T want painted. No problemo… I used my thumb nail an Xacto blade and a little bit of patience (ya, right) to scrape it off, and good as new!
{Finito…}
Now you can use your platter for so many places around the house…
let’s take a peak at all the ways I’ve used mine:
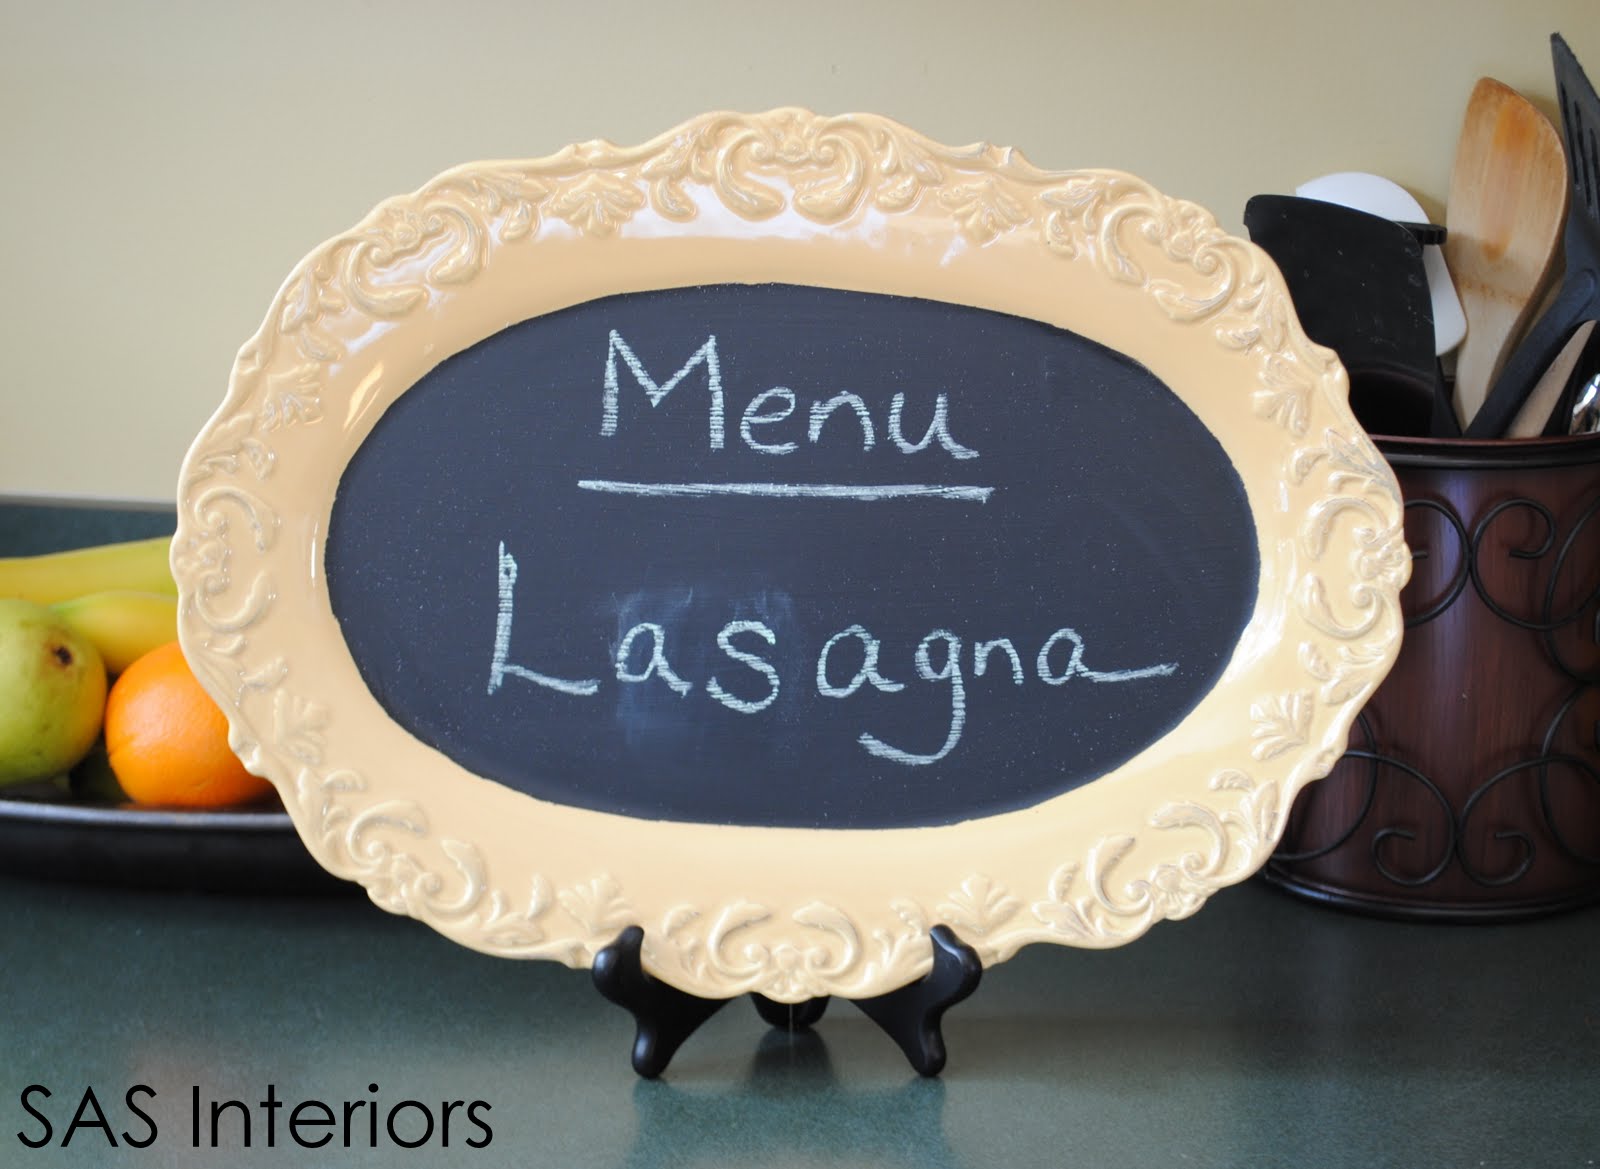
What’s for Dinner?

Let’s Celebrate a Special Occasion!

What’s Today’s Date?
O, right…it’s February 2 ~ Groundhog Day! Please tell me Phil didn’t see his shadow. Maybe if he can’t get out of the hole because of all the snow, Spring will be here sooner than 6 weeks??? Please, O, Please!

Blessings and Inspiration
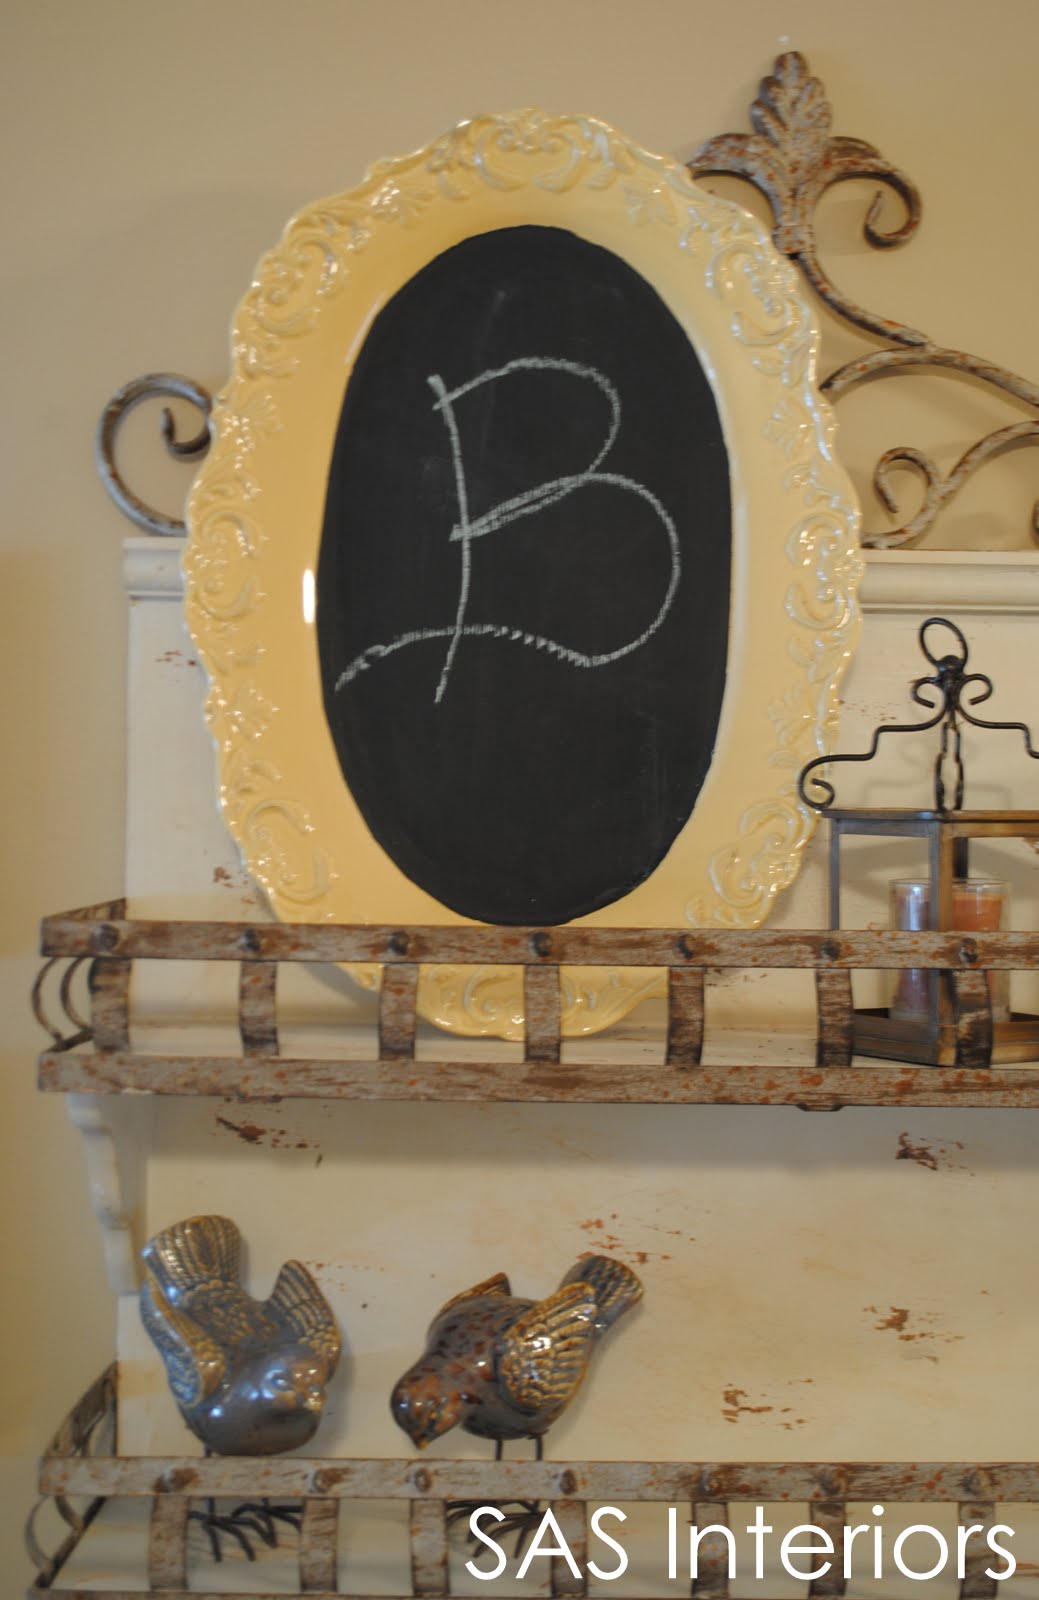
Last Name Initial as a welcome to your home
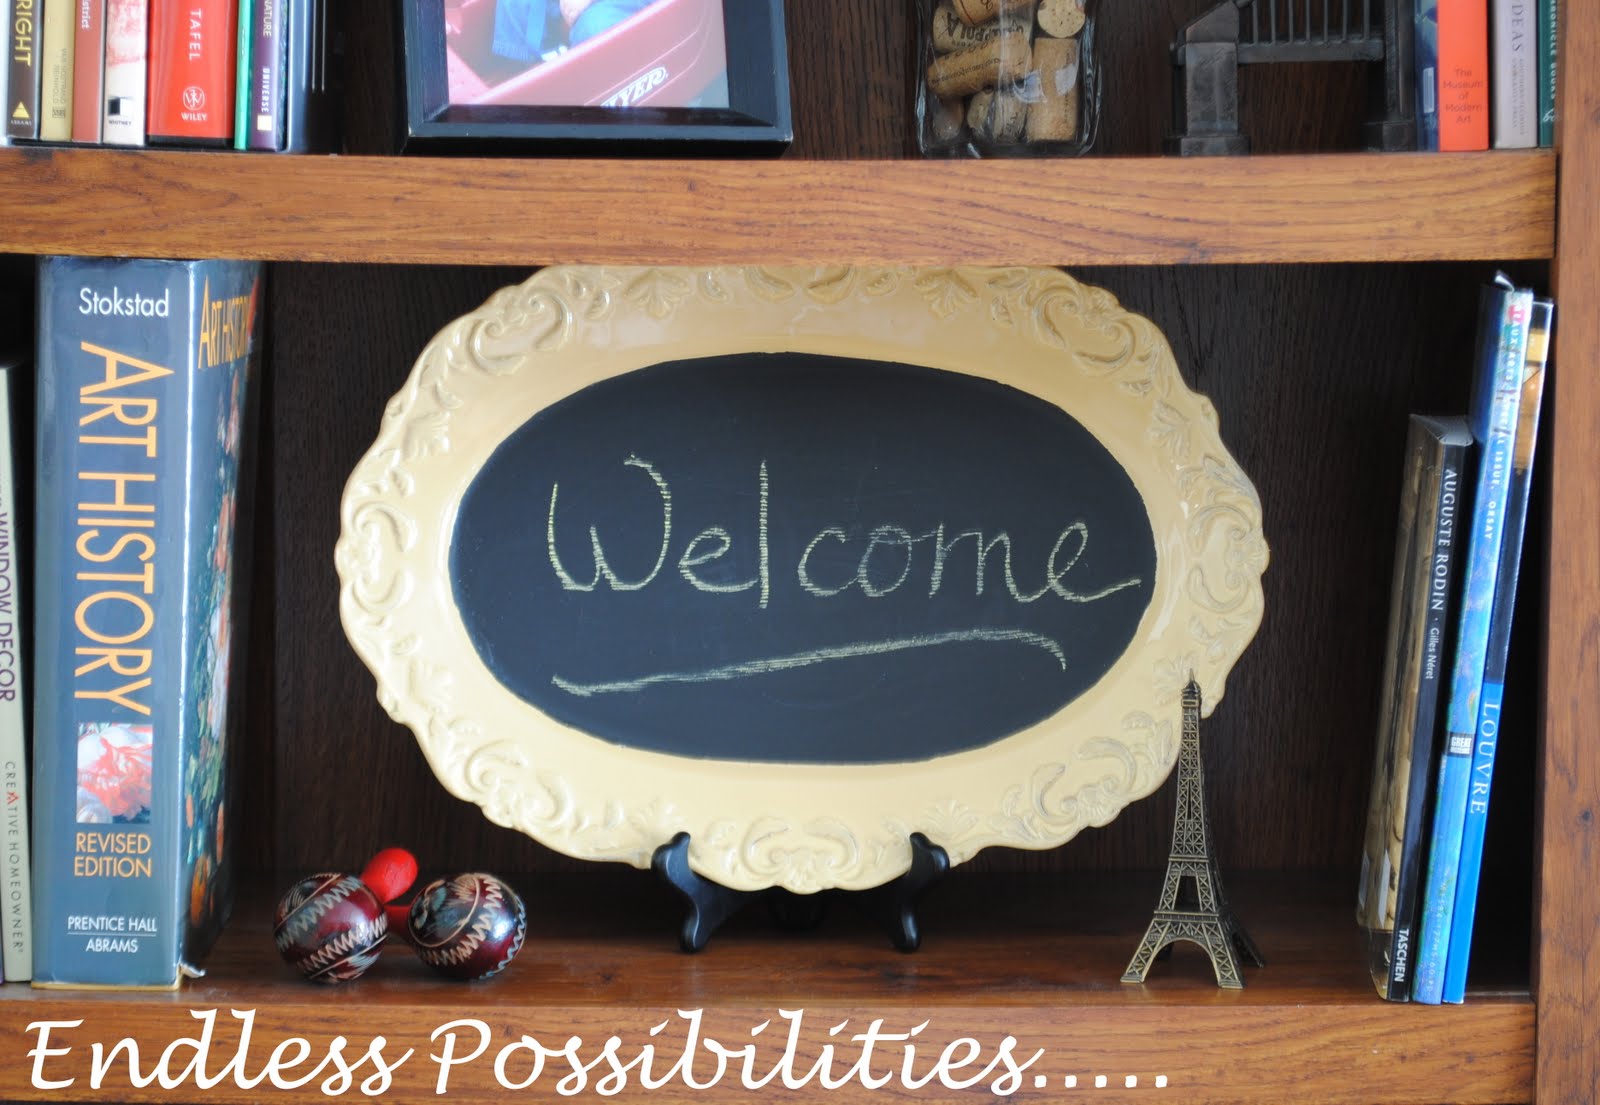
And Lastly, but certainly not least, a {WELCOME}statement for your guests!
I have another project that I can’t wait to share with you using chalkboard paint…check back later this week for the {BIG DEBUT}

Have you ever used Chalkboard Paint?
And if so, how/where have you used it?

I’m linking up to these linky parties