Kitchen Countertop Reveal Using the Rust-Oluem Countertop Transformations Kit
I have been quite excited all week to share this…. As you know from my recent posts, my kitchen is in the midst of a minor makeover.
No new cabinets. No new countertops. But the existing is all being TRANSFORMED.
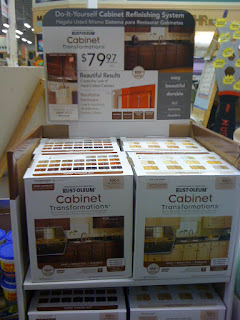
When the friendly folks at Rust-Oleum heard about my kitchen revamp, they kindly sent me their Countertop Transformations Kit in the Oynx finish to try out on my existing hunter green laminate surface. From the many posts I’ve written on my kitchen, I have been quite indecisive on what to do with the countertops, and I thought the Rust-Oleum kit would be a great solution! This do-it-yourself “coating system†gives existing countertops a whole new look that is durable, long-lasting, and the look of a natural material.

I was very happy to finally say bye-bye to the old countertops which were quite dated! Here’s the before…

Last Friday night (once the kids were in bed), my husband and I set forth on starting the transformation process. The Rust-Oleum Countertop Transformations Kit comes with most of the supplies needed for the project.
But there are a few other things that you will need to purchase separately like rollers, painters tape, trays, gloves, and brushes. 
The Instructions in the kit will explain EVERYTHING in detail, plus there is a very informative DVD (that you can view here) that will take you through each step of the process. I can absolutely say that at no pint was I confused on what to do – the instructions are very clear and explanatory.
Bravo Rust-Oleum, for supplying great instructions!
Here is a basic overview of the 5 steps to transform your countertops (image provided by Rust-Oleum)
![]()
Day 1
One of the most important parts to this project is to protect the areas around the countertop (ie: cabinet, floor, and backsplash). You don’t want the product to get on any surface other than the laminate countertop area. Unlike regular paint, this product creates a thick, hard surface and is difficult to get off other surfaces once dry.
Tape and use plastic or drop clothes
![]()
![]()
Once your surface is prepped and ready-to-go, you can start the sanding process.![]()
As they say in the video, for the next step, you have to “work fast and work togetherâ€. This could be difficult for some couples, but my husband and I worked in sections and abided by the rules – work fast and work together to cover the entire surface. After applying the adhesive (see manual for actual step-by-step instructions), it’s time to spread the Decorative Color Chips. This was one of the most interesting parts of the entire project. Be forewarned – they fly everywhere – I’m still finding chips in odd places and it’s been over 5 days.![]()
At this point, the adhesive with the adhered chips has to dry overnight, so we embarked on the remainder of the transformation the next morning (12+ hours later). The surface is VERY rough, but no worries…it’s far from being complete!![]()
Day 2
The next step is to sand, sand, sand! And then…sand some more. At this point of the project, I was LOVING how the counters looked. They had a concrete, dull appearance and I was so excited! ![]()
It was finally time for the last step….to adhere the protective top coat. And it was done! The top coat (which I hadn’t realized) leaves a glossy finish. At first, I was a bit disappointed that the surface didn’t have a dull, flat or satin finish, but over the days it’s grown on me. It would be nice if Rust-Oleum had a choice of a glossy or matte top coat (maybe in the future?).

Important Note: When the surface is dry about 48+ hours after applying the protective top coat, the painters tape can be removed. It is VERY important to use a sharp blade to score the tape edge.
![]()
DO NOT just remove the tape because it will remove the countertop material as well. Some of the wall paint was removed when I took off the painters tape, so I’ll have to go back and fix it. Around the sink is a tricky spot, so score and remove the tape VERY carefully.

The Countertop Transformation Kit which is available at Lowe’s, covers up to 50 sq. feet or 20 linear feet. My countertop surface is 18 linear feet and I had just enough product, so I would say that the product included is accurate to the area it covers. If you are unsure of how to measure your countertop to get an accurate calculation, follow these steps.
![]()
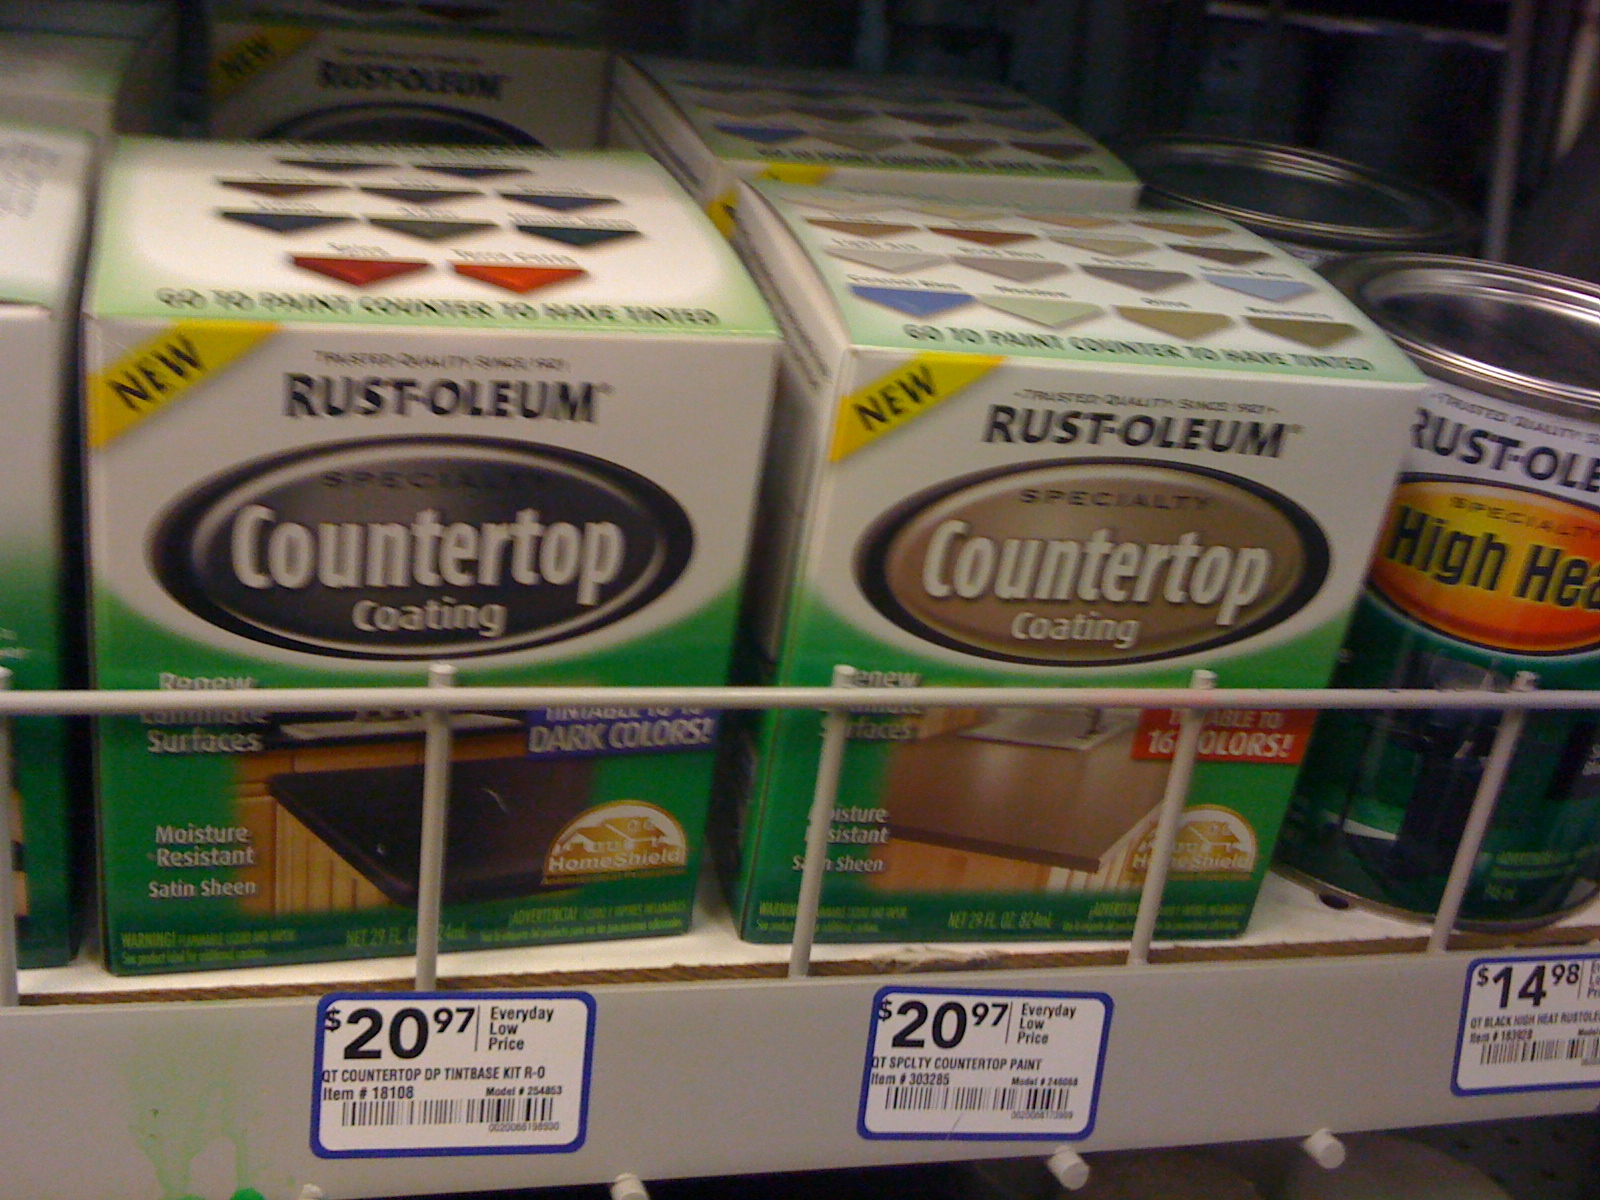
The cost of the kit is $249, and the additional supplies will be about $30. For about $300, you can achieve an entirely new and beautiful countertop surface, whereas a new laminate countertop (of this size) would be about $1500 and granite countertops would be about $3000. That being said, there are other countertop paints available that are less expensive. Rust-oleum makes another one-step laiminate countertop “coating” that is $20 +/-, but I have no experience with the product, it’s process, or how it wears over time. Since it’s a one-step process, I would be reluctant about it’s durability. Have you tried it? Have you transformed your countertops using another product? I’d love to hear!

As I mentioned in the beginning of this post, I chose to use the Oynx color, which is all black, but there are a total of 5 colors to choose from ~ Take a look at them {here}

Want to see the countertop colors in action? Use the Kitchen Makeover Virtual Tool to see a preview.
Still wondering about the product, here is some additional information~![]()
Overall, the Rust-Oleum Countertop Transformations Kit was really easy to use. On a scale from 1 to 10, the level of difficulty would be a 2. A beginner with no handy skills can absolutely use this system and achieve beautiful results.
My kitchen is still in the midst of being transformed, so I’m only making a minor reveal of the countertops. I hope to have it complete and ready to share by next week!
Stay Tuned till next time!!
The product mentioned in this post was provided by Rust-Oleum, but the review and opinions provided are 100% my own.