DIY: Fireplace Surround Transformation
With the second week of the new decade upon us, I have lots of tile projects brewing in my head. So far for 2011, I’ve accomplished three (of many) projects that have been on my mind since we moved into our home almost a year ago. My latest project has been re-tiling the surround of the fireplace.
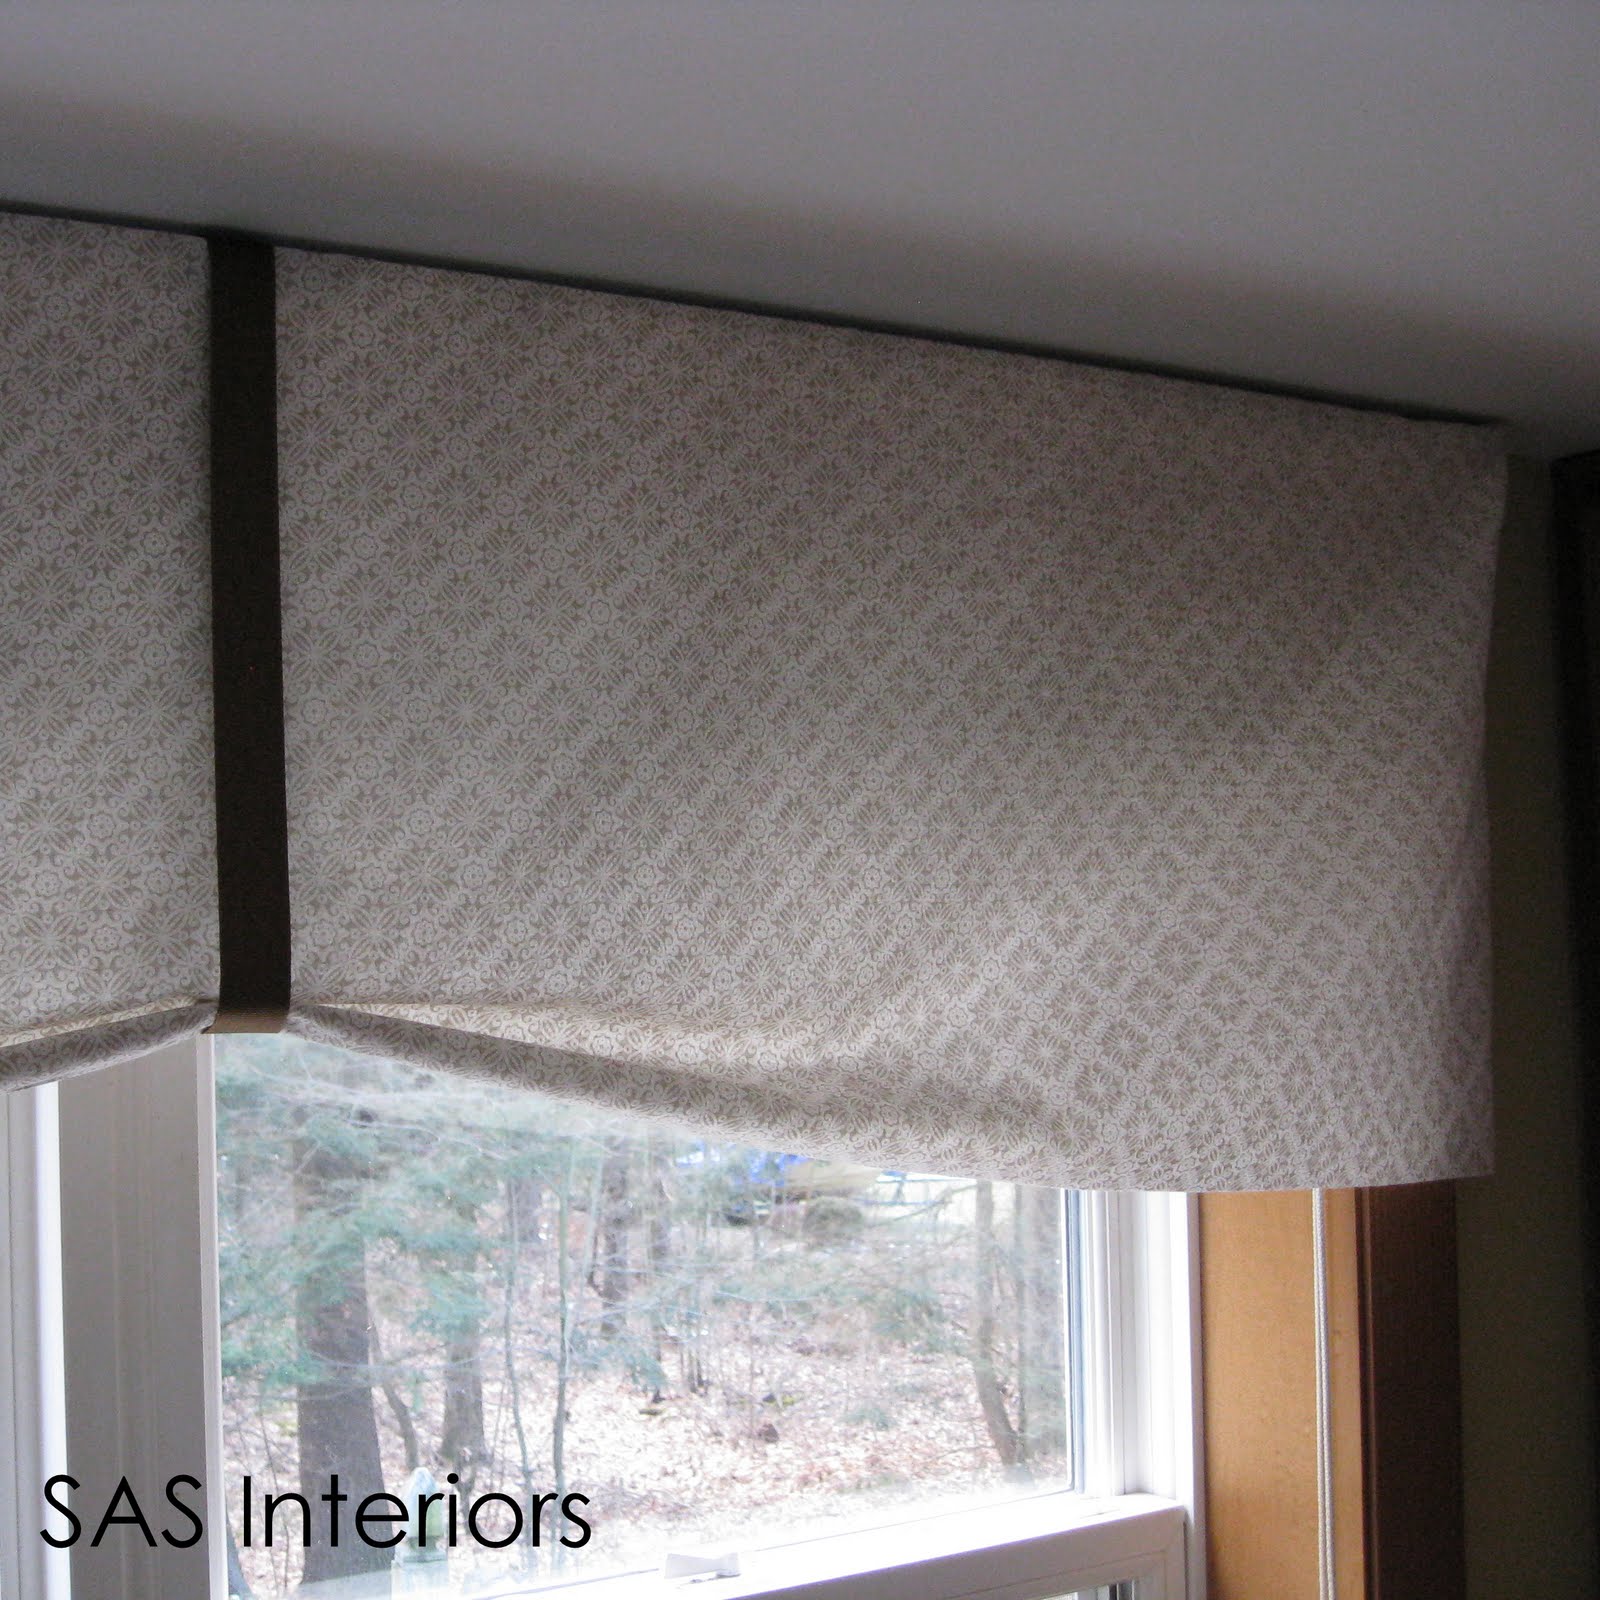
Here is a preview of the completed fireplace:

{The TRANSFORMATION}
The first step of the transformation took place last year and that step alone was {HUGE}! We updated the mantel by painting it a dark brown from the original oak finish. There were decorative faux-appliques on the flat surface that we also removed to create a more transitional look. Here are picture of the before, middle, and after!

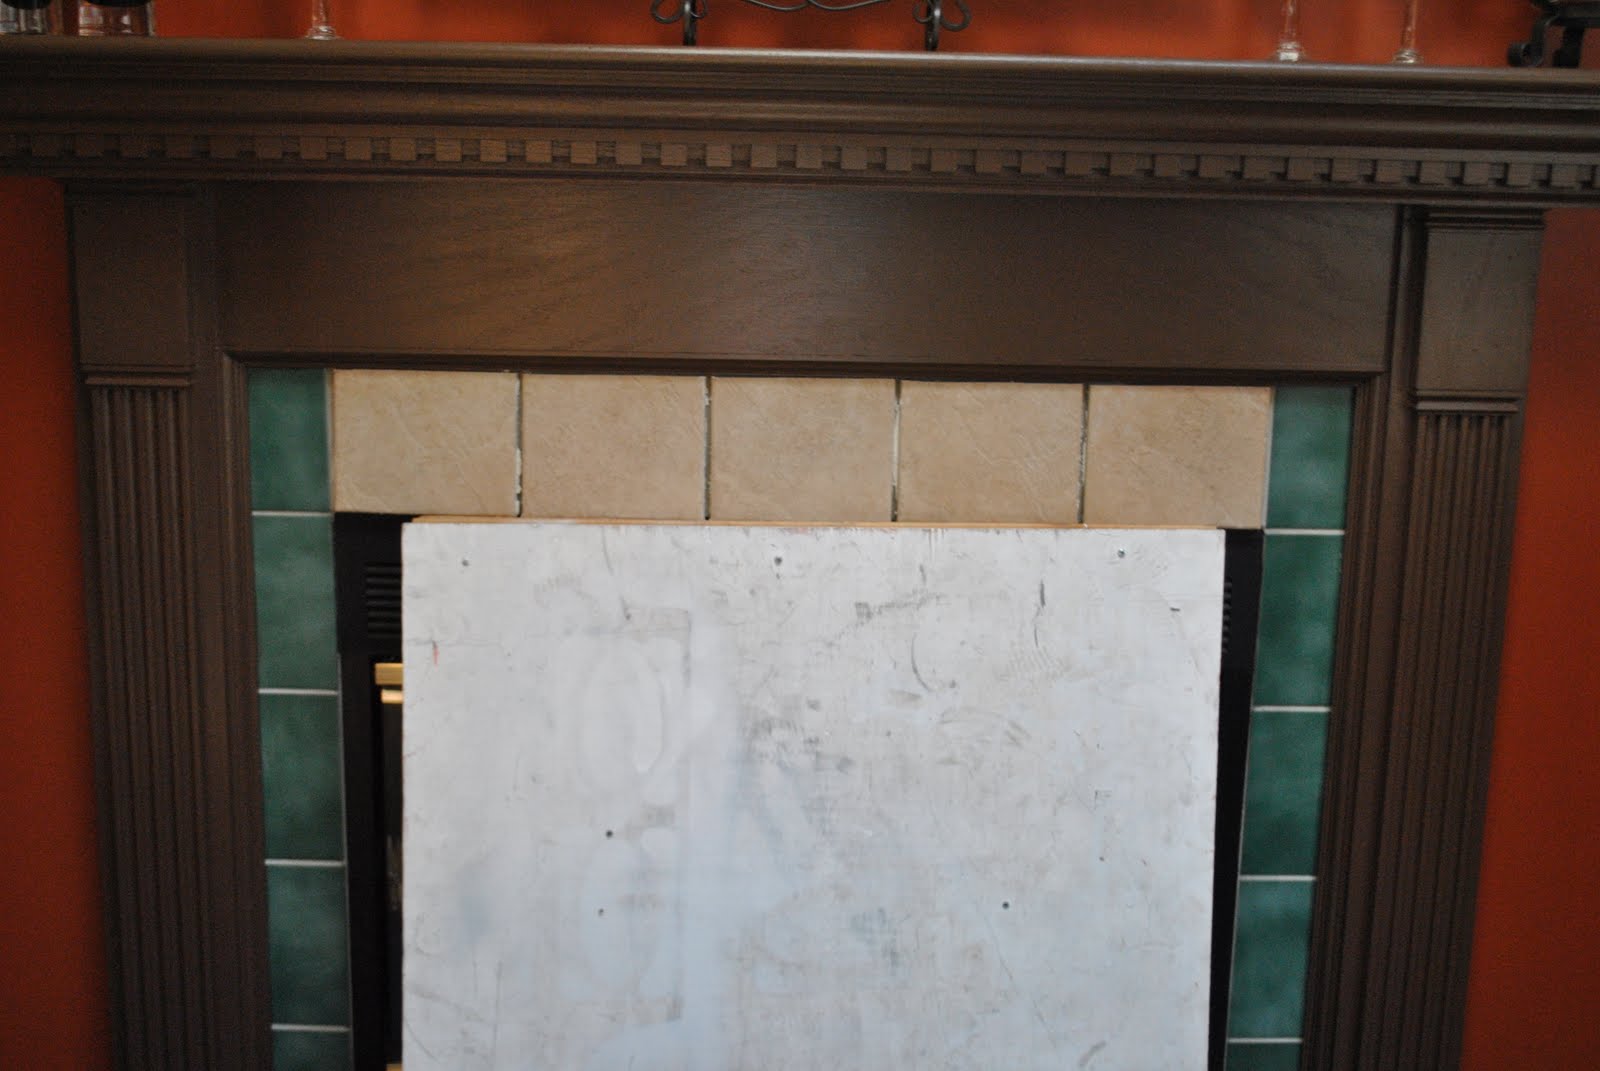
This is a ‘pic’ from when we moved into the house….
fireplace = in need of some MAJOR LOVE!
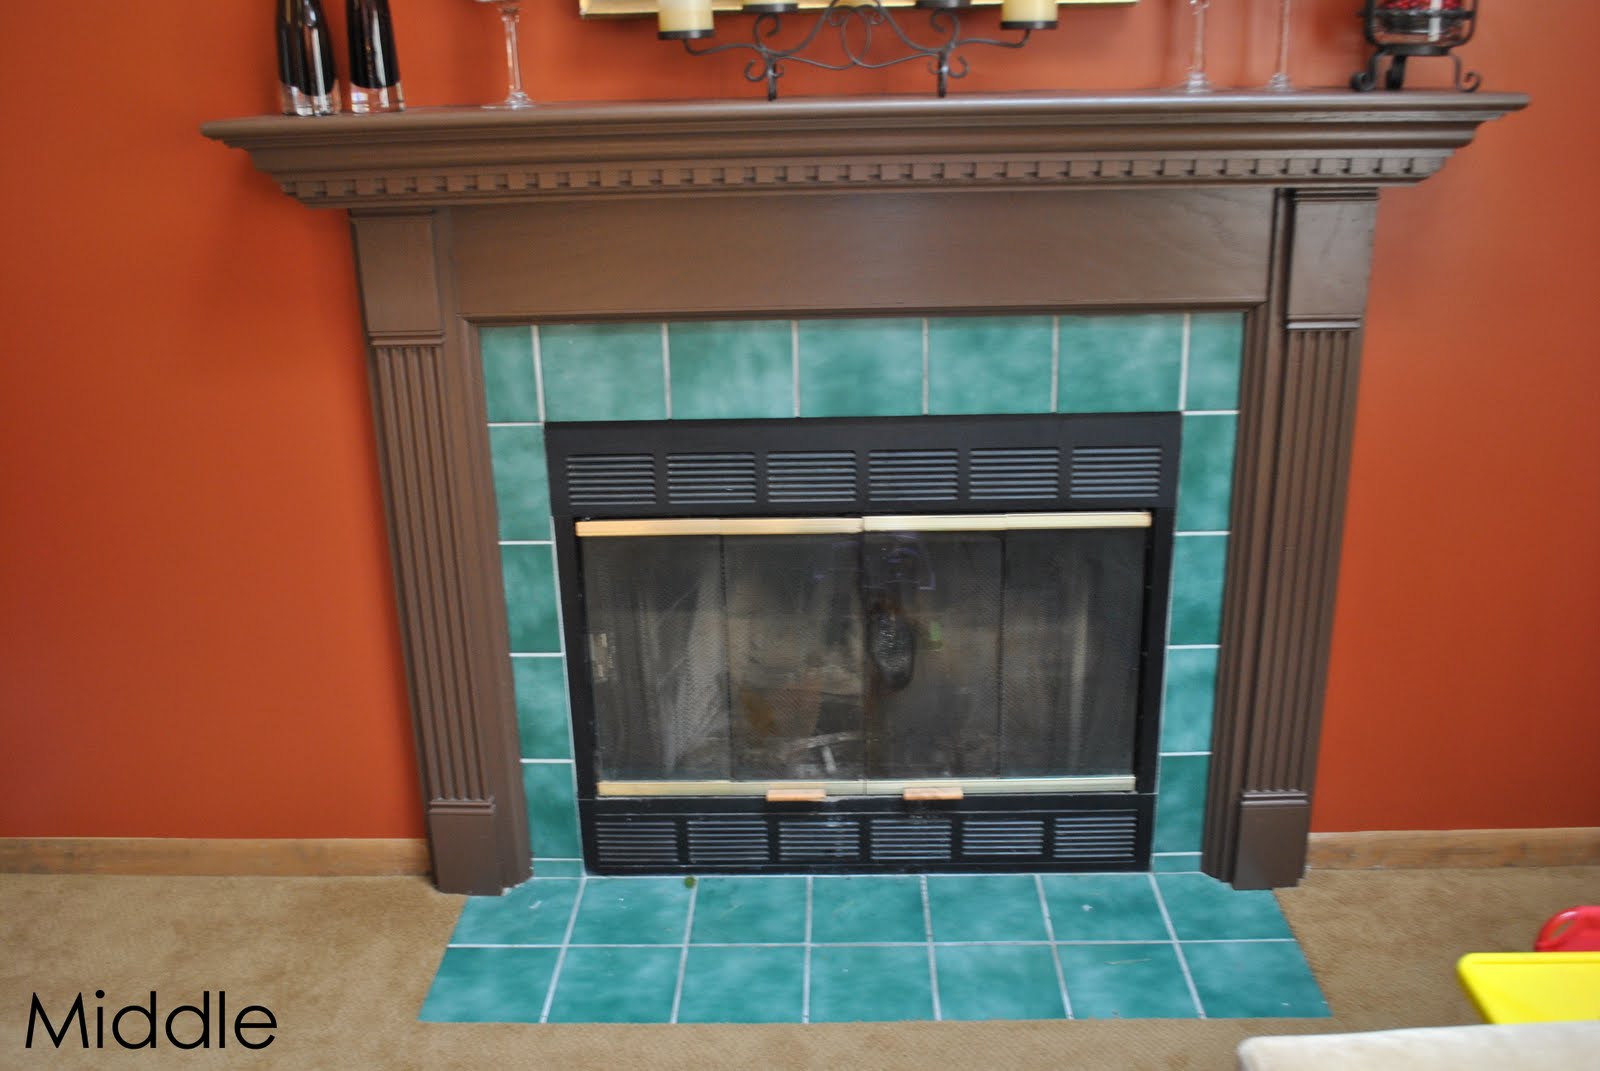
We painted it a dark brown color, but left the tile.
It just didn’t go with our decor, so we…..

…transformed it to THIS! Voila….The new fireplace surround!
I’ve previously posted a tile project {click here} that I’ve worked on and provided a step-by-step tutorial, but here it is again!
{Step By Step to install TILE}
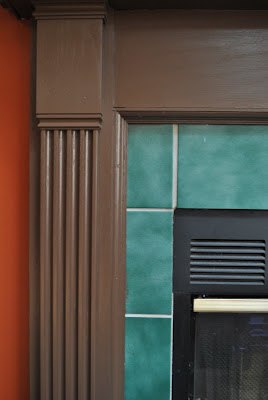
Tiling seems like a difficult process, but honestly, it really isn’t. Just take your time…that’s the KEY! To start off, make sure the area/surface you are working is completely clean. I also want to add that I DID NOT remove the old tile…we tiled right on top of the OLD tile. Some may say this is a mistake, BUT, I did not want to deal with removing the old tile and it isn’t a surface that will be walked on…what the HAaaaaY…let’s go for it 🙂
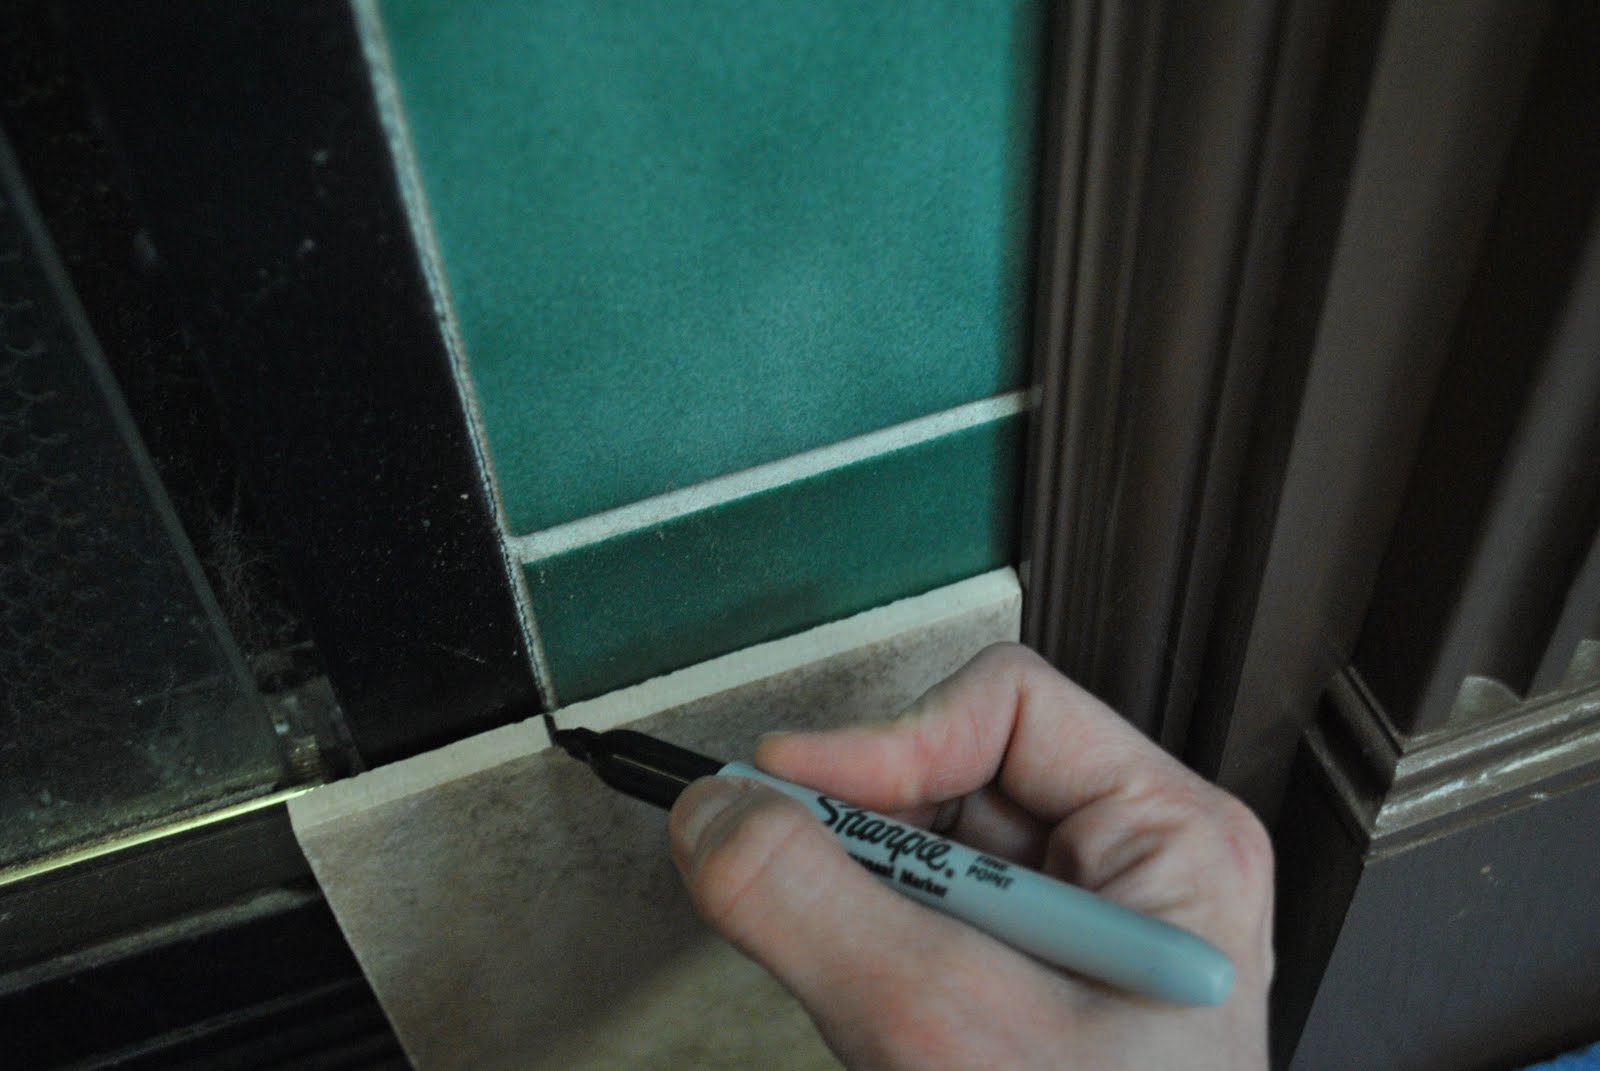

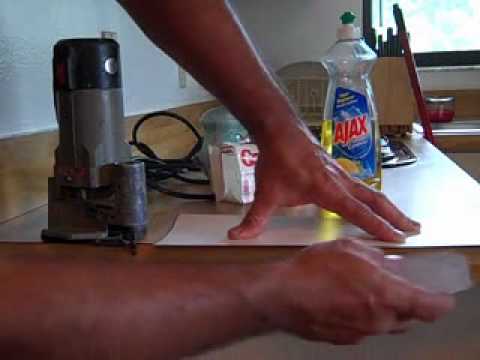
Before using any adhesive, do a DRY RUN. Layout your tile pattern to make sure it will work how you want it. Once you put adhesive down ~ YOU ARE COMMITTED! Mark off where you want the tile to be cut. THEN….
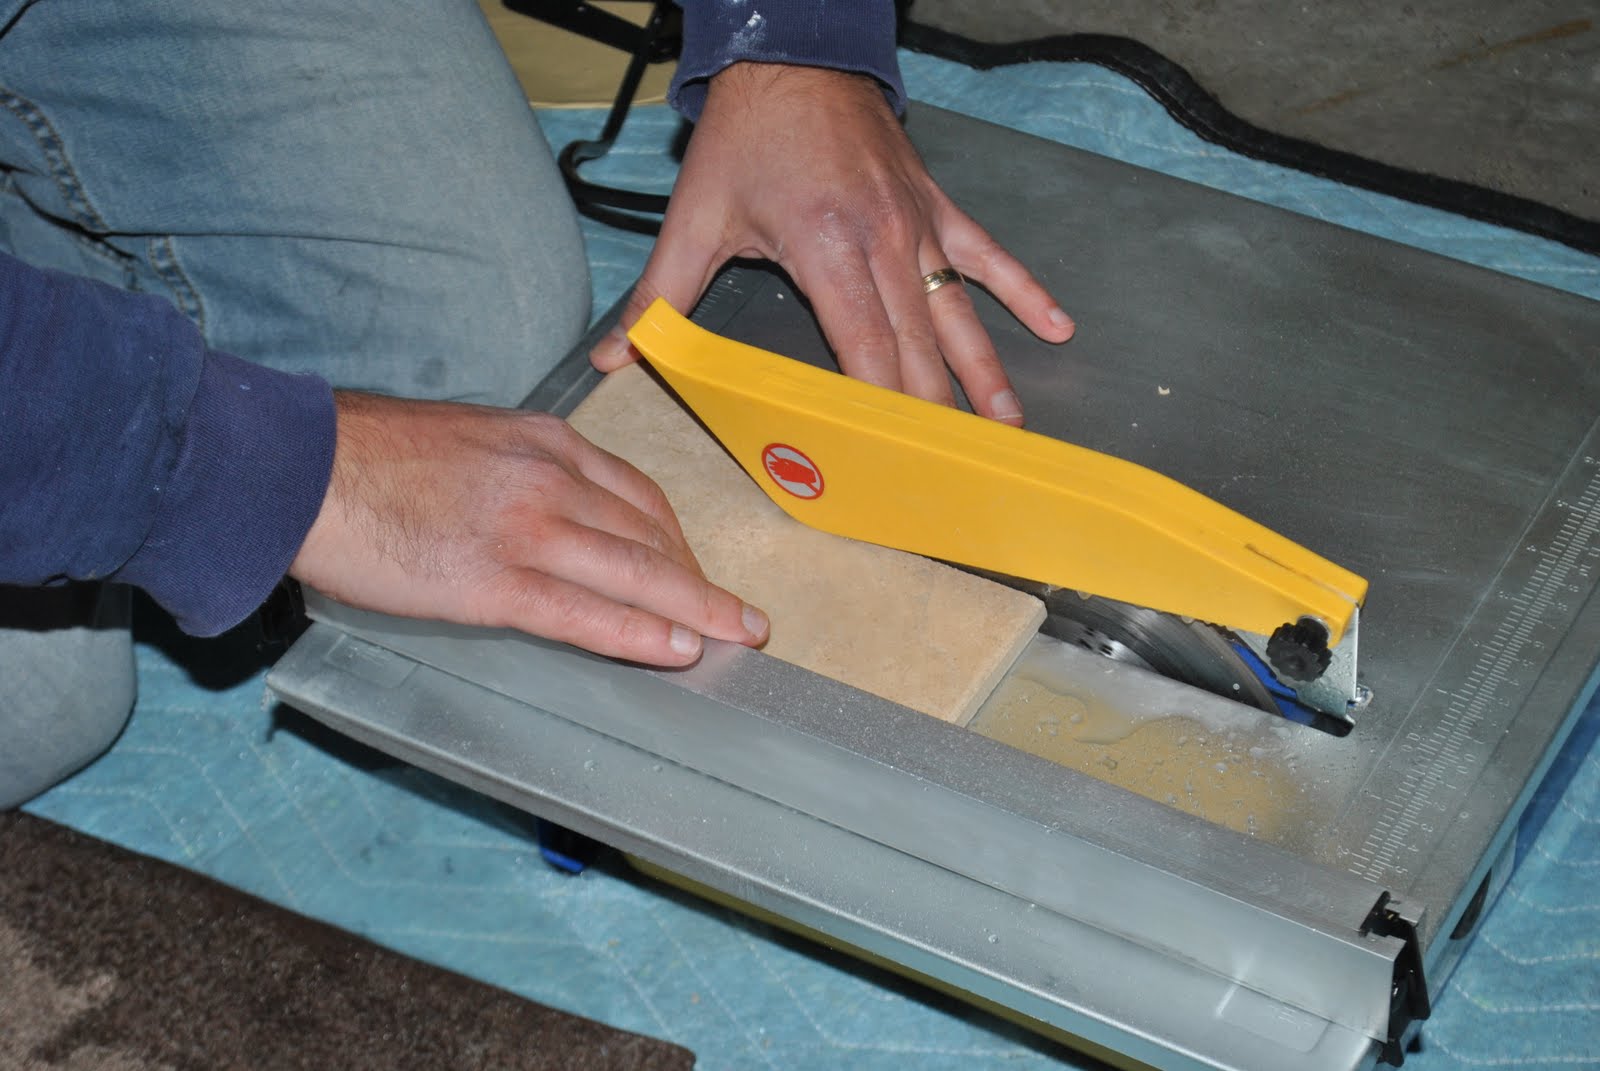
…Use a WET SAW to cut your pieces! This is my BEST ADVICE for the whole project….Did you hear me?? Definitely USE a Wet Saw!!! In previous tile projects, we used a manual tile cutter…BIG MISTAKE. You will waste sooo much tile and the project will take double the time. Invest in a Wet Saw….we bought ours for $45 from Home Depot….it’s worth it!


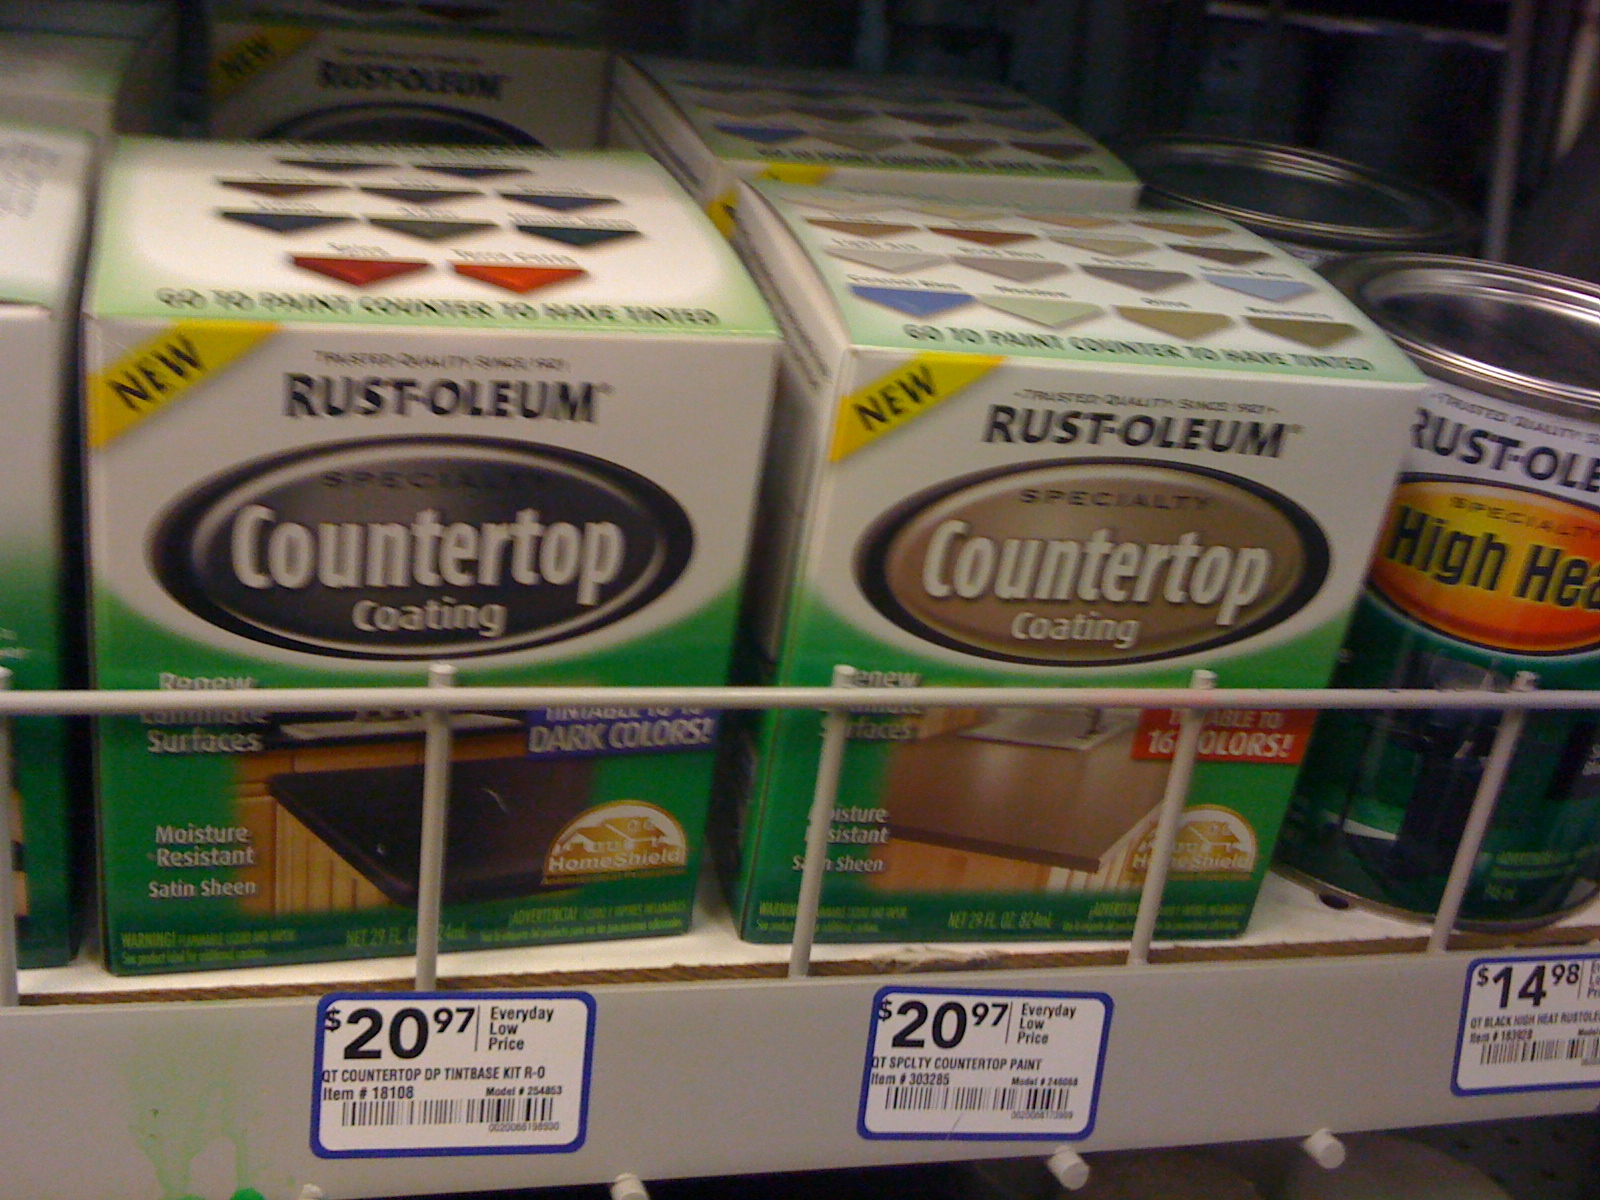
Once the tiles are cut to size, it’s time to put on the adhesive. (Keep on reading for my recommendations on adhesive & grout). Throw a glob of adhesive on the back of your tile OR on the surface you are tiling. Because we were tiling a small area versus an entire floor, putting the adhesive on the back of the tile was MUCH easier! Then using a V-grooved trowel, evenly coat the back of the tile (holding the trowel at a 45 degree angle) and adhere it to the surface. Set the first tile in place, pressing it firmly into the mortar.
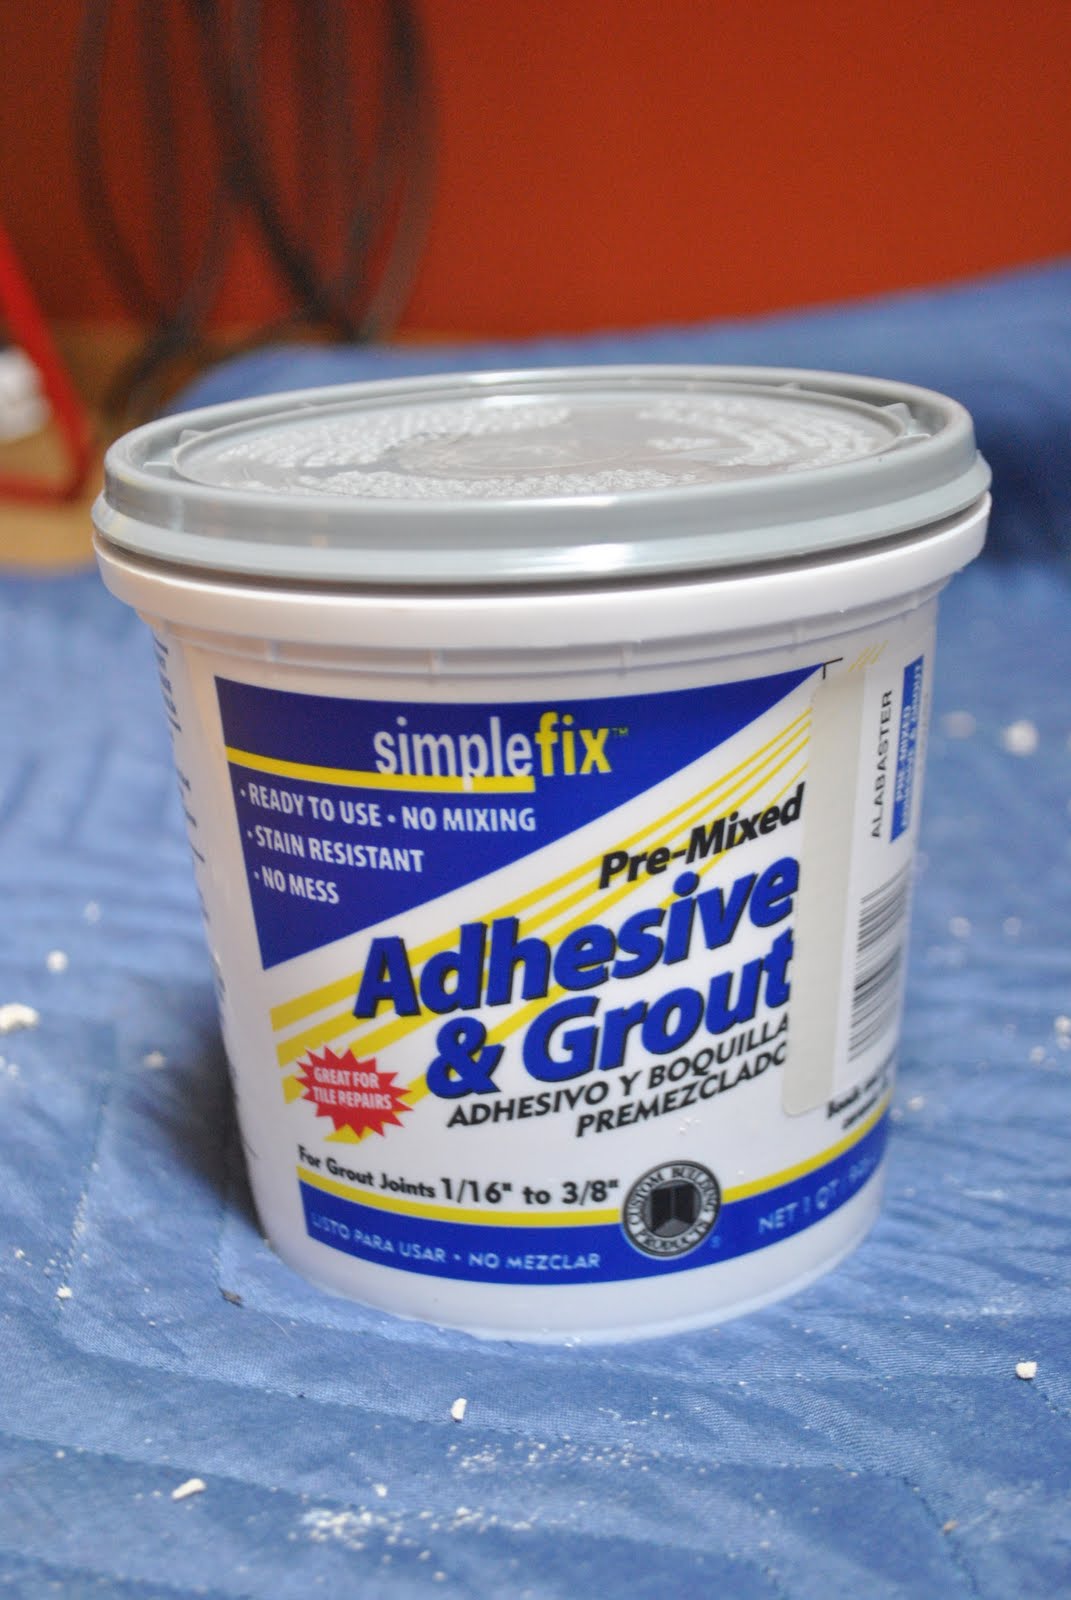
For this project and my last tile project, I used a pre-mix adhesive and grout. What a great product…no need to bother with mixing the grout powder and water. BUT, this product is costly and is really best when tiling small areas. For larger tiling projects, I would recommend a separate adhesive and grout mixture (only because of the cost factor). For this project it worked perfectly. Forgot to add…it is available in a variety of colors…I used alabaster.
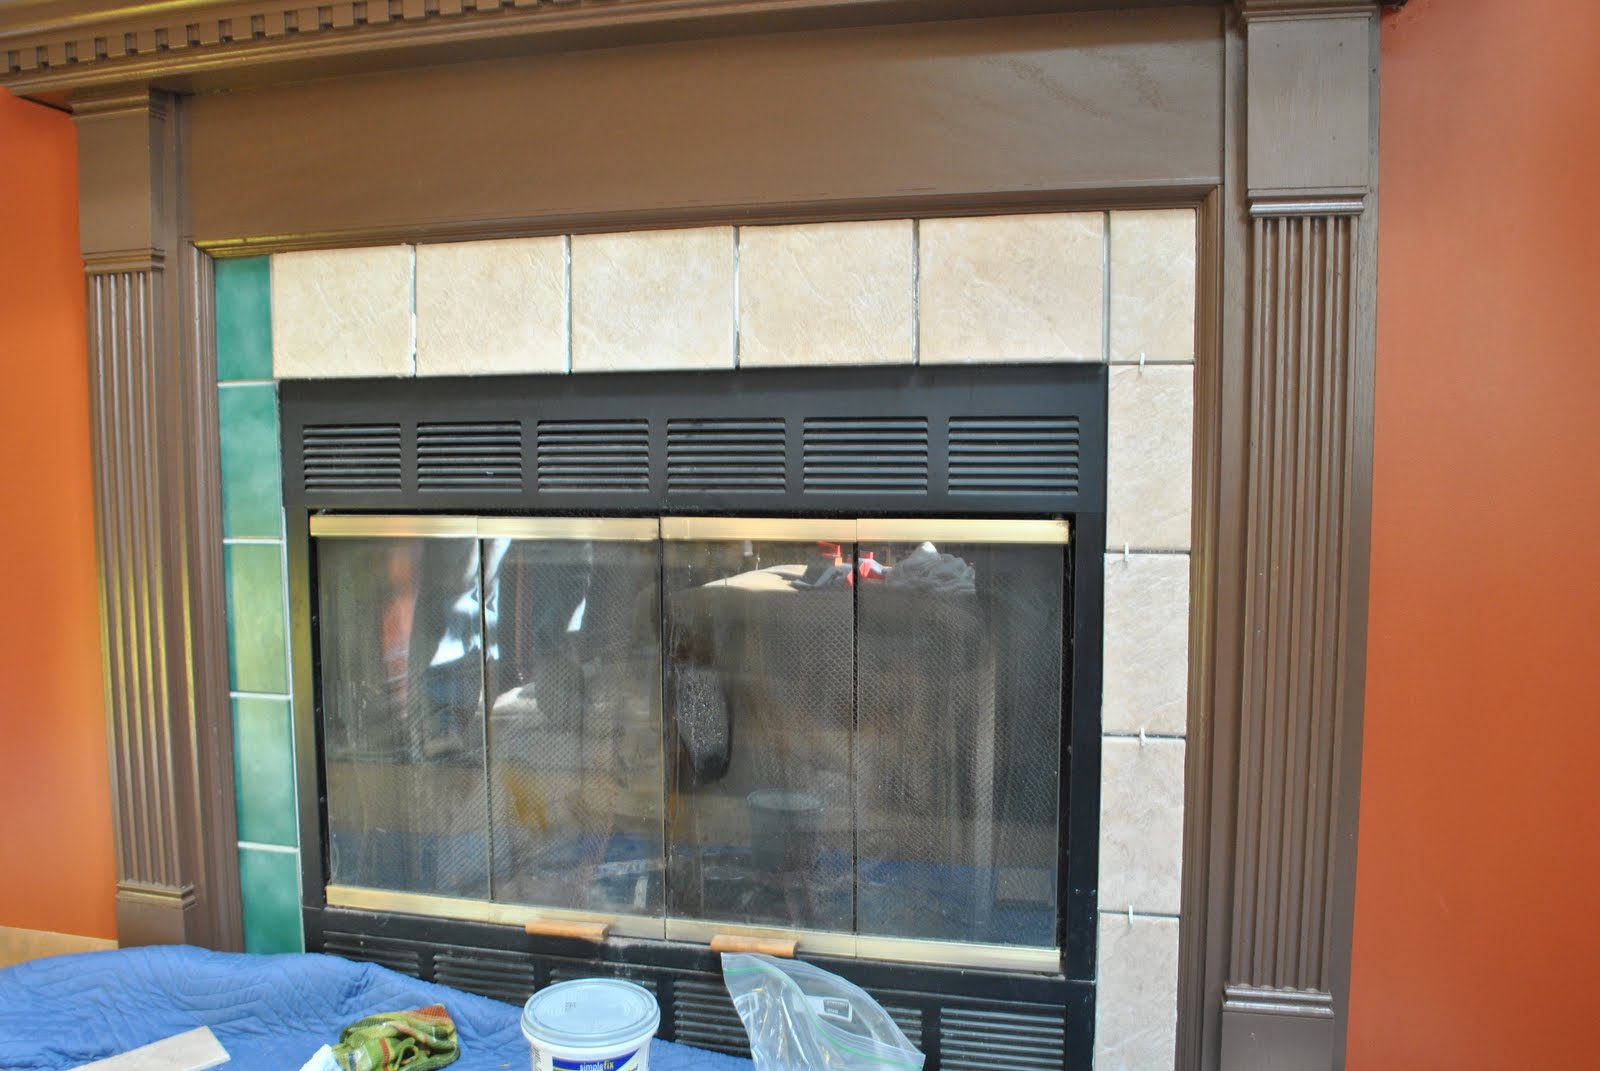
We installed the tile at the top first and due to the laws of gravity, the tile started to fall…GGGrrreat! SO… we used our son’s skateboard ramp to hold them in place….it worked perfectly, YAY (I knew that darn thing would come in handy)!! NOTE: If tiling a vertical surface, you may need to use supports to keep the tile in place.
Then we started on the sides of the surround…

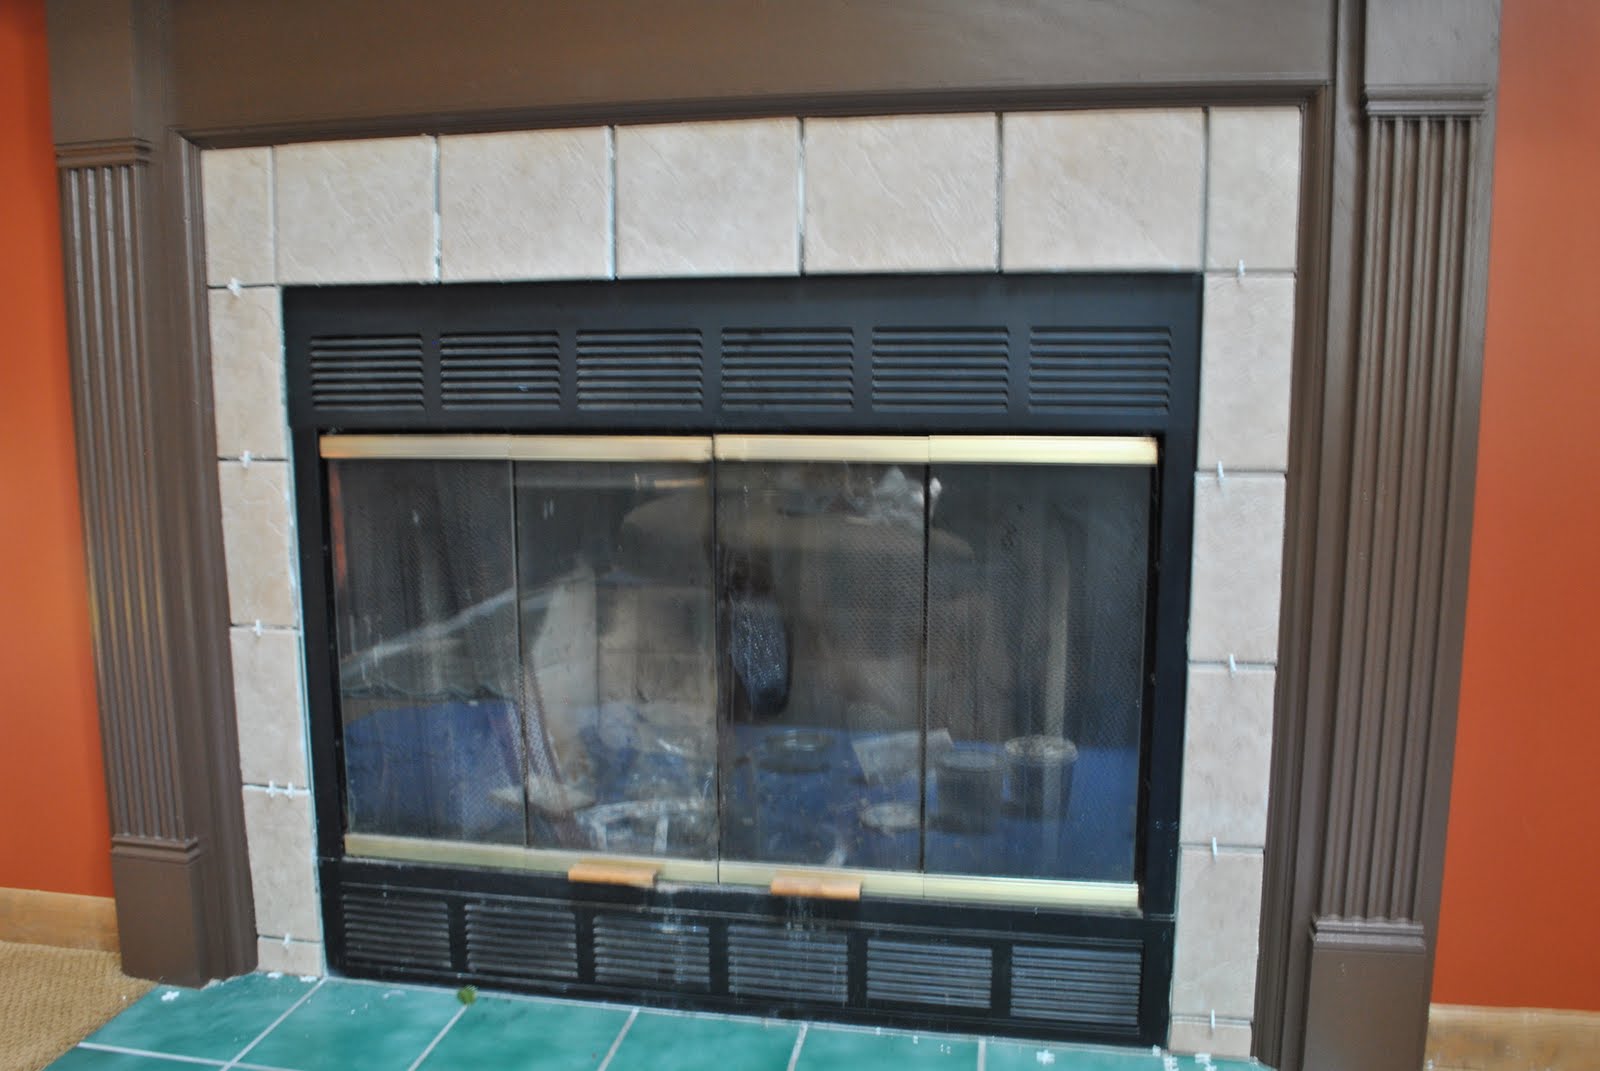
Then the floor…
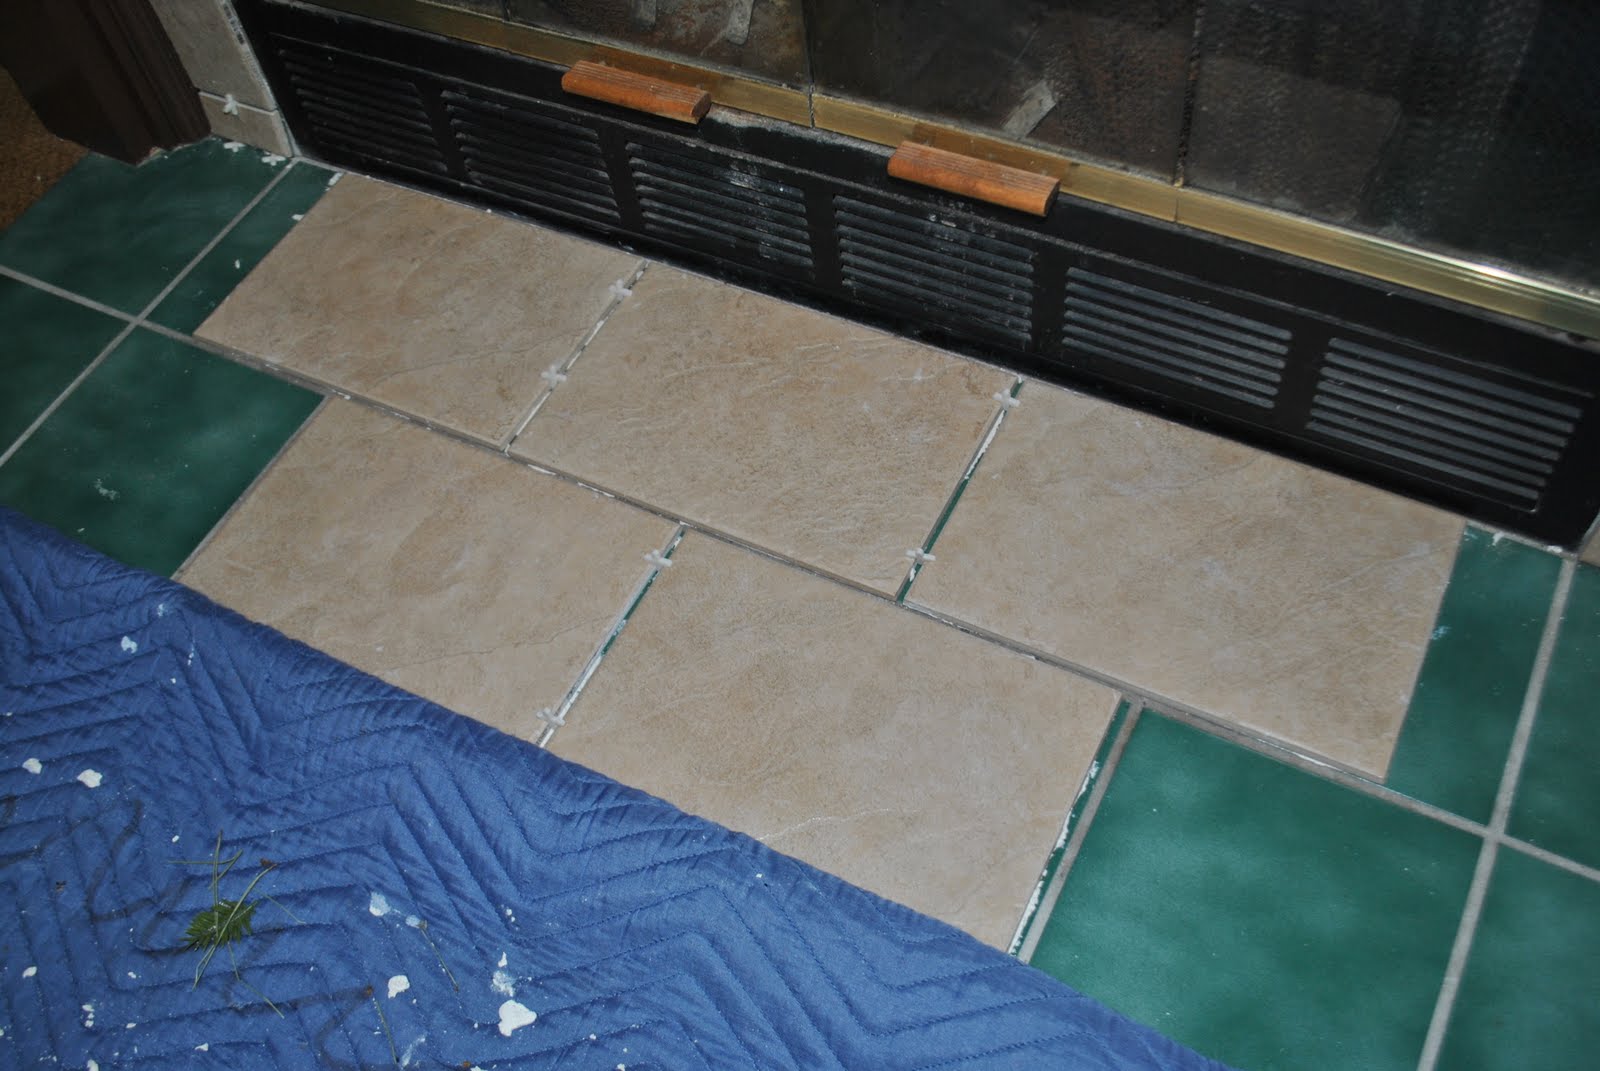
DONE!
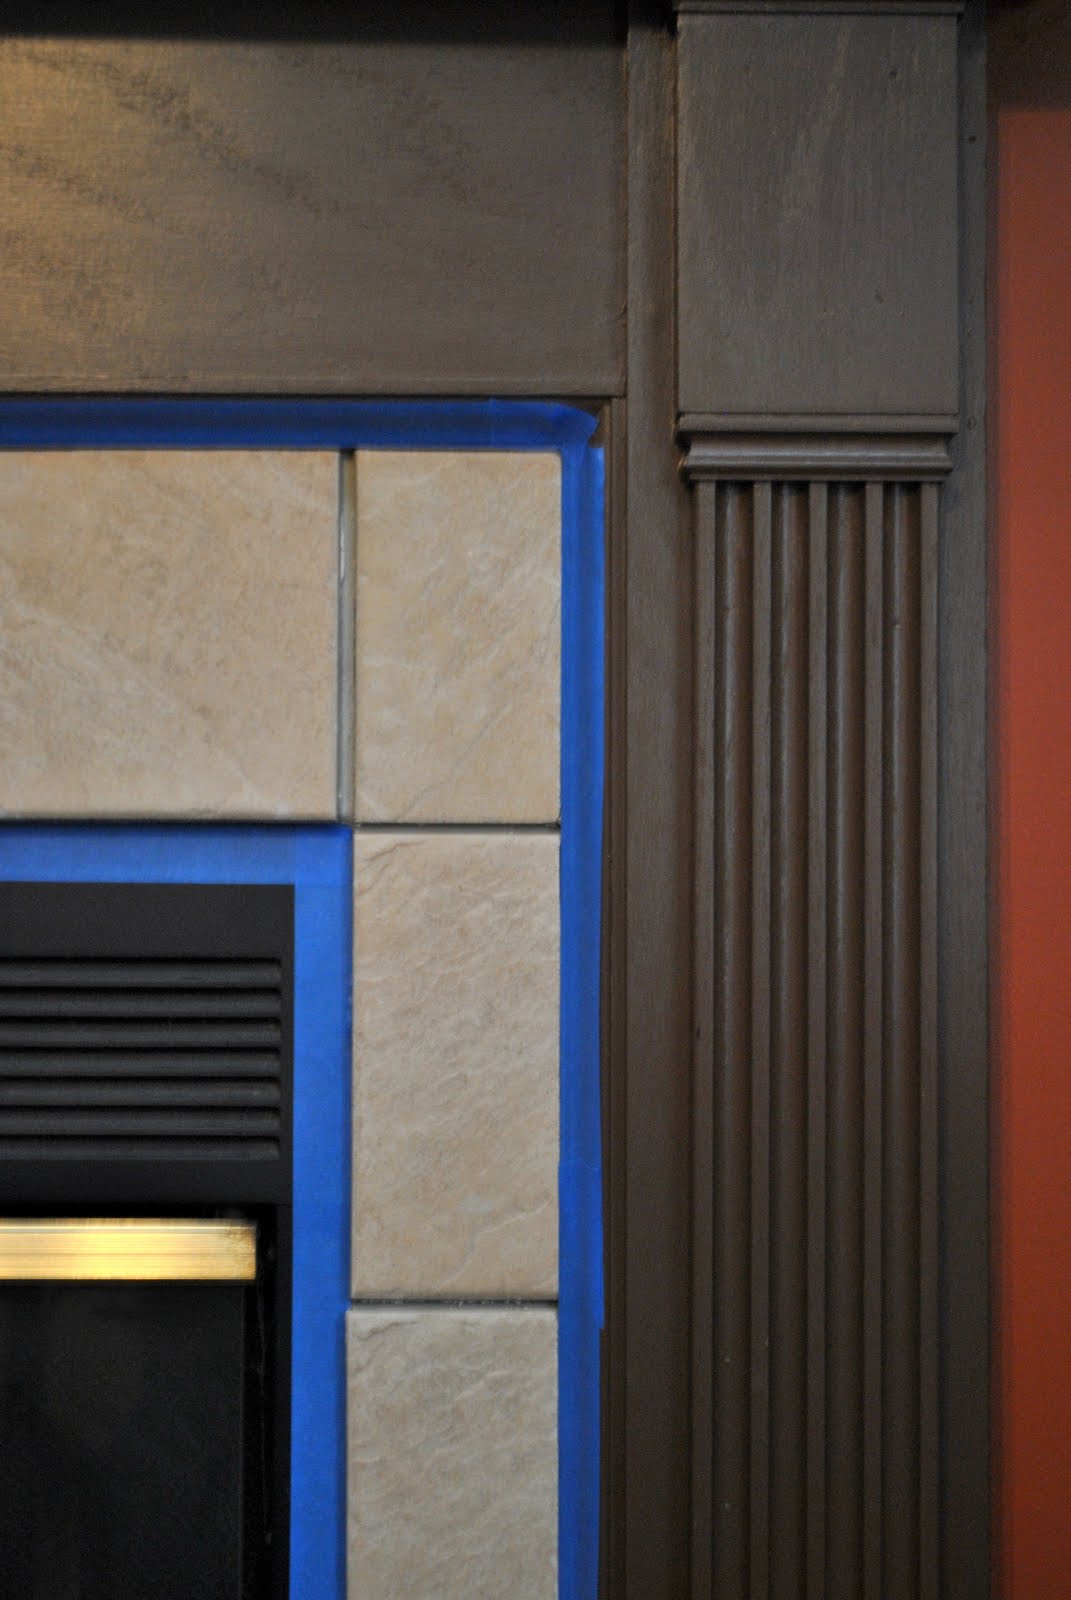
Because of the area I was working in, I didn’t want the fireplace mantel to get ruined, so using painters tape, I taped the surrounding surfaces.
Tile is INSTALLED and now it’s time to GROUT!
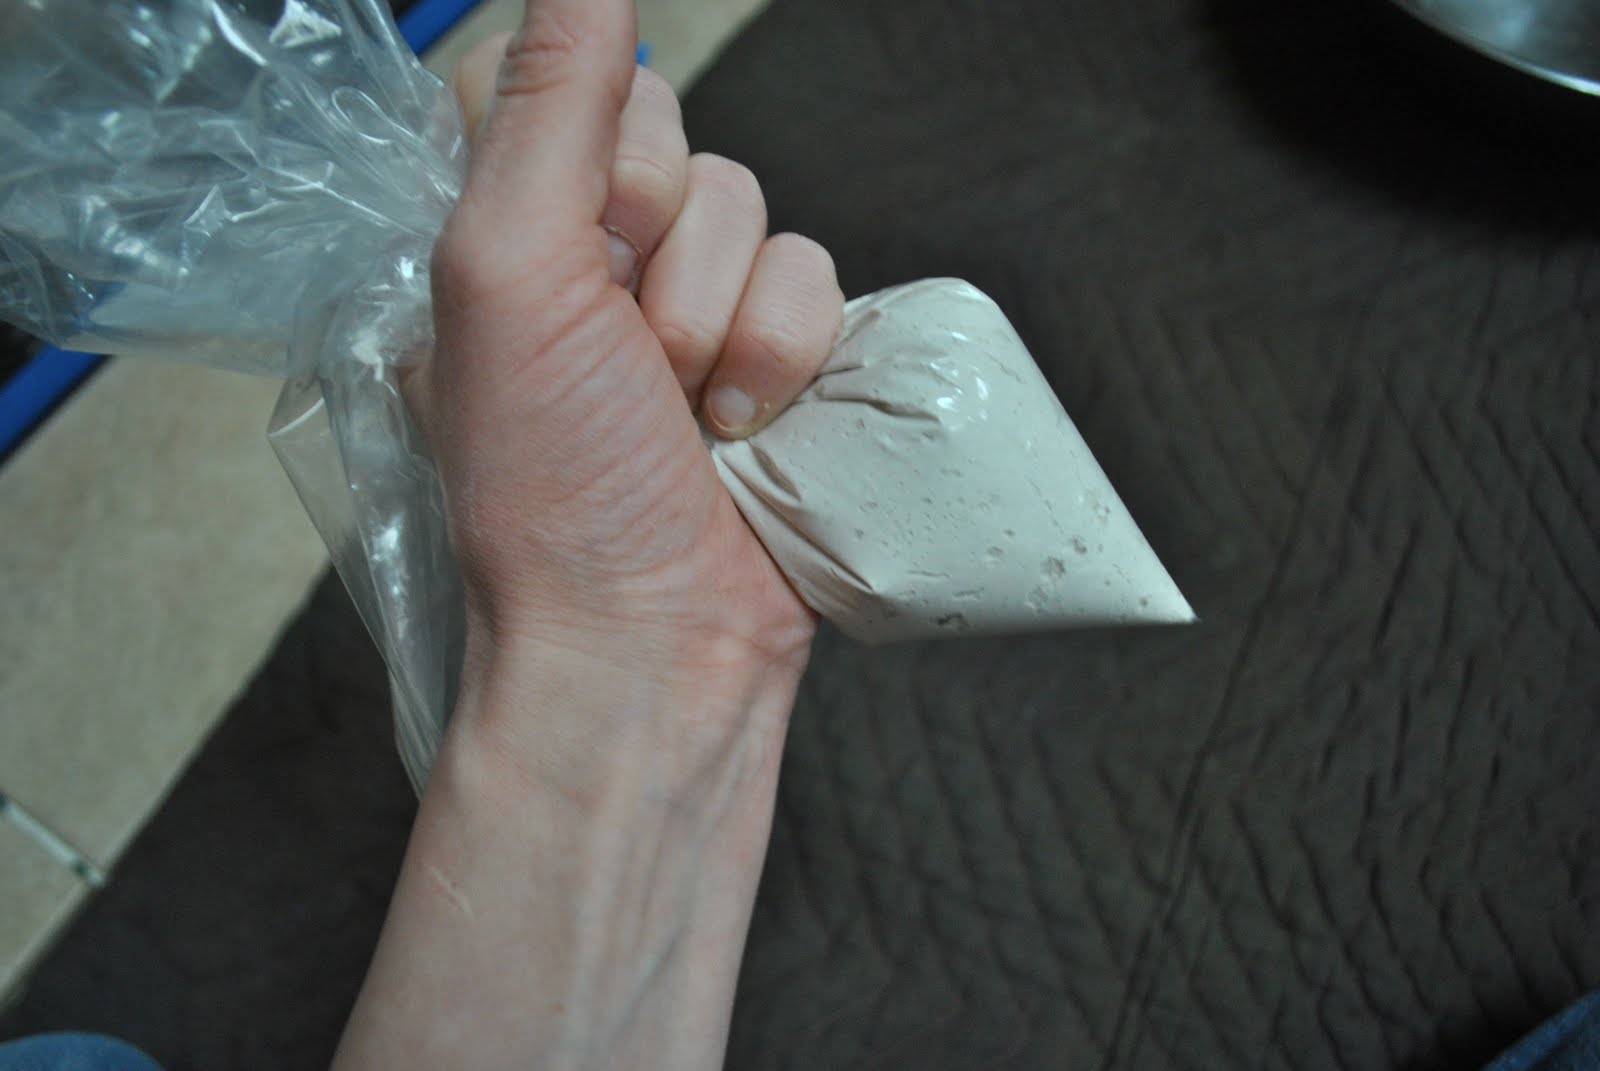
This is the second time I grouted using a Ziploc bag and it made the process SO easy. Usually the task of grouting is quite laborious, but NOT with a Ziploc bag! Just like you would frost a cake, put your grout mixture into a Ziploc bag and grout-away!
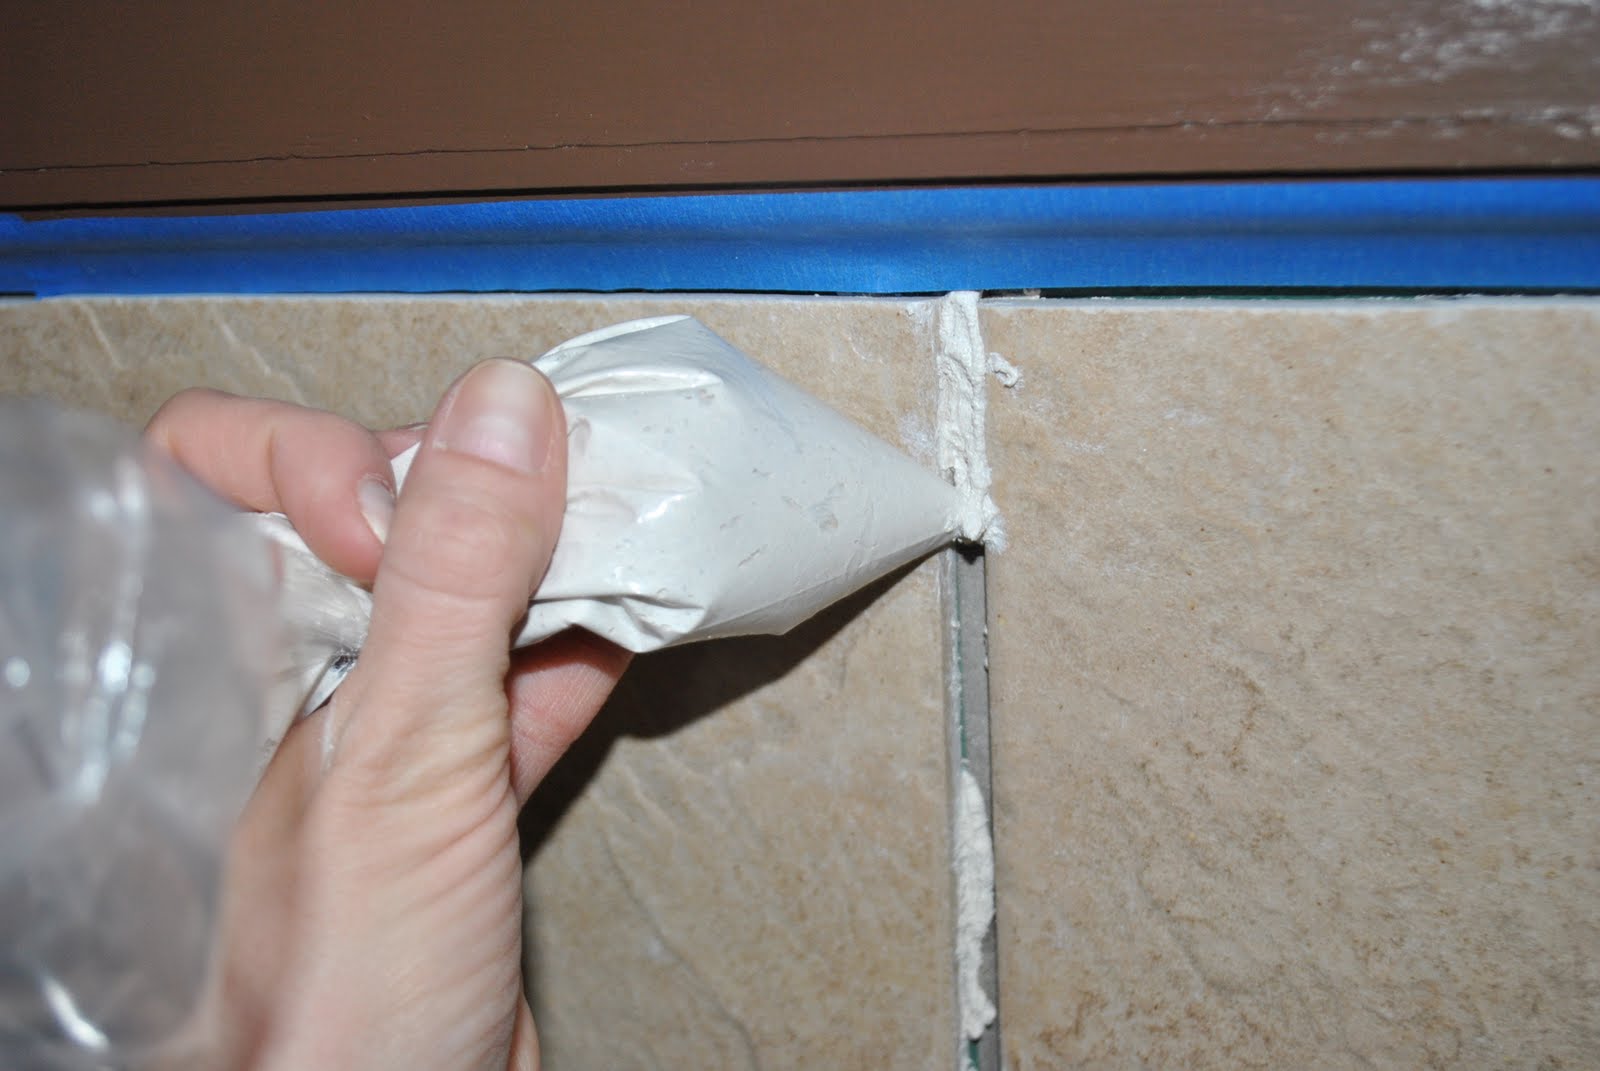
Squeeze out the grout and fill each joint with more than enough of the mixture ~ THEN…
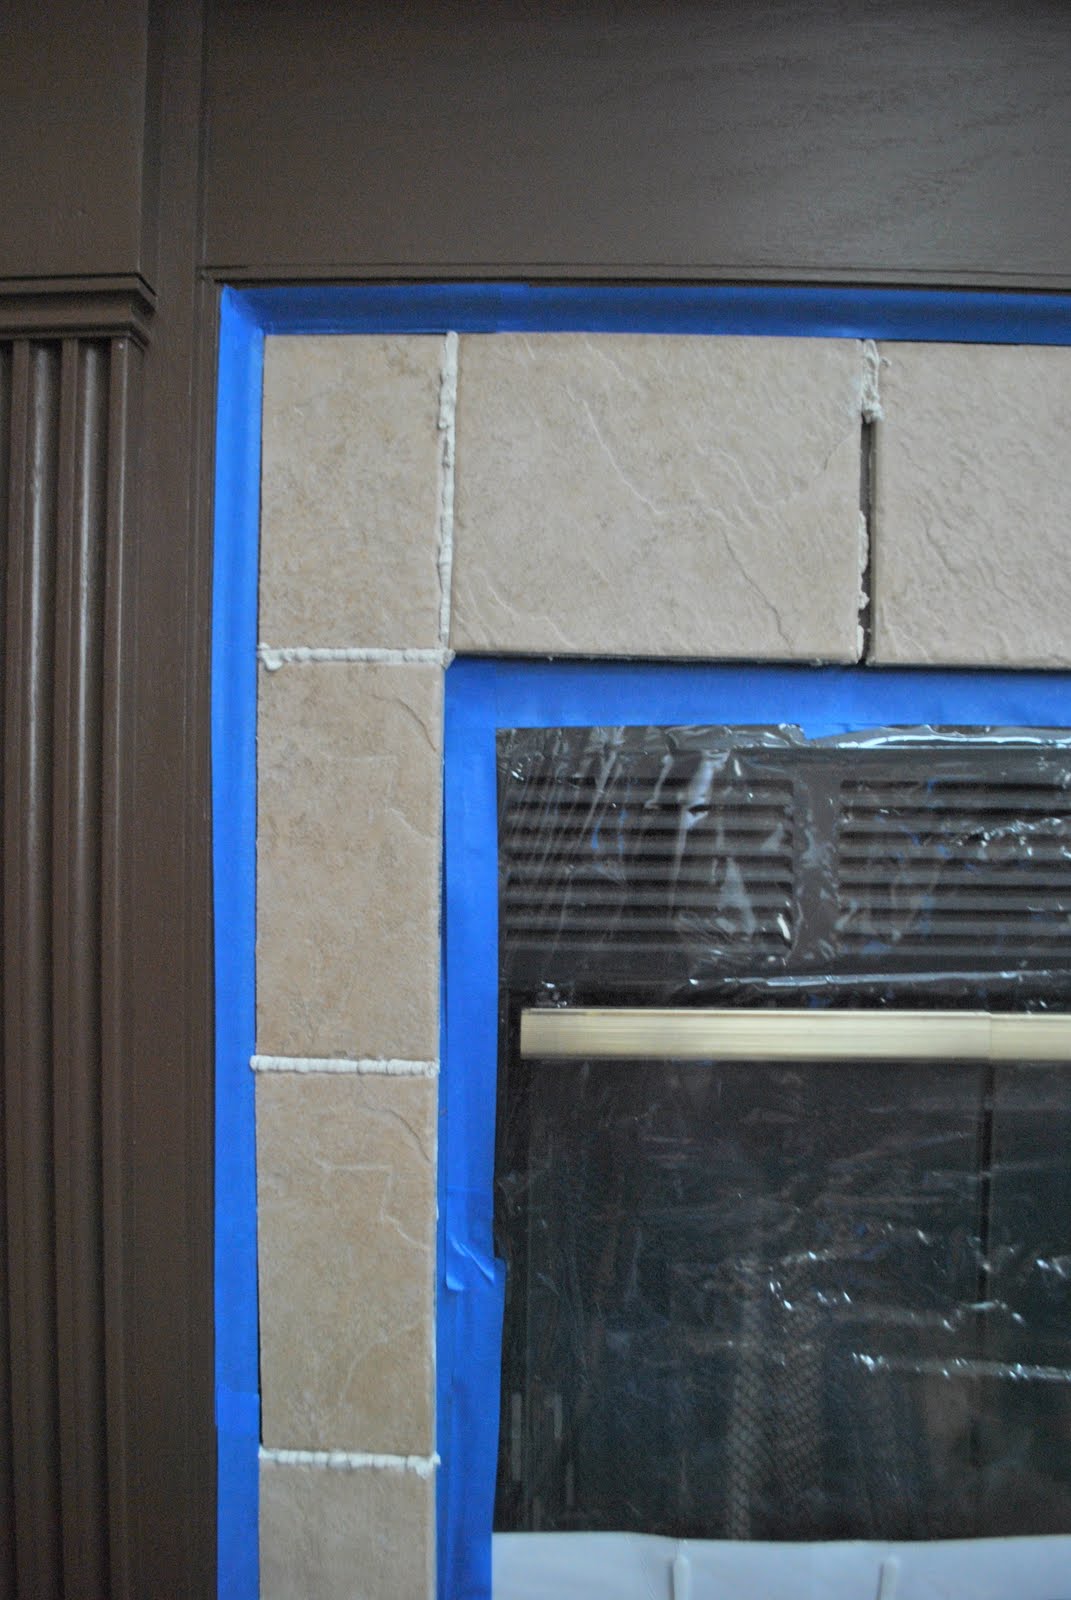
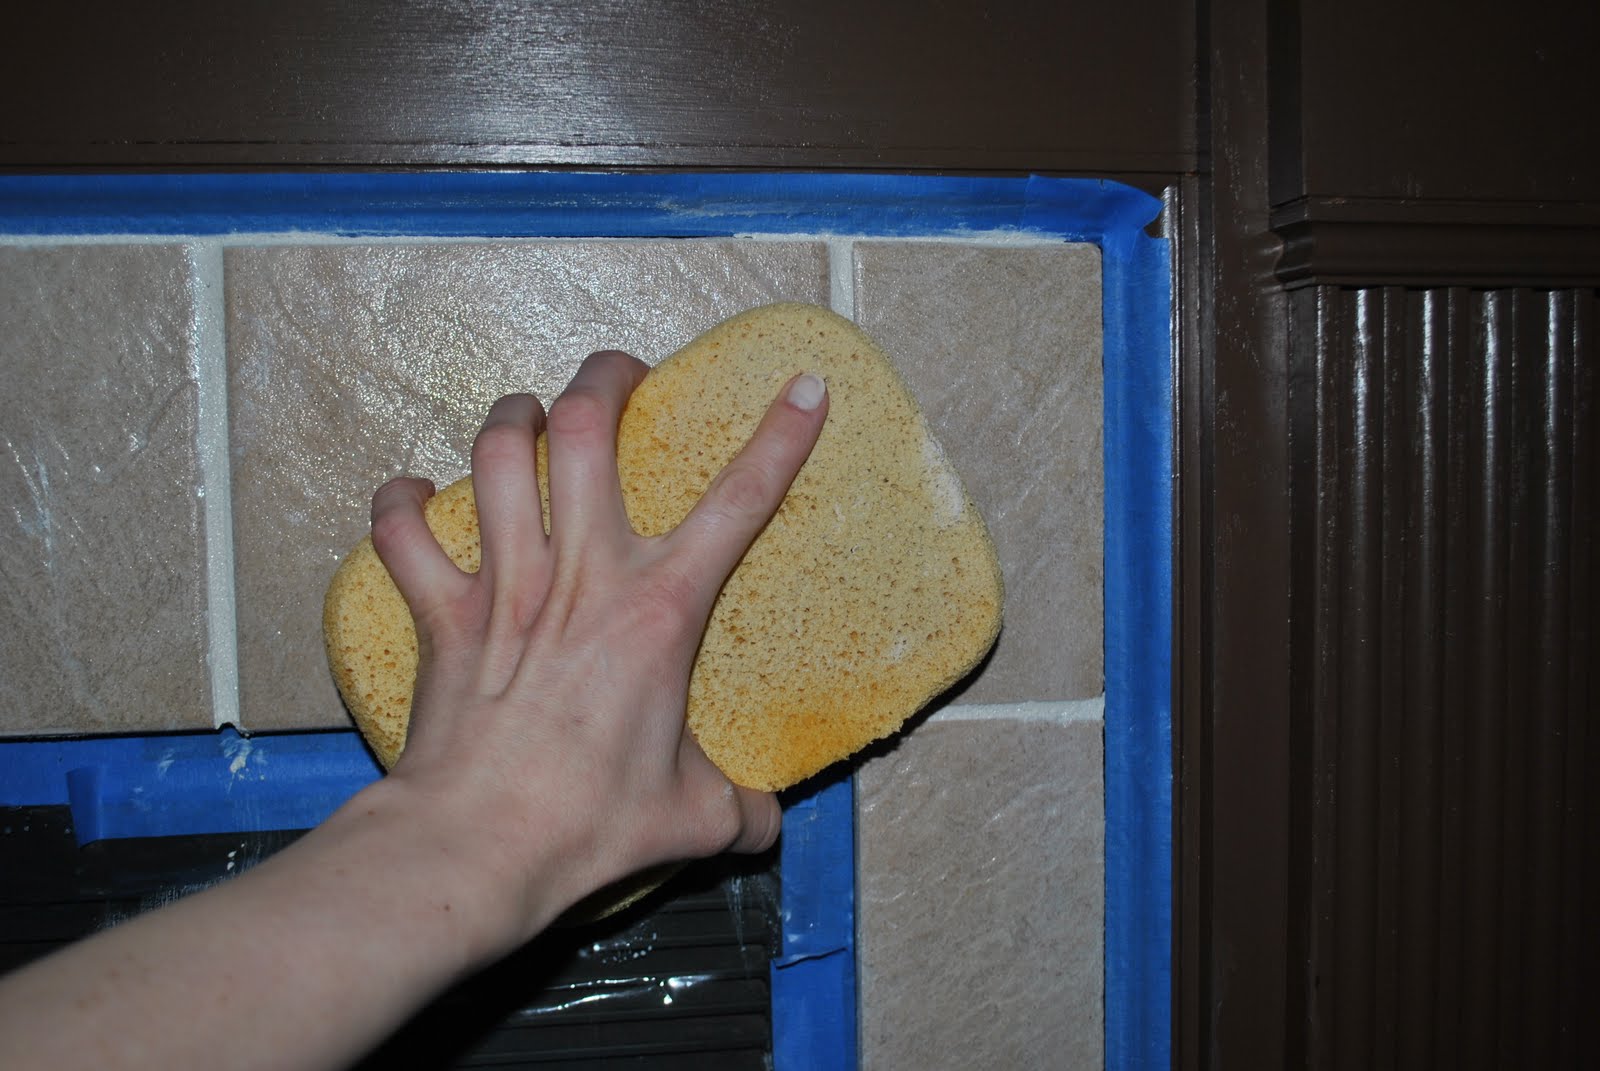
….Once all the joints are filled with enough grout, start to wipe it away with a damp sponge (wring dripless) to remove grout residue. Use a sponge that is specific for tile ~ one side is a typical sponge and the other side has a rough, abrasive surface. The rough side is important to remove the grout off the tile surface, but DON’T scrub the joints!

Remove the haze immediately; If the tile starts to look like this, wipe the haze with a damp cloth again. Then buff the tiles with a clean, dry cloth. This may happen several times. Then…
YOU’RE DONE!

{COMPLETE}

I am SO happy to have finally completed this project. It’s been on my to-do-list for a long time and I’m very happy with the results.
Do you have any tile projects planned around your house?