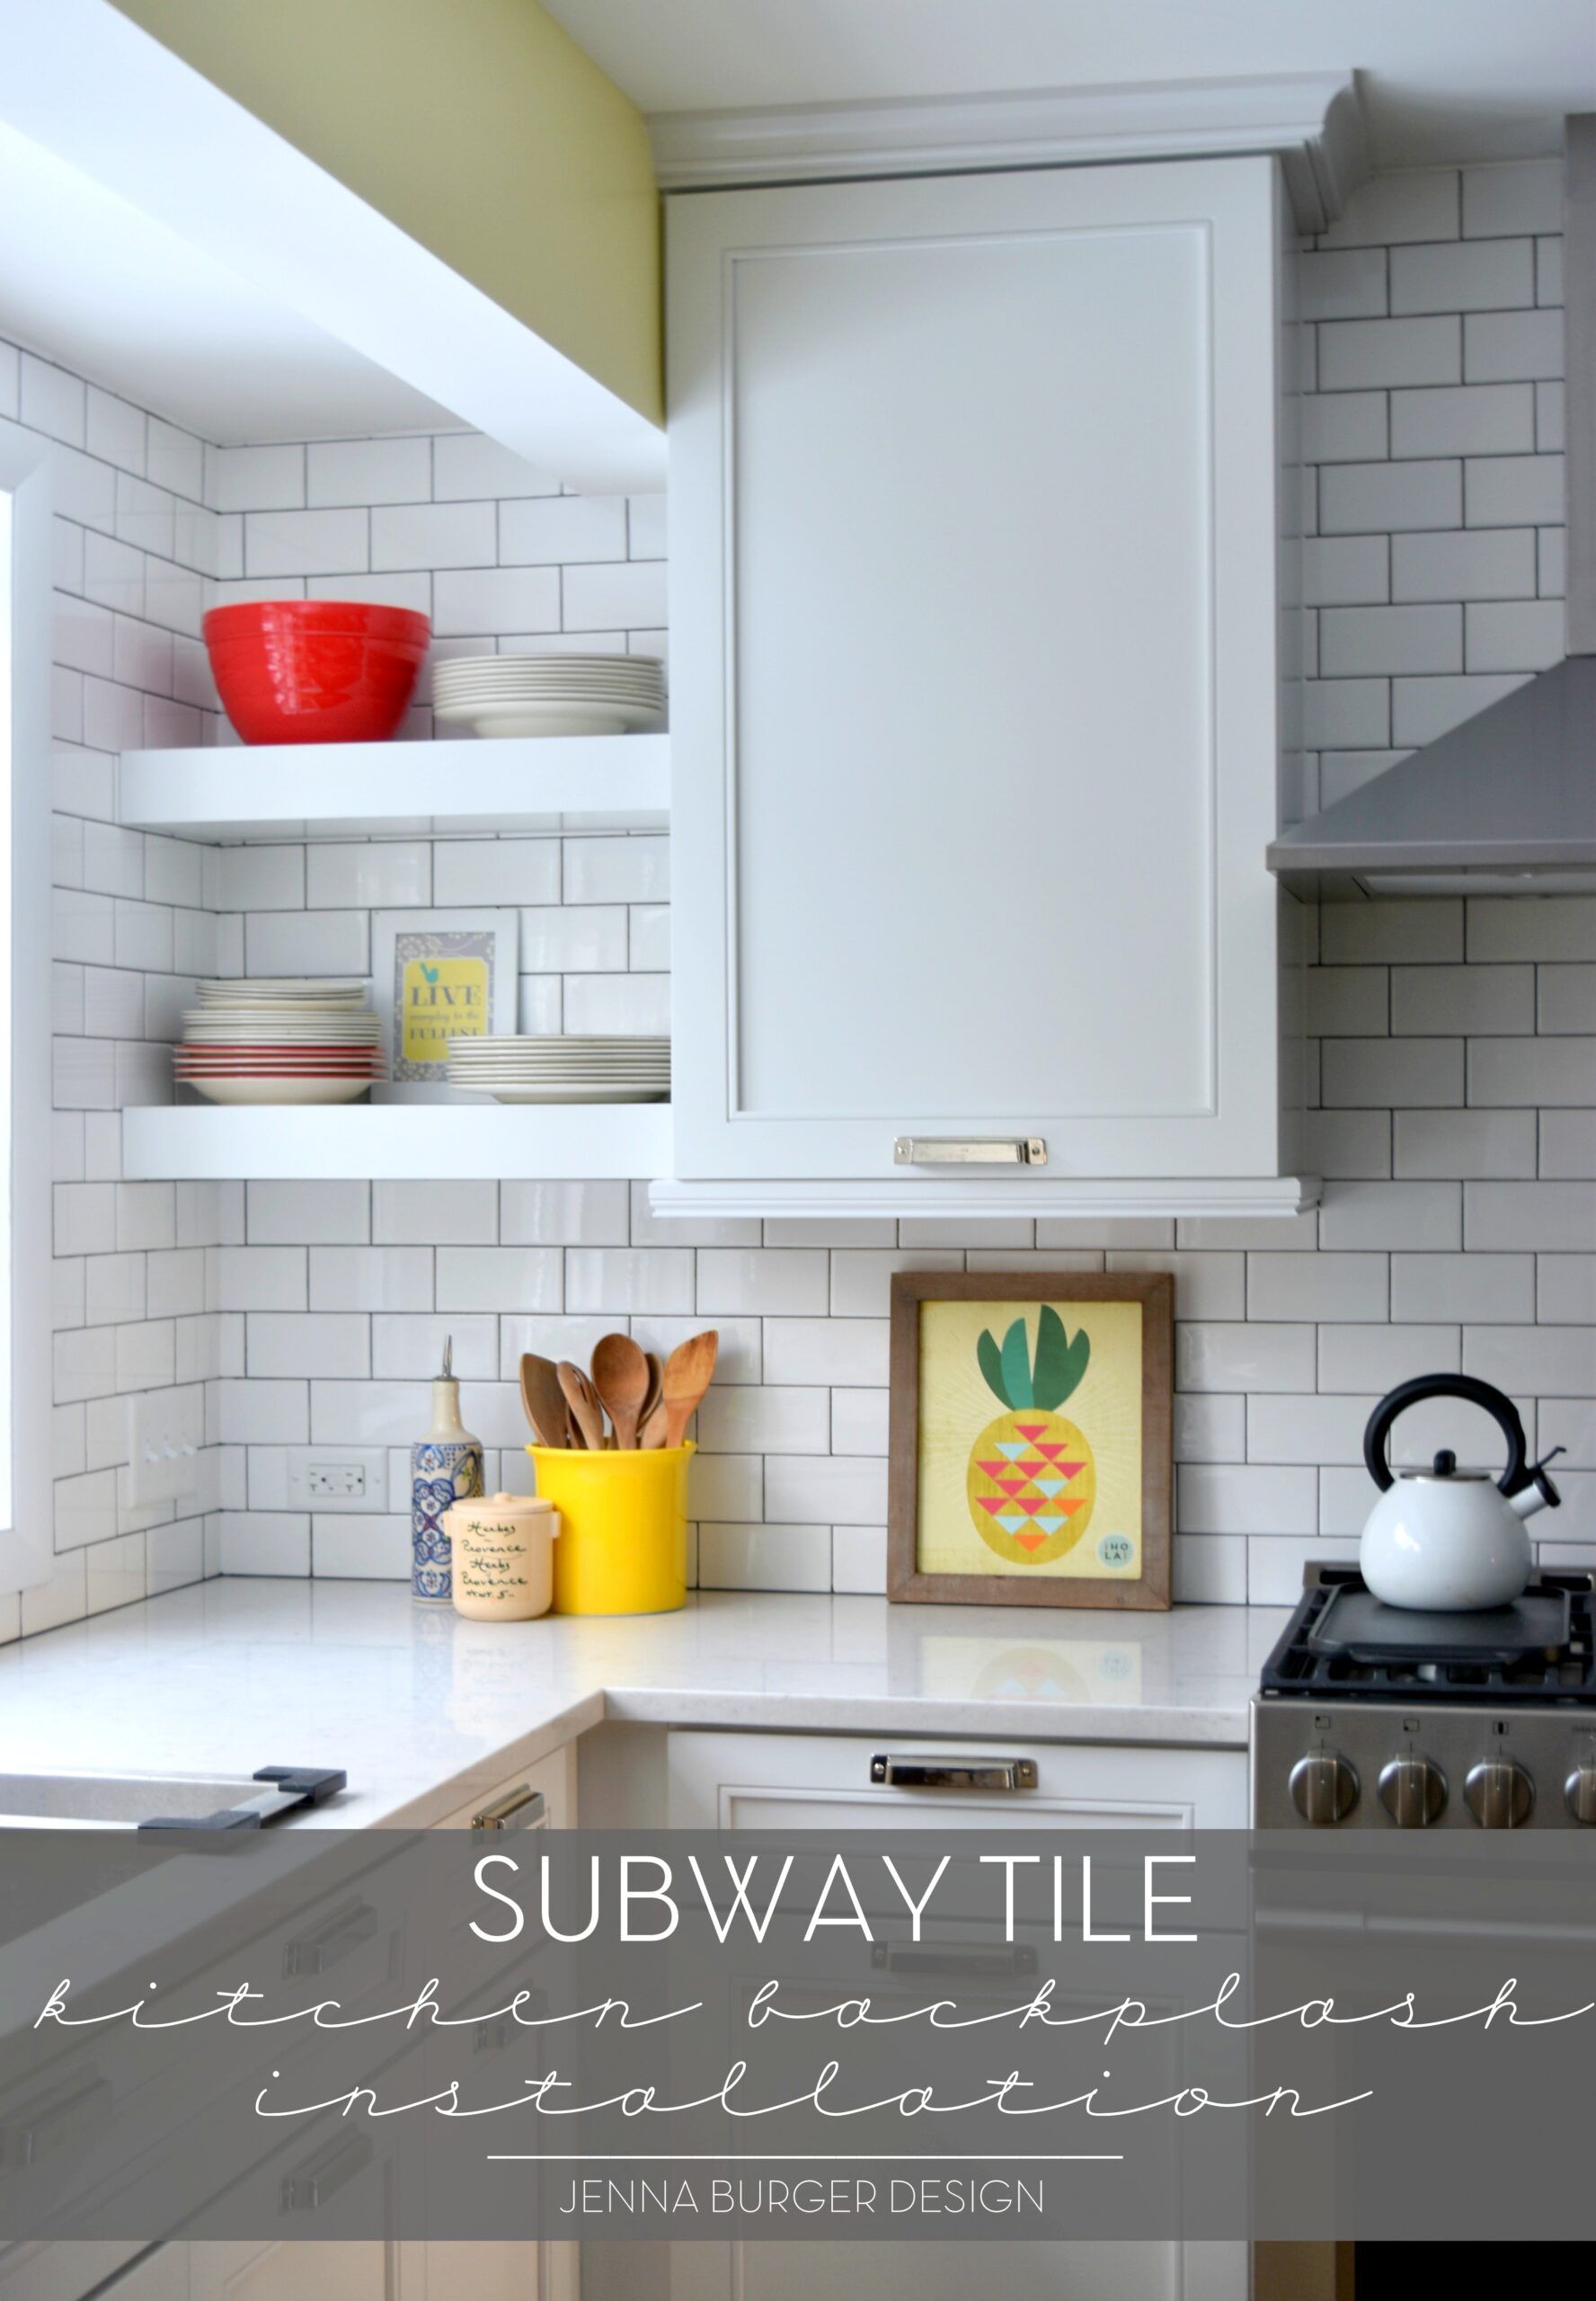
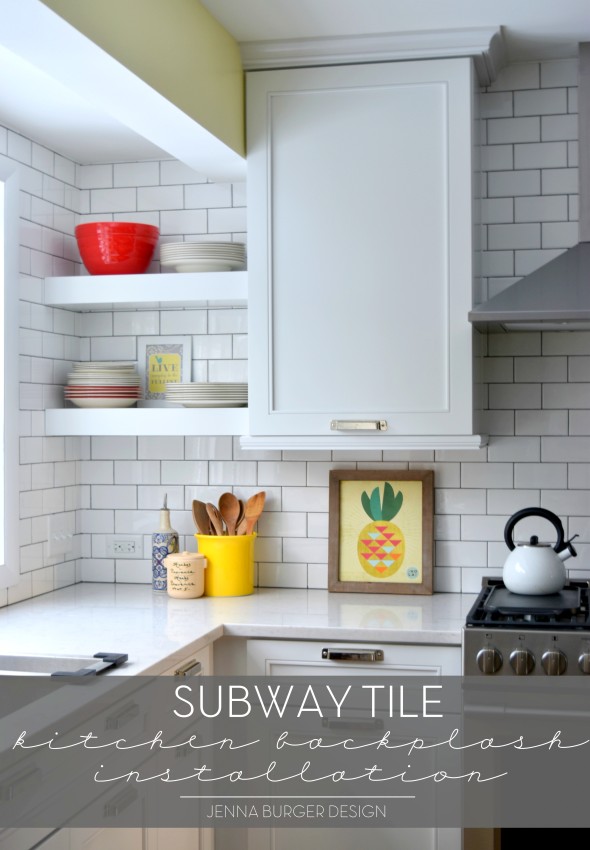
Subway Tile Kitchen Backsplash Installation
We’re 6 days in to the new year and I finally have a post up – HAPPY NEW YEAR.
My biggest personal project ever closed out 2015, AND the same project is kicking off 2016…
THE KITCHEN.
It’s almost complete. I’m days away from sharing the big reveal, but before that I’ve been excitedly awaiting to share what tile I chose for the backsplash + the process for installation.
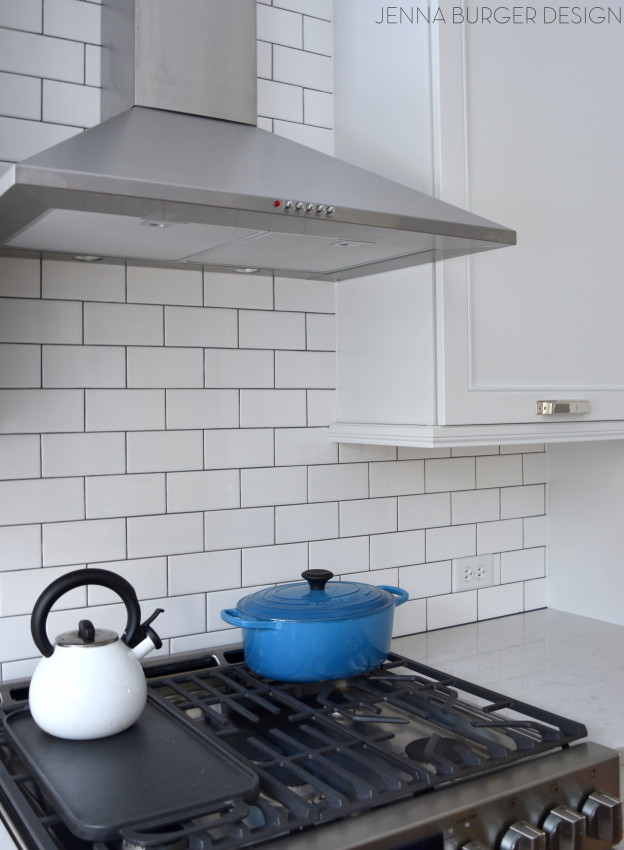
Check out the new + classic + gorgeous subway tile now adorning the kitchen backsplash…
Now to the details of what I chose for our kitchen renovation…
When the I created the PLAN OF ACTION for the kitchen remodel, I knew subway tile was the best choice because it’s not only affordable, but timeless + clean + the perfect compliment to our new minimalist quartz countertops.
Once the decision was made to move forward with white subway, the search began for the perfect tile.
And like paint, white is not just plain ole’ white.
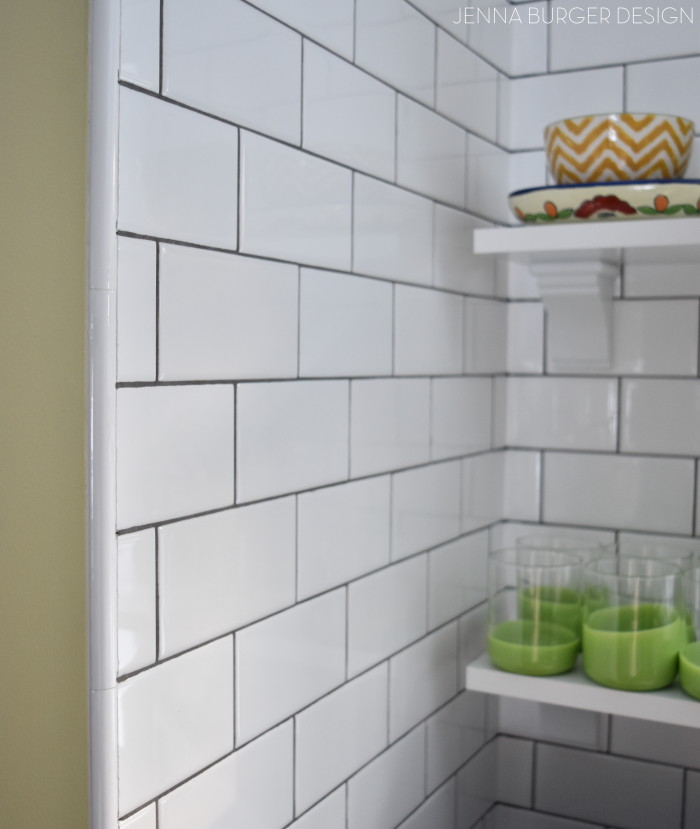
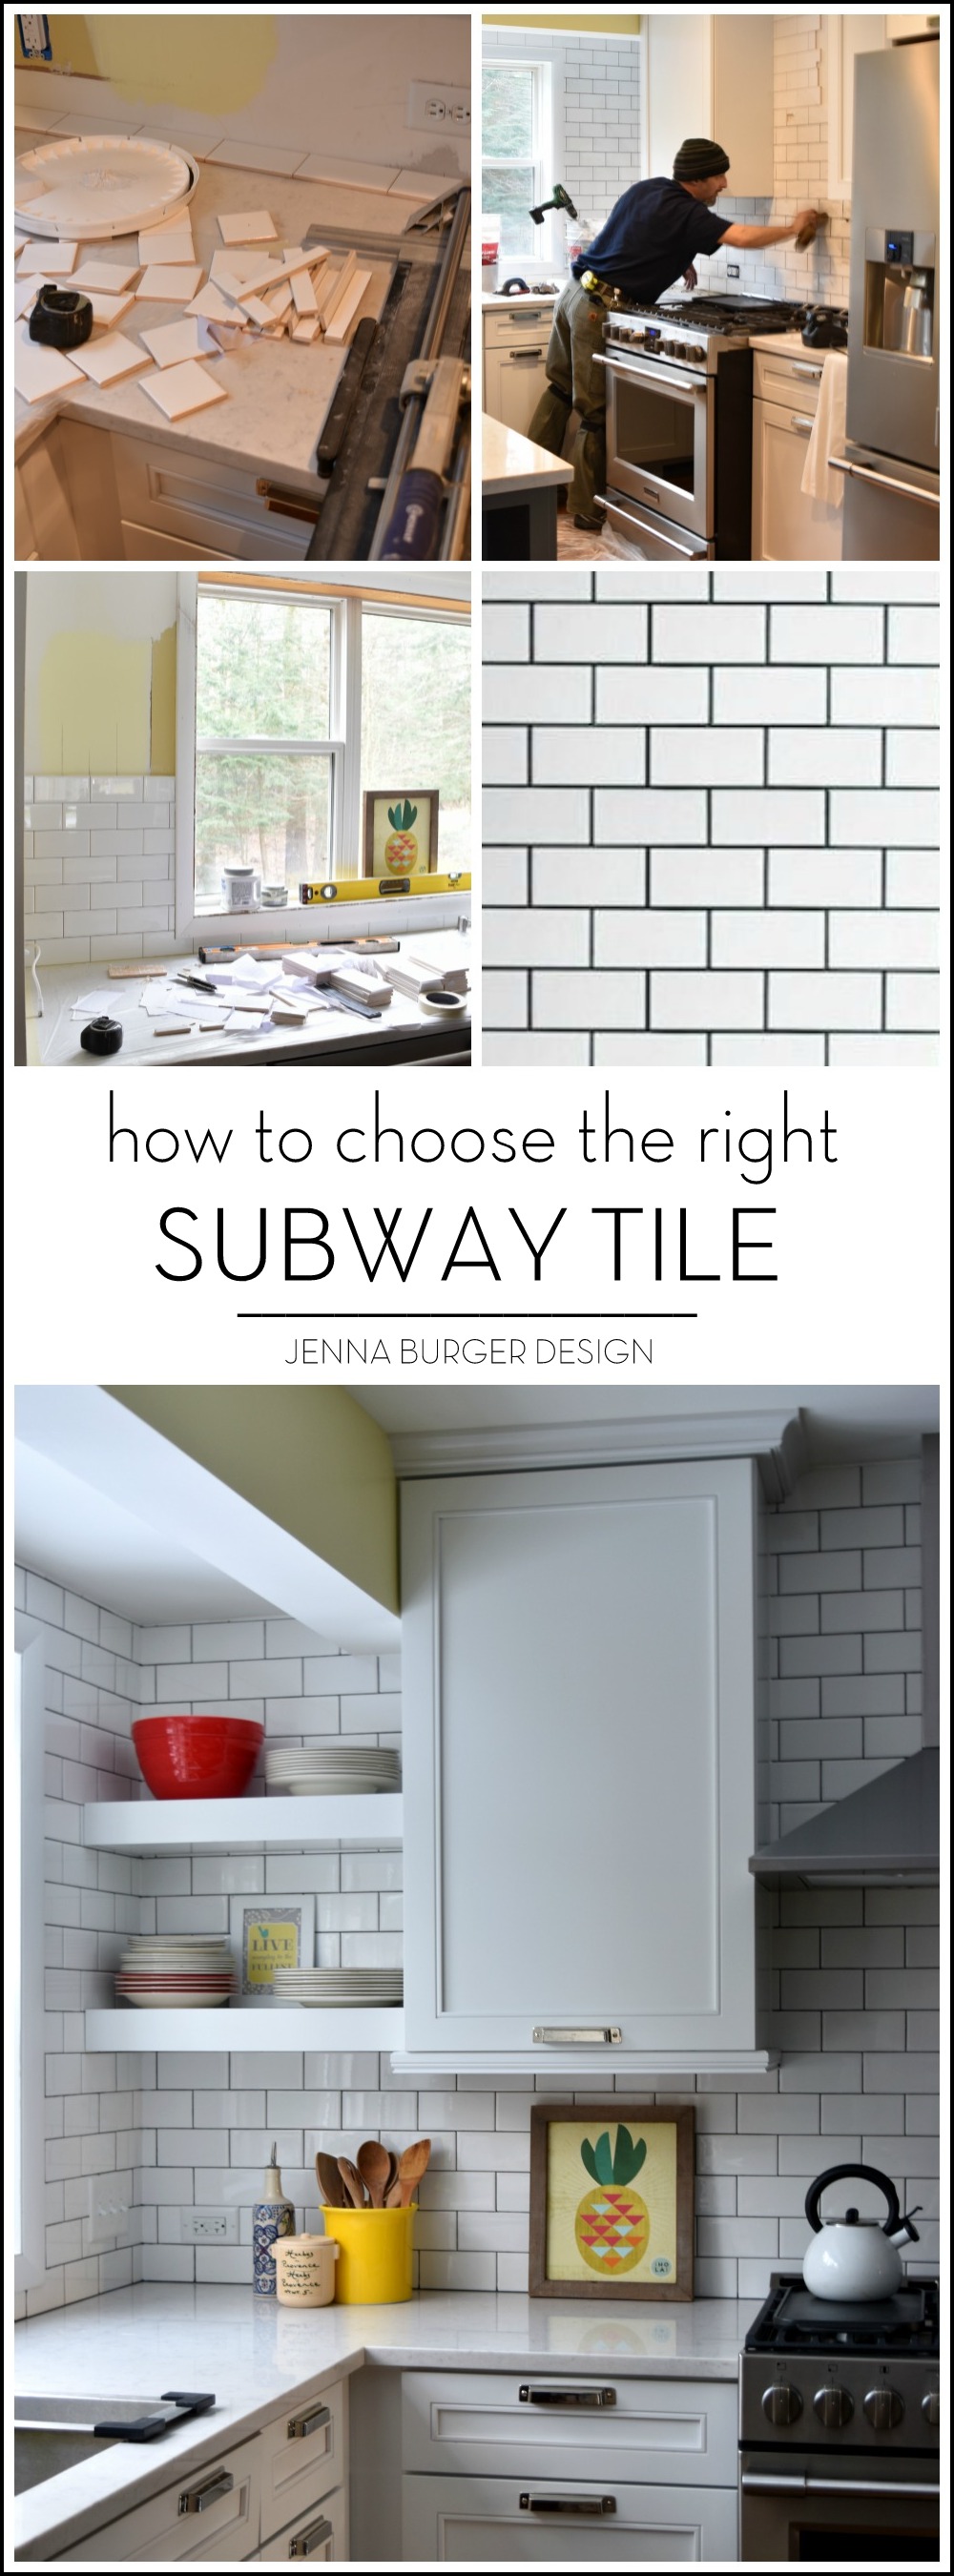
In the end, I chose the beautiful 3 x 6 white subway by Allen + Roth at Lowe’s, then complimented it with charcoal colored grout.
You can’t ever go wrong with white subway tile as it’s classic and works with all style kitchens. BUT, there with so many subway tiles to choose from, it can be challenging to pin point the best for the setting.
CHOOSING THE RIGHT SUBWAY TILE
Here are some helpful tips for choosing the RIGHT subway for the project…
SIZE
The typical size for subway tile is 3″ x 6″, but with the vast selection of natural and man-made tiles, comes a huge variation in size availibility. From mini tiles, around 1″ x 2″, to larger proportioned tiles around 4″ x 12″ +, size matters.
Choose a subway size appropriate for the project by looking at how much area will be covered with the tile. For small tile areas, smaller to medium sized tiles are best, where larger tiles will beautifully compliment larger, more open areas.
COLOR
If you’re looking for a white subway tile, not all whites are white. When I started the process of searching for white subway tile, I was so surprised how each manufacturers white looked so different. Some have more yellow undertones, where others are more blue.
I chose white subway tile by Allen + Roth because it was a true white and it looked closest to the Kraftmaid Dove White cabinetry that was chosen. Others that I looked at were too yellow and when next to each other, the two surfaces wouldn’t have blended well.
LAYOUT
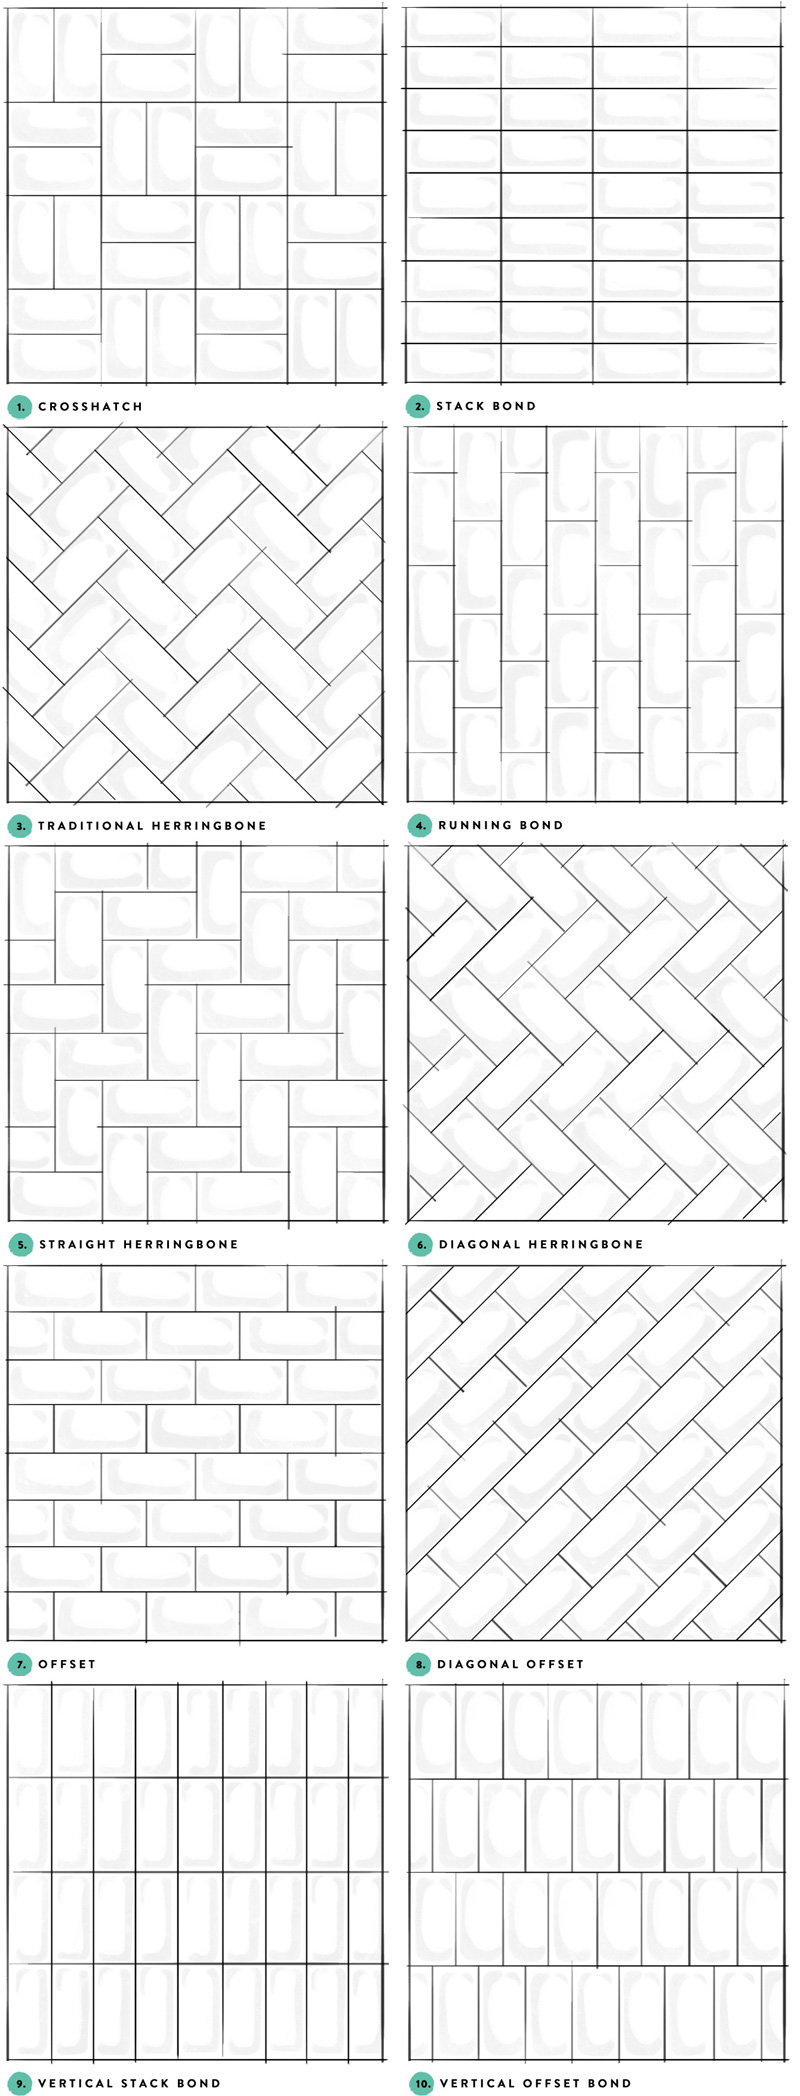
I chose to layout + install the subway tile in the most classic way, which is staggered, but there are many other ways to layout subway tile to create an interesting + unique pattern. Try herringbone or vertical or cross hatch or stack bond.
via a beautiful mess
COST
Typical of most tile, there is a range of pricing for subway tile, but it’s one of the most least expensive style tiles. Cost comes down to the quality of the tile, but with most, it won’t break the bank.
GROUT
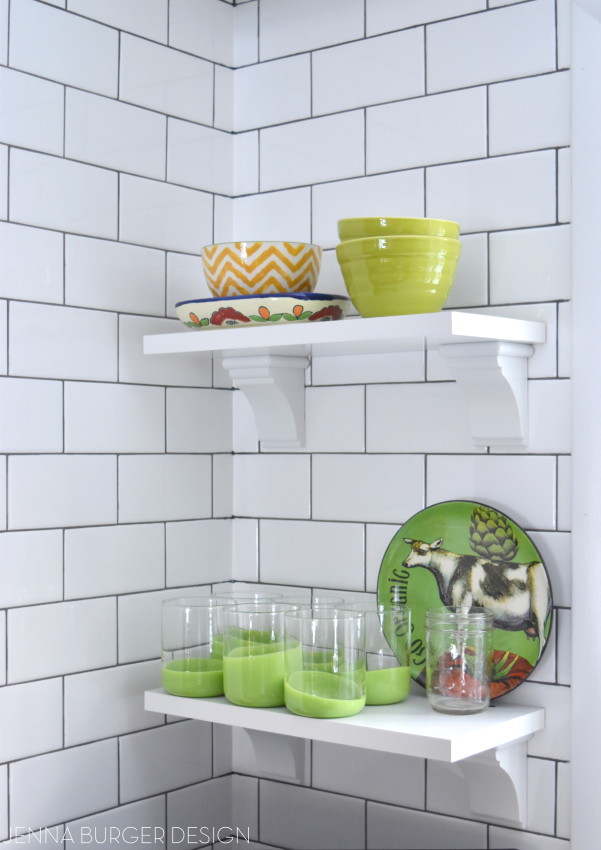
The grout color really doesn’t have to do with choosing a subway tile, but the grout color that is chosen will make your tile come alive. As with anything, there is a range of color choices for grouts. Have a white subway, white is the safest choice. Want to be dramatic and have your backsplash stand-out? Try a darker hue, like I did…
White subway tile might seem like a ‘Safe Tile’, but with the right size, color, and layout, this timeless tile can look unique to create a one-of-a-kind, stand-out kitchen.
INSTALLATION
Once the counters were installed in early December, we were ready to get crankin’ on the backsplash.
I’ve tiled many projects before, but I was happy and willing to have our contractor handle the tile installation to keep the kitchen remodel process moving along. At this point being 6 weeks in, we were READY TO BE DONE!
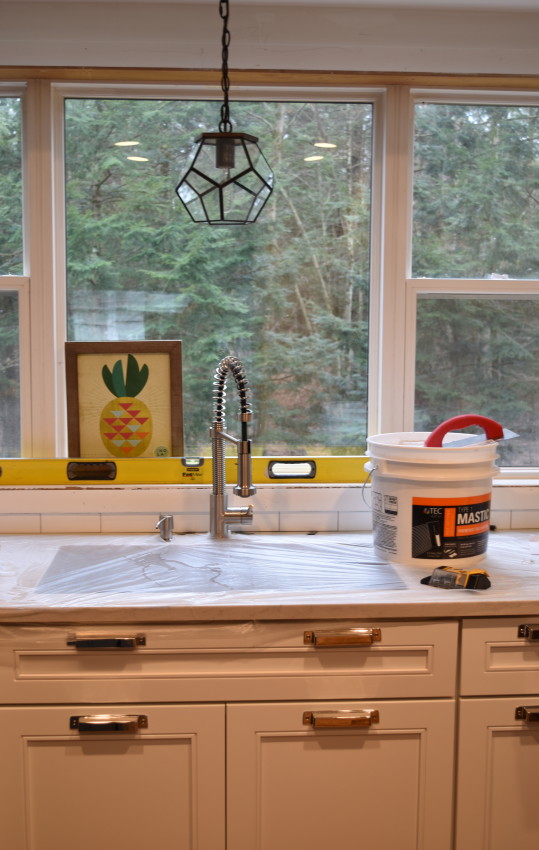
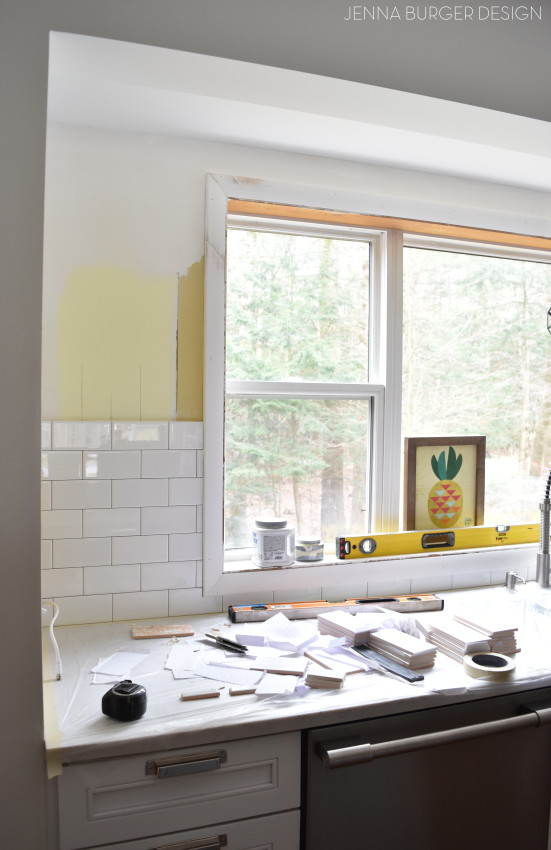
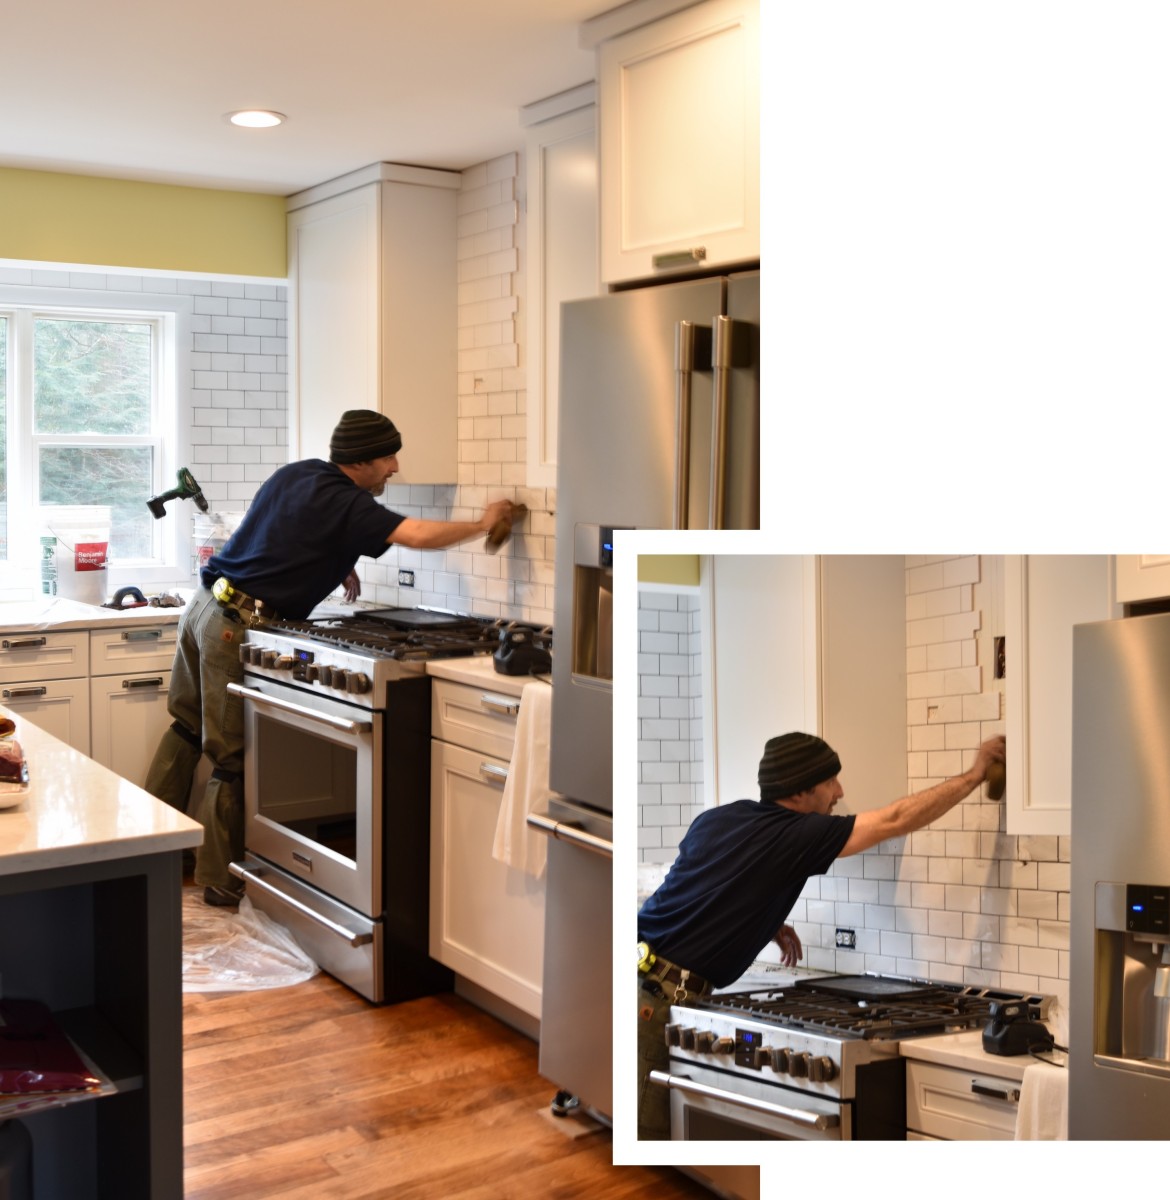
The contractor started the tile installation at the sink, since that is the center point of the window on the overall wall.
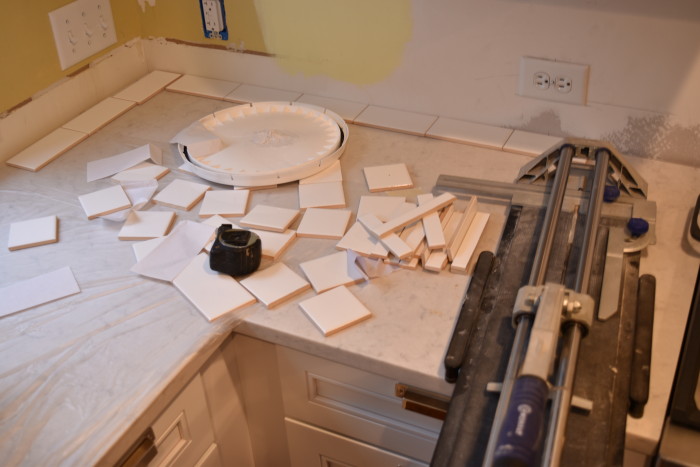
From that point, the tile was installed on either side of the window – there were a lot of cuts!
Because the subway tile is ceramic, it was very soft and easy to cut. A tile cutter was perfect for the job and since it’s mid-winter, it was a blessing to be able to cut indoors.
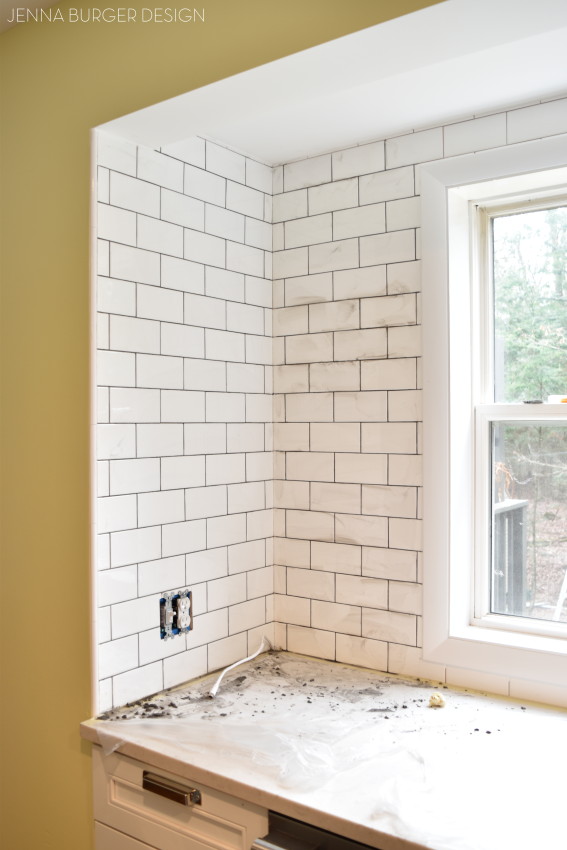
Once the tile was all installed, which took about 2 days, it was time to grout. As I mentioned above, I chose a charcoal color for the grout to give a beautiful contrast + pick up the color of the dark gray island.
I had never used dark grout before and it was incredibly messy when applied on to the white tile!
After cleaning the tile surface many times of the gritty dark grout, it resulted just as I had hoped and honestly, better!
from this…
to this…
At the only corner of the kitchen, I chose a vertical pencil liner to finish the edge. It looks so good and pulled together!
And then it was complete.
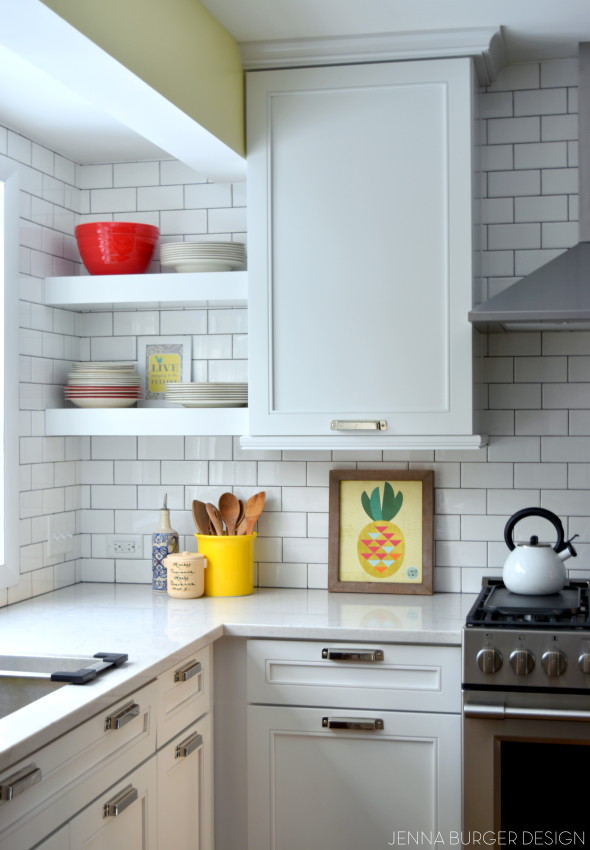
Once the grout was dry – within a day – we were able to install the open shelves + add the dishes.
Eek, it’s almost complete.
Here’s a peak…
In the meantime, if you want to retile your kitchen NOW with subway or want to use this post as a resource for the future, save it or pin it…
What do you think of subway tile? Yay or Nay for the kitchen?
Tomorrow on the blog, I’ll be sharing 11 other tile fool-proof favorites for the backsplash. Don’t miss it!

If you want to see all the posts documenting the kitchen renovation, here they are from start to finish:
Wonderful White Kitchen Inspiration
Kitchen Remodel: Before + Plan of Action
Demo Day: Steps for Demolishing the Kitchen
Kitchen Progress: Staining Hardwood Floors
The Cabinets Arrive + Get Installed
Natural Quartz Countertops in the Kitchen
10 Countertop Materials to Consider for the Kitchen
Subway Tile Installation + Choosing the RIGHT Subway
Kitchen Backsplash Tile Options + Inspiration
Choosing a Paint Color + Wallpaper for the Kitchen and Dining Room
Kitchen Renovation: The Appliances
Dissecting the Details
Kitchen Renovation: REVEAL + RESOURCES
DISCLAIMER: THIS KITCHEN RENOVATION IS A COLLABORATION WITH LOWE’S USING KRAFTMAID CABINETRY. ALL OPINIONS + SELECTIONS ARE MY OWN WITH THE ASSISTANCE OF KRAFTMAID AND THE LOWE’S DESIGN TEAM.
Comments are closed.