DIY: Framed Chalkboard Medicine Cabinet
When recently working on my kids bathroom makeover on a budget, I questioned what to do with the mirrored medicine cabinet ~
Leave it? Or take it out?
The mirrored front medicine cabinet is positioned on the side wall, and since there is already a mirror over the sink, there really wasn’t a need for it. BUT, I didn’t want to leave a huge hole in the wall AND I wasn’t interested in taking the time to patch it up either. What to do?? WELL, I decided to create a new framed chalkboard medicine cabinet!


This was actually quite an easy project to tackle, but before we start, here is how the bathroom looked before.
Supplies needed:
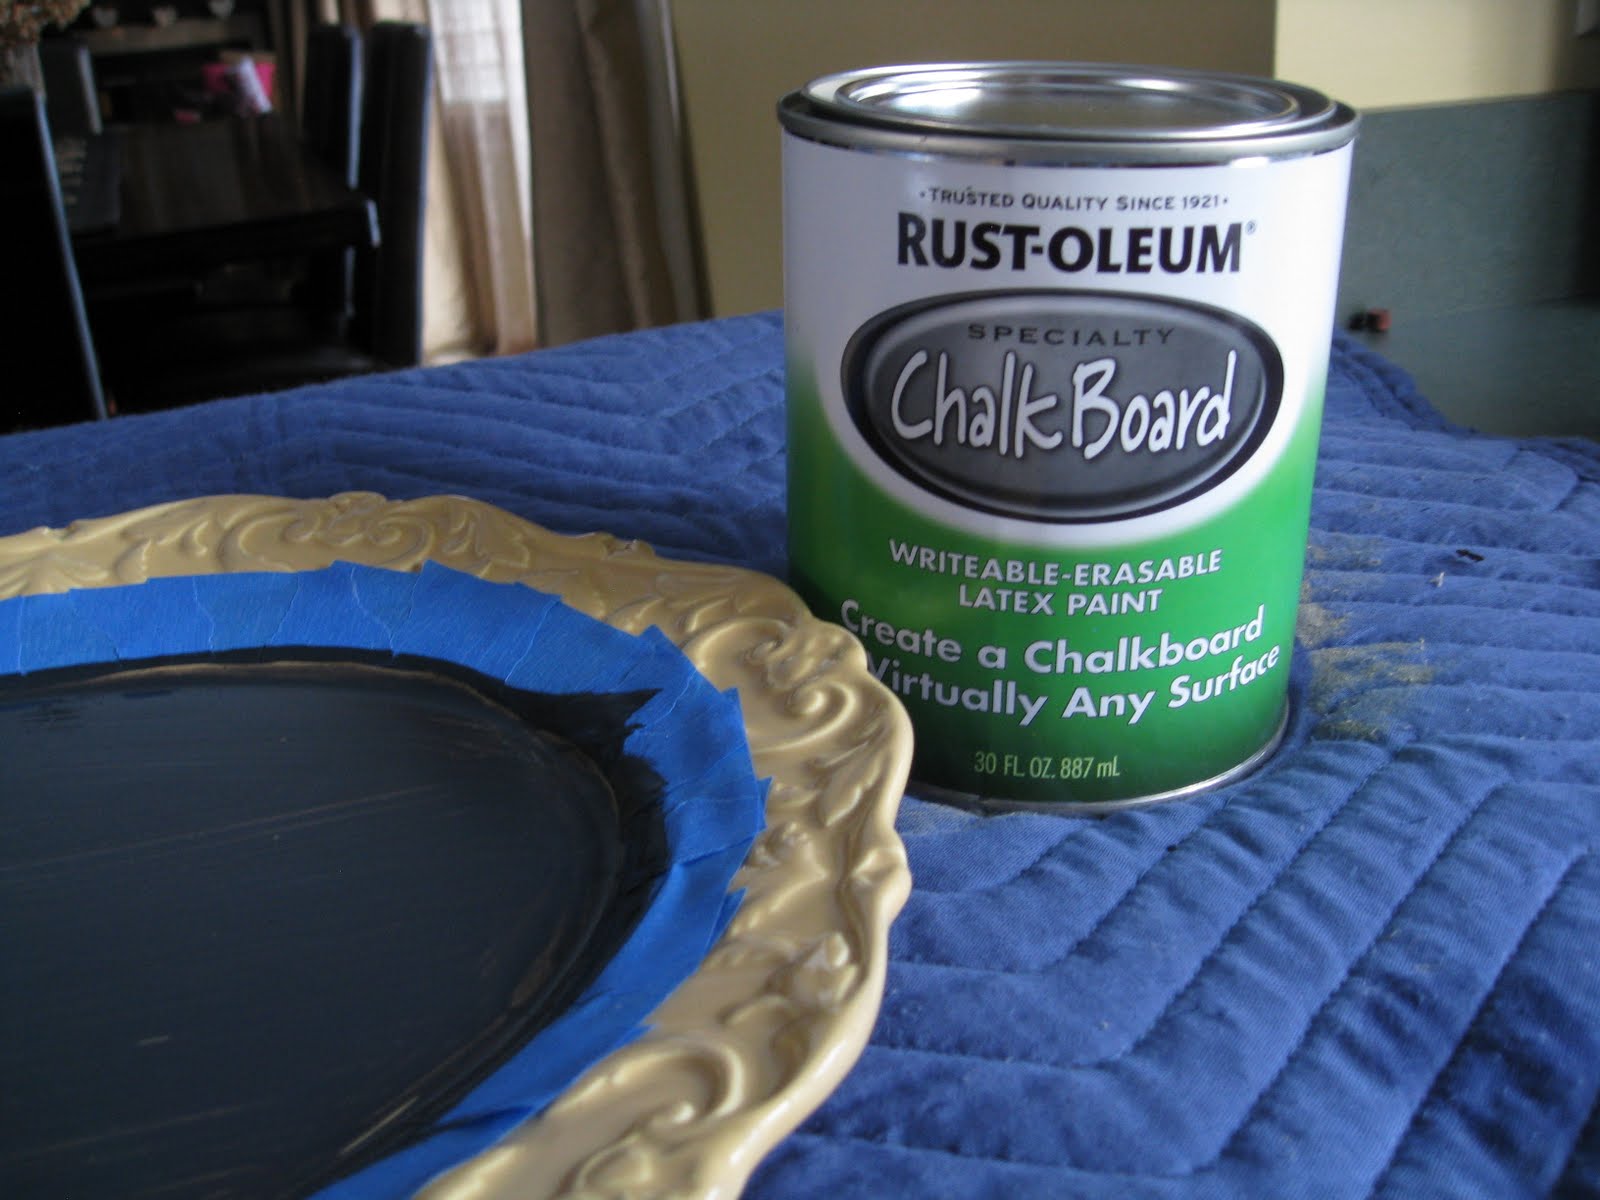
Chalkboard Paint
Wood Frame
Liquid Nails
Sandpaper
Start off by roughing up the existing mirror with sandpaper. This will help the paint absorb better since the mirror surface is not porous.
Then it was time to add the chalkboard paint. I’ve used the same can of chalkboard paint for many of my projects {take a look ~ here & here} and it’s still half full…it definitely goes a long way!
I used a small roller brush to apply the chalkboard paint…

…and used the Valspar tray that came with my free paint sample.

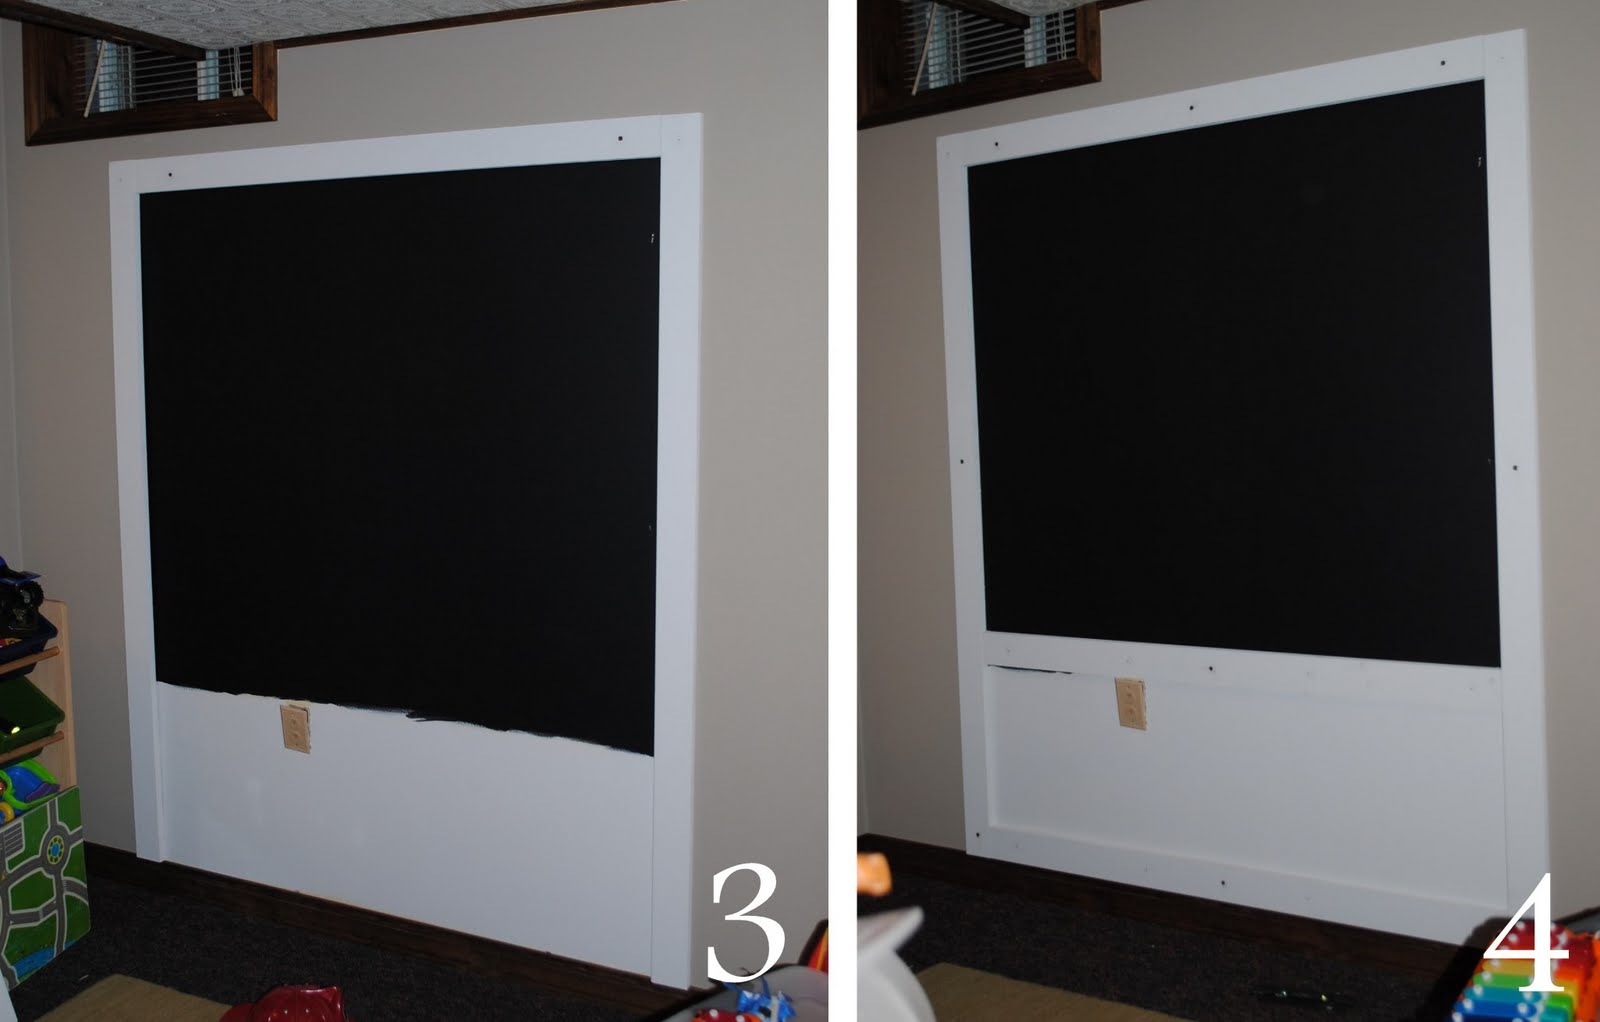
Once the painting is complete, the medicine cabinet is ready to be framed. The overall dimension of my medicine cabinet is 16″ x 22″, so I needed to find something to cover and overlap the mirror. After much searching, I found a wood frame that was made for a 14″ x 18″ picture with an overall outside dimension of 18″ x 23″….it worked perfectly to cover the existing mirror.
Using liquid nails, I applied a good amount to the back of the frame and adhered it to the newly painted “mirror”.

Once the frame is in place, it’s very important to use a level to make sure it’s plumb!

I’m sure you’re wondering why I have a box of Lincoln Logs and 15+ books on the countertop… I have a good explanation for that ~ Liquid Nails is great, but it doesn’t instantly dry…it takes about 30 minutes. When I first adhered the frame, it actually started to sliiiiide down, SO with a little improv (ie: Lincoln Logs & books), it stayed right in place.
TIP: Chalkboard paint isn’t a must for this project. In my master bath, I had another frameless medicine cabinet, that I simply added a similar wood frame to. The medicine cabinet was instantly updated within minutes for less than $20.
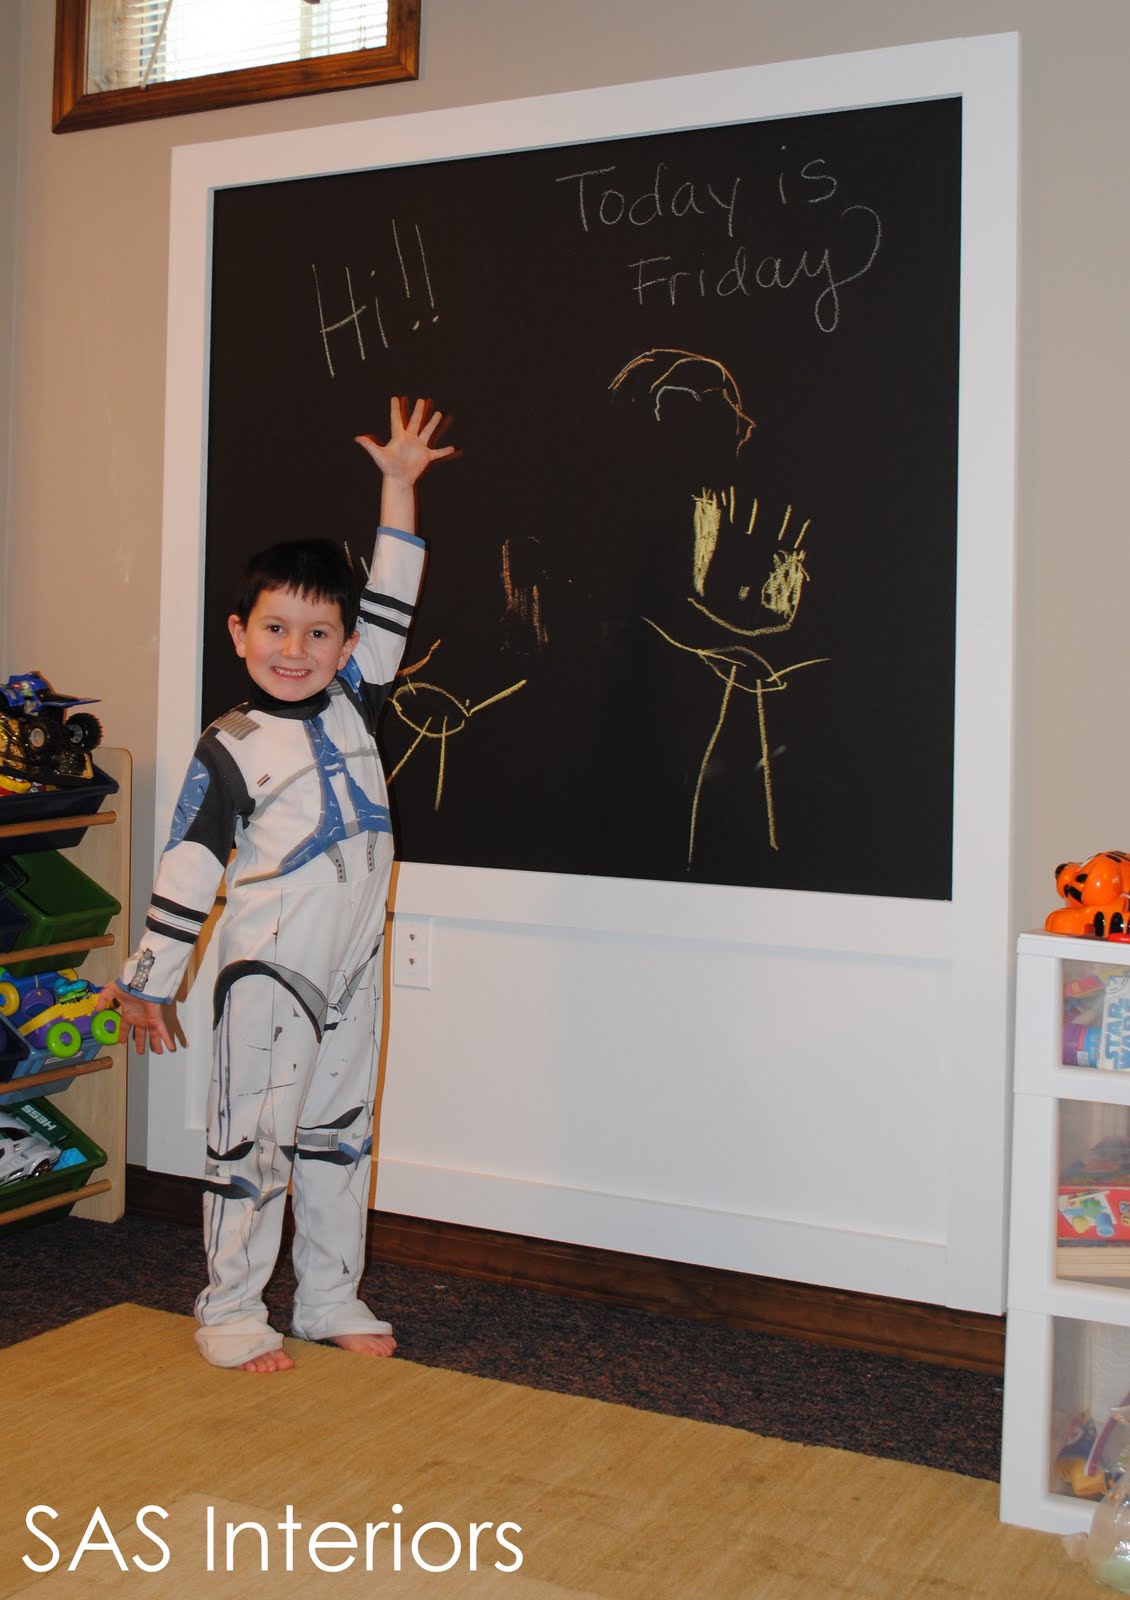
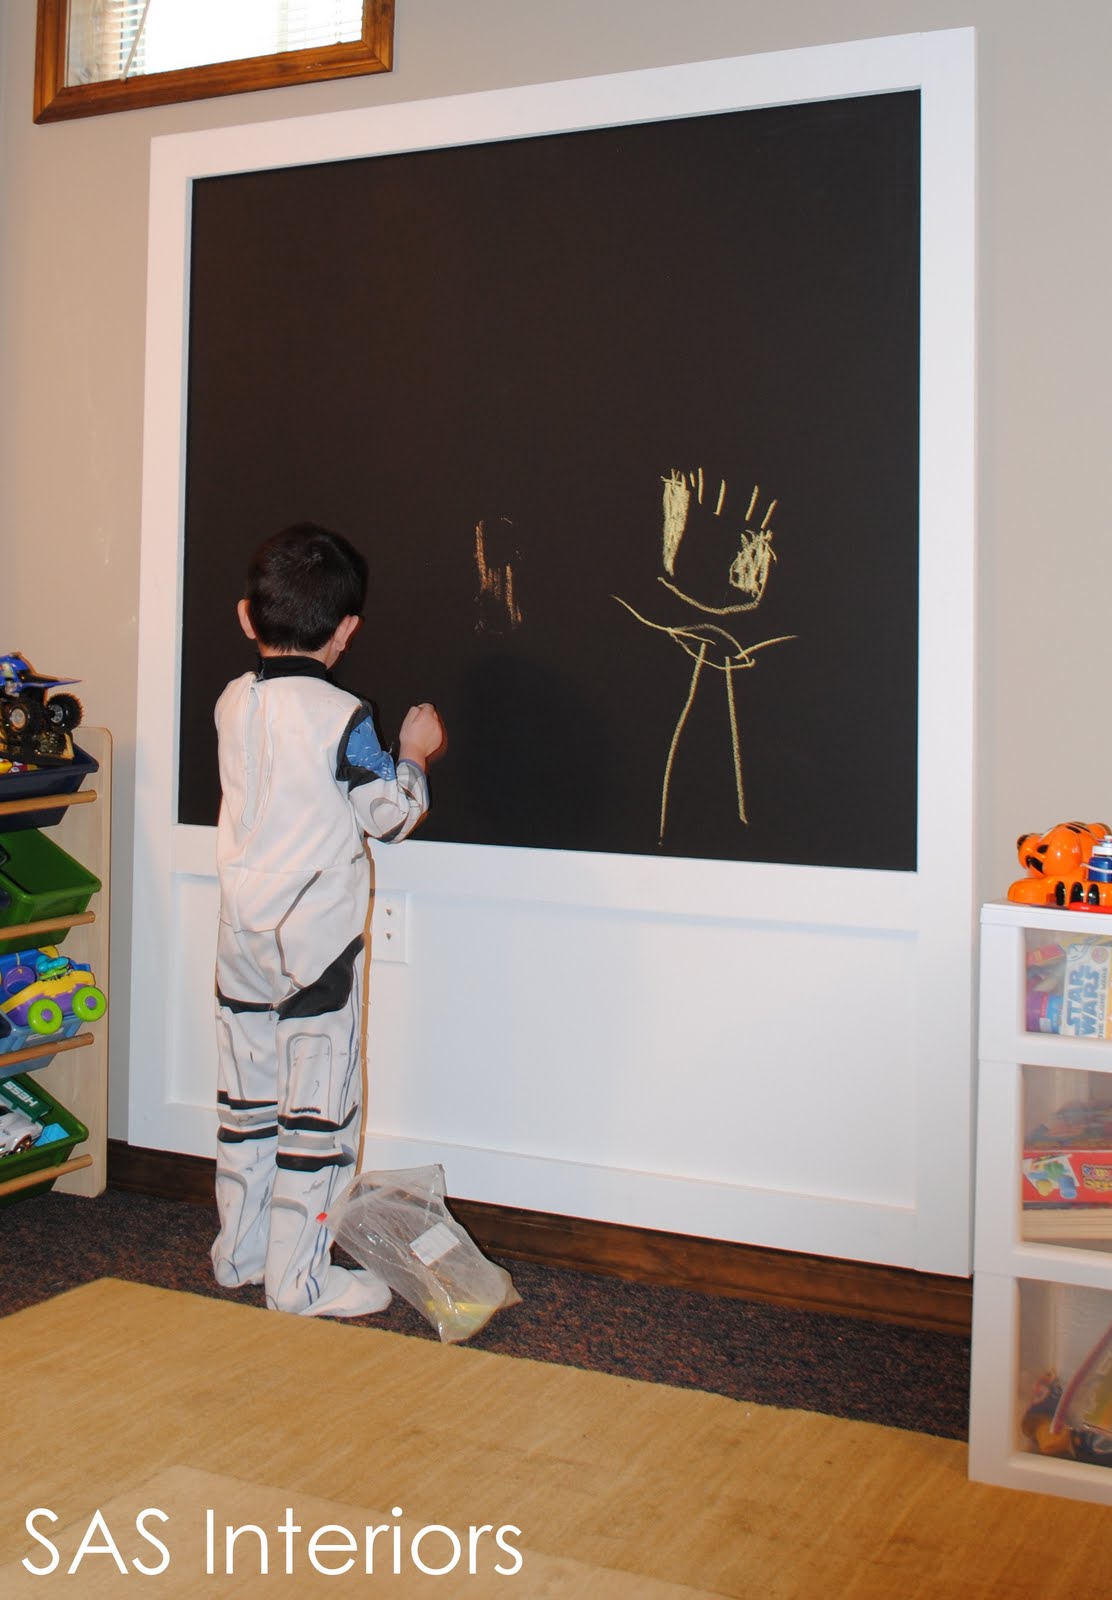
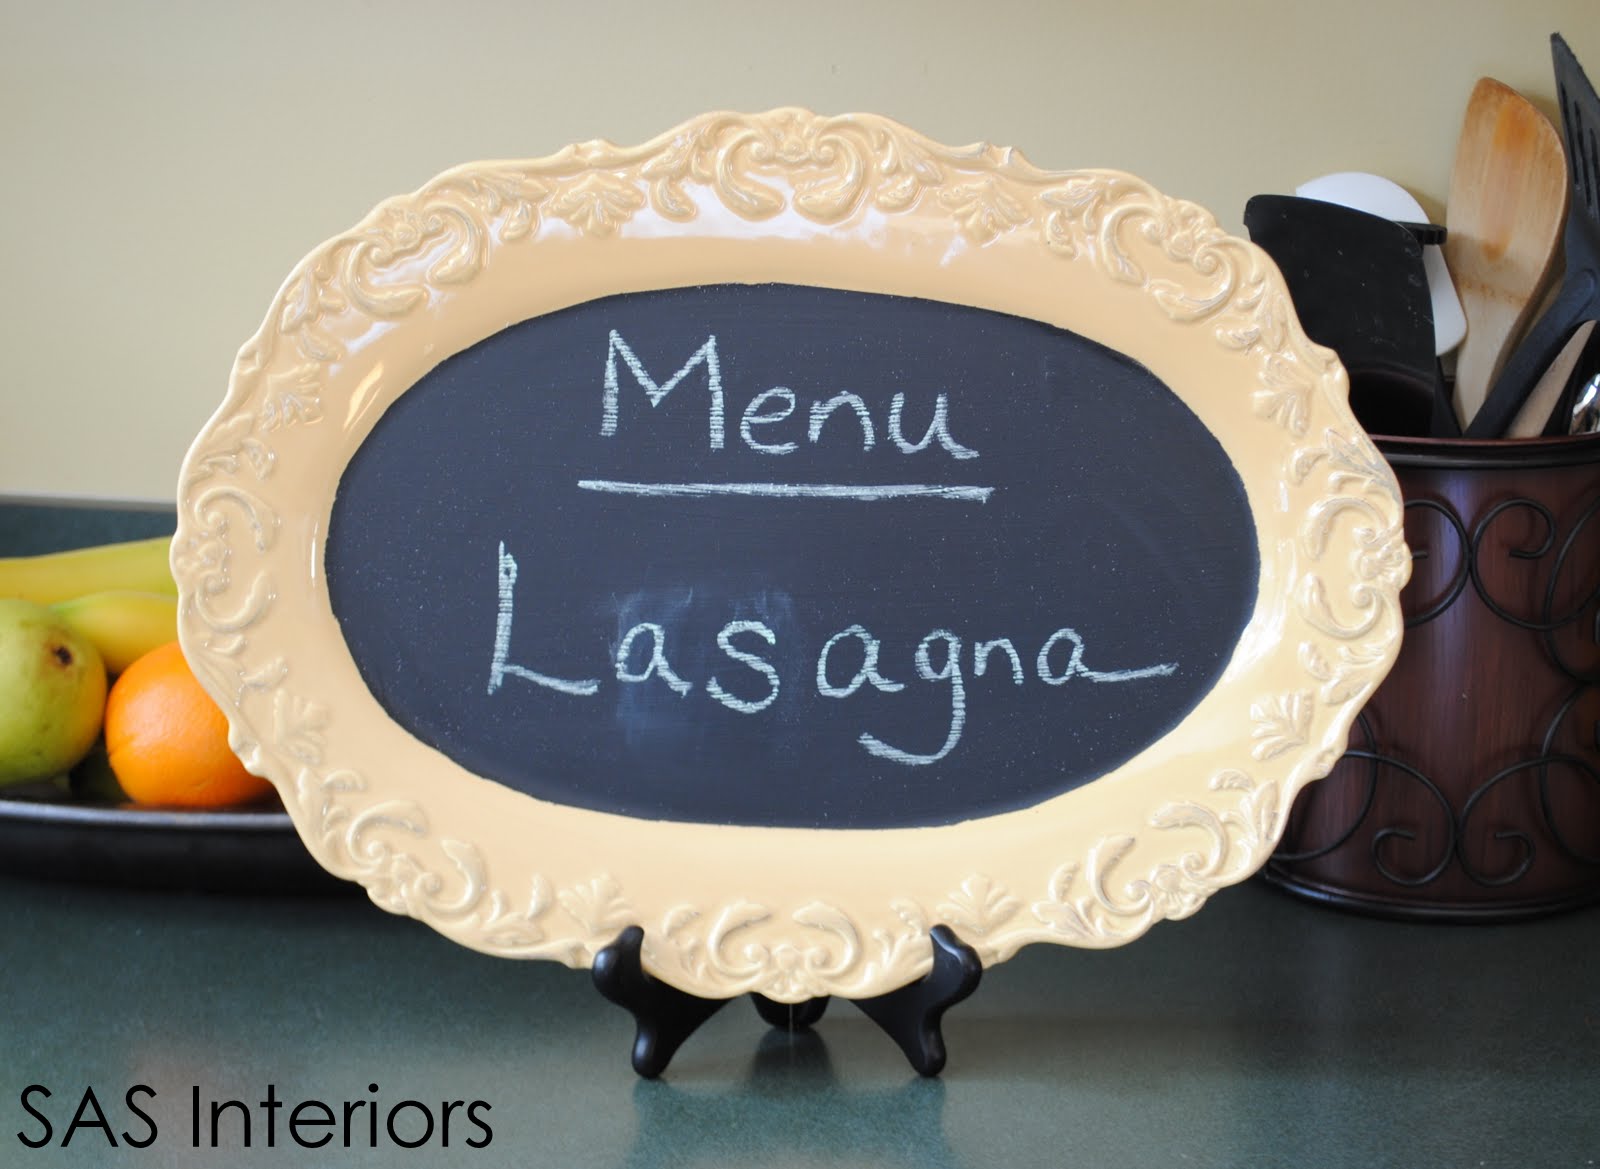
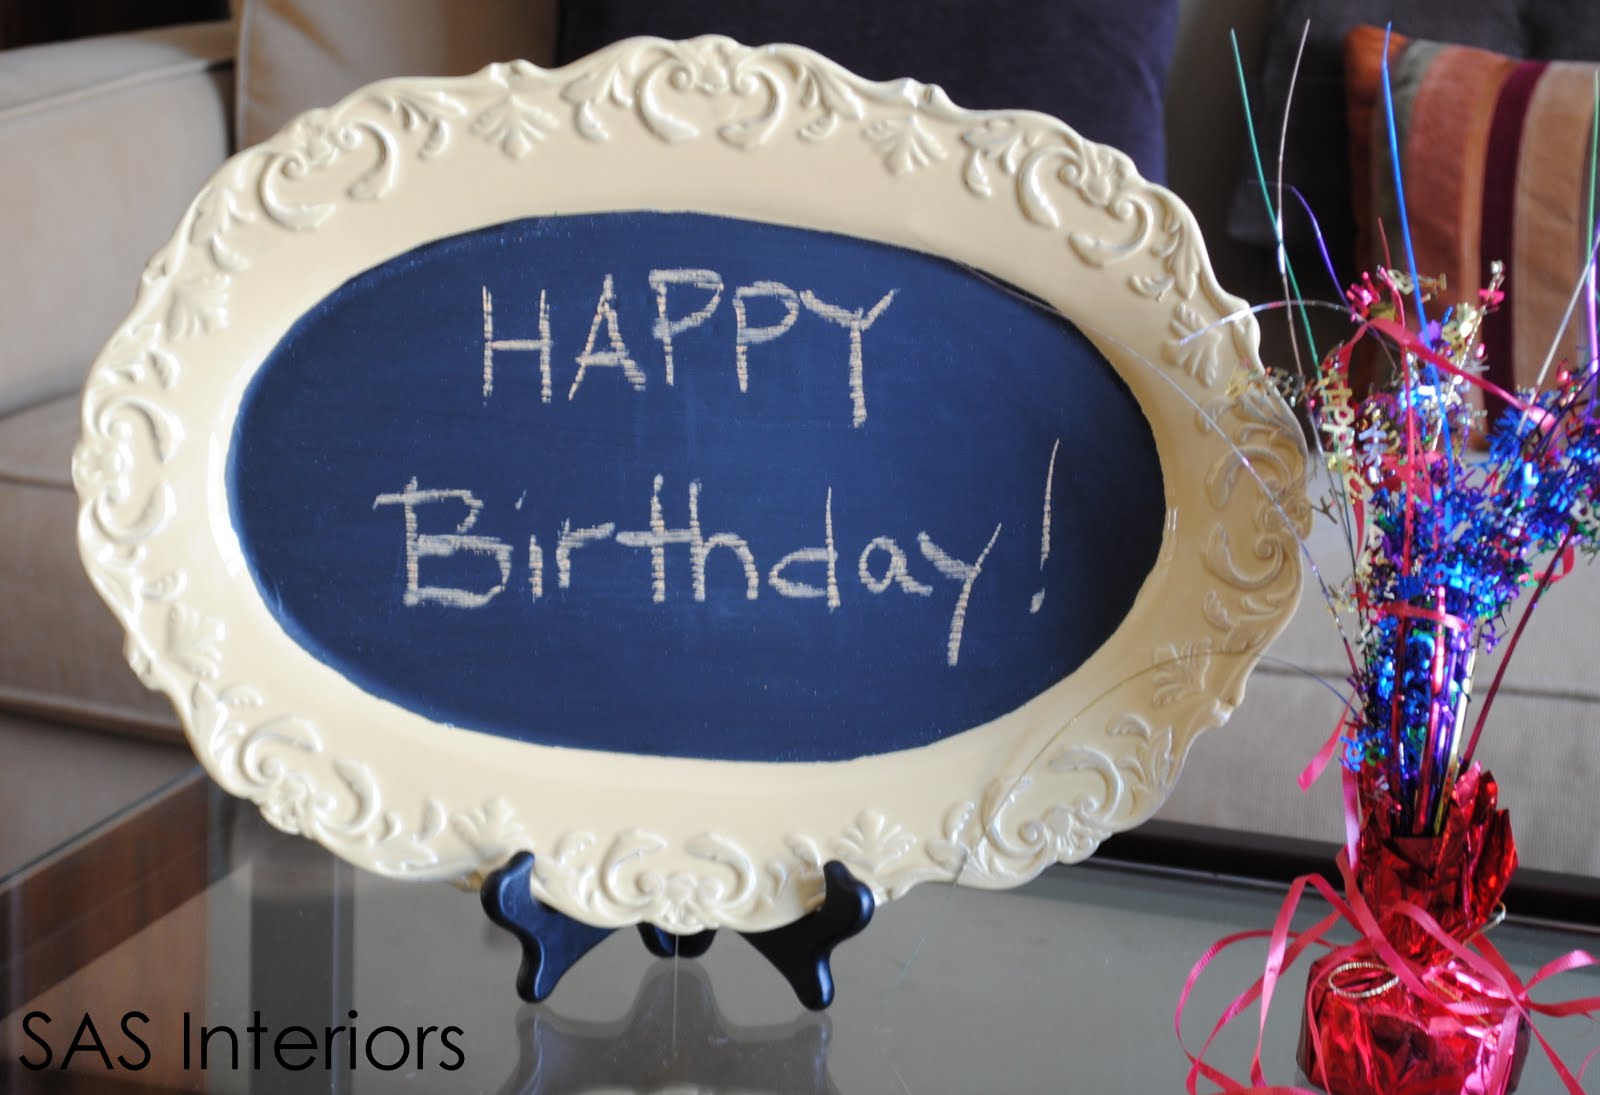
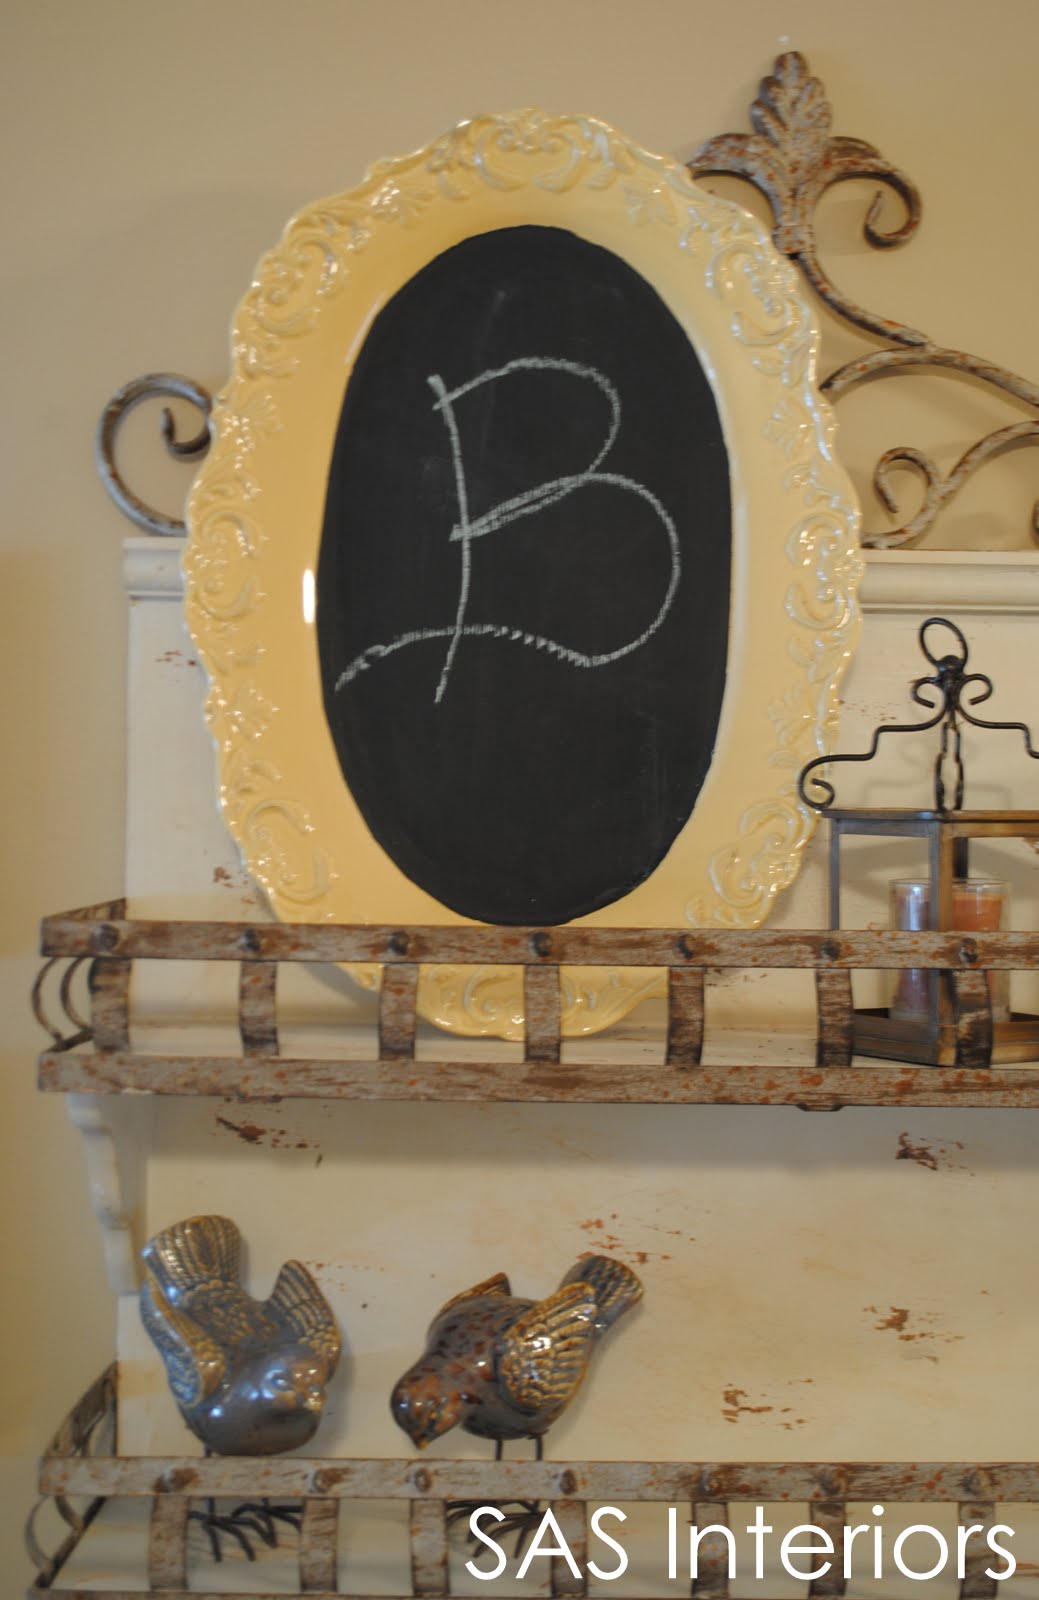
My new framed chalkboard medicine cabinet is COMPLETE! Now I have a stylish new medicine cabinet…

…to write my kids to-do’s for their morning/night routine
I’m so happy with how this turned out! I just LOVE chalkboard paint!! Have you ever used chalkboard paint on a project?

 In
In 
 Are you asking yourself what the clear “thing” is with the yellow on it (at the bottom of the pic)? That’s an adjustable triangle. It adjusts to the angle that you are working with. Most standard architectural triangles are on a 45 degree angle or a 30, 60, 90 degree angle, but this magical instrument lets YOU adjust the angle to whatever you need. It’s actually from my college days in Architecture school and even though I never thought I’d use this tool again, it REALLY came in handy for this project. SIDETRACK, let’s move on…