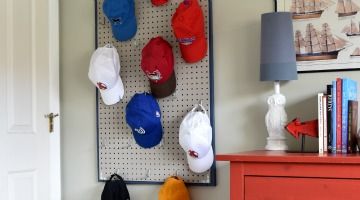
Pegboard Baseball Cap Organizer
99.98% of men + boys I know have an extensive collection of baseball caps. From teams they follow, to giveaways, to a gift shop purchase as a momento, baseball caps are a stable for most guys wardrobes.
So then the big question arises… Where do all those caps go? How does one organize the growing collection of baseball caps?
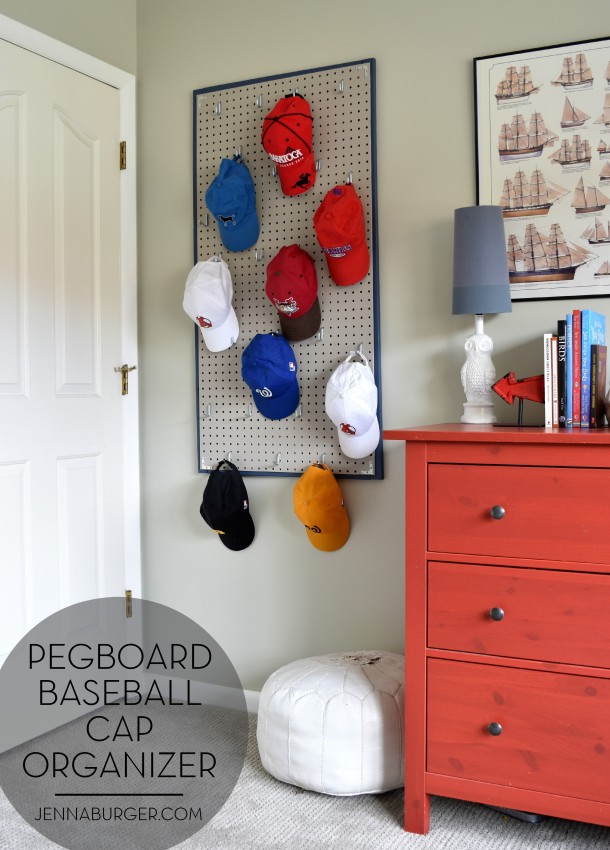
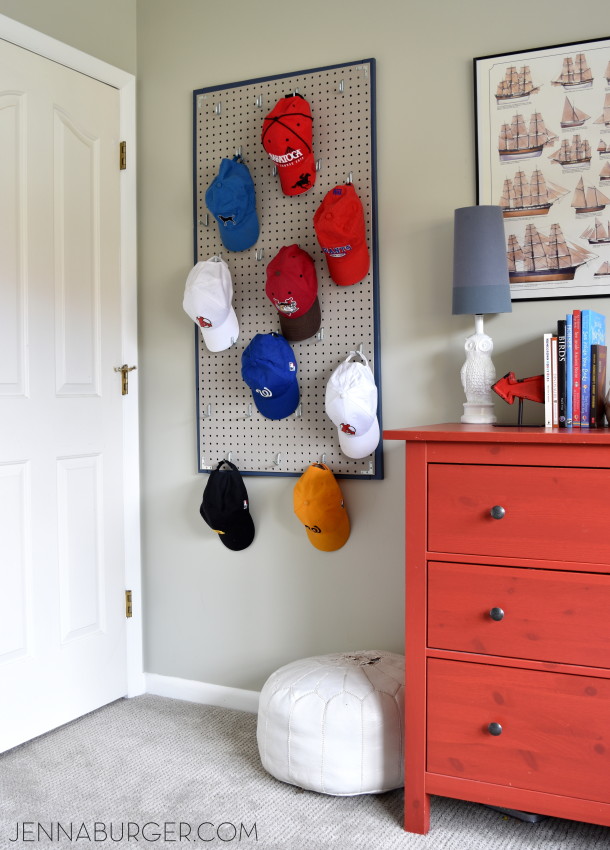
MY SOLUTION? A pegboard baseball cap organizer…
I made this a couple months ago and it’s been a life saver. Or should I say a hat saver, lol…
Honestly though, the collection of caps that my boy has acquired has gotten out of control and now they all finally have a happy home!
The best part of all, this organizer was easy to make.
MATERIALS
> (4) 1″ x 2″ x 4′ long wood pieces – cut to size
> 2′ x 4′ piece of pegboard (I purchased a 4′ x 4′ piece @ Lowe’s and they cut it to my desired size)
> “L†brackets
> Paint
1
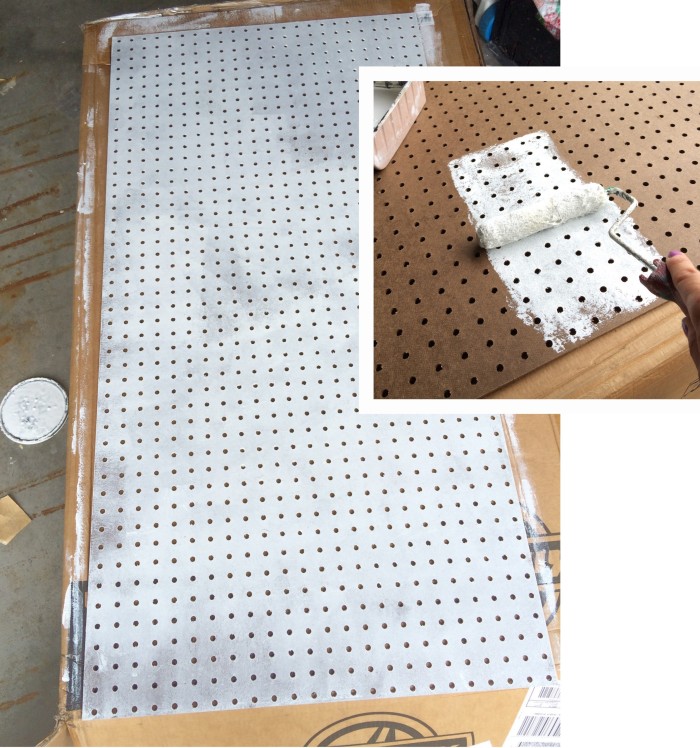
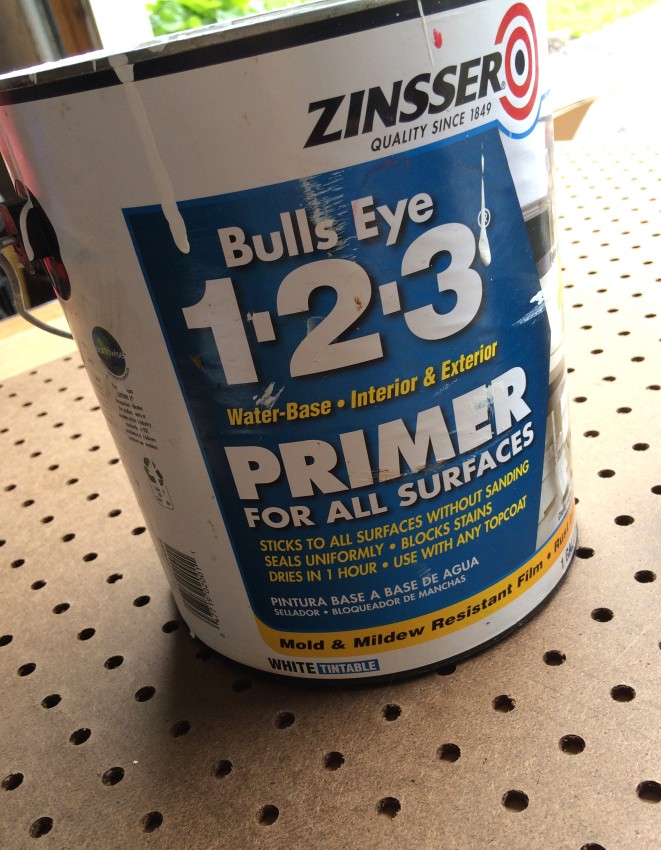
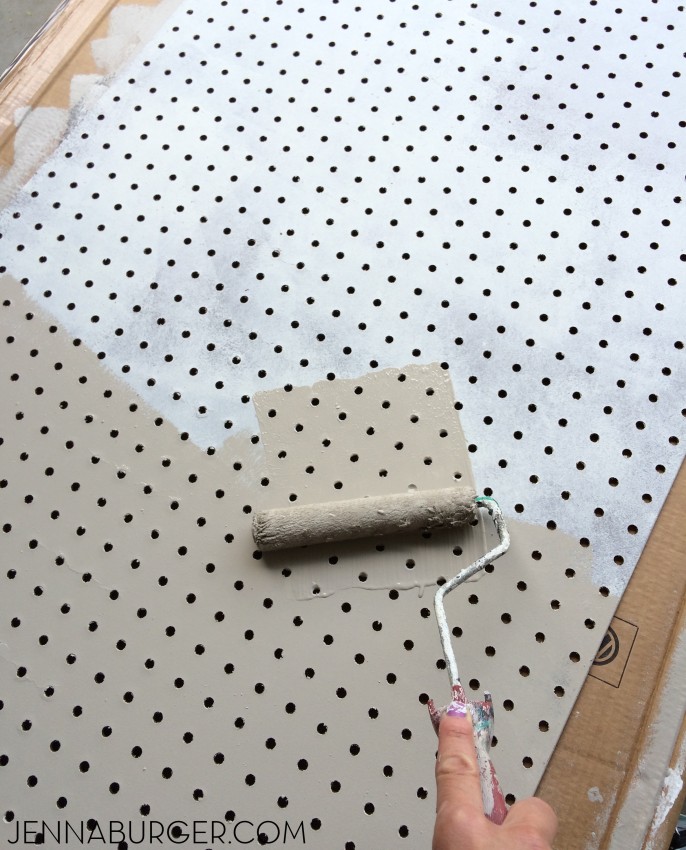
Some pegboard already comes primed or white, but my local Lowe’s only had the brown, unfinished version. Similar to painting walls or furniture, it’s important to use primer first. So first I gave the face of my pegboard a quick coat of Zinsser Primer.
2
Once it was primed, I painted the pegboard with 2 fresh coats of color with a roller – a taupe-y hue was created by mixing a few leftover colors together
For the frame, I layed the 2′ x 4′ pegboard on the wood strips allowing 1″ of exposed frame around, and marked them with a pencil.
Using a miter saw (my recommendation for a good one) I cut the wood pieces as needed. If you don’t have a miter saw or tool to cut the wood, Lowes will cut it to your desired length.
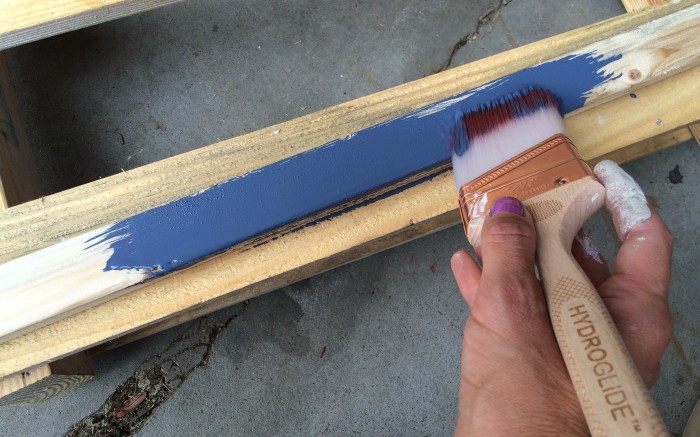
Then I painted the wood pieces using more leftover paint. Since this pegboard was slated for my sons room, I coordinated the blue hue with the color I used for painting his closet door
/ Color: Benjamin Moore Van Deusen Blue
4
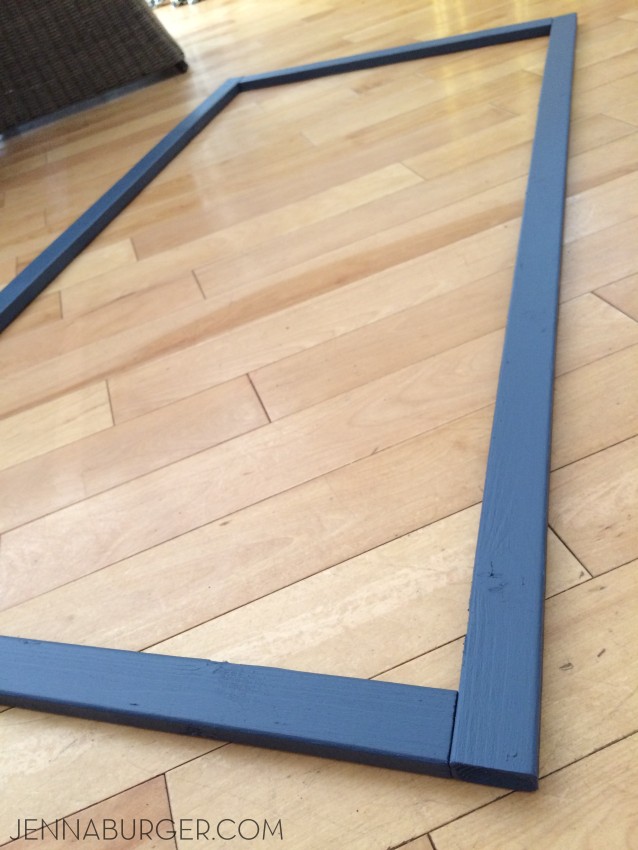
Once the wood pieces were painted + dried, I arranged them on the floor…
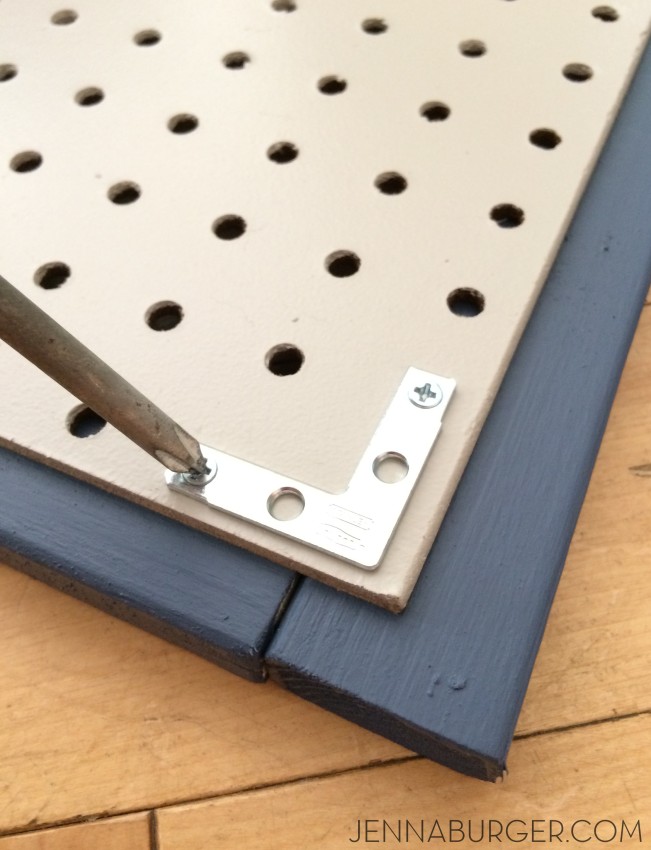
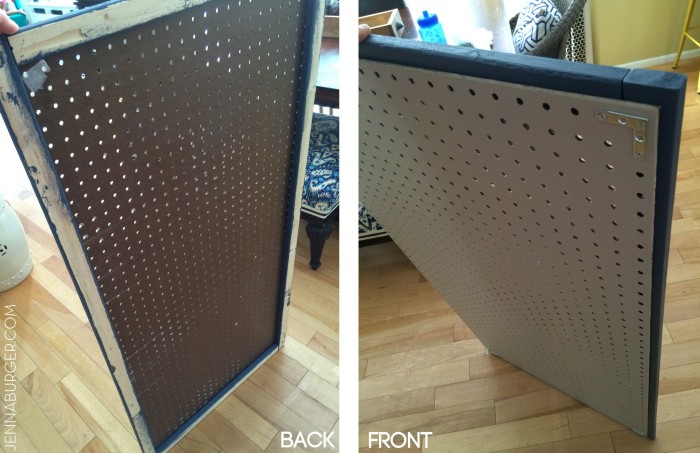
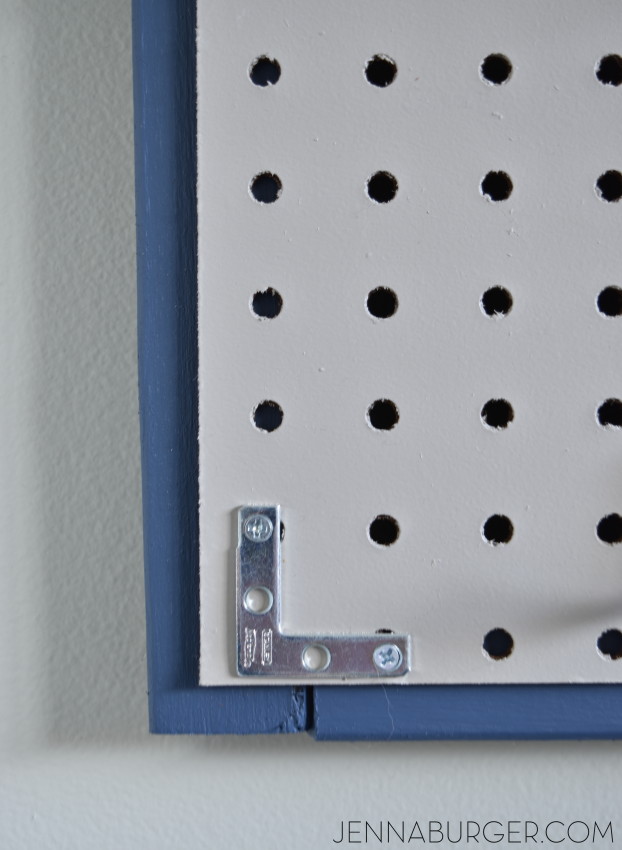
…and layed the pegboard on top. Then I aligned the 4 “L” brackets at the corners and fastened them through the pegboard and wood frame surround.
This is a view of the front and back when all 4 corners were complete.
5
I installed 2 screws + anchors into the wall and hung the framed pegboard.
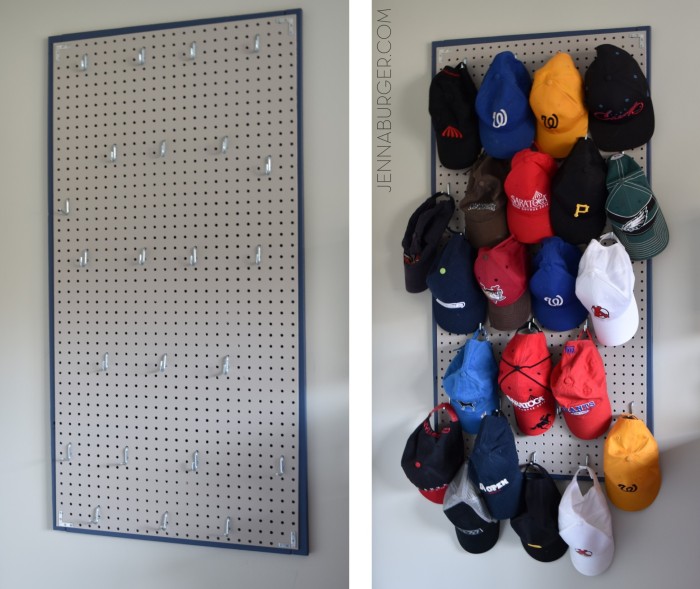
I quickly + excitedly added these curved hooks. I attempted to create a pattern to maximize the amount of hats that could hang, but it only kinda worked, so the hooks are hung part pattern / part random.
This 2′ x 4′ pegboard can hold a lot of hats. About 25 total. And it looks pretty!
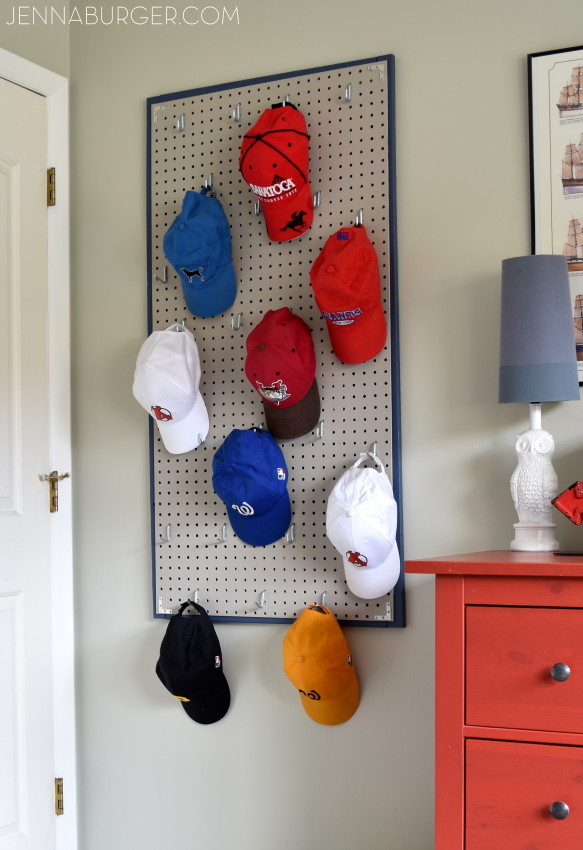
This is the finished pegboard baseball cap organizer.
It fits perfectly behind my little guys door…
A similar pegboard organizer would be perfect for a slew of other things like jewelry, crafts, pantry items, kitchen essentials, etc.
The potential is endless… Let the ideas start to flow!
His room is such an awesome space! If you want to see the entire room, click on over for a full tour.
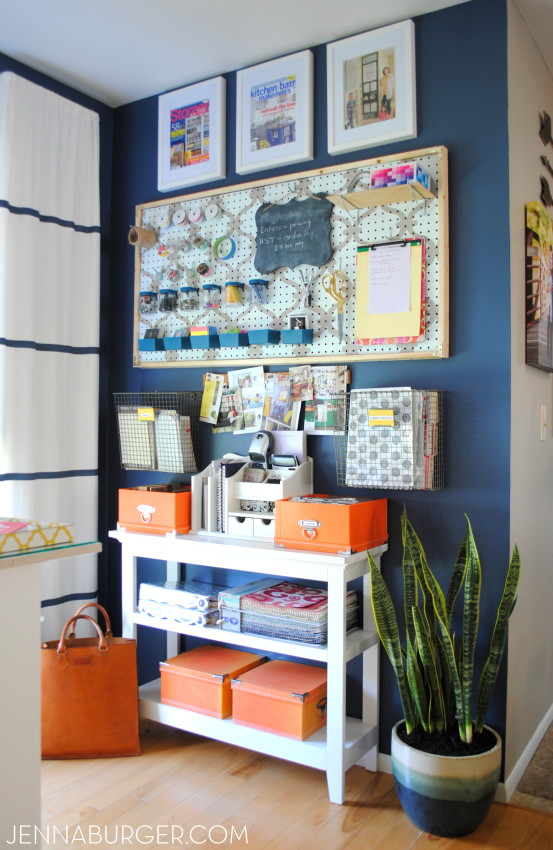
Since creating a similar pegboard project for my office, I’ve been hooked on this amazing element to organize with. To “house” all of my office supplies, I also made a frame, but used a different technique + I stenciled a pretty design on the front.
Take a look > an organized office using pegboard
I’m on to my next organizational project using pegboard. I can’t get enough!!
Comments are closed.