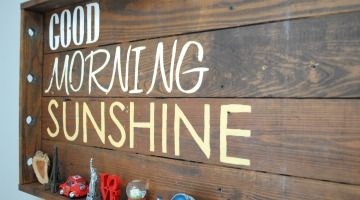
DIY Hand Painted Wood Sign (using chalk transfer) #LOVEYOURHOMECHALLENGE
Hi there! Today is a very exciting day. Not only am I going to share an awesome, easy-peasy DIY project + tutorial, but I also have news about an incredible + talented person you might happen to know.
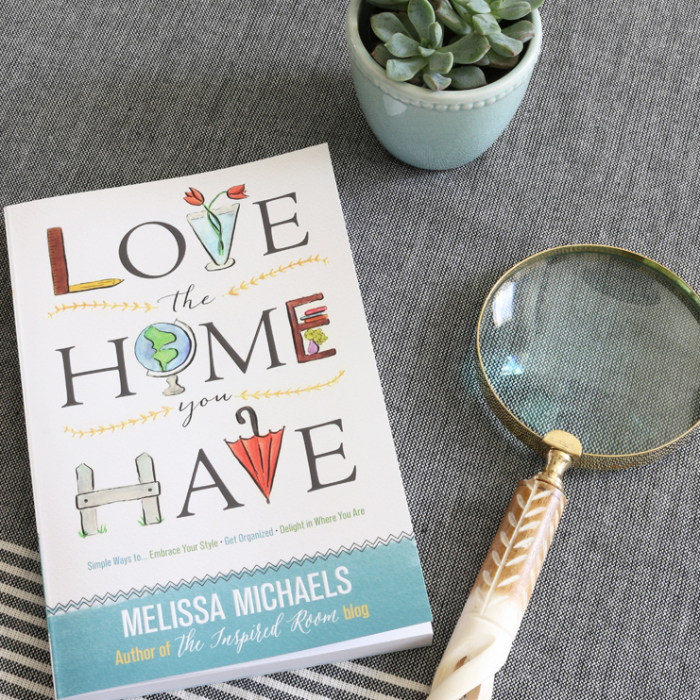
First to the latter… my sweet + uber-talented friend Melissa of The Inspired Room wrote a book which is being released today called Love the Home You Have (< affiliate link).
It is the first of many that she’s got lined up and it’s less about decorating and more about falling in love with your home & what you have now… today. Some of the topics include: taking care of your home, finding beautiful in the simple things, finding balance between beauty and mess, using what you have to decorate, arranging furniture, decorating with things that mean something to you, finding contentment, and so much more.
If you recall back to last years Creating a Meaningful Home blog series: Year 2, Melissa started off the series with a bang and shared her poetic + inspirational words. There is not a person more deserving to share thoughts of such meaning and beauty.
To kick off the launch of her first book, Melissa has put me to a challenge along with a bunch of other Blogger friends and has asked us to showcase a project using the 31-day LOVE YOUR HOME CHALLENGE section in the back of her book. So fun!
Similar to Melissa, I feel that our belongings should honor and reflect who we are, where we are from, and what we love. A house is the shell, but it’s what we create in the shell that makes it a home. For my home and the homes that I work on with clients, I always strive to create something that is a reflection of who resides there.
As I am slowly making progress on my living room makeover, I want to adorn the walls with not only prints that I love & have special meaning, but also DIY art that I create. When this ‘challenge’ came up, I knew it would be the perfect time + opportunity to share with you a recent creation…
The previous owners that resided in our home, had a pool table in the basement. While making some changes to create a basement that works + functions for us, I came across a cue stick holder that was tucked away in a closet. Aside from a few cobwebs in the corners & screws hanging out, it looked like something I could totally make into something else. An upcycling project was calling my name! I left it in it’s place, but never forgot about it. DIY ideas flurried through my head over the months and then I had an ah-ha moment while creating the new room. It would be perfect for a big ole’ sign & with the 3″ lip, when hung it would create a ‘ledge’… almost like a knick-knack / chachka shelf to display collectibles from trips… we always grab a little something from places we visit to remember our experience – something cute to continue ‘our story’.
I thought and thought about the perfect quote to create on the cue stick holder-turned-DIY art and then Good Morning SUNSHINE came to mind!
Every morning when the kids wake, I always say “Good Morning Sunshine” in this over-the-top, probably annoying-to-them voice. But it’s just what I do and it’s become a ritual. I just feel like it’s a great, cheery way to start the day.
how to make a HAND PAINTED SIGN USING CHALK
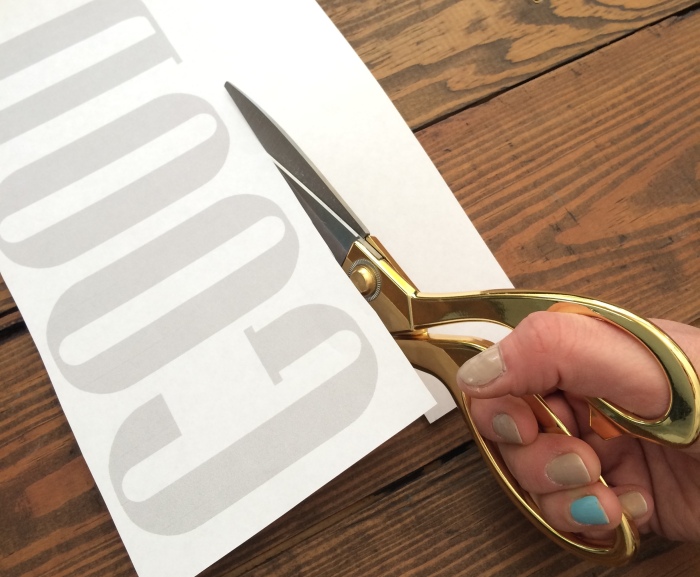
1. To start, I used a new Word doc and created the words to a size I desired (about 4.5″ high), then printed them (I used gray scale on a fast printing setting so I didn’t waste too much ink)
These are the fonts I used:
> GOOD – Pottery Barn font
> MORNING – Honey Script font
> SUNSHINE – Century Gothic font
Once printed the words, I cut around the edges…
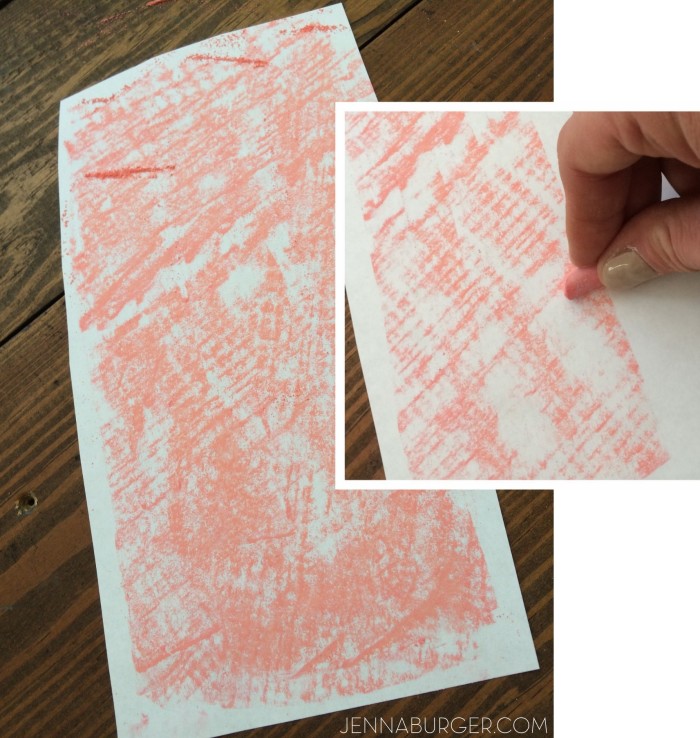
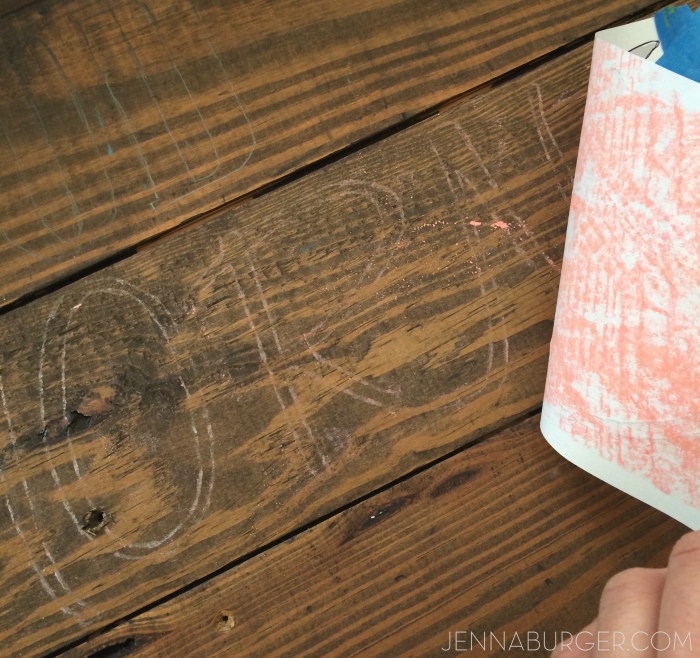
2. Before placing the paper on the wood, I flipped it over to the back and rolled on the chalk from edge to edge so the letters on the other side would be covered. A colored chalk, like red, works best!
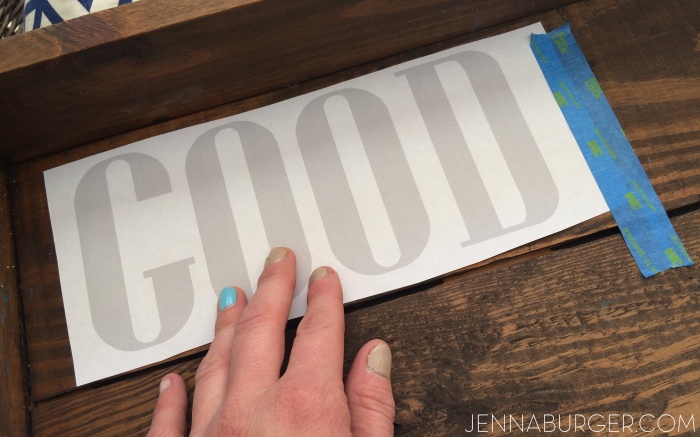
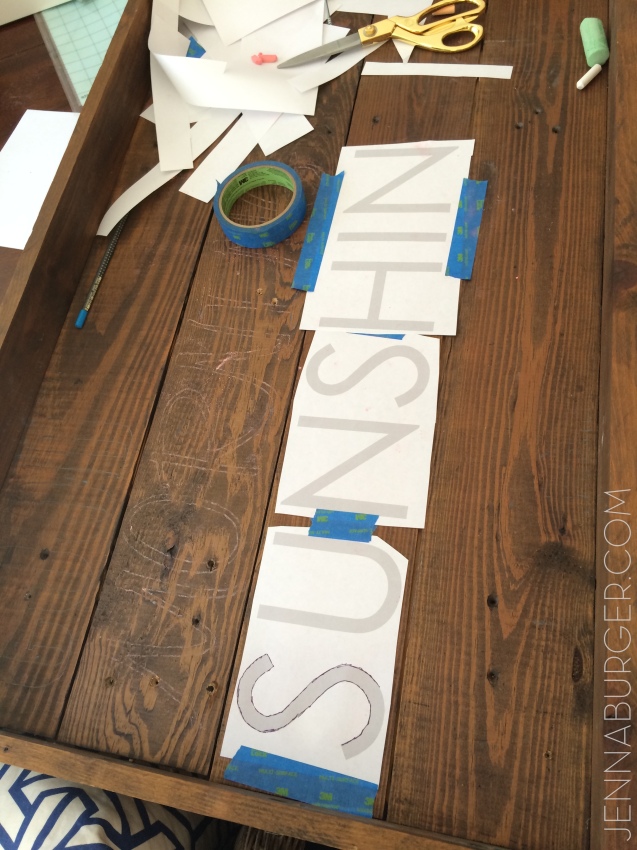
3. Then I positioned the paper on the wood and taped down the edges so it stayed in place.
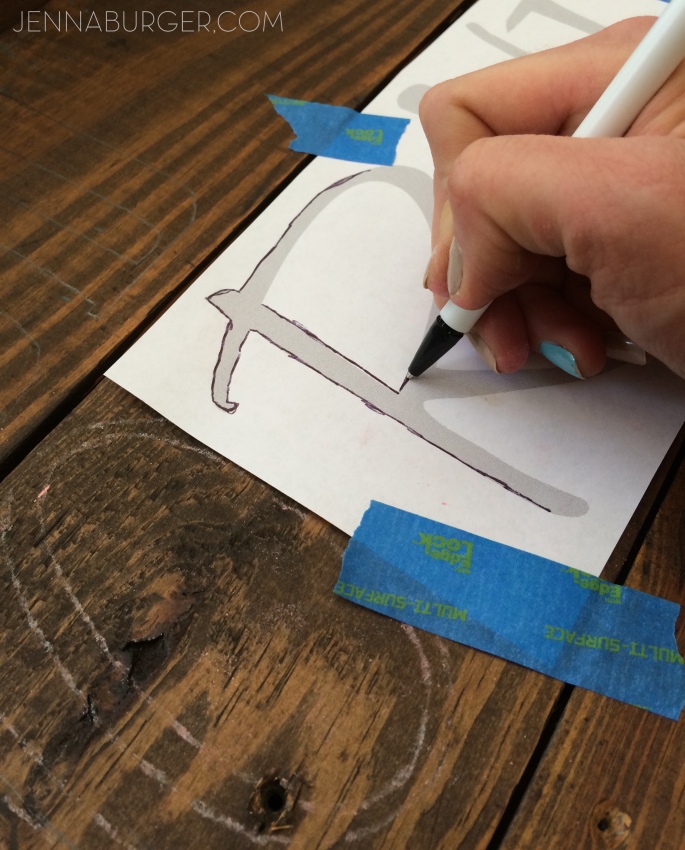
3. Using a pen (I found it was better than a pencil because of the hard tip), I traced over the letters.
And voila, when you lift the paper, the outline of the letter (or design) can be seen…
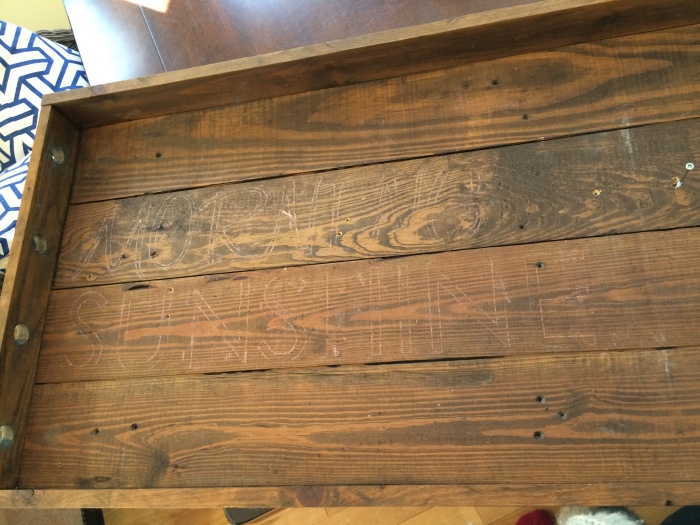
Here’s the overall design embossed on the wood…
After that, it was time to paint.
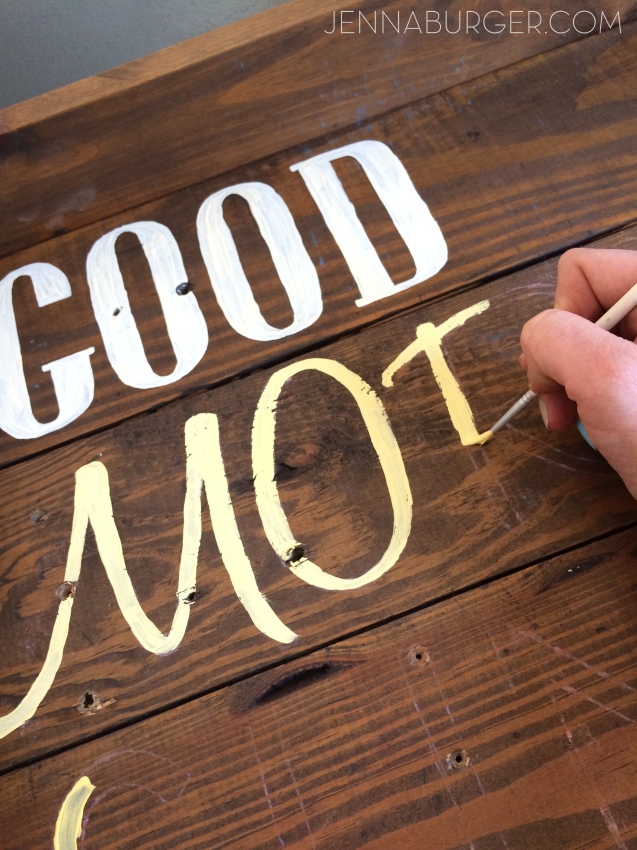
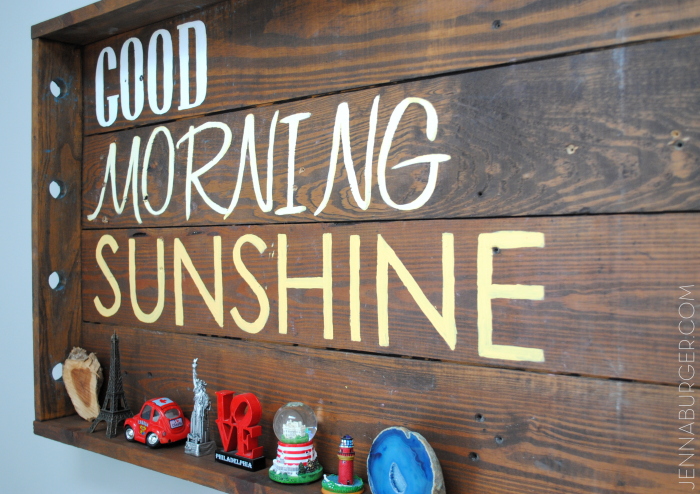
Because each word was a different font, I didn’t want to go crazy with different colors as well, but at the same time I didn’t want all one color, so I chose to create an ombre effect with the words starting with a very pale yellow for GOOD, then a light yellow hue for MORNING, followed by a vibrant yellow for SUNSHINE.
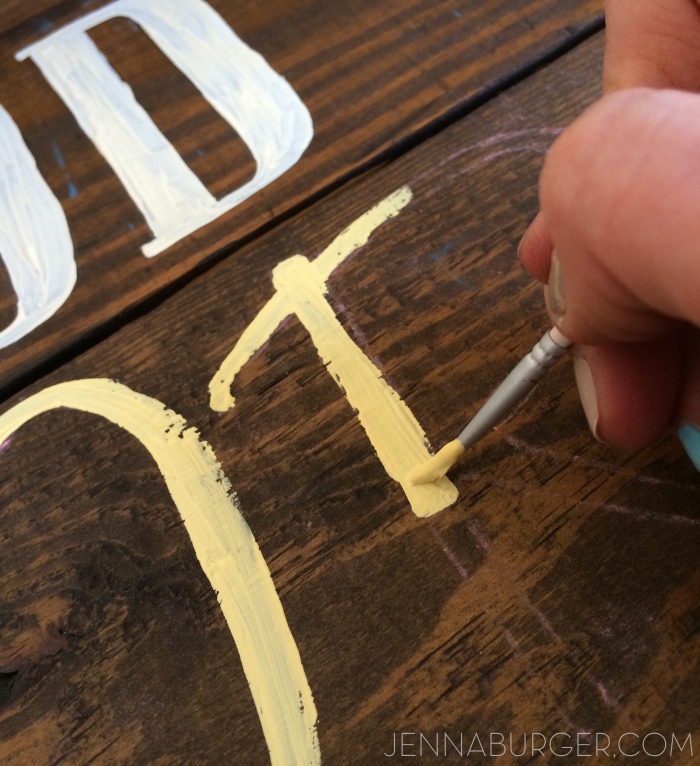
I used basic, inexpensive craft paint – wall paint or anything similar would also do just fine – along with a thin brush to be sure to stay within the lines (as much as possible).
Perfectly in the lines wasn’t important… Imperfect actually is perfect!
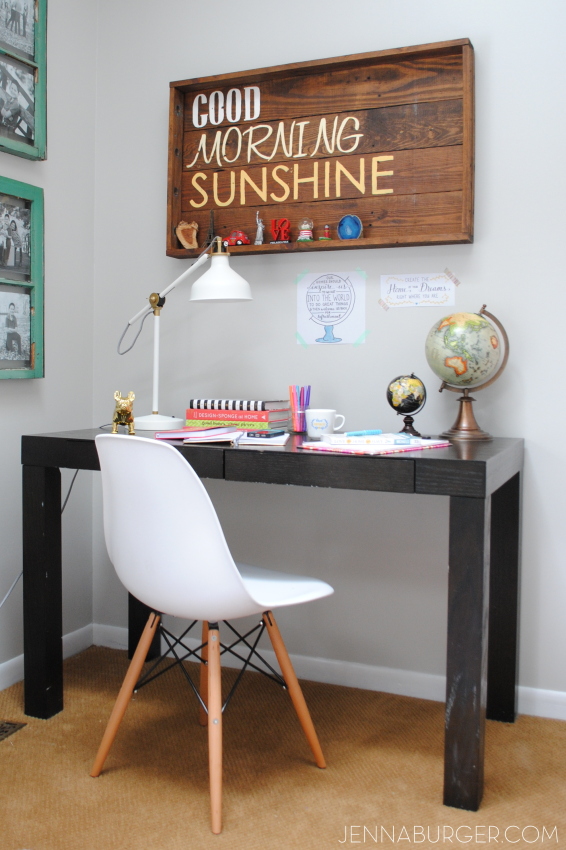
From start to finish, the overall project took about 2 hours to create. This is who it looks done & hung on the wall…
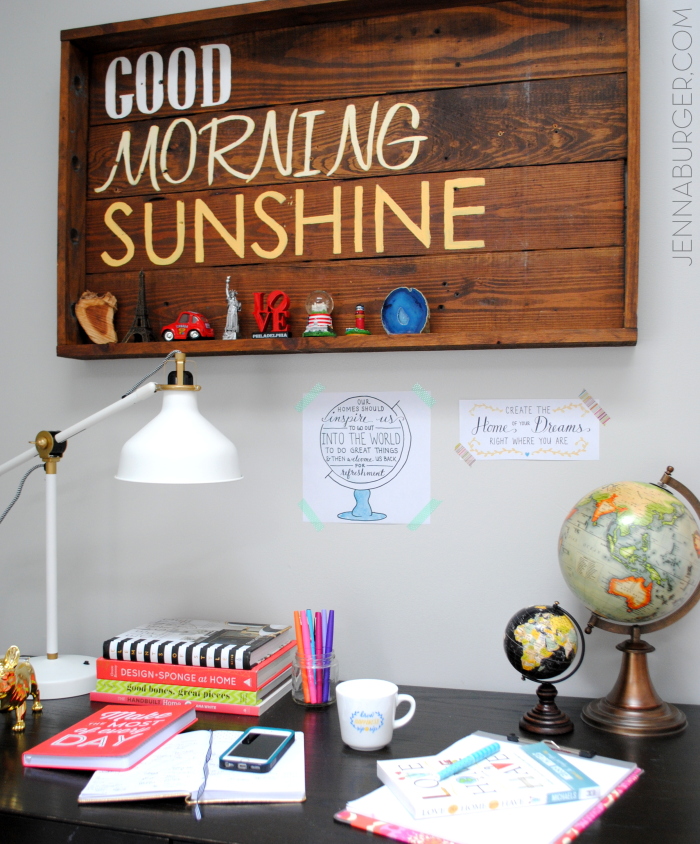
Keepsakes from our travels sit on the ledge of this once cue stick holder, now hand painted sign.
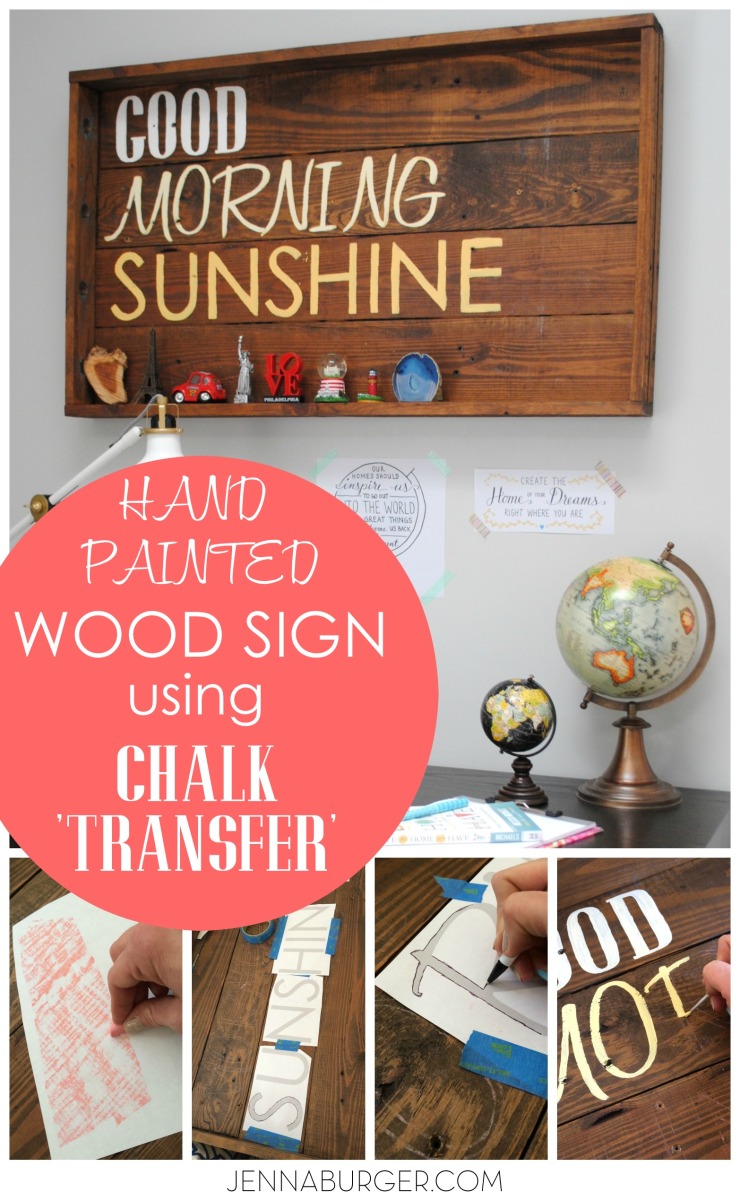 I love how it came out and it truly makes my day a bit sunnier, right SUNSHINE?!
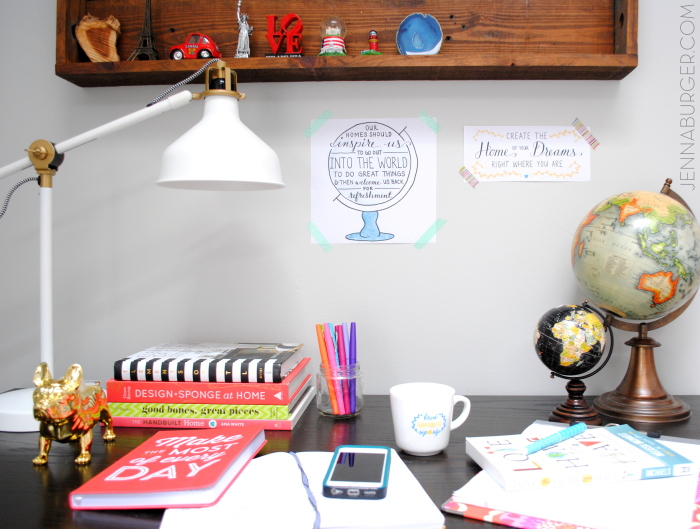
Along with the cute wood sign on this wall, I also added a few of Melissa’s illustrated quotes from her new book + website, and hung them with colorful washi tape.
If you’re interested in seeing what other Bloggers created for the #LOVEYOURHOMEchallenge, here is everyone that is included and if you head over to visit Melissa there will be links to all the projects.
 If you’re interested in joining in on the fun too, Melissa would love to have you share your own Home Love challenges on her new community site Home Love Stories. If you’d lik, use the hashtag #LoveYourHomeChallenge to follow along and/or share your story.
The new revamped living room is really coming together – finally – and I can’t wait to share the reveal with you very soon!

Comments are closed.