


Dip Dyed Easter Eggs using Food Coloring
I am blown away by how many of you have read + pinned my Easter Egg post that I recently shared. Over 100,000 so far and it’s only been a week & a half. Since y’all loved my alternative idea for dying eggs, I have another fun + inexpensive + super easy way to create Easter Eggs that will give you a vibrant + unique result!

I was inspired to create these dip-dyed eggs when flipping through the pages of the recent All You magazine that I picked up while shopping at Target.
The magazine has so many creative ideas for Easter egg dying that there will be no reason to ever buy a box again…
 Use this $1 off coupon (while supplies last) to snag your own All You magazine on newsstands now!
Can I just say, the gold decorated eggs are killer. I didn’t have a chance to get to the store to buy gold leafing (which I will be doing soon though), so instead used what I had on-hand and chose to try the dip-dyed decorating idea. Food Coloring… most everyone has that in the cabinets and eggs are a staple in our house.
Supplies Needed:
- Hard-boiled eggs
- Boiling Water
- Vinegar
- Food Coloring
- Paper Towels
- Tongs or a Slotted Spoon

To start off…
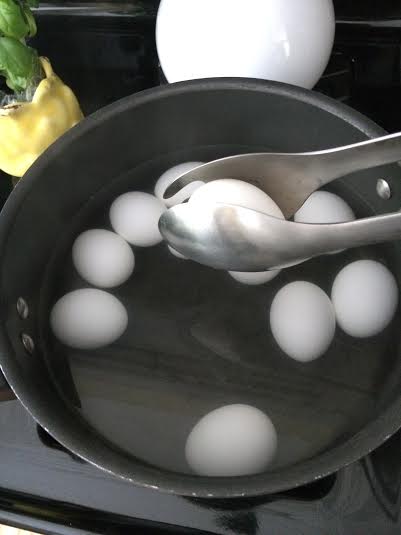
1. Put the eggs in a pot and fill the pot with cold water so it covers the eggs about 1-2″.
2. Once the eggs come to a full boil, remove the pot from the stove and cover for 12 minutes (so they create a hard-boiled egg).

3. Carefully remove the eggs from the pot and let them stand for about 1-2 minutes (the eggs will be very hot, so be sure to use tongs when removing them from the pot).
4. Once cooled, it’s time to make the magic dying formula…
For each color, you’ll need this mixture:
- 1/2 cup of boiling water
- 1 tsp vinegar
- 25 drops of food coloring
and mix together.

Now here comes the fun part…
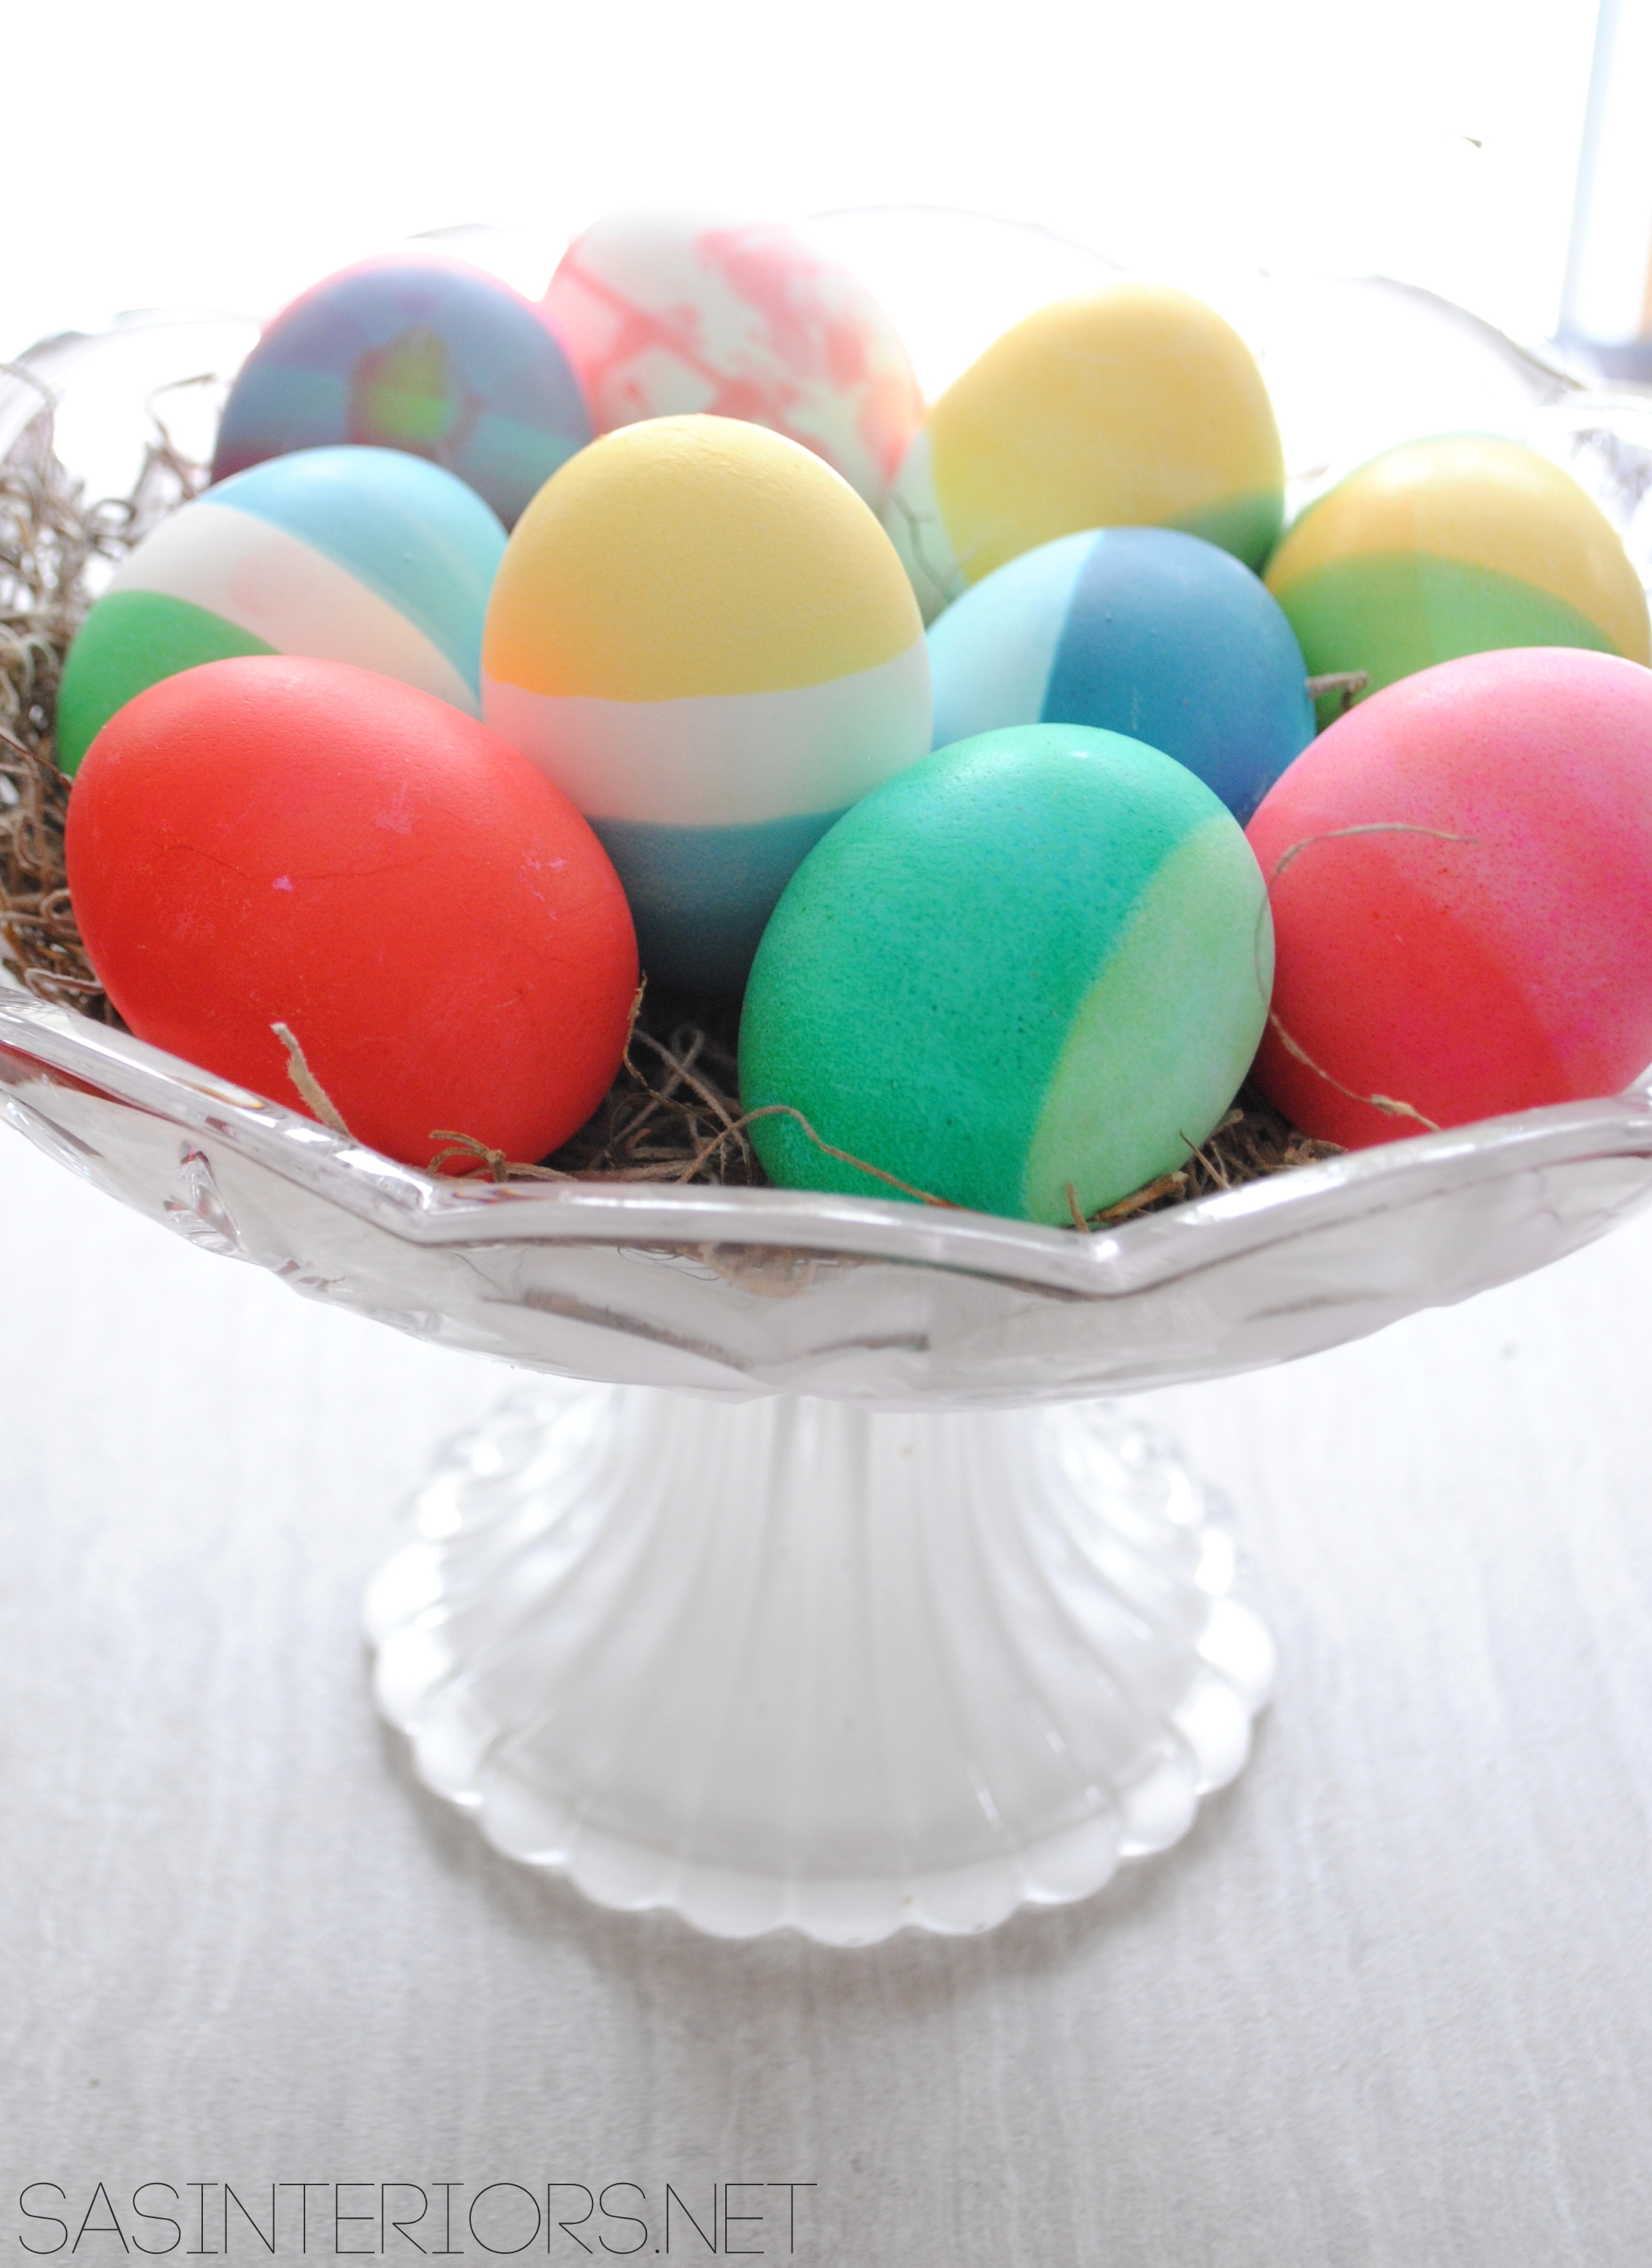
Egg 1
For the first egg, I chose to use 2 different colors (blue & yellow) and dip 1/3 of each side into the colorful mix.
1. Dip 1/3 of the egg into color 1 (blue)
2. About 60 seconds later (longer to achieve a darker color), remove the egg from the dye. Let it air dry for a few minutes, then pat it with a paper towel.
3. Flip it around and dip 1/3 of the other side into color 2 (yellow). 60 seconds later, take it out, and you’re done!
 The result…

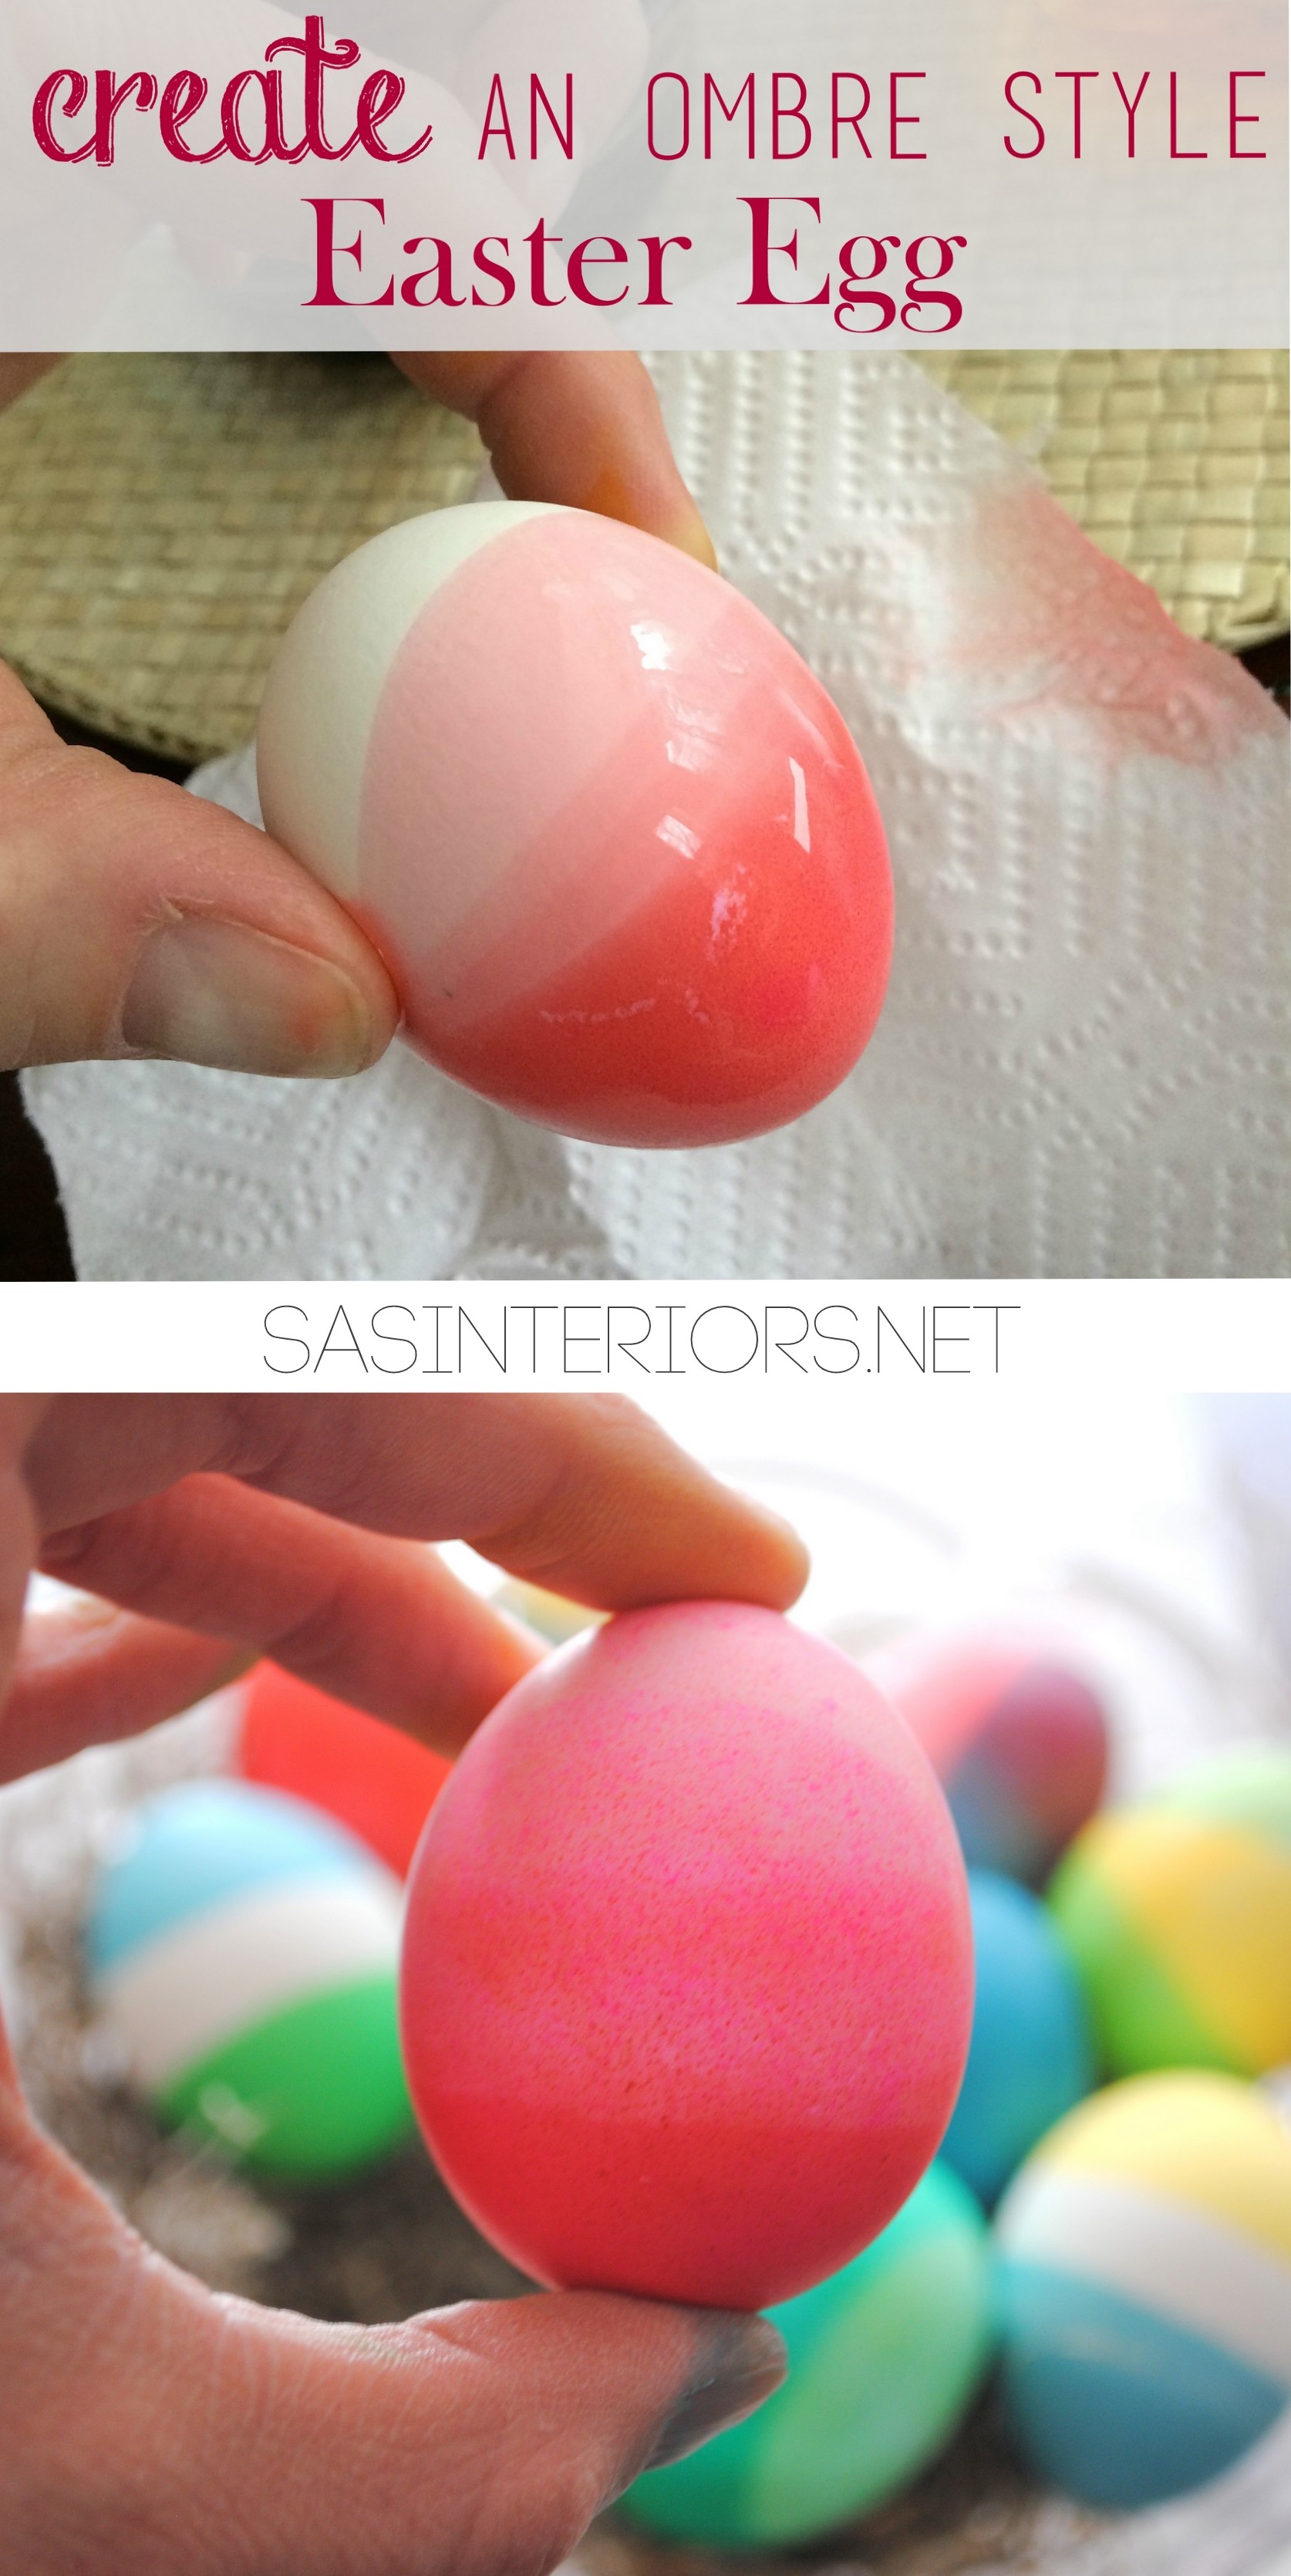
Egg 2
For the second egg, I created an ombre style (color fading from light to dark) egg.
1. Dip the entire egg into a color (red) and immediately remove. Pat with a paper towel.
2. With your fingers or tongs, hold 3/4 of the egg into the dye for about 30 seconds, then lift out slightly so 1/2 the egg is in the dye. Hold in place for 60 seconds.
3. To finish the ombre look, hold 1/4 of the egg in the color for a few more minutes to get the darkest hue.
Egg 3
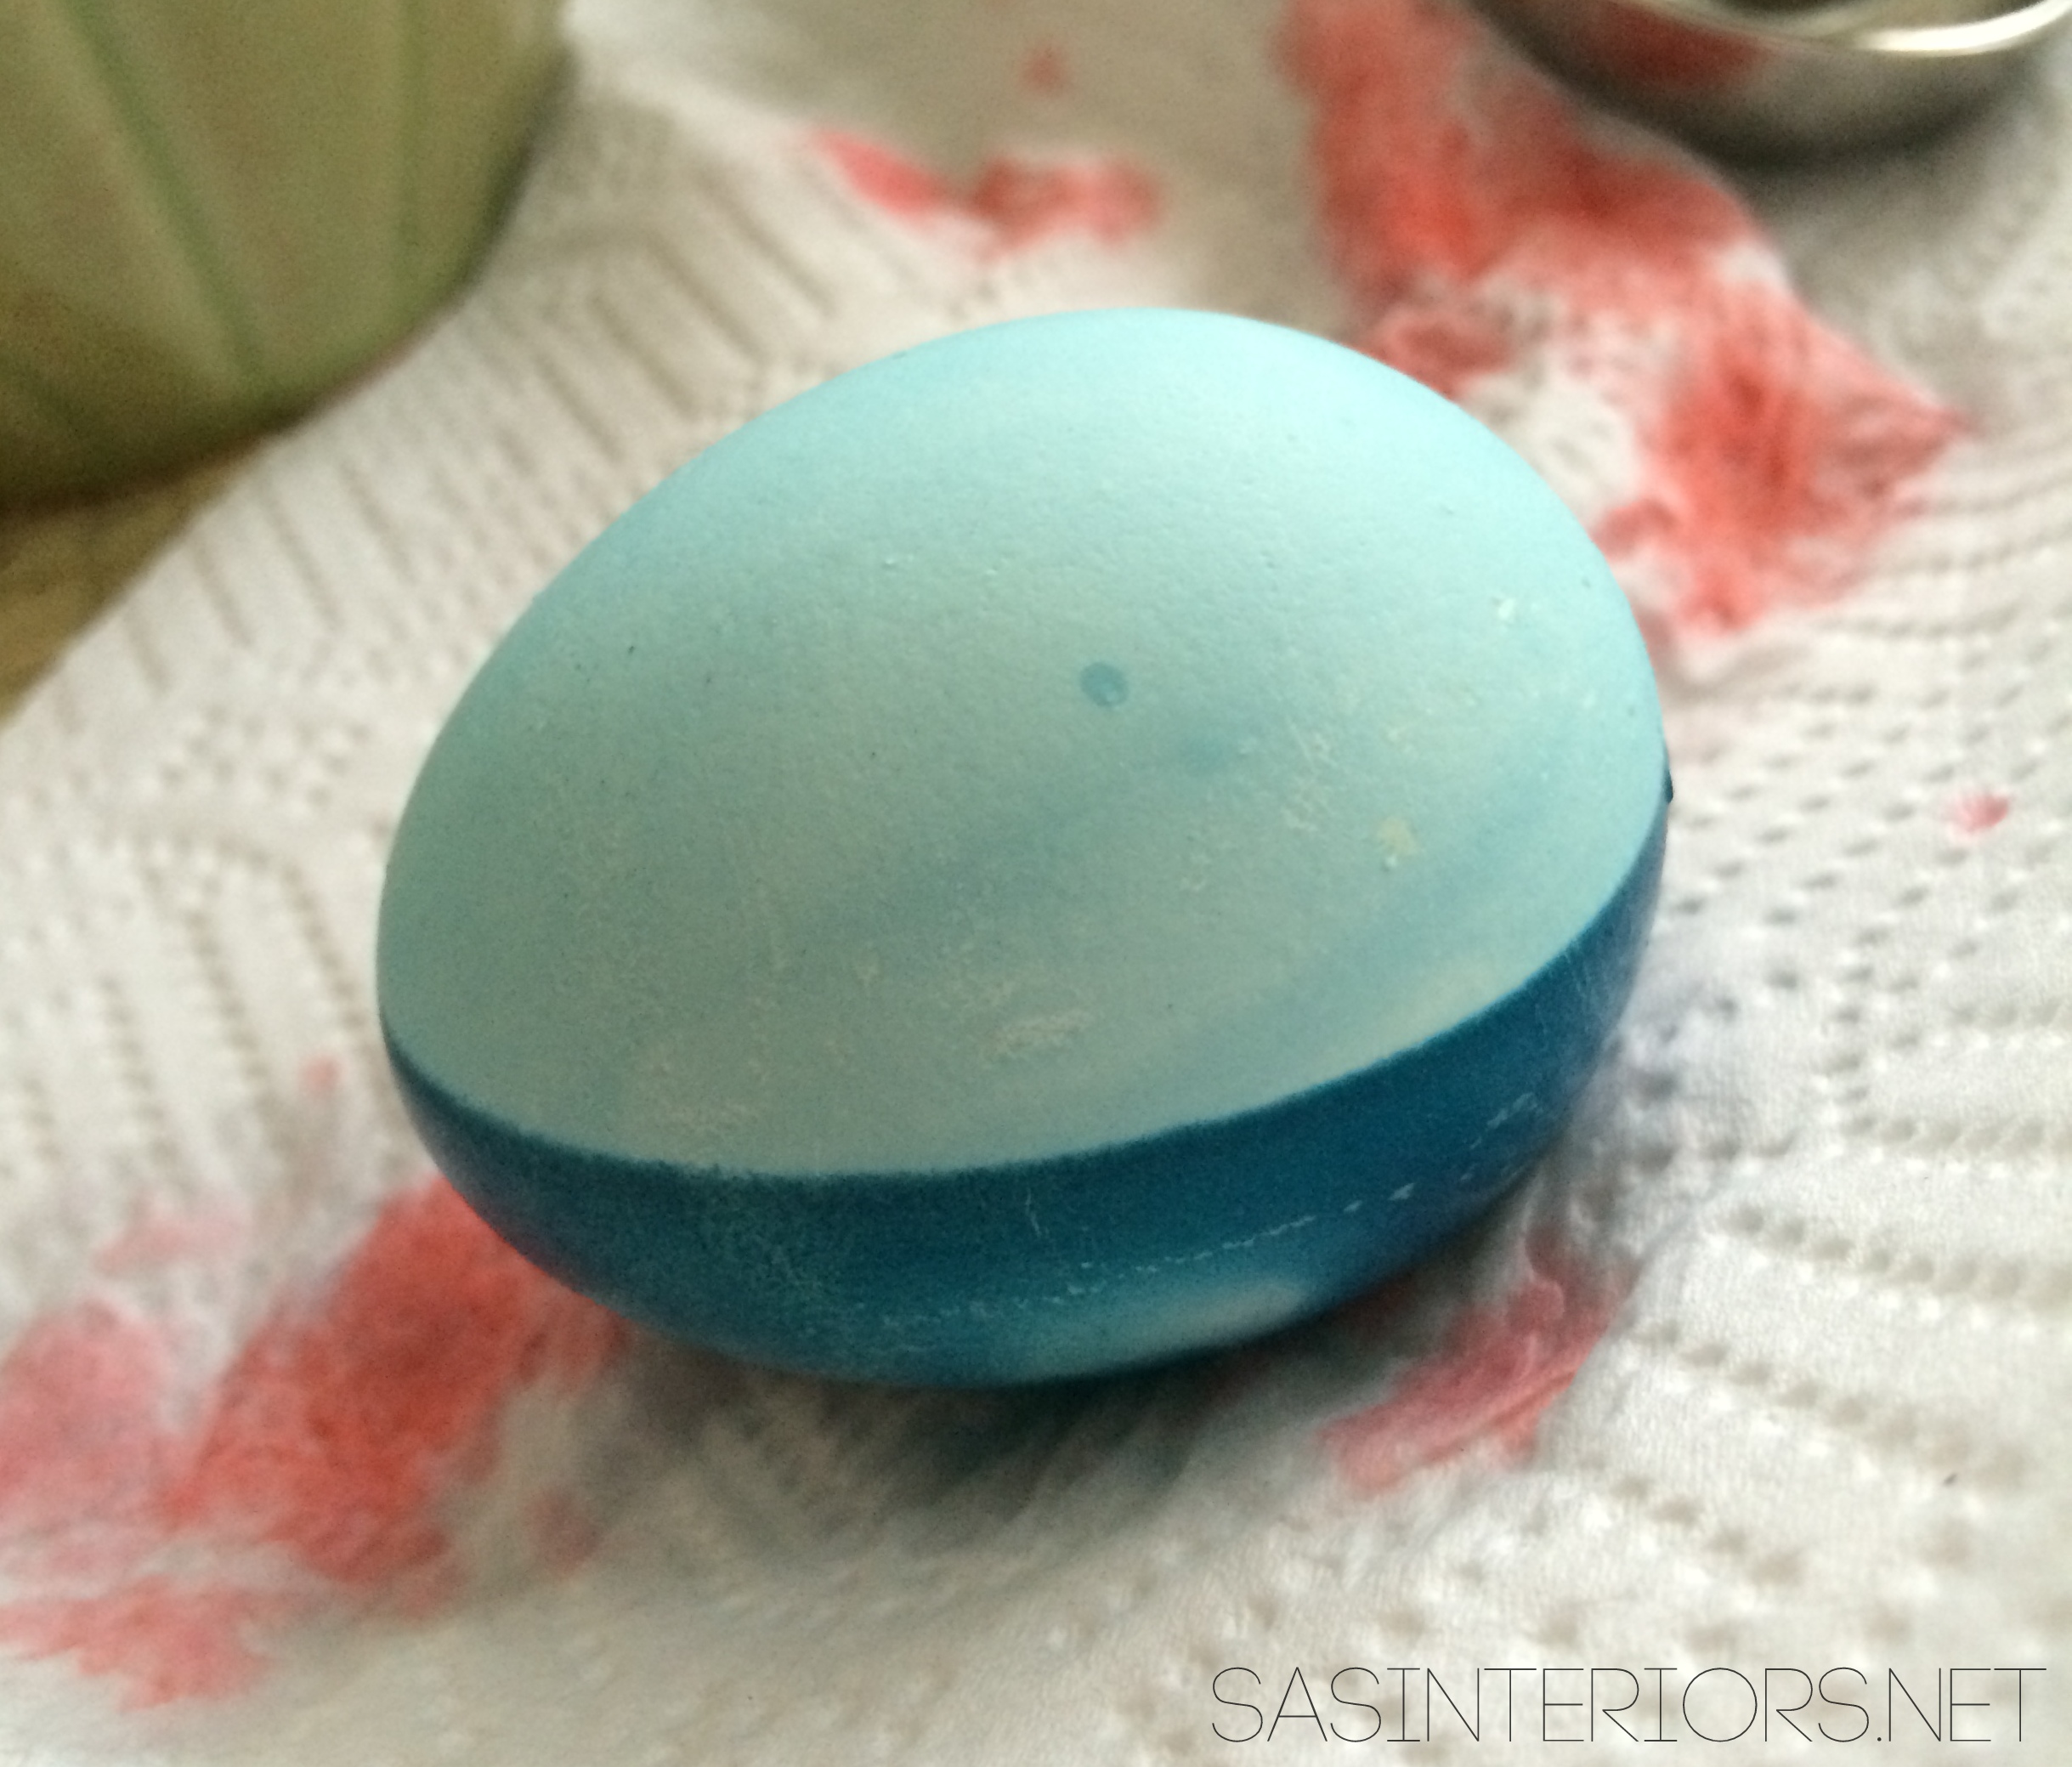
To achieve a bold, deep color, I suggest using a few more drops of food coloring and leaving the egg in the dye for a few minutes. I’ve tried this when using a box, and it never worked, but with the food coloring, I was able to get a really dark hue. Take a look at these two…
- This two-toned blue egg was created with a quick dip for one side, while the other was left in for about 5-7 minutes.
- This intense red egg was completely submerged in the food coloring dye for about 5-7 minutes.

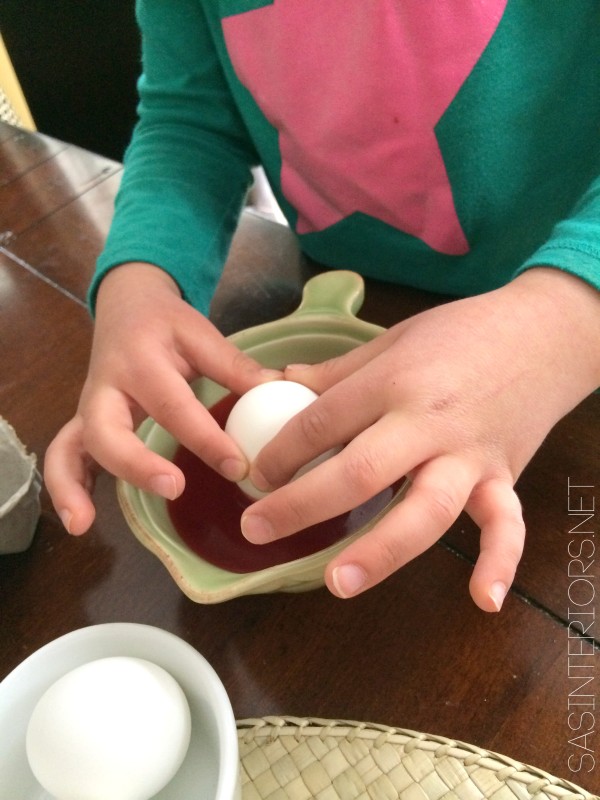
My little lady got involved in the process too… It was fun. Not every egg turned out perfect, but that is the joy of it, right?!
I think our Easter eggs came out pretty good…
It was fun to mix colors, which then created new colors. Some even created a plaid pattern.

They are so colorful and so much more vivacious than the results from a typical box you can buy.
Want to save this project and/or pin it for later use? Here’s a quick graphic to remember the steps…

Enjoy and Happy Easter Egg Decorating!
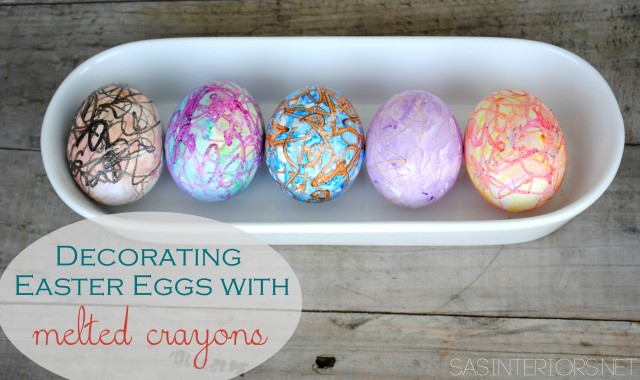
Want another great idea for egg decorating? Try my melted crayon idea…

Comments are closed.