


Powder Room Remodel: Repairing Wall and Hanging Wallpaper
Between baseball, a birthday party, and celebrating Mother’s Day (shout out to all the moms out there – hope you had a great day), there was very little time to actually get anything major accomplished on the DIY homefront this weekend. BUT, somehow with 5 minutes here and 10 minutes there, I was able to squeeze in a few trips to Lowe’s (for supplies) and a few moments to hang wallpaper. And thankfully with those spare moments, I actually got alot done and I feel like I’m making progress – even though it’s slow.

Since announcing the plans for the powder room and sharing details on the removal of the toilet and pedestal sink, the room has really taken a drastic turn – for the good. When I left you last, there was a huge hole in the wall from where the tile backsplash was removed and the wall colors were still orange and beige. Well not anymore.
Before I could even think about wallpapering, the hole had to be repaired. I’ll admit, I haven’t had the best of luck patching holes and achieving a flawless finish. It’s definitely an art. I’m good, but not great. (need a great tutorial on patching holes in the wall? check out Sawdust Girl). THANKFULLY, most of the hole will be covered with the new vanity, so I wasn’t super obsessed with making it perfect and smooth. To start, I grabbed a 2′ x 2′ piece of sheetrock from Lowe’s, cut it to fit tightly in the hole (a tight fit is key), and spackled the edges. This isn’t the best way of patching a hole, but it’s the lazy way I took – again because I know it’ll be covered with the vanity.
It took a few days for multiple thin layers of spackle and drying time before I could give the wall a good sanding. The hand sander gave a really nice smooth finished surface.

Once the walls were smooth and clean, I was able to paint and wallpaper the room.
I started out with painting the corners and edges at the window and door of the 3 non-wallpapered walls.
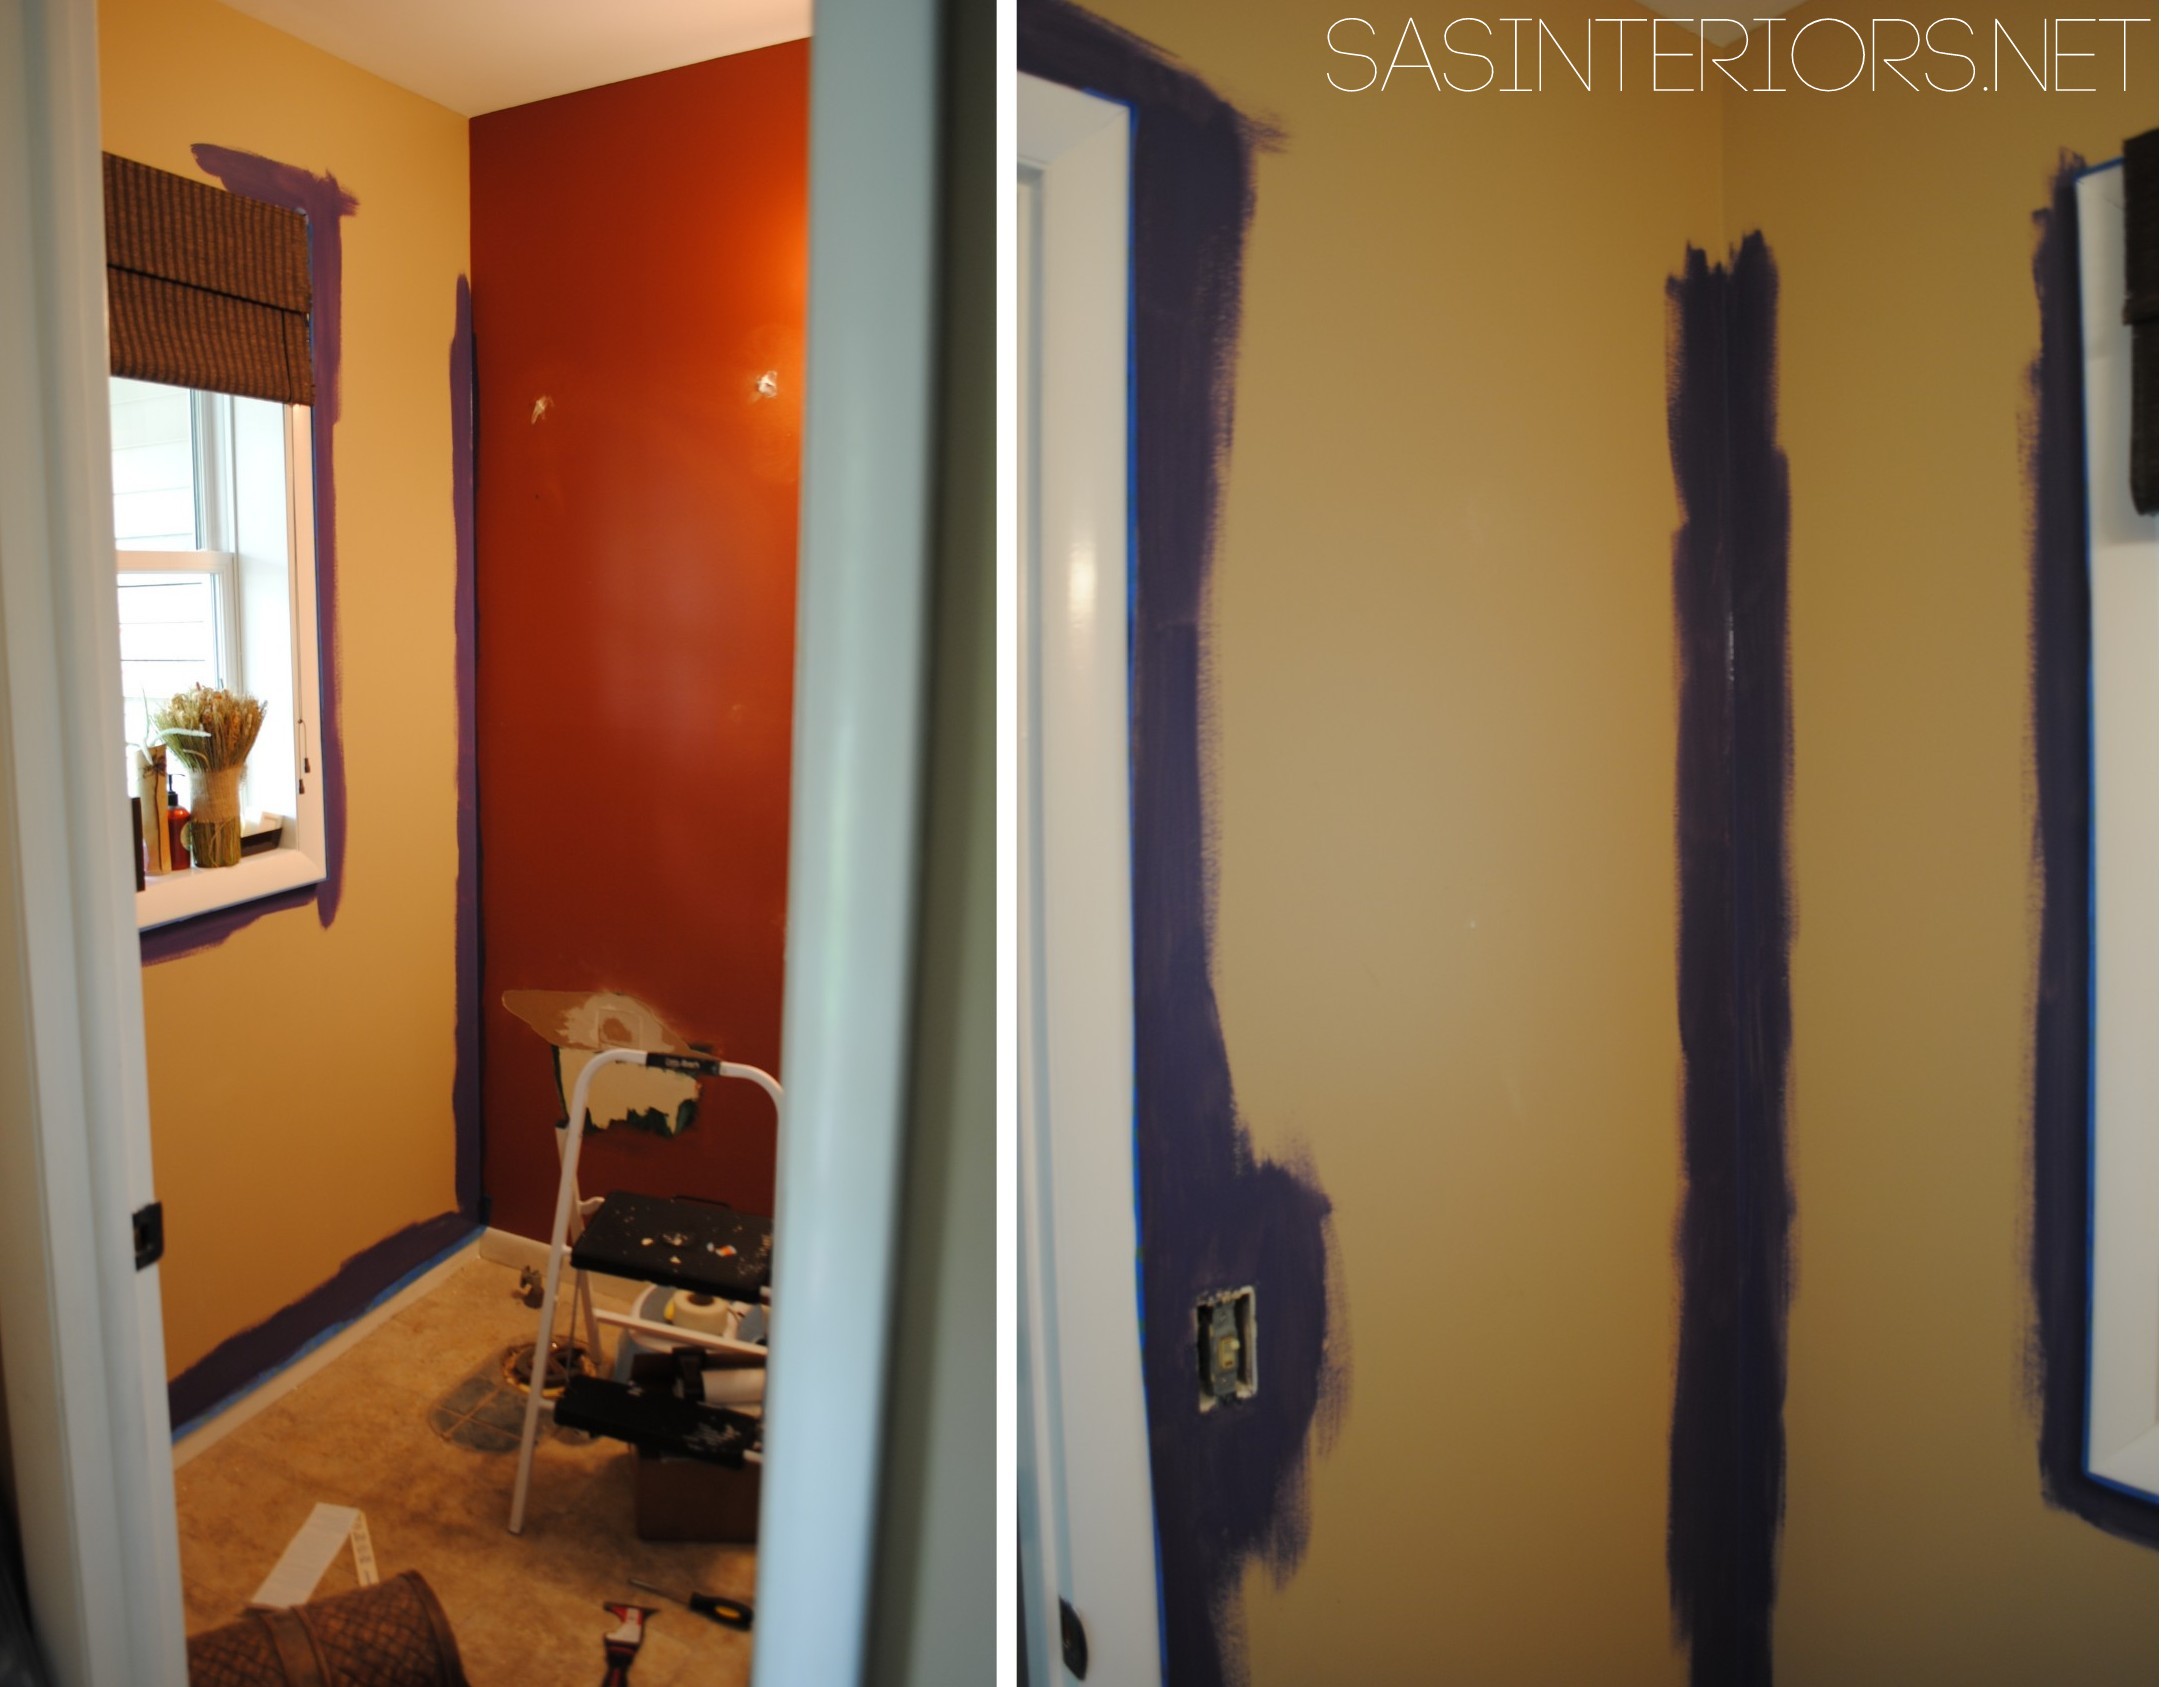
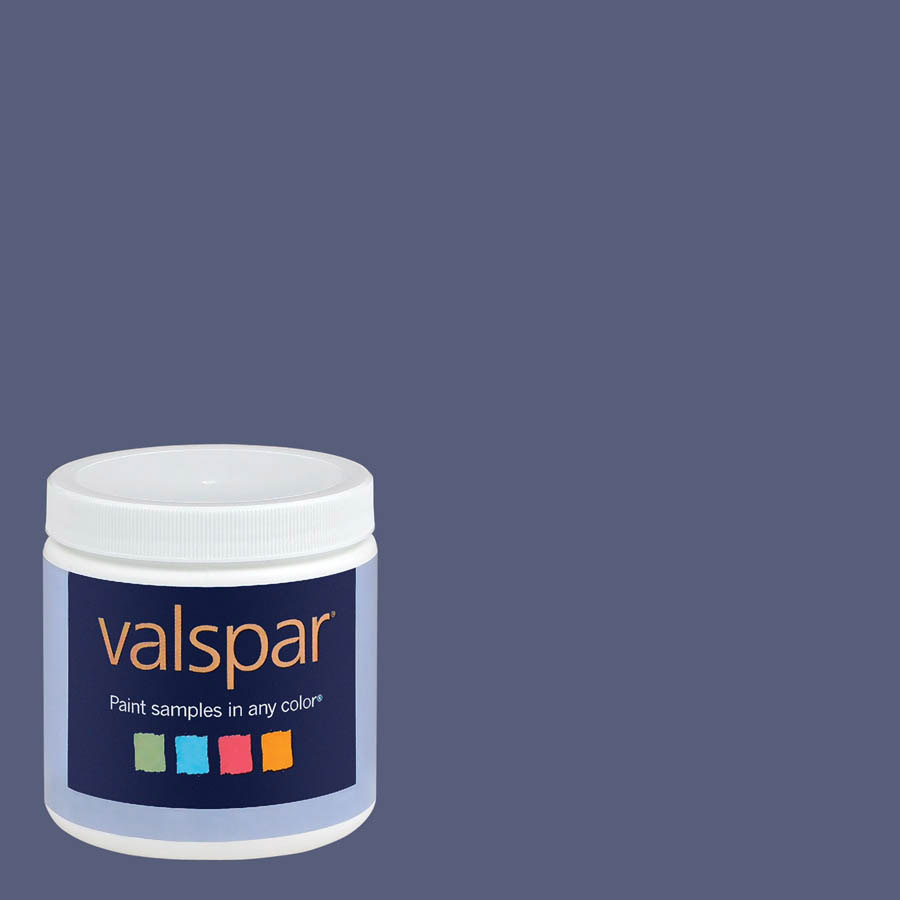
The color is Blue Mystery by Valspar and it’s almost an exact match to the background color of the wallpaper. Even though it’s blue, it has a deep purple / violet hue. It’s actually a very different blue than my office, but with the foyer in between the two spaces, you can’t notice the differing tones.
Once the walls were done, it was time to get down and dirty with wallpapering!

How-To Wallpaper using Paste
I had thought the wallpaper I chose was a pre-pasted wallpaper (wallpaper that has paste and is activated with water) but when I added water to the back of my sample piece, I quickly learned it wasn’t. So this was my first time wallpapering using paste. I was apprehensive at first, but it actually wasn’t at all as difficult as I thought it would be. I wrote a tutorial a long time ago on How-To Hang Prepasted Wallpaper, if you want to check that out.
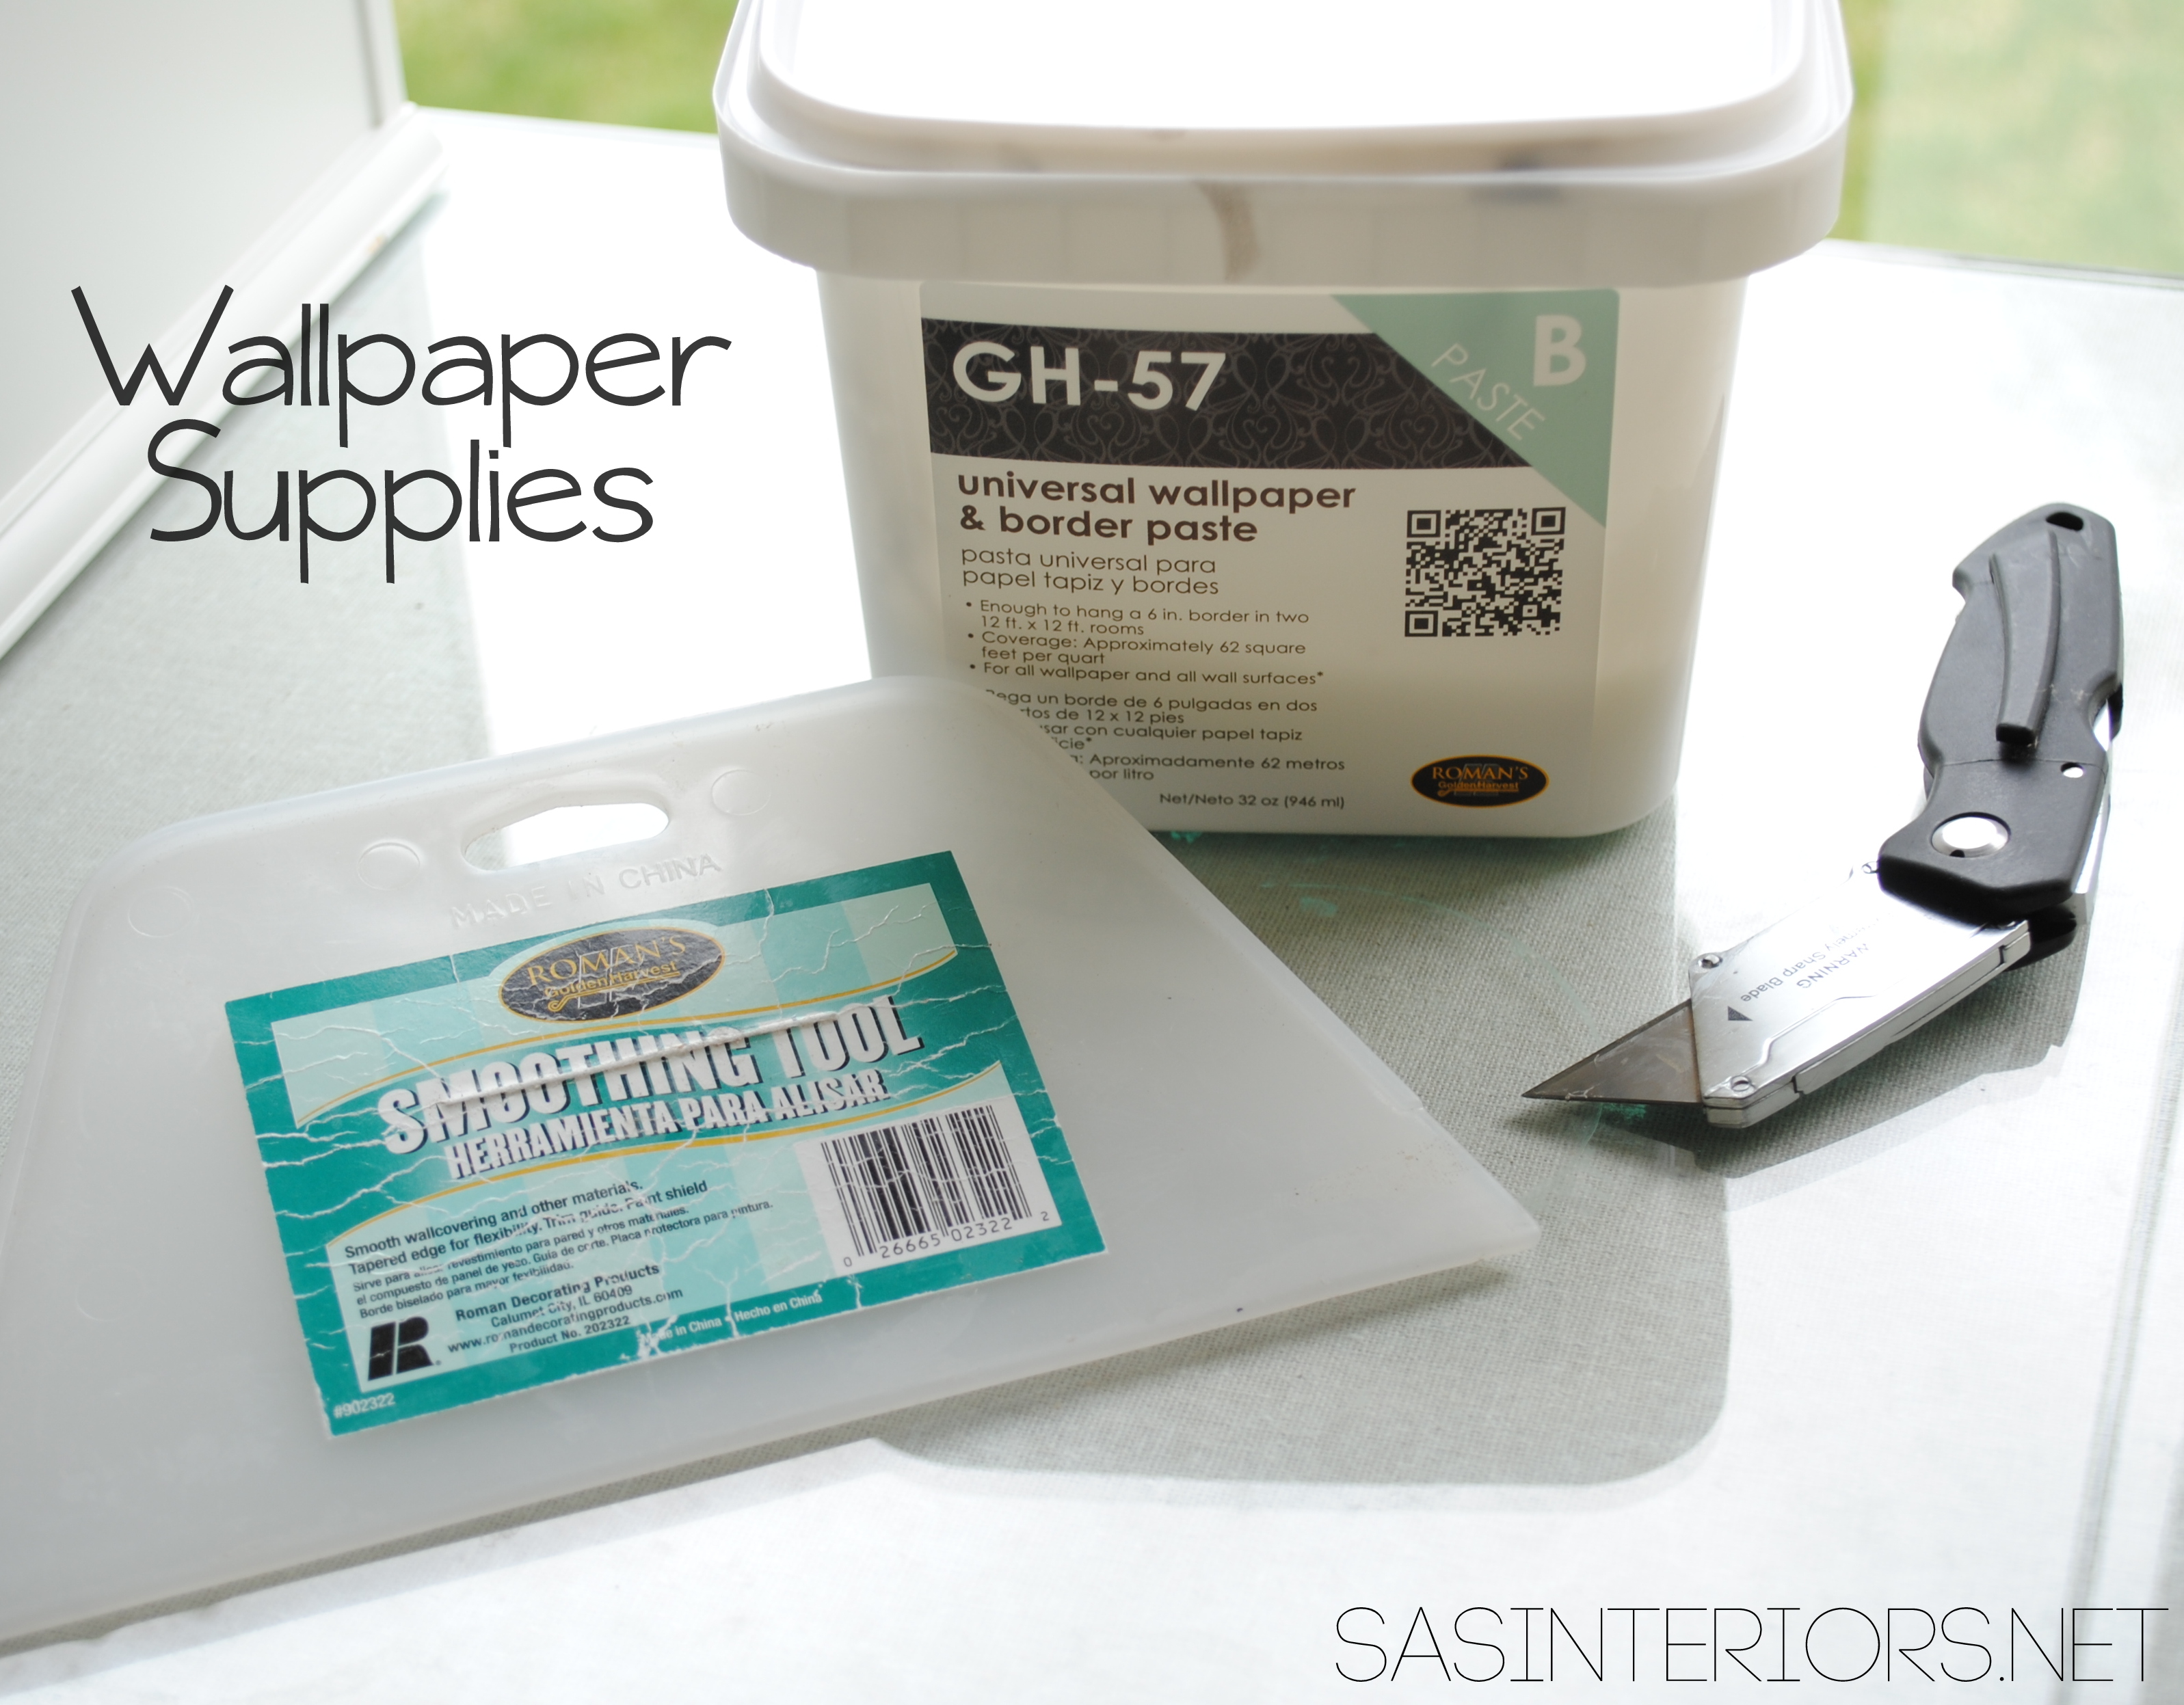
Supplies:
- Wallpaper of your choice. I chose Amy Butler Lacework in Midnight.
- Wallpaper Paste
- Smoothing Took
- Sharp Razor or blade
- Other handy tools for wallpapering are: a tape measure, a laser level, a pencil
1. To start, I found the center of the wall and made a mark. Then knowing the width of the roll (20.2″), I determined how far over the edge would need to start (1/2 of the overall which is 10.1″). I made another mark and used my laser level to make marks all the way up the wall (which will be the location for the edge of the wallpaper).

2. After determining where the wallpaper edge would be placed, I added the wallpaper paste to the center section of the wall using a brush.

* There are several techniques to hanging wallpaper, but I thought it would be best to follow the steps that came with my wallpaper roll. Another method that is readily used is to apply the paste to the wallpaper back, fold over both ends of the strip (being careful not to crease the paper) so that they meet in the middle. This gives the paste a chance to activate. Again, the instructions with my wallpaper said to apply the paste directly to the wall, which is what I did. If you want to see more on the other application, I found this helpful step by step method.
3. After the paste was applied, I took the end of the wallpaper roll (leaving about 3″ extra at the top) and adhered it to the wall aligning the edge with the mark I made on the wall. Then continued to roll it out down the wall.
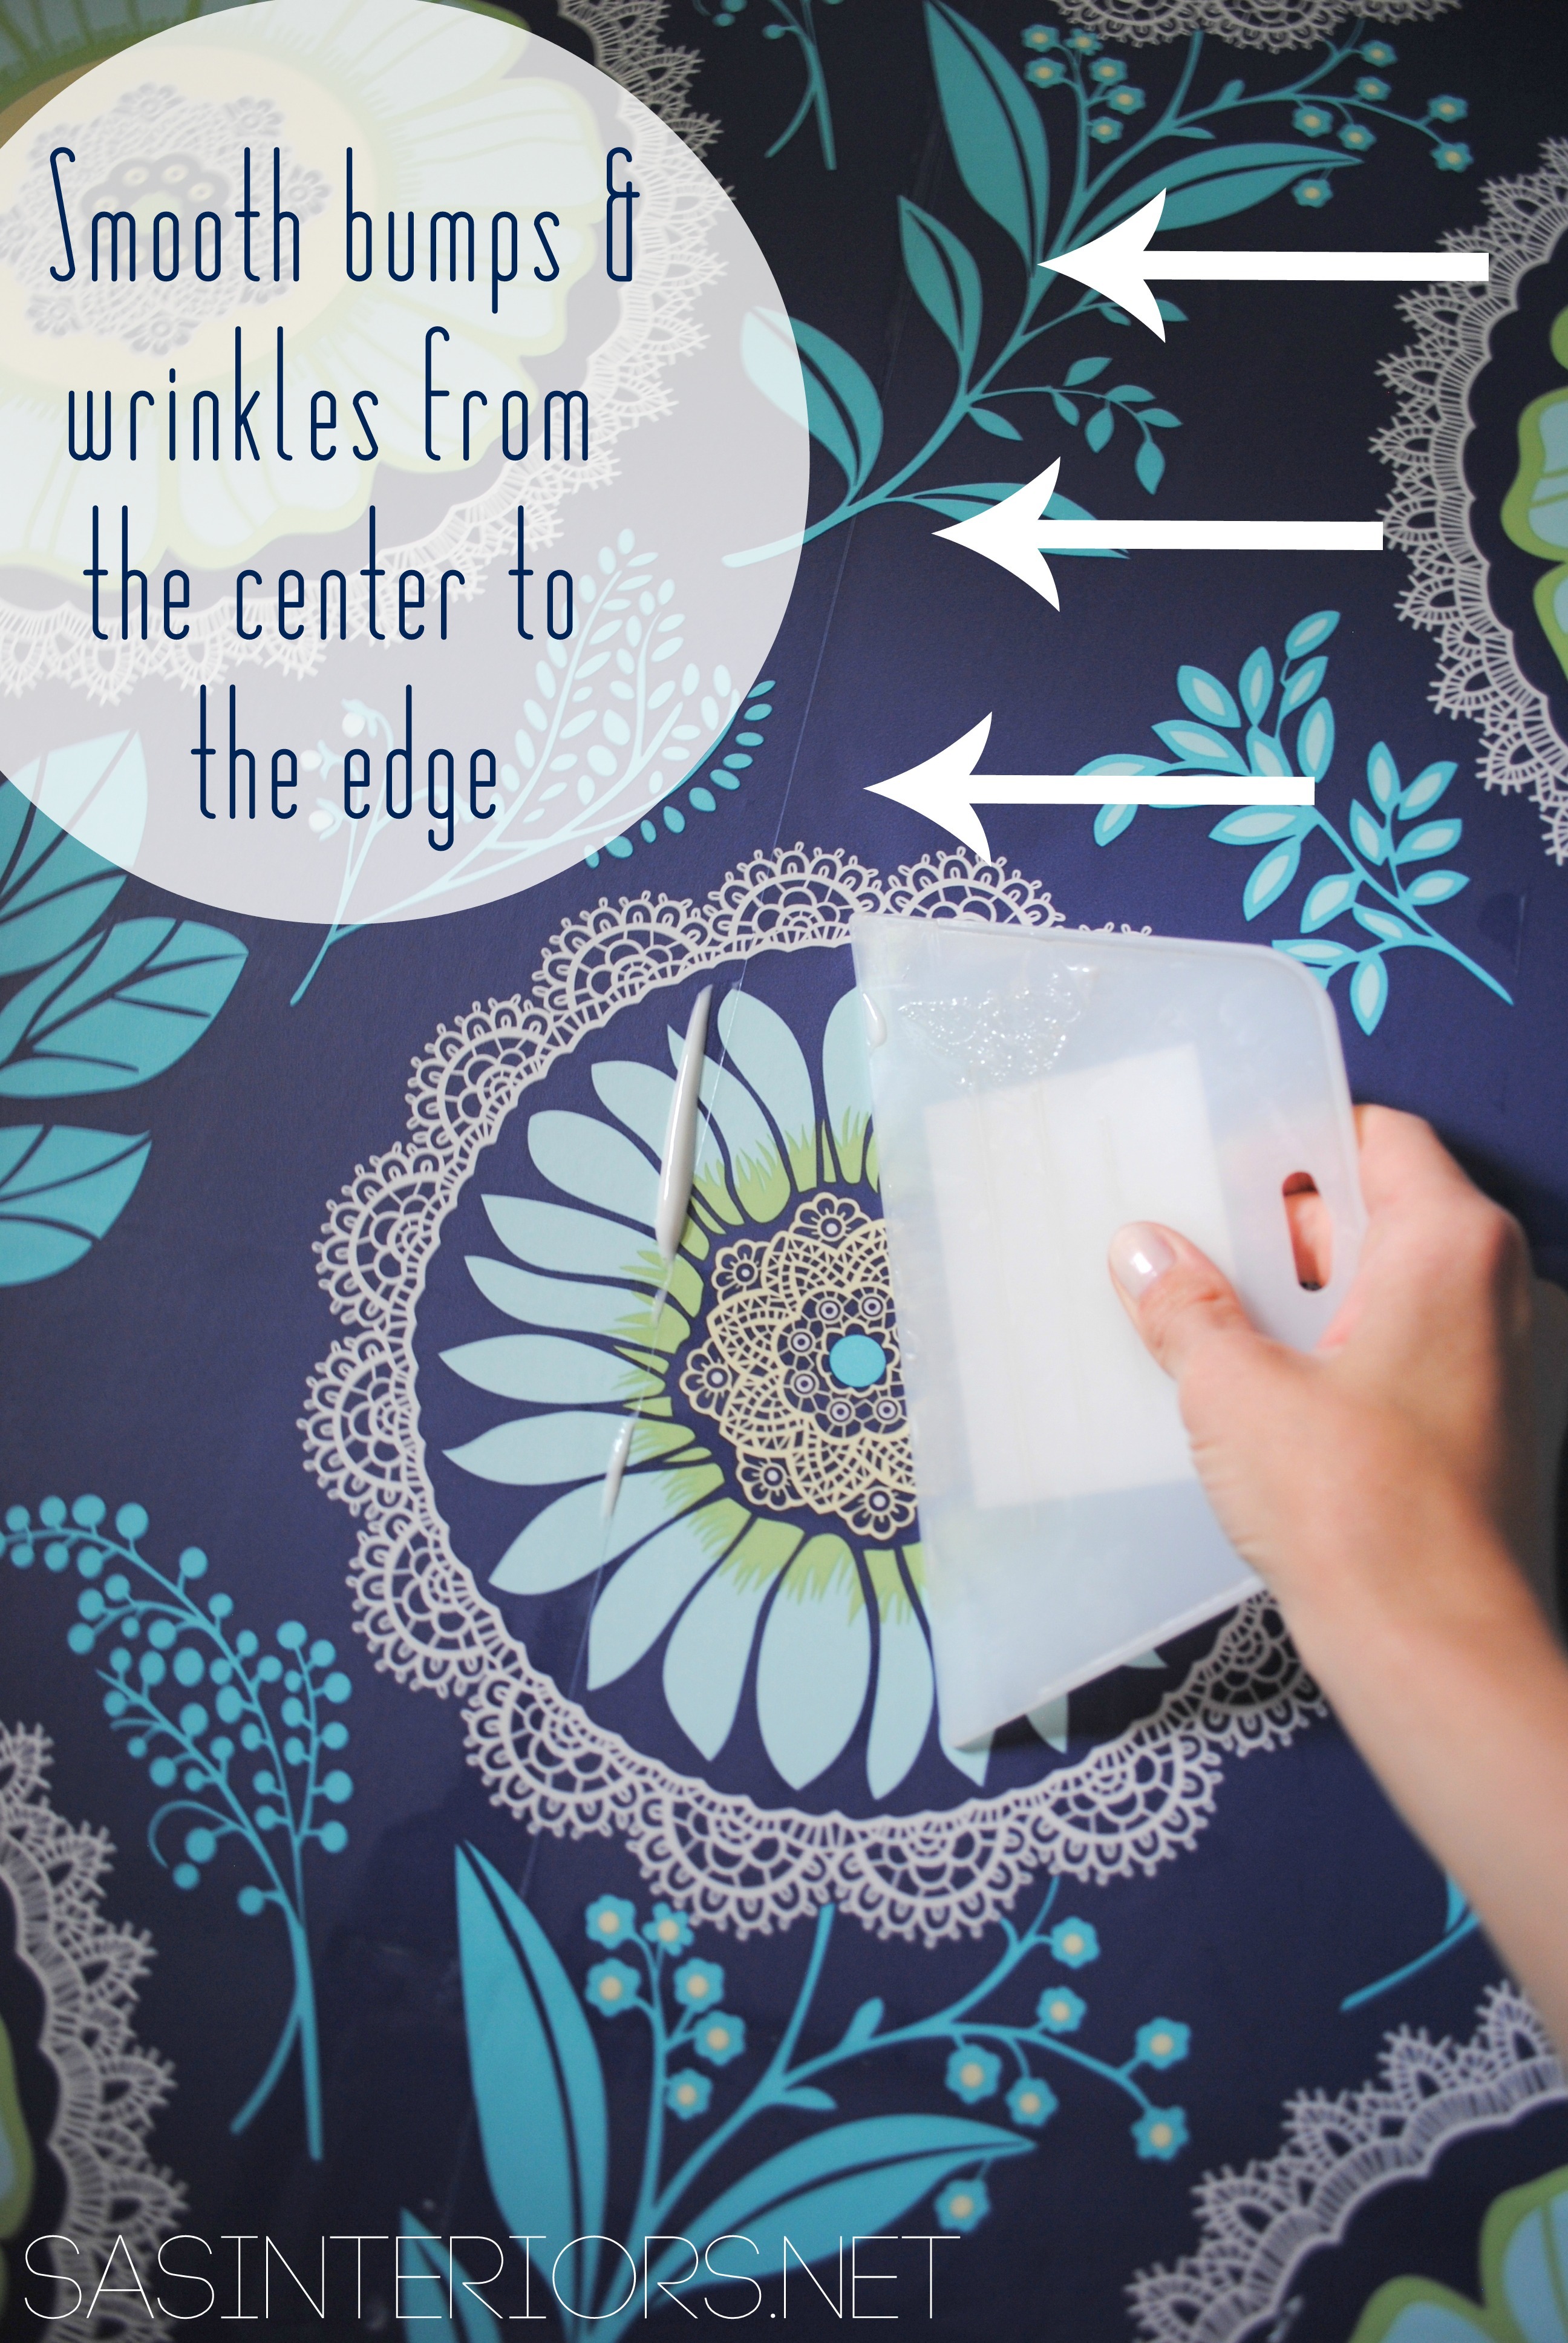
4. As I was adhering the paper to the wall, I used the smoothing tool to eliminate the bumps, wrinkles, and air bubbles. It’s best to start at the top and move down the wall, as well as from the center of the paper and smooth out towards the edges. You want to press firmly, but not too hard so all the glue seeps out. Alittle glue seepage is okay and expected.
5. Once the first panel was hung, it was time to hang the second adjacent sheet. The same steps should be taken, but this time it’ll be key to align the seams so the design / pattern matches (especially with the paper I was using).
 photo credit: my 7 year old!
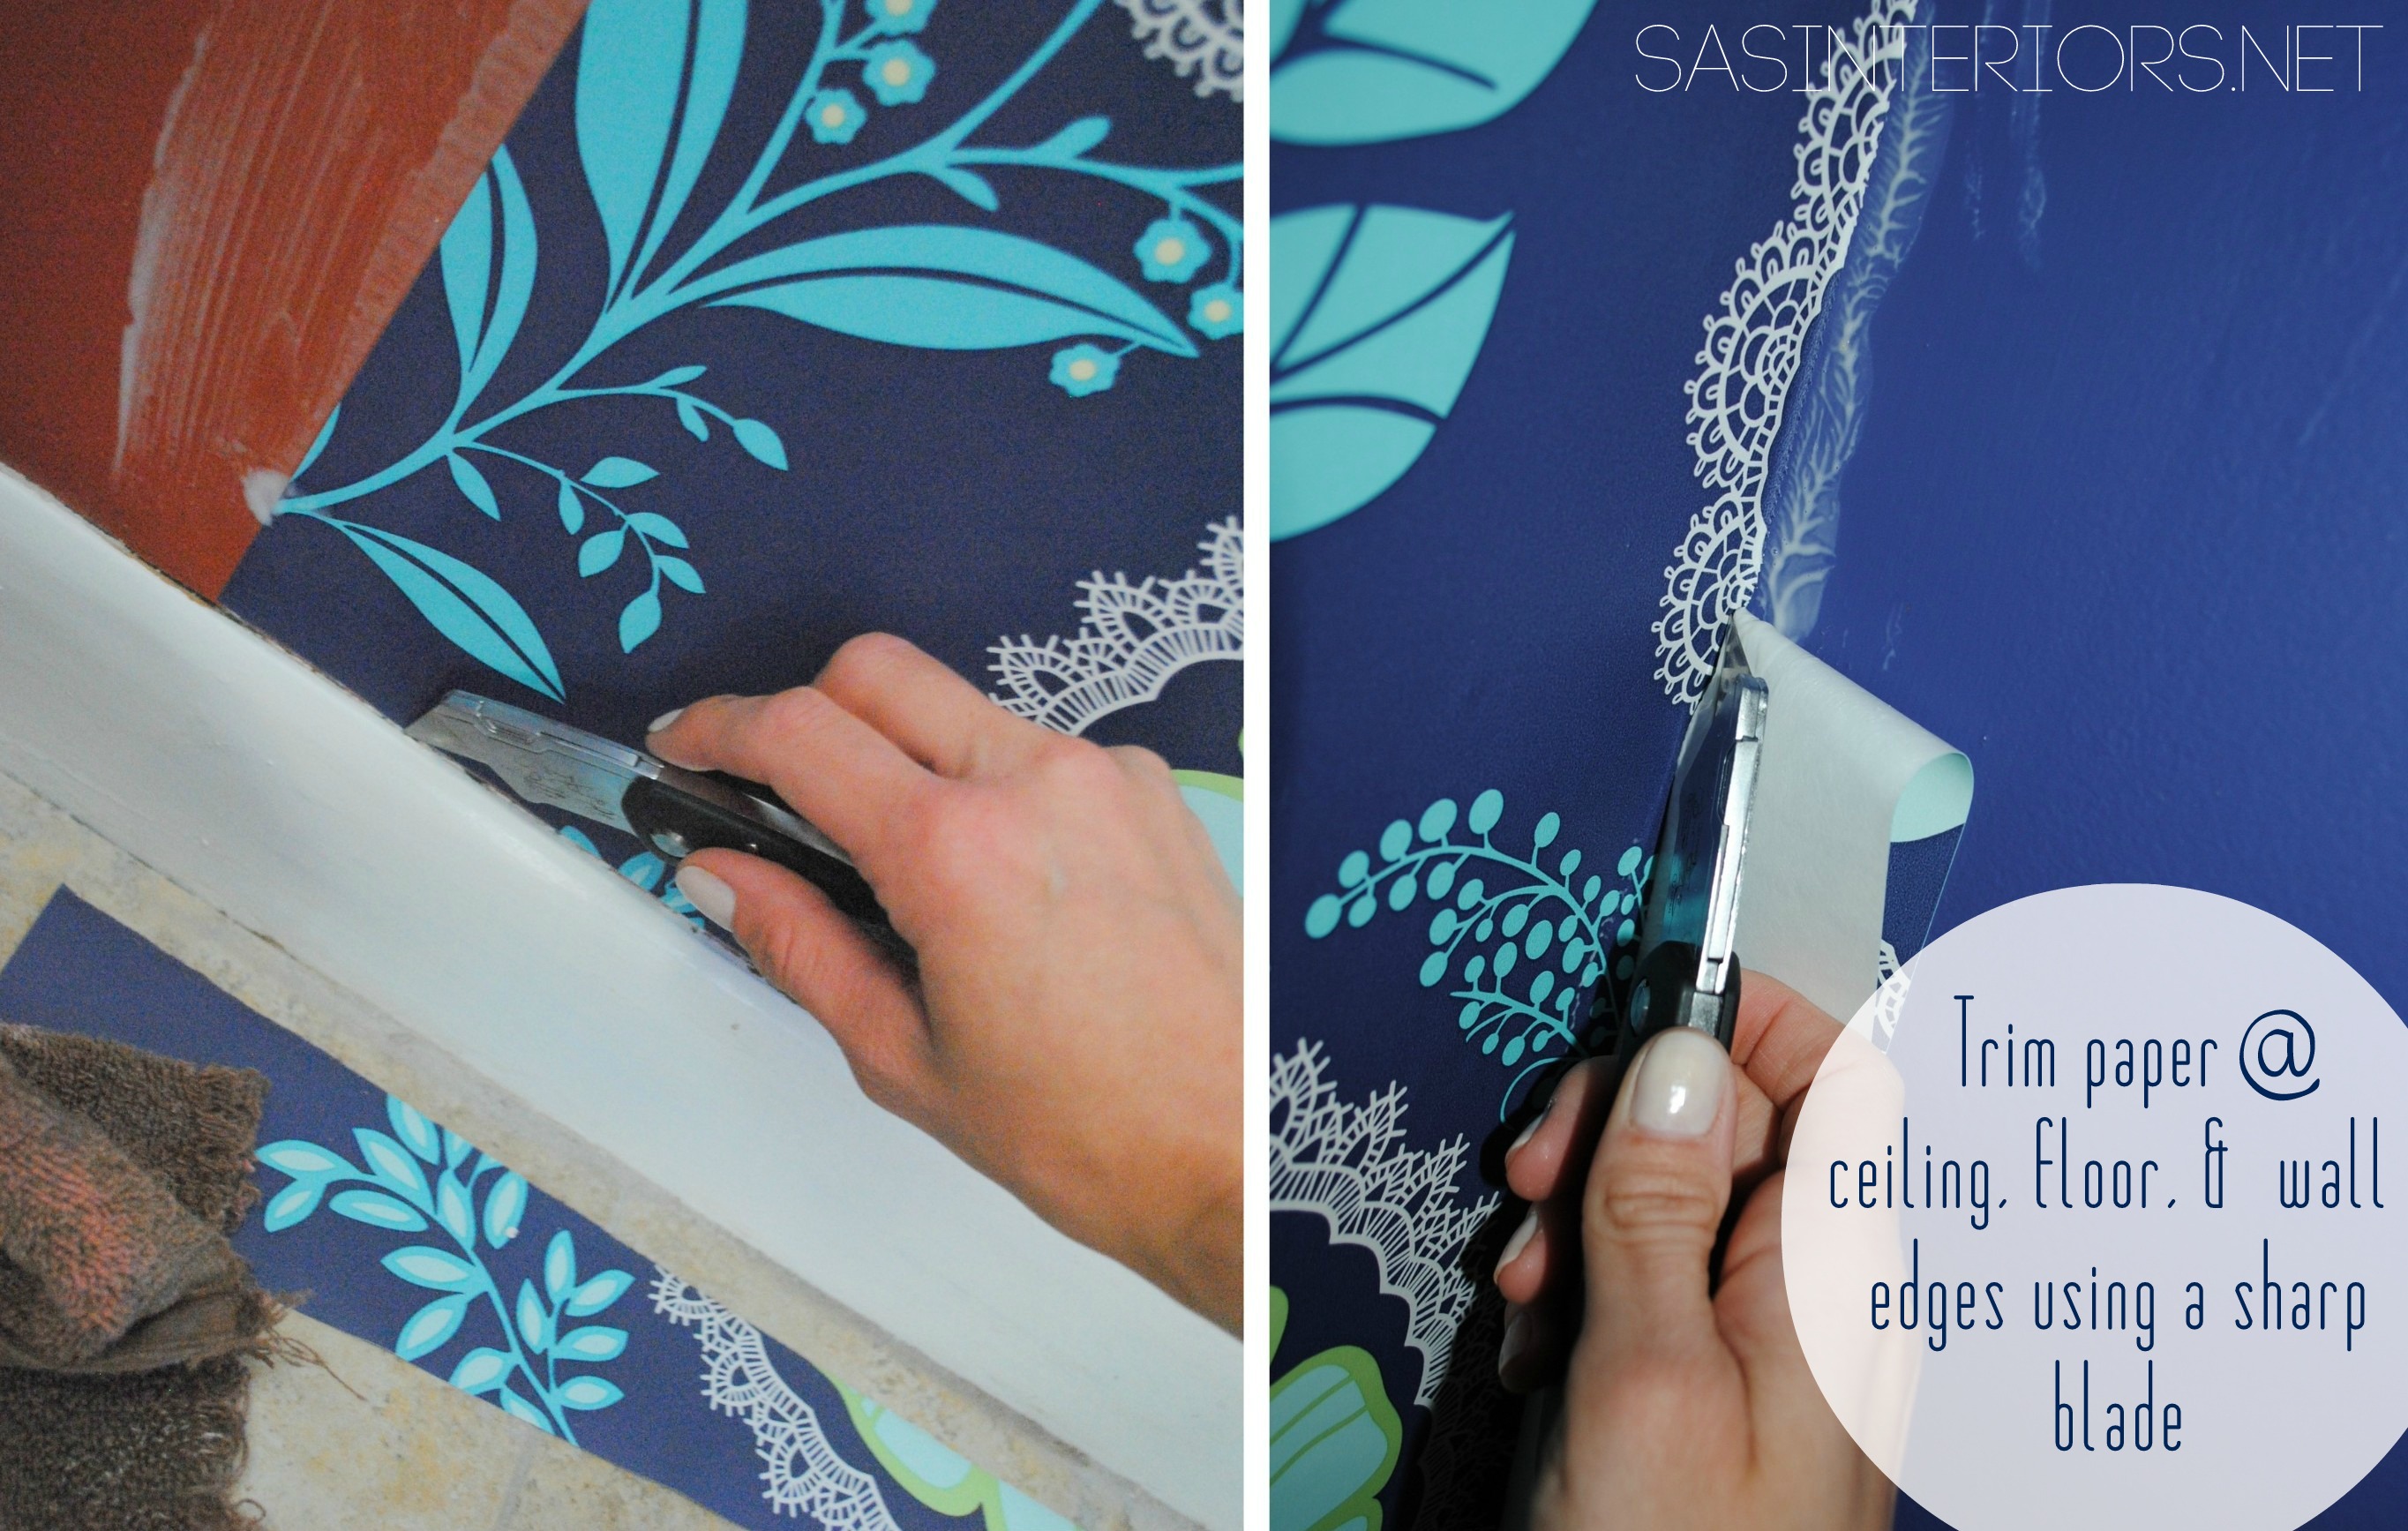
6. Once the paper is up and in place, it’s time to trim – the ceiling, edges, and base. Using a sharp blade / razor, follow the crease / edge and gently cut the paper. It might be damp from the paste, so try not to pull the paper because it’ll rip. Scissors also help.
I also had to trim around the light fixture… that’s to come.

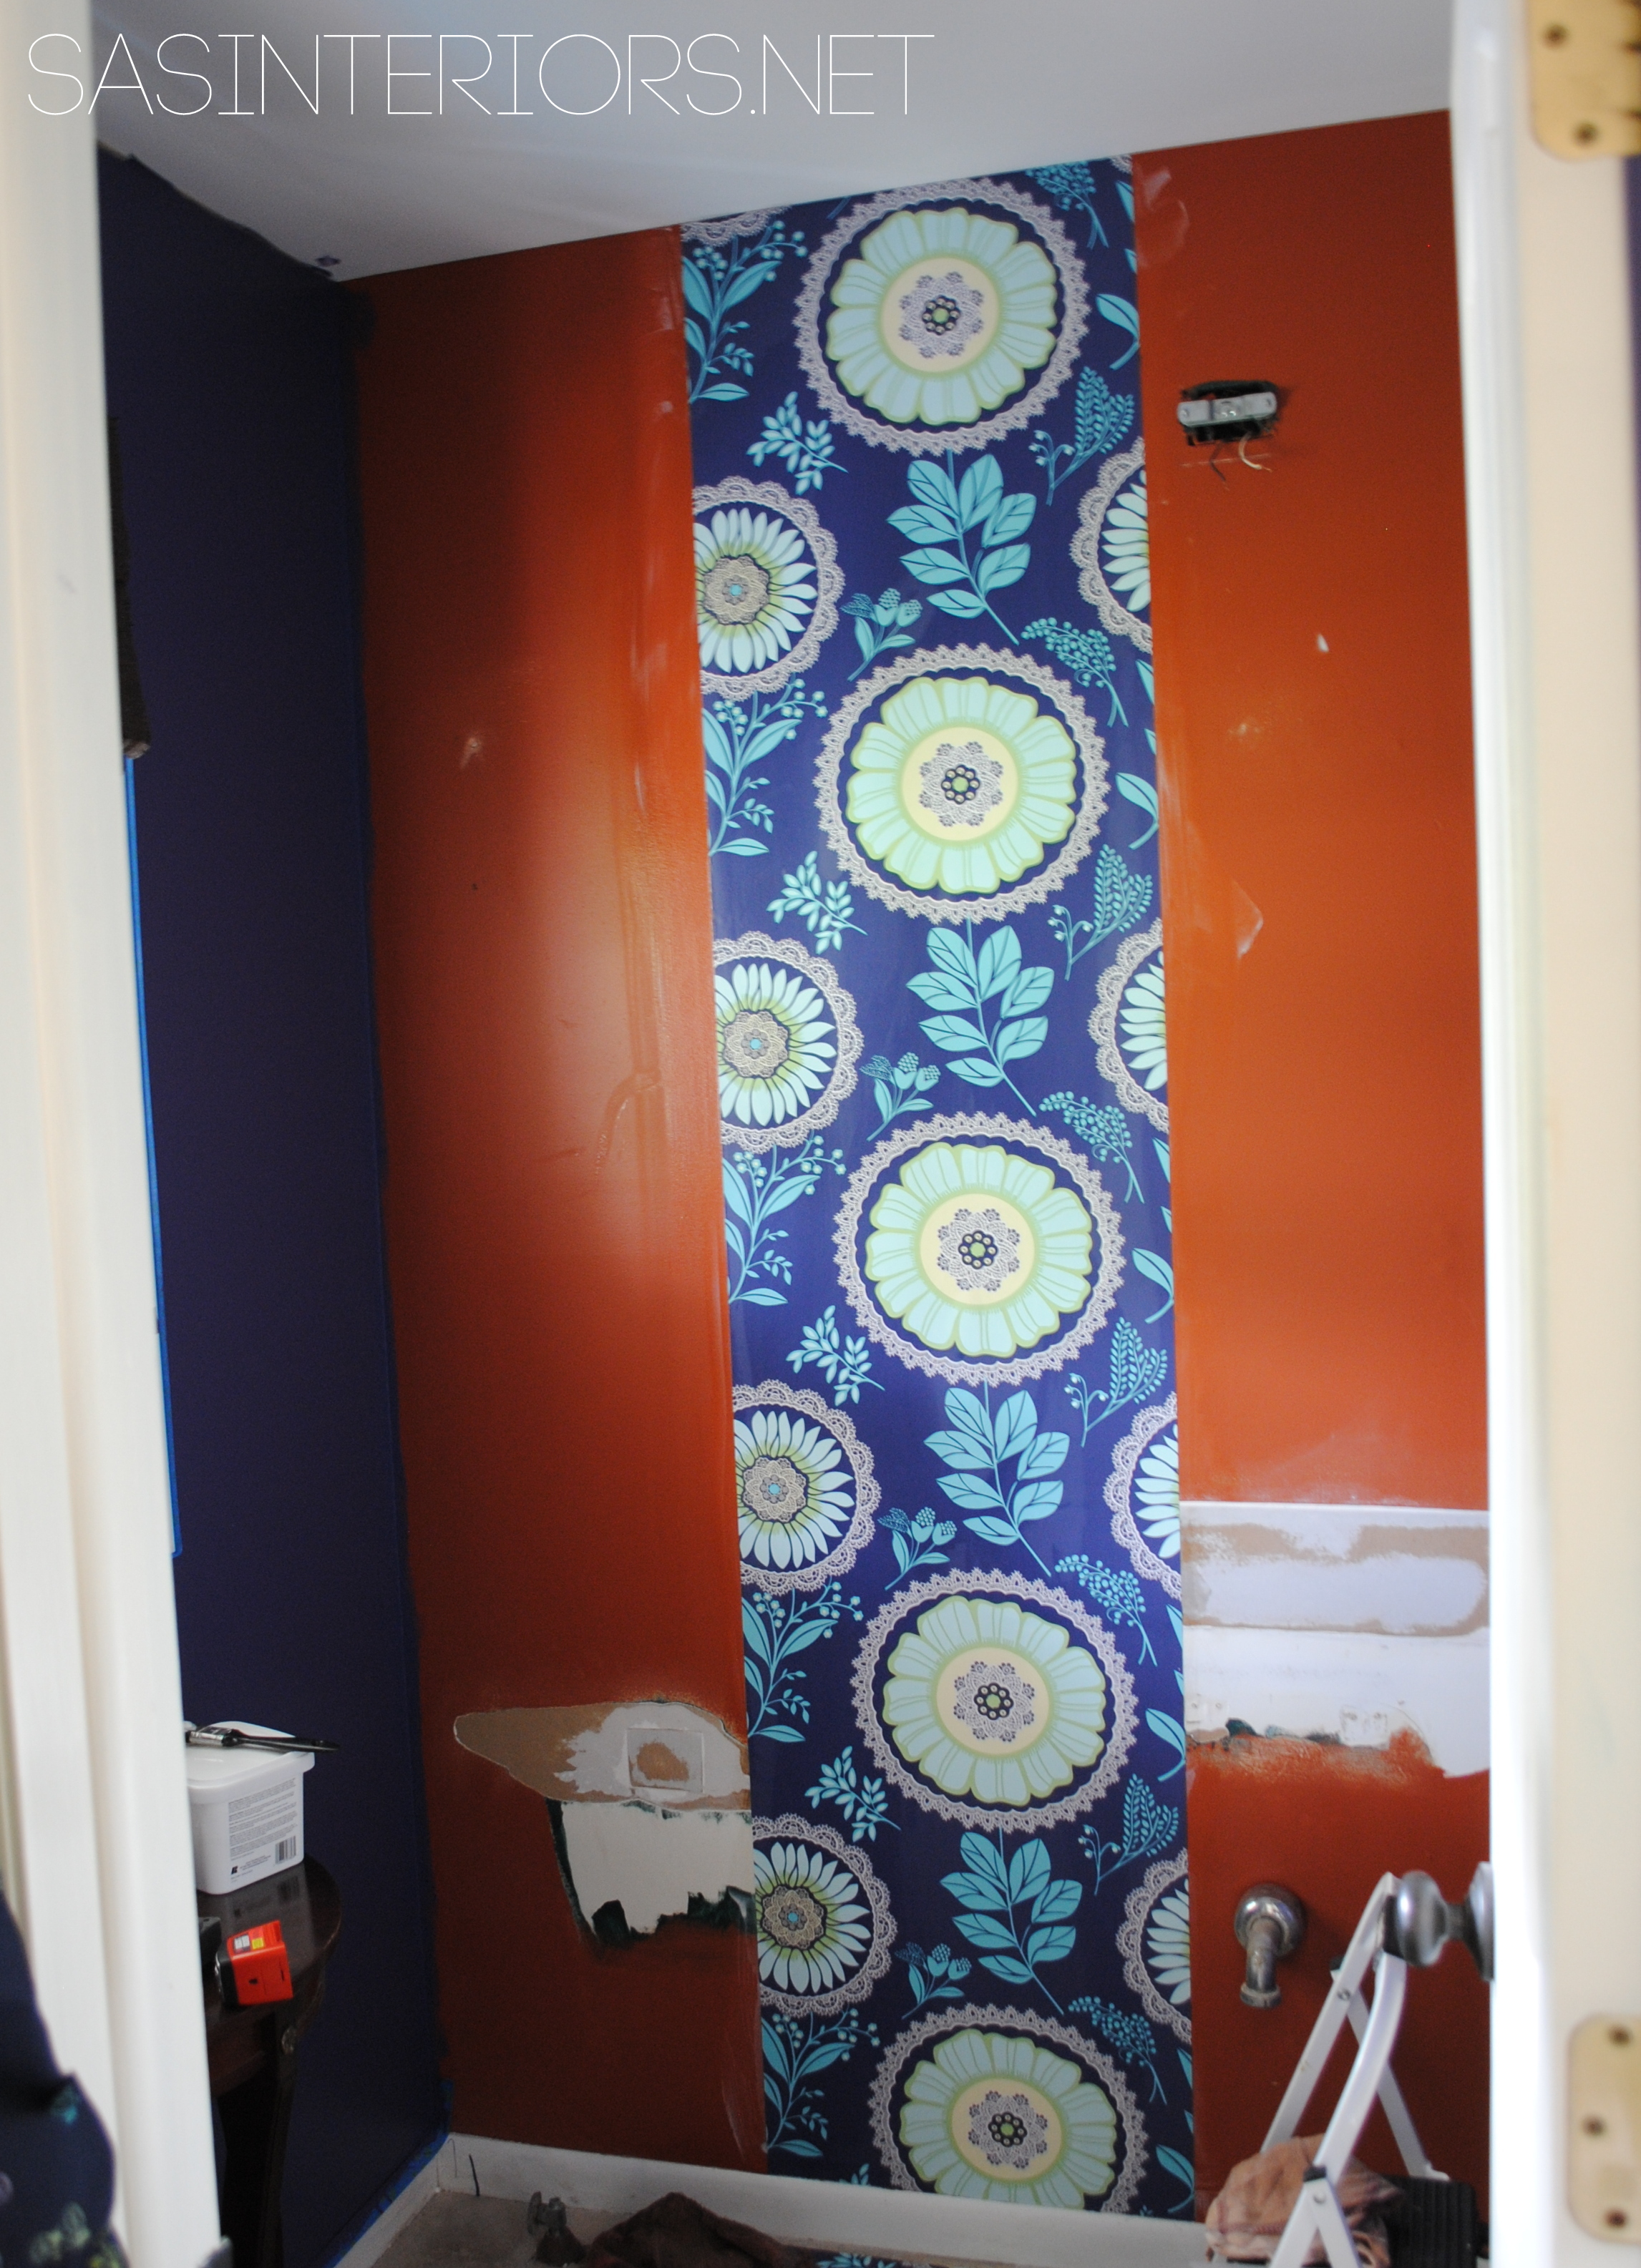
And the result is…
…a beautiful, bold focal wall!

The quality of this paper is amazing. Comparing it to the previous time when I wallpapered, this paper is alot heavier which hides many of the imperfections on the wall – score!

Not to shabby going from this… to this…

Plan of Action for #powderroomremodel:
Choose and buy sinkChoose and buy toiletChoose and buy faucetRemove sinkRemove toiletRepair hole with new sheetrockRepair floor @ sink and toiletHang wallpaperPaint- Add crown moulding (yes, my 1st moulding ever)
Assemble sink- Install sink and faucet
- Install toilet
- Accessorize – mirror, pictures, etc.
7 items crossed off the list since last time. Now that’s progress!
But there’s still more to come. Stay Tuned.
Have you ever hung wallpaper? What method did you use? Was it pre-paste or the kind where you had to add the paste?
Comments are closed.